I took on the job of replacing my rear trailing arm bushes, and completed it successfully, very satisfied with it and its made me feel more attached to my car (even though I do love it anyway but doing a big repair like this... you know)... and feel I could get carried away... maybe some new shocks and springs too.. I've even gone and got myself a steam cleaner (polti vaporetto 2400) to tidy the engine bay up.
Anyway.. back to the bushes, here are a selection of photos from the ones I took during my bush replacement, only showing the one side as both done pretty much the same way, this is the second side I done, the first side as you'd expect took longer while I worked out what worked best and got to know the work flow to get it done (even though I had looked at the guide and other peoples posts on here, when you set to doing it you still feel almost like this isn't going to happen and discover how difficult it is, but once I knew what worked I just followed that work flow on the second side, and just went for it! knowing it would work, I got the bush out much quicker, its having that faith that it will work and just to just get on with it, but it is a work out hacking and sawing away.
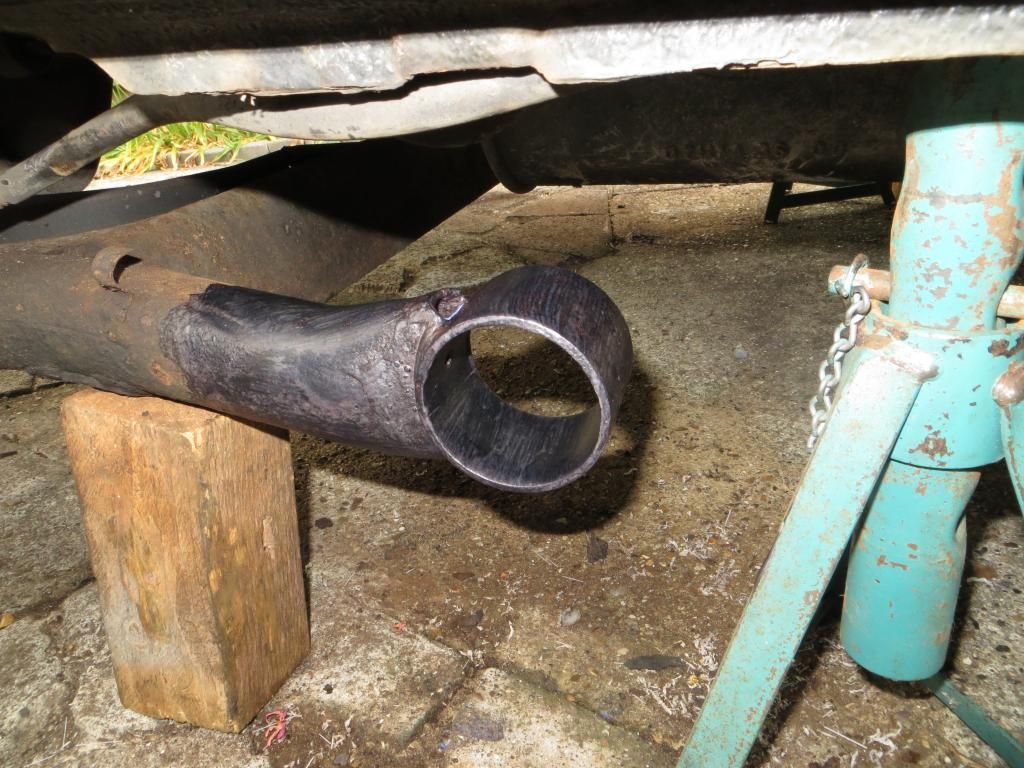
Here are the photos...


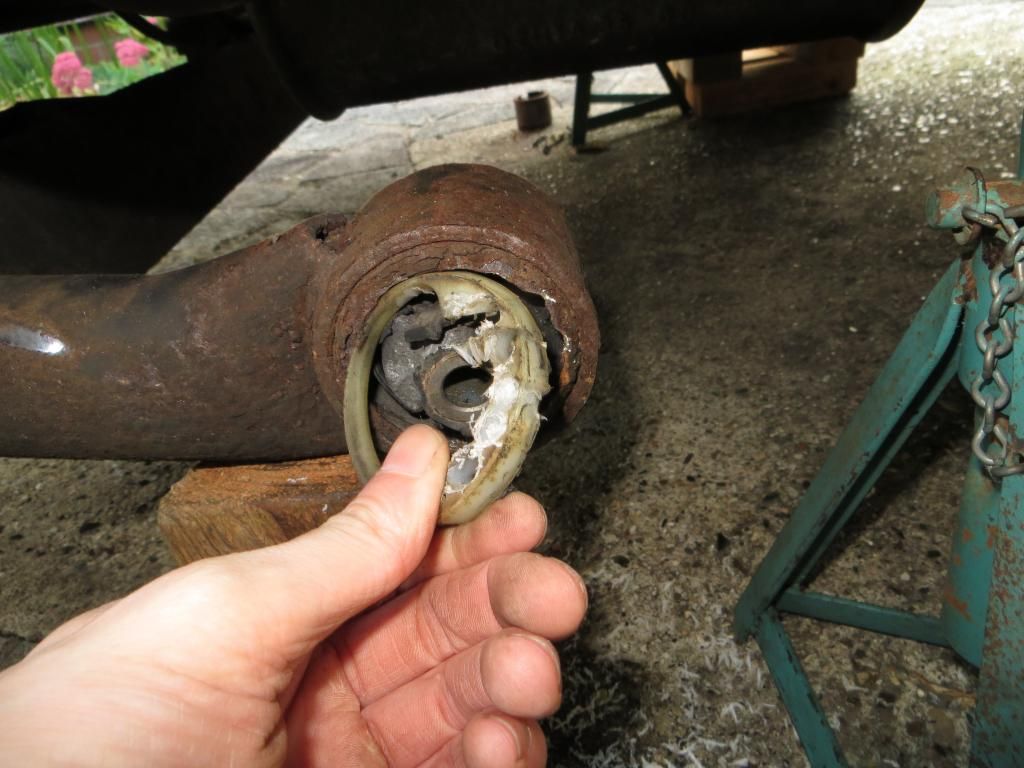
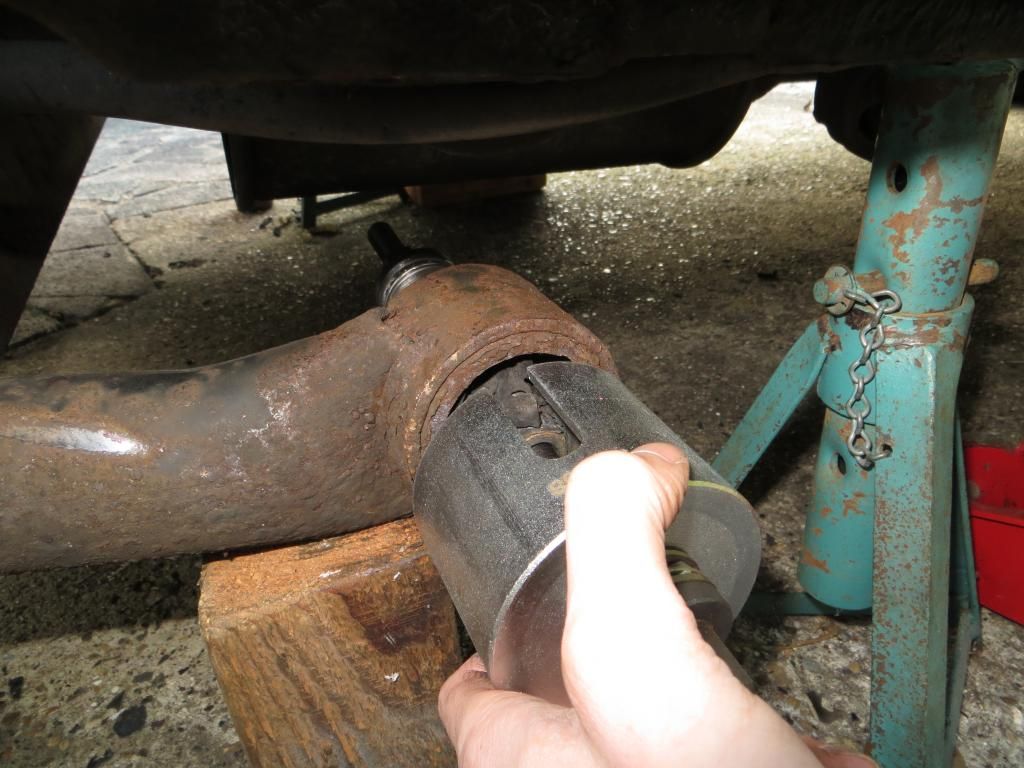

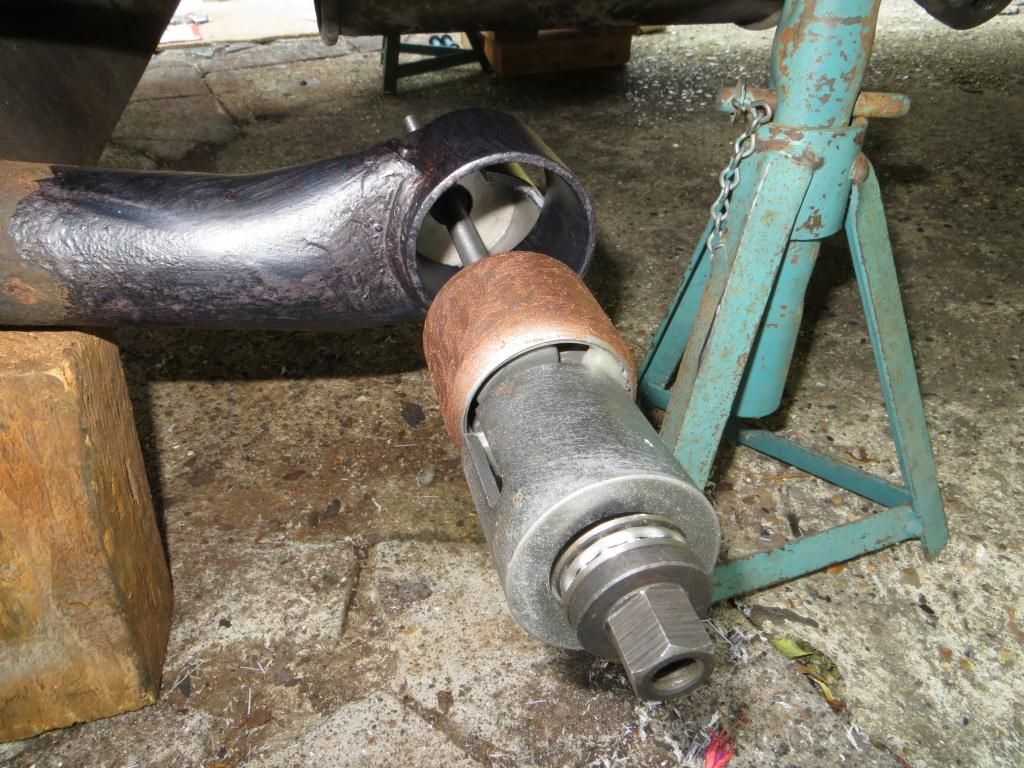
Used my puller tool to get the core out, little extra trick worked out myself that helps.


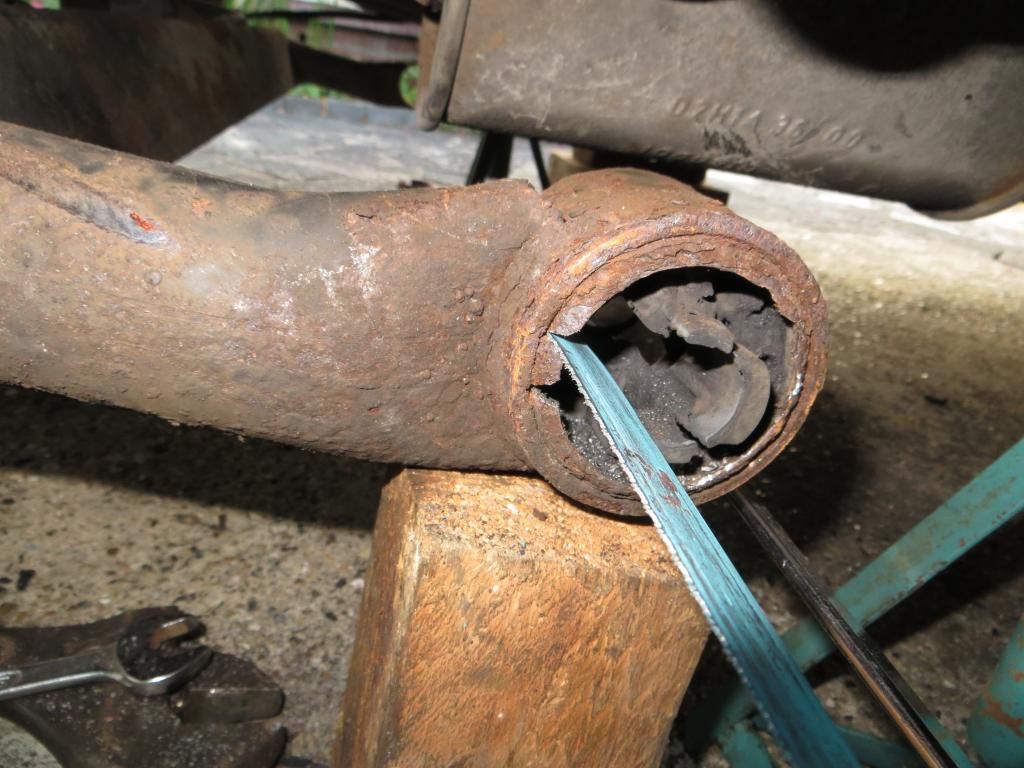
The two cuts in the outer edge of the bush is absolute key to removing the bush - stating this for others planning on taking this job on, I used a mirror and had the saw blade in place to check my depth and levelness by looking at both sides with the mirror, nicked the main ring with the blade but I'm cutting against the arm so its a solid point and can take it, don't go too deep - scoring it is ok - but you've got to get through that bush housing, then chisel that bit out and the whole thing will start to slide out.


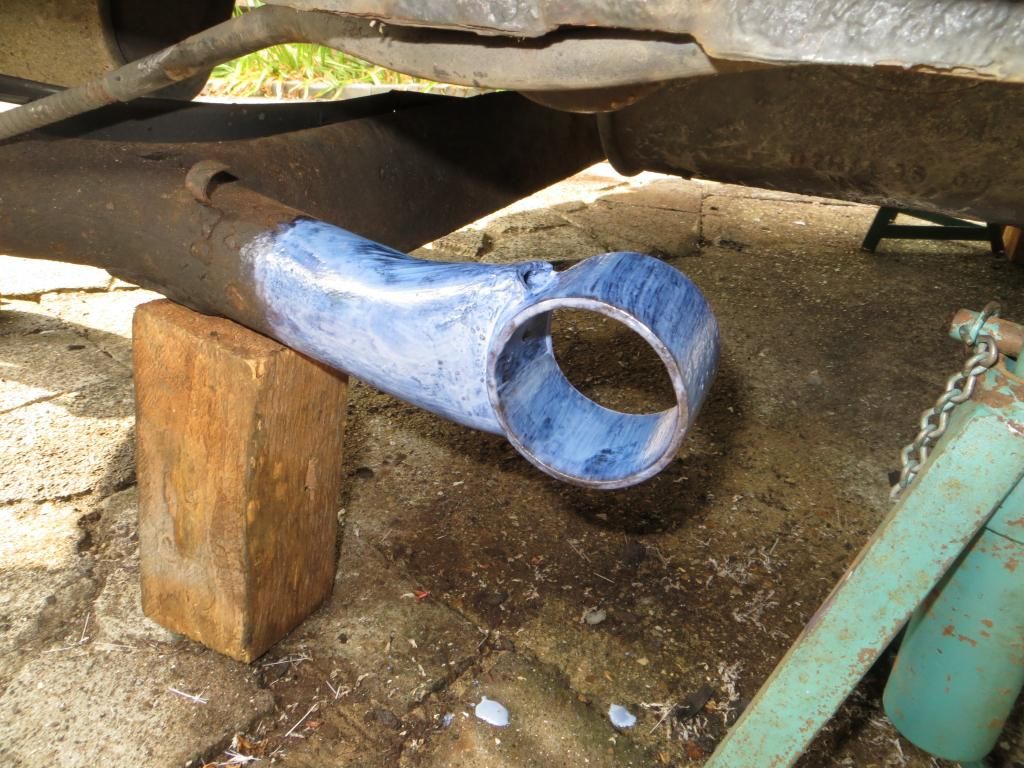
Rust treated with Hydrate 80

New bush copper greased and going in now


I also treated the mounting point with hydrate 80

Job done!
-- I've not posted on this forum for years, I think since I signed up after buying my puma to introduce myself and my car. Doing these bushes was such a big job and so satisfying to have completed it, I felt I had to share for others looking for inspiration and some guidance to doing it them selves.
Anyway.. back to the bushes, here are a selection of photos from the ones I took during my bush replacement, only showing the one side as both done pretty much the same way, this is the second side I done, the first side as you'd expect took longer while I worked out what worked best and got to know the work flow to get it done (even though I had looked at the guide and other peoples posts on here, when you set to doing it you still feel almost like this isn't going to happen and discover how difficult it is, but once I knew what worked I just followed that work flow on the second side, and just went for it! knowing it would work, I got the bush out much quicker, its having that faith that it will work and just to just get on with it, but it is a work out hacking and sawing away.
Here are the photos...


Used my puller tool to get the core out, little extra trick worked out myself that helps.


The two cuts in the outer edge of the bush is absolute key to removing the bush - stating this for others planning on taking this job on, I used a mirror and had the saw blade in place to check my depth and levelness by looking at both sides with the mirror, nicked the main ring with the blade but I'm cutting against the arm so its a solid point and can take it, don't go too deep - scoring it is ok - but you've got to get through that bush housing, then chisel that bit out and the whole thing will start to slide out.


Rust treated with Hydrate 80


New bush copper greased and going in now


I also treated the mounting point with hydrate 80

Job done!
-- I've not posted on this forum for years, I think since I signed up after buying my puma to introduce myself and my car. Doing these bushes was such a big job and so satisfying to have completed it, I felt I had to share for others looking for inspiration and some guidance to doing it them selves.