warrenpenalver
Active member
Well i decided to do a thread now ive started to mess around with the car. Theres a few things need doing, mostly from bits rushed at the end of the build and i want to tidy things up and tweak a bit.
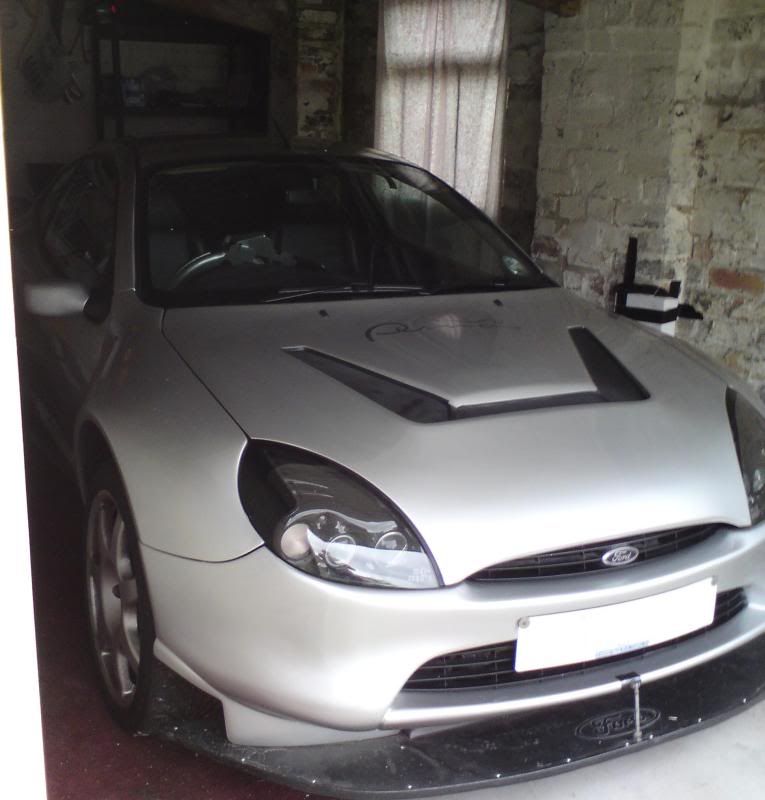
Here she is resting in her nice dry garage!
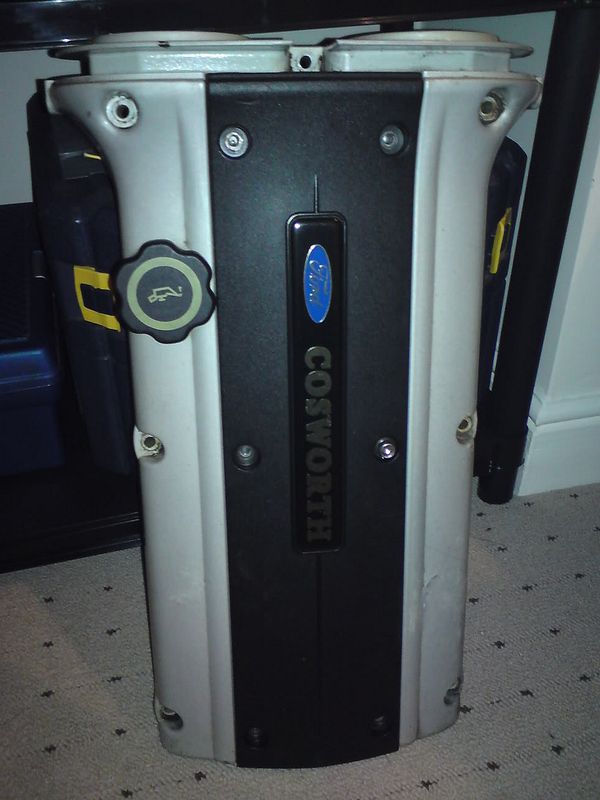
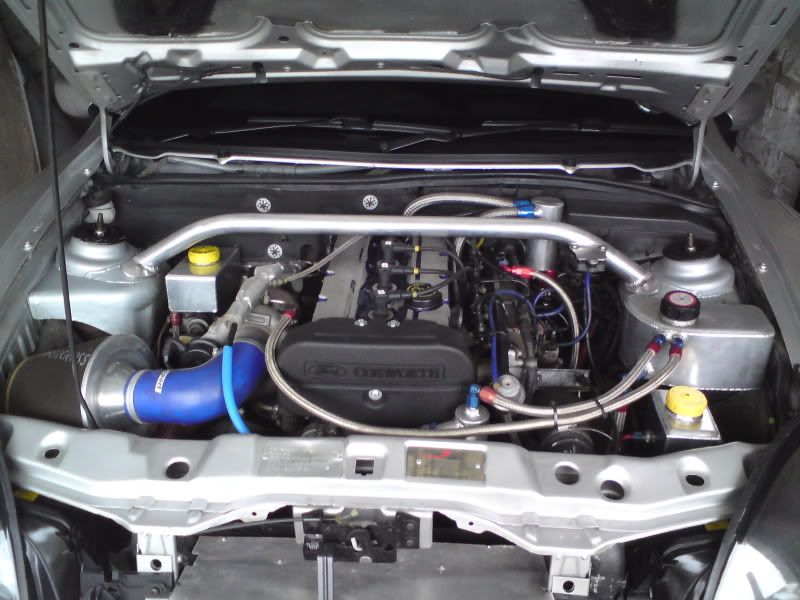
And heres the reason i love her so much:
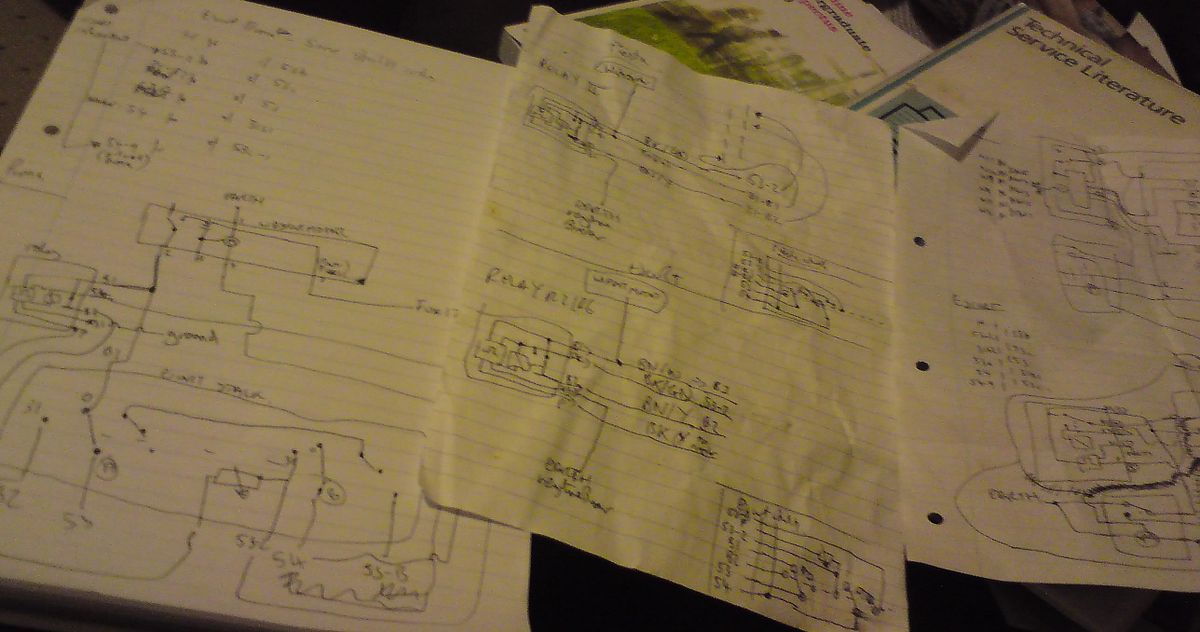
Unfortunately Tony didnt make any record of how he wired the two looms together which is annoying!!! Everything works at the moment except the heated windscreen which i think is the relay.
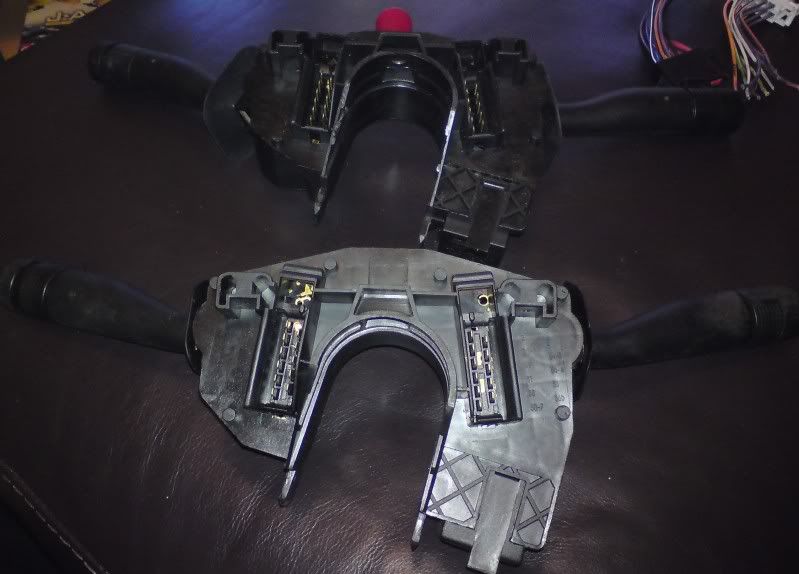
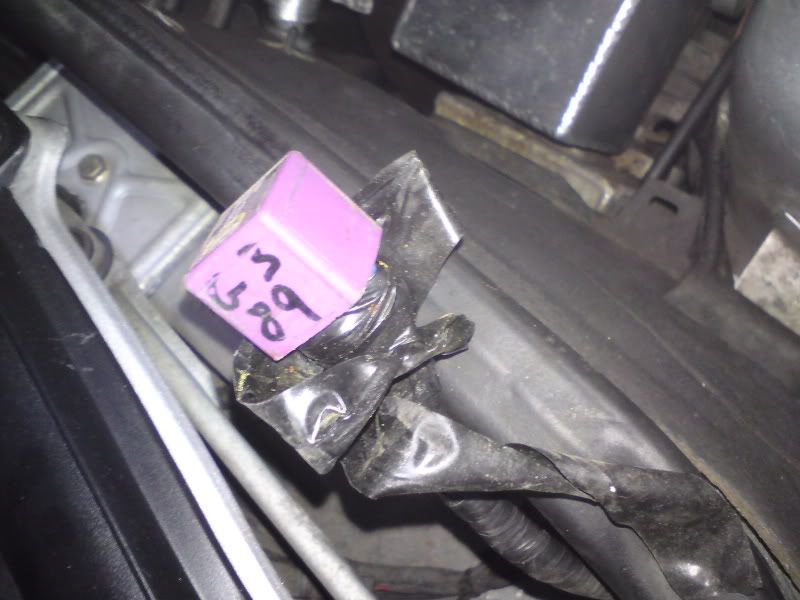
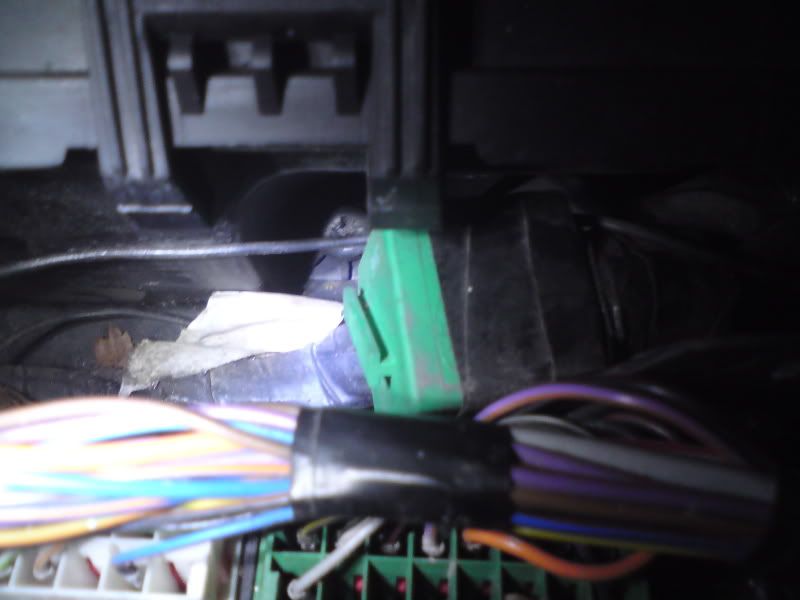
Have got a few issues with exposed relays and spare plugs.
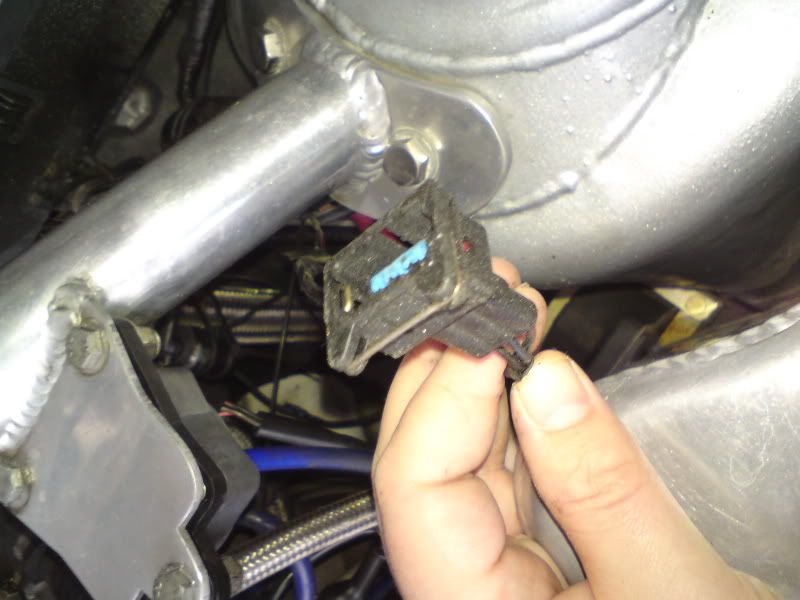
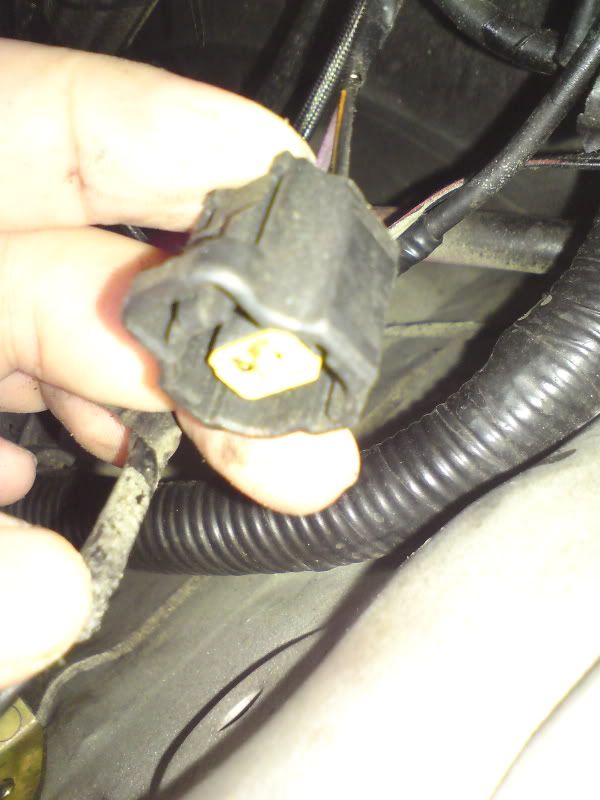
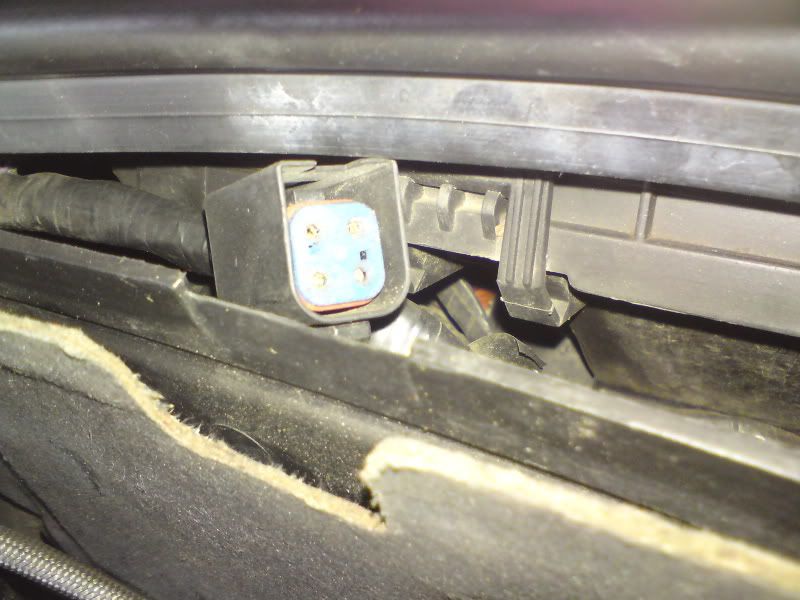
These two are the relays used to run the cosworth engine loom. Personally i would have integrated the wiring with the fuse box, but thats just me, plus id run the circuits off the original ignition relay.
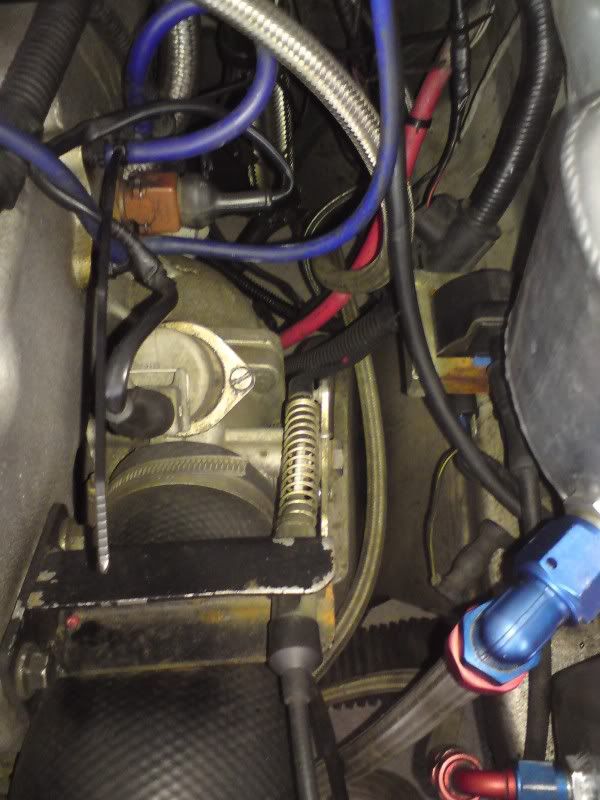
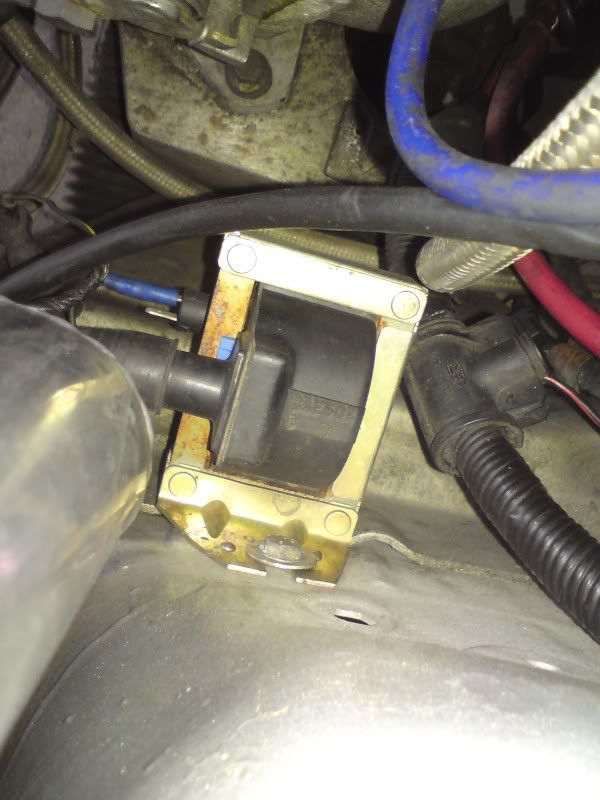
This is just an untidy mess to be sorted and horrible clips on the coil!!!
The first thing i have modified is the clutch cable arrangement:
The old clutch was VERY heavy due to kinks in the cable routing and also not quite enough travel making it hard to engage/disengage gears unless road and engine speed matched. That was because the modiefied clutch pedal has slightly less travel than a standard escos pedal and the cables were stretching due to heavy pedal and the auto adjusting ratchet was at limit of travel. Ive now got a stronger cable and also removed the rubber gromit at gearbox end of cable which reduces all the wieght on the pedal as the rubber used to be compressed tightly to get enough travel to use clutch. But alls fine now!!
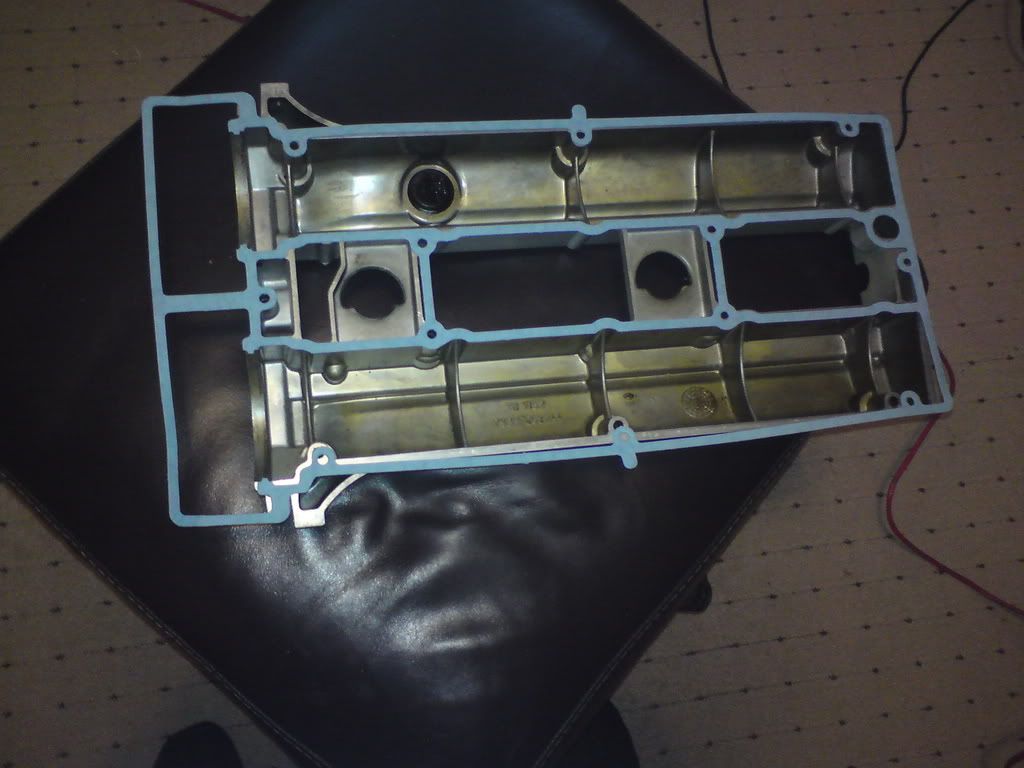
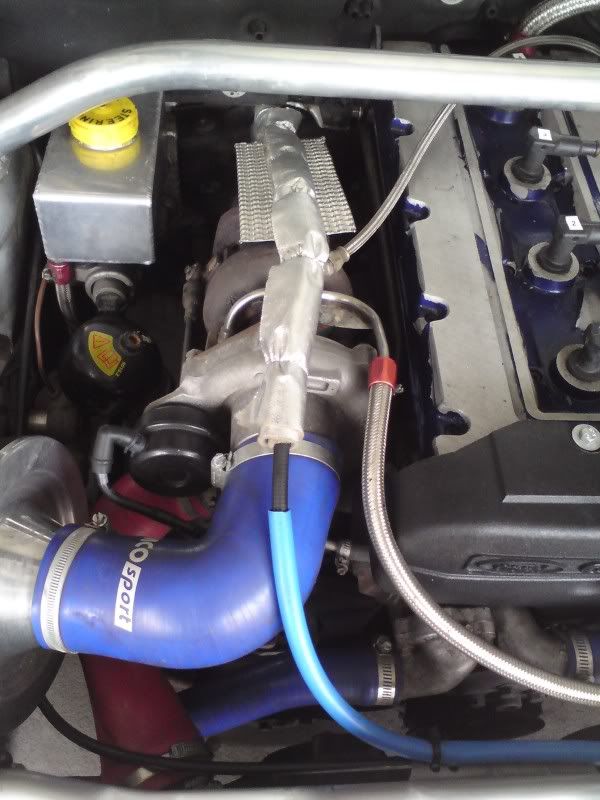
Also fitted a cambelt cover as seen above as the cambelt used to be exposed with a turbo pipe running very close to it. Technically it was fine but it only takes a cable clip to come loose or when tweeking things to put finger in wrong place!!!!
Ive also fitted a boost gauge so i can see whats what and its also a good indication things arent right if its not holding boost or excessive boost etc. I had to make a carbon frame for it so i could mount it in the drivers side center vent. I made it out of some carbon ive bought and kept it nice and simple.
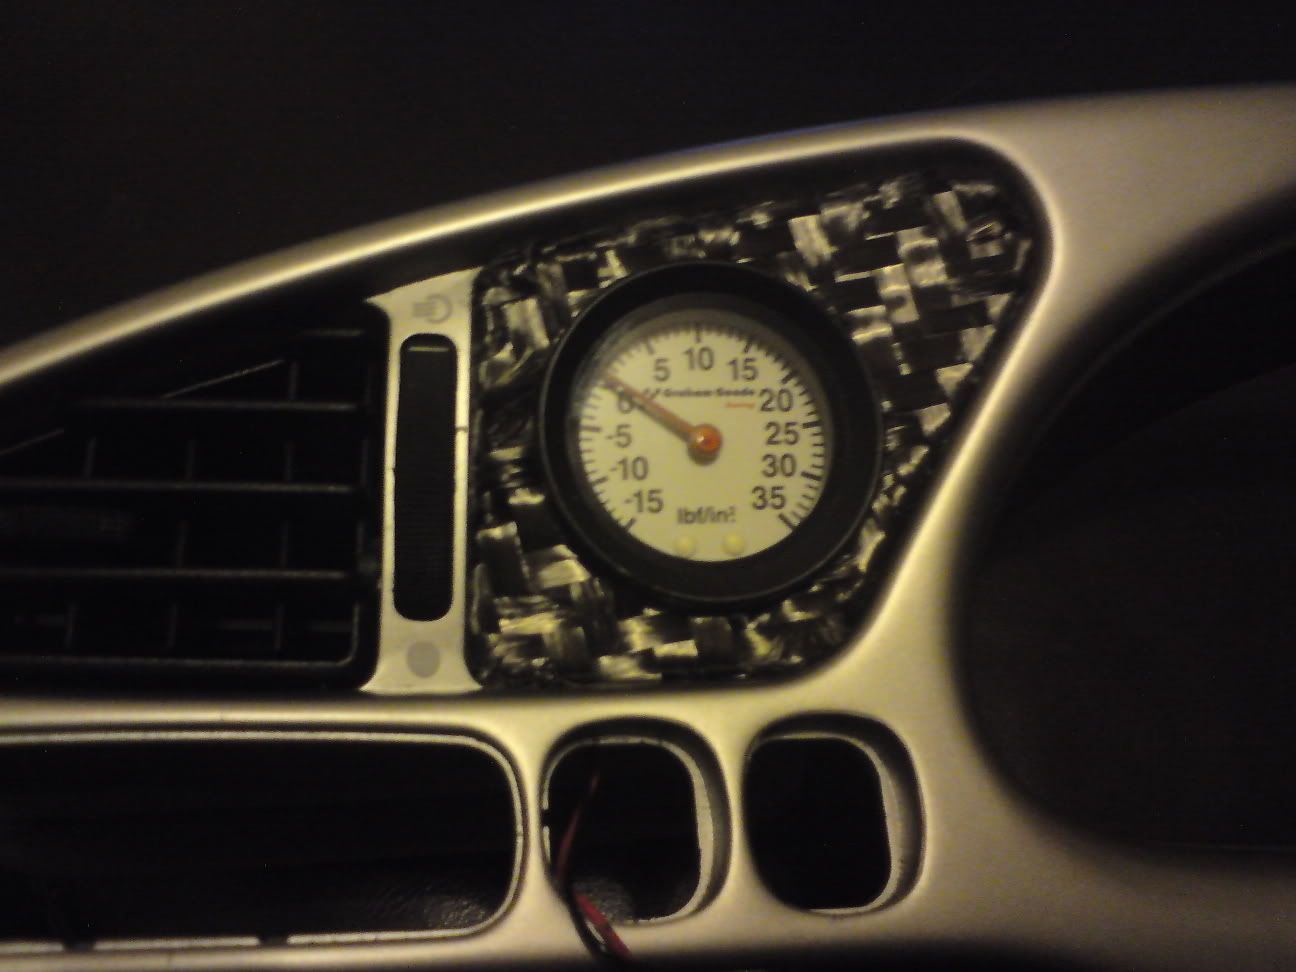
I had to find a way of plumbing it into the manifold and found my two spare vacuum take offs have been linked together rather than correctly blanked off. Easier I guess but not perfect!! Im just trying to find a blank so i can use only one of them.

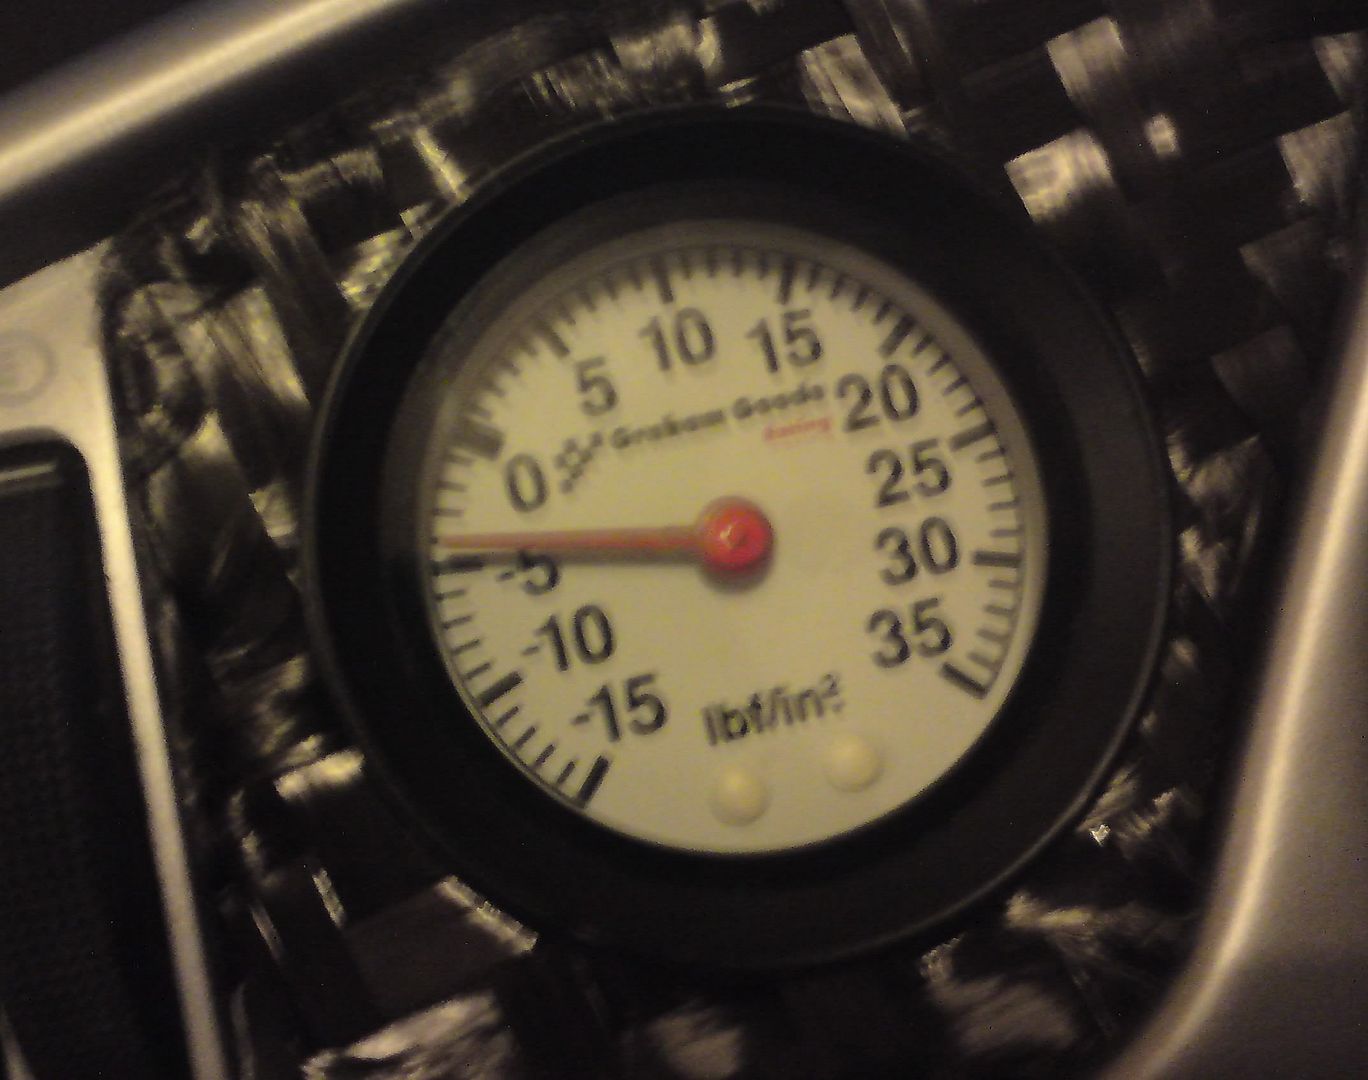
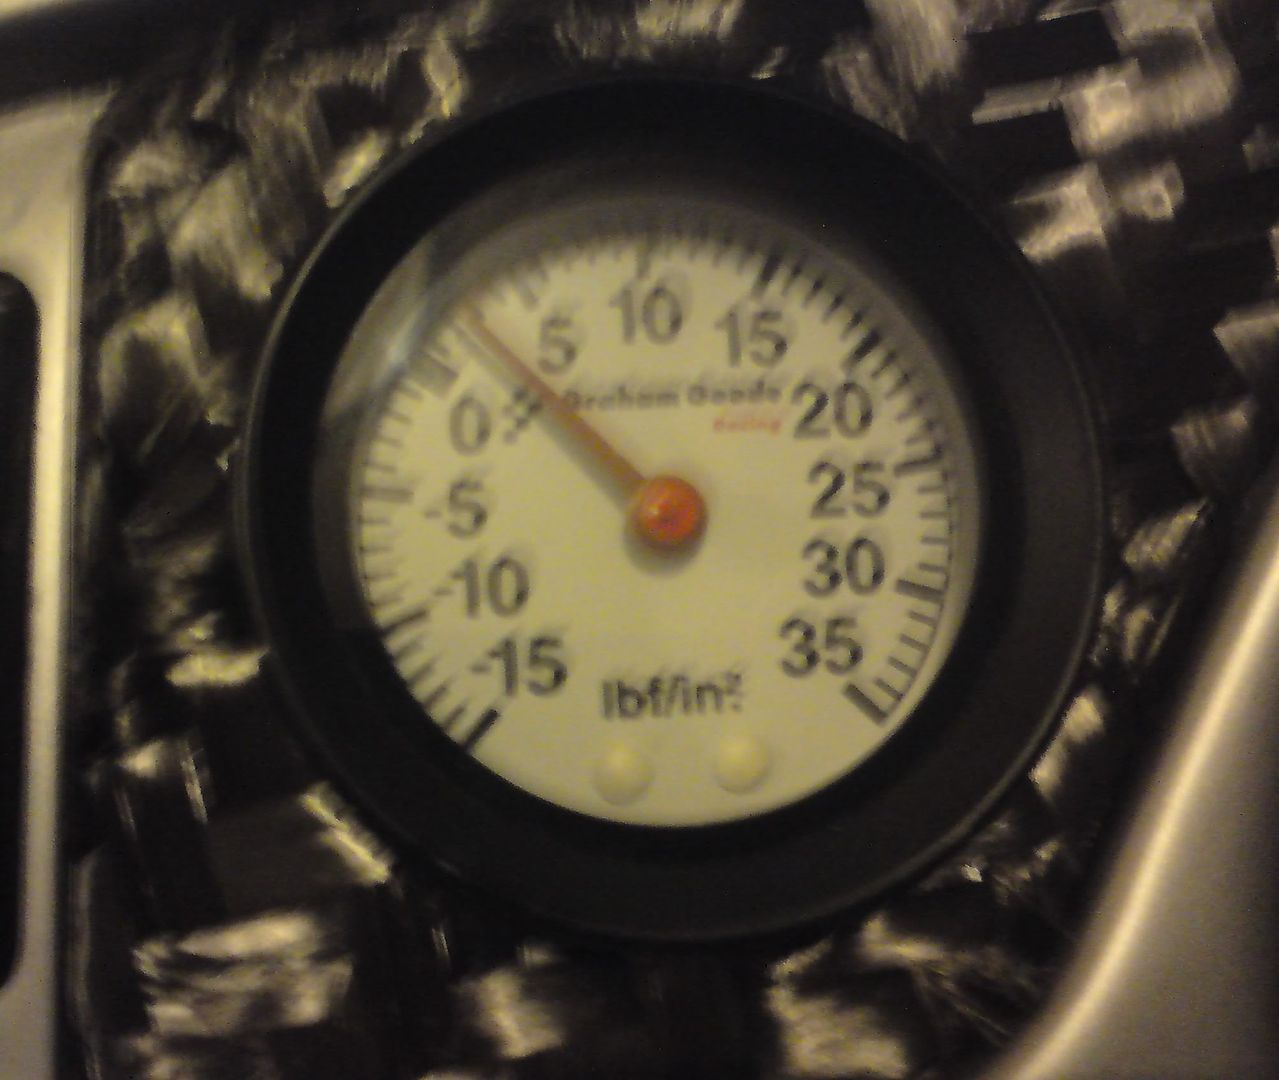
Anyway i got a bit bored so i decided to see how much boost pressure and vacuum i could pull!! :-D
Anyway back onto the sensible stuff!!!
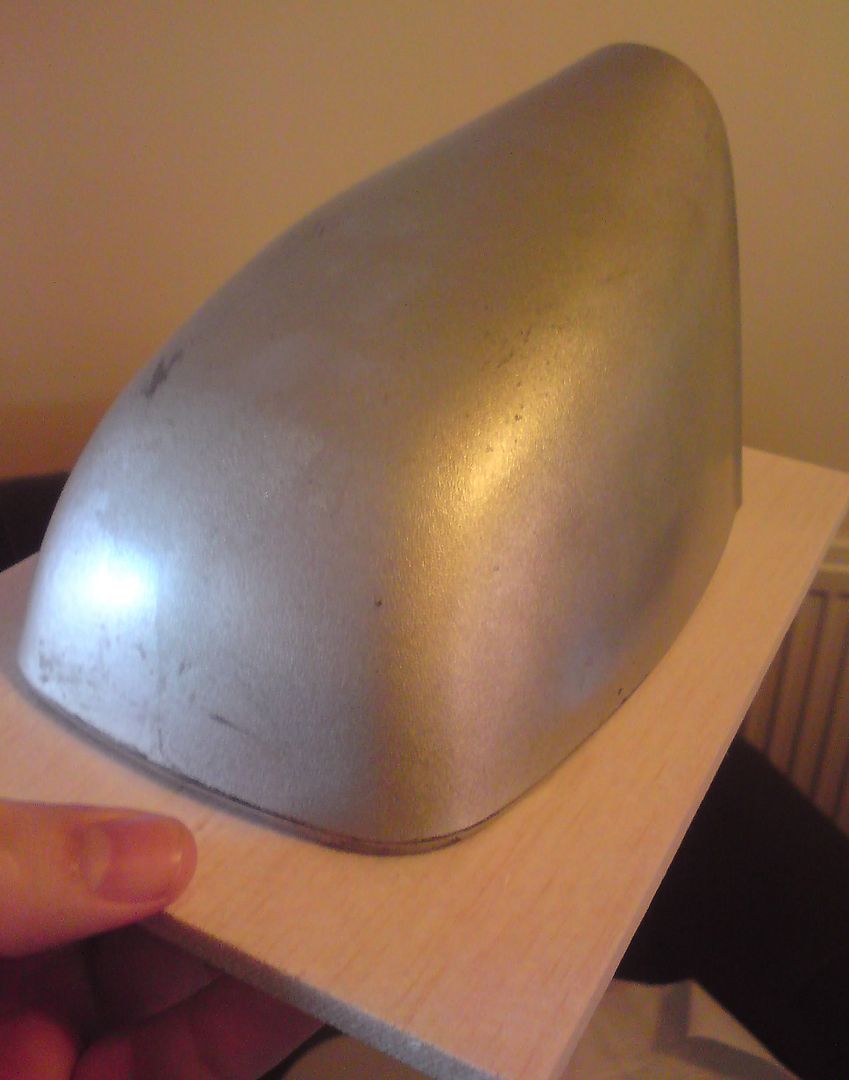
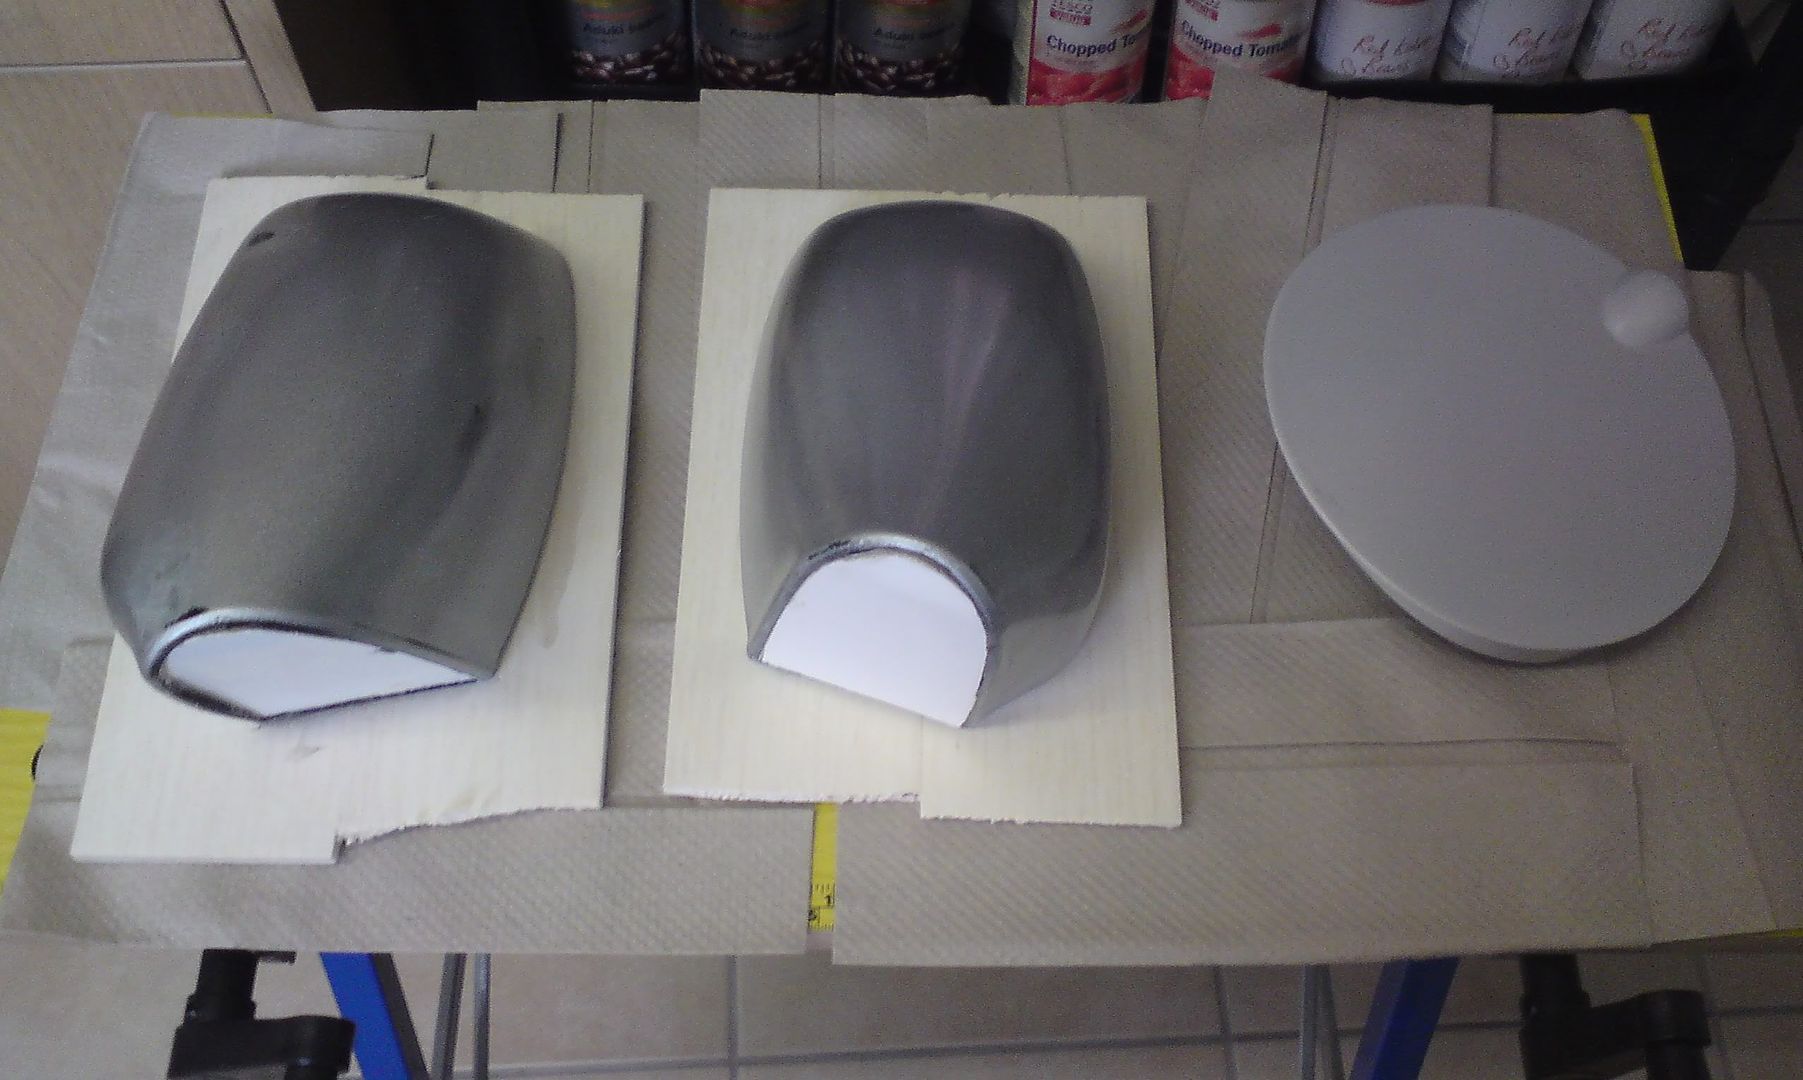
I decided to experiment with some small carbon parts before i go onto bigger parts, namely a pair of wing mirrors and an FRP fuel cap. Got myself some scrappy mirrors and a brand new from ford FRP cap.
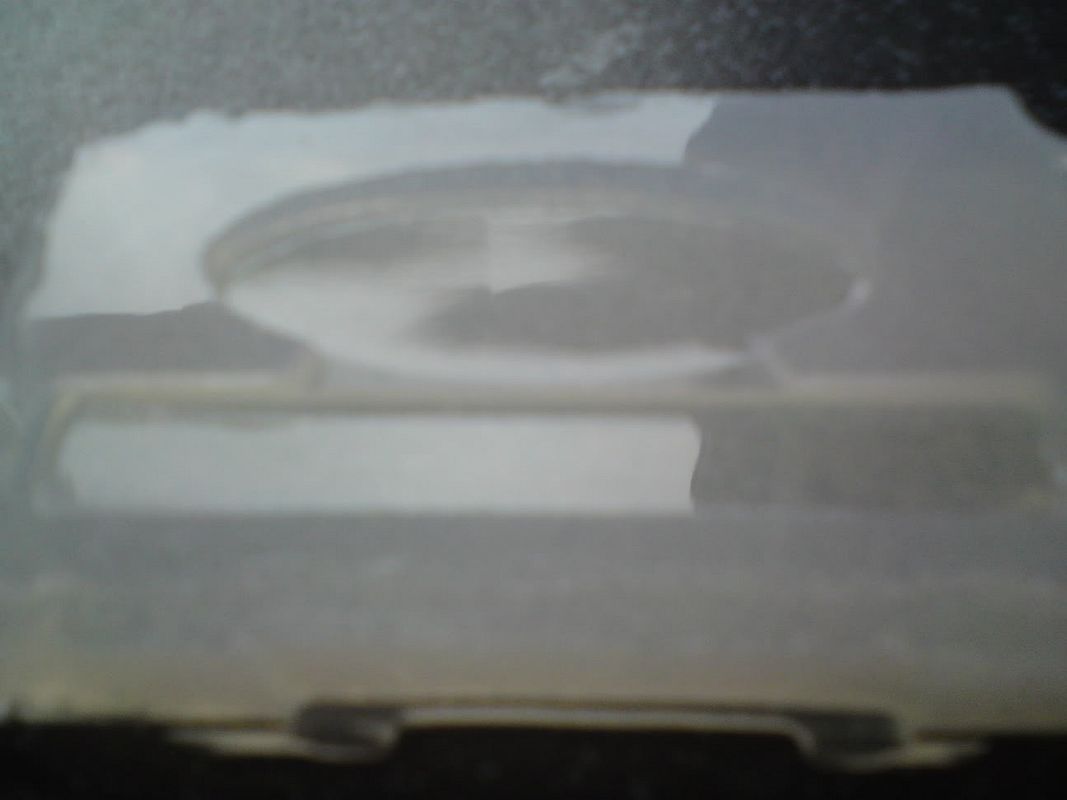
had to prepare the parts as "plugs" for moulding the GRP moulds.
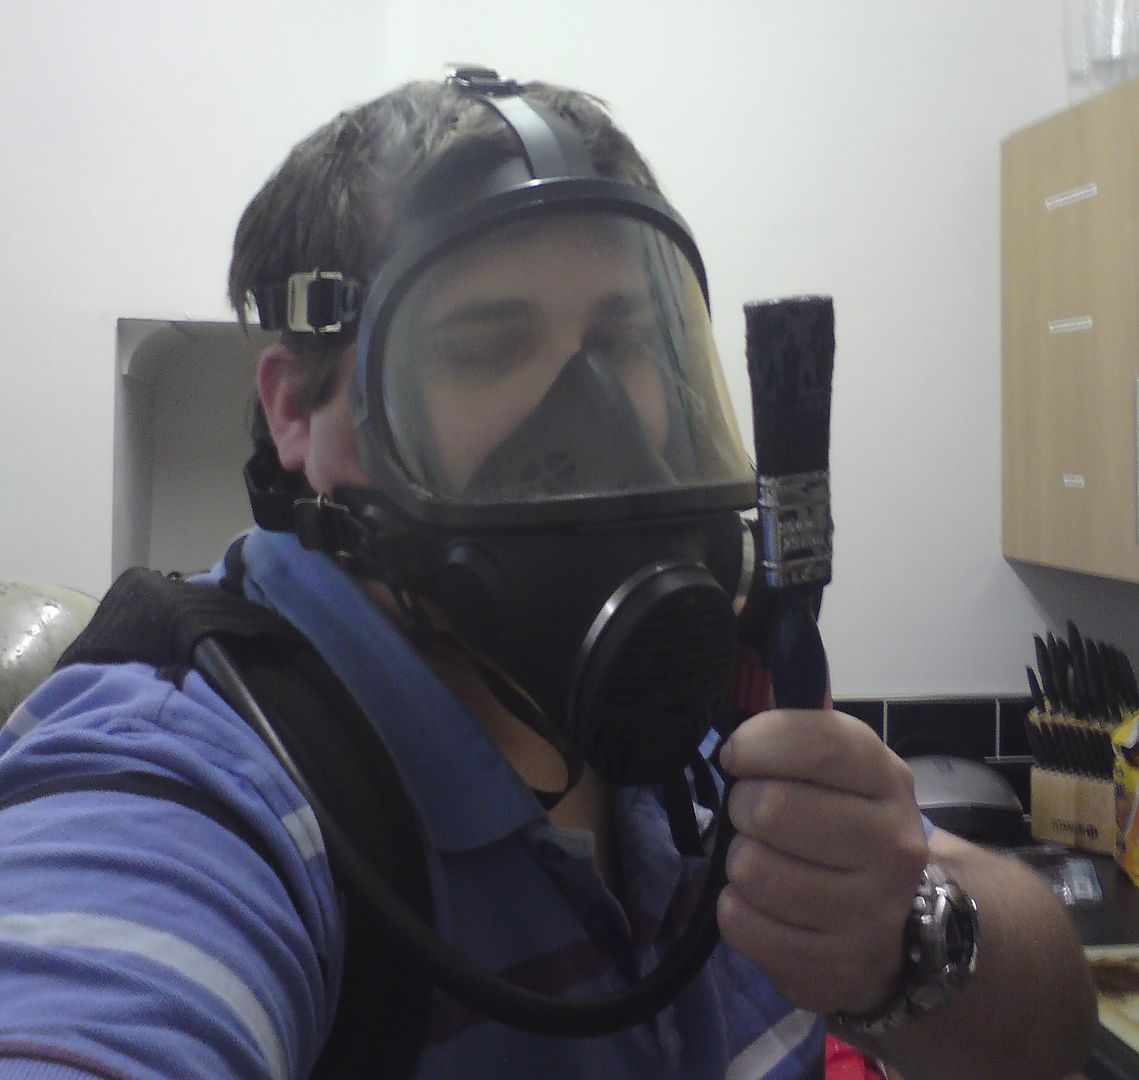
Then wax them loads and loads prior to setting up in my kitchen cum workshop!!
Now as some of the resins and gelcoats are quite nasty one needs protection
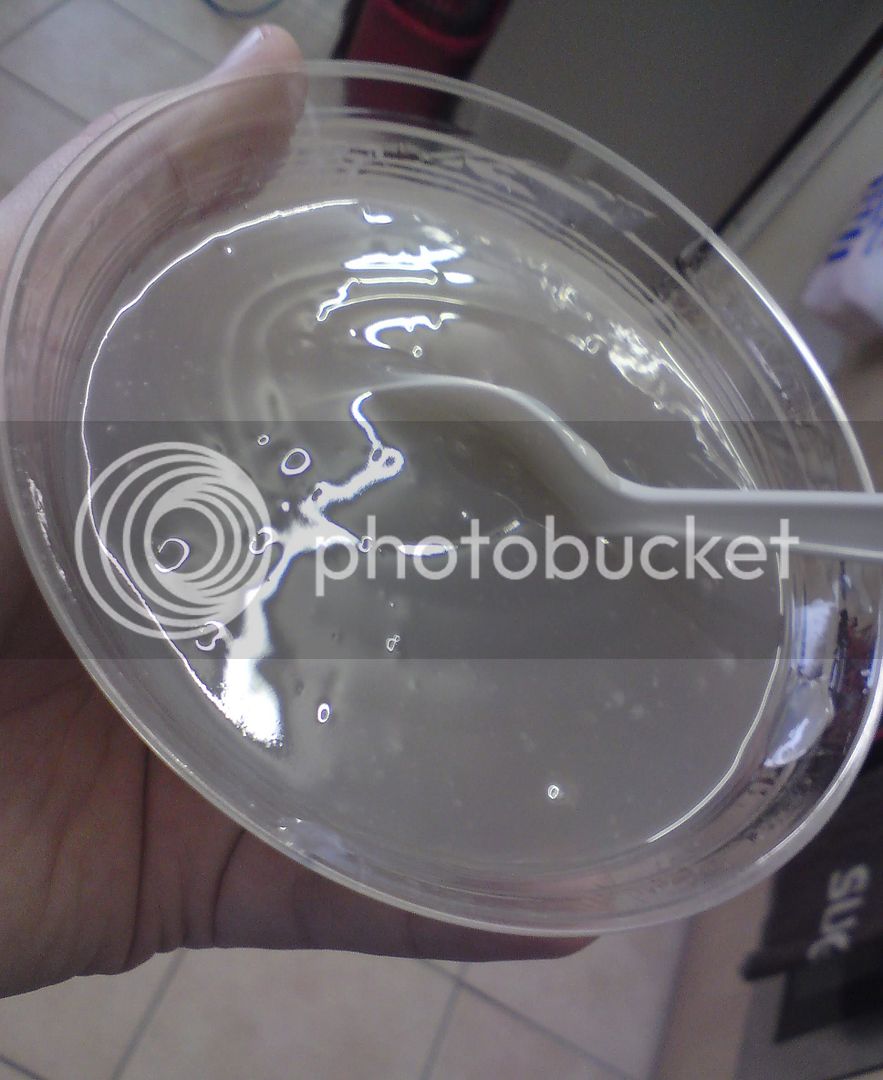
Then mix up some resin gel coat. nom nom nom nom yum yum
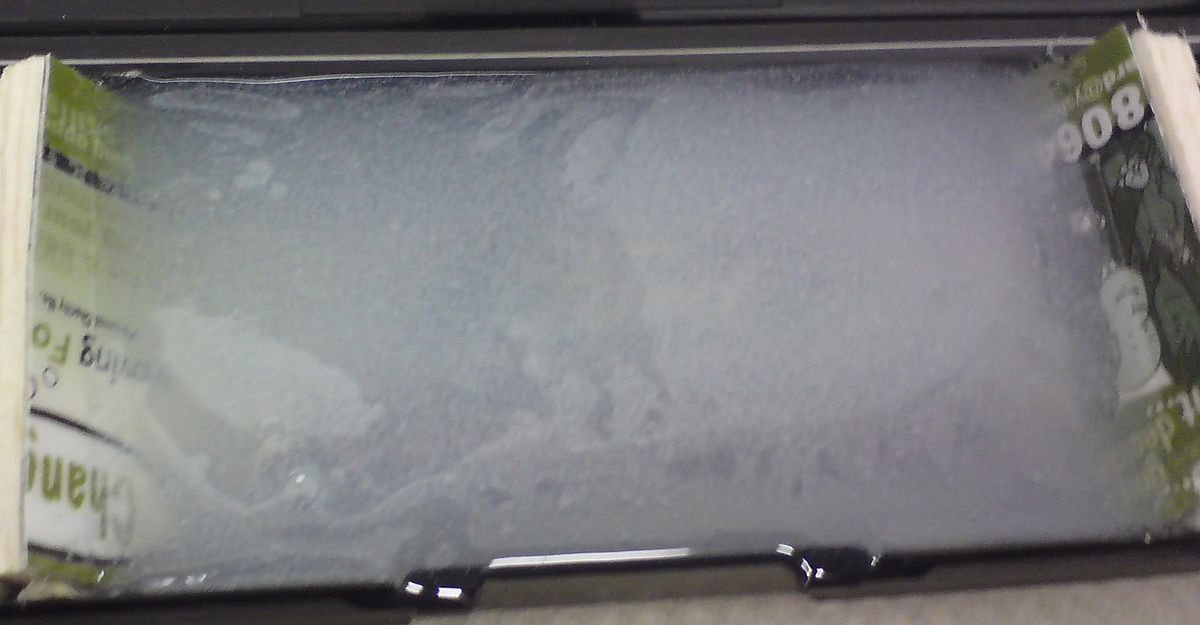
Then this is what it looked like after the first coat:
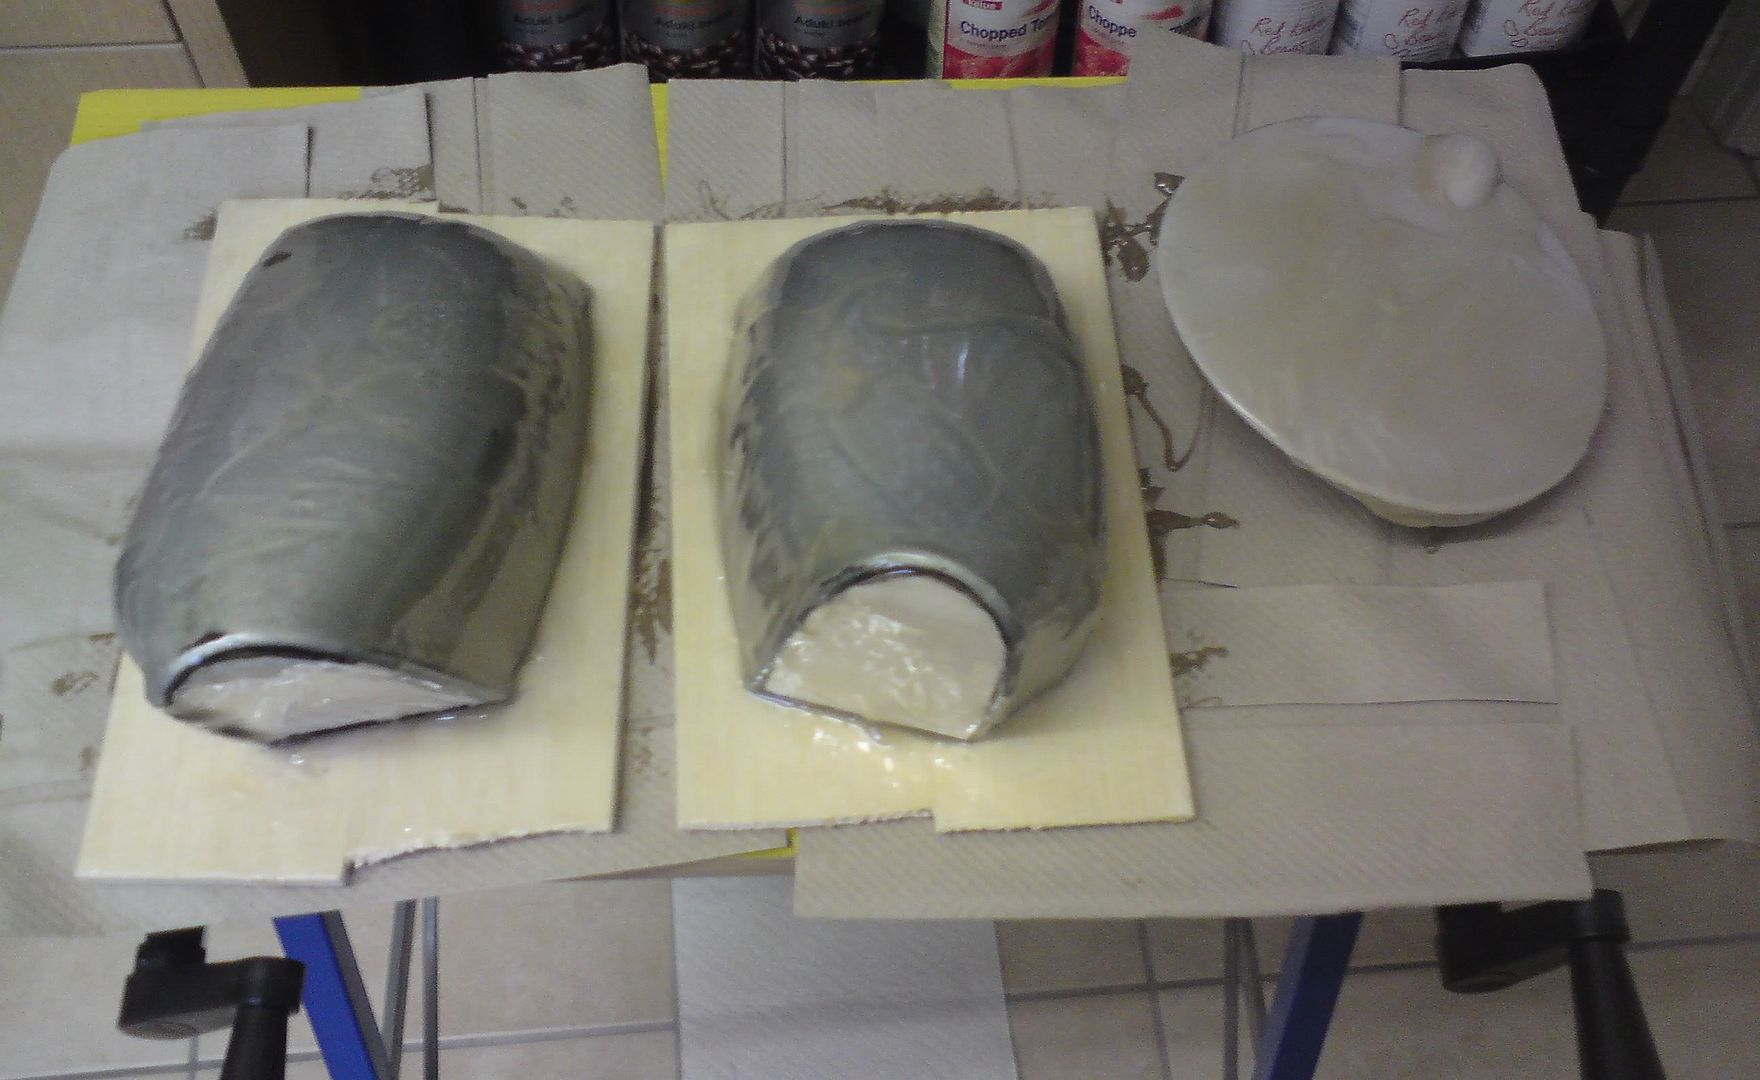
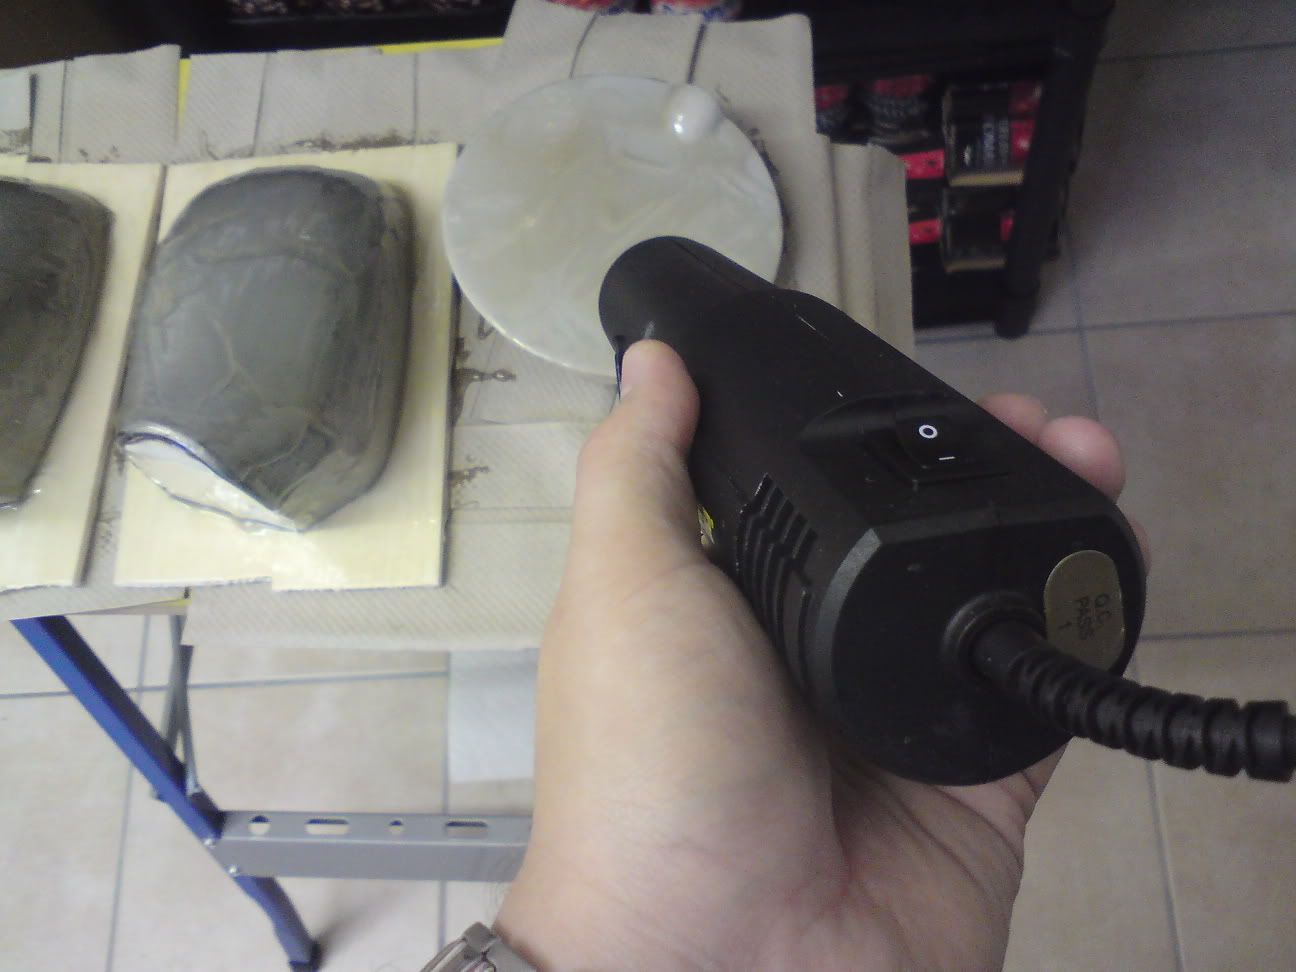
Then applied a second coat and run the heat gun over it so it was and even coat.
Next will be fibre glassing!!!
(Mod edit: Added 'very picture heavy' to title)
Here she is resting in her nice dry garage!
And heres the reason i love her so much:
Unfortunately Tony didnt make any record of how he wired the two looms together which is annoying!!! Everything works at the moment except the heated windscreen which i think is the relay.
Have got a few issues with exposed relays and spare plugs.
These two are the relays used to run the cosworth engine loom. Personally i would have integrated the wiring with the fuse box, but thats just me, plus id run the circuits off the original ignition relay.
This is just an untidy mess to be sorted and horrible clips on the coil!!!
The first thing i have modified is the clutch cable arrangement:
The old clutch was VERY heavy due to kinks in the cable routing and also not quite enough travel making it hard to engage/disengage gears unless road and engine speed matched. That was because the modiefied clutch pedal has slightly less travel than a standard escos pedal and the cables were stretching due to heavy pedal and the auto adjusting ratchet was at limit of travel. Ive now got a stronger cable and also removed the rubber gromit at gearbox end of cable which reduces all the wieght on the pedal as the rubber used to be compressed tightly to get enough travel to use clutch. But alls fine now!!
Also fitted a cambelt cover as seen above as the cambelt used to be exposed with a turbo pipe running very close to it. Technically it was fine but it only takes a cable clip to come loose or when tweeking things to put finger in wrong place!!!!
Ive also fitted a boost gauge so i can see whats what and its also a good indication things arent right if its not holding boost or excessive boost etc. I had to make a carbon frame for it so i could mount it in the drivers side center vent. I made it out of some carbon ive bought and kept it nice and simple.
I had to find a way of plumbing it into the manifold and found my two spare vacuum take offs have been linked together rather than correctly blanked off. Easier I guess but not perfect!! Im just trying to find a blank so i can use only one of them.
Anyway i got a bit bored so i decided to see how much boost pressure and vacuum i could pull!! :-D
Anyway back onto the sensible stuff!!!
I decided to experiment with some small carbon parts before i go onto bigger parts, namely a pair of wing mirrors and an FRP fuel cap. Got myself some scrappy mirrors and a brand new from ford FRP cap.
had to prepare the parts as "plugs" for moulding the GRP moulds.
Then wax them loads and loads prior to setting up in my kitchen cum workshop!!
Now as some of the resins and gelcoats are quite nasty one needs protection
Then mix up some resin gel coat. nom nom nom nom yum yum
Then this is what it looked like after the first coat:
Then applied a second coat and run the heat gun over it so it was and even coat.
Next will be fibre glassing!!!
(Mod edit: Added 'very picture heavy' to title)

")