warrenpenalver
Active member
Since the shambles with the exploding engine on the shogun, Ive decided to get a new daily drive.
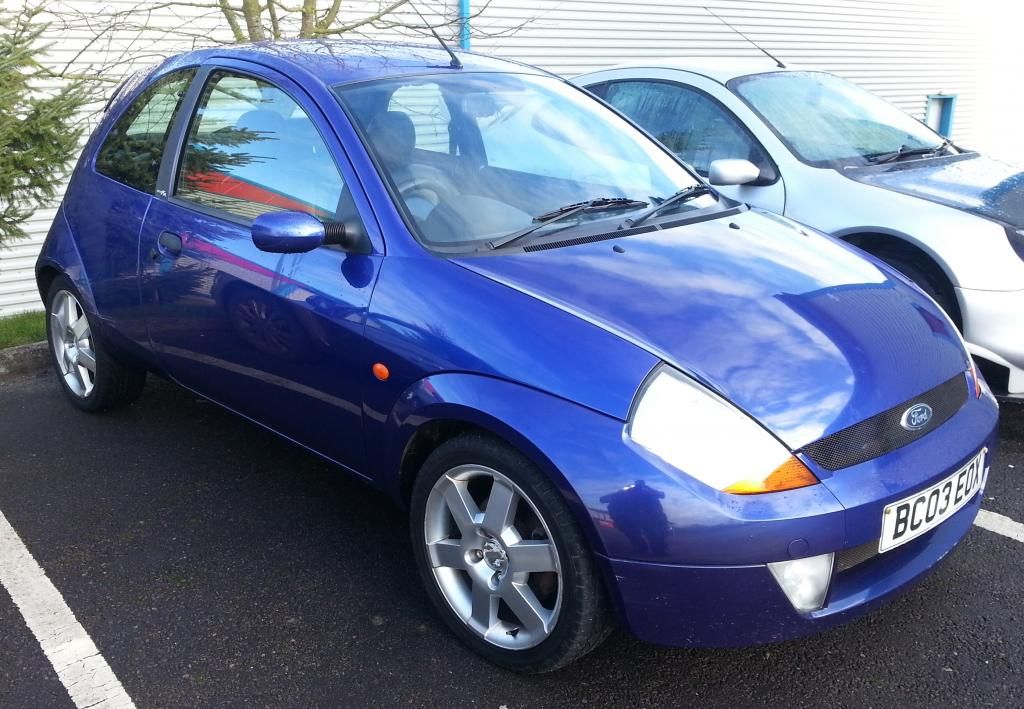
So Ive chosen a sportka.
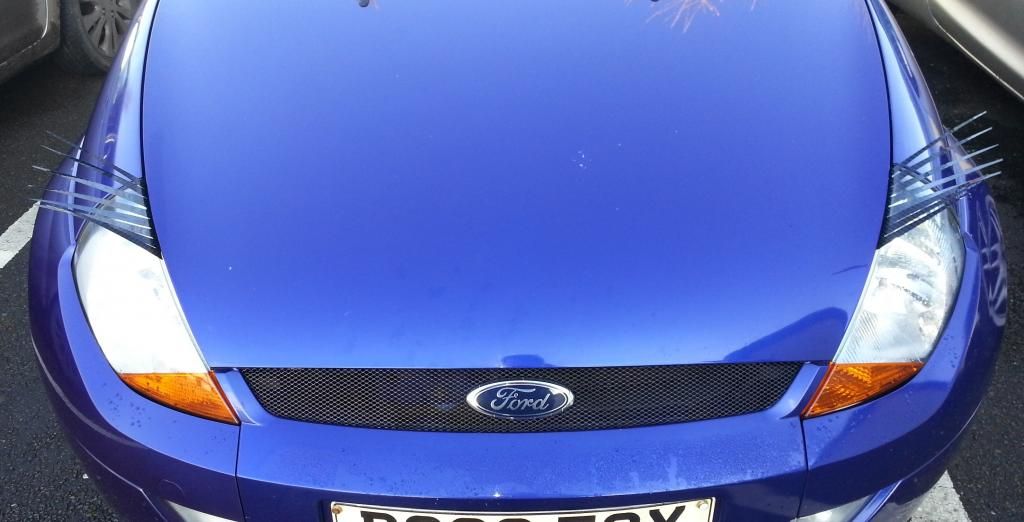
The car has arrived:
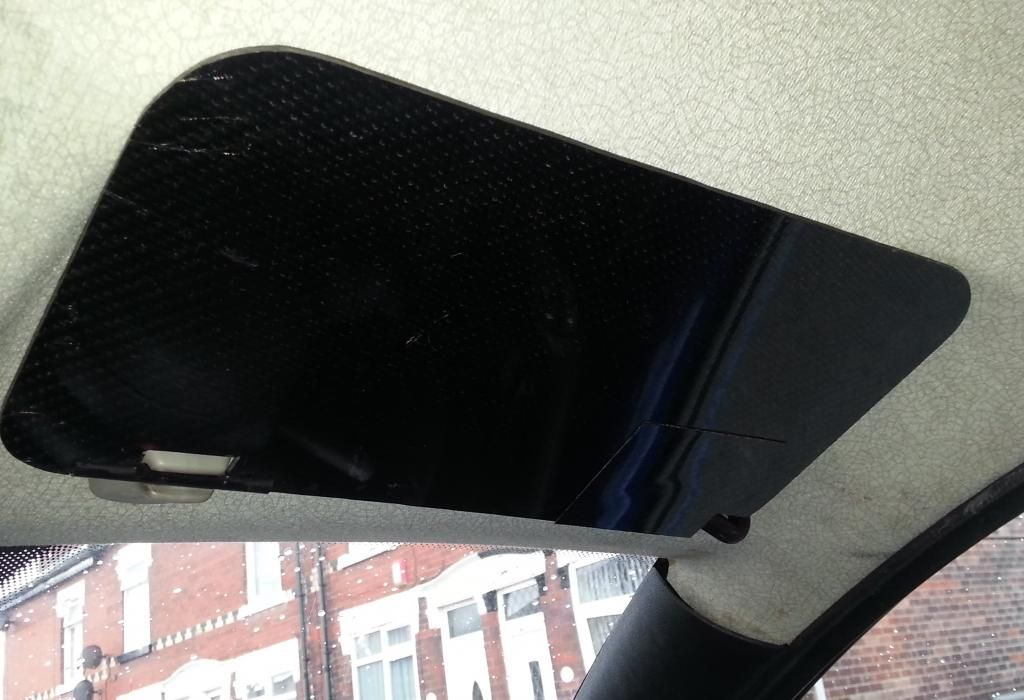
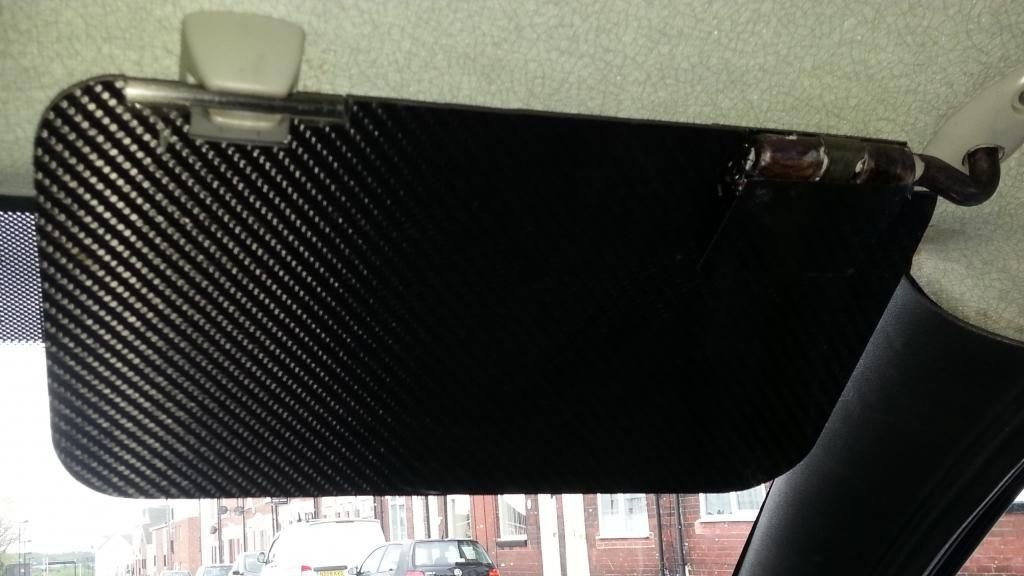
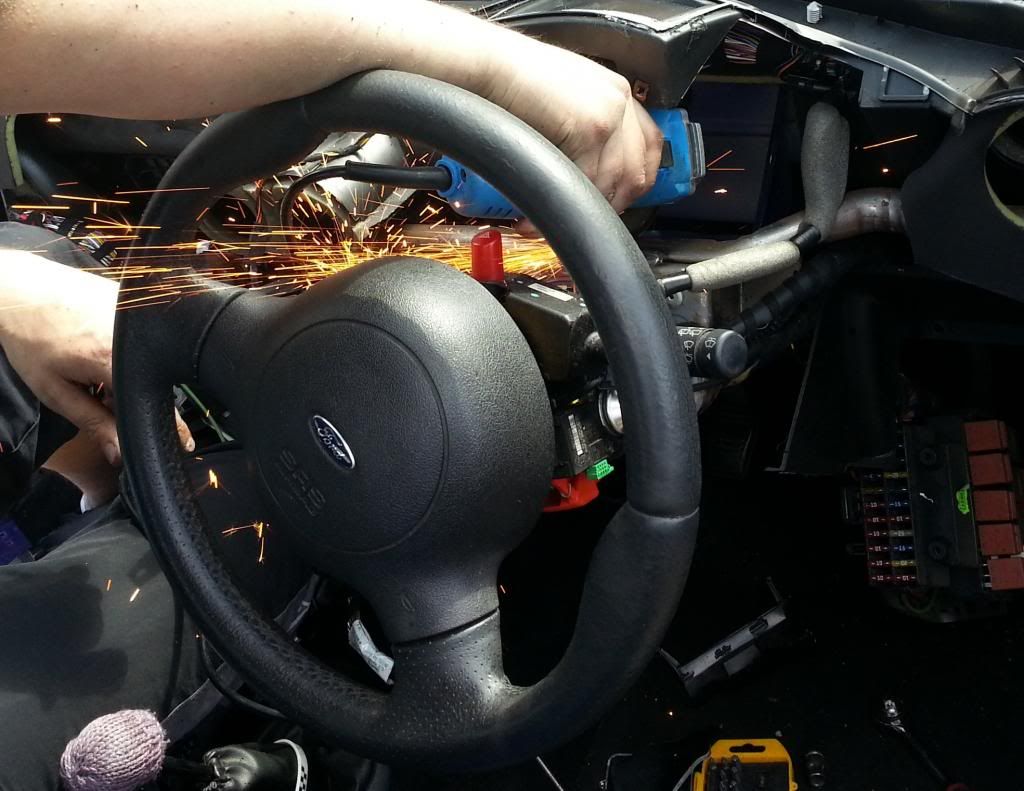
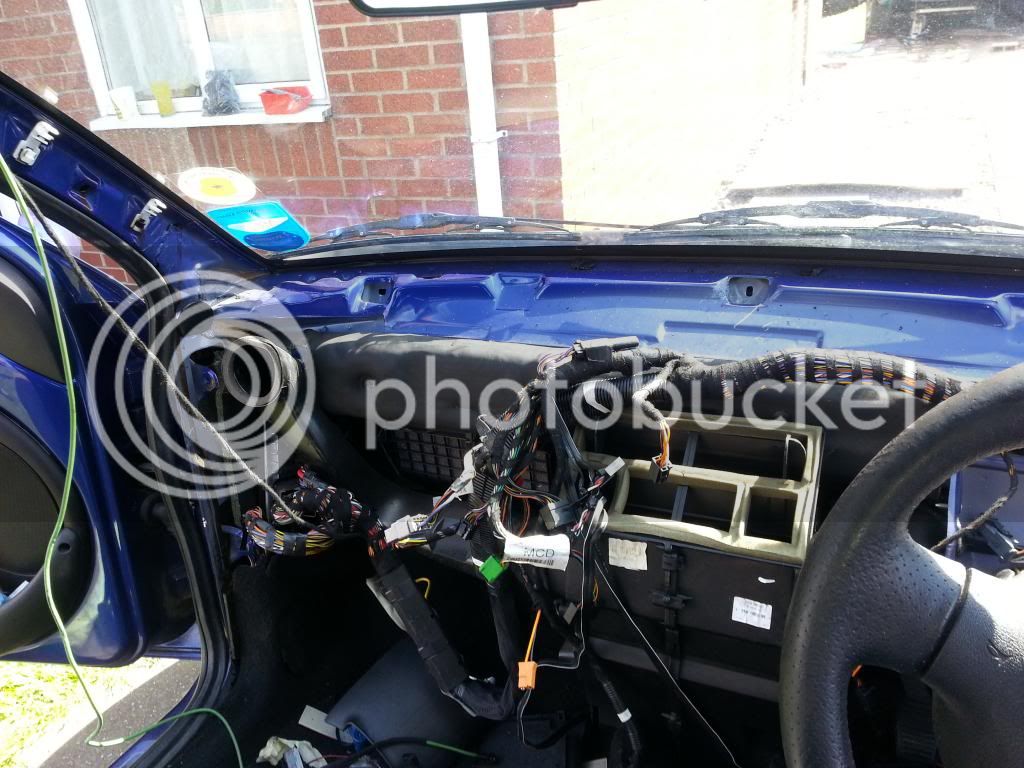
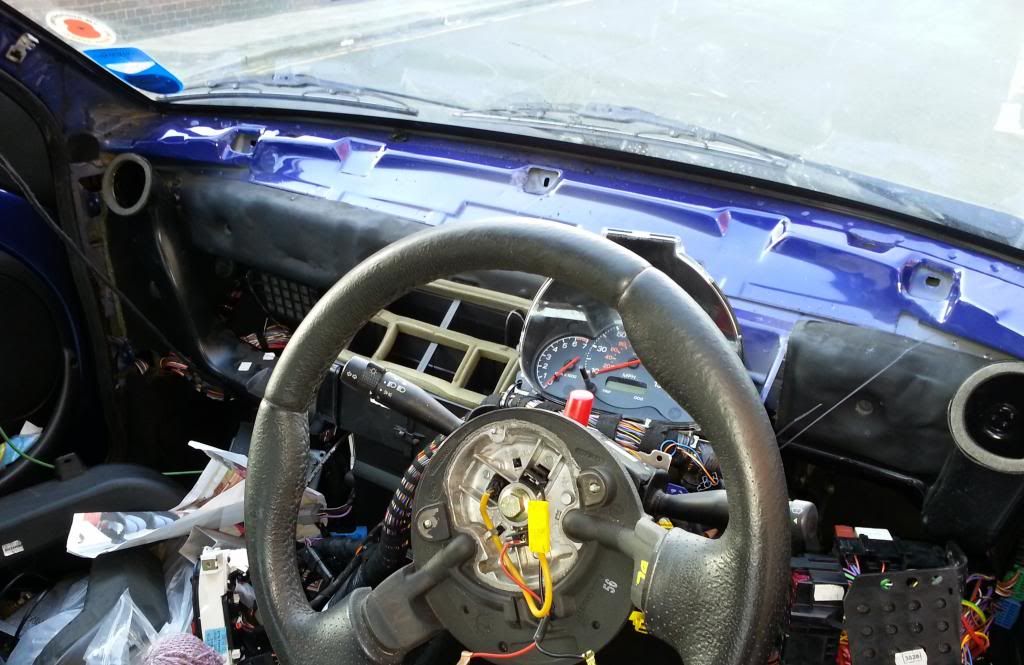
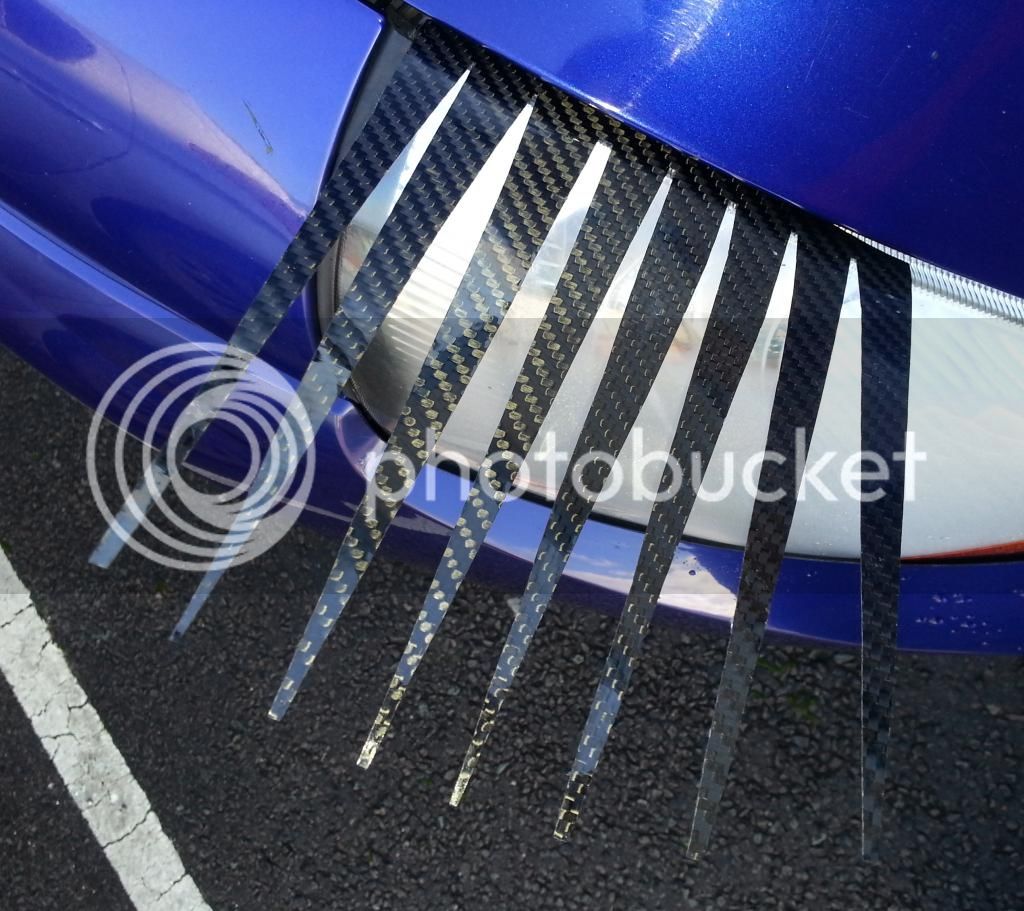
Its been modified for a laugh by work:
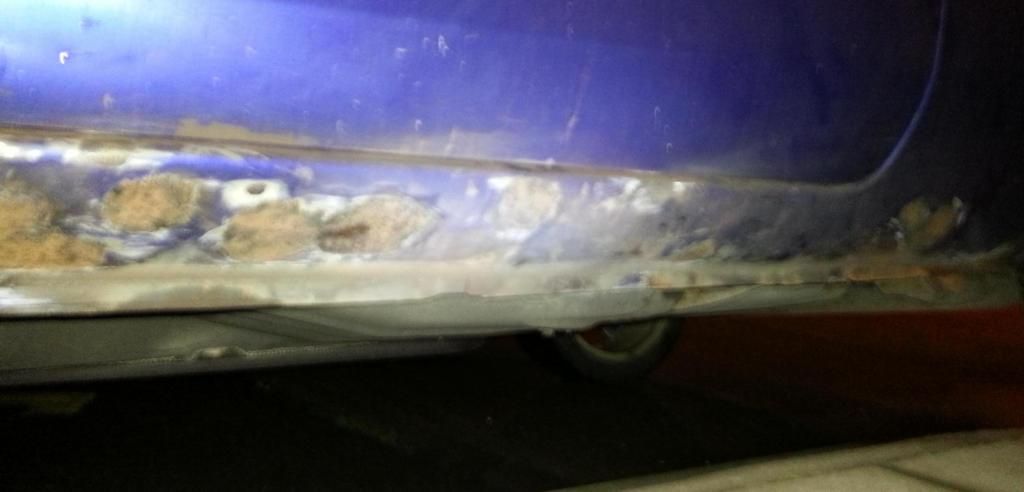
83k with a few faults. needs wishbones on front and drop links. Beginning to bubble around fuel filler and a couple of bubbles on sills, but nothing major really. Simple repair panel for the quarter, and complete new sills are only £20 each so might as well do them before it gets too bad.
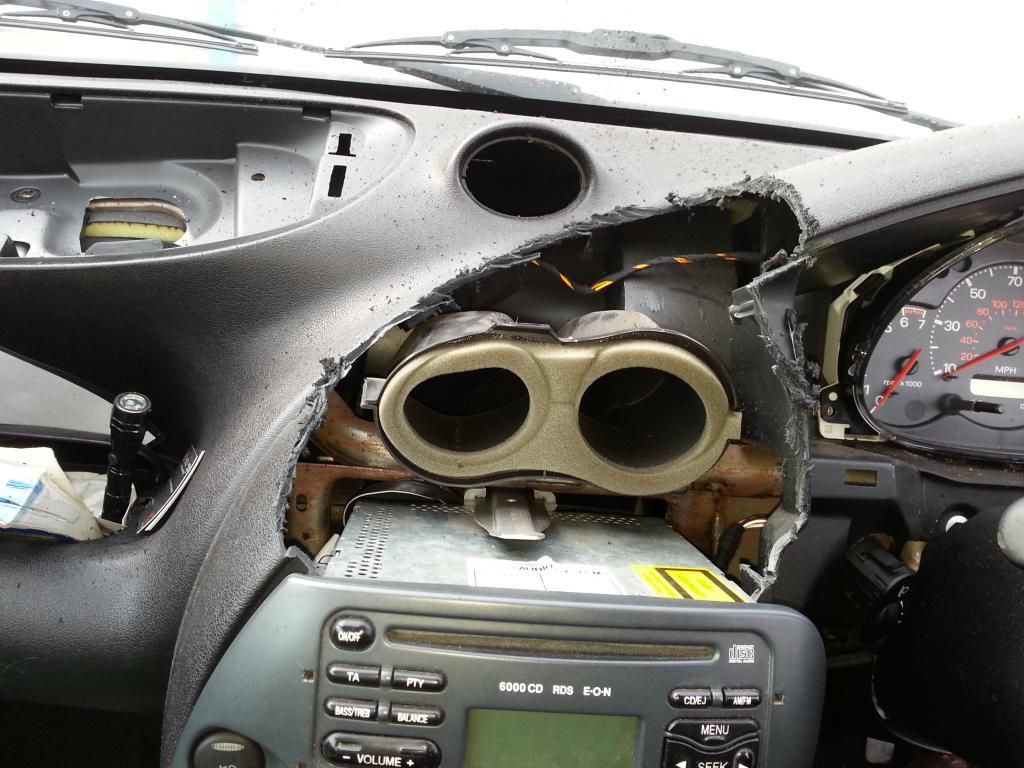
The first modification
oh yes, JTF's finest engine modification
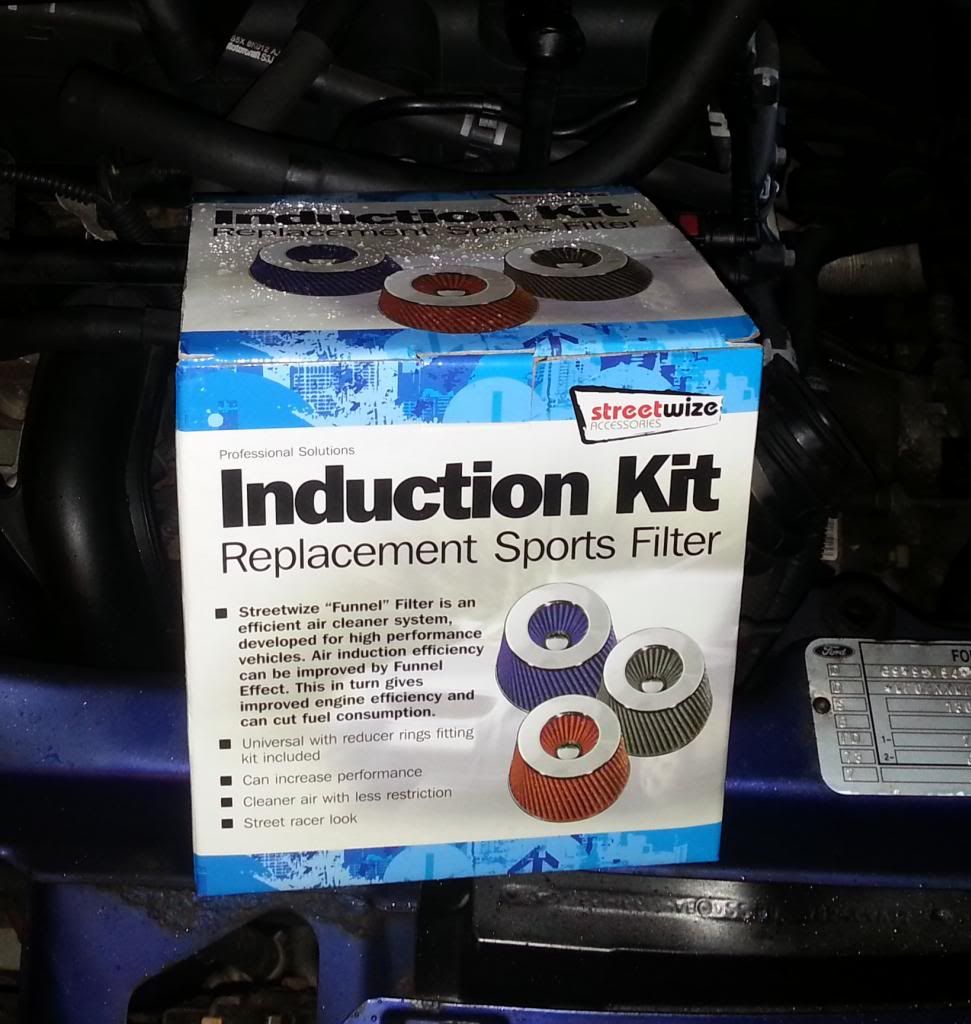
Fitted:
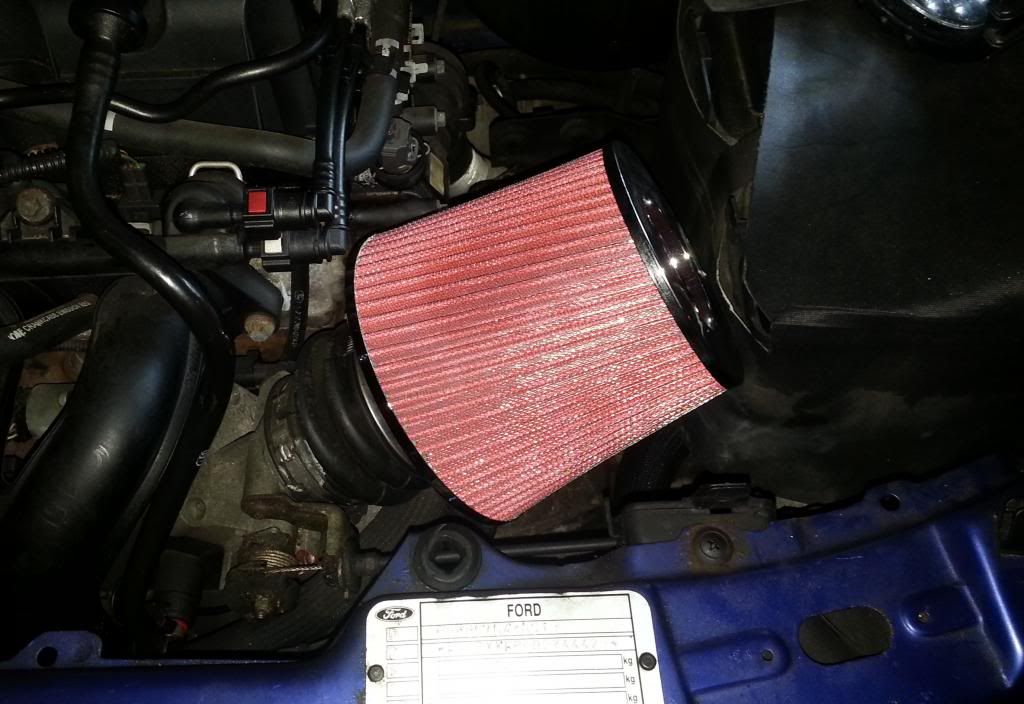
Now before you think im completely fucking insane, there is reasoning for fitting a silly cone filter.
The reason being im on the same insurance policy as was the cossie puma (now on laid up) and the insurers only cover modified cars so a standard Sportka they wernt keen on so it needed to be modified in the meantime until the engine conversion. So now its a "modified" car.
A minor update i forgot about:

The angry birds have moved in and now guard the KA when im not there!! They also eat passengers that say anything bad about the KA
Been grinding back all the rust bubbles on the nearside sill.
Mid way:
Done abit more rust attacking. A bit on the drivers side felt soft so i attacked it with a hammer and it dented tooo easily so i got my grinder out again and ground back even more metal to find the rust underneath.
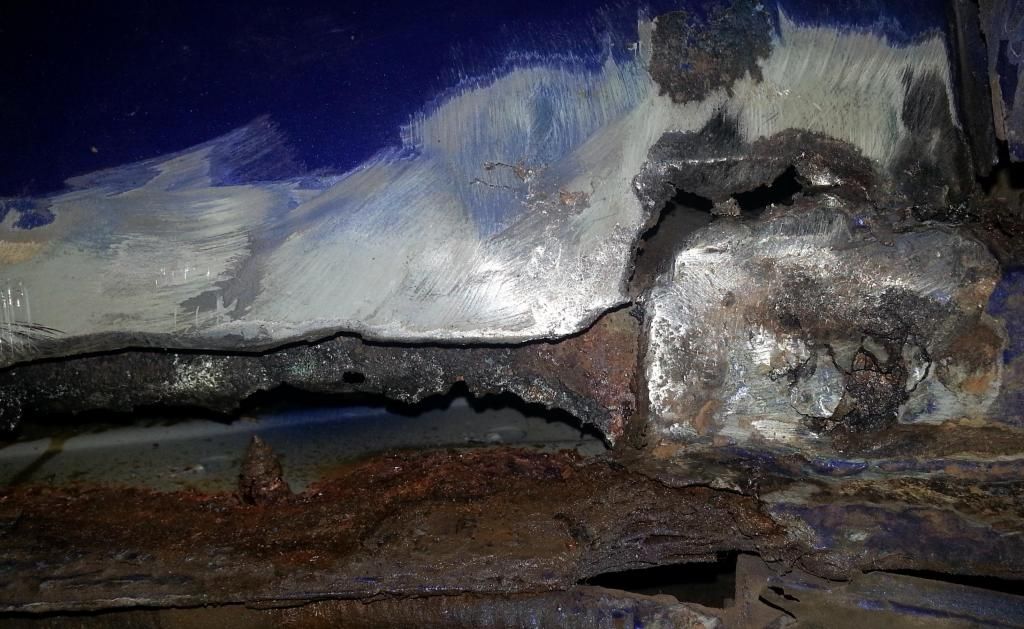
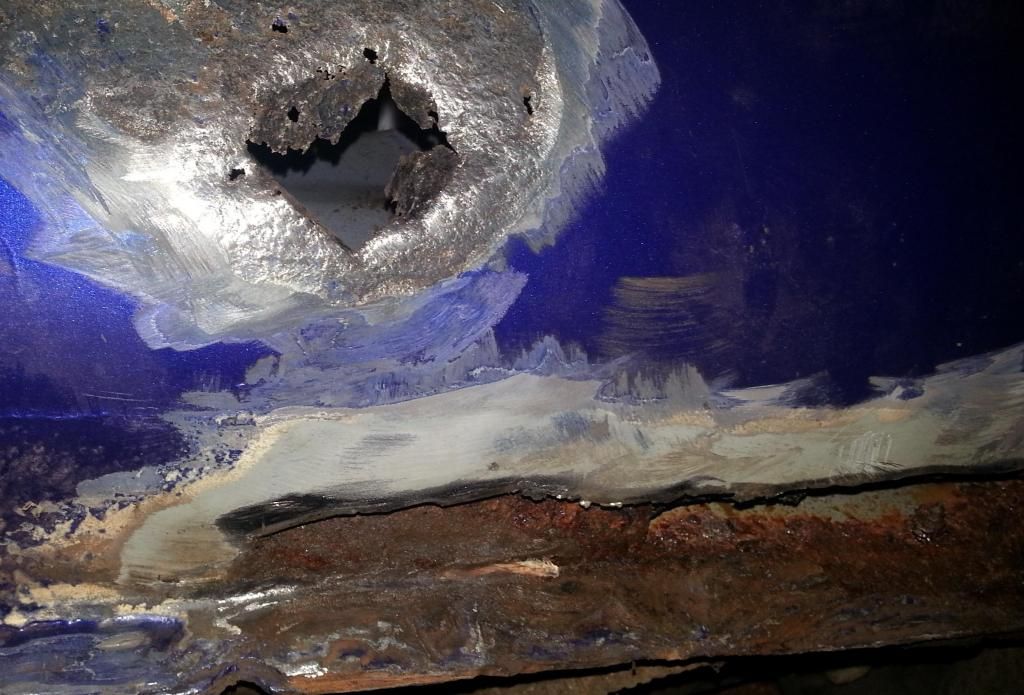
I could have it plated up as an MoT repair but i don't want to fuck around each year with rust so Im having 2 new complete sills put on at a local garage. The drivers side had no holes or softish patches but it rots from the inside out so its only a matter of time so both new sills will solve the problem and once done will fill it with the wax ive bought so that it doesnt rot again from the inside.
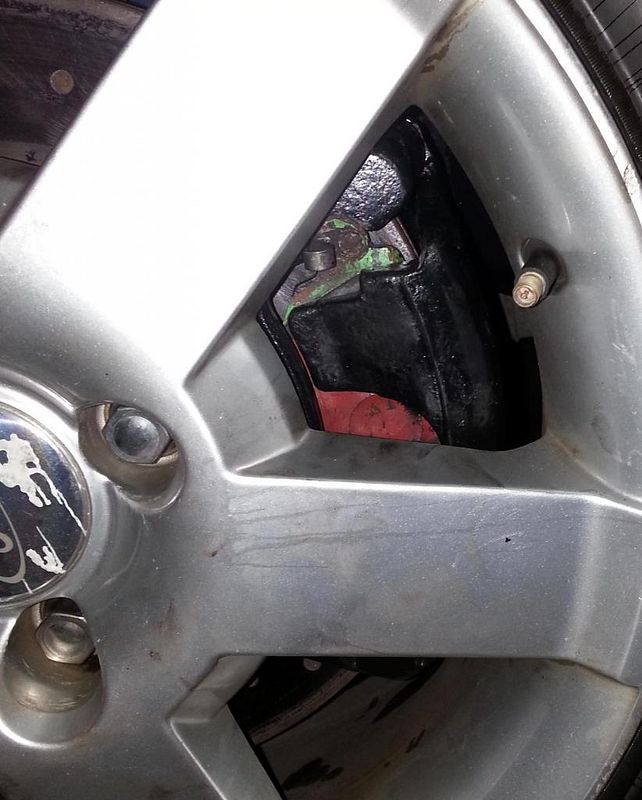
Also before i sent the car off for the welding, Ive fitted some uprated brakes I bought a few weeks back. 300mm mondeo mk3 calipers with EBC dimple grooved discs and pads.
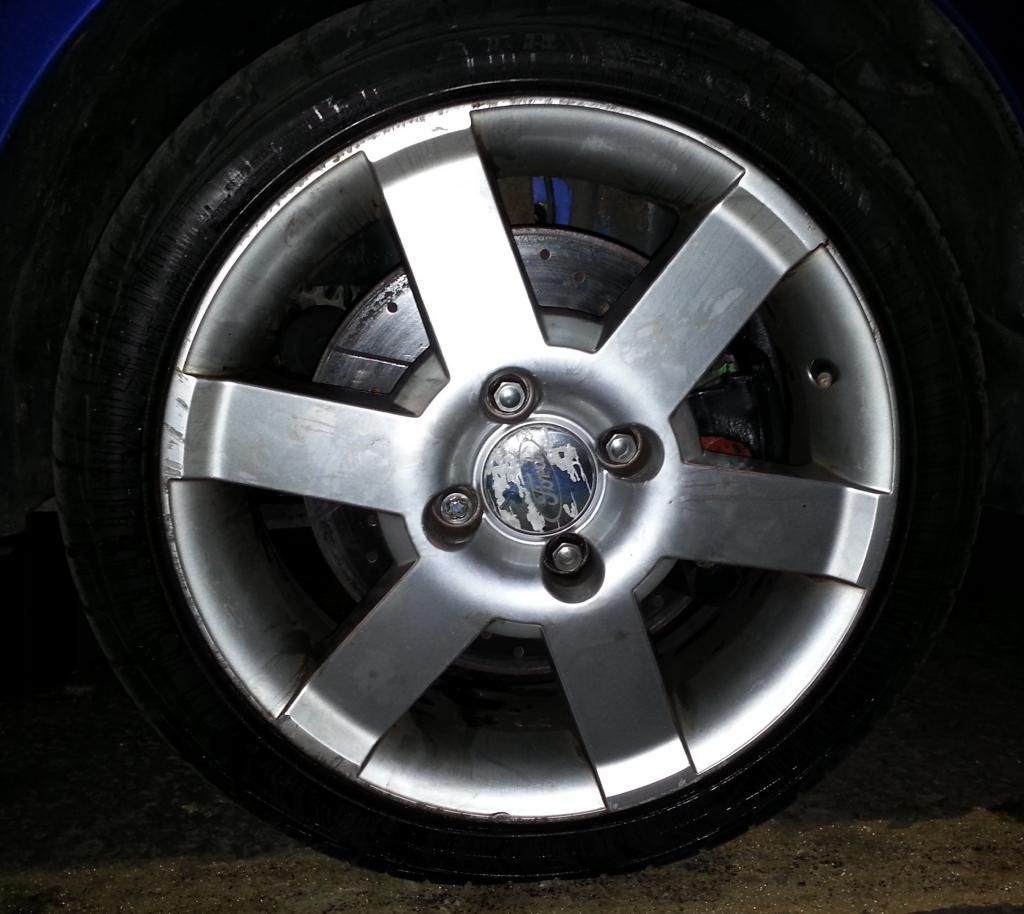
If it wasnt for the grooved discs you wouldnt think they were anything other than OEM as they dont look too massive.
Also plenty of caliper clearance:
Big thanks to my mate lee who let me use his garage and did a lot of the hard work!
Also started knocking up a few NACA ducts:
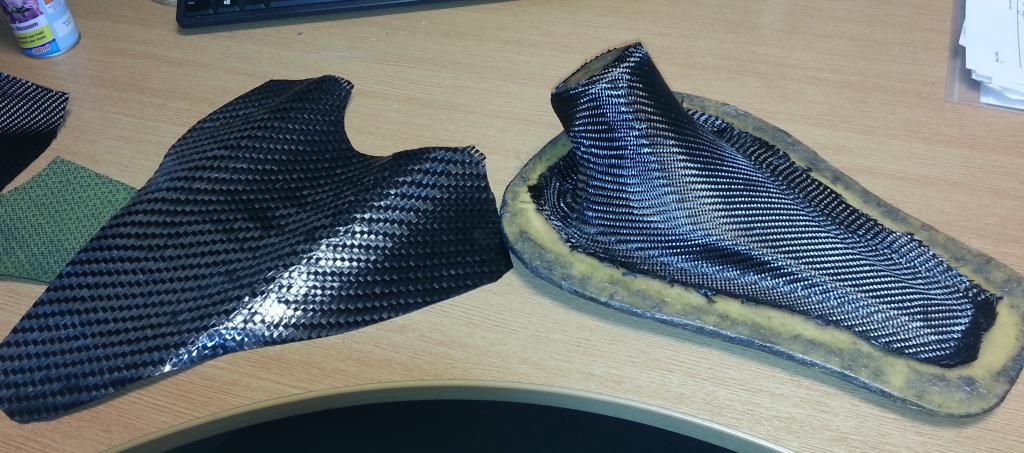
A mate needs a couple and I am thinking of one on the bonnet when i do the engine swap to ensure I have a decent cold air feed.
Also know have a source of many of the puma parts i will need as a member on here is stripping a puma soon so will have many of the conversion bits and bobs and mounts i will need.
Bought all the puma conversion ford bits i need off a mate whos breaking a puma. Just need a decent engine to start a rebuild on and the mocking up work
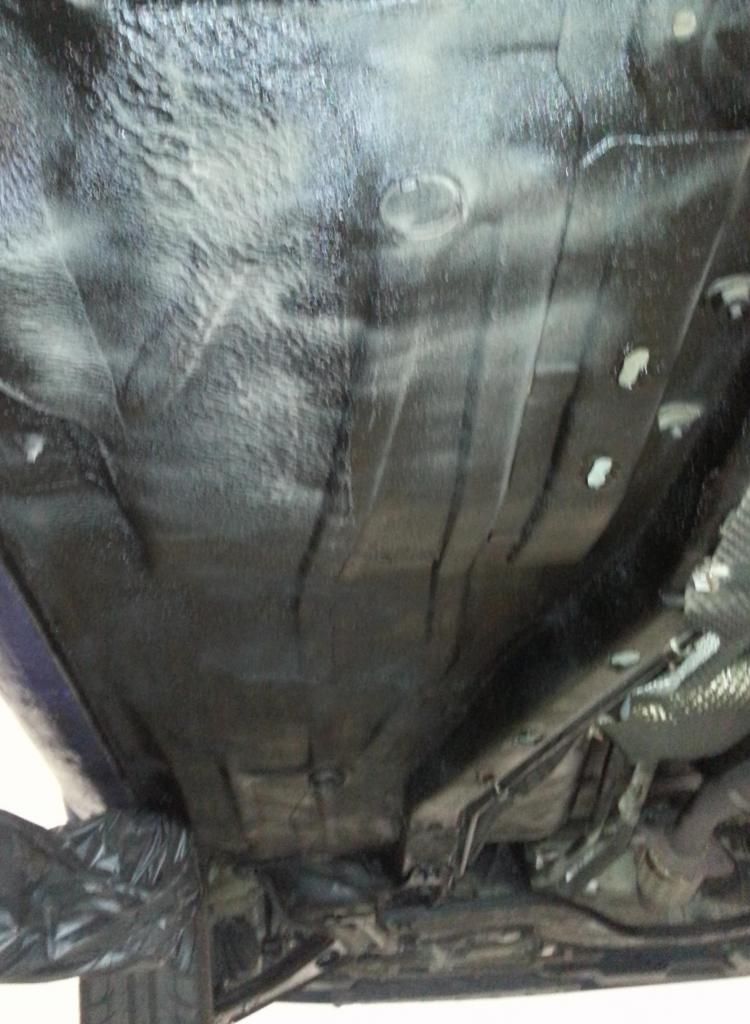
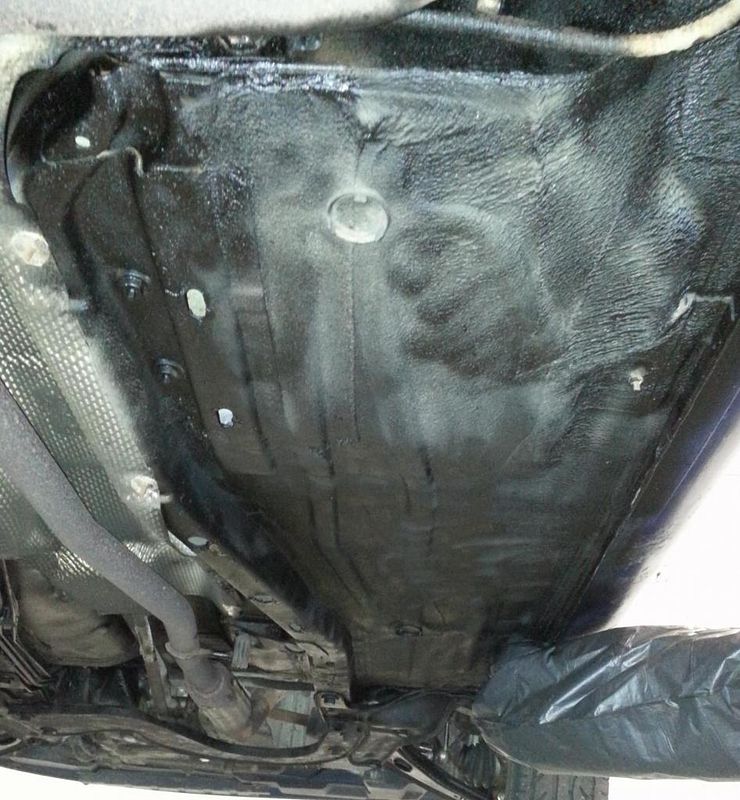
Now Ive had the rust cut out and welding done it was time for some undersealing and cavity injection.
Gave the underbody a good going over with a flap wheel, kurust and some antirust paint before a good coating of waxoyl.
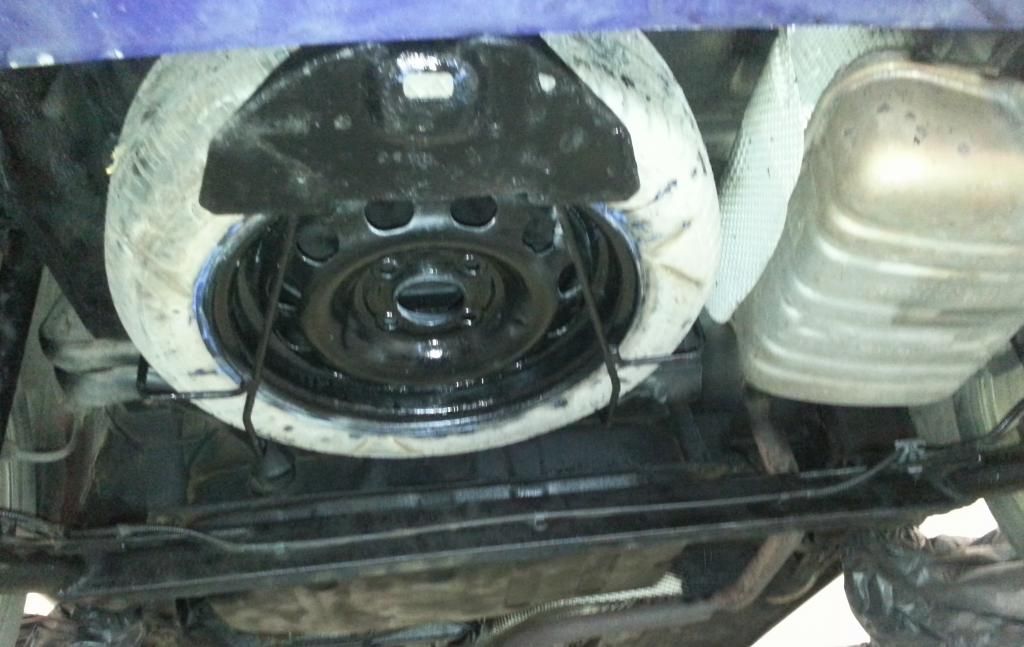
Should probably have used tyre shine on the spare after derusting and repainting the steel wheel but im no bufty so fuck it.
Hardly concourse but thats not the point.
Then i used 6 cans of dinitrol to fill the cavities on the chassis including A and B pillars, sills, underbody voids etc. The stuff leaks out.
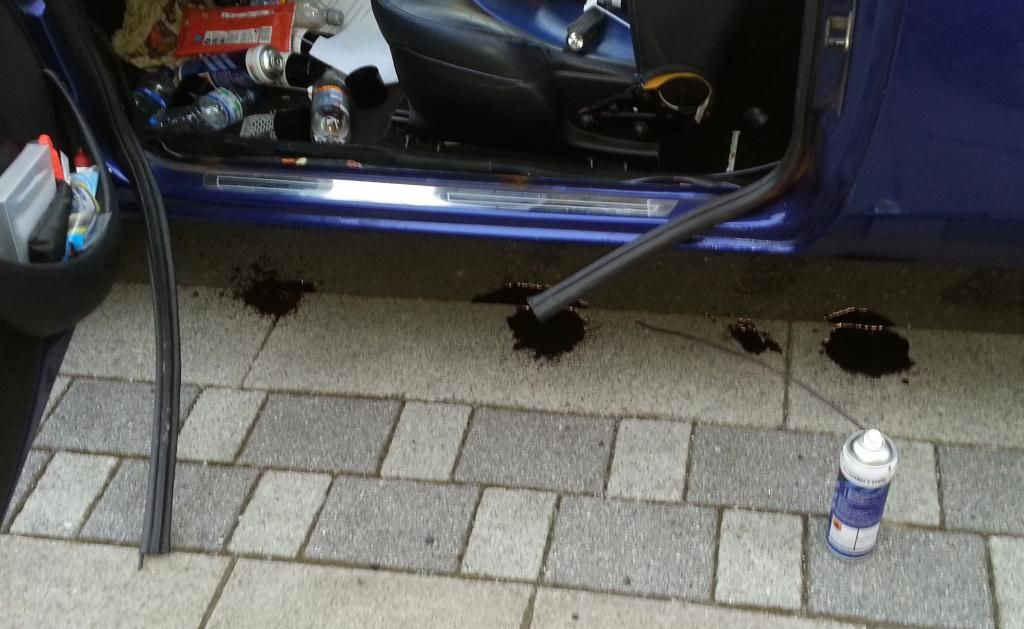
The road will never be the same again :twisted: But it should buy me a few years before it rusts through again.
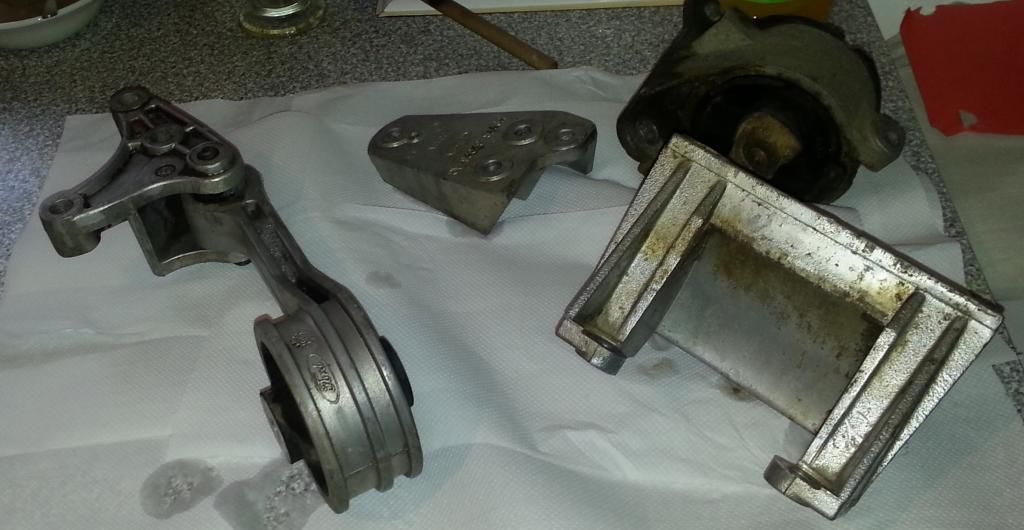
Been working out how to lower the OEM seat mounts. I want to fit the recaros from the puma. However standard KA seats are both too high and dont go far enough back. If i have them fully back, and fully lowered then my legs are off the cushions which isnt most comfortable, yet i dont want them higher!.
So got some spare seat bases to hack and maim. Once its all striped down you can see how simple the mechanism is and how its assembled from common parts. The rails have holes in the bottom all along and the seat to floor fittings could be rivited on anywhere so i guess the basic mechanism is common accross a lot of fords of the era.
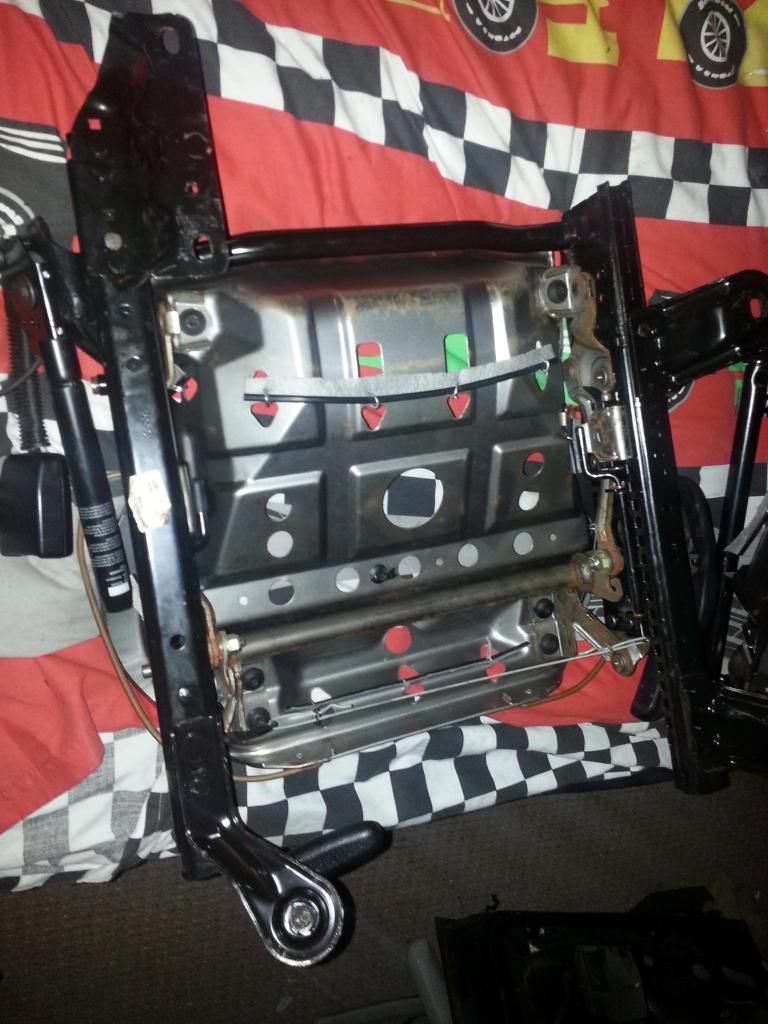
Thats good for me as it can be easier modified.
First of all i want the seats lower. Looking at the "cross bars" I can still lower it almost 2 inches before the cushion pan is sat on the bars. The mechanism comes into contact with bits of the frame before then:
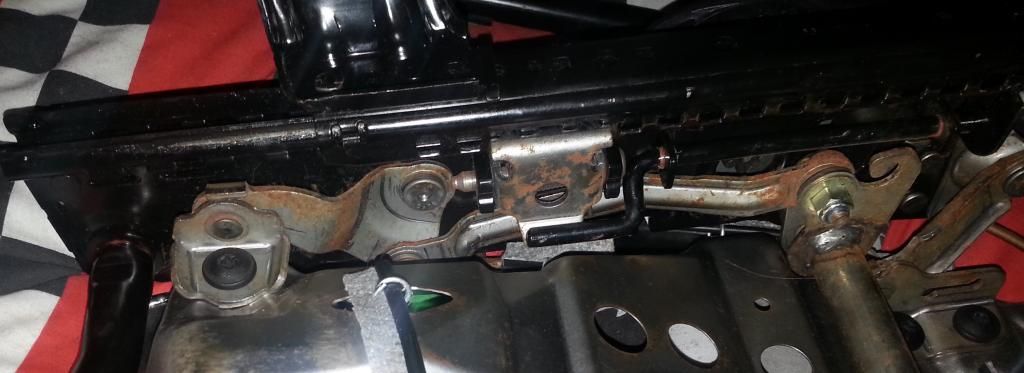
So a bit of grinder action needed methinks.
Also I want to make the seat further back so i will be drilling out the rivets and moving The seat mounts further on the rails to make maximum use of them. That will gain me a few inches more rearward travel.
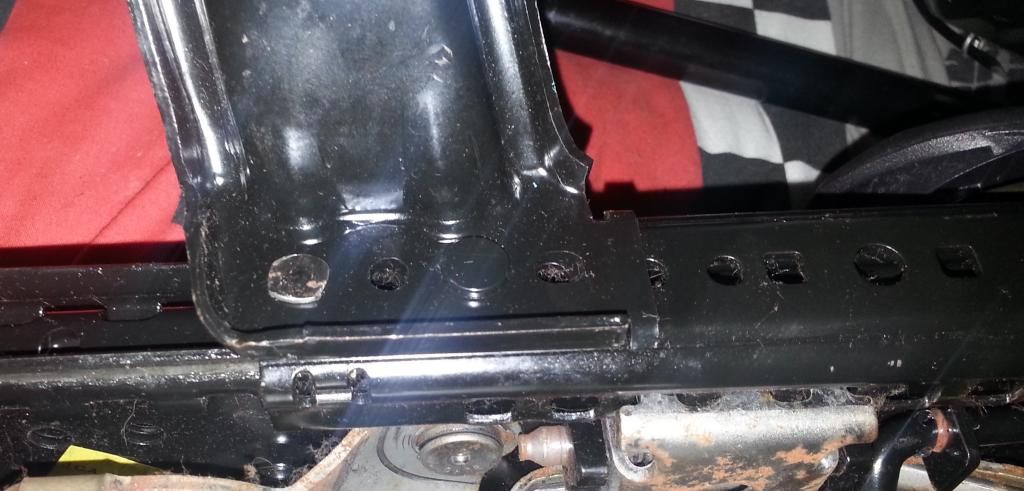
Also there are rear stop blocks inside the rail so you dont run off the back of the rails. I will also move this back so the rail locking teeth can use ALL the rail holes rather than stopping a few inches short on the current rail.
Started collecting the bits i will need.

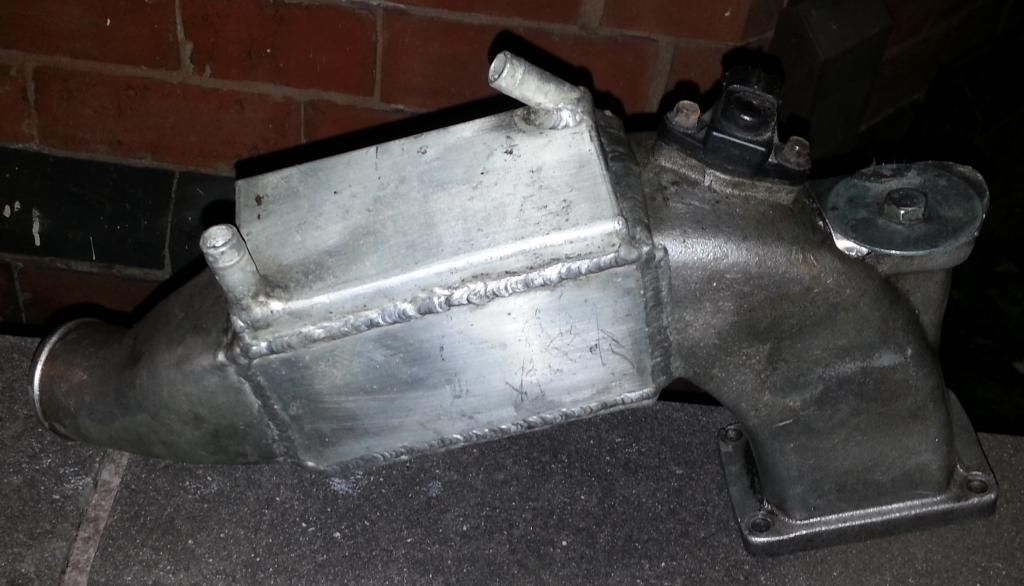
looks like a radiator, and it is. But this is my chargecooler radiator. I am fitting it behind the rear numberplate grill so it can get air from under the car and exhaust it out the grill.
Why a normal radiator? chargecooler radiators are a rip off for what they are. Even the ebay chinese specials are a hundred quid or so and something from the big name alloy companies is a couple hundred quid at least.
And there is nothing special about a chargecooler rad. This standard OEM rad has a bigger core than many chargecooler rads and with the integral header tank saves me some money. At a total cost of £30 delivered.
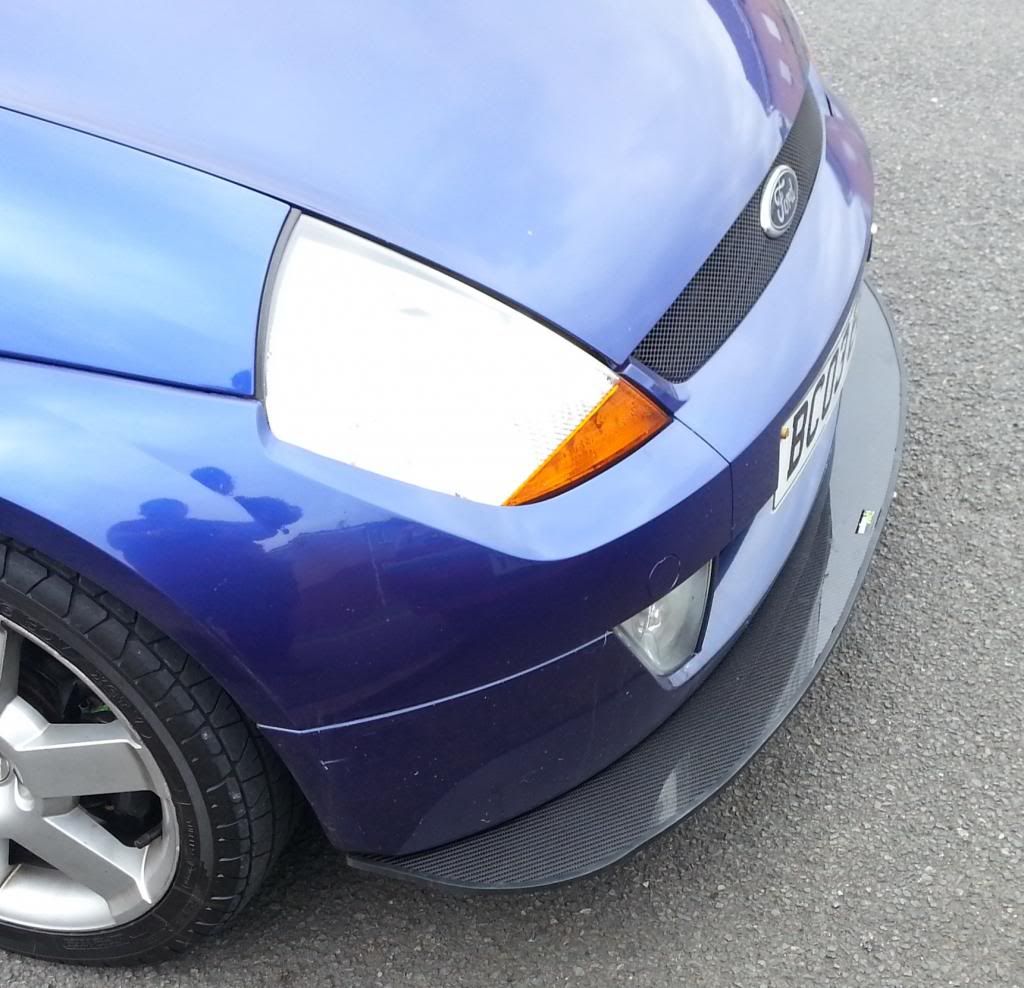
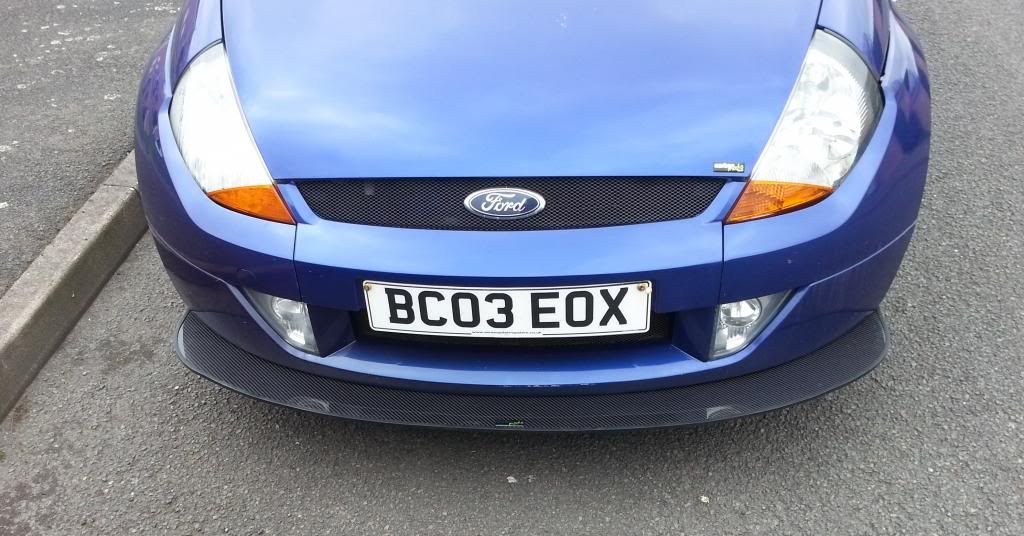
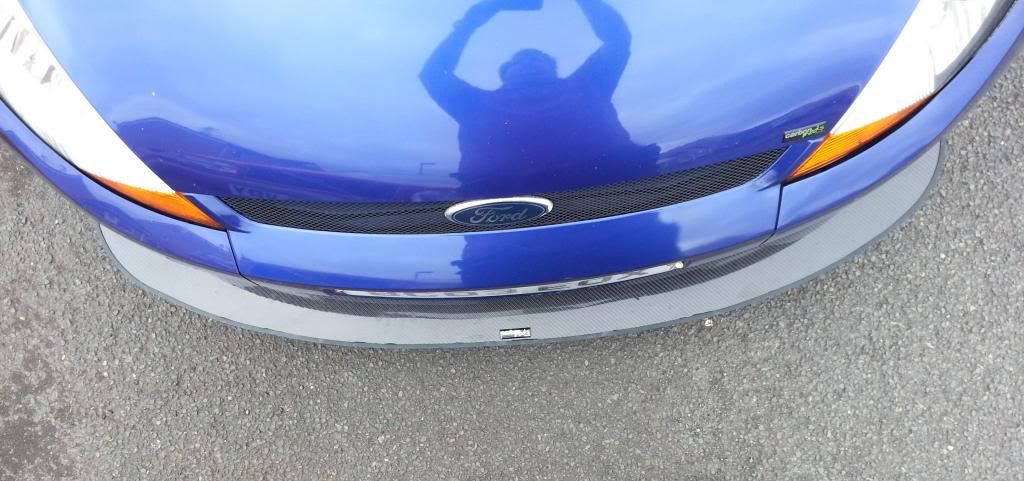
Next minor mod is a carbon splitter.
Got an offcut from work and offered it up to the bumper:
drew around bumper edge then projected it forward to give the splitter depth. Then cut it out:

once cut, sanded the edges smooth then bonded on the panel edge trim:
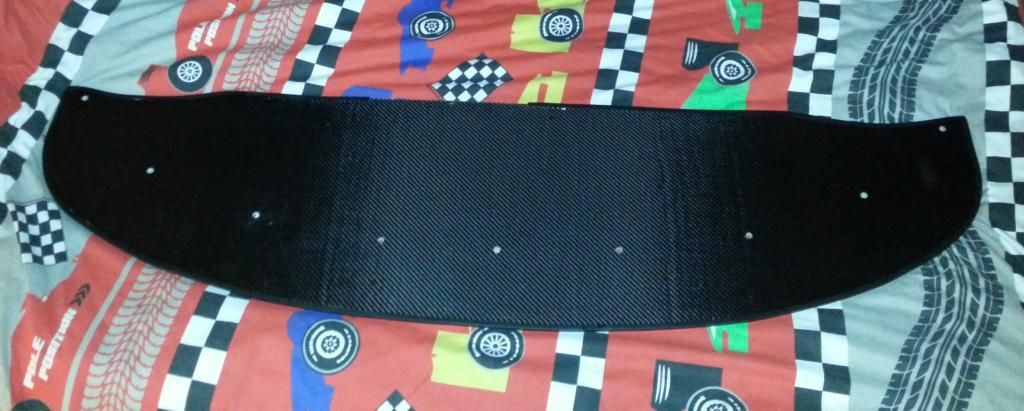
All ready to be fitted later this week!!
So Ive chosen a sportka.
The car has arrived:
Its been modified for a laugh by work:
83k with a few faults. needs wishbones on front and drop links. Beginning to bubble around fuel filler and a couple of bubbles on sills, but nothing major really. Simple repair panel for the quarter, and complete new sills are only £20 each so might as well do them before it gets too bad.
The first modification
oh yes, JTF's finest engine modification
Fitted:
Now before you think im completely fucking insane, there is reasoning for fitting a silly cone filter.
The reason being im on the same insurance policy as was the cossie puma (now on laid up) and the insurers only cover modified cars so a standard Sportka they wernt keen on so it needed to be modified in the meantime until the engine conversion. So now its a "modified" car.
A minor update i forgot about:
The angry birds have moved in and now guard the KA when im not there!! They also eat passengers that say anything bad about the KA
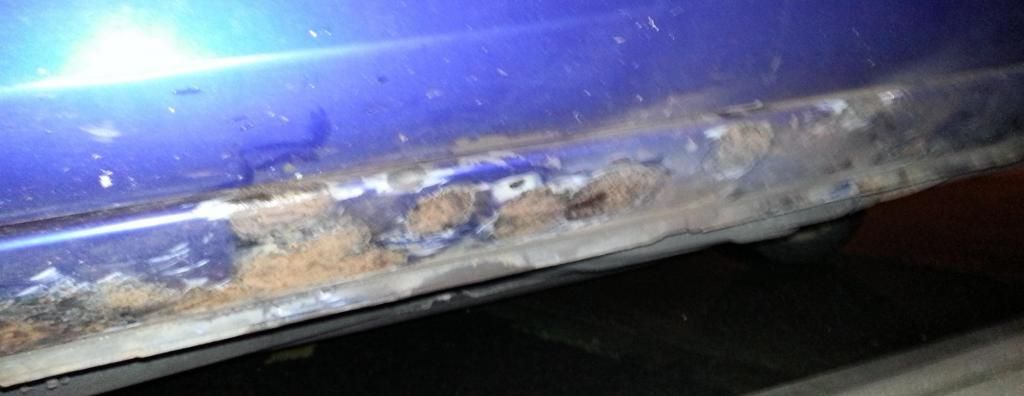
Been grinding back all the rust bubbles on the nearside sill.
Mid way:
Done abit more rust attacking. A bit on the drivers side felt soft so i attacked it with a hammer and it dented tooo easily so i got my grinder out again and ground back even more metal to find the rust underneath.
I could have it plated up as an MoT repair but i don't want to fuck around each year with rust so Im having 2 new complete sills put on at a local garage. The drivers side had no holes or softish patches but it rots from the inside out so its only a matter of time so both new sills will solve the problem and once done will fill it with the wax ive bought so that it doesnt rot again from the inside.
Also before i sent the car off for the welding, Ive fitted some uprated brakes I bought a few weeks back. 300mm mondeo mk3 calipers with EBC dimple grooved discs and pads.
If it wasnt for the grooved discs you wouldnt think they were anything other than OEM as they dont look too massive.
Also plenty of caliper clearance:
Big thanks to my mate lee who let me use his garage and did a lot of the hard work!
Also started knocking up a few NACA ducts:
A mate needs a couple and I am thinking of one on the bonnet when i do the engine swap to ensure I have a decent cold air feed.
Also know have a source of many of the puma parts i will need as a member on here is stripping a puma soon so will have many of the conversion bits and bobs and mounts i will need.
Bought all the puma conversion ford bits i need off a mate whos breaking a puma. Just need a decent engine to start a rebuild on and the mocking up work
Now Ive had the rust cut out and welding done it was time for some undersealing and cavity injection.
Gave the underbody a good going over with a flap wheel, kurust and some antirust paint before a good coating of waxoyl.
Should probably have used tyre shine on the spare after derusting and repainting the steel wheel but im no bufty so fuck it.
Hardly concourse but thats not the point.
Then i used 6 cans of dinitrol to fill the cavities on the chassis including A and B pillars, sills, underbody voids etc. The stuff leaks out.
The road will never be the same again :twisted: But it should buy me a few years before it rusts through again.
Been working out how to lower the OEM seat mounts. I want to fit the recaros from the puma. However standard KA seats are both too high and dont go far enough back. If i have them fully back, and fully lowered then my legs are off the cushions which isnt most comfortable, yet i dont want them higher!.
So got some spare seat bases to hack and maim. Once its all striped down you can see how simple the mechanism is and how its assembled from common parts. The rails have holes in the bottom all along and the seat to floor fittings could be rivited on anywhere so i guess the basic mechanism is common accross a lot of fords of the era.
Thats good for me as it can be easier modified.
First of all i want the seats lower. Looking at the "cross bars" I can still lower it almost 2 inches before the cushion pan is sat on the bars. The mechanism comes into contact with bits of the frame before then:
So a bit of grinder action needed methinks.
Also I want to make the seat further back so i will be drilling out the rivets and moving The seat mounts further on the rails to make maximum use of them. That will gain me a few inches more rearward travel.
Also there are rear stop blocks inside the rail so you dont run off the back of the rails. I will also move this back so the rail locking teeth can use ALL the rail holes rather than stopping a few inches short on the current rail.
Started collecting the bits i will need.
looks like a radiator, and it is. But this is my chargecooler radiator. I am fitting it behind the rear numberplate grill so it can get air from under the car and exhaust it out the grill.
Why a normal radiator? chargecooler radiators are a rip off for what they are. Even the ebay chinese specials are a hundred quid or so and something from the big name alloy companies is a couple hundred quid at least.
And there is nothing special about a chargecooler rad. This standard OEM rad has a bigger core than many chargecooler rads and with the integral header tank saves me some money. At a total cost of £30 delivered.
Next minor mod is a carbon splitter.
Got an offcut from work and offered it up to the bumper:
drew around bumper edge then projected it forward to give the splitter depth. Then cut it out:
once cut, sanded the edges smooth then bonded on the panel edge trim:
All ready to be fitted later this week!!