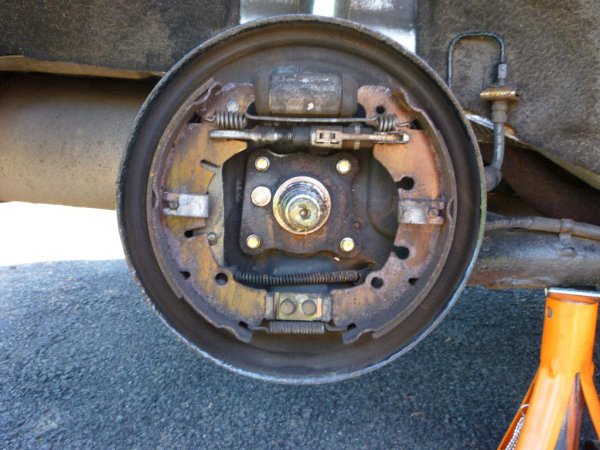
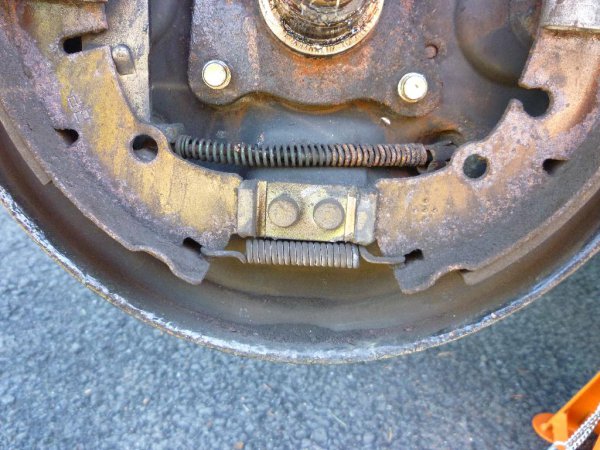
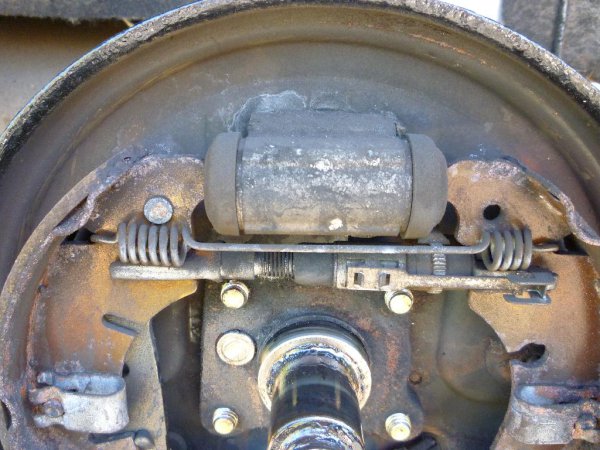
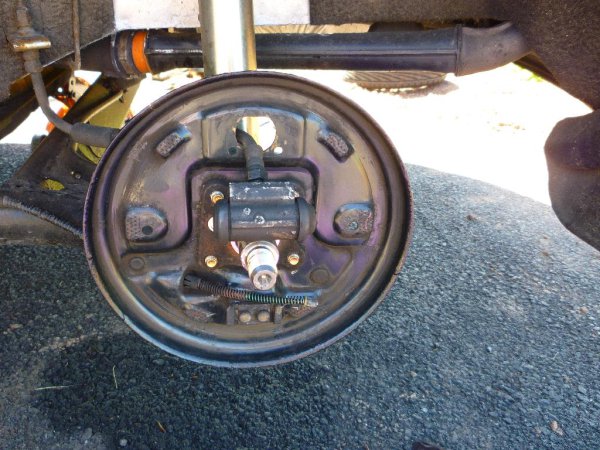
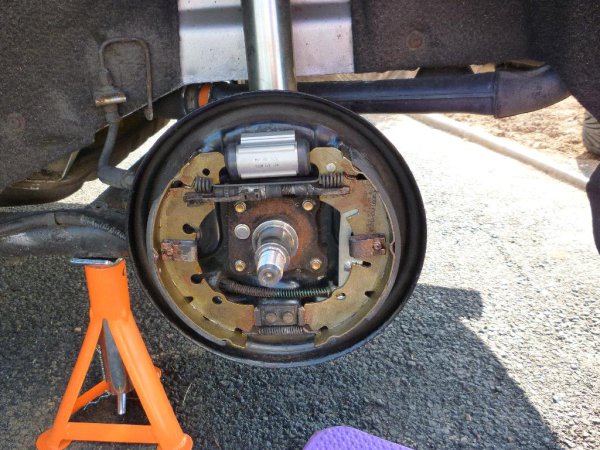
Changed rear brake shoes and wheel cylinders,
Old affairs
All new mintex stuff
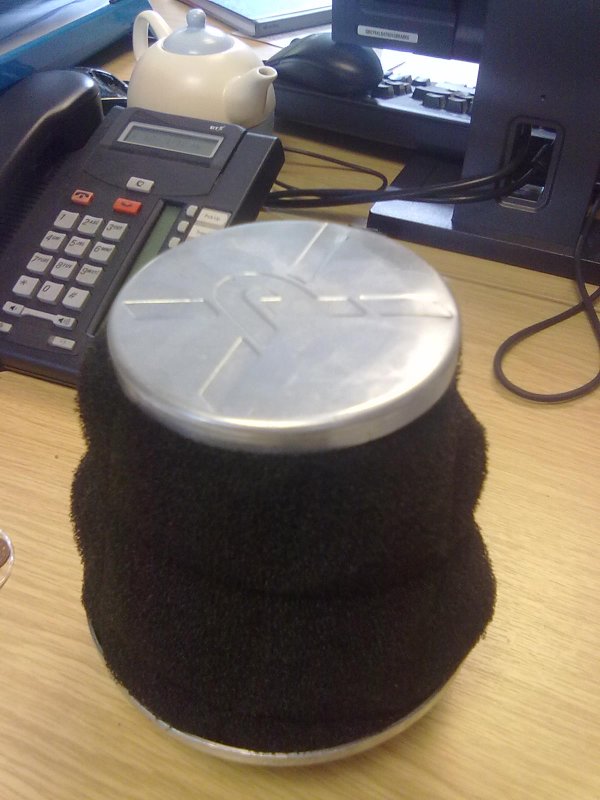
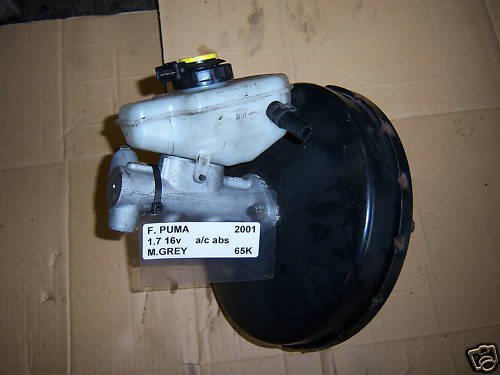
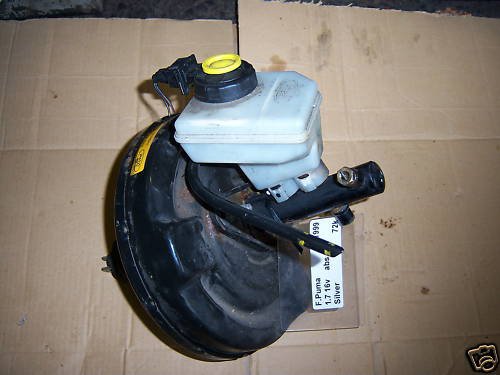
found out that my puma is running a later style master cylinder and servo which is innefficient with the 300mm brakes.
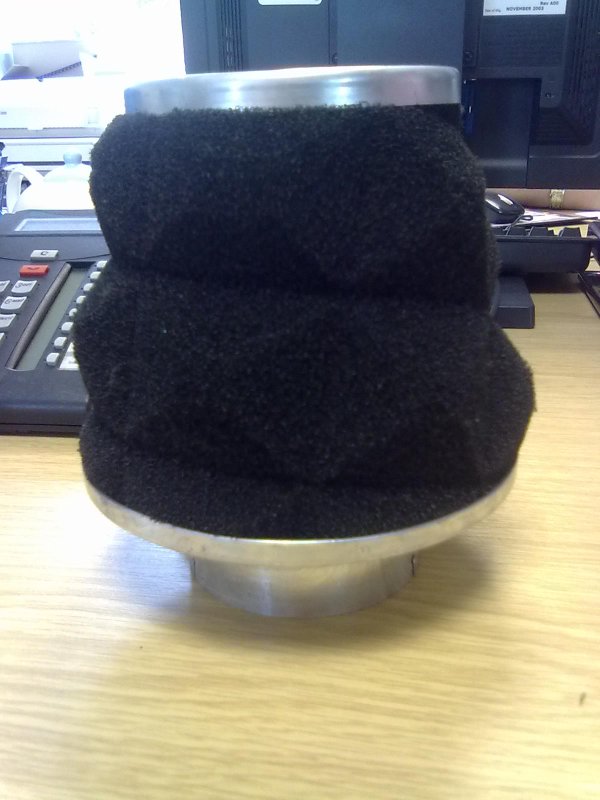
Heres the visual differences, basically swapped mine which is the silver one pictured with the black earlier setup
The old style has a black master cylinder and the brakes lines come out one each side and looks like this
I sourced all the stuff i needed..
Old style (black) master cylinder with servo.
Vacuum hose for old setup
The 2 brake lines going to the abs pump from the old setup.
Swapped over all the kit, bled the brakes, and change drear wheel cylinders and brake shoes at the same time and the difference is far far better.
Brakes are a vast improvement and i thought they were good before, firmer pedal really really strong braking action.
Also changed all the fluid to Dot 5.1
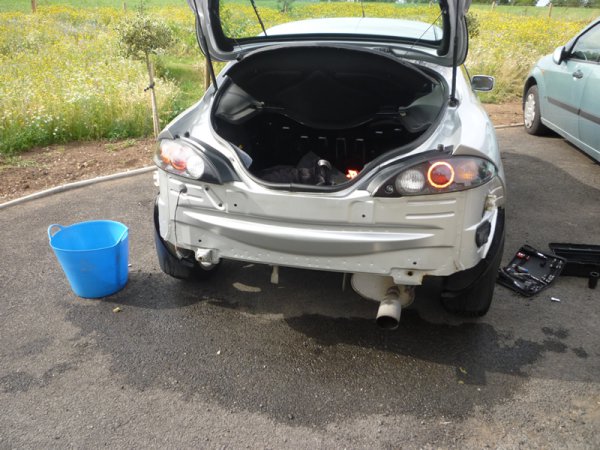
Took a risk and got some 300mm brake calipers off ebay for 40 quid for both. This will be an upgrade 258mm > 300mm
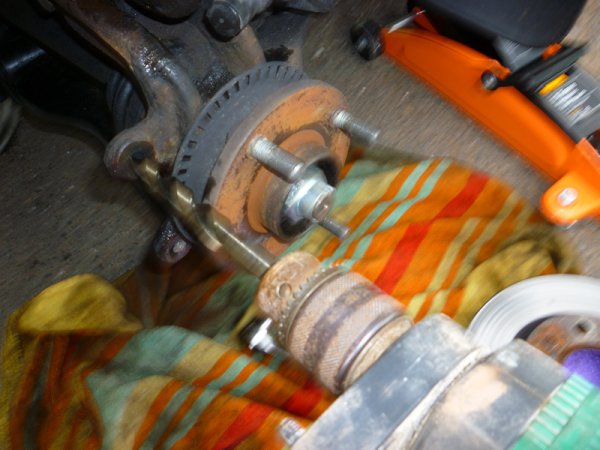
Arrived today and were in a bit of a sorry looking state
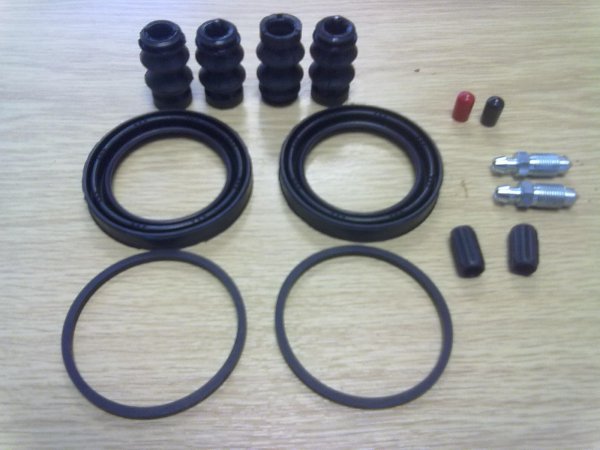
Dismantled them and all seals and pistons were in good condition
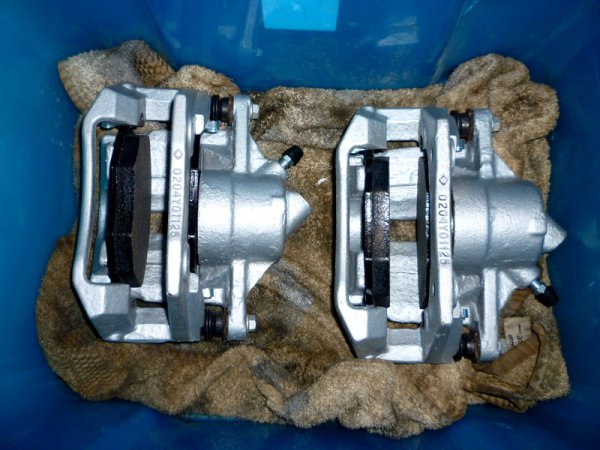
So carried on with the refurb, after an hour or two with the dremel and applied first coat of Silver
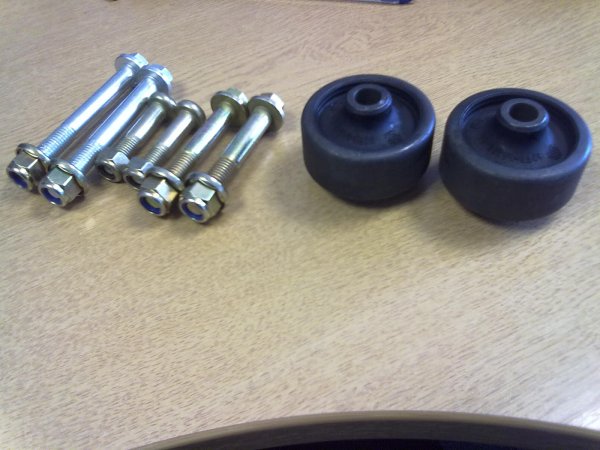
New brake bits and pieces :!
last pic with final coat and pads fitted before they go on the car, probably tomorrow evening
Then i fitted em
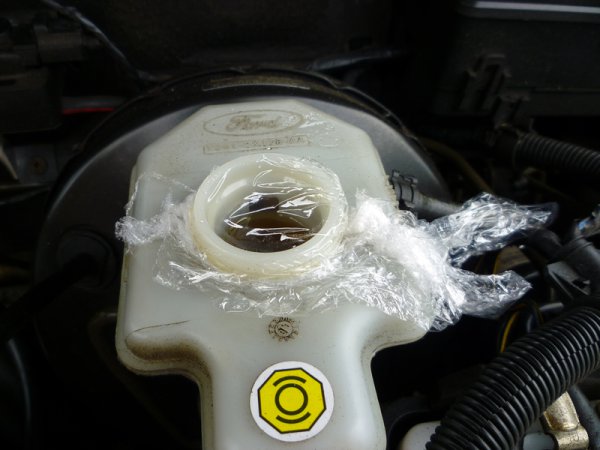
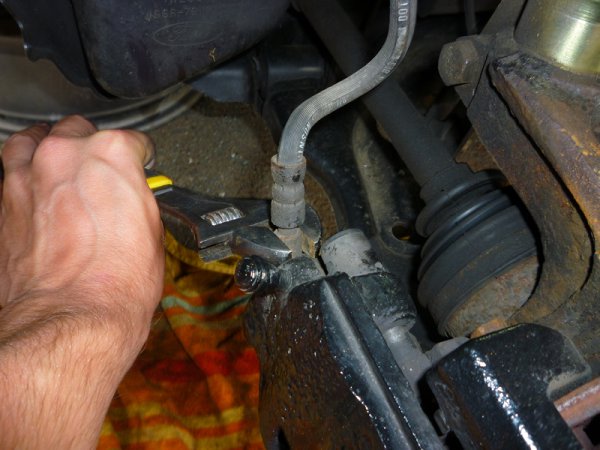
Cling film over reservoir to help prevent fluid escaping when i remove the brake hoses
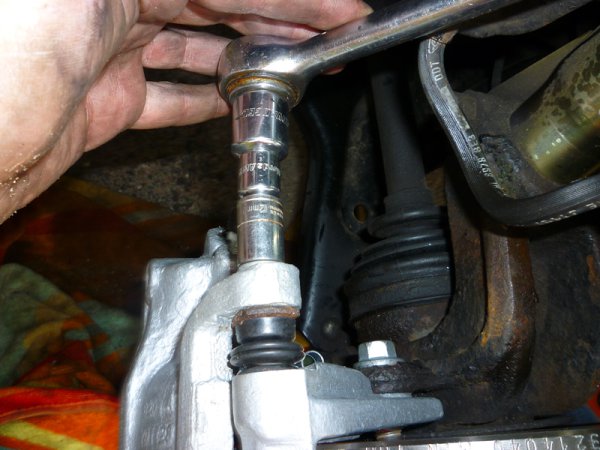
Loosening the brake hose
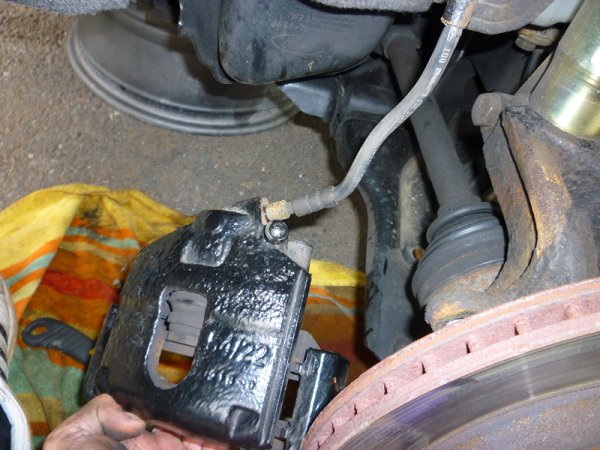
Removing old caliper carrier bolts
Caliper removed
Old caliper cable tied in place
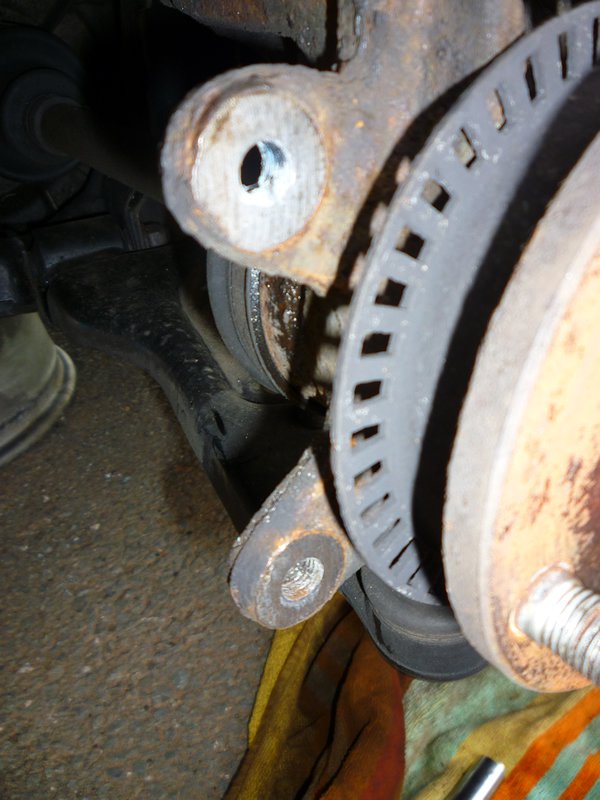
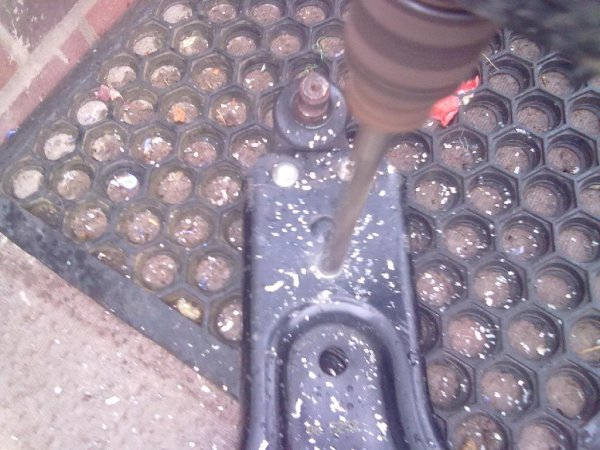
Needed to drill these holes out to 12.5mm.
Drilling using plenty of WD40 as cooling agent.
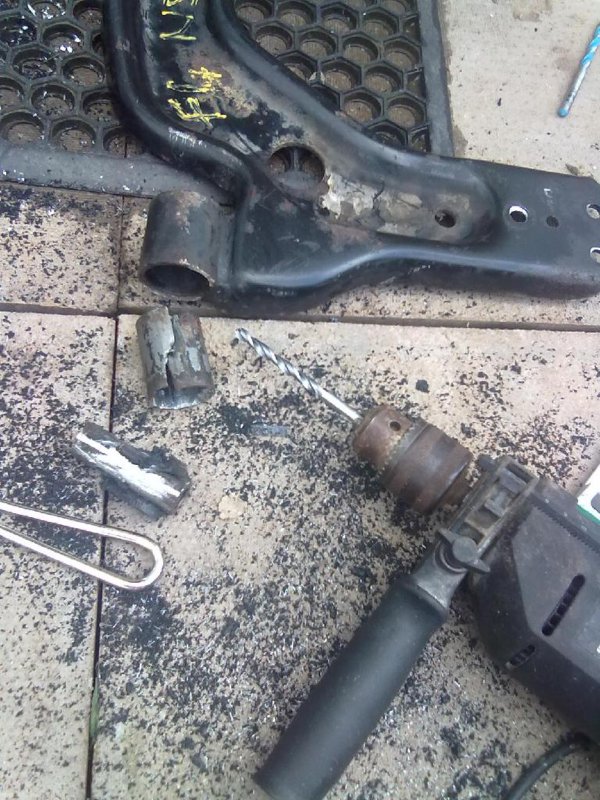
Now holes big enough to fit new 15mm caliper carrier bolts through.
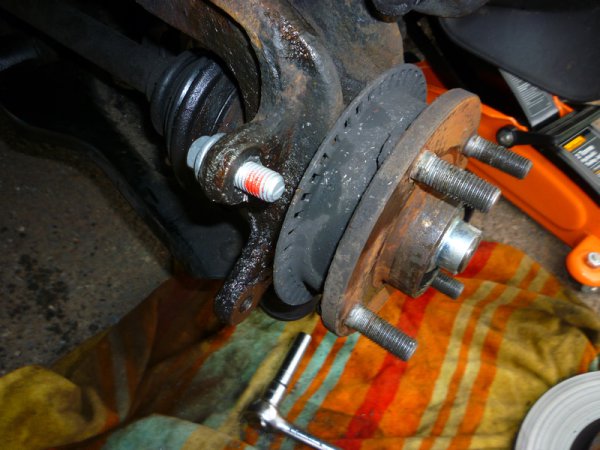
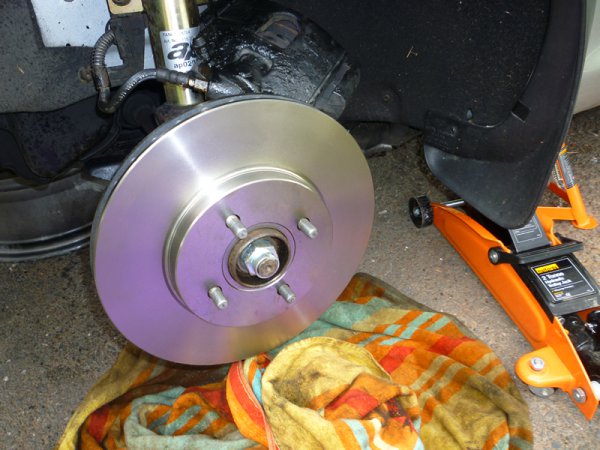
Disc on
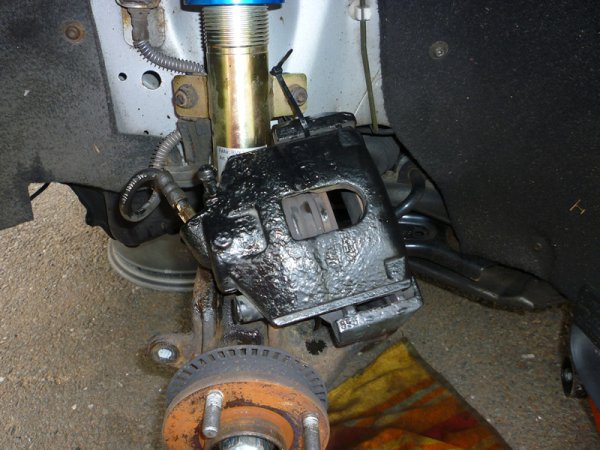
Caliper and disc on
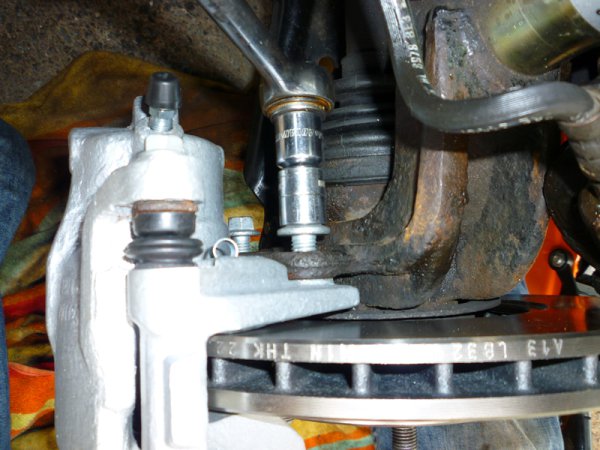
New caliper carrier bolts going on
Tightening slide pin bolts
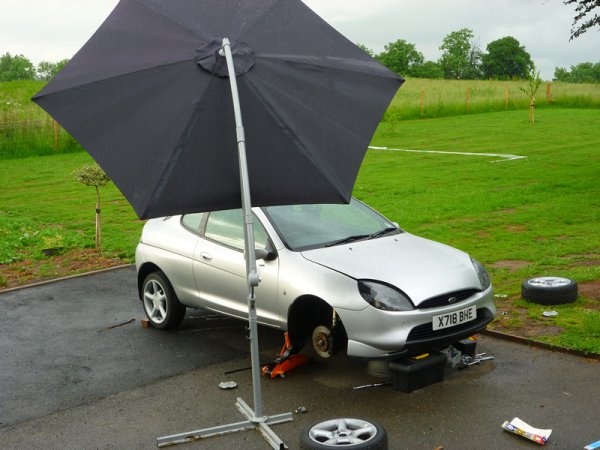
Halfway done got caught in rain so nicked my mums sun brolly as they are away at the moment so cant moan at me
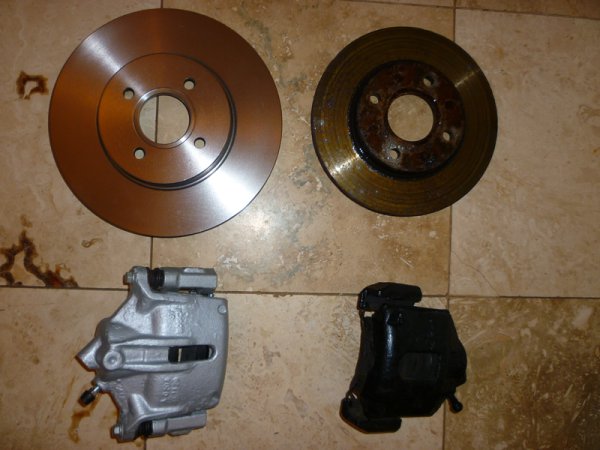
Forgot to add this image,
old vs new!
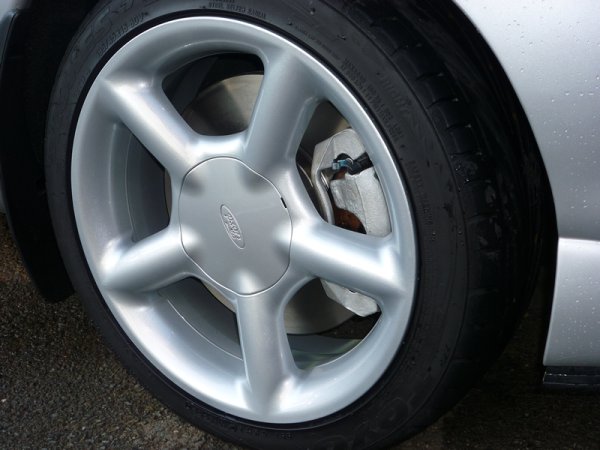
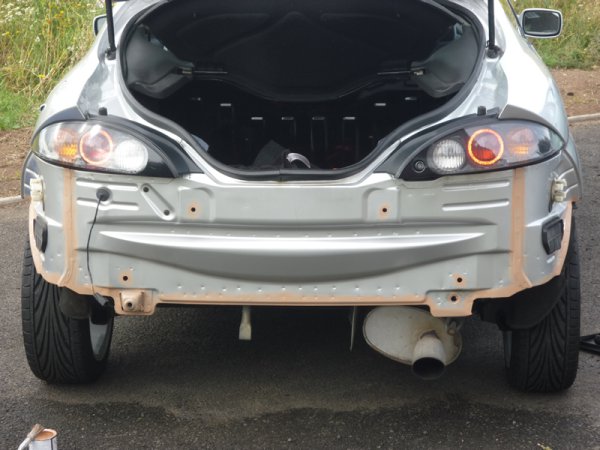
Done other side, bled brakes and pics of them on
got to say they are really good now, know fade at all and get that feeling in my head that me and ojc got on the braking test at Millbrook

Excellent mod for just around 110 all in, that includes renewing all seals etc of the calipers!