- Joined
- Oct 3, 2007
- Messages
- 14,816
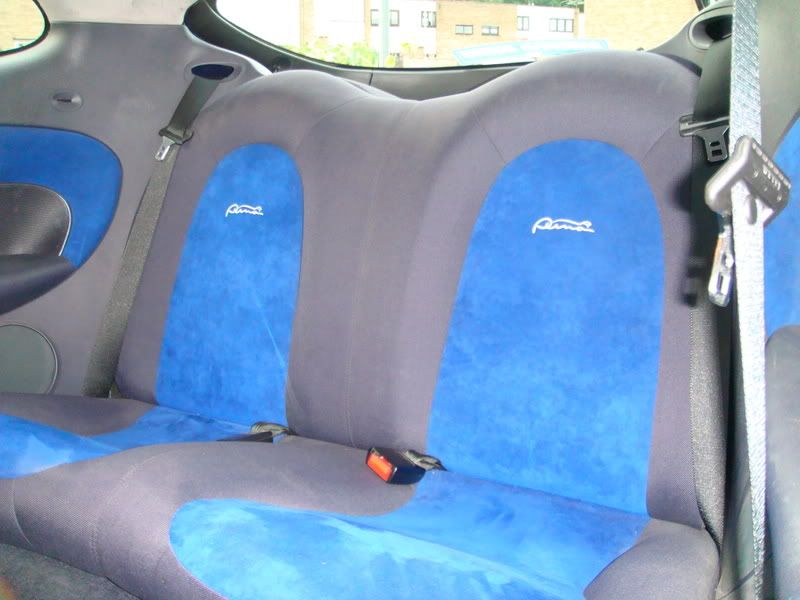
Last weekend I helped replace an interior from the normal cloth to leather for Carol (caloubear) I took some photos as I went along so others can know where the mounting points are etc and what sort of poppers are where.
I didn't do the front door cards as Carol had already done those.
First disconnect the battery so the seat belt pre-tensioners have a while (minimum 15 mins) to discharge any stored power.
Then I took off the rear seat upright by removing the 4 Torx screws (T40) from the boot side.
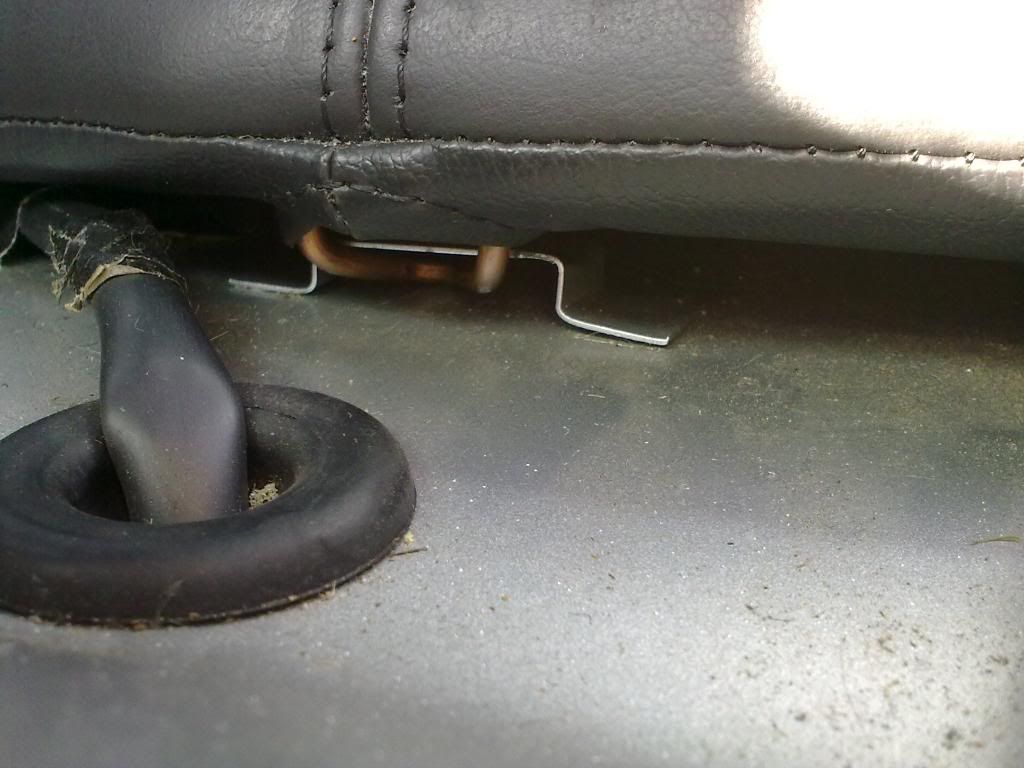
Then unclipped the seat cushion from the front:
And slide it backwards towards the boot to release the copper clip from the bracket:
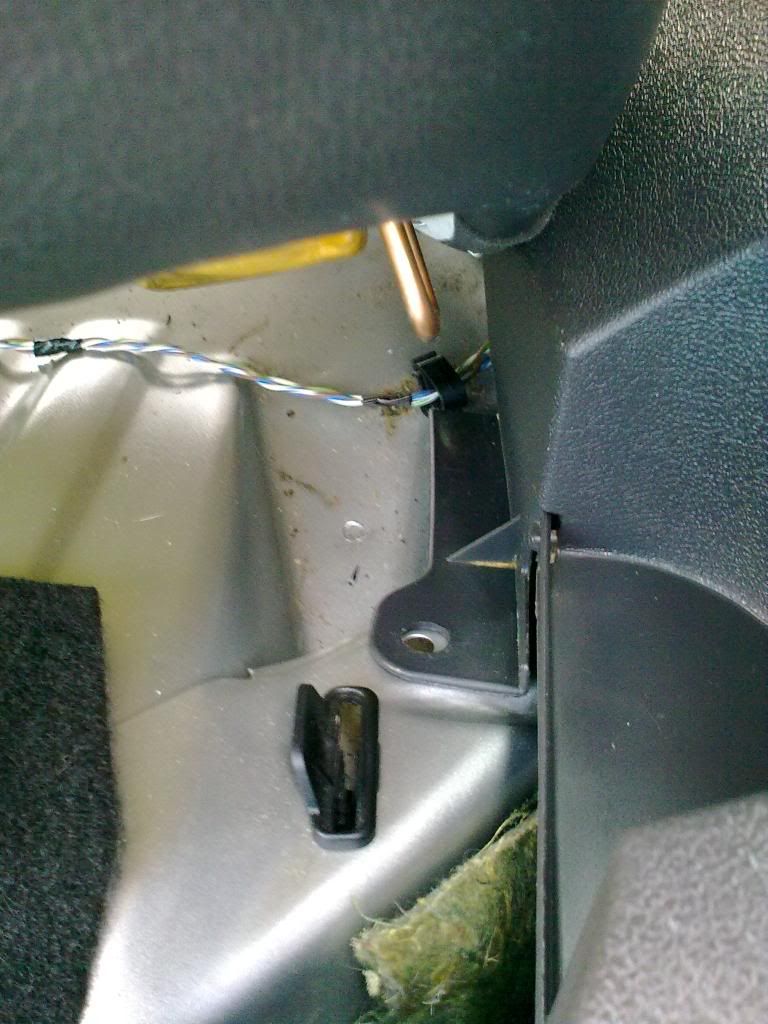
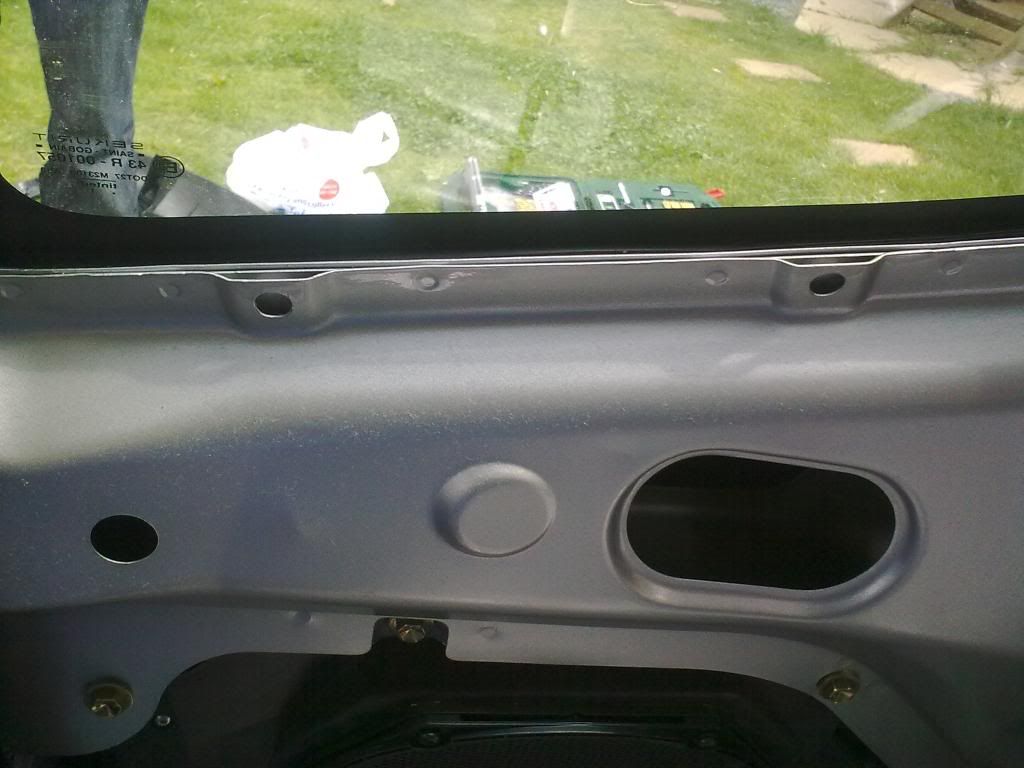
Then you can remove the rear side panels. There are 3 poppers next to the door frame:

One broken in frame at bottom:
2 clips under the side window that fit in little slots:
one long clip up near the seat belt, one screw below that one and 2 up near the parcel shelf pivot.
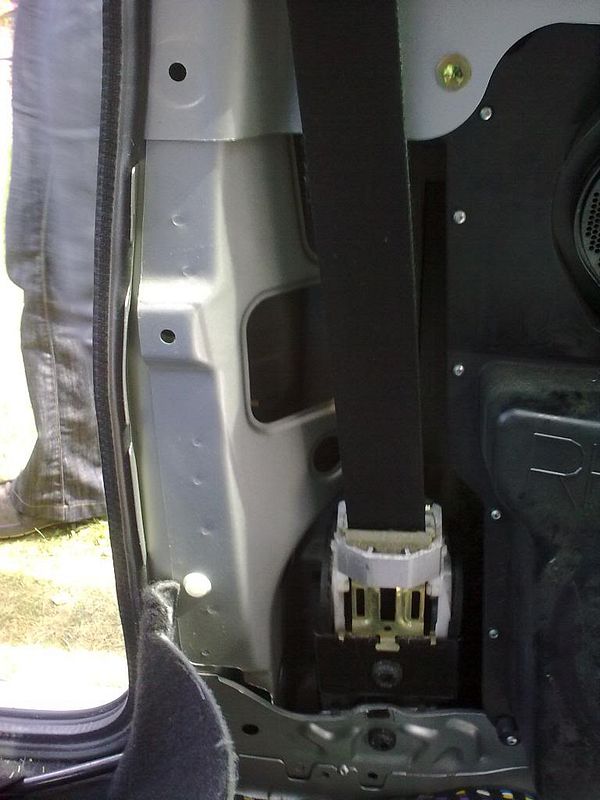
Then remove the T50 Torx mounting the rear seatbelt to the car:
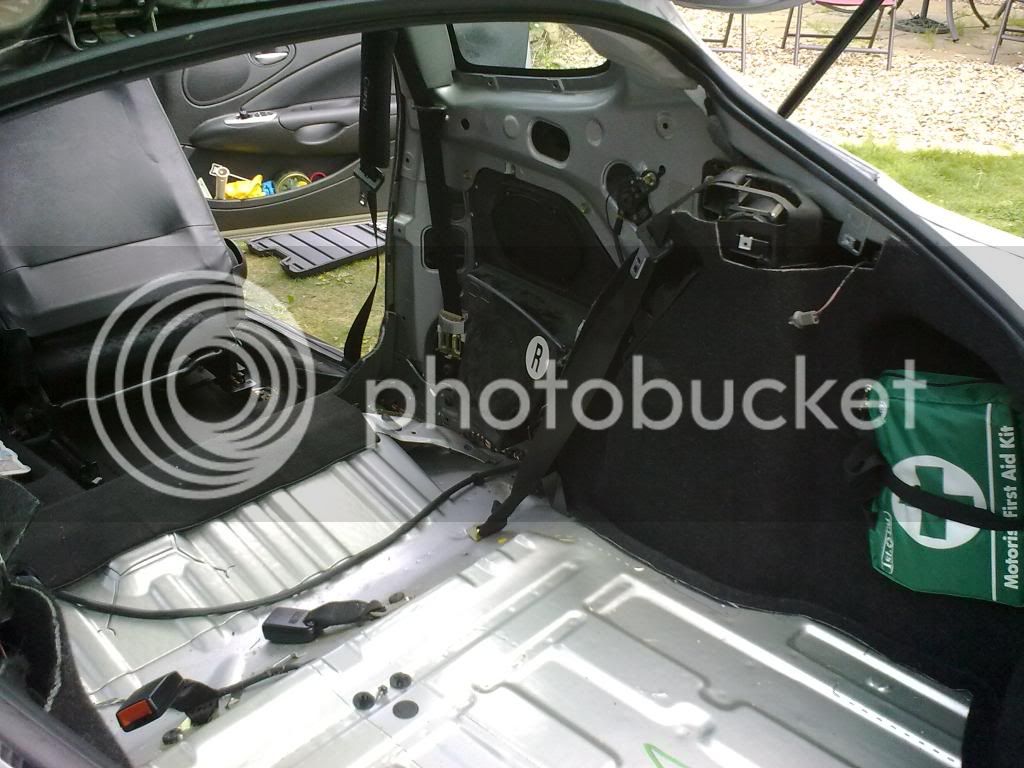
And then you can remove the rear side card from the car.
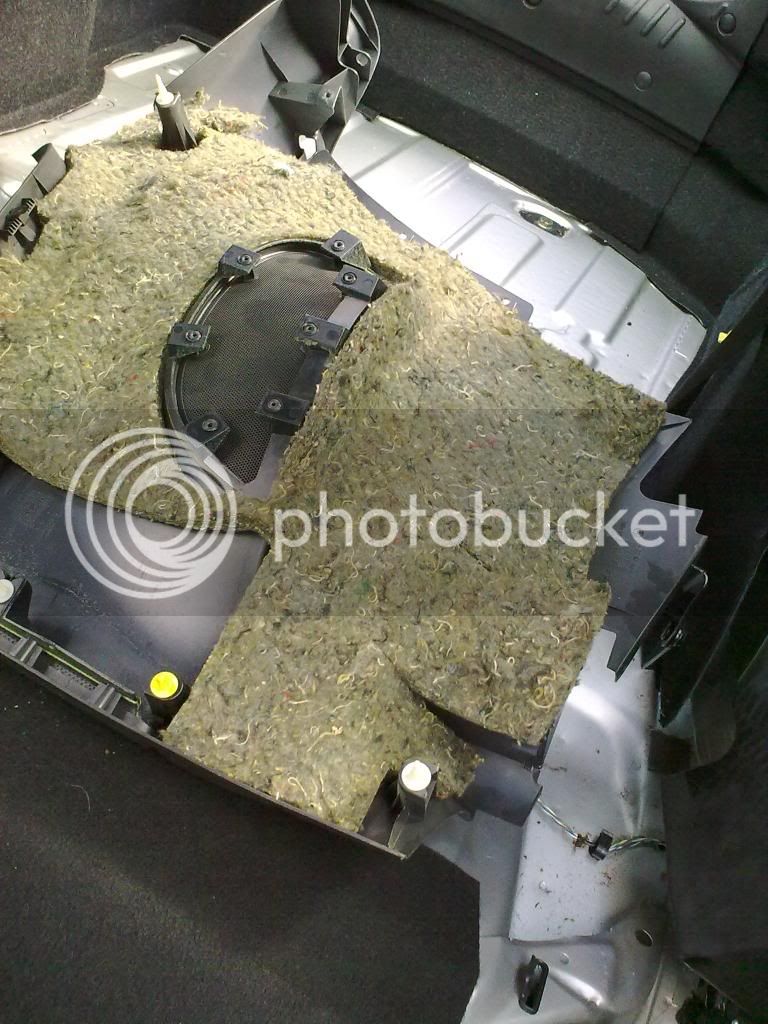
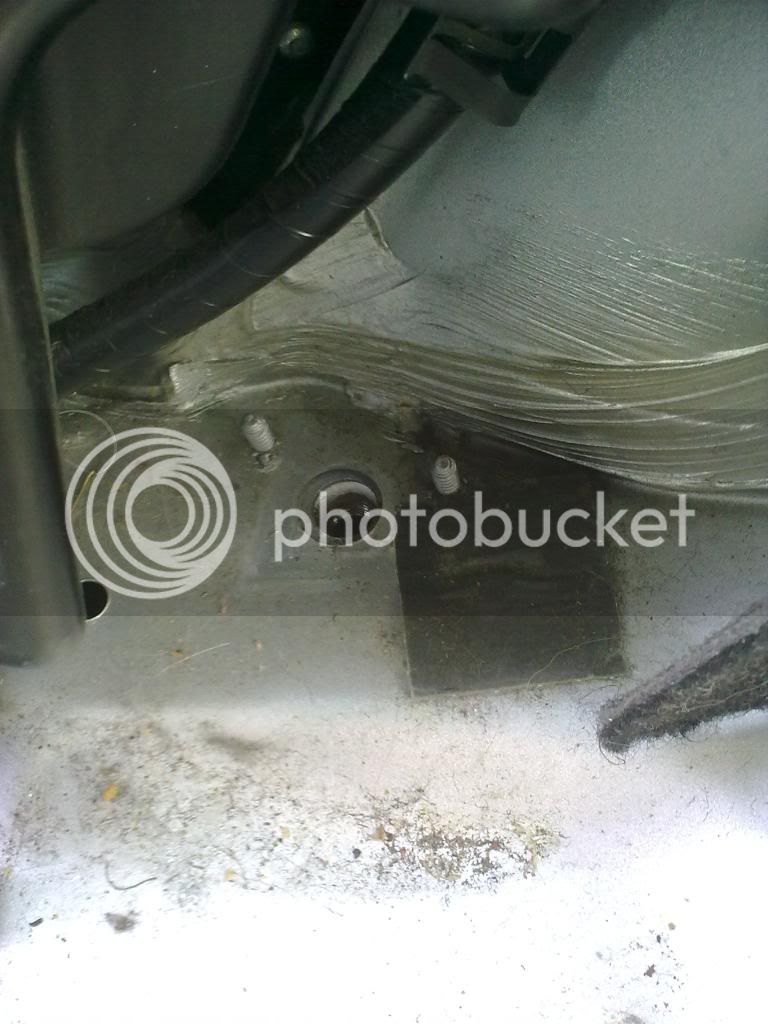
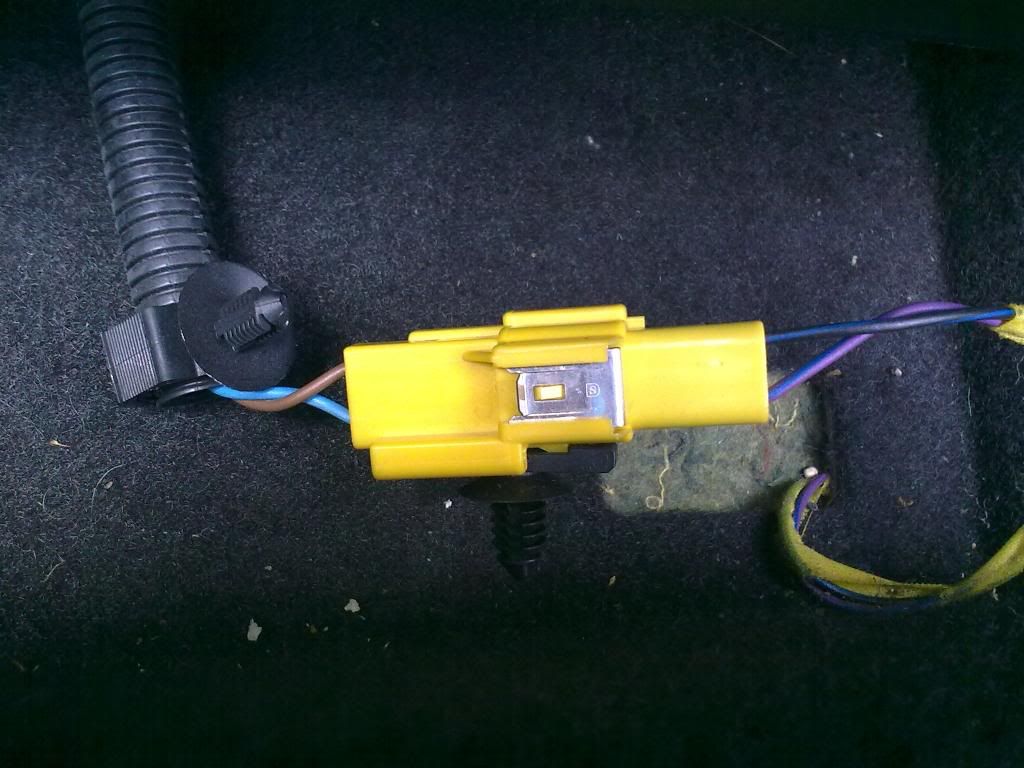
Undo the seat belt pre-tensioner. This can be found after removing the plastic covers between the seats and the door frame:

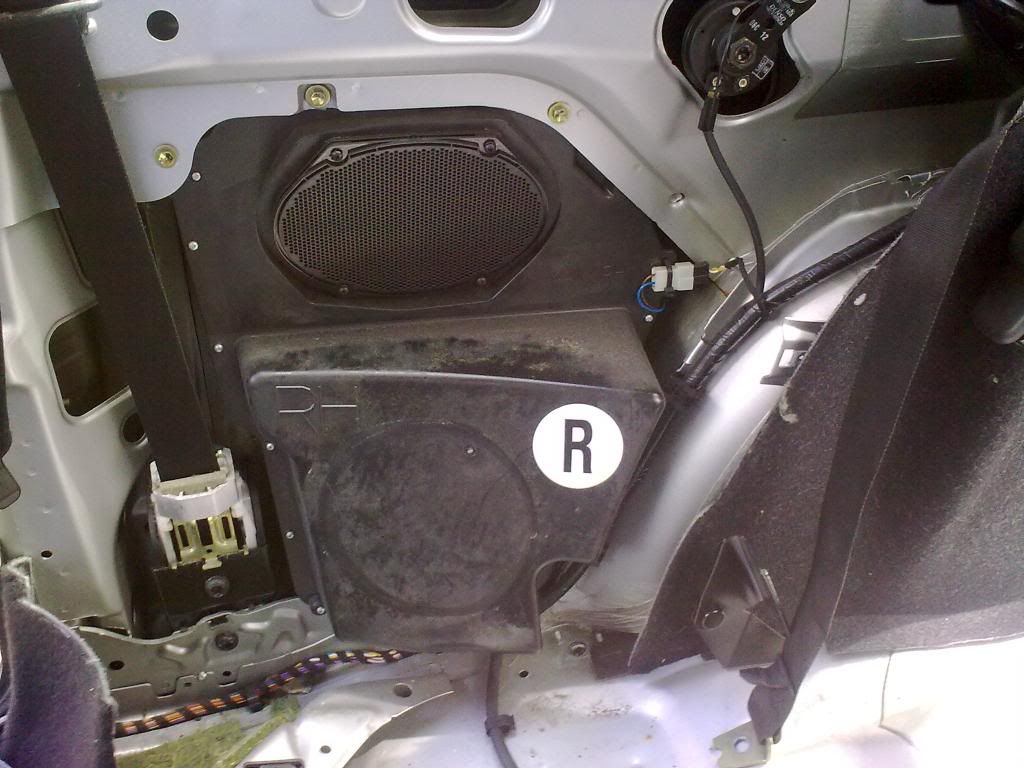
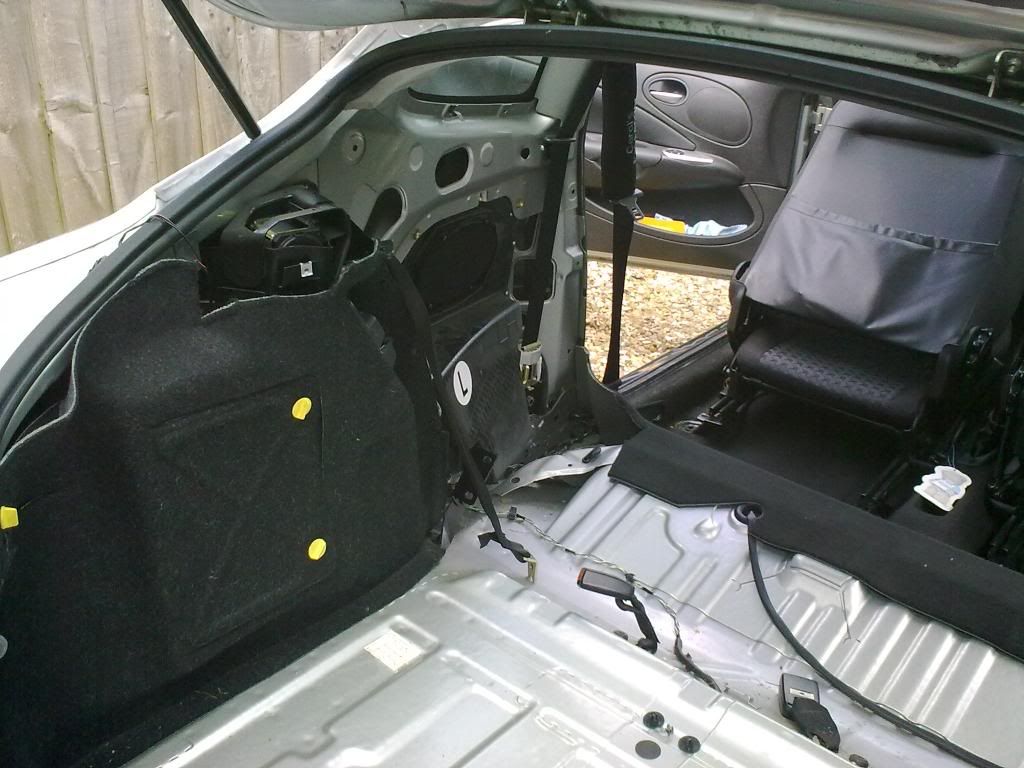
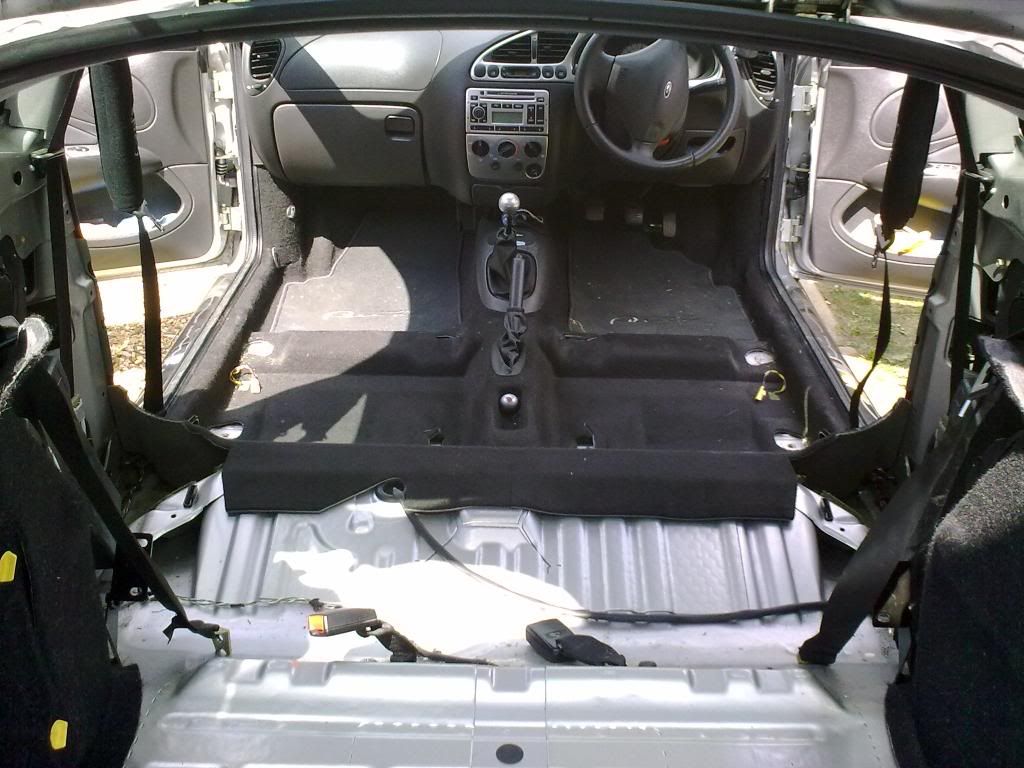
Do this on both sides, then you can remove the 5 off 10mm bolts that hold the seats in - 2 at the front, and 3 at the back:
Then you have plenty of space:
Refitting is the reverse of removal - it can be handy to have some spare clips to hand as they sometimes break.
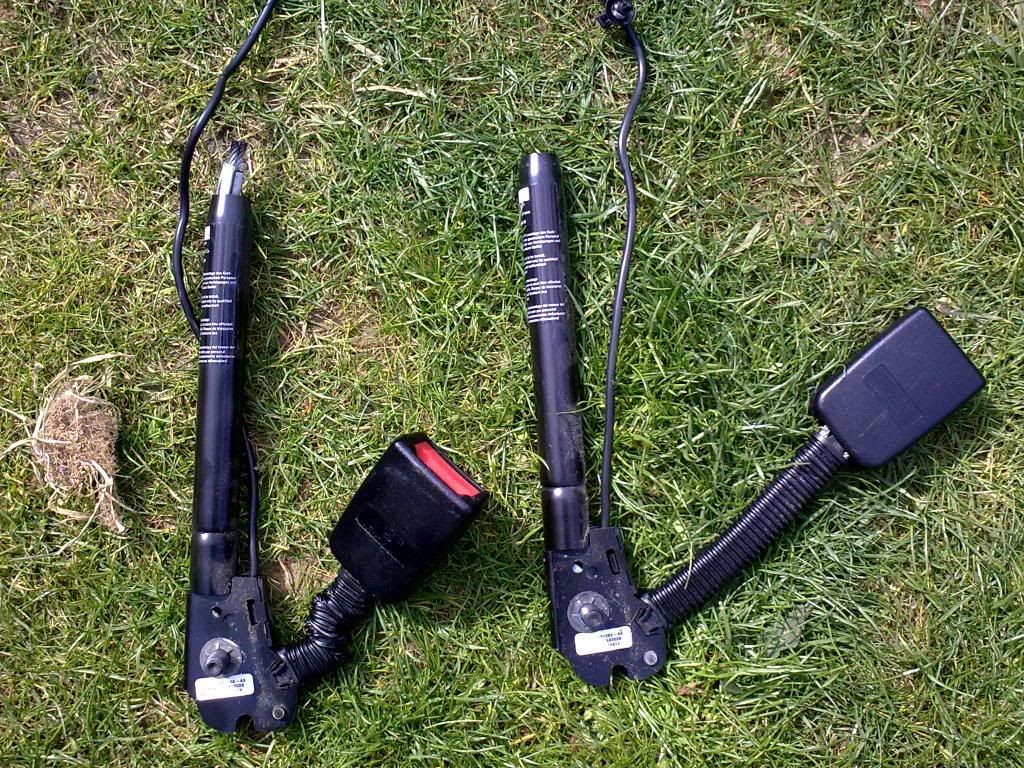
If you do buy replacement seats, take note of the pre-tensioners themselves on the seats. The leather ones had been in some sort of accident and had fired. Used ones on the left:
If these are fitted to the car, you'll get the airbag warning light on your dash flash at you.
I didn't get any "finished" shots although Carol may be along to post some.
I didn't do the front door cards as Carol had already done those.
First disconnect the battery so the seat belt pre-tensioners have a while (minimum 15 mins) to discharge any stored power.
Then I took off the rear seat upright by removing the 4 Torx screws (T40) from the boot side.
Then unclipped the seat cushion from the front:
And slide it backwards towards the boot to release the copper clip from the bracket:
Then you can remove the rear side panels. There are 3 poppers next to the door frame:
One broken in frame at bottom:
2 clips under the side window that fit in little slots:
one long clip up near the seat belt, one screw below that one and 2 up near the parcel shelf pivot.
Then remove the T50 Torx mounting the rear seatbelt to the car:
And then you can remove the rear side card from the car.
Undo the seat belt pre-tensioner. This can be found after removing the plastic covers between the seats and the door frame:
Do this on both sides, then you can remove the 5 off 10mm bolts that hold the seats in - 2 at the front, and 3 at the back:
Then you have plenty of space:
Refitting is the reverse of removal - it can be handy to have some spare clips to hand as they sometimes break.
If you do buy replacement seats, take note of the pre-tensioners themselves on the seats. The leather ones had been in some sort of accident and had fired. Used ones on the left:
If these are fitted to the car, you'll get the airbag warning light on your dash flash at you.
I didn't get any "finished" shots although Carol may be along to post some.