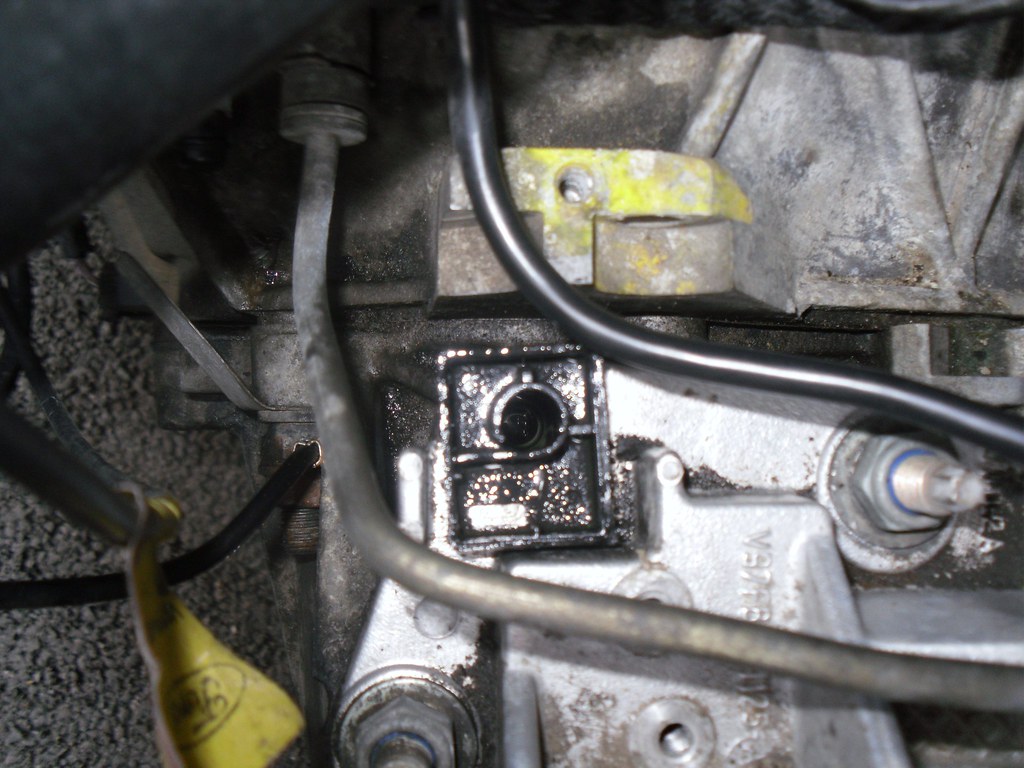
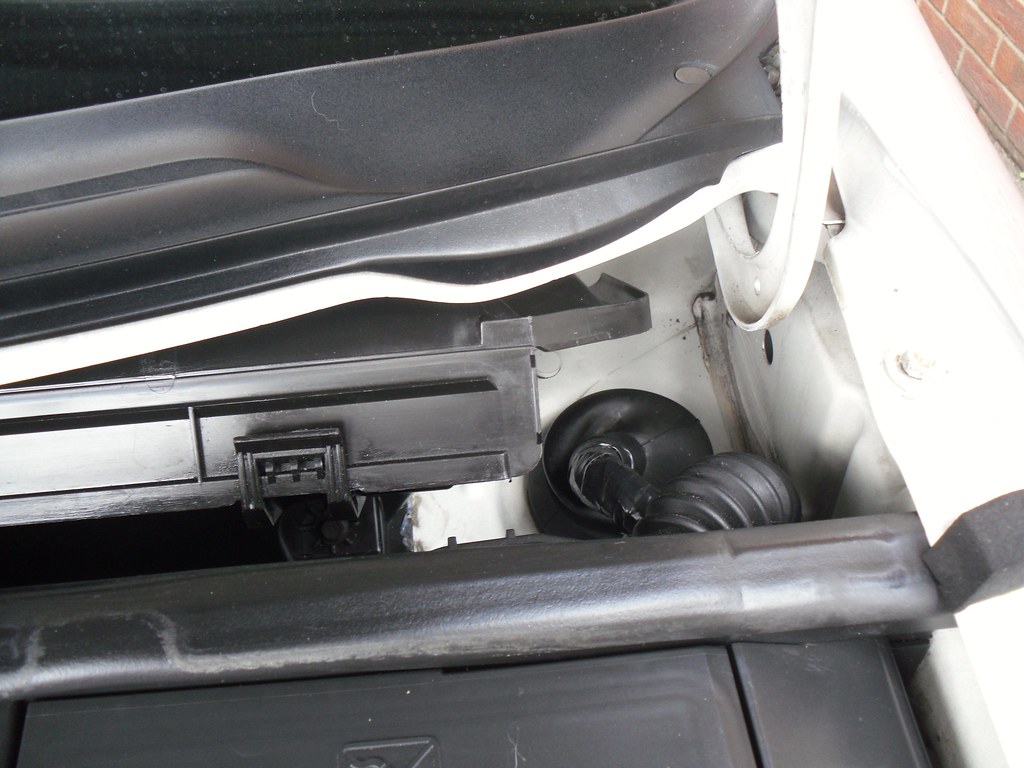
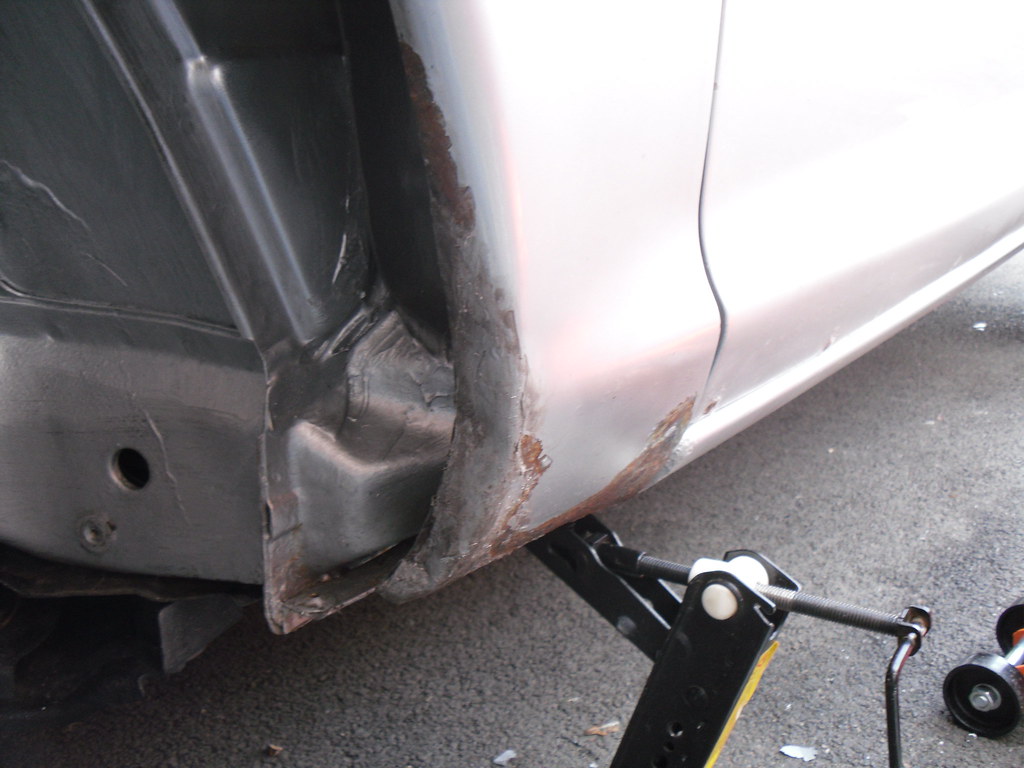
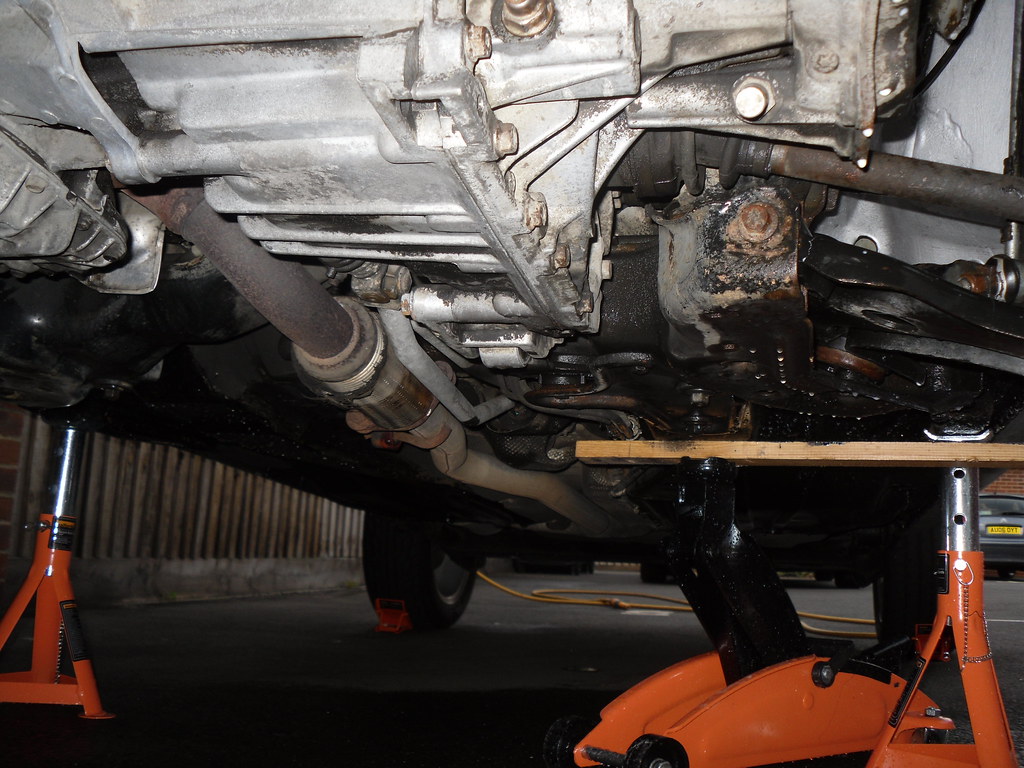
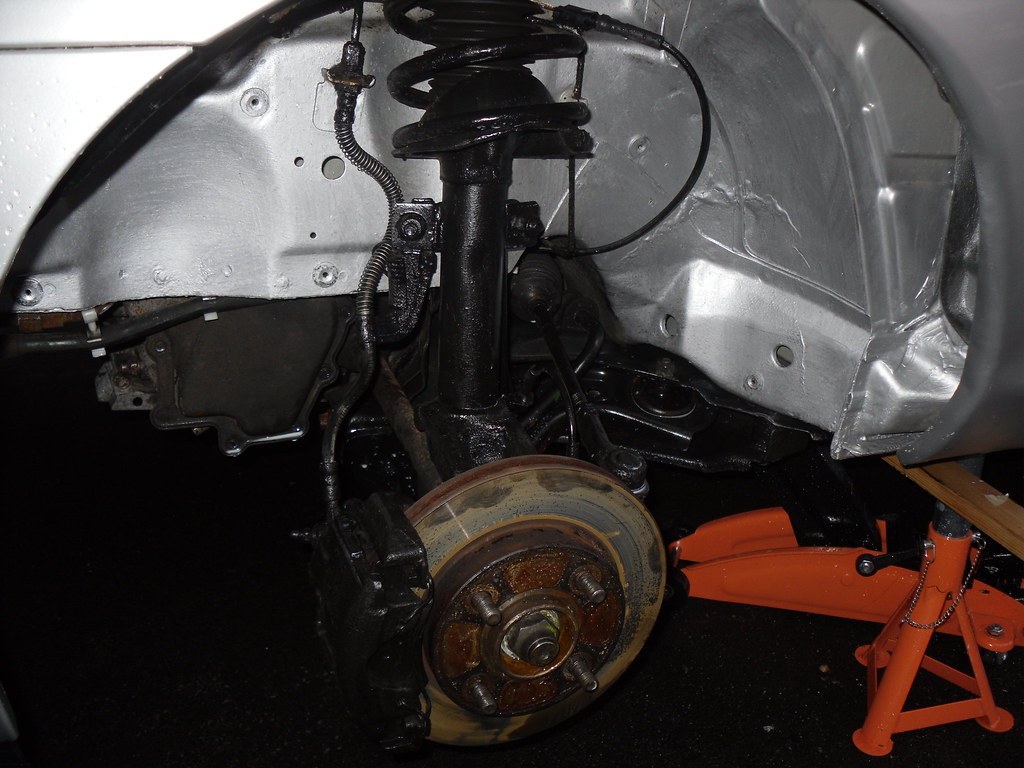
However when checking the oil level I dropped a small piece of cable tie into the gearbox never to return, no matter how much I fished it!

(instead I now use an allen key which I have a good grip on, dont want to loose that
inkeye: and dip the end in the filler hole, to avoid more misshaps).
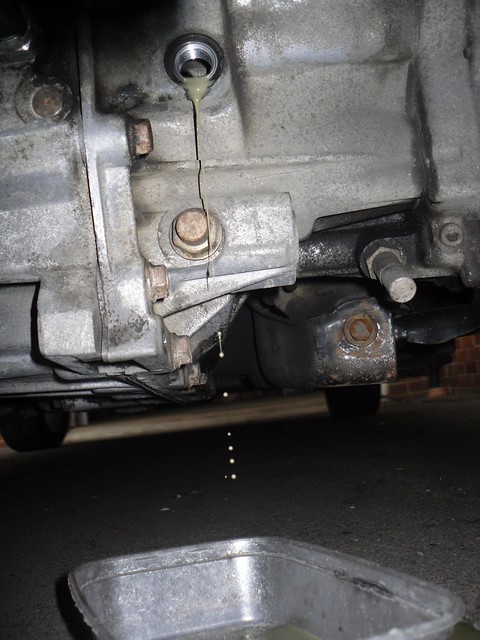
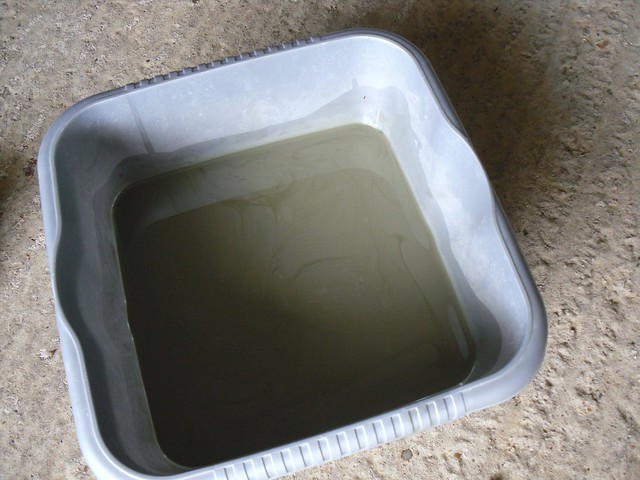
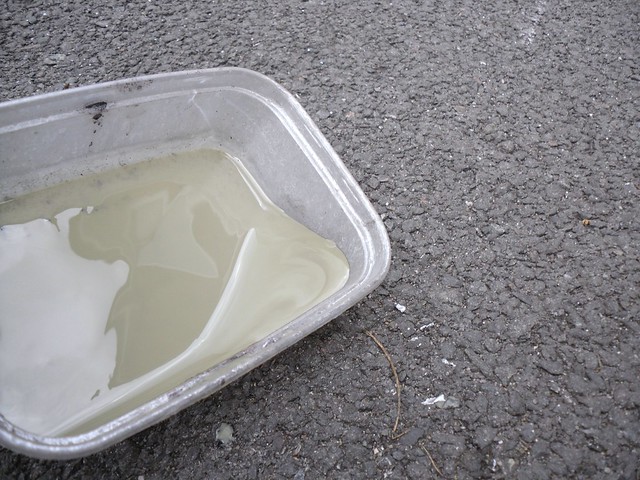
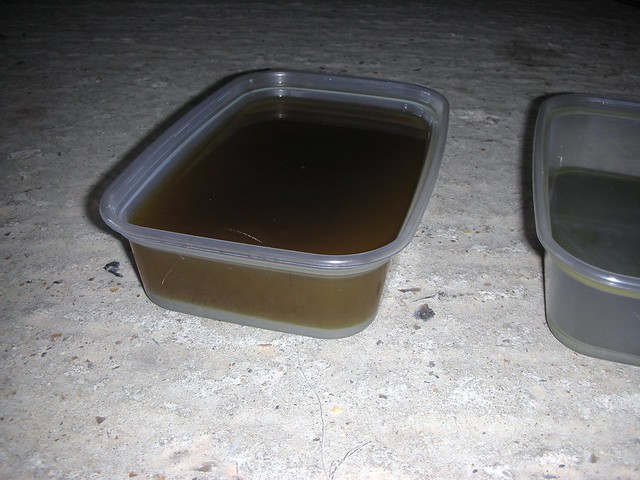
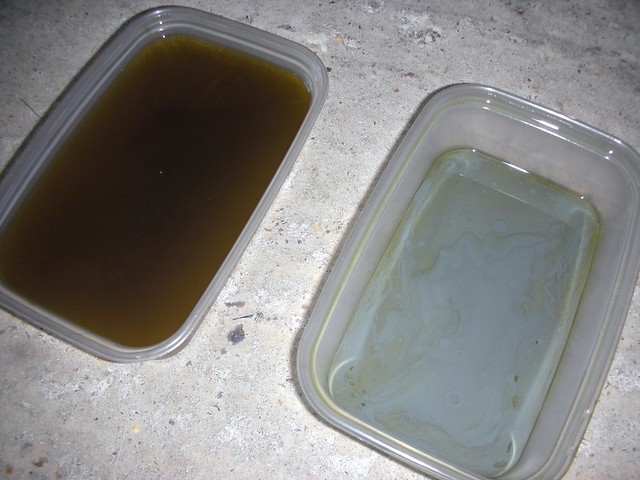
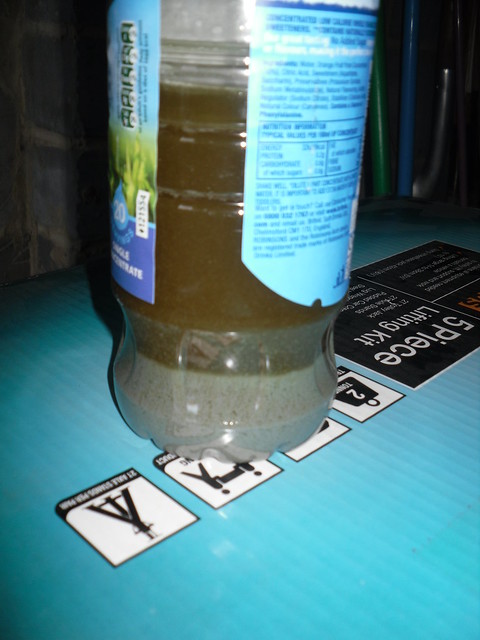
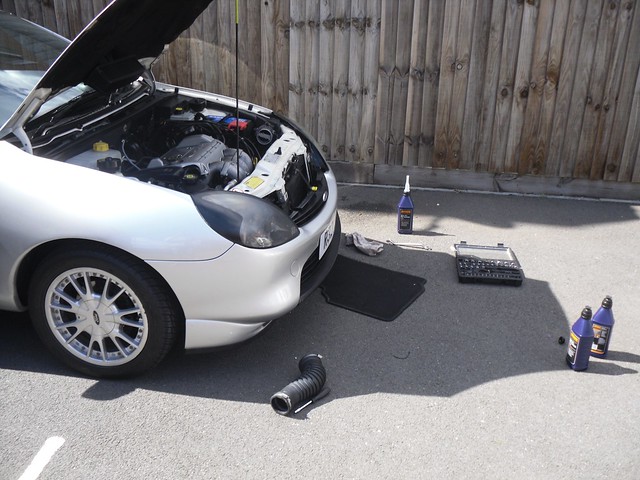
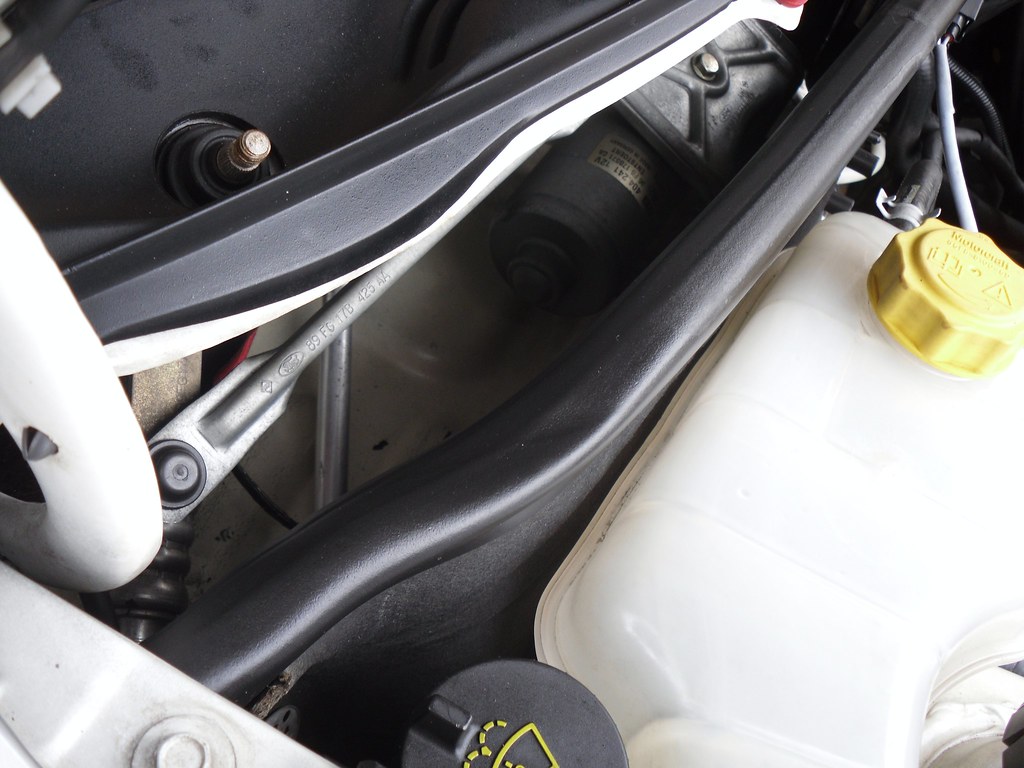
Next I changed the oil in the hope of flushing cable tie out, no luck! I tried flushing the oil again the next day, but it appears to have disintegrated into the oil. So I will change the oil again next month. She is running fine at the moment and the gearbox is as smooth as ever, so fingers crossed!