Last update: 11 April 2015 13:39..
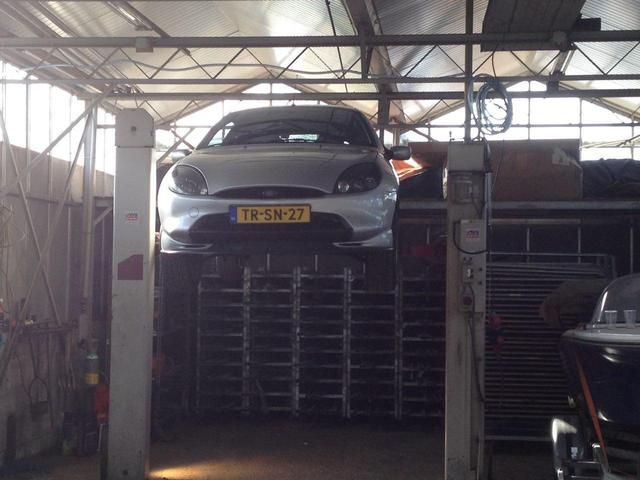
That's a long time ago, As I said before, I bought all the stuff for the underside, That's been quite a project if I say so myself.. I also work on my car in my grandpa's barn. A few months ago we bought a 4 point lift and were able to place it there. This was really really helpful in the process of doing the underside. We've done two undersides of a Puma. Both mine and my mums (a Jewel green Puma) with both Puma's we've used the same steps. There might be a mix of photos of my silver one and her green one but they both came out pretty much the same.
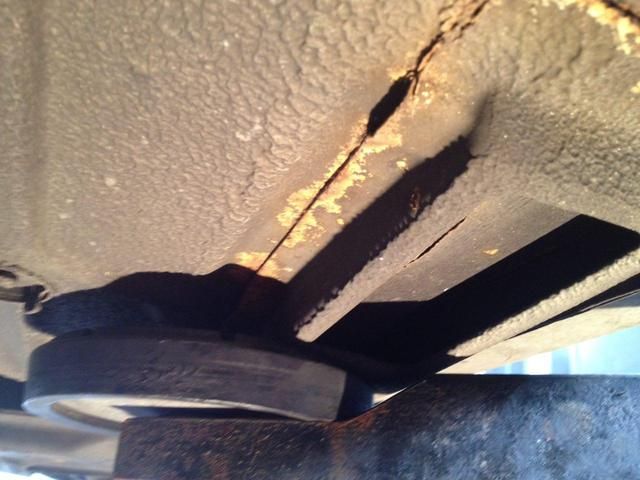
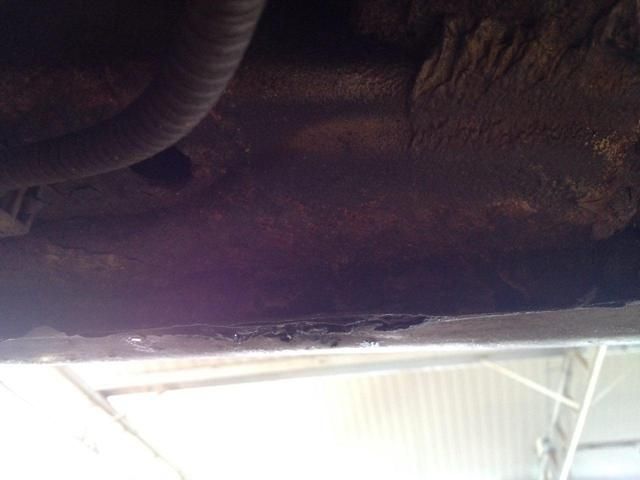
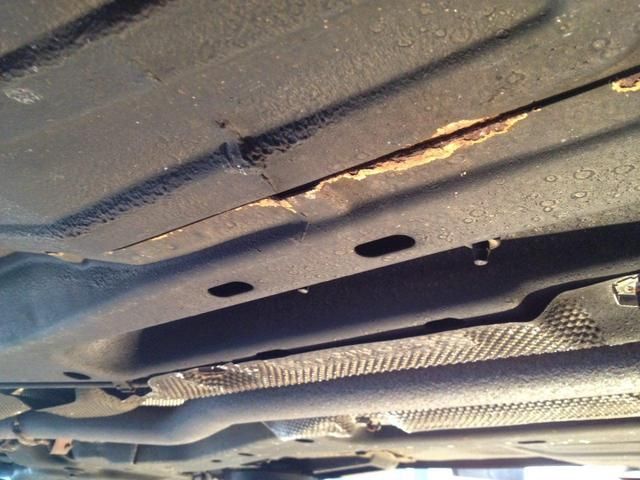
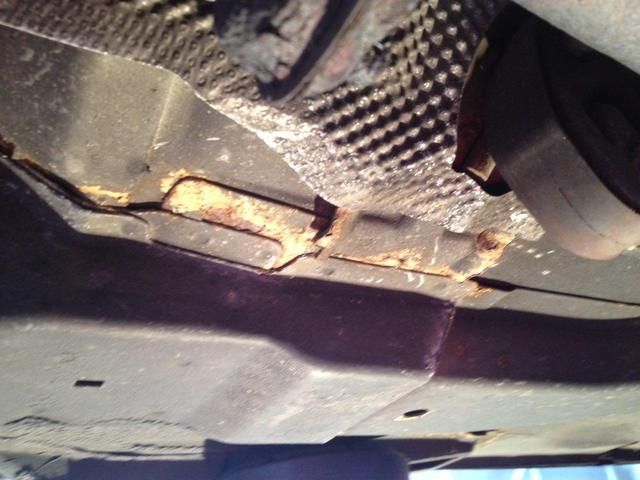
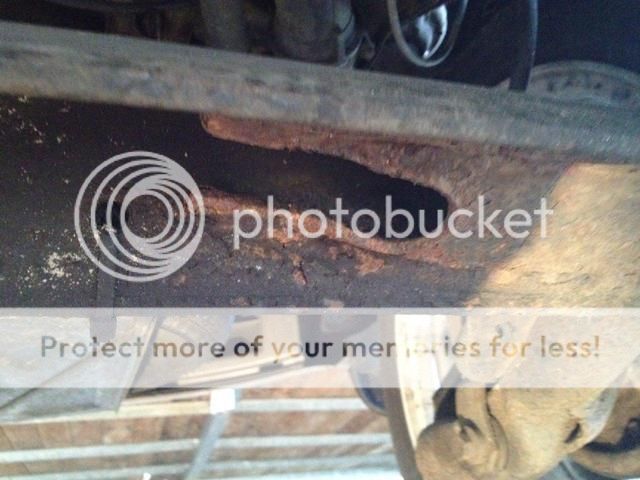
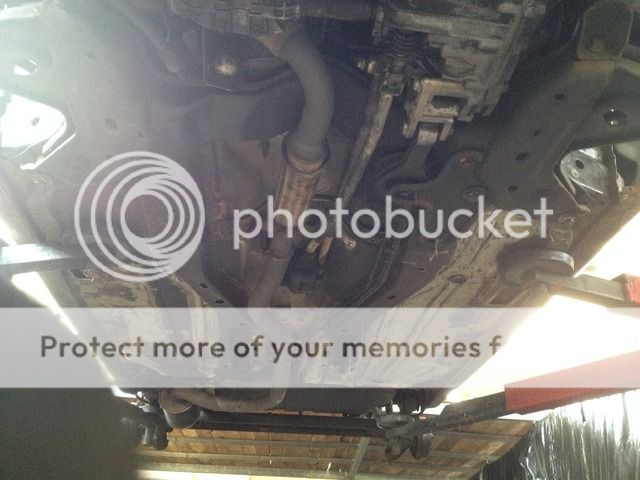
We start with inspecting the underside. Mine was in better shape then my mum's. After inspecting we noticed there were a few spots that are always rusty. Near the jacking point, At the left rear wheel next to the sill, And most of the seams near the exhaust tunnel. And obviously the rear beam.
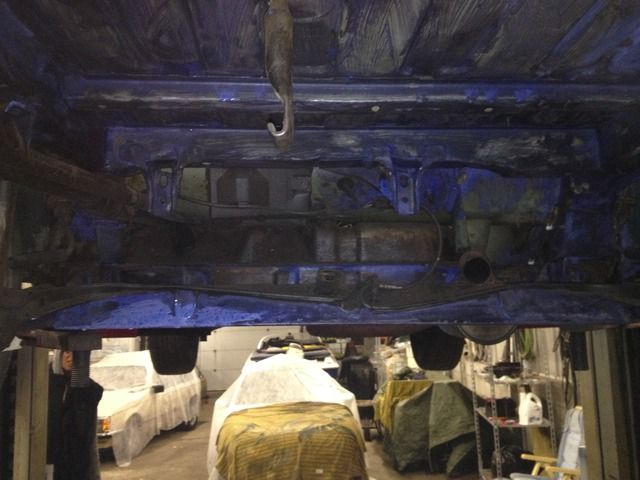
We started cracking with an angle grinder with a wire brush bit on, which went perfect. We sanded all the old protecting off and found nice shiny metal underneath, perfect! The places I just shown were just surfuce rust after all. But sometimes there might be a hole hiding behind all that gunk. I was lucky to find no hole at all, And all the old protection stuff has been removed to either the factory etch primer or bare metal.
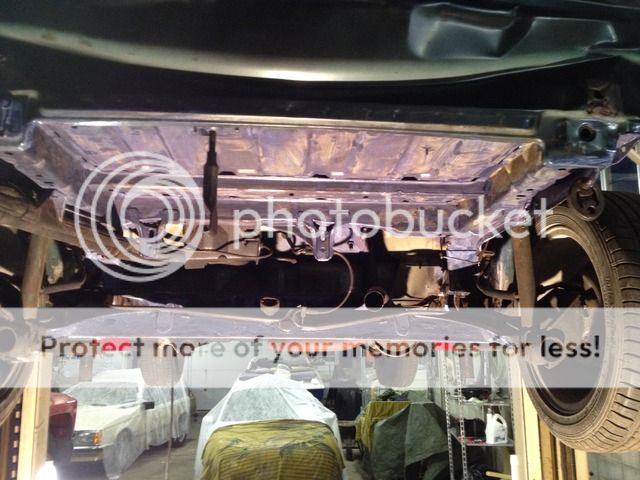
This photo is taken after around 3-4 hours of work. Started to look pretty good already, but it might be already finished but the bit where the spare tyre sits is also quite a lot of work, Also had to do the inside wheel arches. These also tend to rot on the rear and near the brake line assembly. Mine does had some rust there but nothing to be worrying about. I haven't (or can't find) any more progress photo's of the grinding. Haven't made much photos of that eitherway as my hands were dirty all the time.
So the next step was to apply some product that fights against the rust. After looking and reading about rust-stoppers I came to a product called FE-123 from the lovely country of England

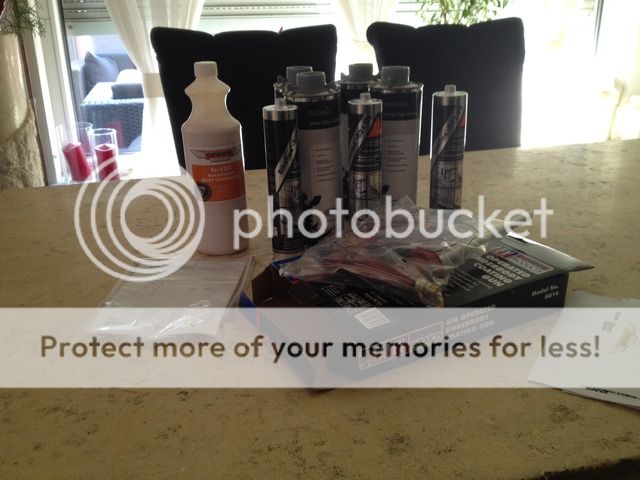
- I ordered all my stuff via Rust.co.uk and it was at my house in no-time. I bought stuff for two cars so you can divide everything in 2. Intotal we've both used this much:
Rustconverter: FE-123 250ML
Epoxy Primer: 500ML
Seam sealer: SIKAFLEX 521UV 450ML
Stone chip: Indasa Stonechip GREY 2L
We did do this on warm days so it might differ with what you need to use. Temperature really does help when doing these jobs, it makes everything flow better.
So after everything was back to factory primer we brushed the rust converter on everything. I've heard that you can thin down the FE-123 1:1 but I haven't done this as I want the full potential of this product. I really rate this product highly as it really converts the rust. I've used it on other things in the meantime and the working process of the product is really interesting. It starts of as a kind of white/cream color, After that it turns into a dark purple color, which says that the product is working. After the process is finished it turns into almost black, I believe it also can be used as a primer layer. To be sure we haven't done this. Will talk about that after the rust-converter pictures.
Purplely:
Black, doing it's work!
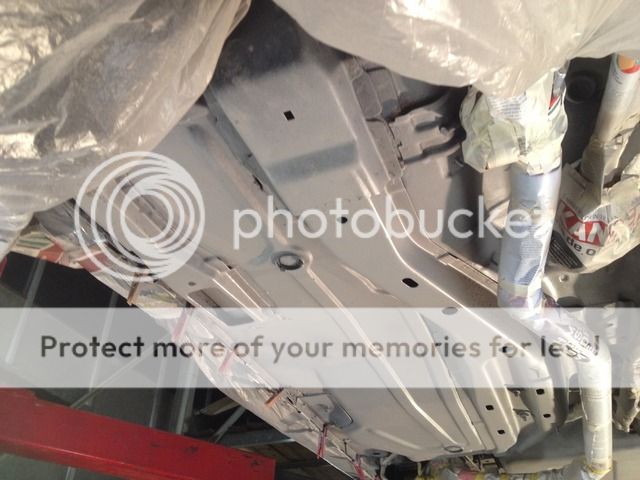
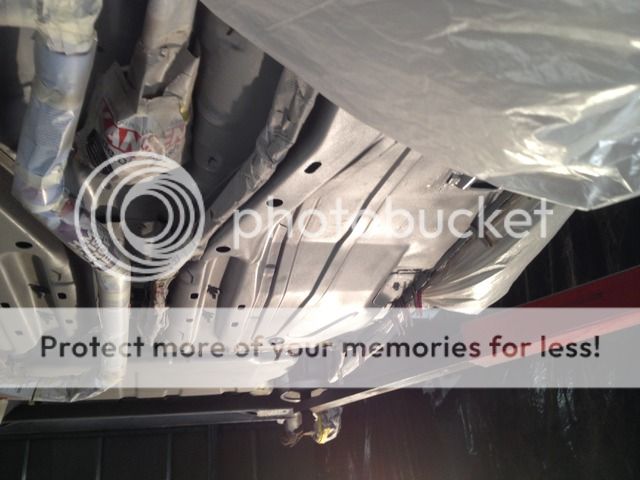
So after we brushed on the rust converter we let it dry for 24hr. Just to make sure the process is fully completed. Now the fun part starts. The primer. We used an Epoxy primer on 2K basis. Which needs to be mixed 4:1 (4 parts primer, 1 part hardener) and need to be thinned with thinner to your likings. Before we could spray the primer on we needed to tape everything up, to protect all the brake lines, handcable lines, fuel lines everything. We also had to tape up the exhaust as there was no way we could remove the rusty bolts without spending hours on it. It was not in our way anyways. After everything was prepped and ready we mixed the primer and started spraying it on the underside of the Puma. We used a spray gun for this, This was not ideal as we used a top-mounted spray gun instead of a bottom-mounted spray gun in combination with a small compressor with a maximum of 7-8 bars of pressure.
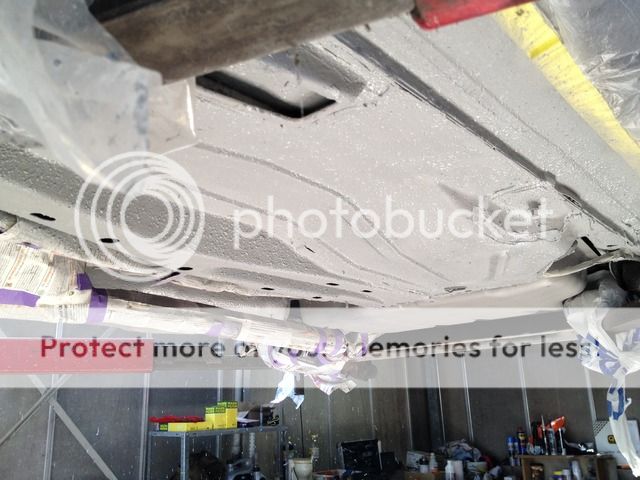
After a good 30 minutes of work the underside already started to look like new:
The wheel arches also were primered, But I don't seem to have pictures of that. When everything was primed we let it dry for approx 24hr. The next day I seamed the seals of the car. In the beginning I did this with sealant gun but later discovered that I was better of putting the sealant on my hand and put it on evenly. After I seam sealed everything I let it dry for another 24hr.
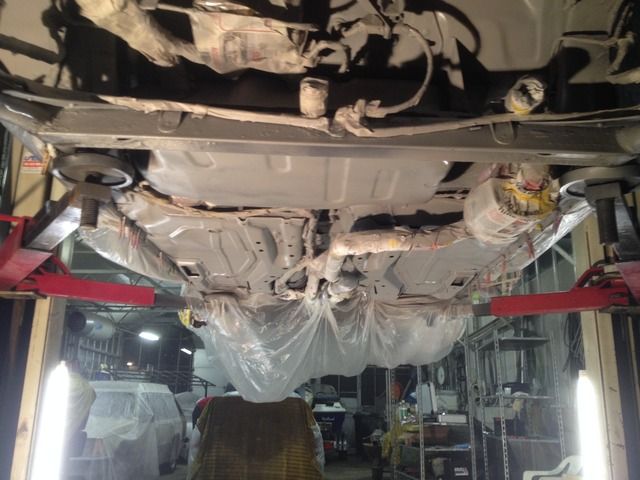
The last step we did was the stonechip layer. Which was really fun to spray on. We used a the spray gun seen in one of the first pictures. You can mount this spray gun on the stonechip flasks (1L) and go mad (of course with compressed air attached

) The result should look like this when you're done:
After this Puma and my mums we were sick of it so didn't take any further steps. It is possible to spray 2K based paint and clear on it to protect it ever more, However this is when you're going for show-class finish. We had no intentions to make it show-class worthy it was only to protect it for 5-10 years. Put the steps are made if we want to.
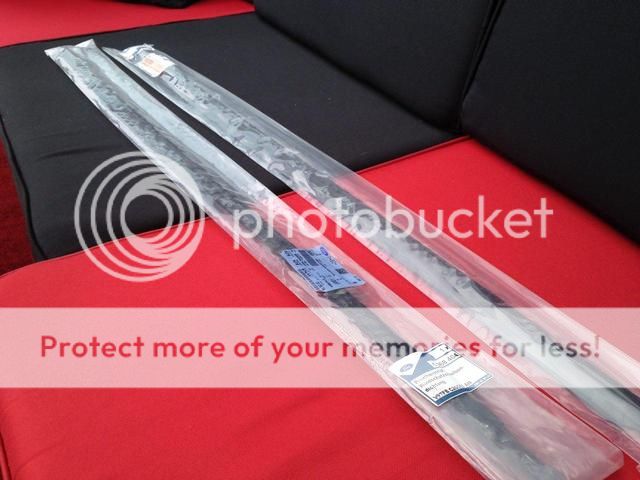
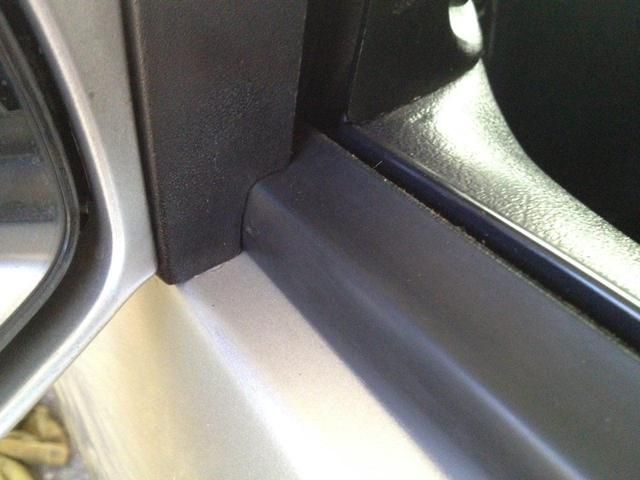
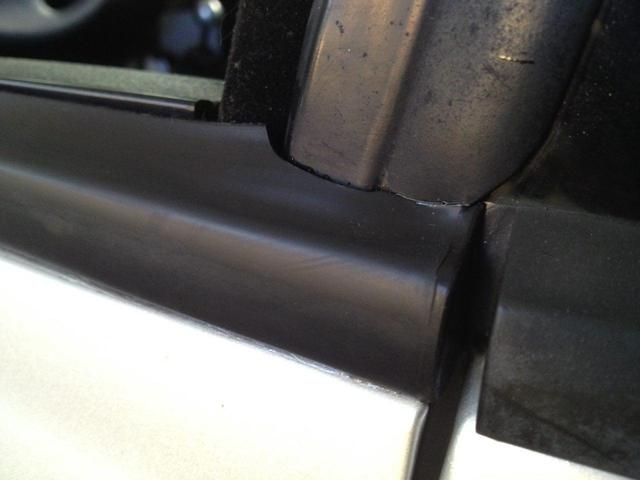
The underbody project wasn't the only project I have done during the long period of silence. As some of you might know, I was looking for new weatherstrips. I bought these new from CarParts Pros in Germany. Excellent service and turned out to be cheaper than FordpartsUK (Obviously because of the shipping costs and currency exchange)
Perfect fitment and the most important, No more wind noises when my windows are closed.
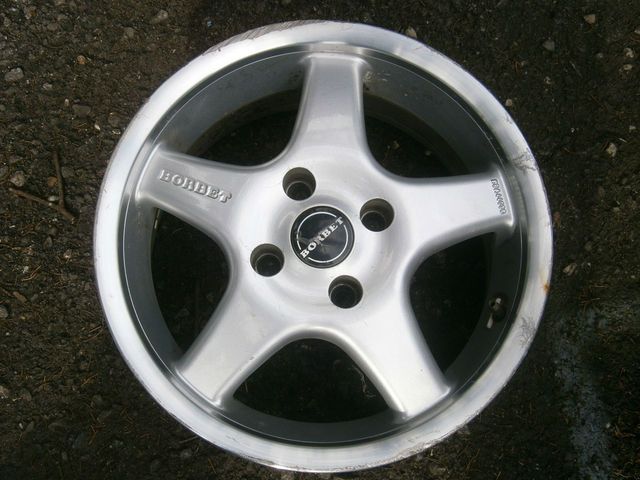
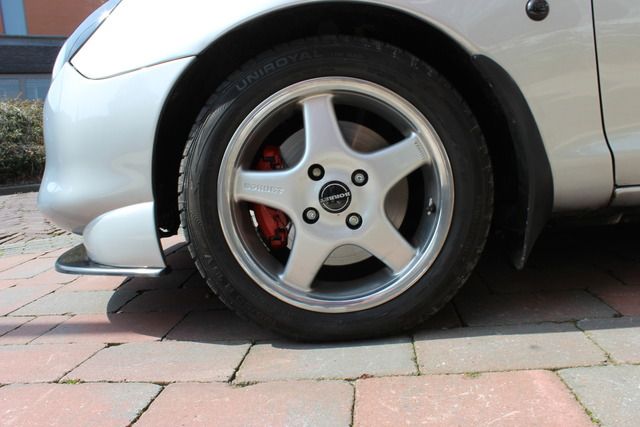
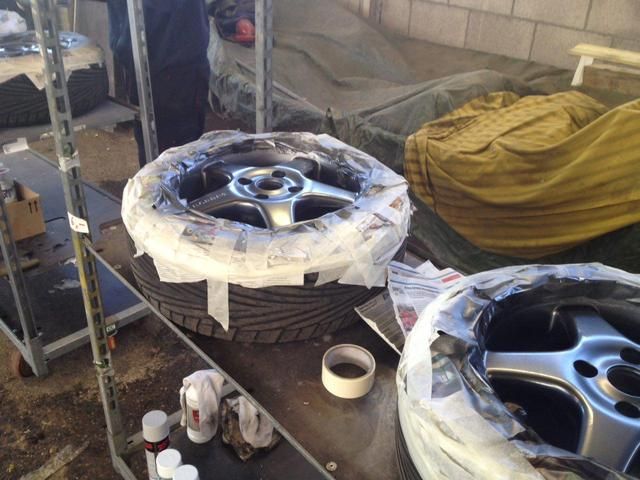
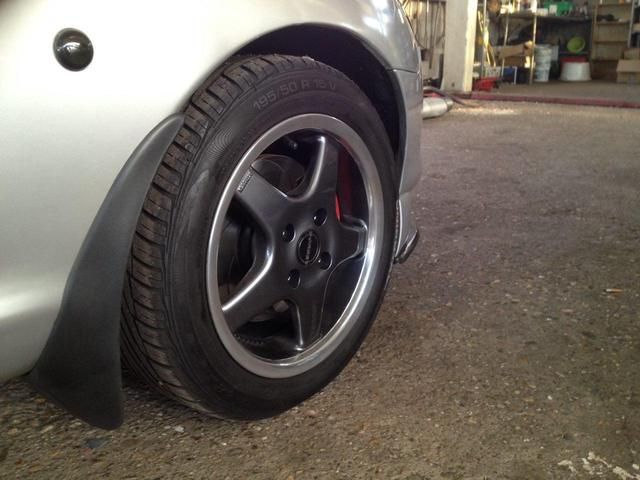
As resprayed the alloys, I kept the shiny dish as it was too much effort to get it to this state. It would've been a waste if I sprayed it aswell. I went with a VW Metallic Antracite color. Result is really good if I say so myself. After the paint I used a 2K based clear coat which is more scratch resistant and reacts better to brake dust.
2 layers of paint.
Finished with 3 layers of paint and 3 layers of clear coat (1 dry coat/guide coat, medium and wet coat)
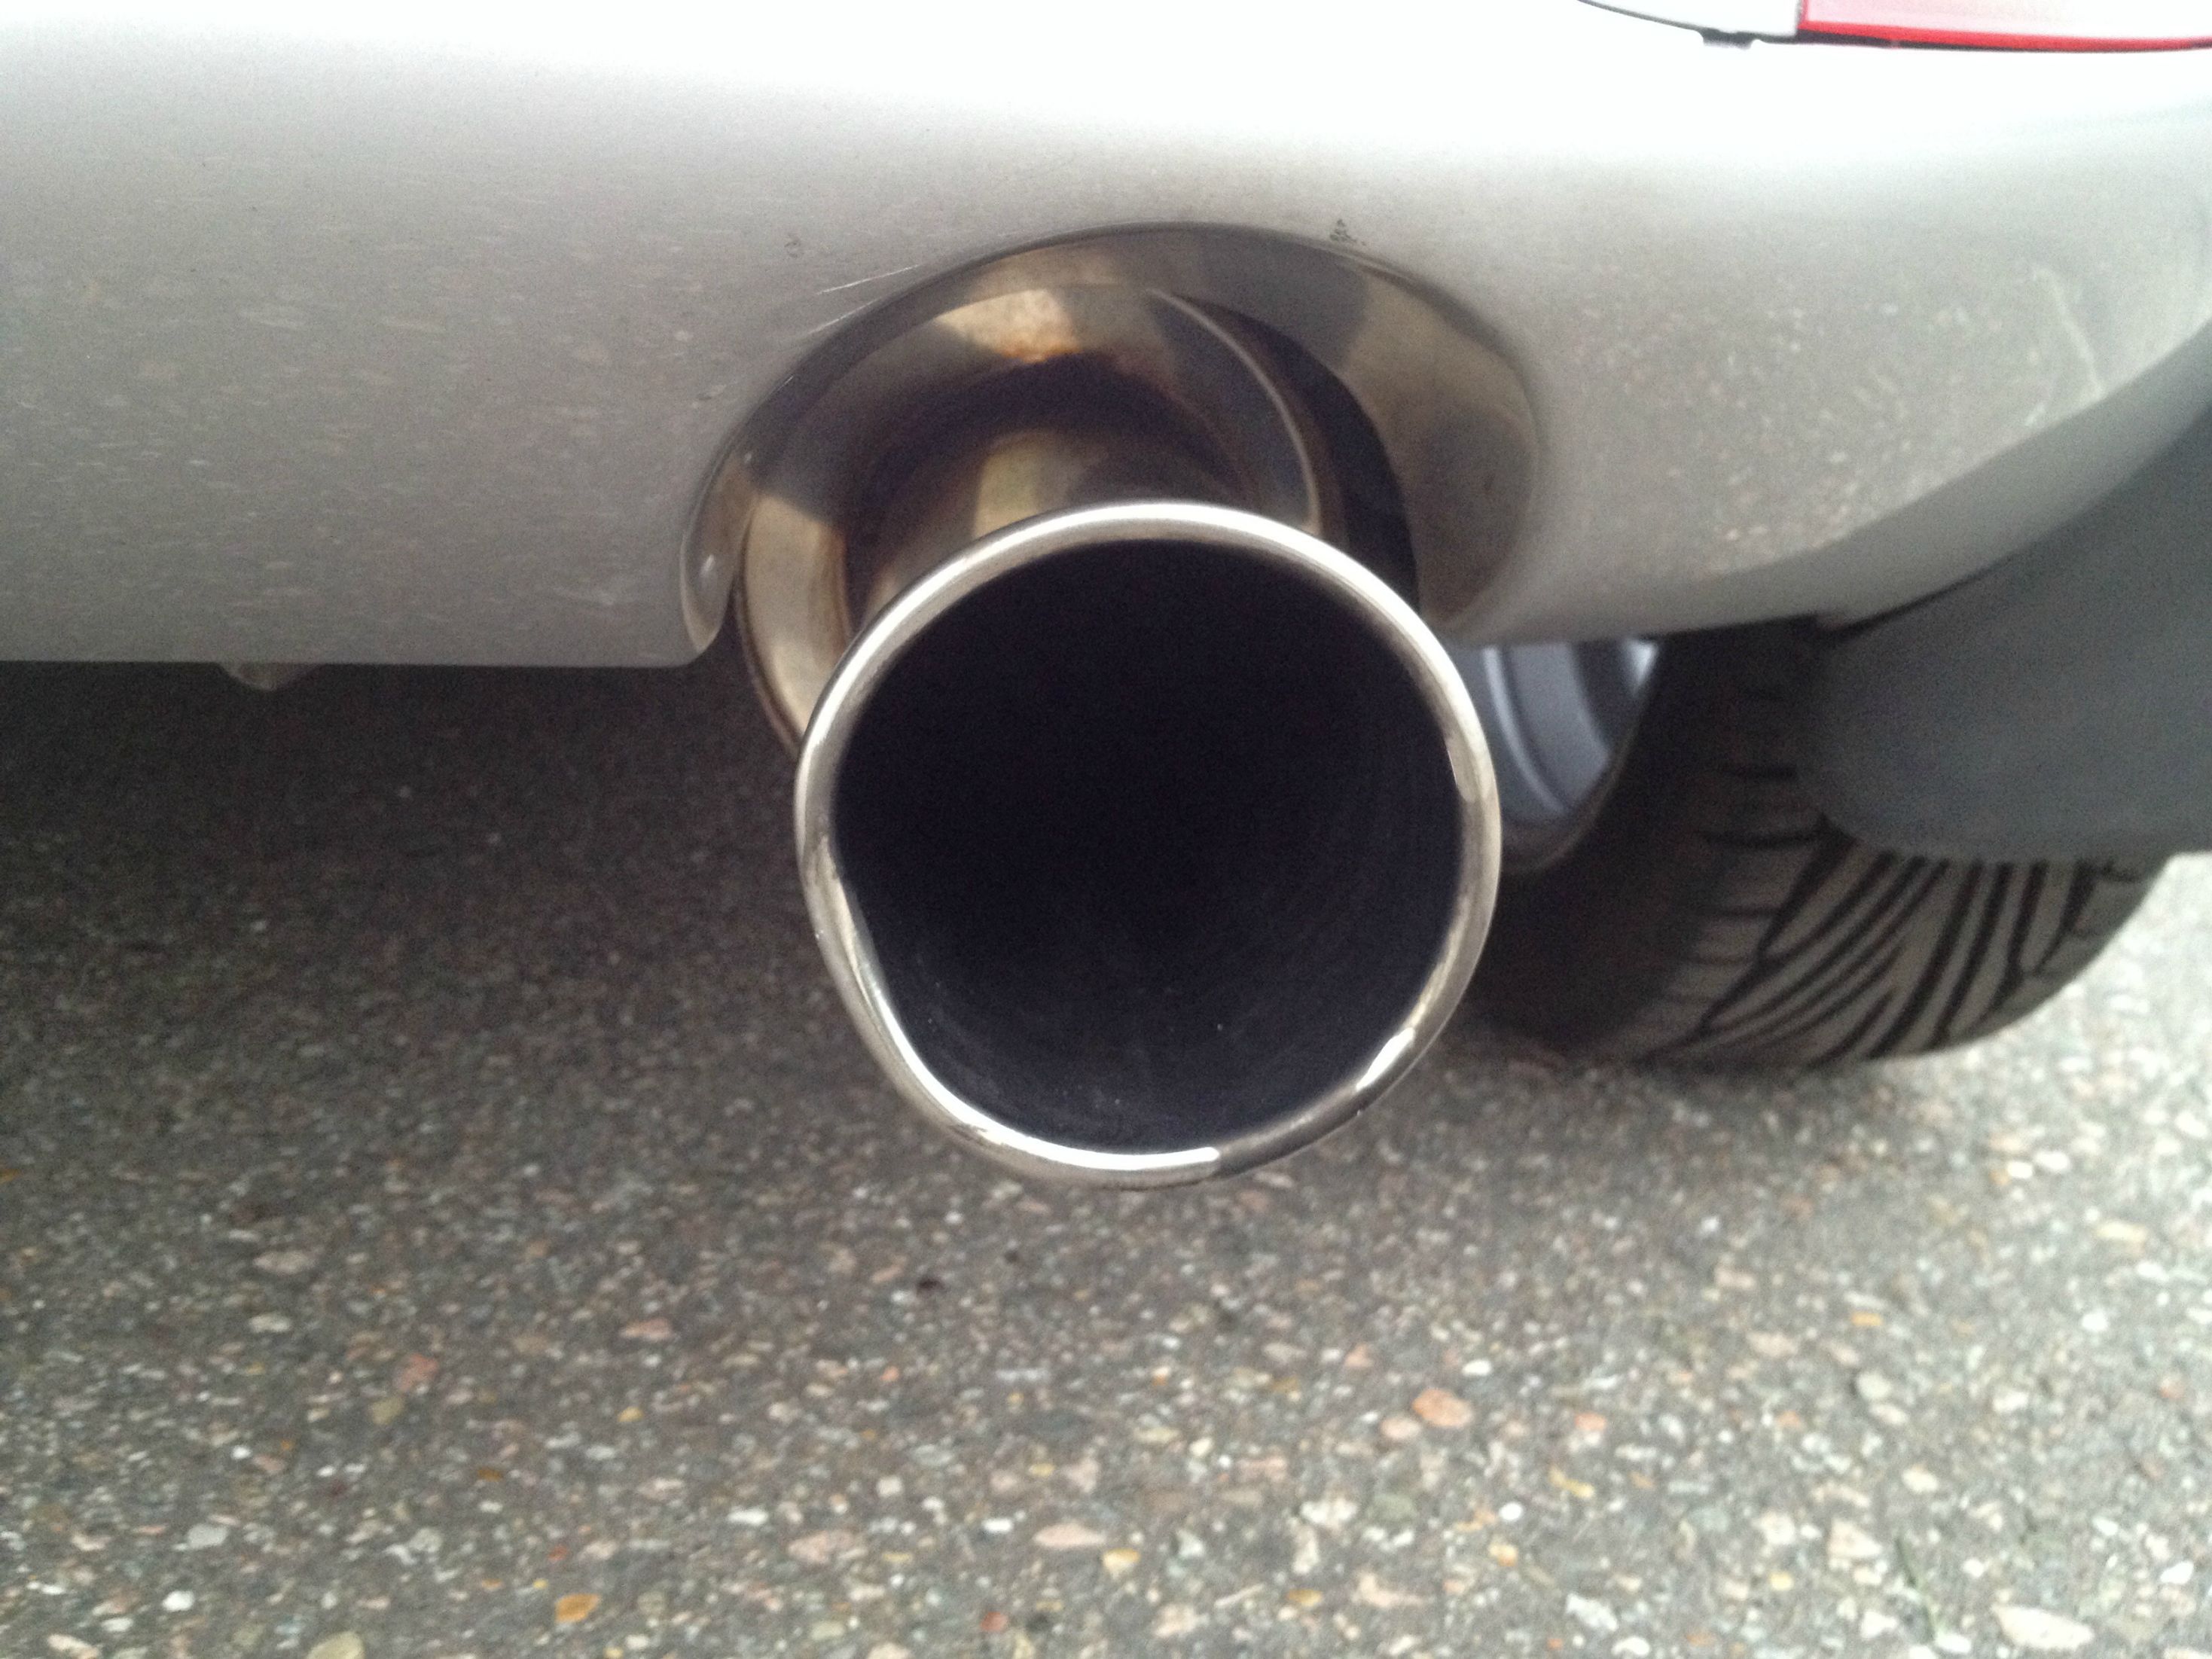
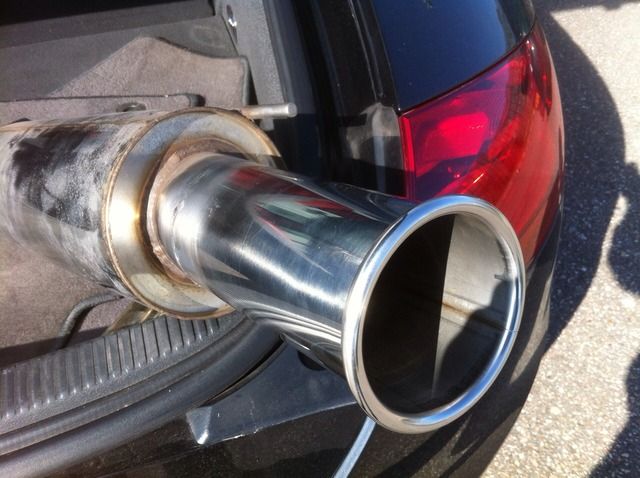
Something I have been looking for for a long time is a complete exhaust system. Back in January I already bought the 4-2-1 manifold from eBay. The guy that was selling it didn't know what brand it was, Turn out it was a Milltek EVO 1 (without the flexi) so the hunt began to find the rest of the milltek exhaust. About a month ago a for-sale thread popped up. The guy, Clemo, was breaking his Puma and had a Milltek centrepipe, decat, sports cat and backbox for sale. So I tried my luck and asked if he would post it to the Netherlands. He accepted my request and a week later the exhaust was delivered at my house. The package was so well packed! It literally took 15 minutes to unpack it. Everything was included, from exhaust rubbers to the springs/bolts which was a life saver! I couldn't be arsed to buy them from Pumabuild for a silly amount.
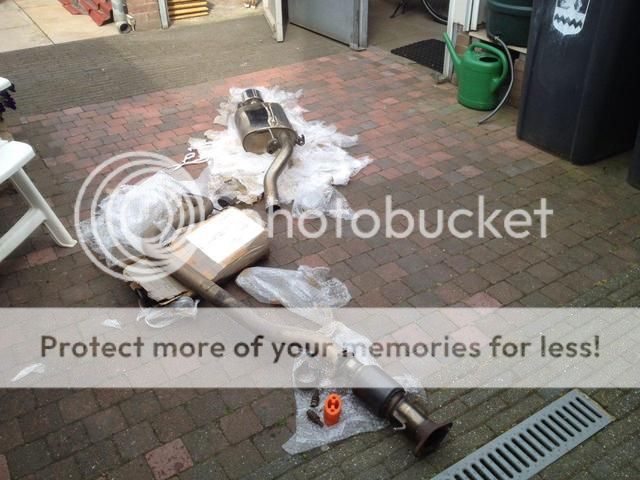
The old exhaust system was a pain to remove, especially the heatsheat on top of the original manifold! Every bolt was rounded, Eventually we cut the heatshield of, revealing some sharp edges which cut my earth wire in 2 :evil: - Luckly we had a spare

. My brother lengthen up the lambdasensor wires and within a few hours the exhaust system was fitted. Compared to my Piper backbox the system is quiet on low revs, But boy o boy when you rev it and let the revs go down! It pops and bangs, just like an FRP!
Also gave it new oil, filters, spark plugs and a new rocker cover gasket. Engine is so mint now

- Current mileage/km: 101000 miles/163000 km
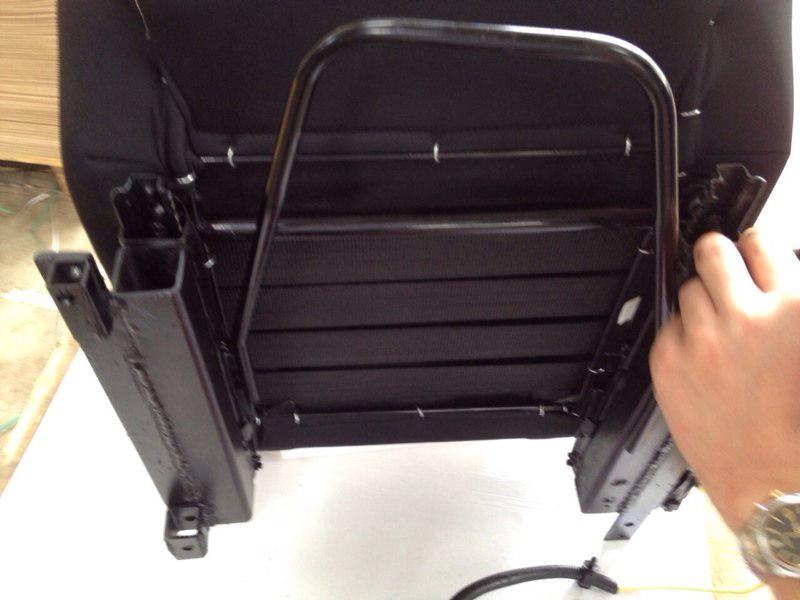
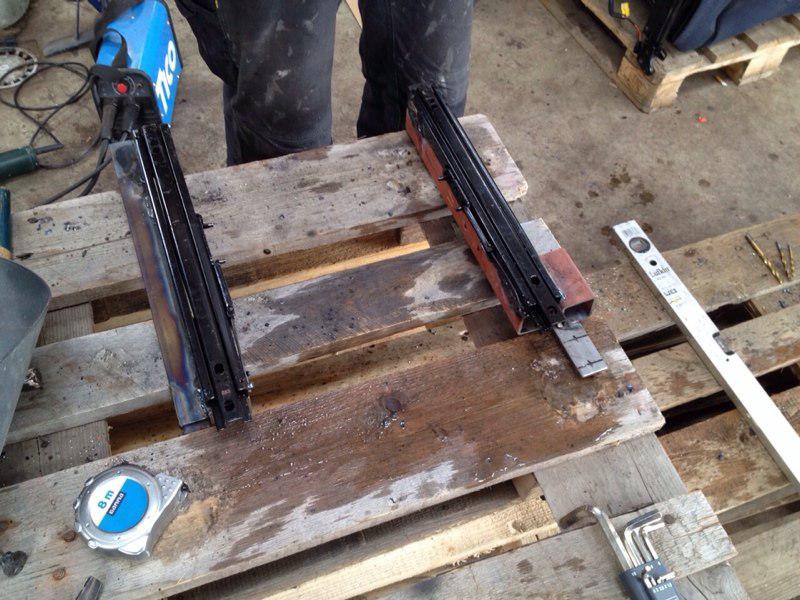
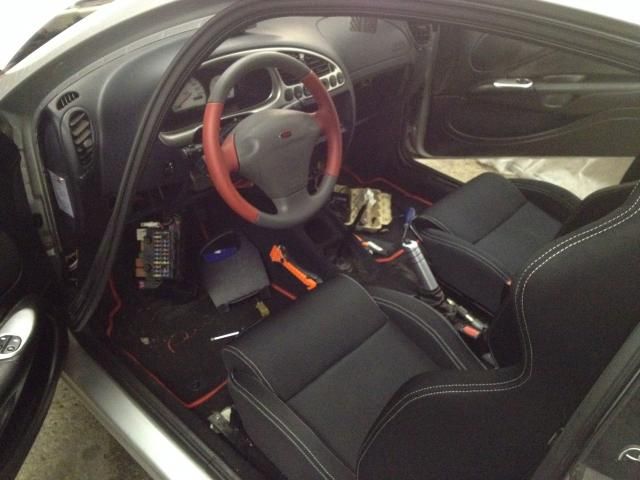
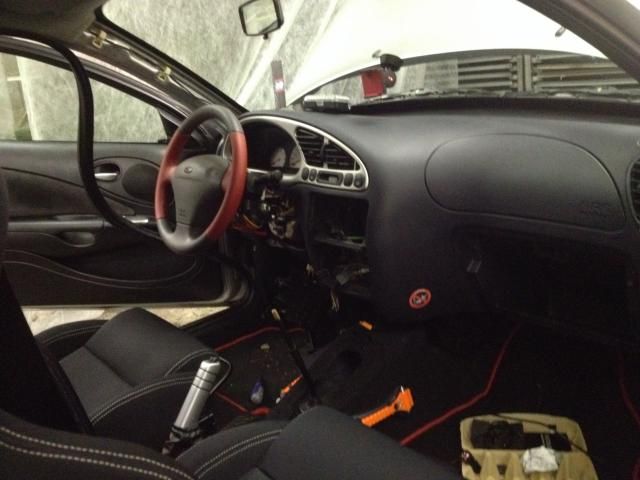
For those of you who read until now thank you for reading! Next thing on the list is the re-do my seatframe, Already have a set of used Puma seat rails which will be used in the process. Plan on making loads of photos when doing.


