The Fireblade

ProjectPuma

Help Support ProjectPuma:

This site may earn a commission from merchant affiliate links, including eBay, Amazon, and others.
For the first time in my riding history I will be moving my personalised plate on to a bike!

And I only just bought this plate too!
 
Impatiently awaiting delivery of my exhaust!

Checking the tracking status like it's going to make it get here faster :lol:
 
Mine's currently "International Freight - Leaving Depot" - so could be in the air or on a boat.. no idea
 
:grin: Exhaust has arrived and for a second hand unit I'm really pleased, could do with a bit of a clean up before fitting.. only one slight hold up and that's that one of the collars is missing, the seller still has it and is shipping it separately, sad times as it means it can't be fitted this weekend.
 
Well, hold up resolved, the collar has arrived and the exhaust has had a cleanup.

Can't wait to fit it now, feels like it's been forever since I bought it! :grin:
 
Hi Red
If it's titanium when you've cleaned it give it a wipe over with WD40 on a lint free cloth, you'll be amazed at how it makes it shine.
Barry
 
Thanks for the tip Barry, it's mostly stainless but it looks Titanium on the pipe to the slip-on so maybe I'll give it a go.
 
:? well last week the MOT was due, I thought since it's never had an advisory that it'd be plain sailing..

.. it failed.. on some really basic consumables which ended up costing a small fortune to have fitted/replaced.

BUT the difference is clearly noticeable even doddering about scrubbing the tyres in. (Fitted two new tyres, a set of front brake discs and new pads), the tyres must have only just hit the limit but I knew the rear was quite squared off, the front discs however seemed fine but failed the roller test due to warping.

Hey ho, rather change this stuff and stay safe :cool:
 
Pictures just because they might come in handy for reference later

34145636450_cd72592261_b.jpg

33720699253_25999592db_b.jpg

34531231195_8845281d58_b.jpg


(mileage: 13,867)
 
So this weekend, was THE weekend.

On the cards was an oil+filter change, air filter replacement, installation of the Power Commander V module and the full Akrapovik exhaust system.
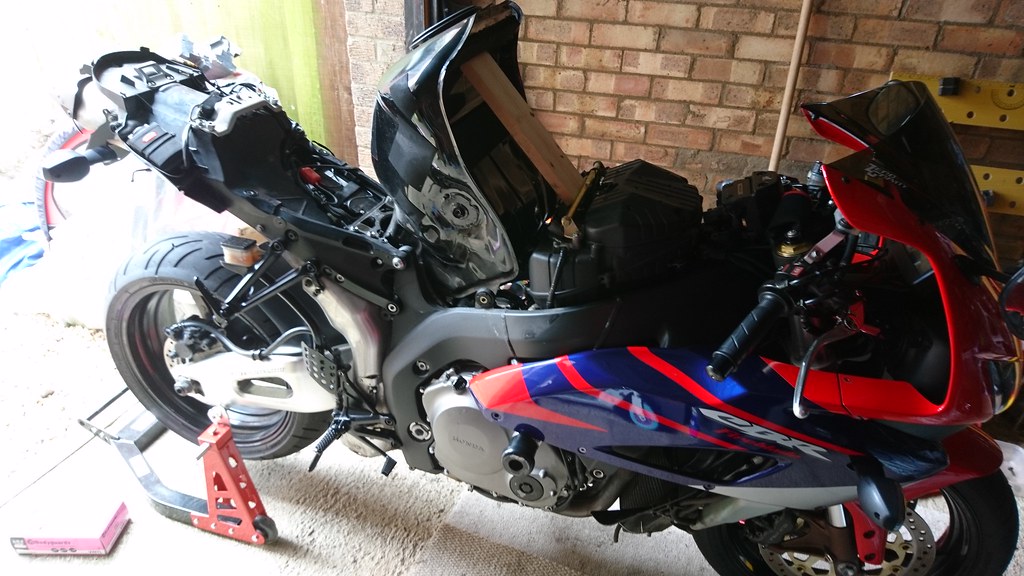
Lower fairing off
33965908444_3a2c13ff85_b.jpg


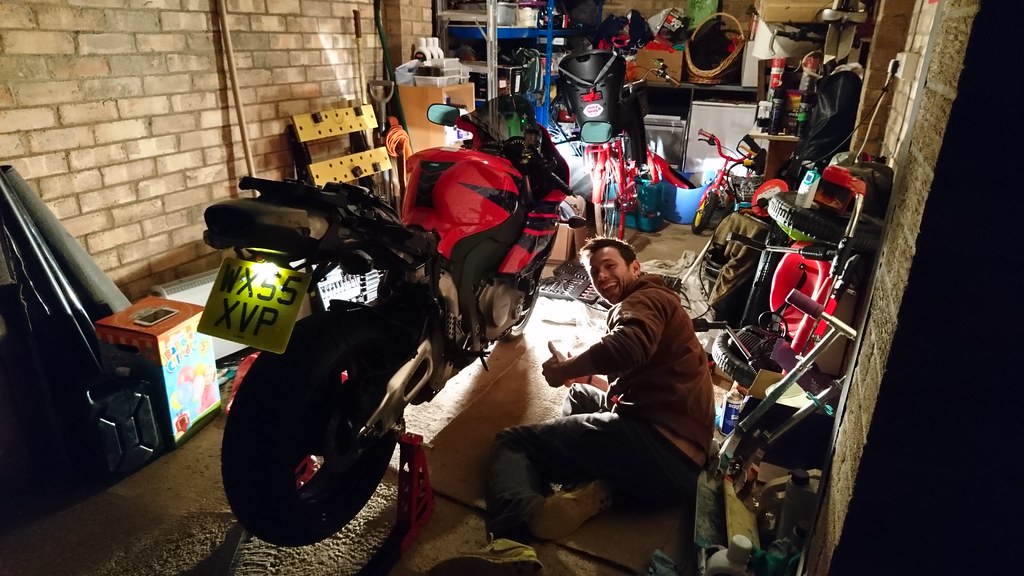
Hired help (payment terms being beer and BBQ) and rear fairing off
34769000606_59080f6d9d_b.jpg


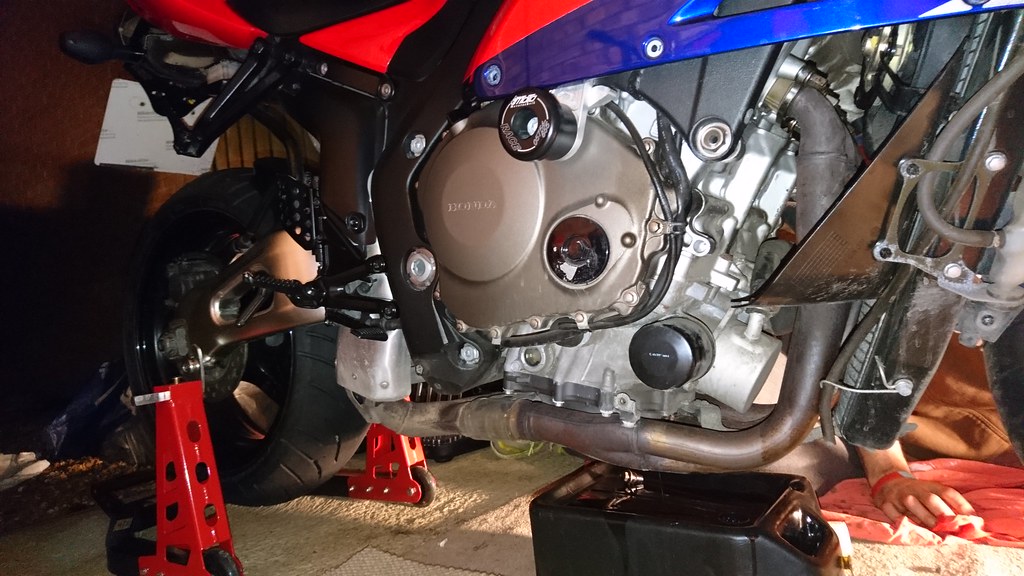
So Friday night we completed the oil change (with new filter) and left the fairings off ready for Saturday.

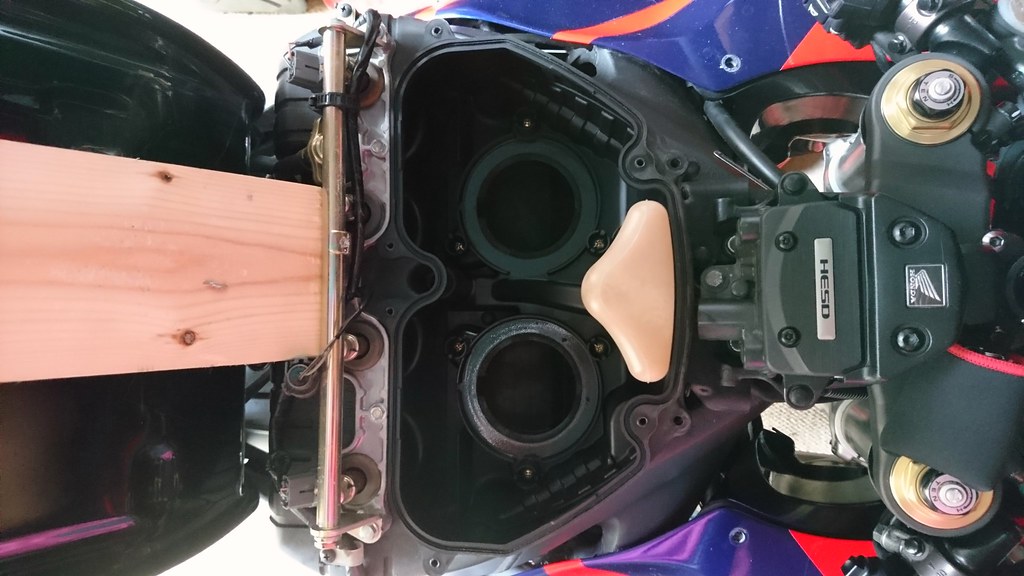
Saturday began removing even more stuff (god knows why we didn't devise a better way of organising bolts in the beginning!). Tank is up ready to fit the air filters and PCV

34676375901_b80f279666_b.jpg


34646354232_34e0303ddd_b.jpg


Stock air filters removed and waiting for the replacements

33974953934_c2904e856a_b.jpg


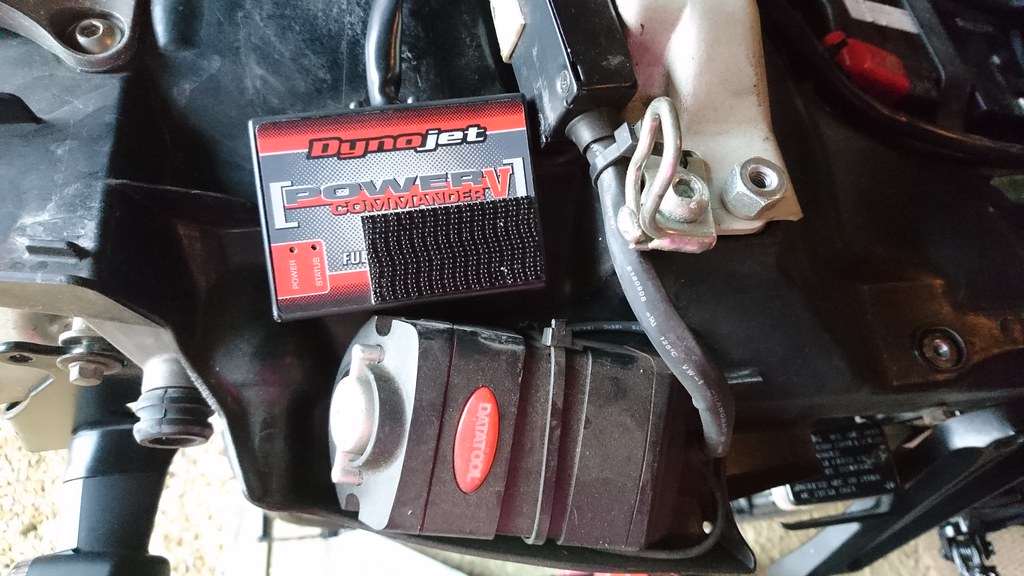
So with the air filters changed we moved on to fitting the PCV, the aim being to follow the route of the existing loom and neatly cable tie it all together. To give clearance for this the tank needed to be fully unbolted and lifted while the device was then fed through and connected to the lower injectors and TPS.

The upper fairings are also removed by now to give better clearance.

34646369552_42ea5f5cbb_b.jpg


Little black boxes queueing up in the rear tail, this was cleaned up and velcro added to secure it down straight (not pictured).

34768933116_8d485abfaa_b.jpg


Now all that was out of the way we were on to the last piece of the puzzle, the exhaust.

Removing the exhaust is always a concern for me when it comes to the bolts on the header, so I usually shy away and let someone else take the chance. This is because if something is seized it can be an actual nightmare.

Dowsed in SX90 (No WD40 to hand) we set to work, all of the nuts seemed loose so we set about following the recommended path to removal which started at the rear and worked forwards.

The stock exhaust has a valve in the pipe to control back pressure by cables, all of this needed removing and the cables were taken off of the control motor.

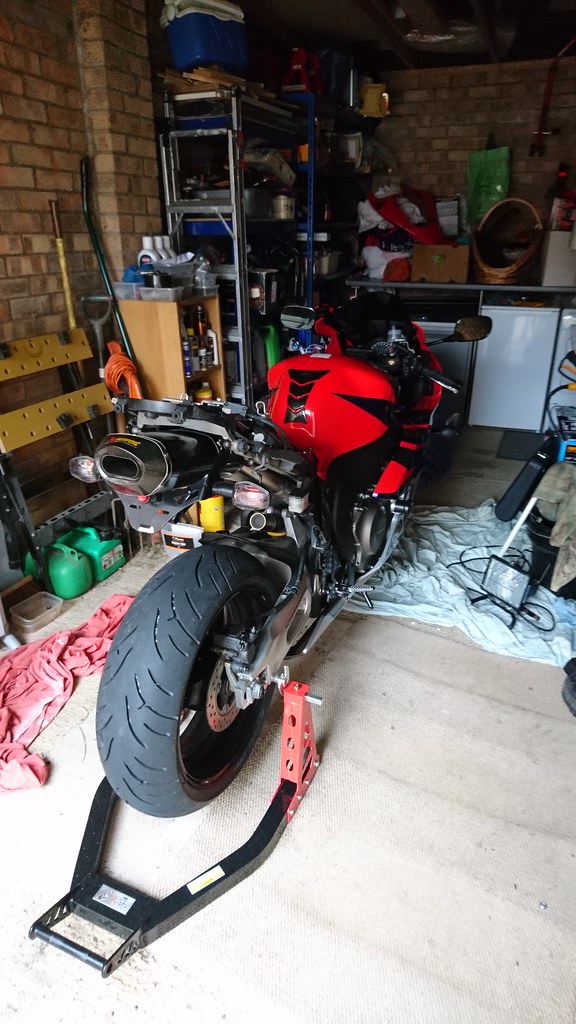
We got the 'can' off with a single minor casualty (the bolt on the clamp sheered off but since we are not re-using it it's no issue).

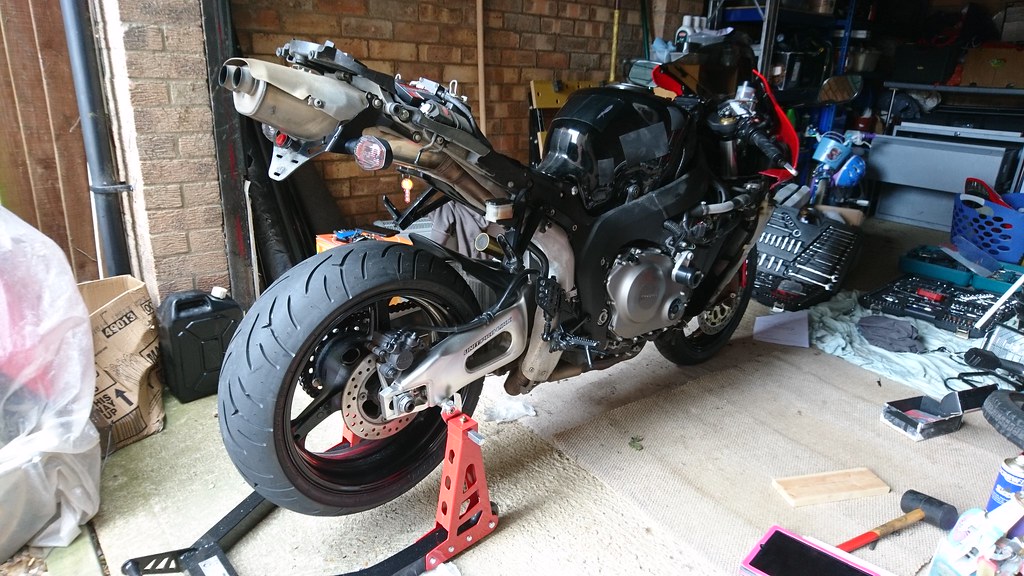
Exhaust and heatshield are now removed

34768932106_c3f88db0cf_b.jpg


Back to my earlier comments about head bolts, it turned out that whilst all did in fact turn, three of them actually undid from the block side and not the nuts, no problem at least they aren't stuck in.

You can see here the bolts should be attached to the block and nuts threaded on to them. All threads were given a covering of copper anti-seize spray before re-fitting. New gaskets were used for all four pipes to avoid any potential leaking issues.

34676266661_3f1c5ea963_b.jpg


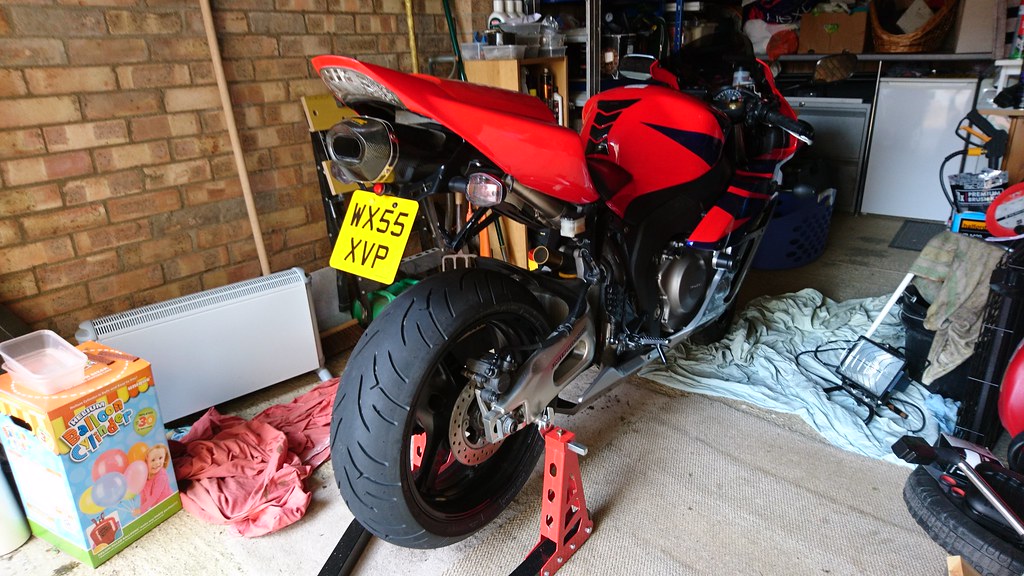
We prevailed and the whole exhaust was successfully fitted, this model year does not have an O2 sensor so the exhaust is blanked for this.

33999157793_2bd66fe021_b.jpg


The only thing we found was that the hanging bracket for the new can needed two additional nuts, on the stock item these are welded to the can. Fortunately a bit of rummaging in Dads garage and we were in business with two shiny nuts.

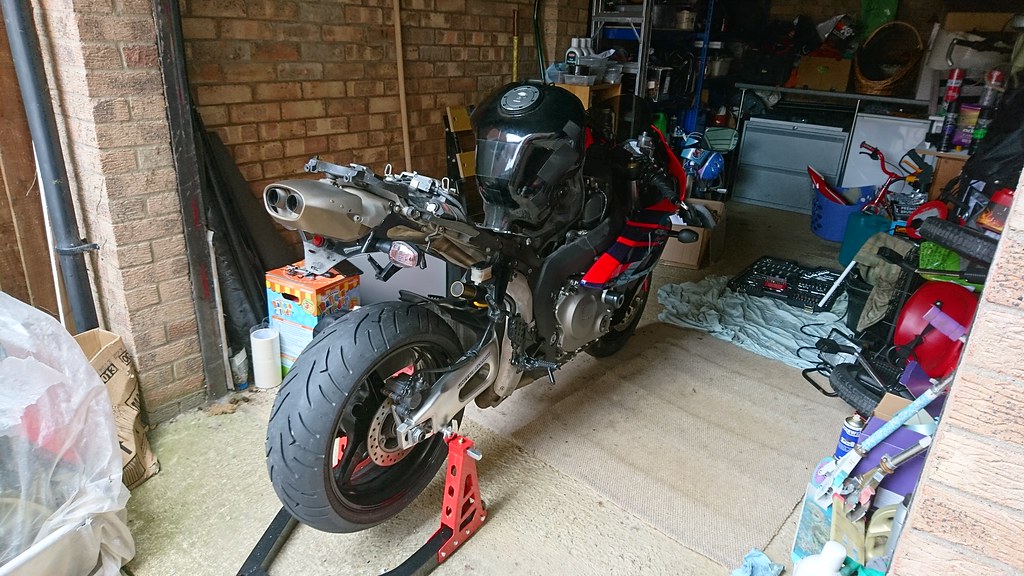
All of the fairings have been put back on and we're pretty confident all the bolts are in their correct homes :)

34808926495_6061e0463f_b.jpg


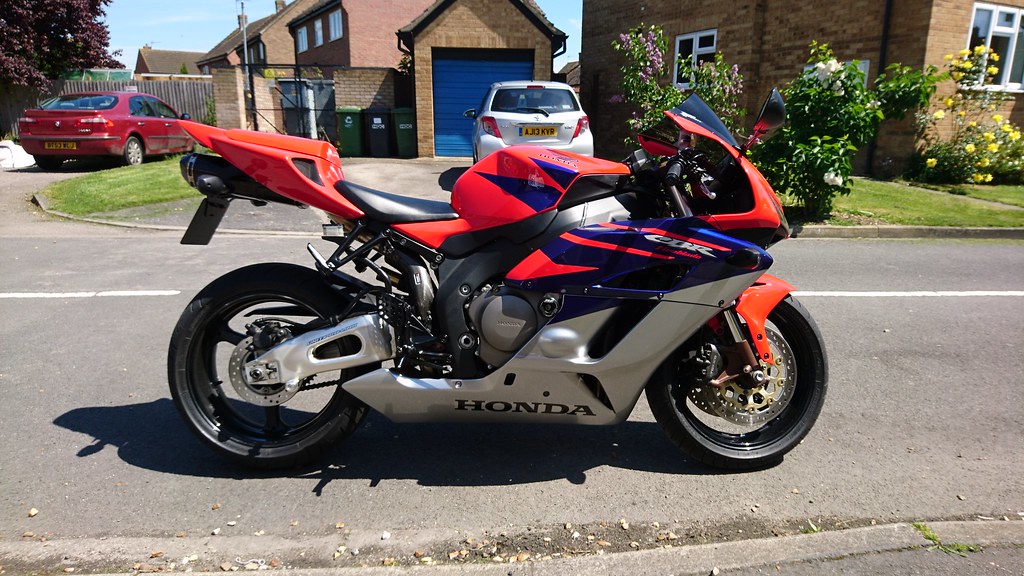
There was no time for a test ride but we have fired her up before the fairings were replaced and it sounded excellent and leak free.

Hopefully I'll get a chance at lunch today to go for the road test and report back!

Thanks to the little bro for his help, this would have taken much much longer solo!!

(mileage: 14153)
 
Out for the test ride at lunch today, and it's amazing! :grin:

Doesn't seem to be any leaks from the exhaust which is always good news once everything is back together!!

34689439151_521863e938_b.jpg
 
So you might have seen the post in Grumbles section, I had the rear tyre blow out on Wednesday (31st) on a dual carriageway, every one assumed it was a puncture (two garages I called) but I could see no visible entry, it went down so fast that it'd definitely have left a mark at least.

AA came out and tried to get it inflated but couldn't, air was pi$$ing out between the rim and the tyre in one spot. He tried a few things to try and get it to seal back on but it wouldn't.

I got recovered back to the garage it was fitted at the start of May (literally just worn in). They said they couldn't look at it that day so I got a lift home.

Later in the day I got a call saying the bike was done and the tyre had been replaced.

Apparently there was a manufacturing fault of some kind and they were sending it back to Bridgestone.

It's not confidence inspiring to have tyres blow out like that, I'm just glad it happened going in a straight line!

(mileage: 14300 ish)
 
Give it a quick check Matt.
Make sure it's evenly fitted all round on both sides.
It's easy to check as there's a "fitting mark" of sorts around the full circumference of the tyre on both sides.
You never know, some chump may have fitted it on incorrectly and are spouting the manufacturing fault as a getout clause for screwing up themselves.
Shouldn't really happen unless the fitter was a complete idiot or indeed there was tyre fault as the tyre usually seats itself correctly when inflated but it can happen. Might have been simply not enough soap on it to help it slide in (oo-er)
They should check and I've seen batting of the tyre wall here and there with a rubber mallet to seat it correctly.
 
The old one has gone so I can't check, the AA gave it a good whack and soap to try and get it to seal but it was having none of it which I think seemed to surprise him.
 
Insurance renewed, renewal came in at £670 - changed insurer, increased my annual mileage from 6k to 10k, all mods declared, £335.

Also fitted my personalised plate at the same time (avoid admin fees from the previous robbing company).

Happy with that, monthly push it to £35 a month but still much better.
 

Latest posts

Back
Top