Budget Puma TURBO Project!!

ProjectPuma

Help Support ProjectPuma:

This site may earn a commission from merchant affiliate links, including eBay, Amazon, and others.
Im using a sierra cosworth one, keeping it ford! hehe its about 4" deep too, you don't need that big of an intercooler on a supercharger as the temps aren't no where near as high as a turbo install!
 
Yeah, i was looking at a cosworth intercooler myself, but as i wanted it at the front of the car to get as much cold air onto it as possible, i went for this 1. Its only about 4cm deep!! Im not sure what its off, maybe just an aftermarket intercooler, but should do the job nicely! Ill upload pics of my home made intercooler pipes tommorow!
 
Well as soon as its done ill be sure to add plenty of videos, and rolling rd printouts!! Im going to try and bend 2" diameter pipe on my hydraulic bender, with as few silicone hoses as possible. the more hoses i use, the more lag, as the pipes take up some of the boost to expand, whereas solid tube has no expansion, so a little more efficient.I had a little bit of a set back today, tried to bend some aluminium pipe, and this was the result
25012010196.jpg


I was told thatif you fill the pipe with sand, cap the ends off, and bend, they will bend ok, but it never worked out!! This is the result using a blow torch to try and soften the aluminium and prevent cracking
25012010194.jpg


The outside edge flattened out a little, but was relatively good, but the inside edge creased pretty badly
25012010198.jpg


This is the bender im using
Bender.jpg


So im going to buy some bits tommorow to make a mandrel! Ill keep trying until i get it right!! I busied myself by wiring in some blue LED lights to my dash, and fitting my boost gauge pod!!
25012010188.jpg

25012010191.jpg

Just brought a cheap pod off Ebay , and heated it up until soft, then bent it around my pillar, and let cool, done the job pretty well, as there is no custom gauge pod for the puma. This 1 cost me about £5 including postage, and fits like a glove!!
 
Very nice :) I'm probably going to pull out like the radio etc to fuill with any additional guages. It's going to be a road legal car but as lightweight and fewer features :)
 
Alot of people dont realise how much weight makes a difference!! My mate has a mini (the old shape) and its only 155bhp, but he does the 1/4 mile in 13.5 secs, which is pretty rapid in my opinion, but it only weighs 600kg, so just over half the weight of a standard puma, which is 1050kg iirc. I was trying to think of weight saving measures, but couldnt think of much other then take out the back seats, & get rid of the spare wheel. Then theres light weight wheels, which arent exactly cheap, then theres the more extreme measures, taking out the windows and replacing with plexiglass, and carbon fibre bonnet and bootlid, aswell as carbon fibre/fibreglass panels. And then if your going to use it for track only, getting rid of the dash and just keeping the bare wires and clocks, but you can spend thousands!!! I might go for light weight front bucket seats, and get rid of the back seats, but thats about it. Also your going to get rid of the air con, so that will save you a bit of weight!
 
Exactly why i went for the Puma over another Focus :) weighs 200kg less and has almost as much power. Would defintely show them up.

Getting the Puma to under a tonne would give it a really nice bhp/tonne figure as standard - adding F/I will be a serious jolt :) there is indeed alot that can be removed. All the sound proofing and underseal can go too and they contribute alot of weight however you don't want to be driving it with gritted/salty roads and no seal...
 
Oh, and for anyone trying to put different color dash lights in, you need to take off the front of the dash (it unclips from the rear), and break out the green plastic inside, or no matter what color bulbs you put in, it will still be mixed with green. Alot of companies on ebay sell the bulbs, but they wont change the color unless you do this! There are only 2 bulbs in the top of the dash, and a smaller bulb in the rear behind the LCD display! Any other bulbs you want to change need to be soldered in!
 
I have a focus, and the puma does handle alot better. The 1.7 puma responds better to exhaust and air filter, and has a better torque curve with the VCT. Also, for me and you, its better with forced induction, as it takes less volume of air to make an impact. We all talk about turbos and superchargers in terms of psi/bar, but that isnt really the way to look at, it should be looked at in terms of the amount of air that goes through the engine! Lets say that a supercharger moves 0.5 square meters of air per second (just picked that figure out of the air so dont take it that thats how much i produces)the internal volume of a 1.7 engine is obviusly smaller then a 2.0, so while the charger might produce 10psi in a 1.7 engine, it may only produce 6 or 7psi in the 2.0, as it can only move a certain amount of air!! So psi/bar only shows the amount of restriction in an engine! And the bigger the supercharger, the more power it will take from the crank to run it, or if were talking turbos, the bigger the turbo, the more gas it takes to spin it, hence more lag!
 
To put the puma on a diet.
***Remove:-
air conditioning, rear seats, interior trim, roof lining, carpets, sound proofing (weighs more than u think bag it up after your done u will be shocked), spare wheel, spare wheel carrier, door cards, electric window motors, front seats, rear wiper arm and motor.
***Replace any panels with light weight options (fiberglass or carbon fibre)
***You can drill and cut certain panels to save weight for example the internal part of the doors. rear bootlid hatch.
***Replace glass with plexiglass.( idea..possibly replace rear quarters with a piece of carbon fibre)
***Lightweight bucket seats.
***Lightweight alloys (don't have to cost the earth) reduces unsprung weight so anything like lightweight calipers or bottom arms etc.
***Remove any bodykits etc.
*** Remove internal strengthening on bumpers.
***Cast iron exhaust manifold & cat weigh a ton - remove and replace with frp manifold.
***Replace battery with a smaller Odyssey or Varley one.
 
Yeah, you can remove all that, but your not really going to do that if your keeping it as a daily driver, i want mine to use daily, and want all my creature comforts, i like my radio and aircon! And the exhaust ive got is quite loud, so if i get rid of the sound deadning, any journey 30mins or more would really do my head in!! Also, ill probarbly be selling it at some point, as i want to go rear wheel drive in the not too distant future, and with all the normal bits still on the car will sell alot easier, as your not just going to attract people who want it for the track, but also people who want a fast road car!
 
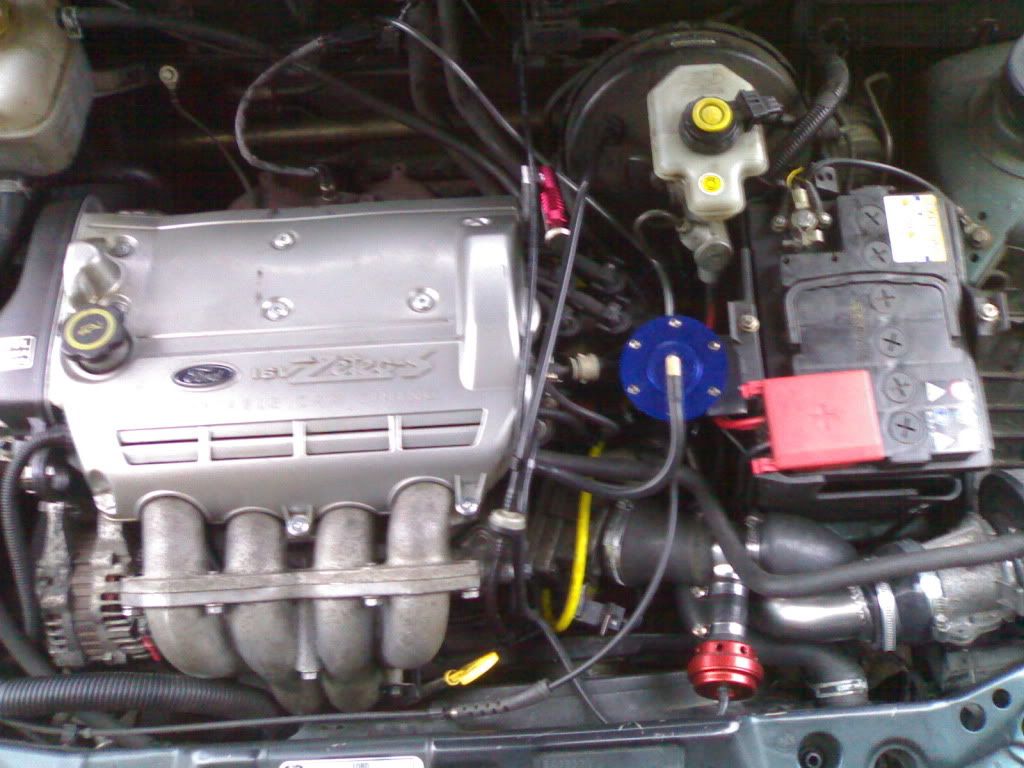
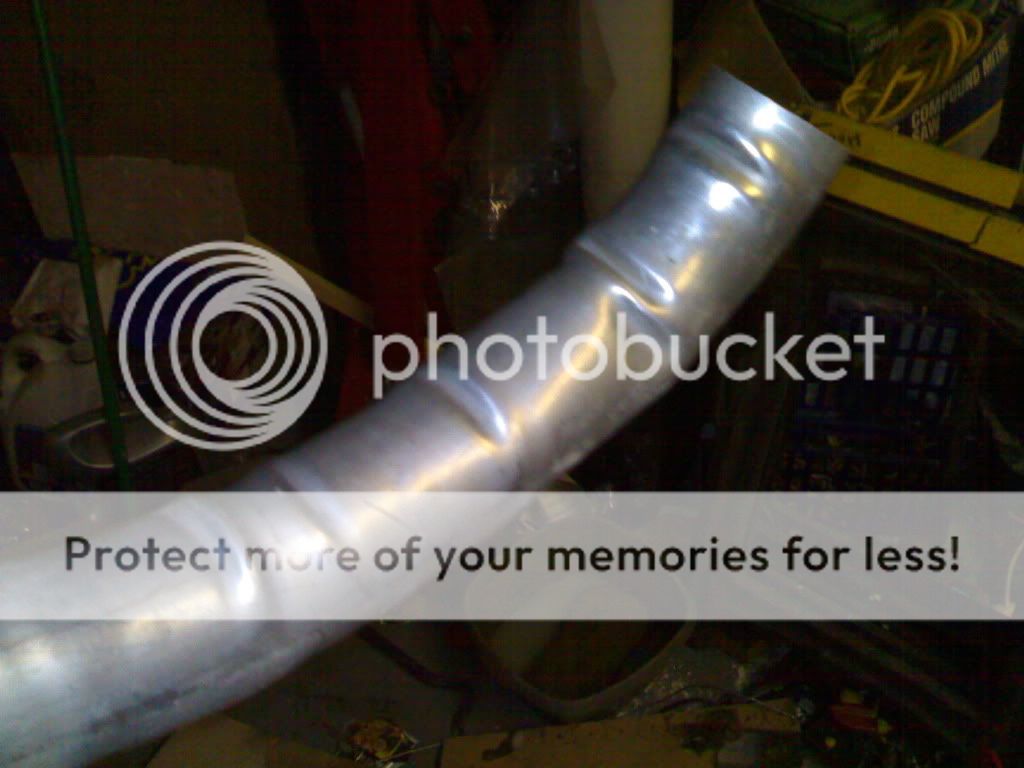
Ok, my pipes are bent, and fitted to the car, im just waiting for a reducer pipe now and it should be on the rd!! i made a makeshift pipe to run it, and OH MY GOD! Its riddiculously quick!! Its over fuelling alot, and back firing, so im going to try it without the FMU. Sorry about the quality of the pics, you may not be able to make out what is what, but any questions, just ask!
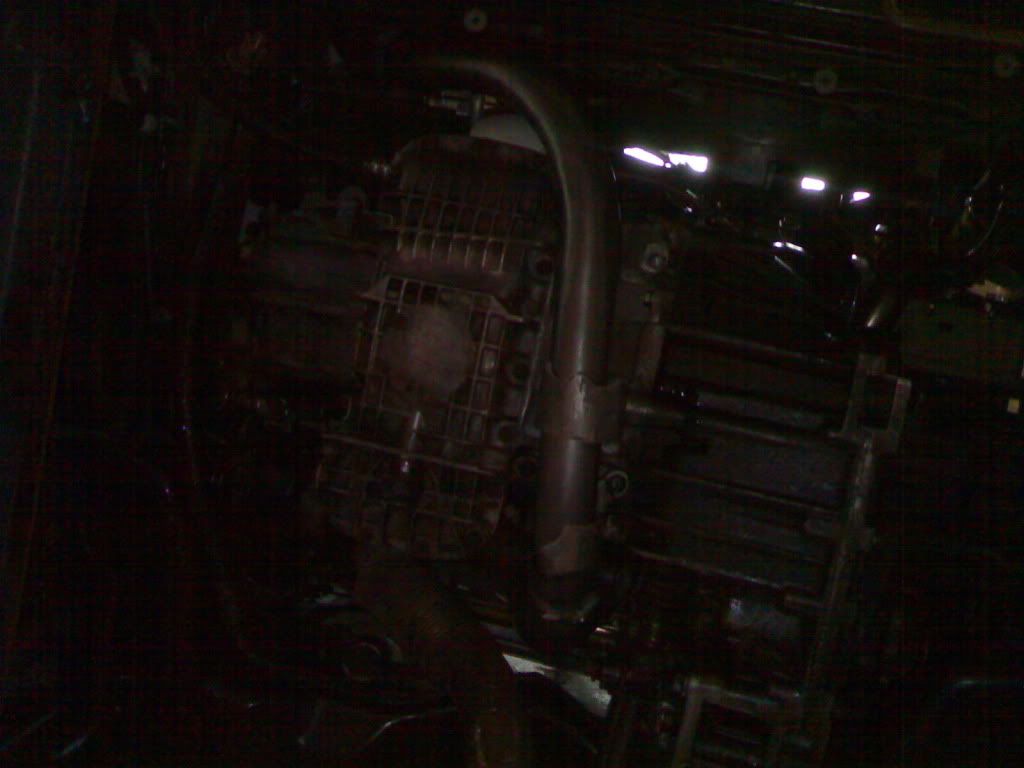
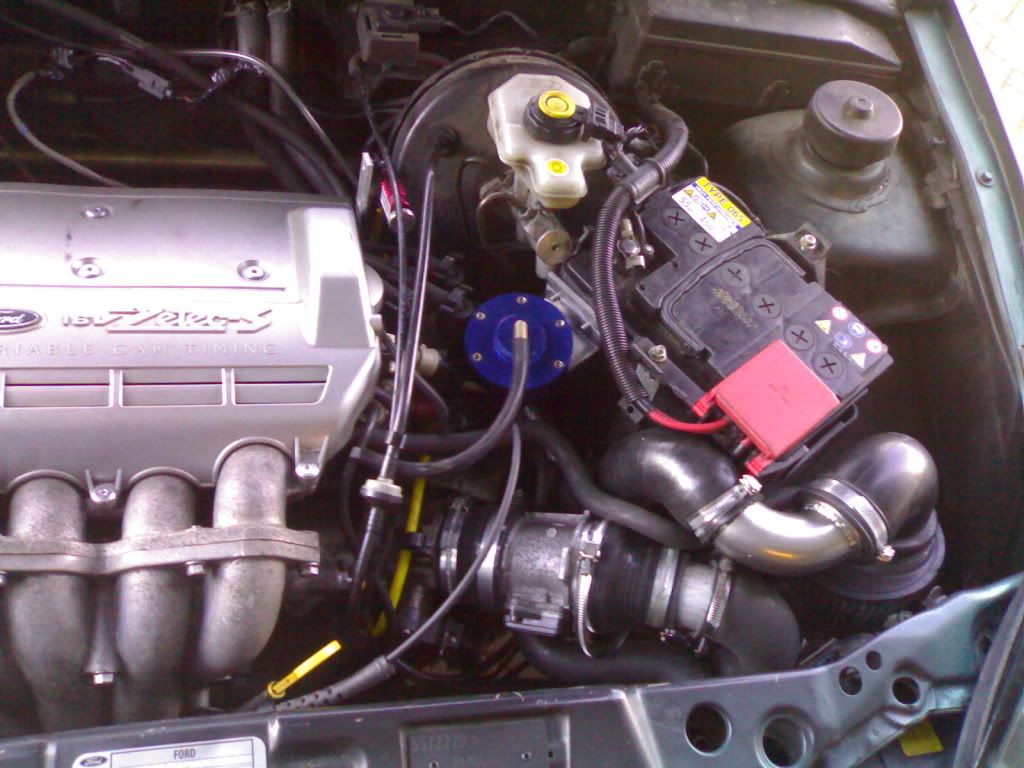
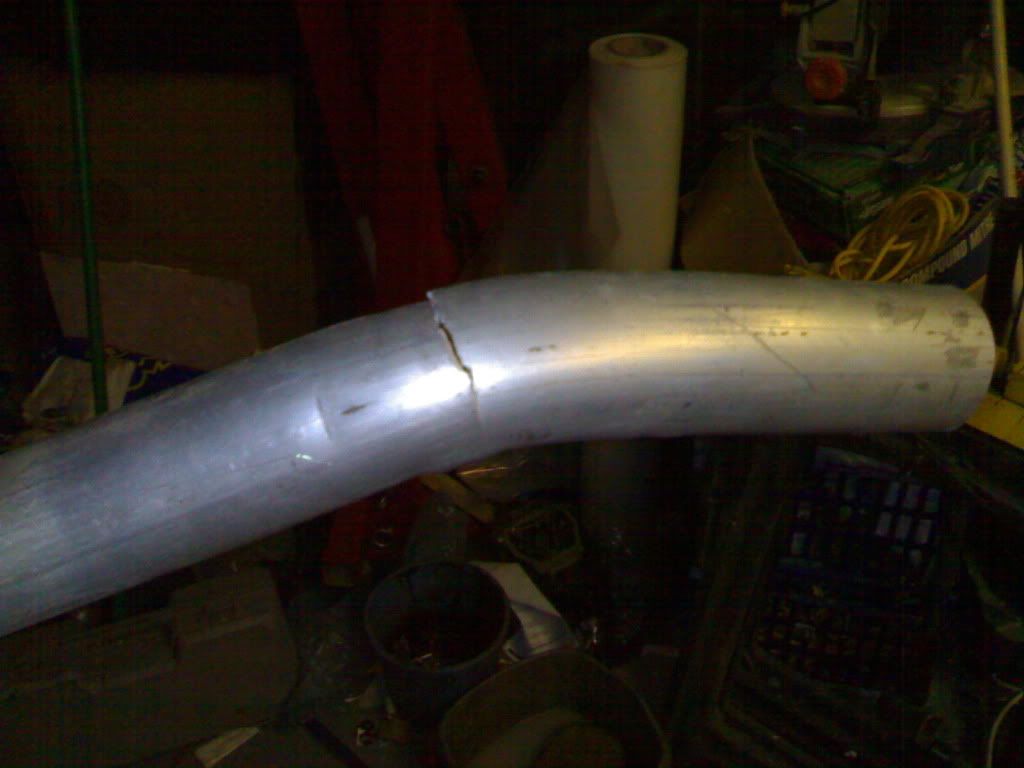
Here you can see the custom pipe bent from the back of the engine, around the oil collector at the bottom of the sump, and up into the intercooler
21012010181.jpg


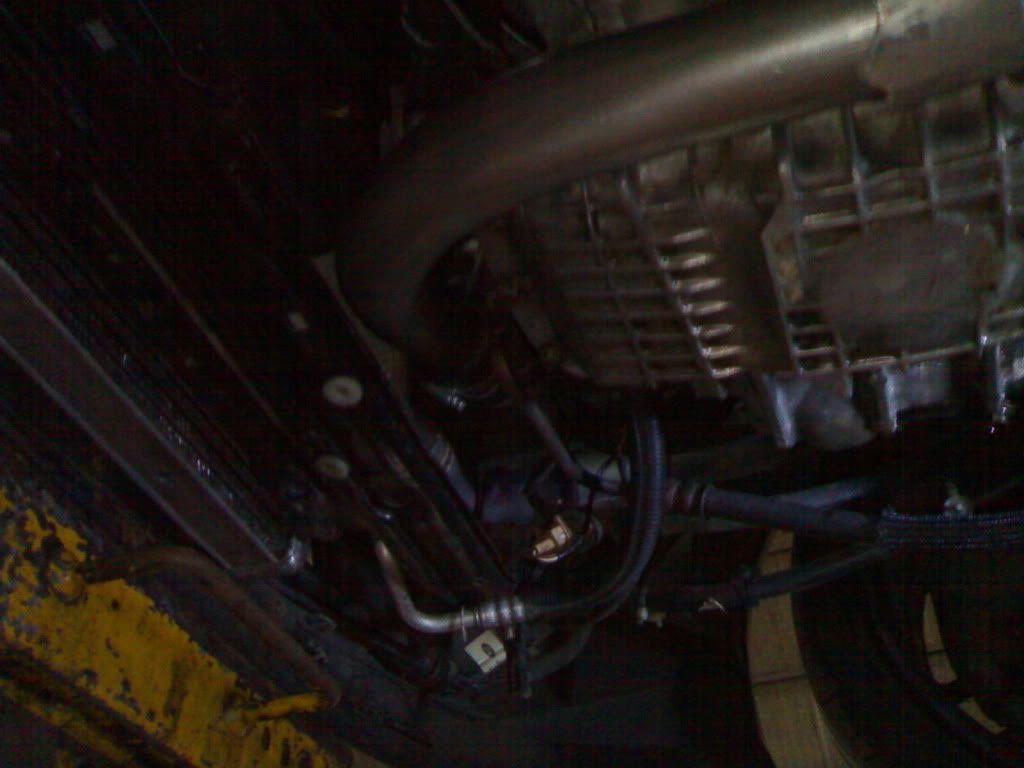
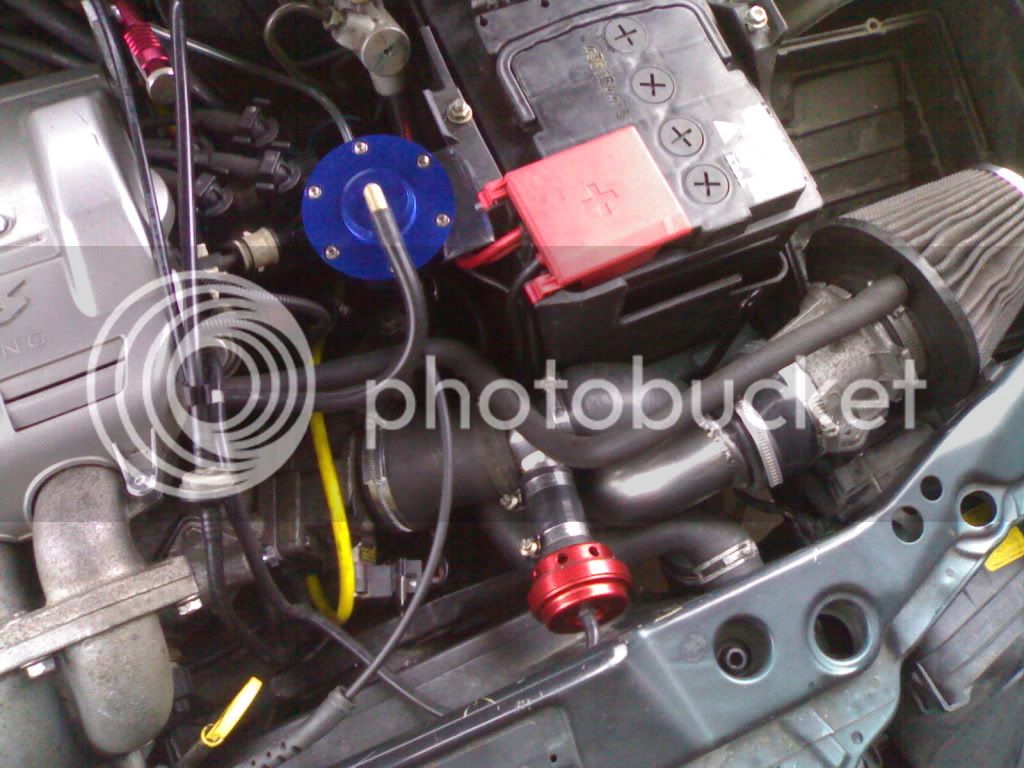
Here it is from underneath
21012010186.jpg


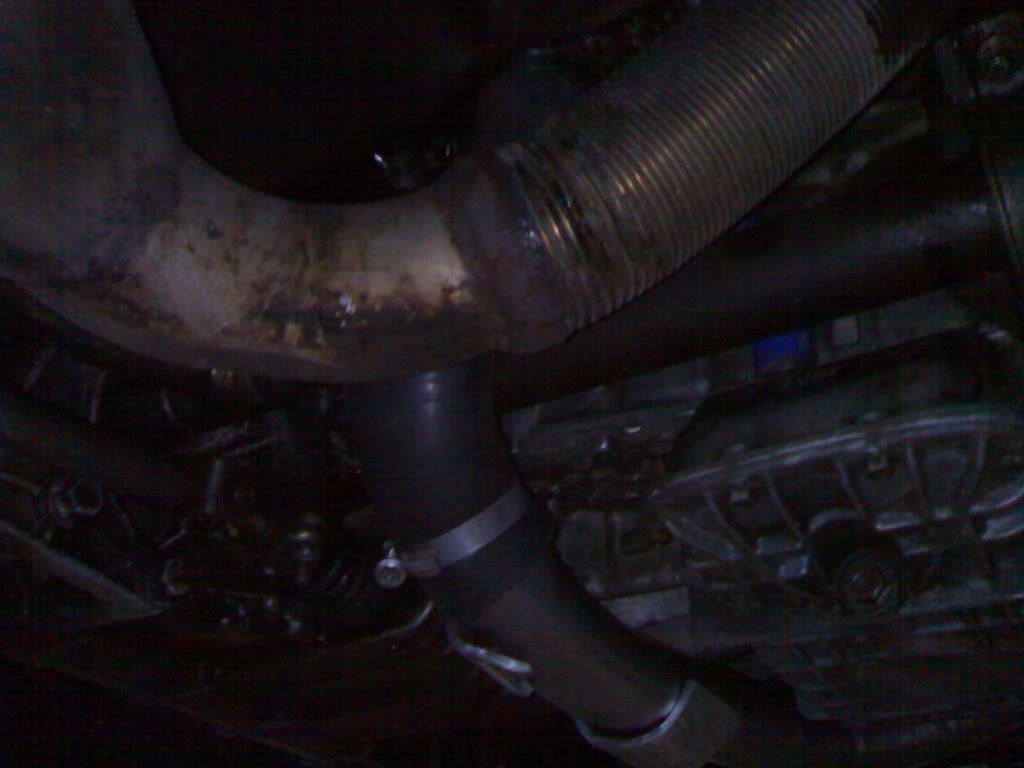
On this pic, you can see the bottom of the intercooler on the very left
21012010182.jpg


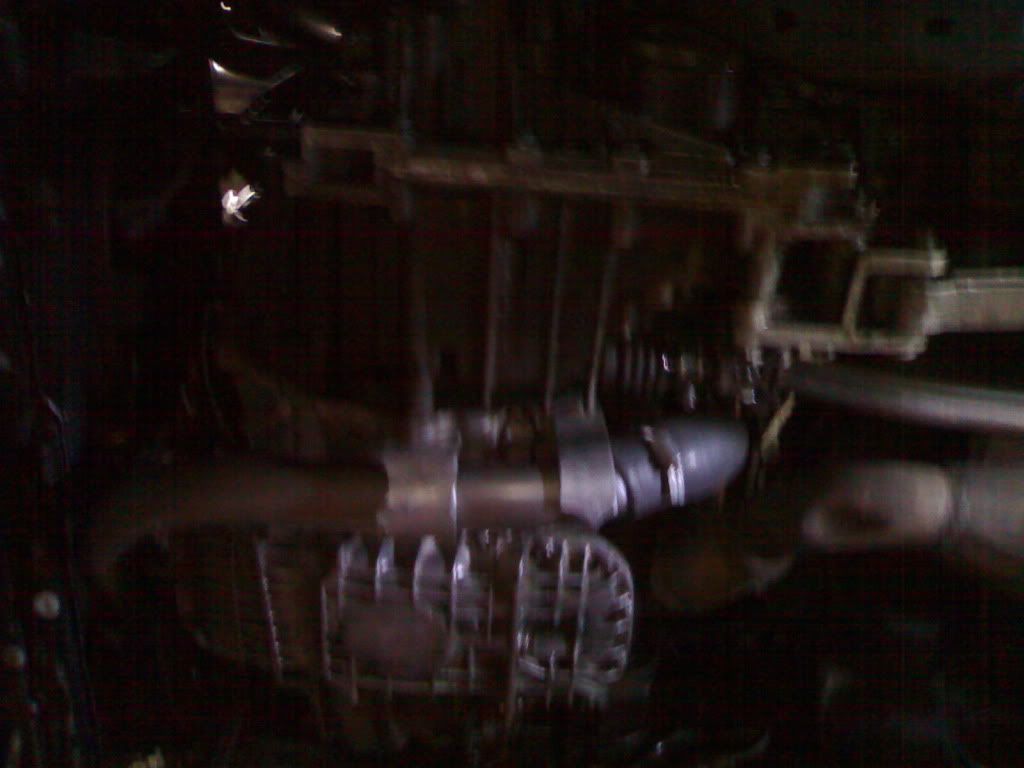
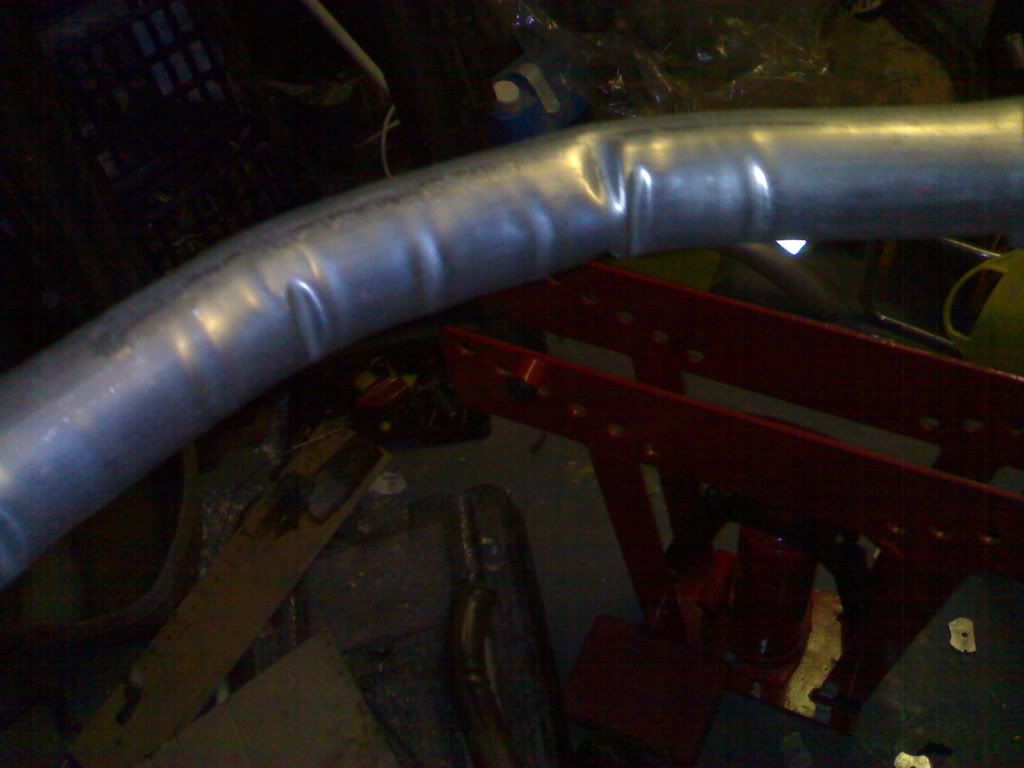
This is from the rear of the engine, the blue pipe is the oil return going into the sump, and the black silicone hose comes from the turbo, and around the drive shaft, and connects to my custom pipe! I chose to make it go underneath the engine as it will cool the air passing through it, rather then most set ups have it going over the engine, so the hot air in the engine bay heats it up!
21012010184.jpg


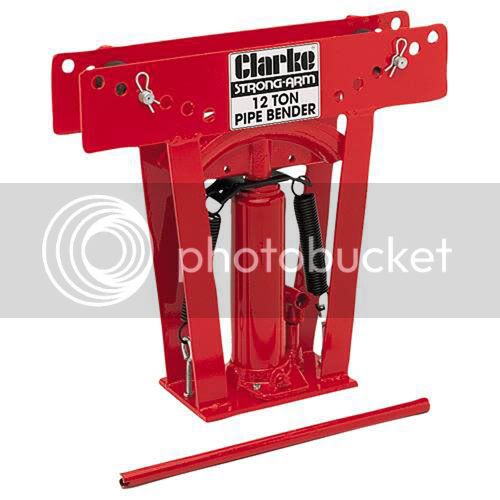
If anybody is planning on bending a pipe like this, PM me and ill send you pics of the mandrel i made to bend it, its REAL hard to get smooth bends on thin walled tube with 1 of these benders, it takes a great deal of patience, and the mandrel i made is only cheap, but supported the walls of the pipe while i bent it, so it might be useful to someone, as getting these pipes made would cost a fortune!!
 
Very nice :) Slightly better to be overfuelling than under i suppose. Would it not be safer to reduce the amount of fuel the FMU delivers (if possible) rather than risk melting the engine? :p
 
Yes, it is better to be rich then lean, and yes it would be better if i could adjust the amount of fuel the FMU is delivering, but the problem is that an FMU is supposed to deliver the same fuel rail pressure as standard when not on boost! Its running rich when idling, so either somethings not right with the set up, or the FMU is not working how its supposed to! I really need to set the pipes up properly, then tune it to how i want it. Ive never had this car running, so there may have been faults before i rebuilt the engine, so we will see! I have a few ideas what might be causing the over fueling, but any ideas any body has id like to hear, even if its just so i can eliminate that as a possible cause! Ive got another puma, so im going to try taking the FMU off, and see if that works out! If not, then ill try the usual MAF, ICV, temp sensors, and see if that makes any difference. Hopefully the reducer pipe i ordered last week might arrive tommorow, so i can get it set up properly, as it mat be an air leak in the temporary set up i have.

Here are some pics of the engine from the top, the blue thing is the FMU (for those that dont know what they look like), and the red thing is the dump valve. Ive got a black dump valve that will be replacing this!
27012010200.jpg


27012010201.jpg


You can make an FMU adjustable by adding a boost controller, in between the boost source, and the top of the FMU, this 1 is 12:1, but if you add a controller to reduce the boost going into the FMU, it will lower the fuelling ratio to whatever you want!
 
Ok got everything running today, and its an awesome machine now!! This it the new set up, if you notice, a few things have moved around.
29012010210.jpg

Ive also removed the FMU now, (its still there in the pic) it was overfuelling, and bogging down when on boost. Need to make it adjustable before i put it back on!

Also decided to spruce up my brake calipers and drums!
These are the before pictures
29012010207.jpg

29012010206.jpg

29012010208.jpg


29012010204.jpg

29012010205.jpg

29012010209.jpg


And here are the after pics
29012010211.jpg

29012010212.jpg


29012010213.jpg

29012010214.jpg
 

Latest posts

Back
Top