My puma cossie - few bits and bobs. (Very picture heavy!)

ProjectPuma

Help Support ProjectPuma:

This site may earn a commission from merchant affiliate links, including eBay, Amazon, and others.
ilaya9302 said:
I have enjoyed reading your articles. It is well written. It looks like you spend a large amount of time and effort in writing the blog. I am appreciating your effort. .

interesting blog. It would be great if you can provide more details about it.

I actually enjoyed reading through this posting. Many thanks.


Bluey Jackets

SPAM!!!!!!!

That's two I've seen touting business by my reckoning - need to sort out the registration procedure Red....lol.
 
Sorted the spammer.

If you notice one of them in the future, click the little "!" button in the bottom right of the post, it flags up a report in the mod panel and highlights that there's something up in that thread so we can see it easily and take action.

:eek:k:
 
STUNNED at your car warren, just read 10 pages like :O

How do you know so much about cars/electrics/mechanics etc etc. Clearly you have some type of engineering background or something?
 
is yours 4x4...I want to do the 4x4 thing on mine...thinking it will be easier to buy a cossie saphire and transplant the body parts or even the whole sub chassis...lots to consider, i udnerstnad that the escort cossie parts fit in places but cant confirm...anyway if yours is 4x4 could you take any pictures of the subframes and fittings...
 
Not had an update for a while as ive been coughing my guts up with various chest infections and pnuemonia.

Had another water leak which turned out to be the hose at the back of the cylinder head.
2011-11-07121836.jpg

nice jet of water!

I also got my exhaust back box fixed thanks to a friend and his welding skills! Here he is at work:
2011-11-26130035.jpg

2011-11-26122902.jpg

2011-11-26131028.jpg

And welding it all up:
2011-11-26134026.jpg

2011-11-26140238.jpg

Went for a simple 3.5" round tail pipe and used a V-band fitting. When i get the centre section and downpipe replaced i will do the same meaning its dead easy to remove exhaust to get to transmission parts.

Thinking the car would be ok for a while we find my car like this today:

2012-03-14102843.jpg


the clutch has died!!

Managed to get it sorted with a new AP conventional clutch this time:
2012-03-14110110.jpg


2 hours in and still a bit to do before box is out!
2012-03-14121755.jpg


And this was the damage:
2012-03-14162631.jpg

flywheel was totally written off too:
2012-03-14162625.jpg


Clutch pedal is SOOOO much lighter now!!

tekz said:
How do you know so much about cars/electrics/mechanics etc etc. Clearly you have some type of engineering background or something?
Knowing all the basic engineering practices, technology and workings of a Ballistic Missile Nuclear Submarine helps!! As does 1 year of engineering study and years of messing with old fords.
 
Did that 4 paddle feel snatchy compared to the new clutch? Looks like youve been busy, that back box looks small, is it quite loud? & where the hell does your exhaust go if the prop shaft is in the middle??
 
4 paddle is on/off virtually no slip.

People think even the 6 paddle ones are bad on the road LOL.

Exhaust is quieter than with the old back box, and thats before it rusted through. When i replace centre section, the centre silencer will be a bit bigger than now if i can fit it. Exhaust runs below prop, the gearbox is already quite low and angled down in that pic. prop runs a bit higher in tunnel.
 
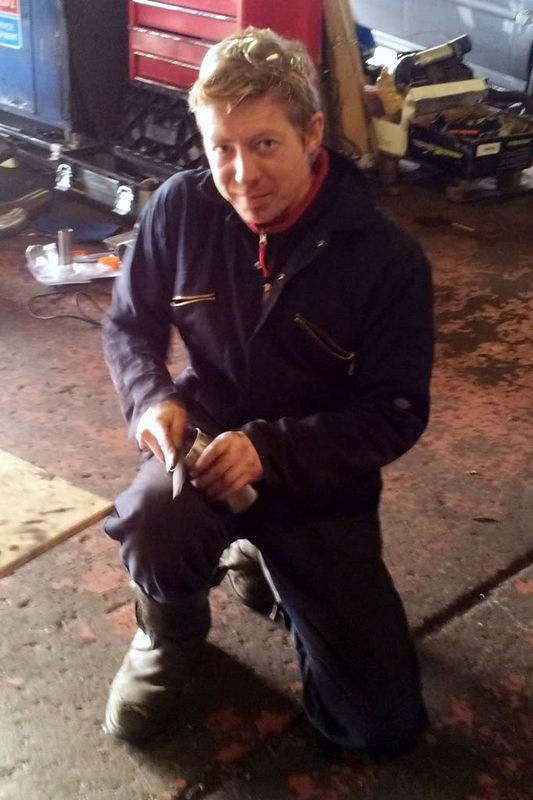
Not much of an update lately as ive been skint last few months.

Few maintenance related items!

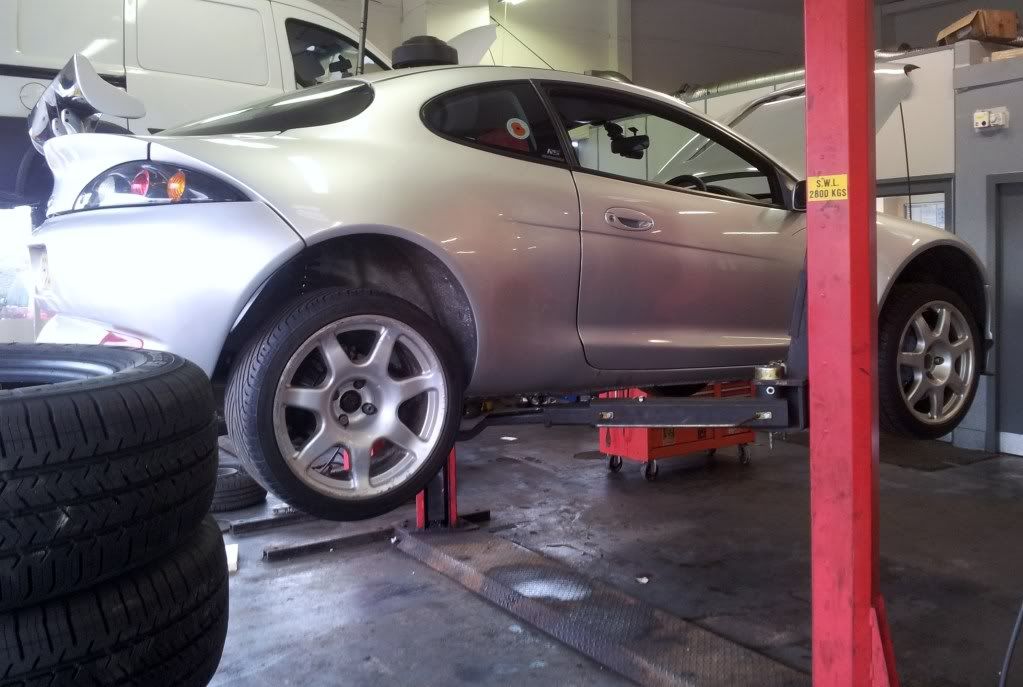
First of all the shocking roads in stoke have slowly destroyed my suspension!

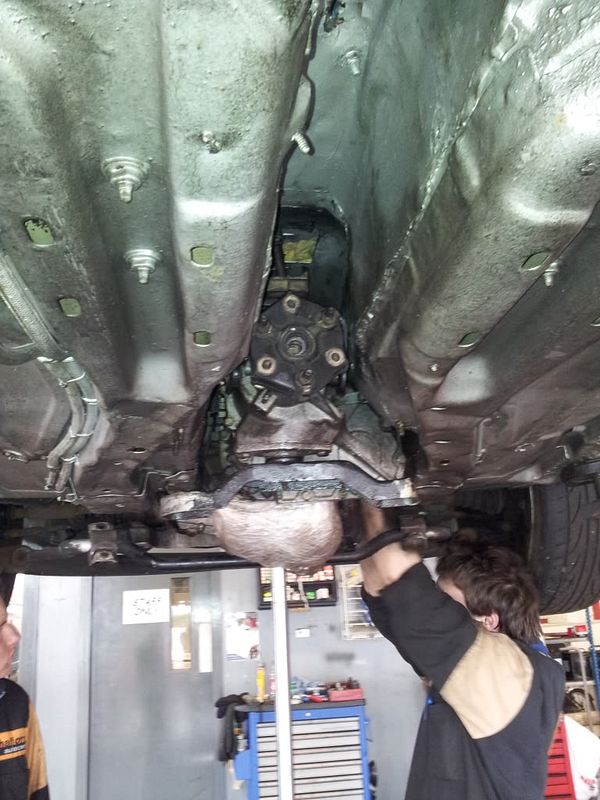
Started to get a bit of a rattle so had a look underneath:
20120805_181430.jpg


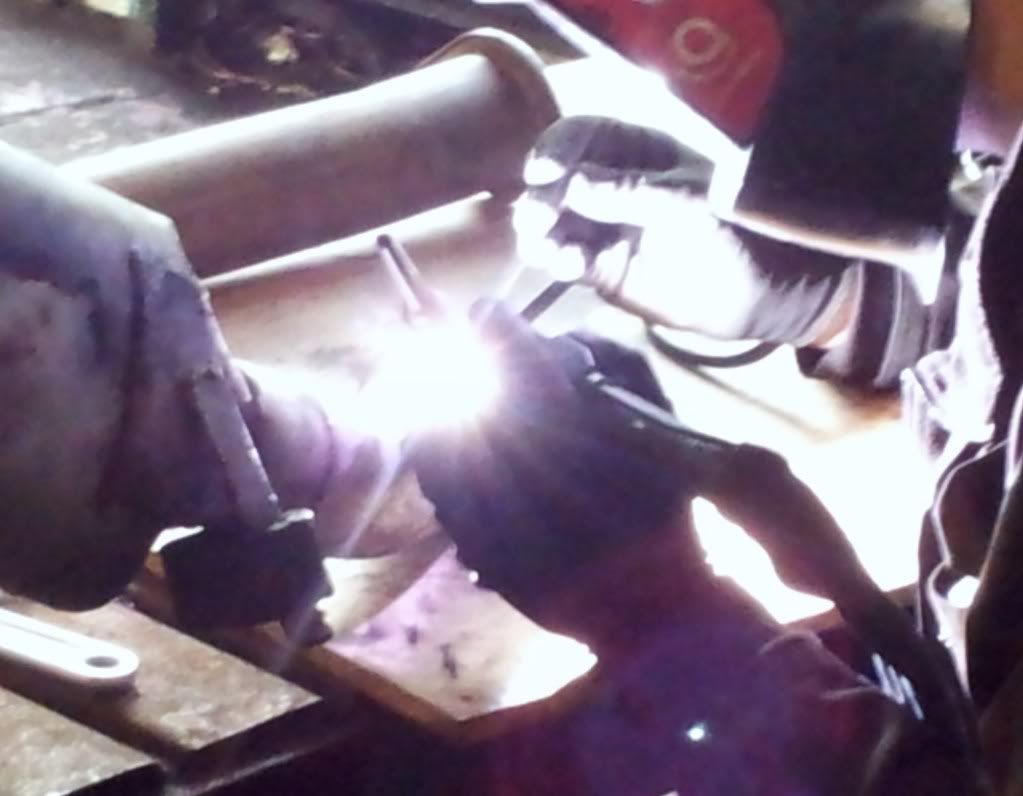
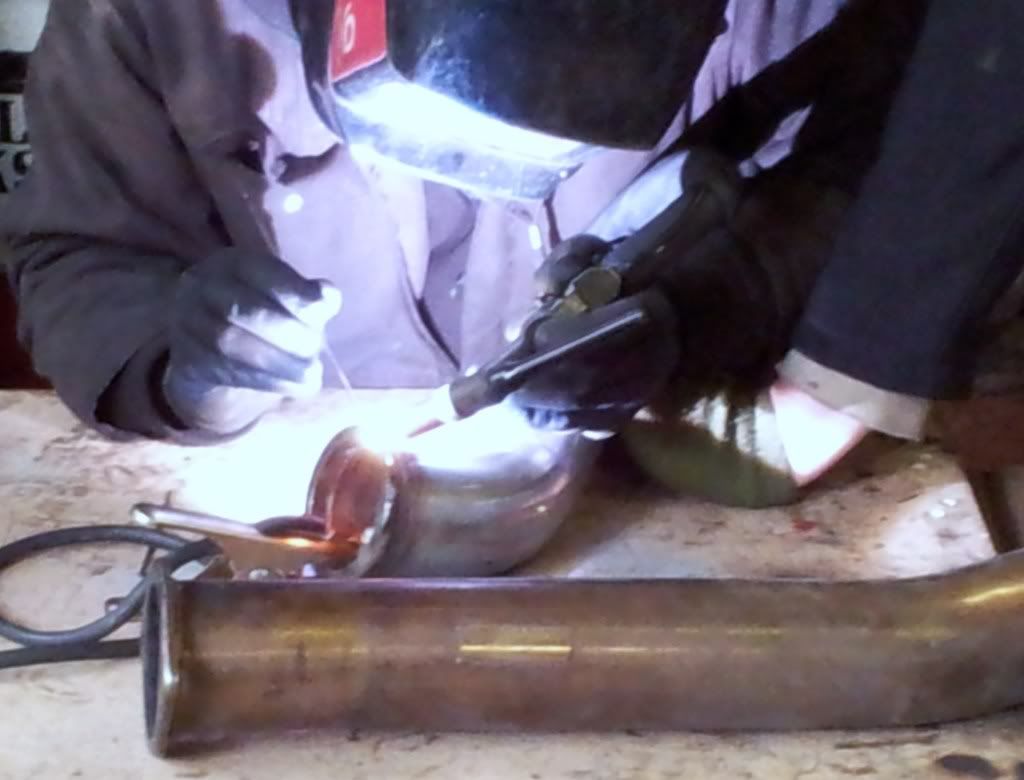
The bolt had ripped right out the chassis screwing the thread!!! Had to stengthen it and cut a new thread. Also added a captive nut inside the chassis as well. Now has about 4cm of good thread!

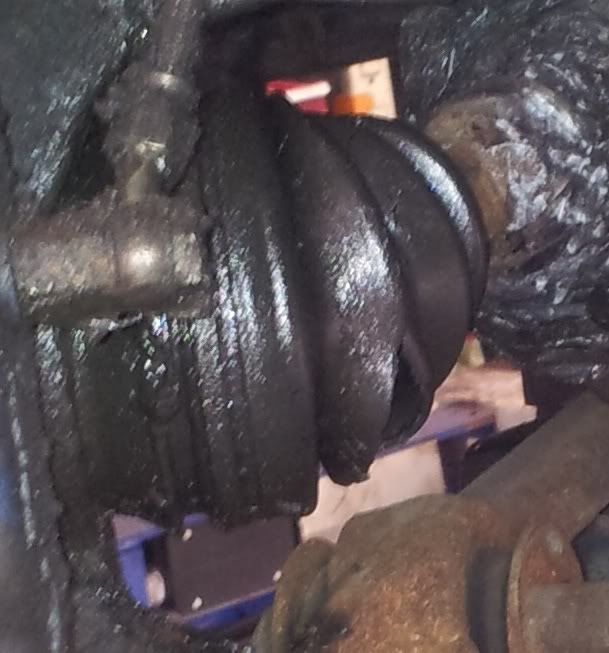
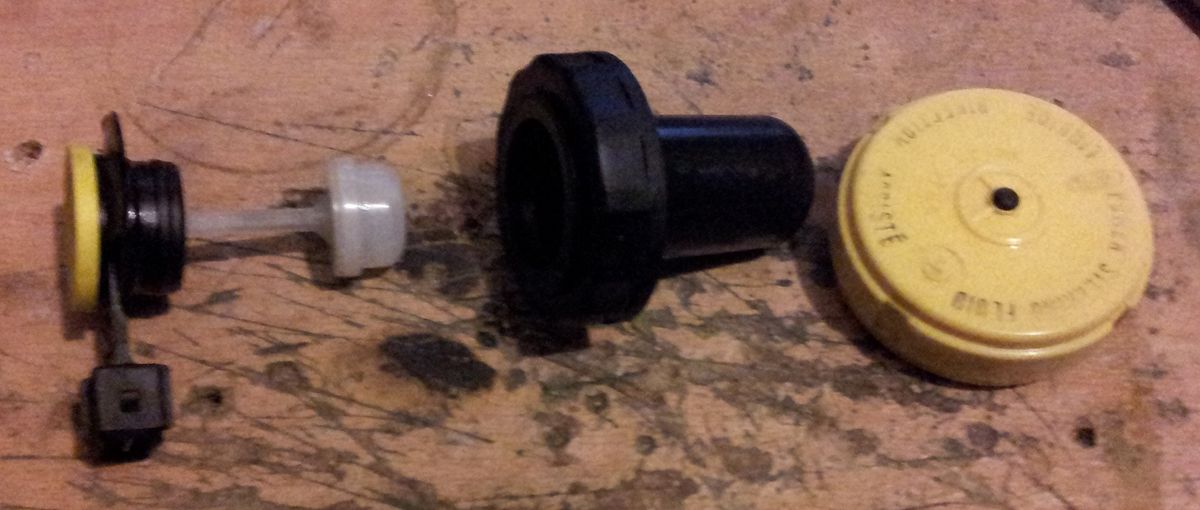
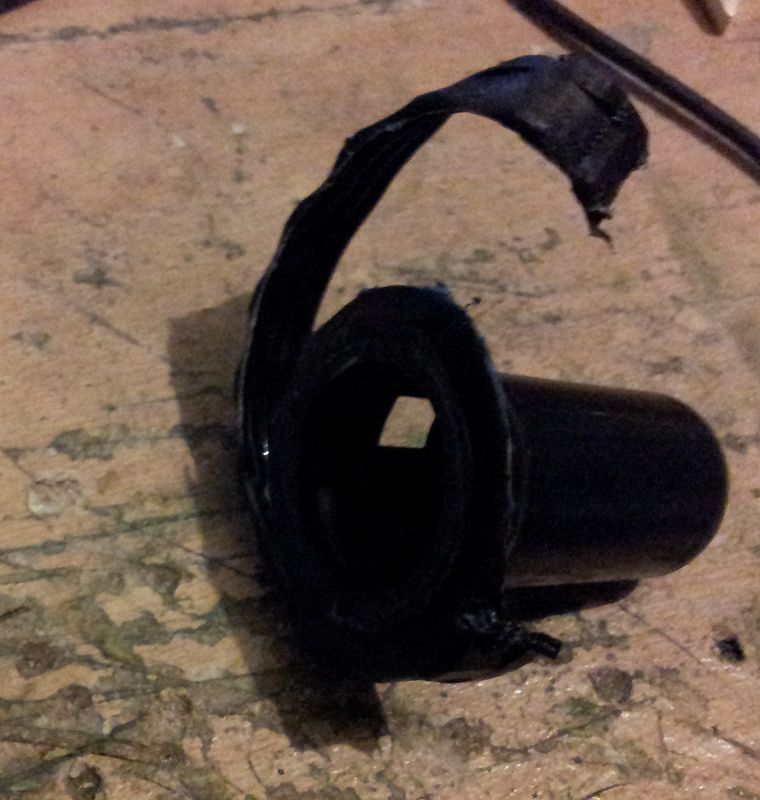
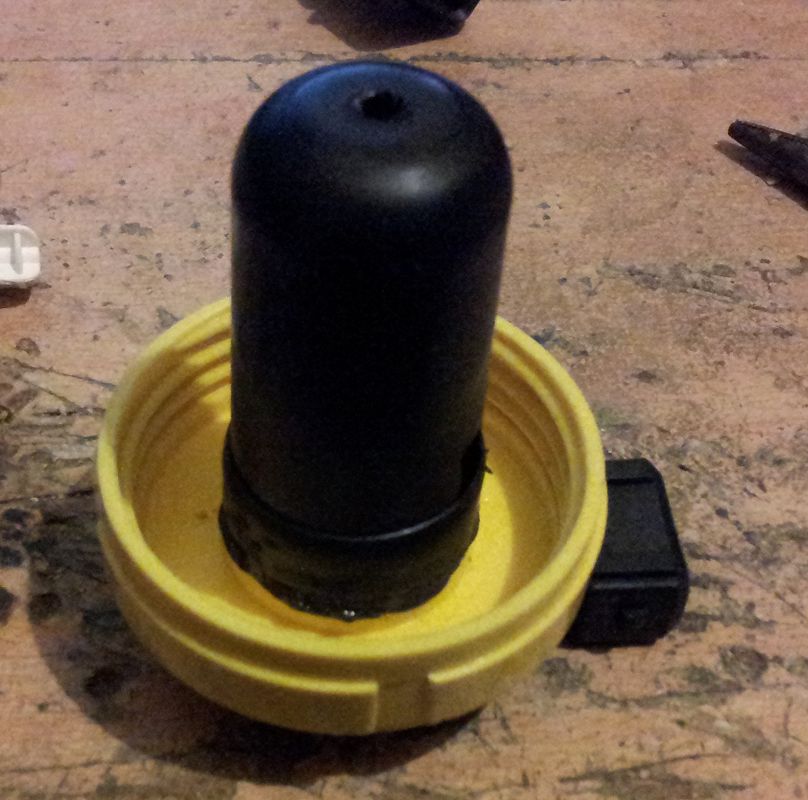
Also had a CV joint split on me:
20120811_135354.jpg

All sorted now though. Just hope there is no excessive wear on the joint.

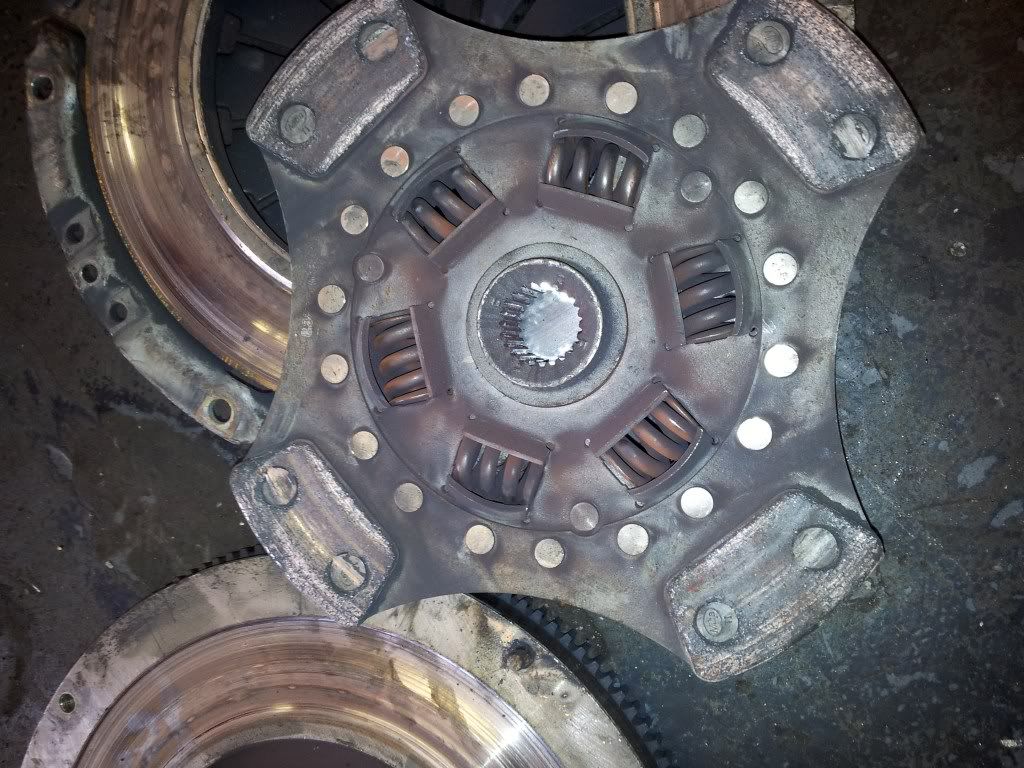
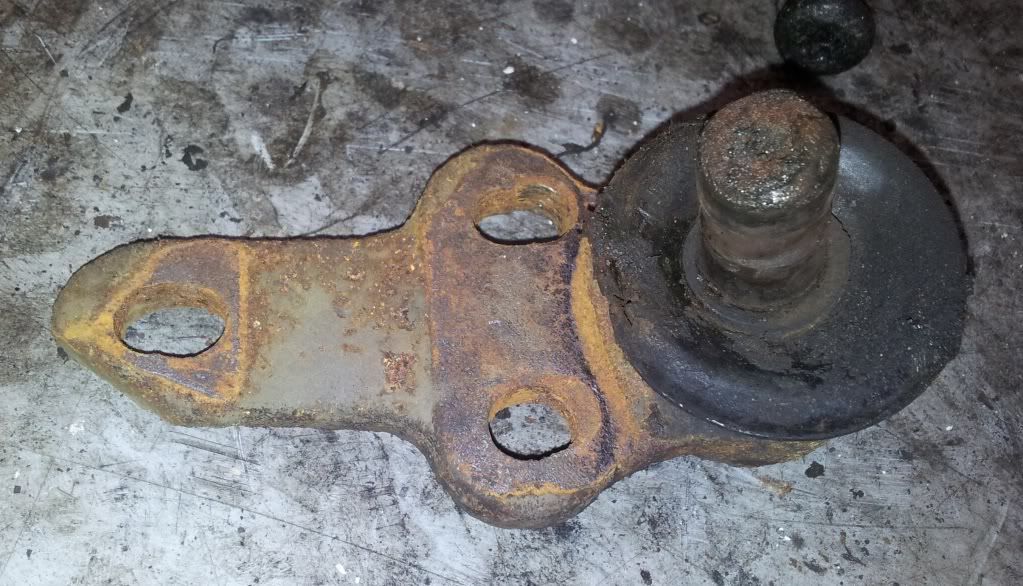
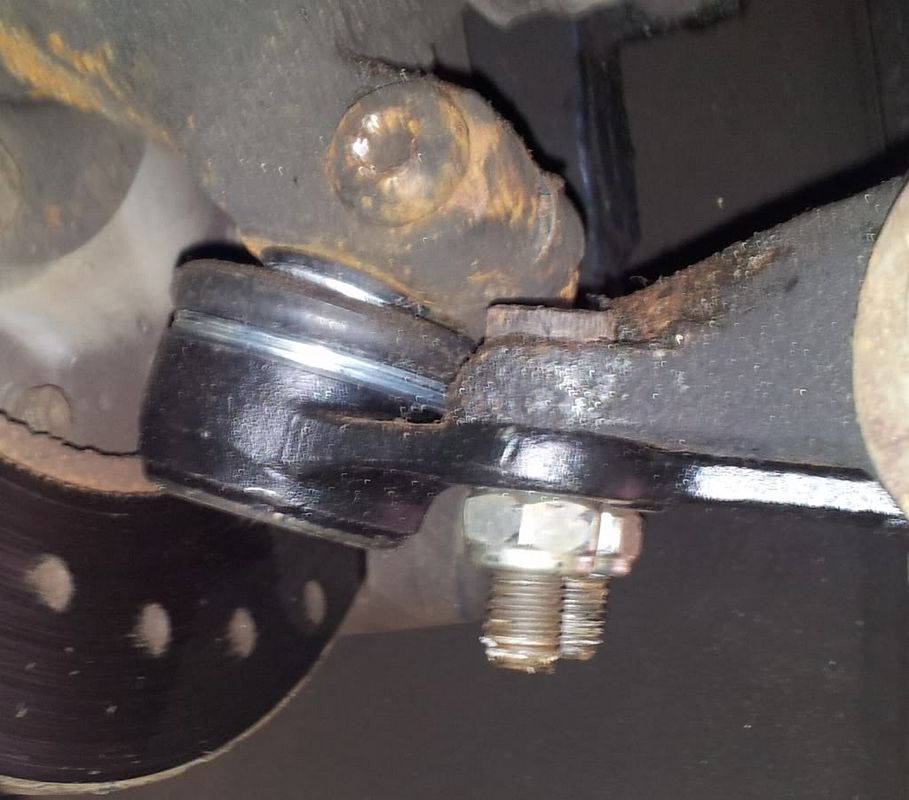
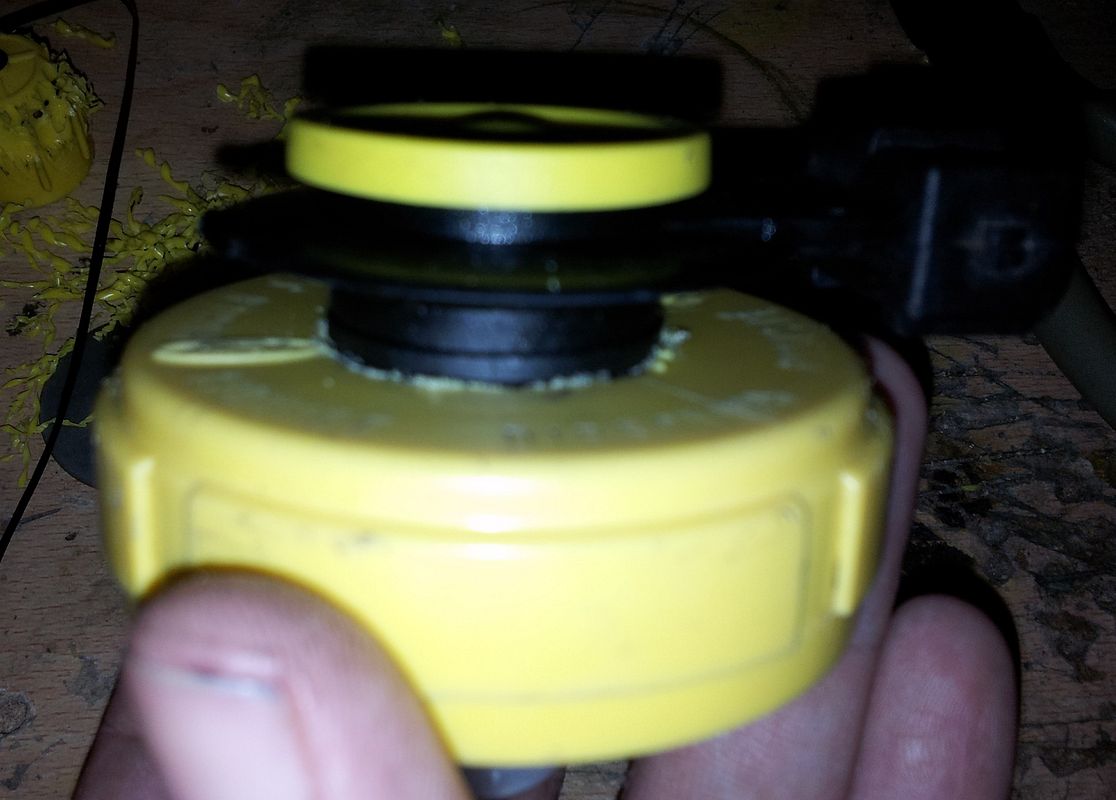
Not long after that i developed a new knocking sound that came from both sides in the end. On getting it on the ramp it was clear the bottom balljoints were shot on both sides.

Sounds pretty standard...... however as my car has custom TCA's it needed a bit of measurement to find out which ball joint had been used. It turns out standard puma ball joints which is useful for a change with my car - something easy to get and cheap!!

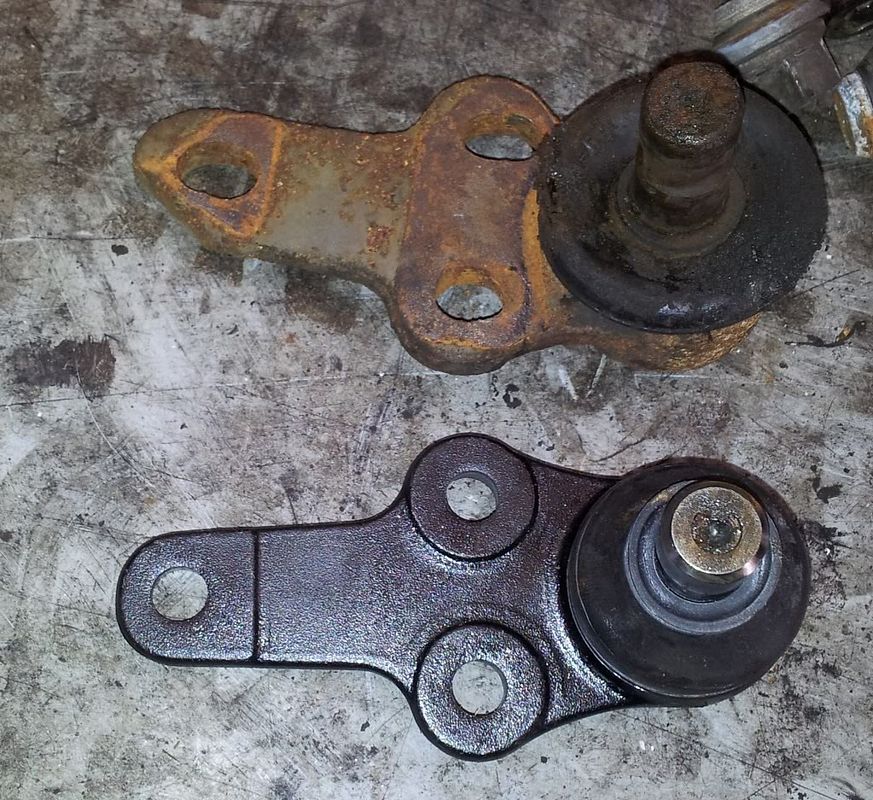
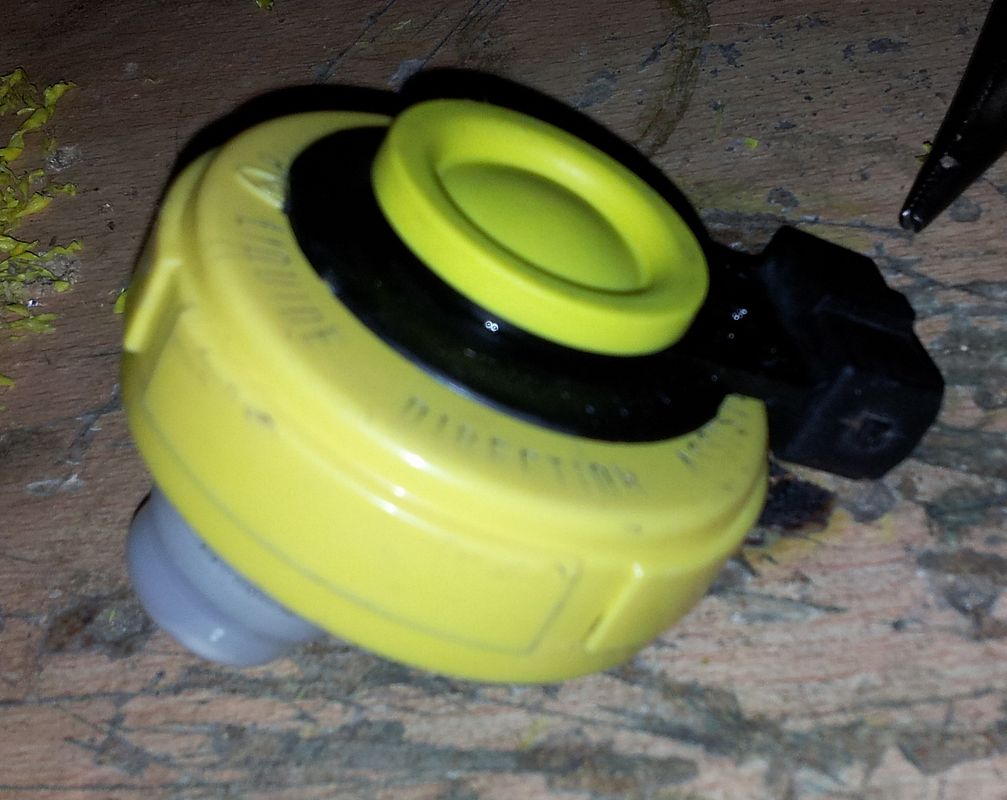
However, take off the old balljoint and you can see the very special bodging that has gone into the old ball joint!
20120811_135708.jpg


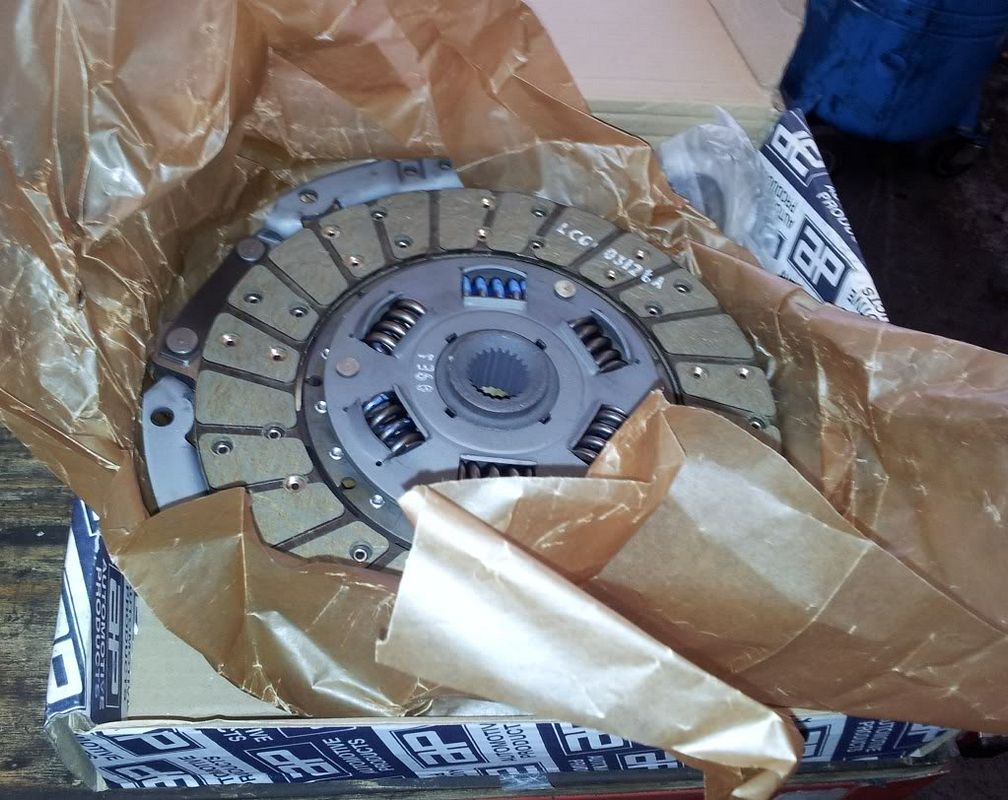
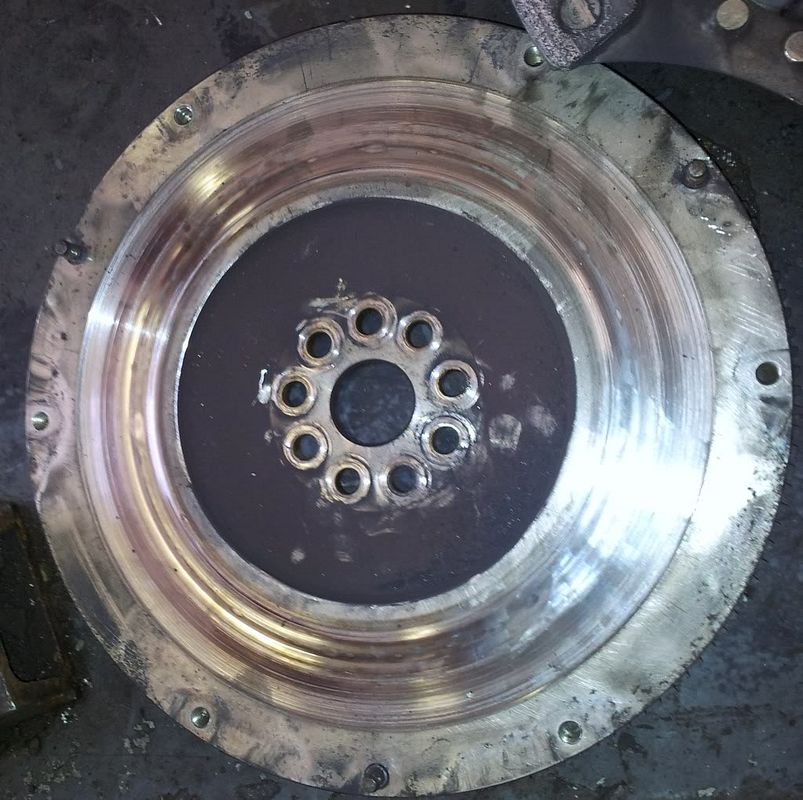
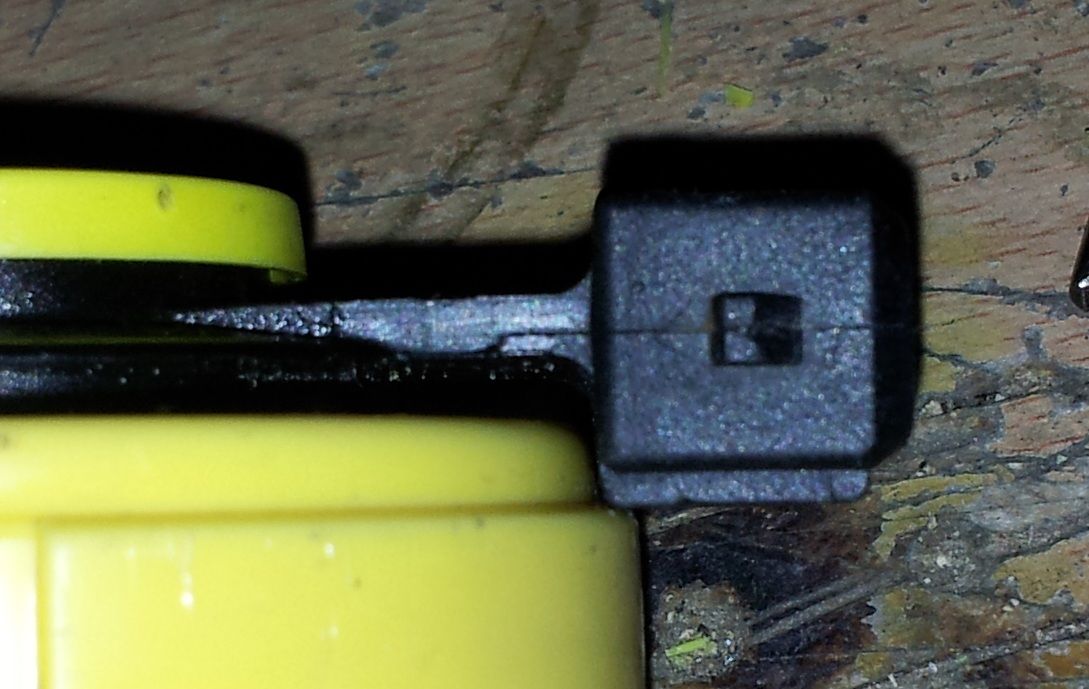
This is how it looks compared to a new one:
20120811_135803.jpg


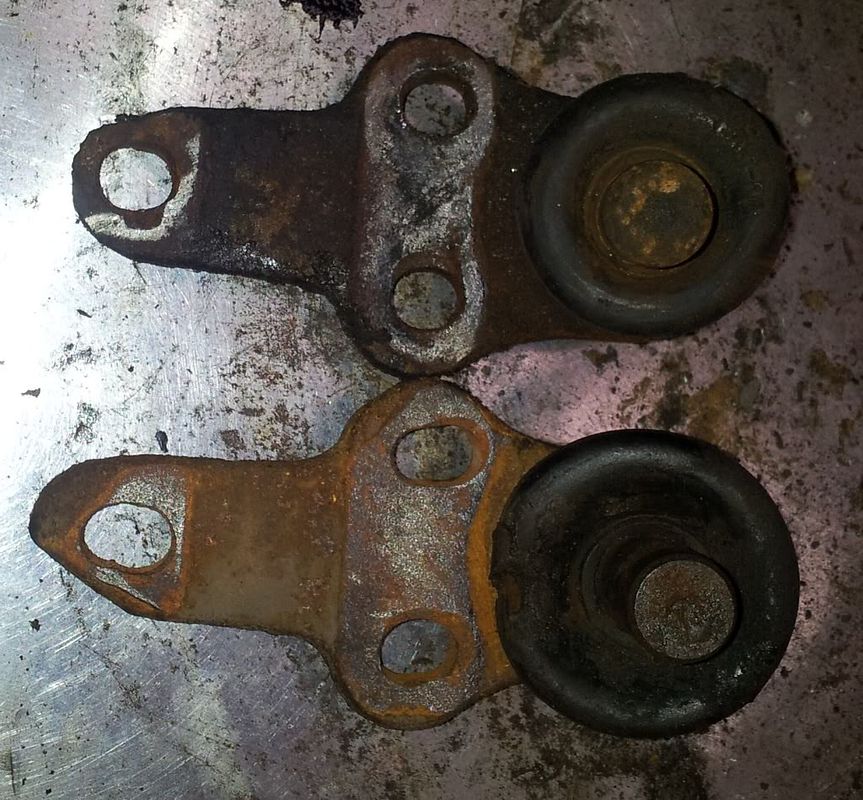
The other one was similarly bodged but interestingly from a different manufacturer so in the bodging process he seems to have clearly just used two random old ball joints that were lying around rather than new ones. Dont understand why when new ones cost £20 a pair, less to the trade. They were definitely old as they have worn out in less than 15000 miles.
20120811_153513.jpg


Finally its nice to have a new known part back on the car!!
20120811_153037.jpg


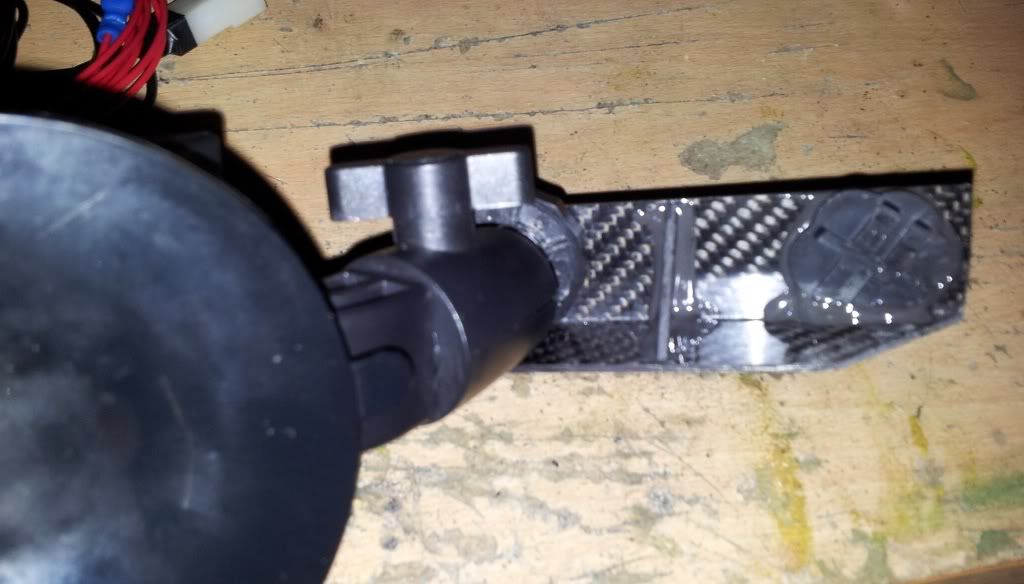
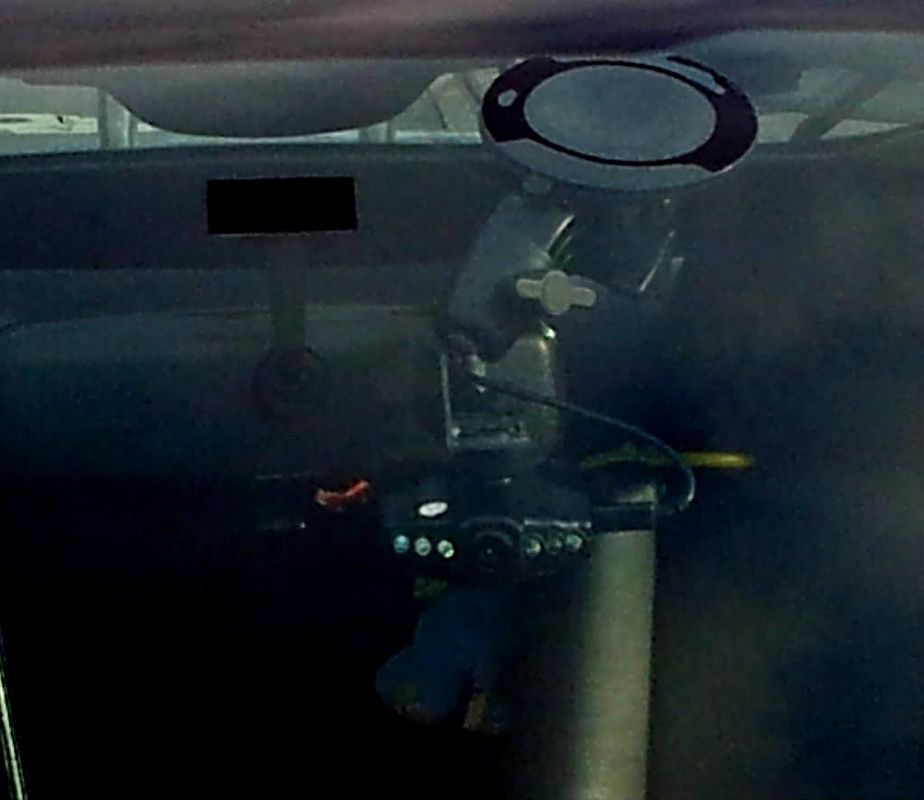
Ive also upgraded my "crash cam" as ive had it a few years now and technology has moved on. Replaced it with a chinese special. for £20 seems good value and records in 720p which is more than adequate for my needs and is a combined DVR unit with screen. Its been tested for a few months now and seems reliable so has replaced my old system.

Wasnt perfectly happy with the mount as it sat too far back for me to hide the camera in front of the mirror. Not really a design flaw as such just that im pedantic over some things and i dont want the camera to interfere with my forward vision so wanted it mounted hidden by the rearview mirror when looking from the drivers position.

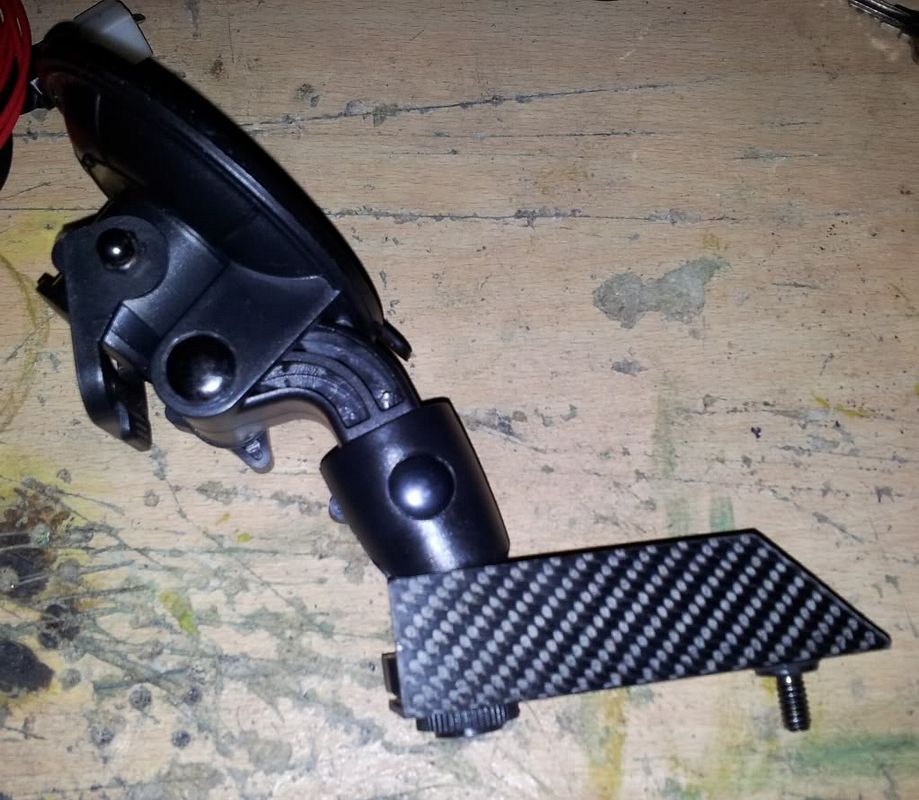
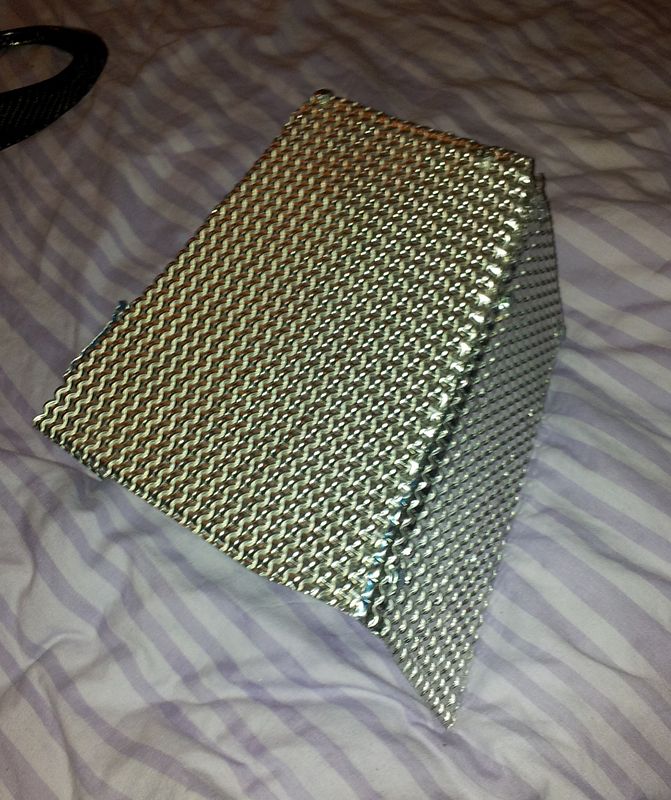
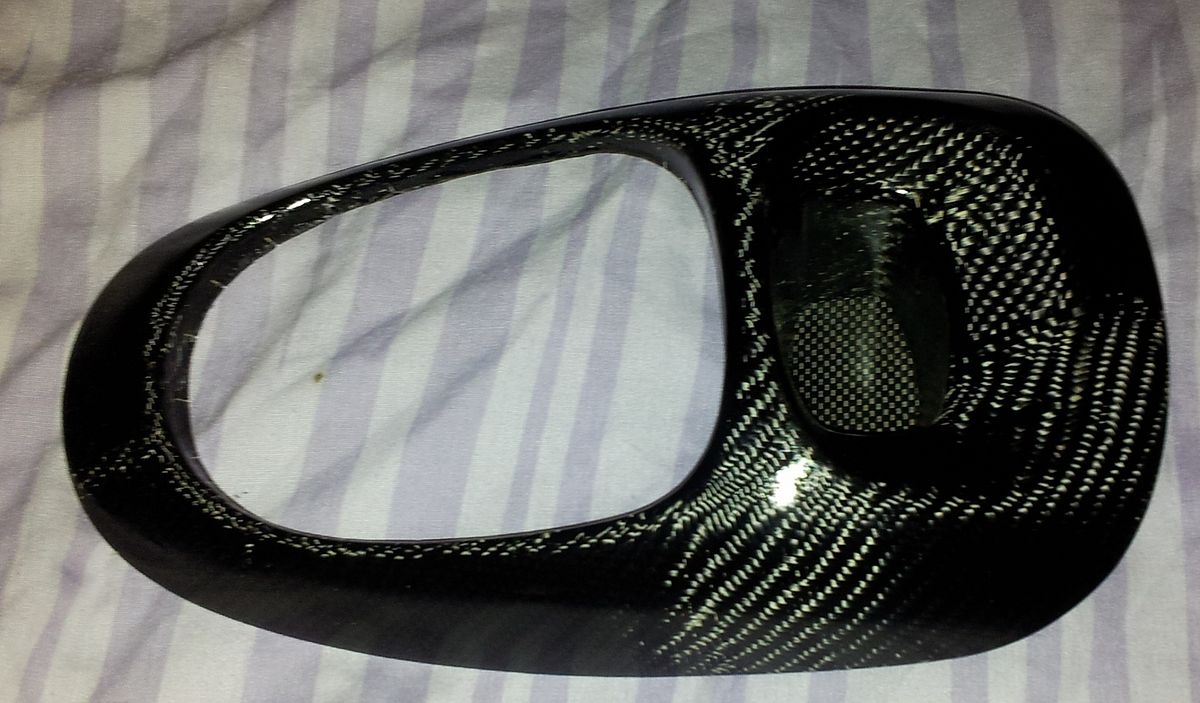
So the solution was to fabricate a simple adaptor out of carbon fibre to move the camera forward.

20120817_031135.jpg

20120817_031033.jpg

20120825_184107.jpg


I over engineered it a bit i think as its stiffer than any other part of the mounting by a long way!!
 
OMG! Just read this thread through from start to finish (well up until this part anyway!) a great thread & a 'kin awesome car! Honestly the most sorted Puma I've seen. Well done fella! If only my budget would stretch half that far!! lol :lol:

Hopefully get to see & hear it in the flesh one day! :grin:
 
small update, not had time or money to do much other than servicing so modifications have had to take a backfoot for a while.

decided i wanted a brake fluid level switch on my car. Unfortunately due to the brake resevoir being an alloy tank, the thread is wrong for all the usual ford brake caps so it had a power steering cap on it. So i decided to get a brake level switch and modify it to fit my current cap.

so started off popping the switch out its cap. You can see what i need to do here:
20121028_202111.jpg


massacred the brake switch housing so i can use it on the new cap:
20121028_202704.jpg


measured the diameter of the hole and marked out the cap:
20121028_204406.jpg


Then got a bit trigger happy with the drill!!
20121028_211228.jpg


Pulled the middle bit out. from underneath you can see the raised edge. Its exactly the right diameter for the switch to fit through. Almost as if ford used the same dimensions just in case they later modified the tooling to accept a level switch for power steering.
20121028_212215.jpg


Then i sanded the edge clean but kept regularly checking fitment. I wanted it just big enough to force the switch through. You can see the slight waist in the switch. You want it as tight as possible so there is little air interchange into the resevoir air space and hence minimise the amount of moisture soaked up.
20121028_222344.jpg


Switch popped into lid snugly and is just slack enough to rotate the switch like on the original:
20121028_222542.jpg


Again its almost as if designed by ford to fit as you can see the switch connector just perfectly clears the cap edge:
20121028_222557.jpg


And you can see it fits nicely on the inside too:
20121028_222608.jpg


The float protector was refitted:
20121028_232628.jpg


I also had to make a loom extension as on the original puma the resevoir is on the left side of the car but with the cossie conversion, the resevoir is on the right:
20121029_005734.jpg


I have also knocked up a turbo heat shield using some alloy heat shielding:
20121028_233406.jpg


Finally i have got round to trimming and finishing off the prototype carbon gear lever surround i made ages ago:
20121028_233354.jpg
 
true but unfortunately the kind of area i live in they arent after people like me as im overqualified for most menial jobs yet lack multiple years of industry relevant experience for the few decent jobs, so im a bit of a jack of all trades but master of none so its a bit of a catch 22 in the current climate.
 
Back
Top