The £650 Puma

ProjectPuma

Help Support ProjectPuma:

This site may earn a commission from merchant affiliate links, including eBay, Amazon, and others.
The light came on soon after I swapped the filter and went for a test drive! :lol: Was low, but I've used a bit of posh fuel over the last few months.

I still think the pump is just getting old and grumpy!
 
This has happened...

The-eye-of-shame_zpsvlkaonv2.jpg


Broke down at work but was resurrected by a new fuse. Then died at the childminders as I picked up the kids and refused any further administrations.

Had to leave it there and come back with a towing bar...

Pants. :p
 
Wild E. Coyote said:
So, the fuel pump had enough?
Yup! It's called time!
748 said:
You can forgive it though cos it's very shiny :lol:
Sort of. It did mean I had to heard the children back home on foot. One never stopped talking and the other (3 year old) was furious. "You should have brought your OTHER CAR!"

But yeah - shiny is good!

Ian G is already on the case with the correct pump replacement so I just need to drop the tank (that I filled last night :roll: ).
 
The Arch Bishop said:
Sort of. It did mean I had to heard the children back home on foot. One never stopped talking and the other (3 year old) was furious. "You should have brought your OTHER CAR!"

Yeap, the kids can be quite ruthless... :oops:
 
Do you remember when I said that Jegger was going to be driven this year rather than spending all summer on axle stands? Well, that didn't really pan out.

back-on-the-stands_zpsidw0ye5x.jpg


Rick's been around with some spare Jerry cans so that I can drain the tank, I've been out and bought a siphon, I've started removing exhaust shields and doused the four tank retaining bolts with Plusgas.

I've also received the replacement pump from IanG.

replacement-pump_zps3864wms9.jpg


I decided to give it a quick de-rust and coat it with some Bilthamber rust stabiliser;

replacement-pump-derusted_zpsrv9tf82p.jpg


All ready to attack the tank removal tomorrow... It looks like a pig of a job frankly...
 
Hi Ab
The tank removals easy, it's getting out the red connector at the fuel pump that's hard but good luck :)
Barry
 
Barry was right...

The rest of the removal wasn't easy as such but the connectors were the sticking point.

destroyed-collars_zpseec18hab.jpg


Rewinding a bit, I decided on removing the filling hose to the tank due to it being the most viable means of getting the siphon in there. After wrestling with a 17 year old jubilee clip, I managed to get this (and the even more stubborn breather) hose off and drained £30 worth of Tesco's finest out of the tank with a Draper squidgy bulb type siphon which worked very well.

Next up was the four tank-holding bolts. These were a pain for one (an awful design), but an extra pair of hands eventually got them free.

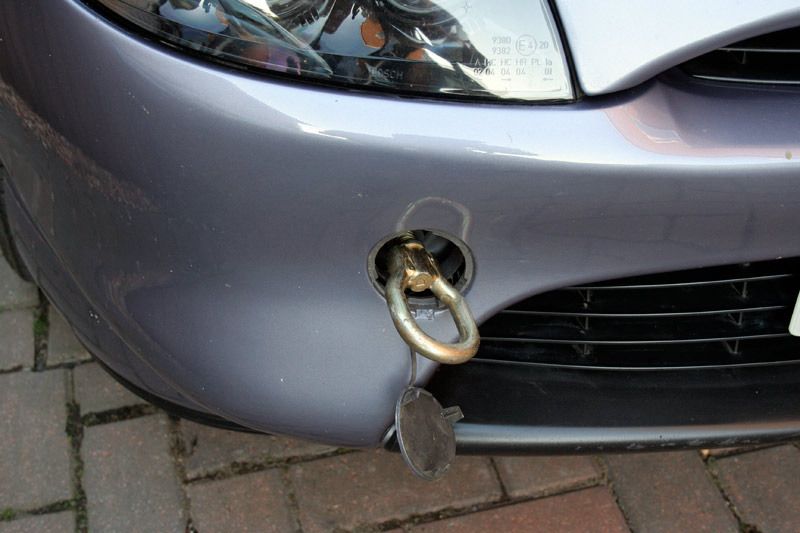
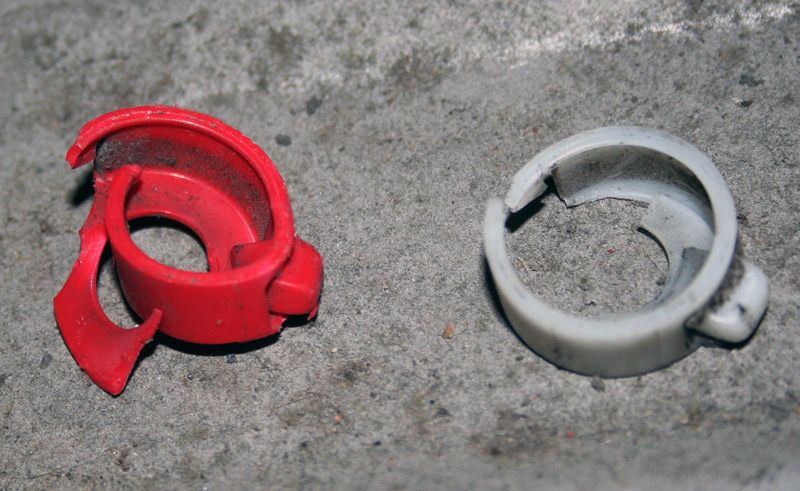
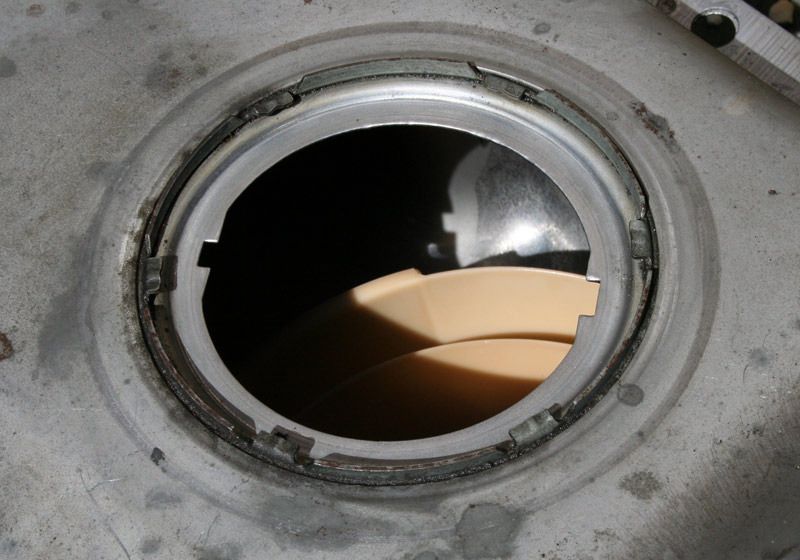
Finally, we got to the pump fixings themselves, and after 20 mins of gentle coaxing, it was obvious that they were not going to come quietly. Eventually, they were brute-forced off as per the first photo in this post. I'll have to find replacements!

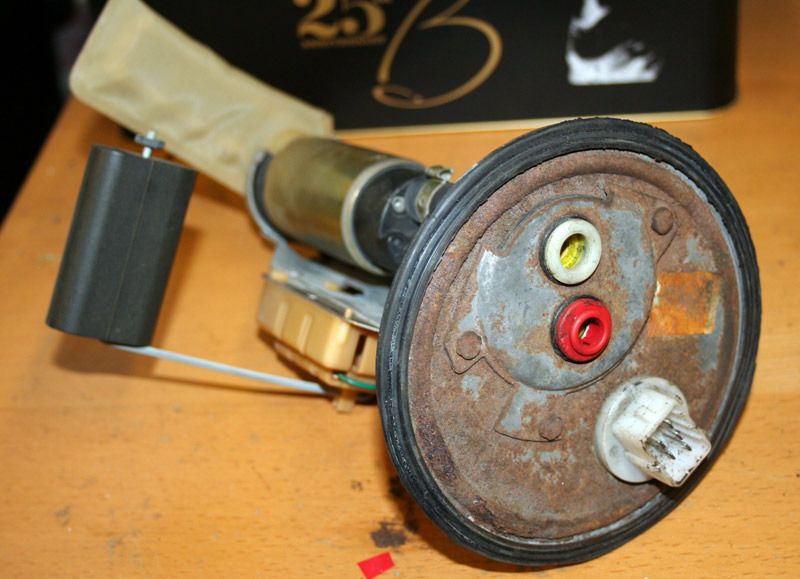
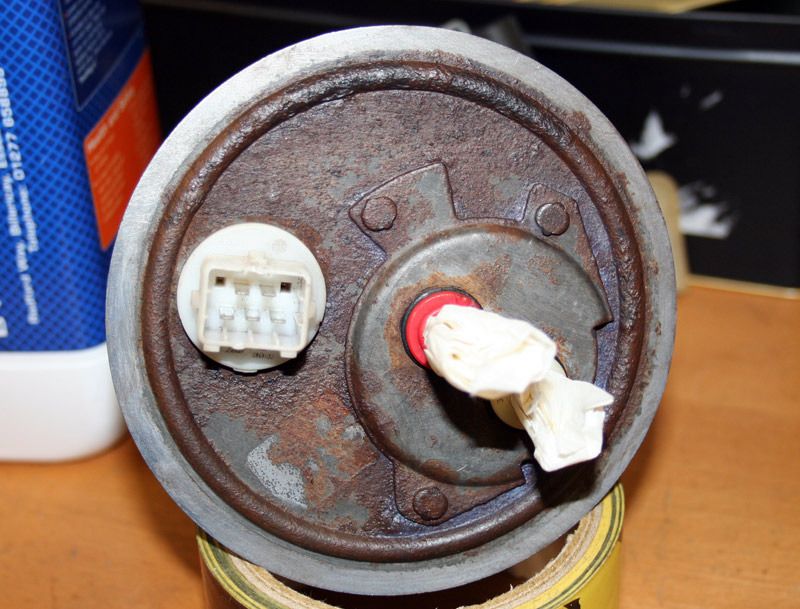
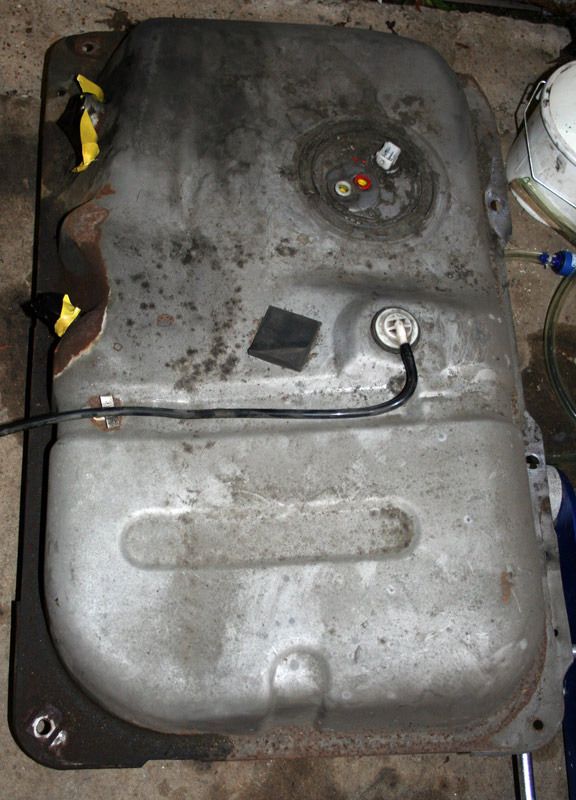
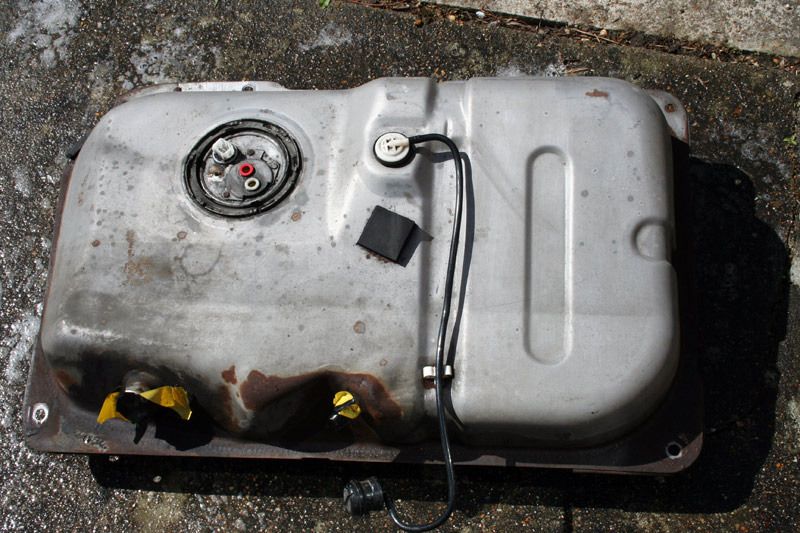
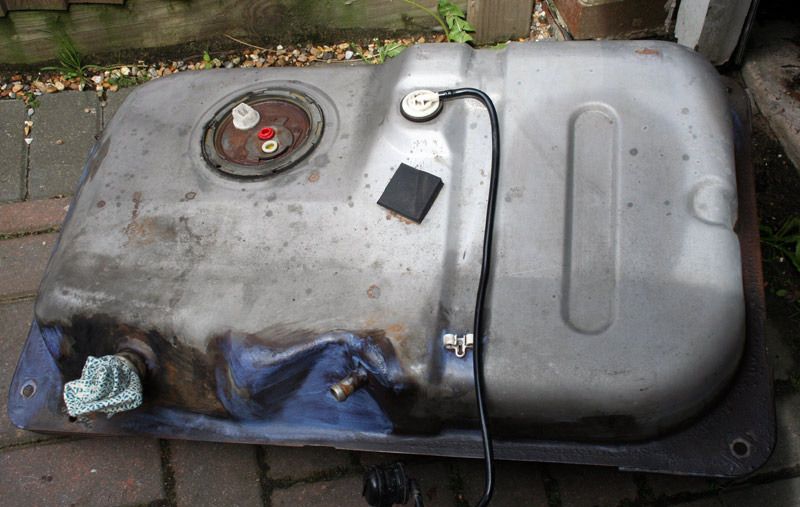
Anyway, tank off and it's not in bad condition;

tank-out_zpsgk8tmiwa.jpg


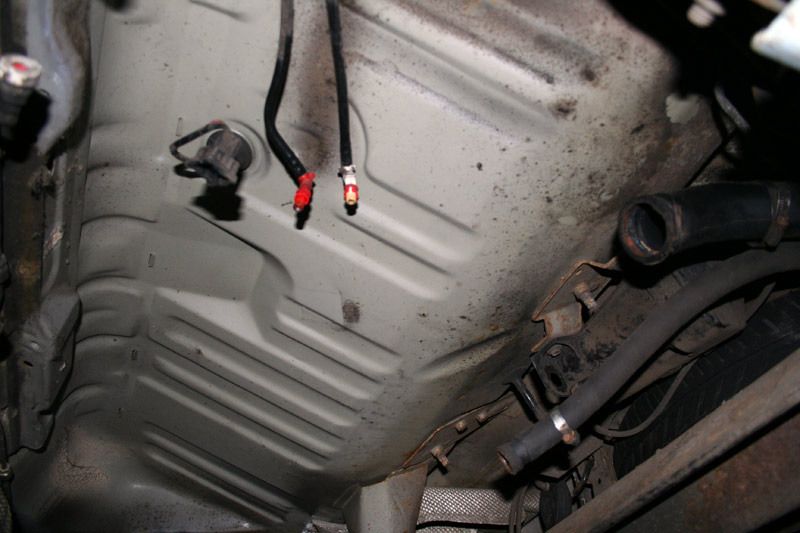
Also not bad is the metalwork behind the tank which looks very clean;

under-tank_zps0lnapcfv.jpg


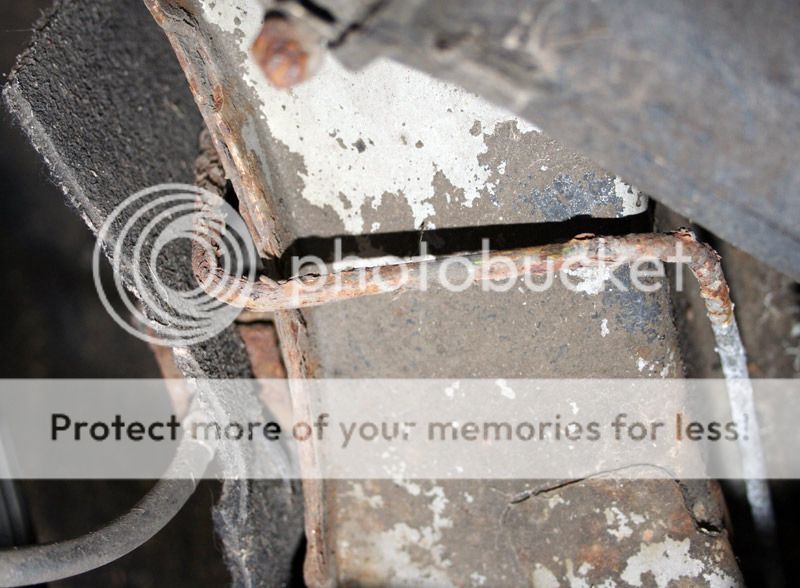
Having said that, the rest of the rear structure is looking a bit crispy, so I cavity-waxed the out-riggers while I was there. I need some more Bilt Hamber stuff though as the can wore out before I finished.

So.... broke stuff - removed stuff sort of day.
 
Hi AB
Ian G has all the fuel pump fixings but you may have to do some mods to the pipes. At least it all goes together a lot easier :grin:
Barry
 
Hi Barry, Already spoken to him regarding the fixings so should be on the way this week. Also need to evaluate the rear brake pipes as they don't look great! The MOT is due so it's probably a good time to get them done as well.
 
Little more done this morning. Here's the rear brake lines which look a little shocking;

brake-pipes_zpsynsugnlo.jpg


As you can see for the photo, they only have corrosion where they dip under the inner wheel arch and loop over to the brake pipes. The rest of the length is perfect which may mean it's more economical to get the garage to just replace the corroded sections before the MOT.

I started off by giving the tank a wash down so I could see the extent of the rust (and also meant that removing the pump wasn't going to get a load of grit in the tank).

tank-washed_zpseeg9pqun.jpg


The pump retaining ring came off easily with a screwdriver and a hammer. This allowed me to take a look inside which was extremely clean with little or no grit and muck in there;

pump-out_zps7hoytkls.jpg


Finished of by putting in the replacement pump and knocking any rust off. I then gave any rusty sections a paint over with some Hydrate;

pump-in-hydrate_zpsxpdq9fmi.jpg


I will need to give the bolts and fixings a clean up before they are reused as I don't fancy the fight it took to get them off when putting them back in!
 
Top job! But I don't understand, those clips, joints, what are they of? I thought they are part of pump, and since you are changing it, it doesn't matter if they broke?

Are they the same as the ones on fuel rail? How comes they are then impossible to move here? Have you tried some gentle heating with heat gun (obviously, not to mouch to avoid the risk of fire)?
 
Tank is back in and Jegger runs again! Reassembly was definitely easier than disassembly due to the fact that I cleaned the threads up for the tank fixings. Everything came together well so it's time to book an MOT....
 

Latest posts

Back
Top