My Puma 1.7, more than a year on (A works in progress)

ProjectPuma

Help Support ProjectPuma:

This site may earn a commission from merchant affiliate links, including eBay, Amazon, and others.
Hi Richard
I've bought both of mine from STEAVIE who's a garage owner on here, he sells them for £40 delivered and they are the latest modded part from Ford. Definitely worth checking this pipe and when you have it detached put the fan on and off a few times in the blow on your feet position to blow out any dirt that's still in the heater box.
Barry
 
tuonokid said:
[post]353256[/post] Cheers Sinisa
I hope everything's going ok with your engine plans.
Barry
Yup, it is coming along slowly. As I have a set of Ford piston rings, I will be rebuilding the engine in the car using the conventional method. Main crankshaft bearings, conrod bearings, gaskets and seals along the piston rings replacement. I will also use this opporunity to have the crankshaft and flywheel balanced to within a gram: I know from experience ine you have done it, main crankshaft bearings last forever, basically.
The other part of my plan includes buying a totalled puma, taking its engine out and repair its engine using the other technique: will have it sleeved what would enable usage of honda A18 piston rings and the rest will be done in the same way. The thing is that sleeving the engine block here is cheaper than set of piston rings for puma engine JUST FOR ONE cylinder. And if it works ok (I see no reason why it shouldn't) it would be a way to keep this lovely engines forever
 
Hi Barry,
Interesting post, I never checked this drain pipe under the dash. Will have a look on mine.
I also bought a new HCV some time ago at my local parts dealer, I asked for a TRW but he delivered a "Intermotor" instead. I never heared of this before, it looks like it's a UK brand. You familiar with it?
 
Hi Tyler
You'll probably find there's some crap in the tube if you manage to get it off but put it into your servicing routine to save getting your carpets wet :)
Yes Intermotor is a brand we get over here in fact my Escort estate rear ABS sensors are intermotor but the general consensus on here, I think, is to buy the genuine Ford one as it lasts longer.
Barry
 
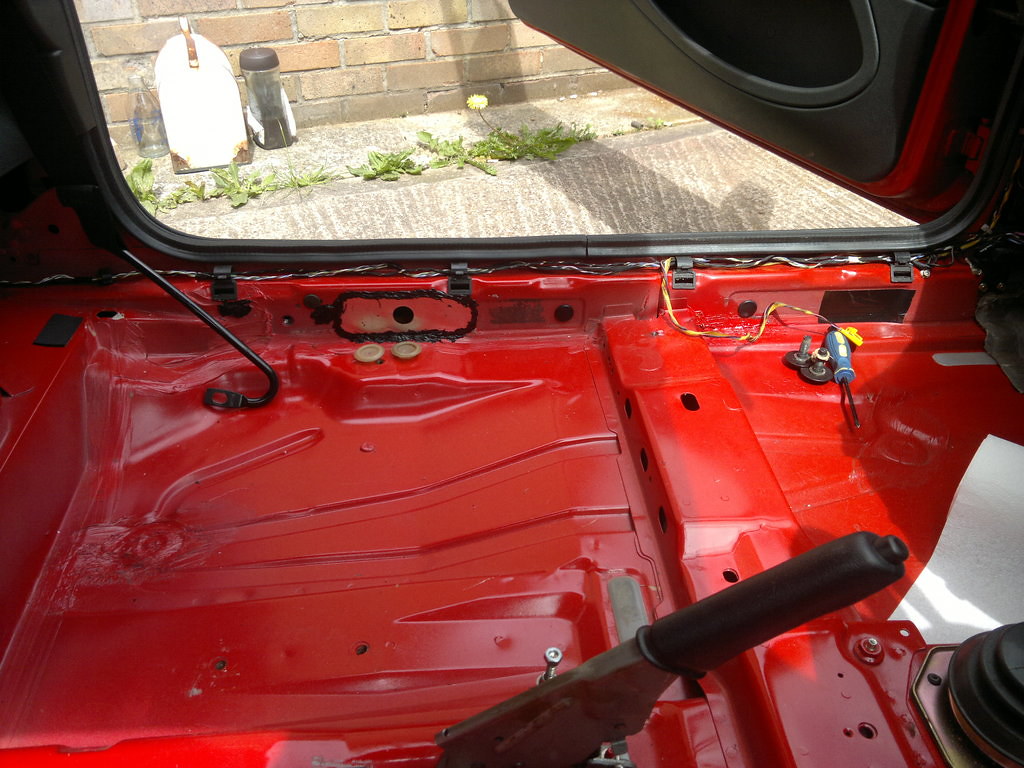
My carpets eventually dried out after their thorough soaking but before I put them back I thought I'd have another look at the re-taping I'd done after taking all the original off for waxing my cavities... ooer :) I'd used the stuff like Ford used but a few of the pieces were not completely fastened down so I ripped it all off apart from the patches near to the rear seat base as these were flat and well stuck. I dug out my box of grommets and managed to find a match for most of the holes apart from the front ones (45 x25mm rounded edge) the rear ones (10 x 15mm rounded ends) and the large slots right in the middle of the inner sill. The solution for this one was to get some aluminium sheet cut to size with a big hole for another grommet and stick it with epoxy sealant as this;

170620162774_zpscblxbjyf by barry wilson, on Flickr

The creamy coloured plugs are some MGB floor and boot plugs I had hanging around.

170620162775_zpsywshlapf by barry wilson, on Flickr

Then just gave it a quick blow over with paint to disguise the aluminium and epoxy and gaffa taped up the front and rear holes till I can get some matching grommets.

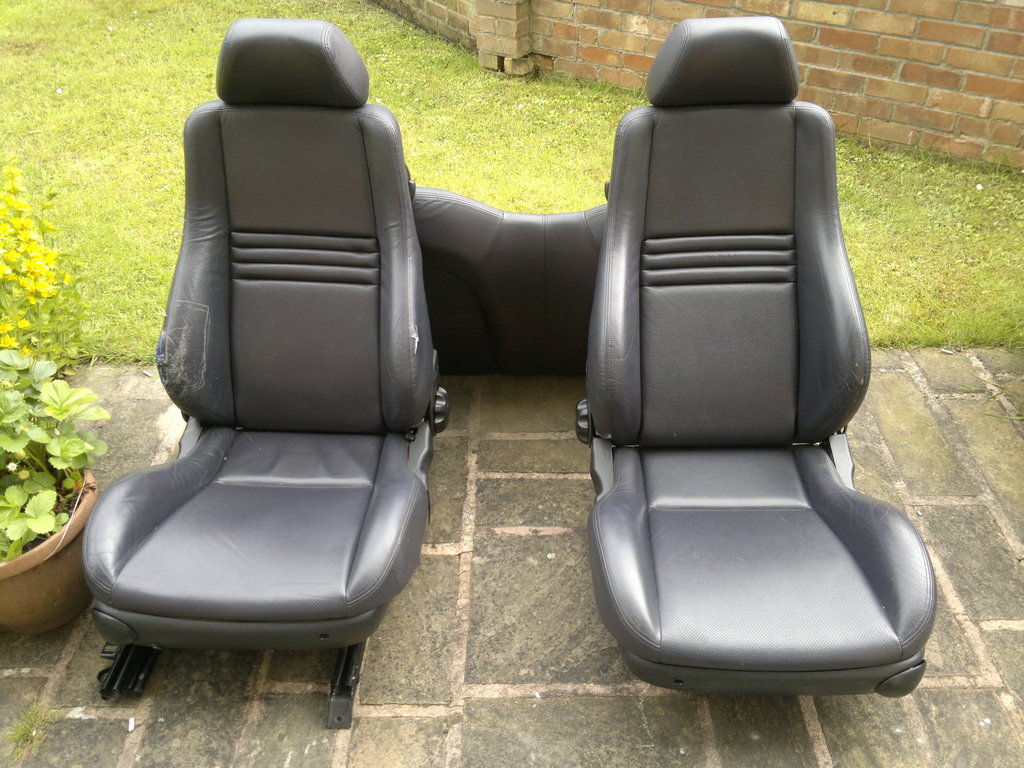
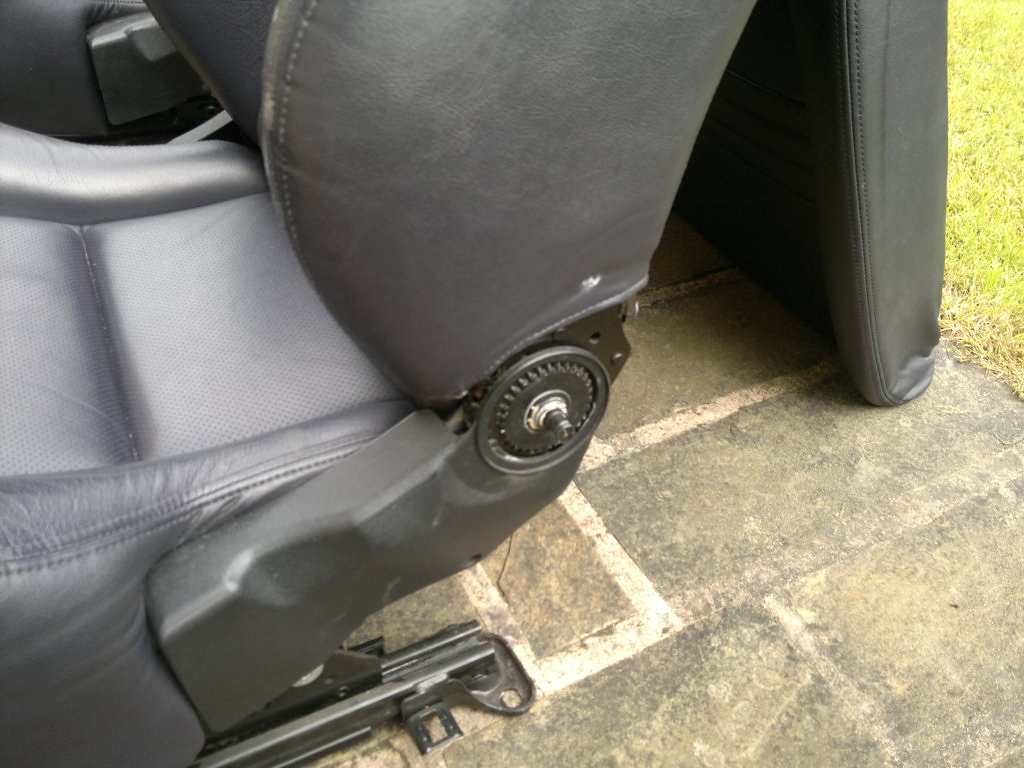
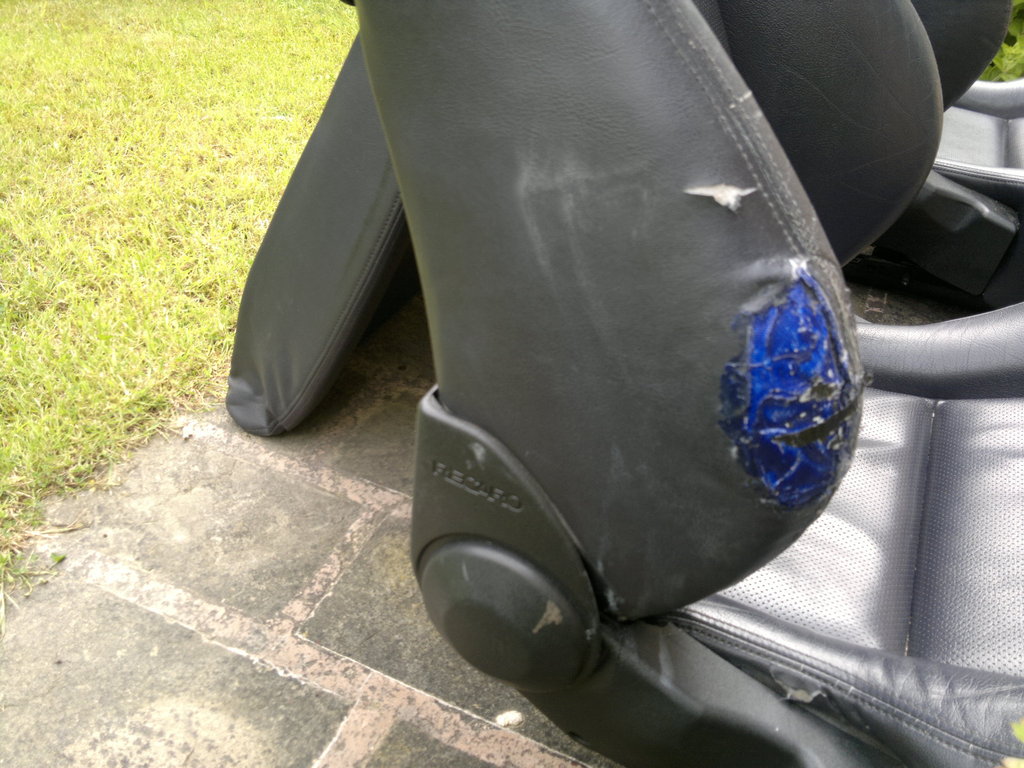
Thanks to Mrfluffy (Tim) I am now the proud owner of a full Millenium interior including door cards. The seats are short of a couple of parts and the side of the drivers seat needs some work but I'm not far from Tony Archer who does great vehicle upholstery at a decent price.

220620162777_zpsusdpenw5 by barry wilson, on Flickr

220620162778_zpsohcwhma9 by barry wilson, on Flickr

220620162779_zpsy6trzhrh by barry wilson, on Flickr

220620162780_zps8jdlksqt by barry wilson, on Flickr

Also the back of the rear seats is full of drilled holes (not caused by Tim) so I'll have to dismantle this to weld all the holes up.
 
Nice work Barry.. The holes in that rear seat are random! Can't think why you'd ever need to do that :?
 
Cheers Ben. Maybe the previous member of this Millenium will be on here and fill us in as to why because I haven't a clue as well :)
 
From context, and also the amount of audio wiring I removed from the car, I think a previous owner had their amp(s) screwed to the back of the back seat. The car had been fitted with an aftermarket stereo, which was the first thing I took out. The speakers have been replaced with Xtreme units, which do sound rather nice.

It was good to meet you on Saturday Barry, and thanks for taking those seats off my hands, it's nice to get some space back in my living room! As per your advice, I've also just bought a MIG welder, as stick welding the new rear arches in was not something I'd care to try again.. The arches on mine are about complete, amazingly the Halfords spray cans I bought as a stopgap measure are a damn close match to the existing paintwork, so hopefully I should get everything done in time for Ford Fair, weather permitting of course.
 
Hi Tim
Yeah it was good to meet you as well and thanks again for the seats etc. Still haven't decided what colour I'm going to do the seats but I think the steering wheel airbag is going to limit me here. The door cards may be surplus to requirements but as you did I will make sure they're a freebie for someone.
Modern day aerosols are pretty good as regards colour match so I'm not surprised yours matches and looking forwards to seeing you and your Pumas at Fordfair and don't forget I owe you dinner :)
Oh and thanks for info on the holes, they were puzzling.
 
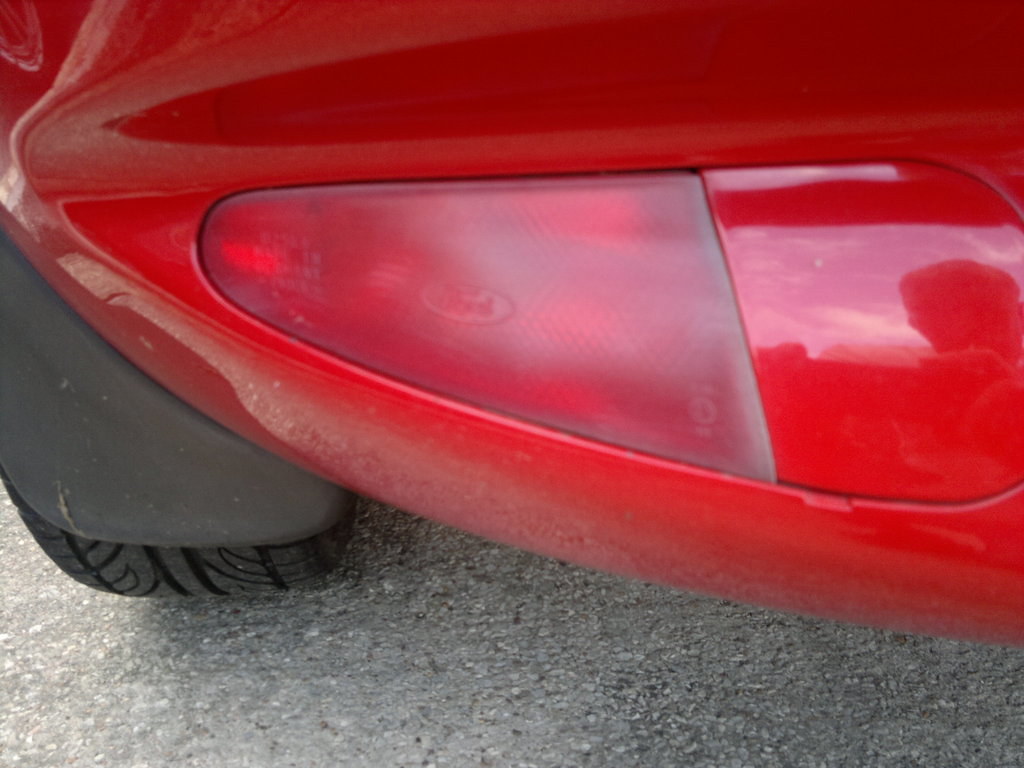
In between it p*****G it down here this week I decided to have a go at my rear fog lights as the passenger side one, in particular, was looking rather grotty.

190620162776_zpsoq3un7cj by barry wilson, on Flickr

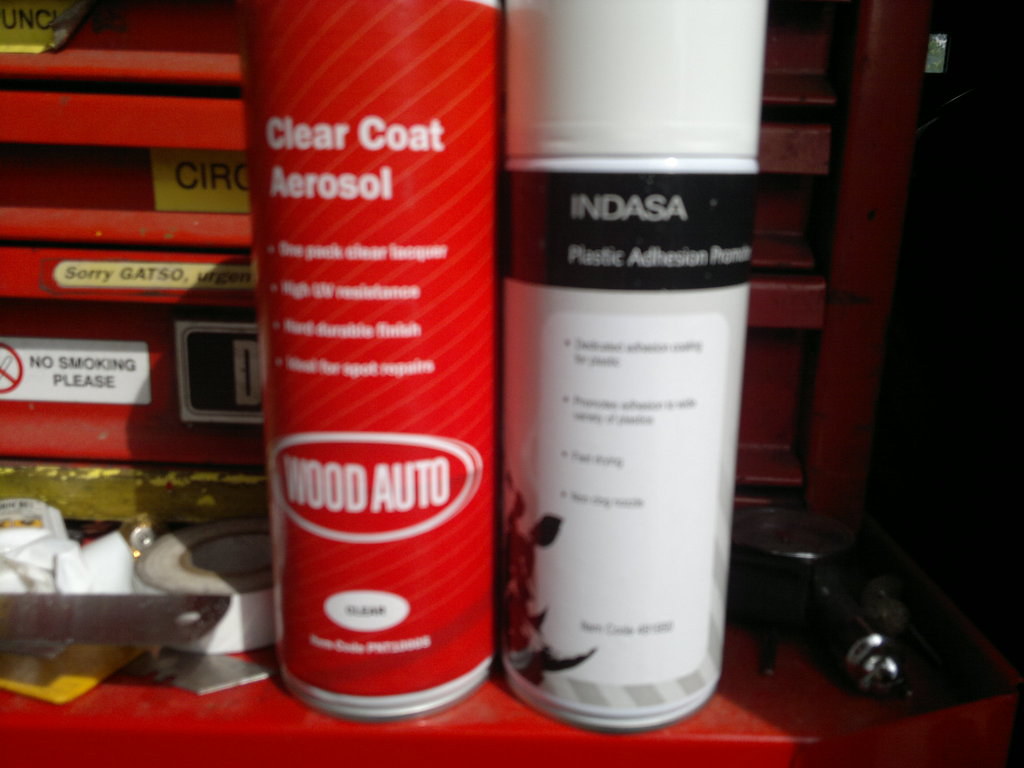
So I took it off and flatted it with 400 grade followed by 800, then 1200. I didn't want to polish it with buffing as I thought it would only be a temporary fix as UV light would make it go bad in a short time. I decided that clear coating it would be the best bet so, using the stuff I'd used on my mirror, had a go at it. Damn, it went like hammerite so thinking I mustn't have degreased it properly I flatted it again then sprayed it with the same result! At this time I thought I'd better try some plastic primer but couldn't find out if there was any clear and the stuff I already had in my garage was grey. I went to Wood Auto in Huddersfield and was talking to a customer in there who was a car painter and he just went over to the shelving and picked up this can of plastic adhesion promoter (the one on the right)

240620162784_zpsjhjocuwf by barry wilson, on Flickr

These are both the products I used and both supplied by Wood Autos.

240620162783_zpspgwalyr3 by barry wilson, on Flickr

And this is the finished result :) I'm that pleased I've just done the other one up to the adhesion stage in about 10 minutes.
I'm hoping this will work on my headlights as well as those definitely need doing.
 
Funny you should mention that Rob but the guy in Wood Autos that picked this can up for me was on about a similar product that also had a little bit of a metallic sheen to it. Must be the same as what you use then.
Barry
 

Latest posts

Back
Top