ScubaSteve
Active member
- Joined
- May 8, 2010
- Messages
- 3,749
This will help you change your track rod/tie rod ends.
Parts you will need:
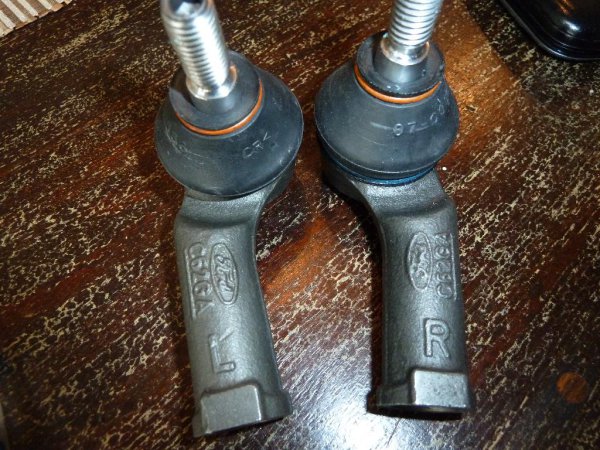
Track Rod RH: 1020174
Track Rod LH: 1020175
Tools you will need:
Allen keys or allen key socket bits
15mm spanner
2 x adjustable spanners
Maul Grips
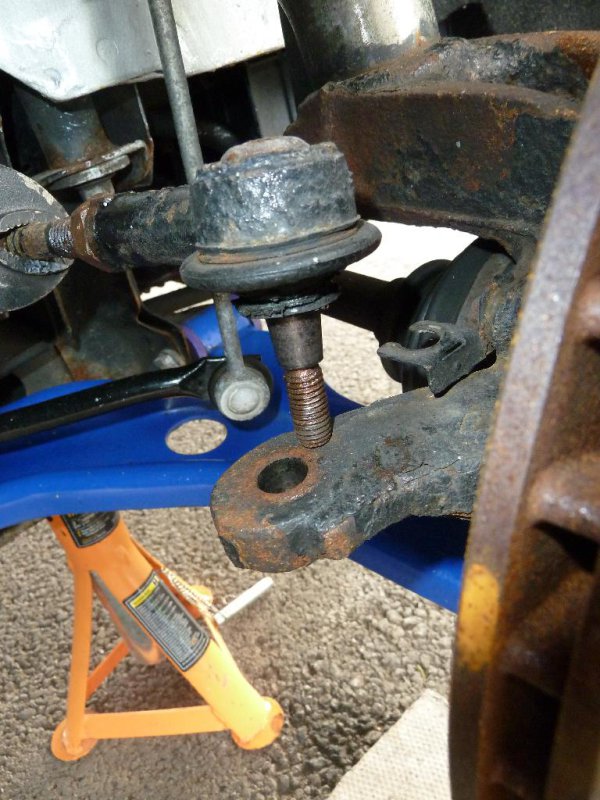
Your ball joints will probably come like this with a blue sleeve, a retaining nut, and a lock nut for each one should also be present

Pull off the sleeves, note they are handed
Jack up car and stick on axle stands
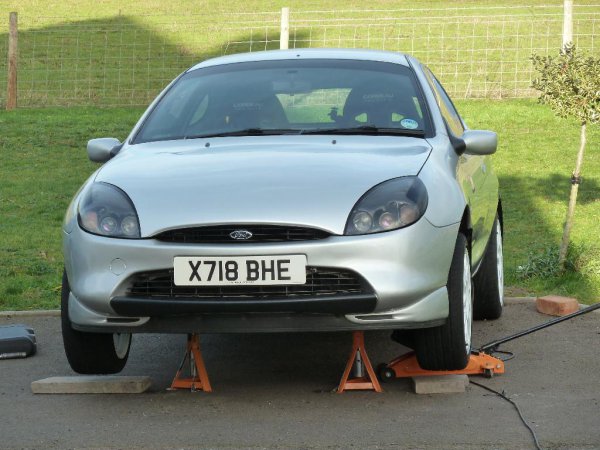
Remove wheels, which will gain you access to your track rod end ball joints
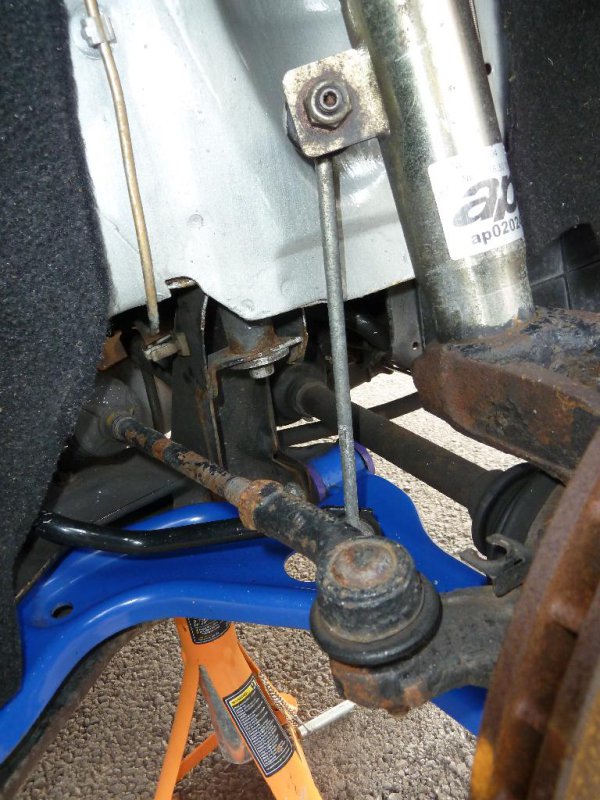
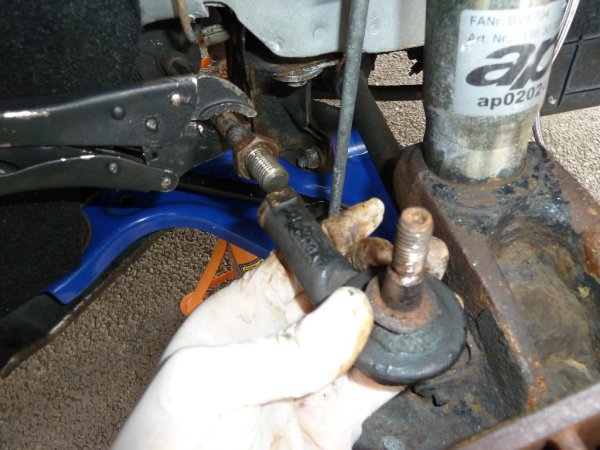
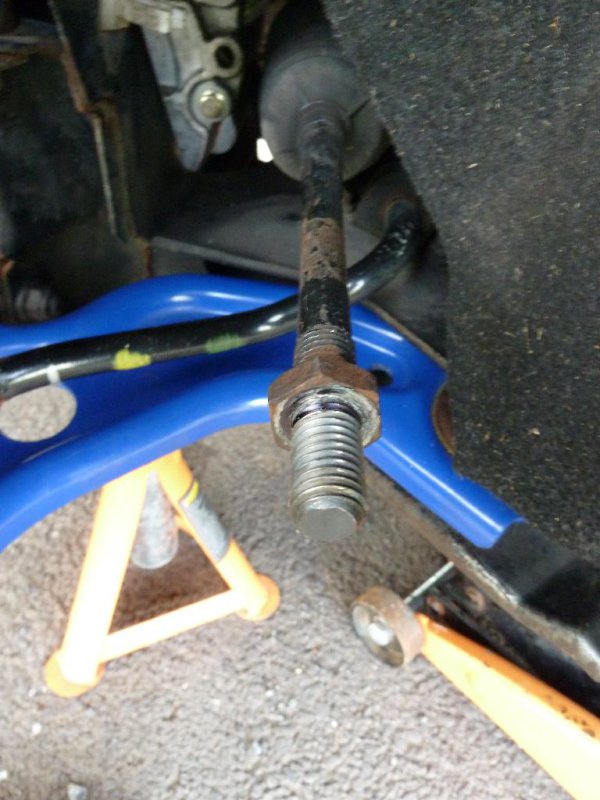
Start by undoing the lock nut on track rod arm, two adjustable spanners are needed, one to hold the track rod end to stop it turning, the other to undo the nut
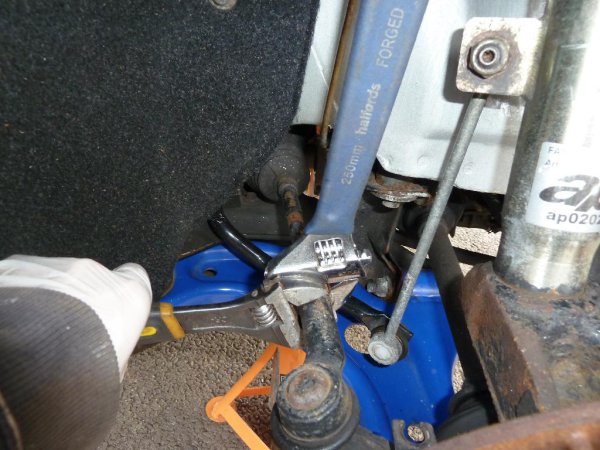
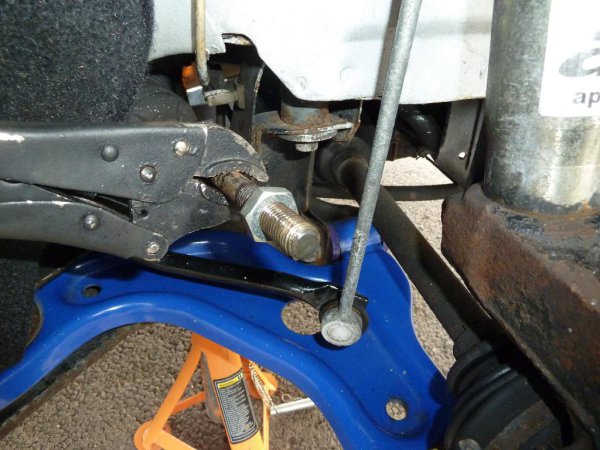
Next up take a suitable allen key or allen socket, and put it in the bottom of the thread of the ball joint, this will stop it spinning when you undo the nut, take your 15mm spanner and undo the nut
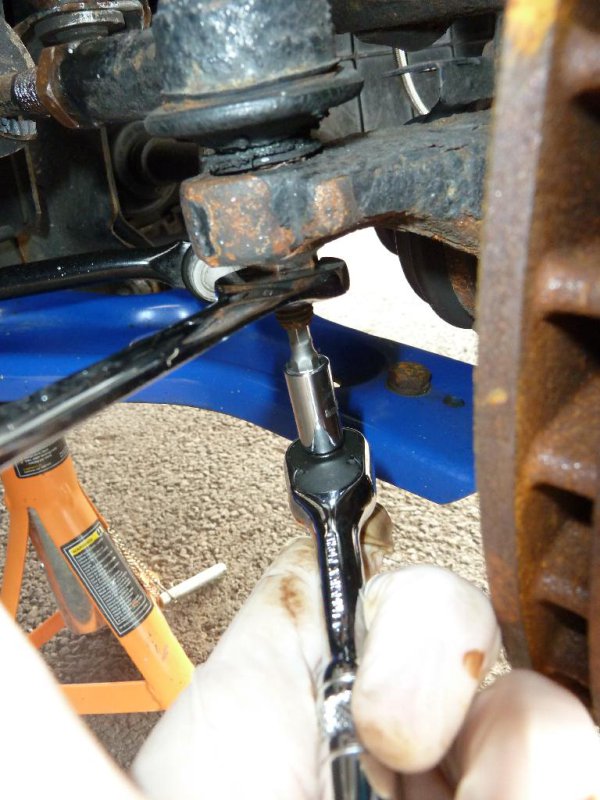
withdraw from the knuckle
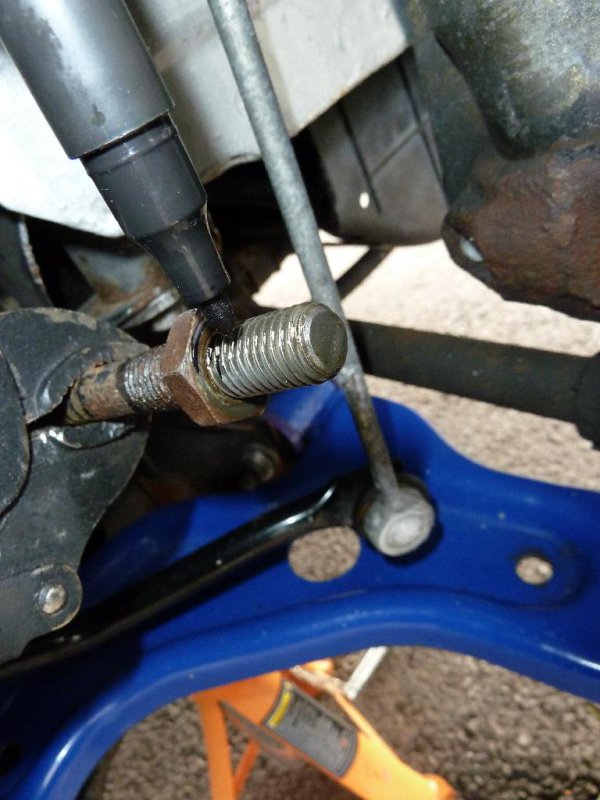
Now the ball joint should be free to turn, if not you may need to clamp the track rod with a pair of maul grips to stop it spinning. Important, count the number of times the ball joint turns as you unscrew it, remember or note down the number
If may also be worthwhile marking where the ball joint was with a permanent pen
Remove the old lock nut

Screw on the new locknut
Screw the new ball joint on the same number of turns it took the old one to come off and check it lines up with the pen mark too, then tighten the lock nut in the same fashion of holding the ball joint still with one spanner
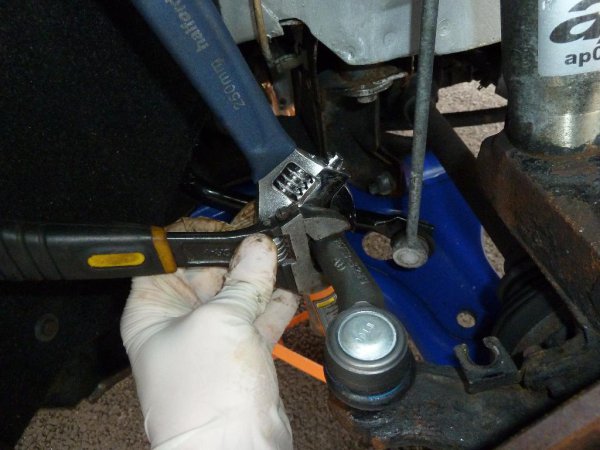
Place the thread back through the knuckle and again holding the thread with the allen key tighten the new nut up to 37nm
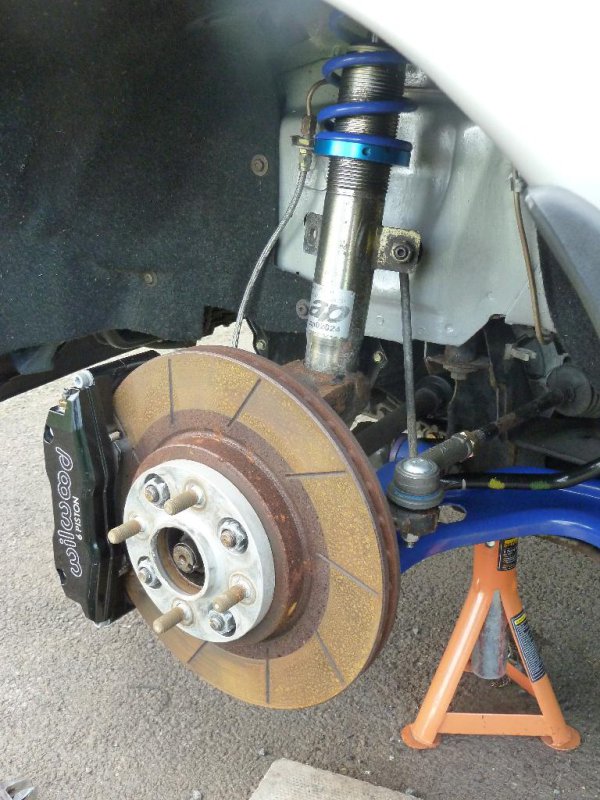
Nice new ball joint installed
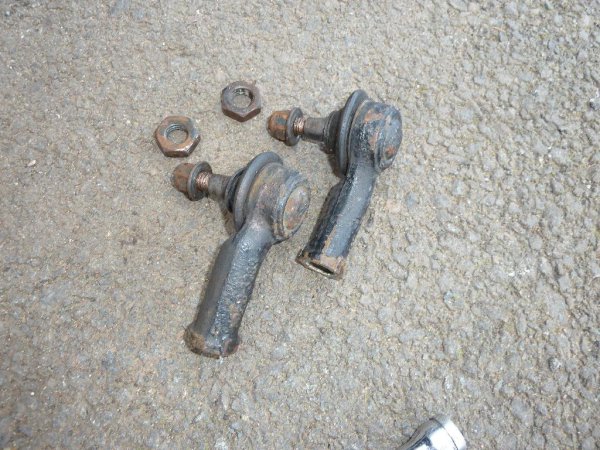
crusty old ones throw away
Now take your car to get the toe checked and you are done!
Parts you will need:
Track Rod RH: 1020174
Track Rod LH: 1020175
Tools you will need:
Allen keys or allen key socket bits
15mm spanner
2 x adjustable spanners
Maul Grips
Your ball joints will probably come like this with a blue sleeve, a retaining nut, and a lock nut for each one should also be present
Pull off the sleeves, note they are handed
Jack up car and stick on axle stands
Remove wheels, which will gain you access to your track rod end ball joints
Start by undoing the lock nut on track rod arm, two adjustable spanners are needed, one to hold the track rod end to stop it turning, the other to undo the nut
Next up take a suitable allen key or allen socket, and put it in the bottom of the thread of the ball joint, this will stop it spinning when you undo the nut, take your 15mm spanner and undo the nut
withdraw from the knuckle
Now the ball joint should be free to turn, if not you may need to clamp the track rod with a pair of maul grips to stop it spinning. Important, count the number of times the ball joint turns as you unscrew it, remember or note down the number
If may also be worthwhile marking where the ball joint was with a permanent pen
Remove the old lock nut
Screw on the new locknut
Screw the new ball joint on the same number of turns it took the old one to come off and check it lines up with the pen mark too, then tighten the lock nut in the same fashion of holding the ball joint still with one spanner
Place the thread back through the knuckle and again holding the thread with the allen key tighten the new nut up to 37nm
Nice new ball joint installed
crusty old ones throw away
Now take your car to get the toe checked and you are done!