thought id share this with you guys, project took me months to complete from lack of time and money etc and some say its over kill but it makes me smile every time i hear it  oh and its still not 100% done lol
anyway
finally got round to starting my install yesterday, here is a quick breakdown of what i have planned:
New headunit
New coaxial 6.5" in front (dont have skills to custom mount tweeters)
12"sub in boot
powered by two separate amps
fuly sound-deadened using combination of dnyamat extreme, Edead, and second skin sludge
i will be using the method 80% install 20% equipment
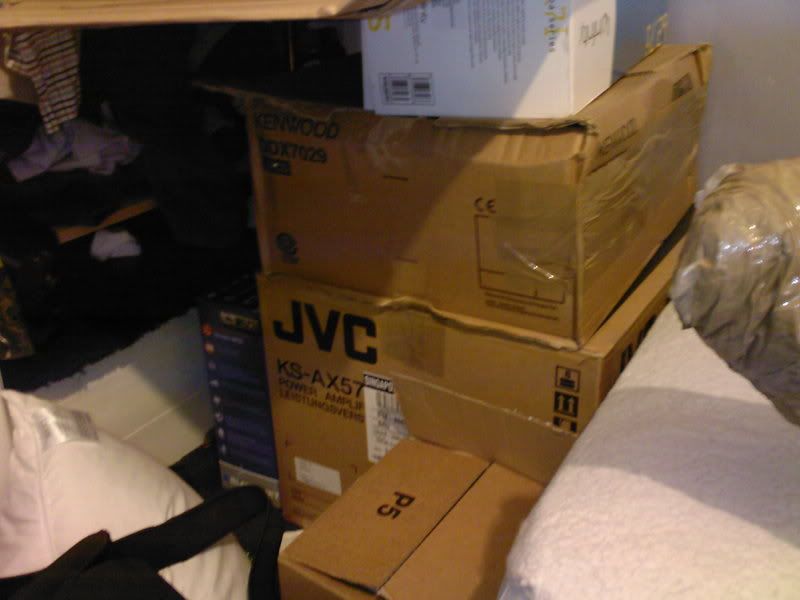
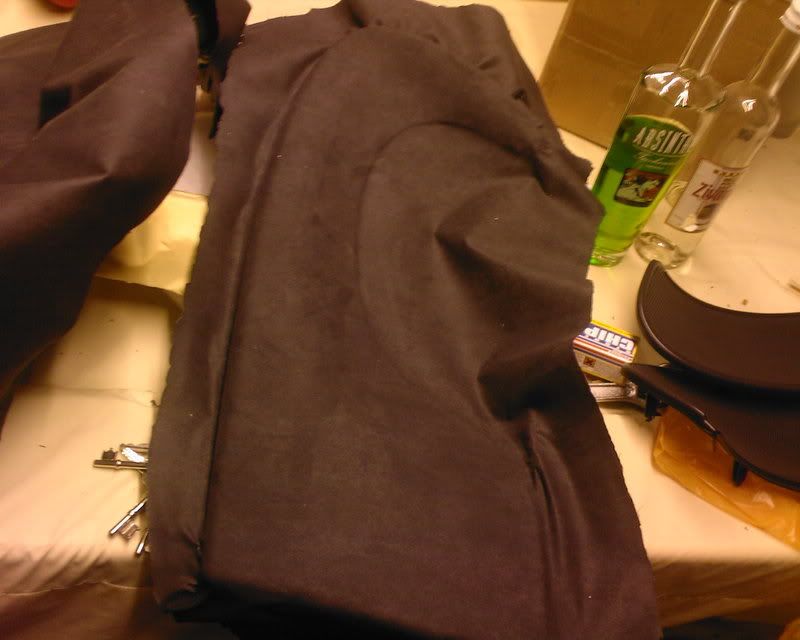
a nice big pile of goodies!!!!!
that has now got about twice the size!!
So firstly i laid some Edead down in the boot
two layers should be enough i think, done the job well considering how much people slag the stuff off!!
topped off with some good old sludge!!
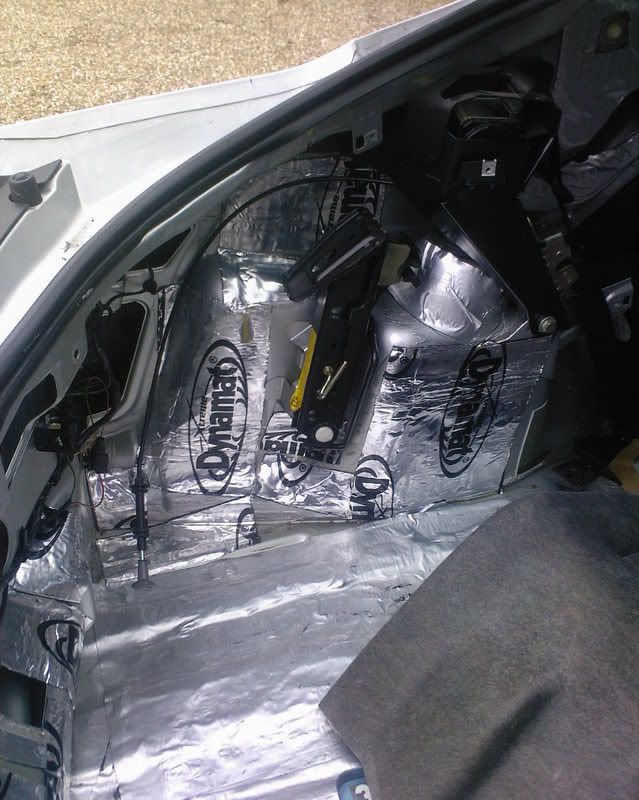
I then went about ripping out the side pannel
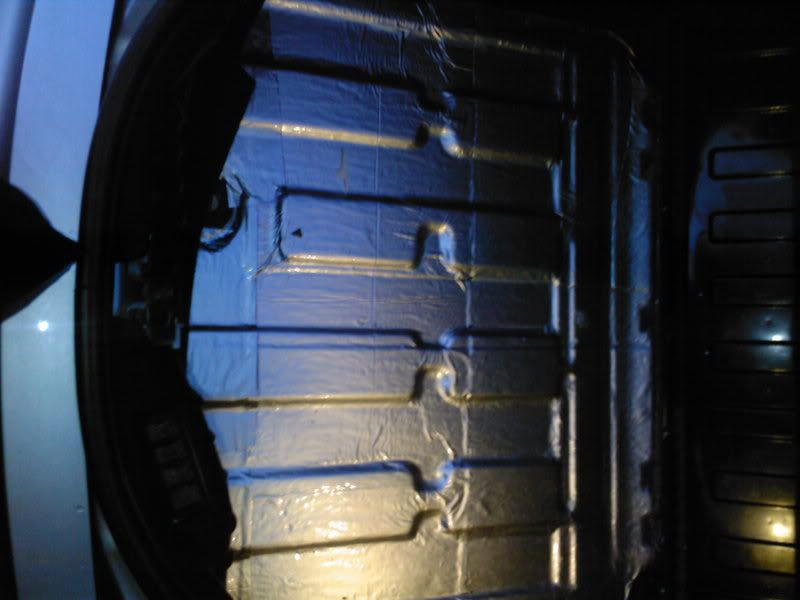
laying some mat down
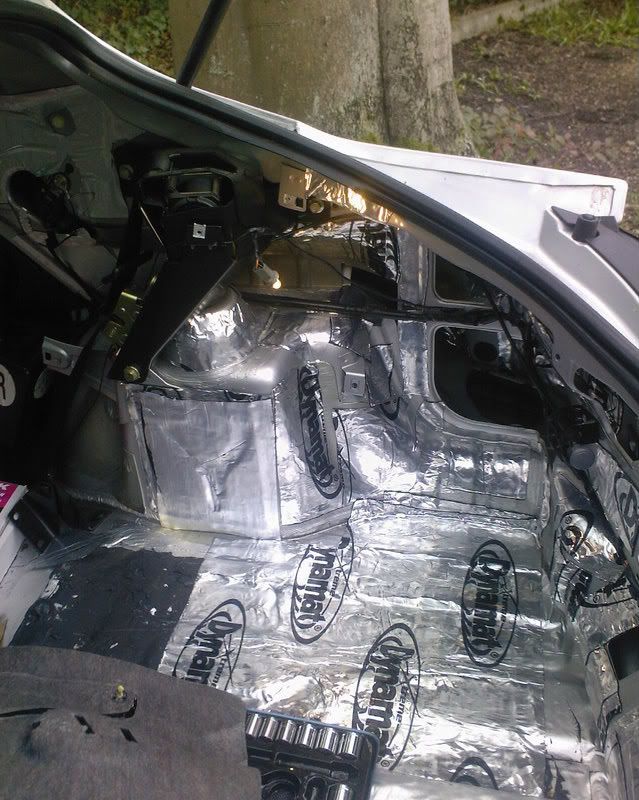
not the best pic but i noticed some rust beginning to form in the seam for the arch i removed any of the surface rust and sprayed the area with waxoil to be safe!!
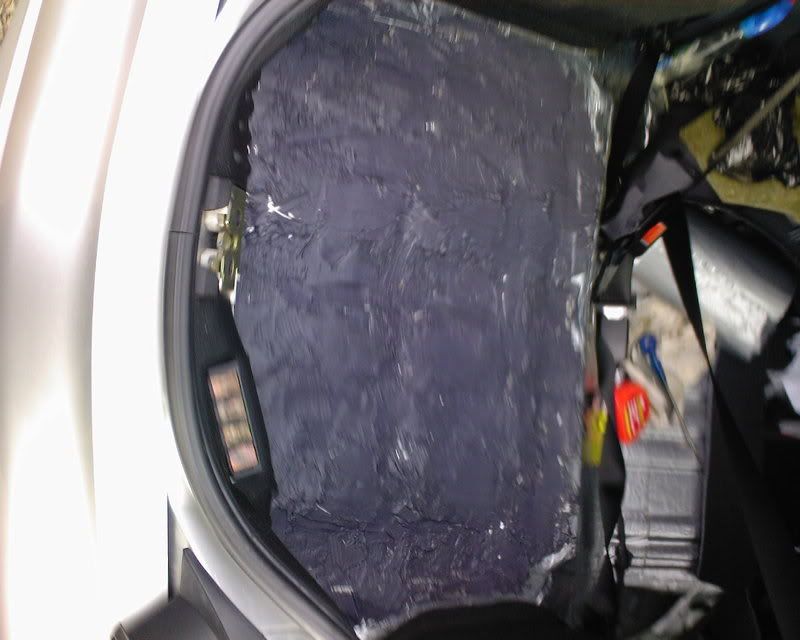
then i coated that in Sludge
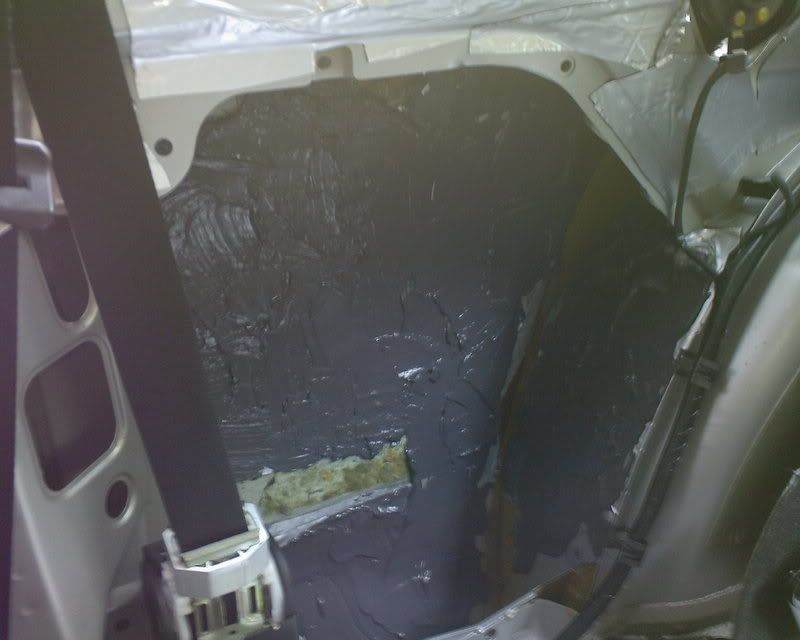
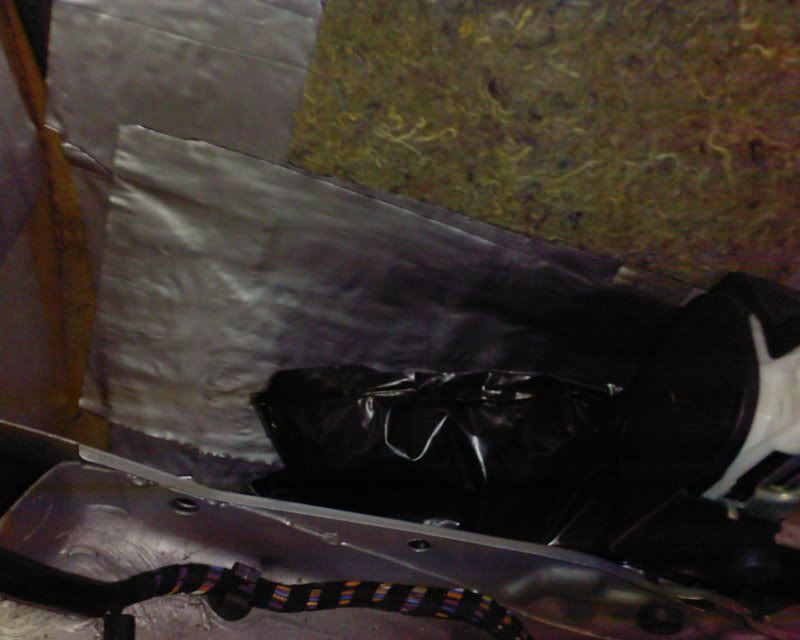
and just a shot of how it looked when i was done for the night!!
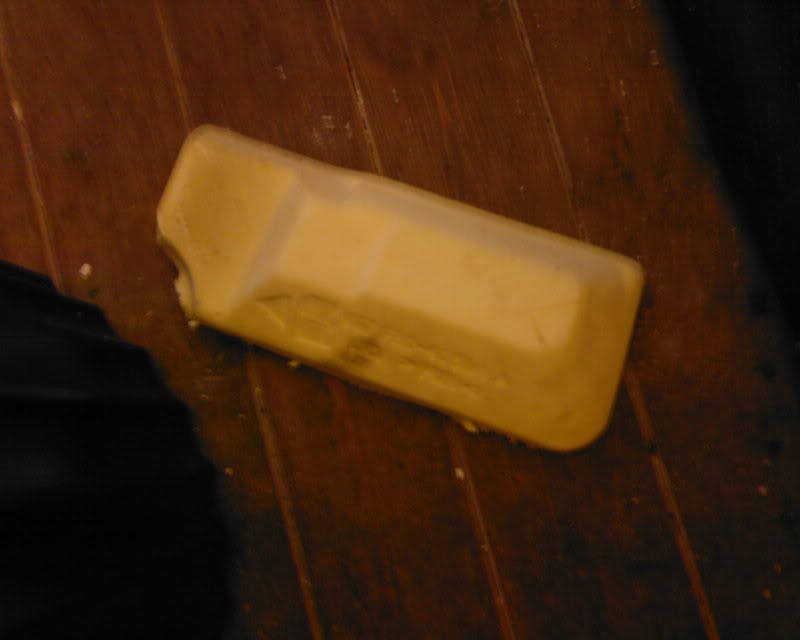
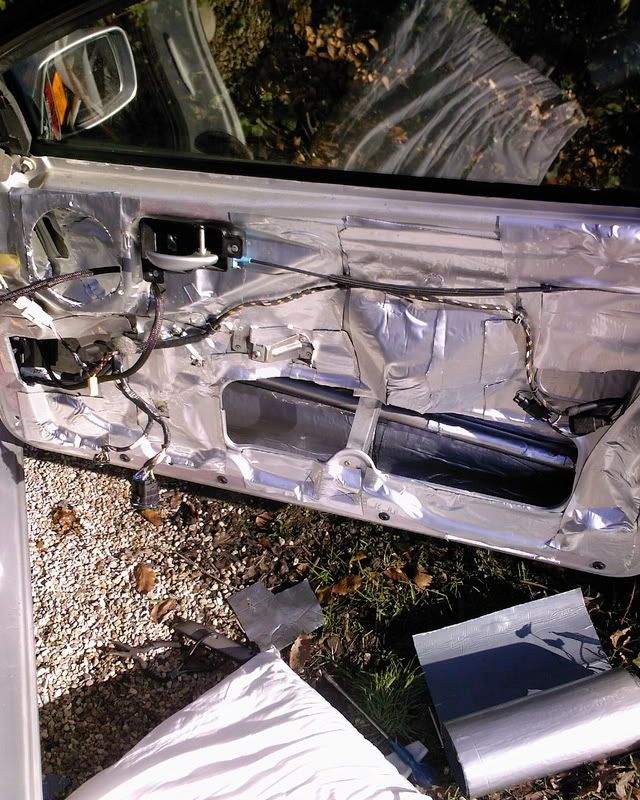
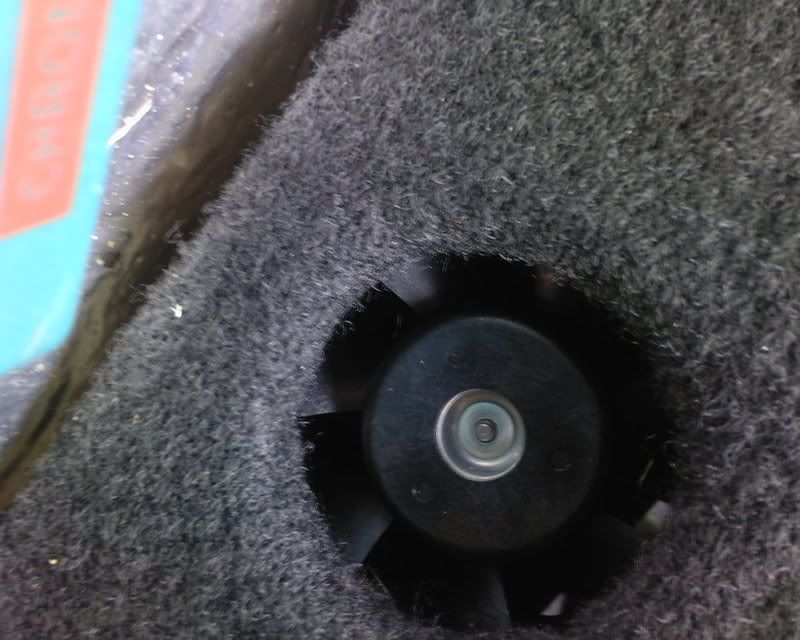
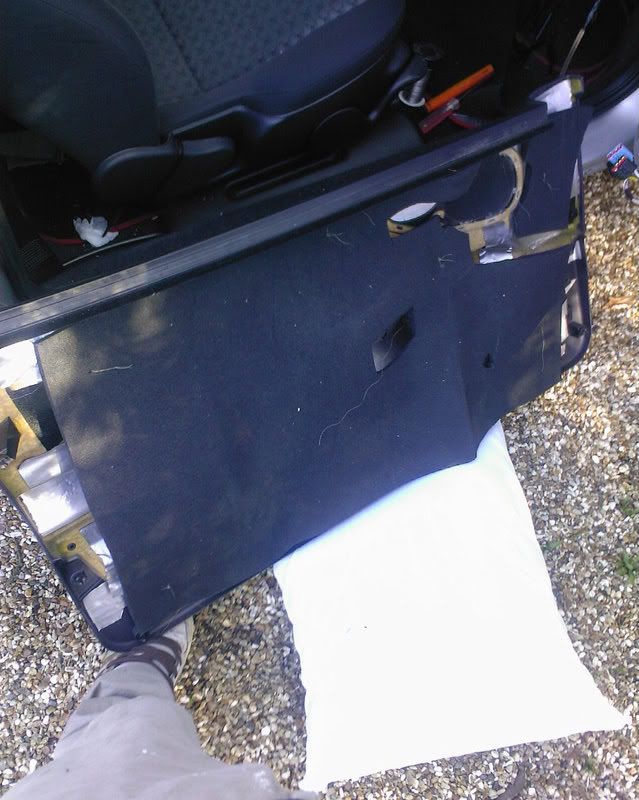
Well i've been busy today but don't seem to have got all that much done!! started work on the passenger door, and was surprised to find that ford decided not to fit any sound deadening to the doors!!! all i found was this
i cant imagine it does all that much so off it comes and i set about cleaning the inside of the door and planning how i was going to get some mat inside the whole door.....
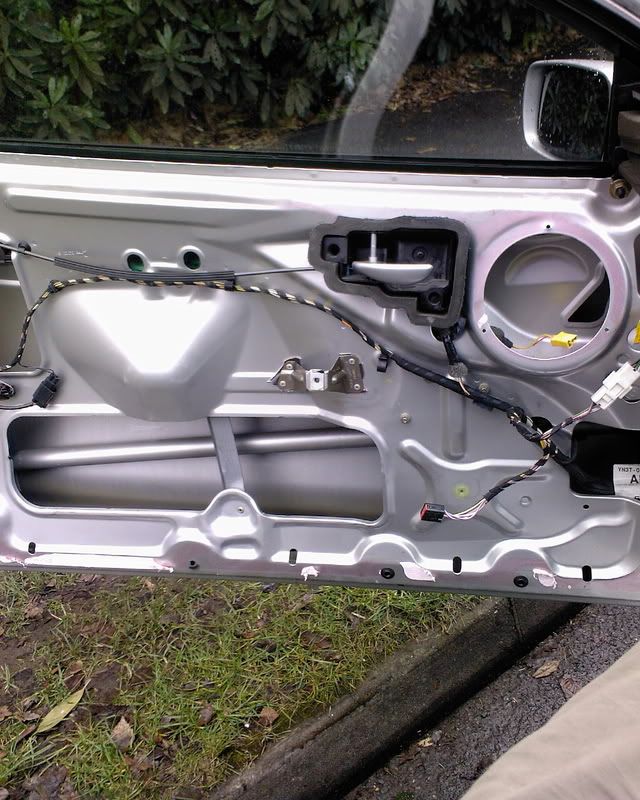
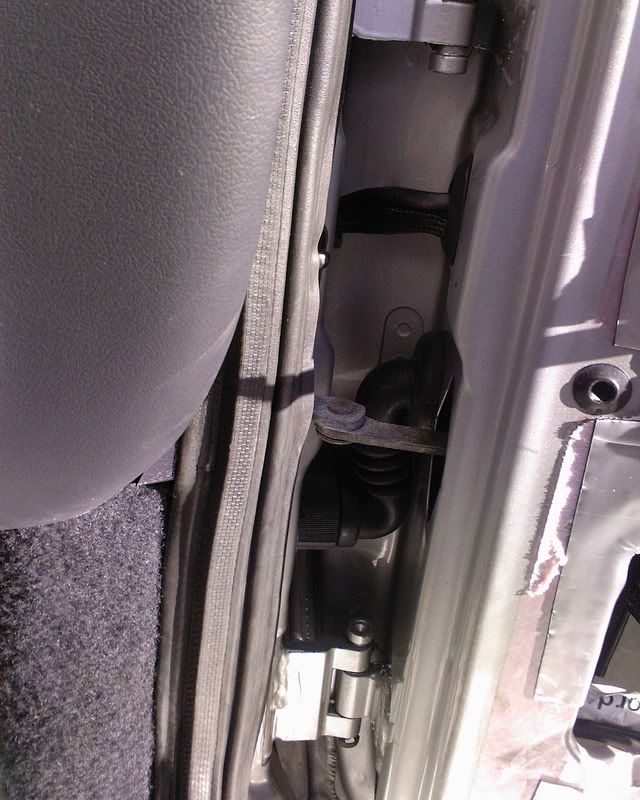
Not all that much access is there!!! although i'm sure there are worse
After the mat was laid, i put two layers of Edead elite down so that amounts to around 120mils of mat, not too bad.
i even put some on the inner wall where you cant see to try and catch some reverberation
After that i went about sludging it up!!! found it too hard with a spreader so ended up using my hands!! that stuff is a killer in the cold

Was happy with the end result and managed to get most of the door behind what you can see ^_^
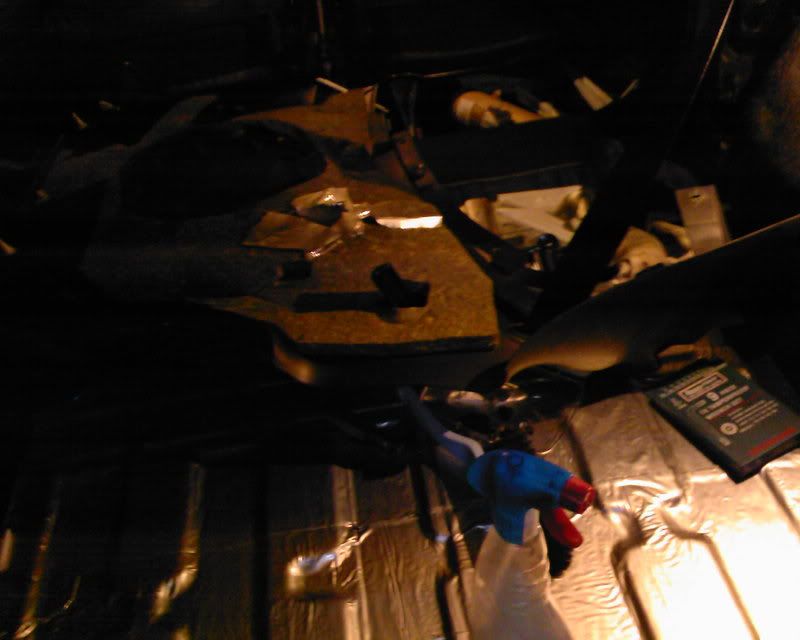
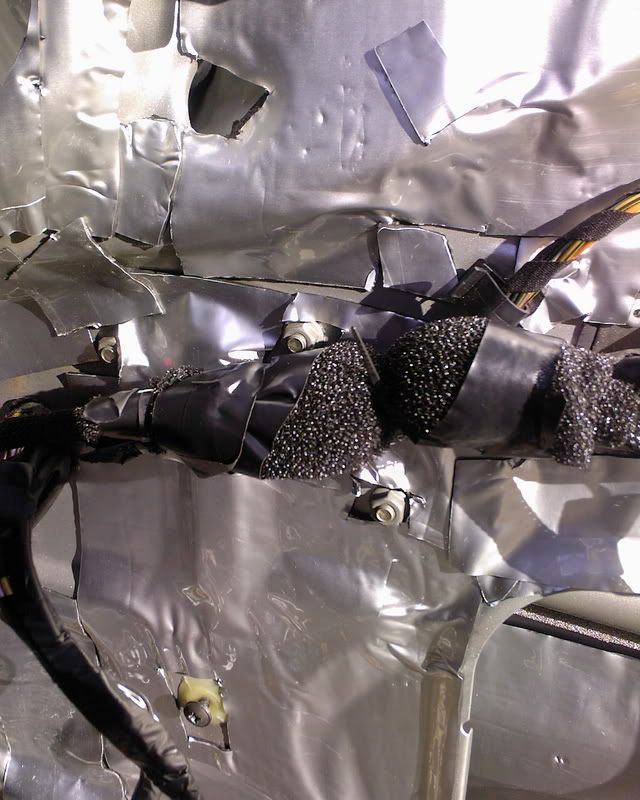
Next i needed to run some cable for the speaker through from the car to the door, this proved to be much harder than i first anticipated but after around an hour!! i cracked it
This isn't finished yet, need to glue the car-side grommet to the car as i broke the clip <_< but you get the idea
And that's the end result of the day with the cable fully covered (don't know what the stuff is called LOL)
just a small update, just to keep things going!!!
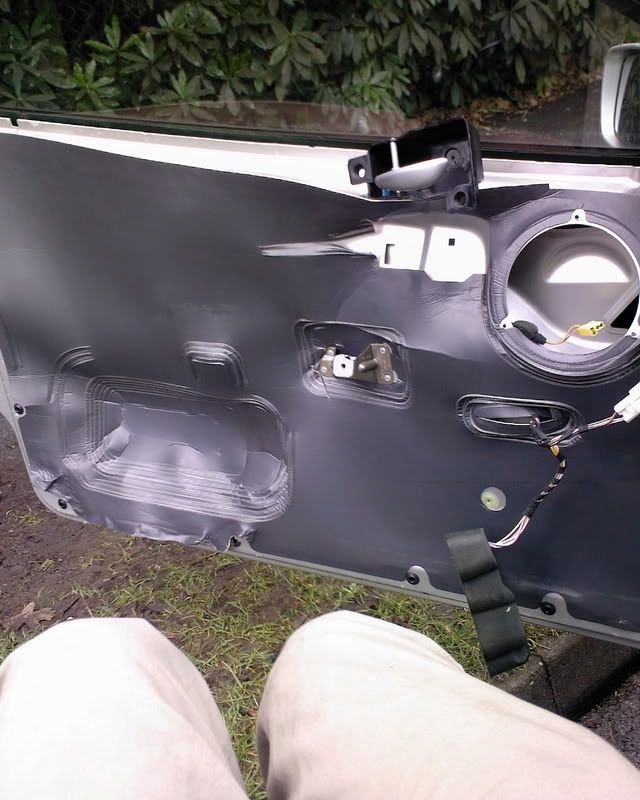
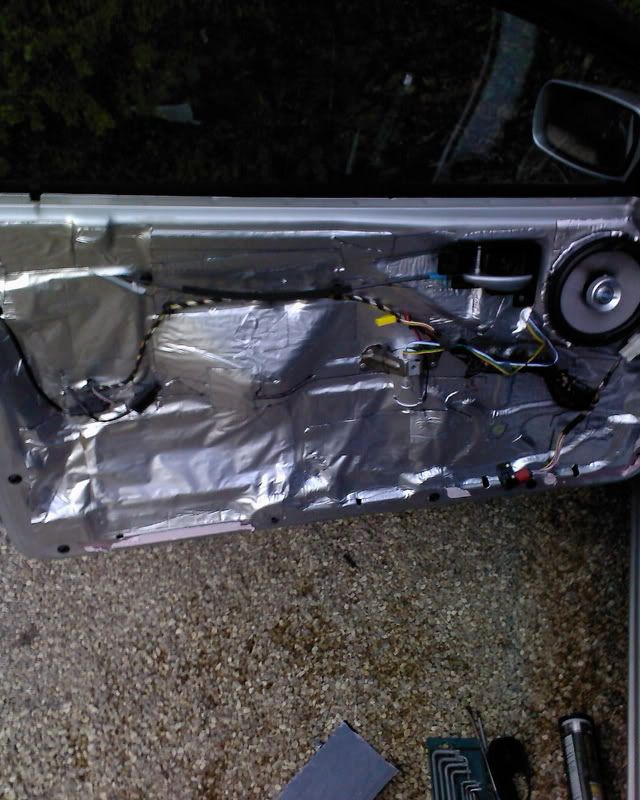
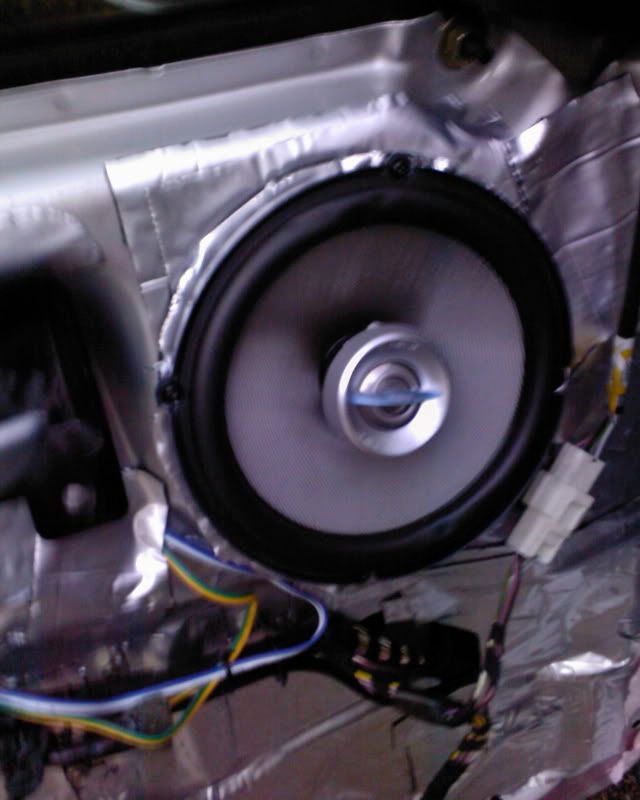
almost finished the passenger door now!!(really slow progress i know but it keeps getting dark before i get a chance to crack on ) i finished off sealing it today, from the advice gained on here, had to cut a part off the door card though as it was preventing me from doing this....
took this off:
to gain this:
and this is the door with its nice new speaker in and a close up of it too!!!
Part of the reason i got so little done today was mainly due to this......
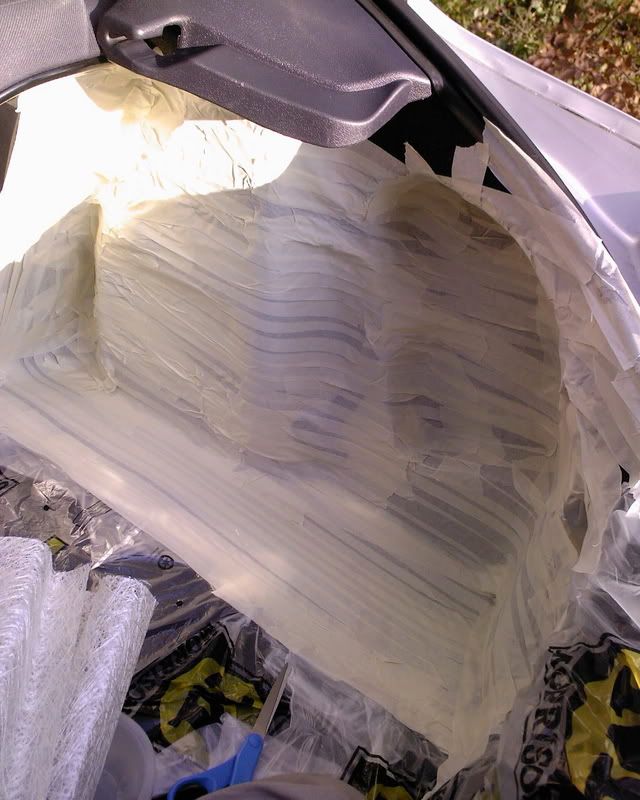
can anyone guess what that is going to be????? took much longer than i anticipated just to mask off that much area:shake:
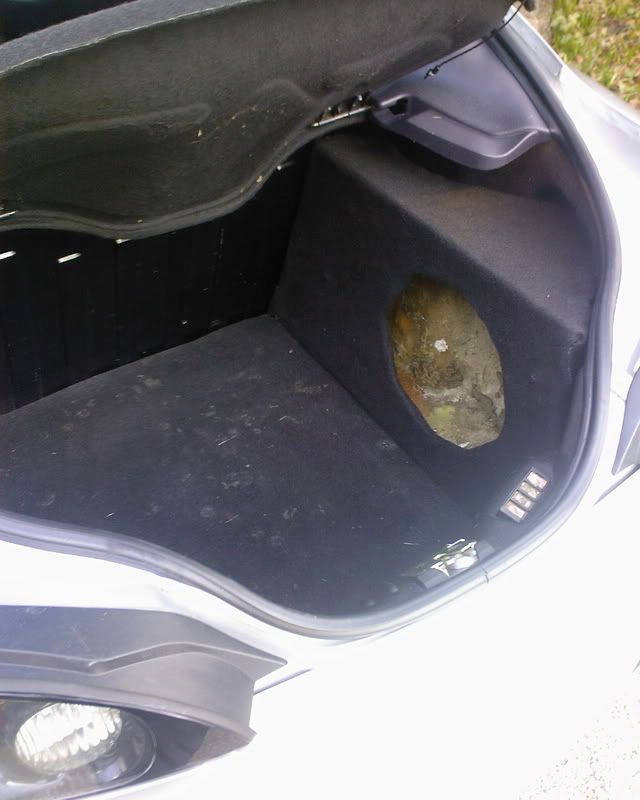
Right today i got a substantial part of the install well under way, i decided to scrap the standard sub box and build a custom fit box out of fibreglass, as you can see from this pic (previously posted) i had masked off the area completely to stop and damage coming to the carpet in the boot area
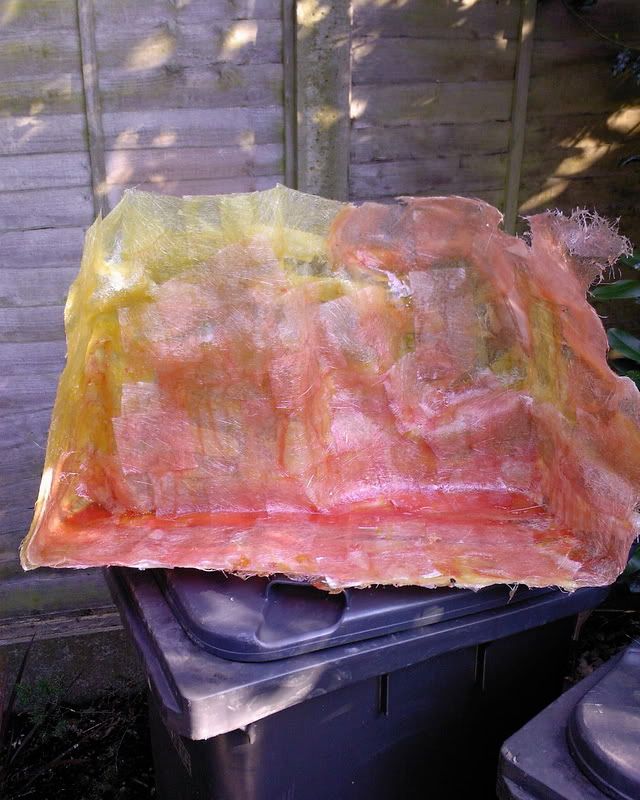
after this i went about applying the fibreglass, i got through about 6 bottles of the stuff and i think i'm going to need at least 1 more to finish it off not cheap!!!
here is the finished article....
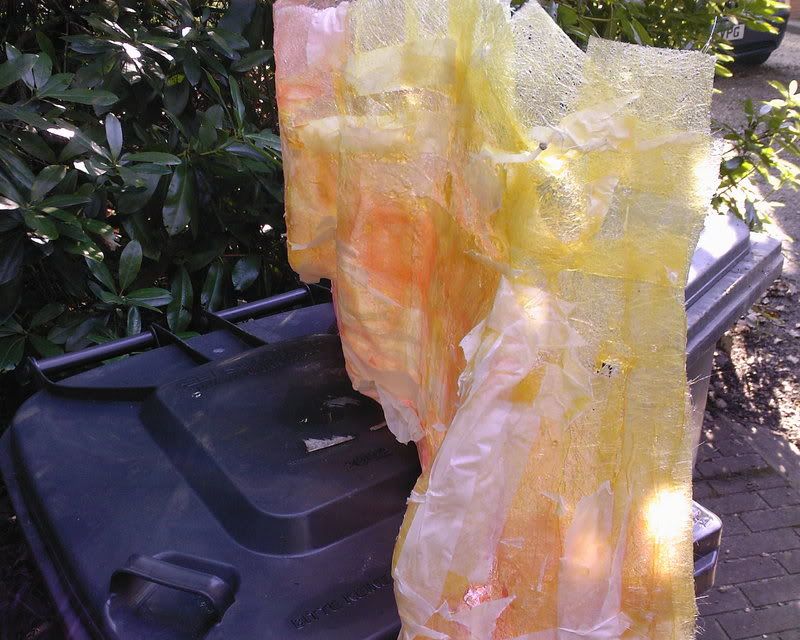
side view:
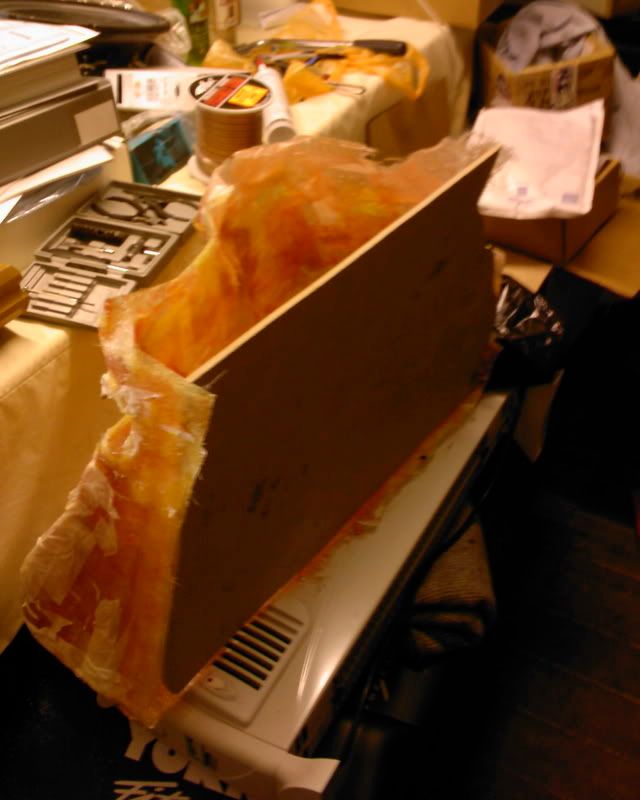
as you can see its moulded completely to the inside of the boot area and i have to say i am truly amazed at how easy it was to build!!!
next i had to think about fixing a front to the enclosure so i cut a rough fit and magically got it near enough perfect after just a few attempts, this is the result:.......
NICE eh???
i then cut the hole for the sub itself:
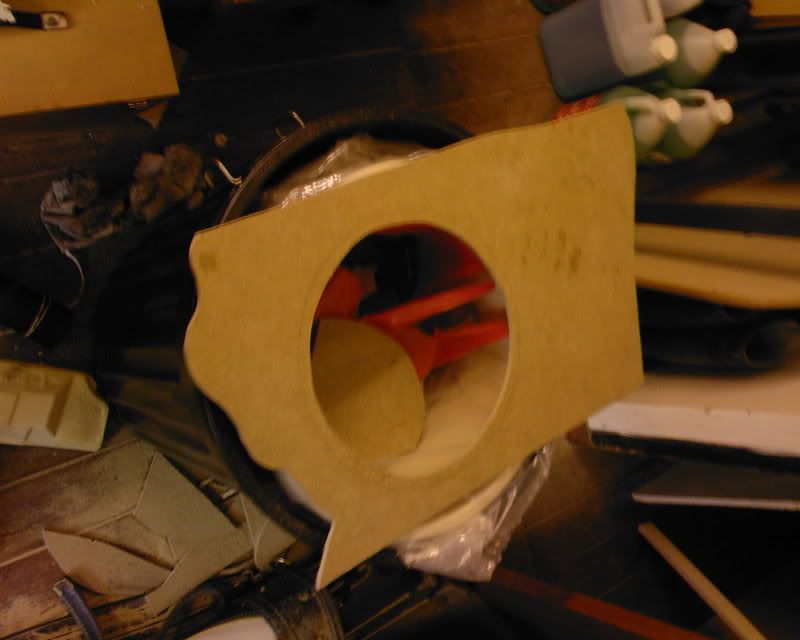
test fit?????
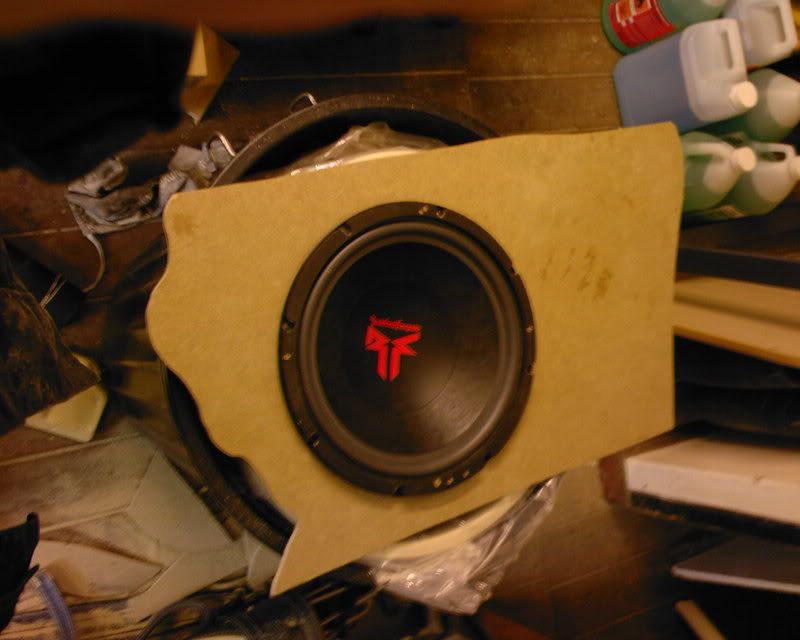
Perfect, that really made me smile
most important bit though, fixing it in place. This is where i was a little unsure, i figured using the fibreglass again would be my best bet so i used 2 layers here just to keep it sturdy, came out beautifully
Quick test fit in the car
last things last for today was shaping the lid for the box, got this done but like i said i ran out of resin so guess where im going in the morning!!!!
quick shot of the lid
All in all im very pleased with how its come along and after fixing the lid on tomorrow will only need to do the odd bit of reinforcement, along with checking it is airtight, and finally carpeting it which may have to wait until funds come through!!!
Got down to some good progress today, so here goes!!!
decided i really needed to crack on with the drivers door as im getting fed up with not having my new stereo in!!!! so got on with that, managed to deaden the whole door with matt, just need to go over with sludge next chance i have then seal off the holes.
got the speaker wire through from door to car, this time was much more of a struggle as the newly installed alarm had made use of the path i used on the passenger door so had to be very careful not to damage that but still make the grommet accommodate the speaker cable, anyway job done! looks good to me B)
i then decided to eliminate any chance of rattle from the loom so went about wrapping it in a open cell foam
should do the trick!!
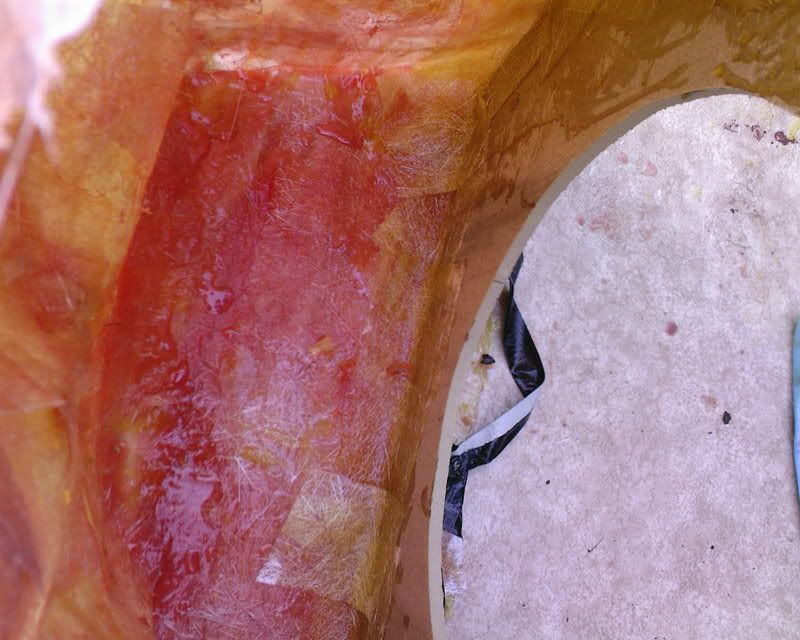
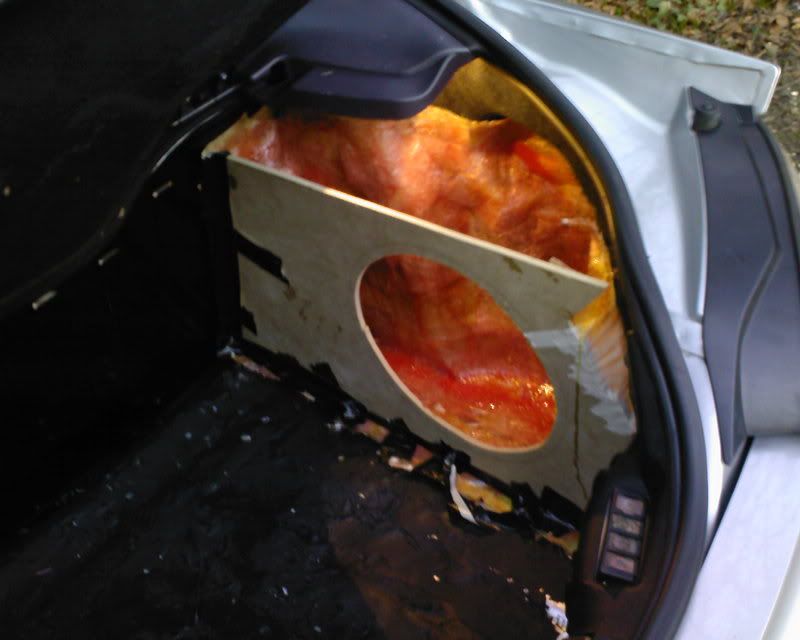
Now the big part of the update, spent all evening doing this which seems like ages but i've got SOOOOO much closer to completing my sub enclosure, fixed the lid in place with two layers of fibreglass and went around with a bit of bathroom sealant, ended up with THIS!!!!
and ehre is a poor shot from inside the box showing the join.......
I plan on testing the box to check its airtight tomorrow and if all goes to plan i will begin the task of covering the thing!!!
Been a while, had lots of overtime to pay for all this.......
Anyway, finally got round to covering the box with some nice cheap carpet i found in ebay
First off i decided to paint the box mainly round the back where i'm not planning on covering it in case any part is visible:
Job done
i then used some of the high strength contact adhesive i've purchased for another part of the project to glue the carpet on (don't want it falling off!!) this gave me something which looked like this....
i know its not the best box in the world as there are some bumps in the surface etc but its my first attempt at anything like this so i'm very chuffed with the outcome of it all, just hope it sounds good!!!!
Test fit in the car:
shot with sub installed
I need to get some security screws to hold the sub in so was wondering the best place to get them??? as in the Hex type?
anyway i then filled the box with some wadding, wasnt sure on how much to put in so i put a fairly thick amount in and can always add more if needed (any tips would be great)

Finally i drilled two holes to feed the speaker wire through
This is all sealed up with bathroom sealant now and the wires have connectors on the end to allow easy removal if needed!!
last things to do with the sub box are.......
1. figure out the best way to fix it to the car making it as hard to steal as possible
2. security screws on the sub itself
3. attach grill to protect from luggage
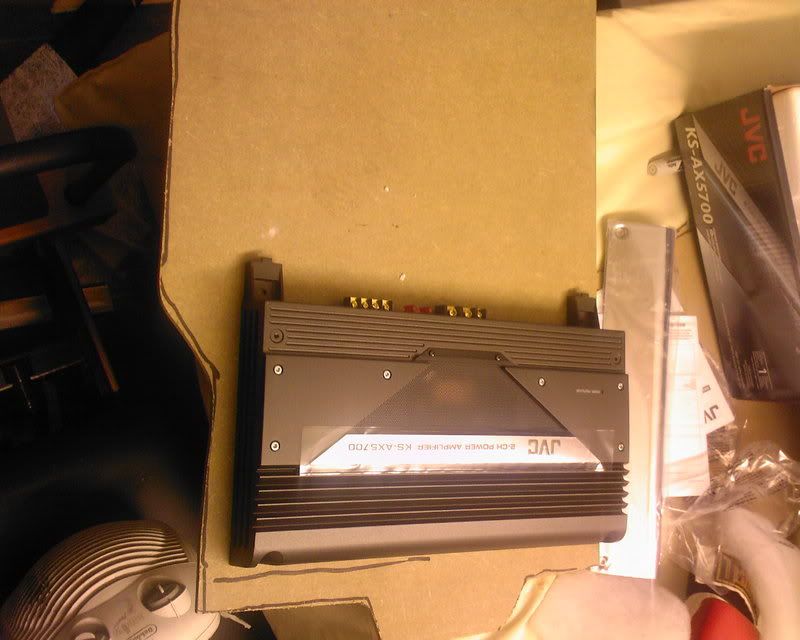
Next thing on the list of things to do it build a rack of some kind to hide the two amps behind on the opposite side to the sub, so if anyone has any tips on best way to do this or if there are any example threads again id be great full if you could help!!!
well, its been a while since i have updated but not got much done up until today and didn't see any point in doing lots of little updates, ill start off with my attempt at re-trimming the fabric areas of the door cards:
i decided to use some faux suede i got off ebay as it was £20 for 10m of the stuff and plan on doing the head liner some time soon!!!
quick before shot:
i picture of both the original and after
and an after picture
trying to show the texture of the material:

its come out really well and could mistake you into thinking its real suede considering it only cost £20 and £20 for the glue a job well done, ive done both front door cards and just need to to the rear sections which are a more challenging shape
i then put some sound deadening onto the rear of the door car to use the stuff up as i over ordered plus ive seen it done so every little helps and all that!!
shot of how the fabric sections have been re-attached
now onto the fun.....
after thinking long and hard i have decided to build an amp "rack" to mirror the built in sub box, after starting this venture i quickly realised i may have been better off building a false floor for both ease and space (i now have a very deep narrow boot) but seeing as i didn't plan very well i build the sub enclosure first and there isn't room to put a flase floor in there now so here goes
decided to build the door for it first
original plan was to have a very thin area and to have the amps on the door which would hinge down but the shape of the boot would not allow this as it swoops down suddenly not leaving enough room for a frame......
so i went about building this:
and again because of the shape of the boot i had to think on my feet and have to have two separate layers that overlap each other otherwise the amps would not fit in the same space
and so its born
and a quick shot of it in the boot:
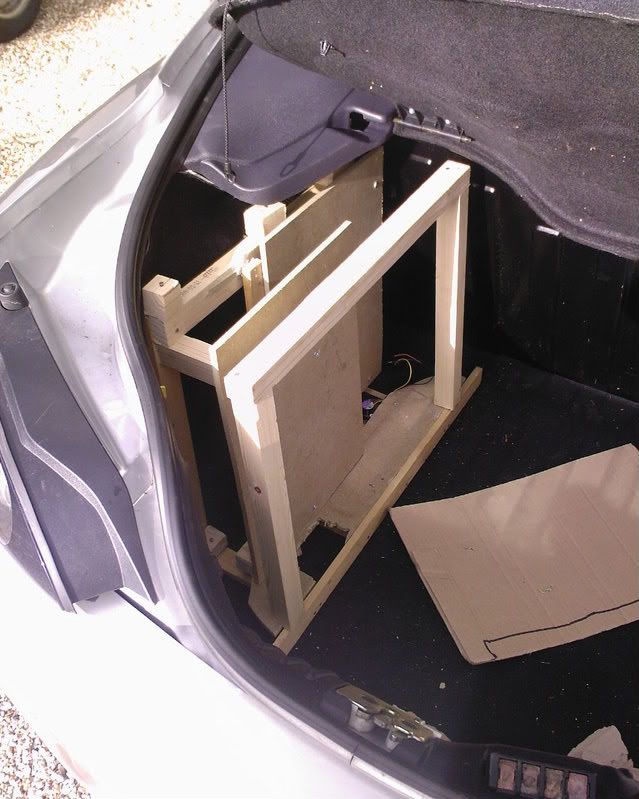
the door will still hinge down allowing access to them if needed and the lid (yet to be built) will unscrew allowing me to remove them if needed!
its that time again im afraid!!!!
i've been busy working away on the car and finally feel as though i have got somewhere, its almost finnished now give or take a few jobs which can wait as i finally have a good sounding stereo back in the car B) (not without some problems though!!!)
to start off i scraped the idea i had for mounting the amps and opted for a semi false floor to be as small as possible but strong enough to stand things being chucked on it. this is the result
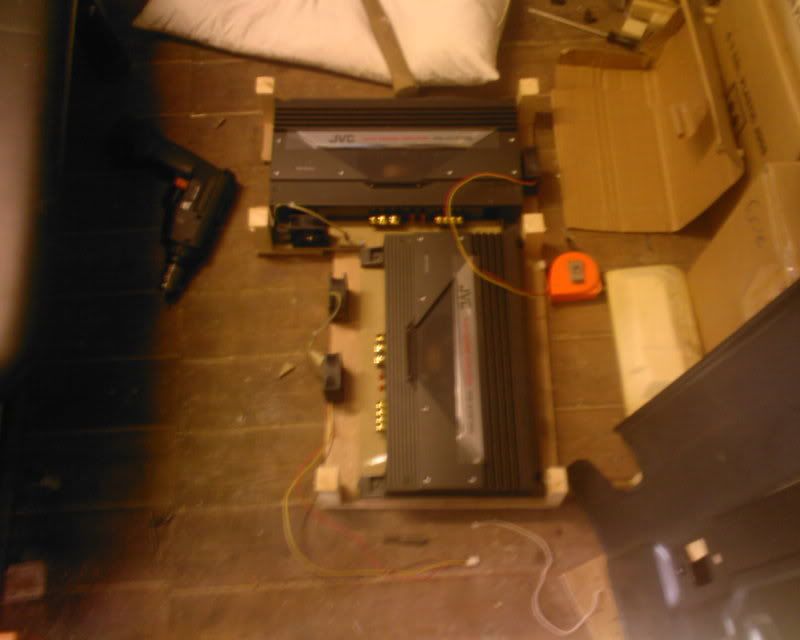
as you can see the amps fit in there nicely along with room for some fans if i need any ventilation in the summer months
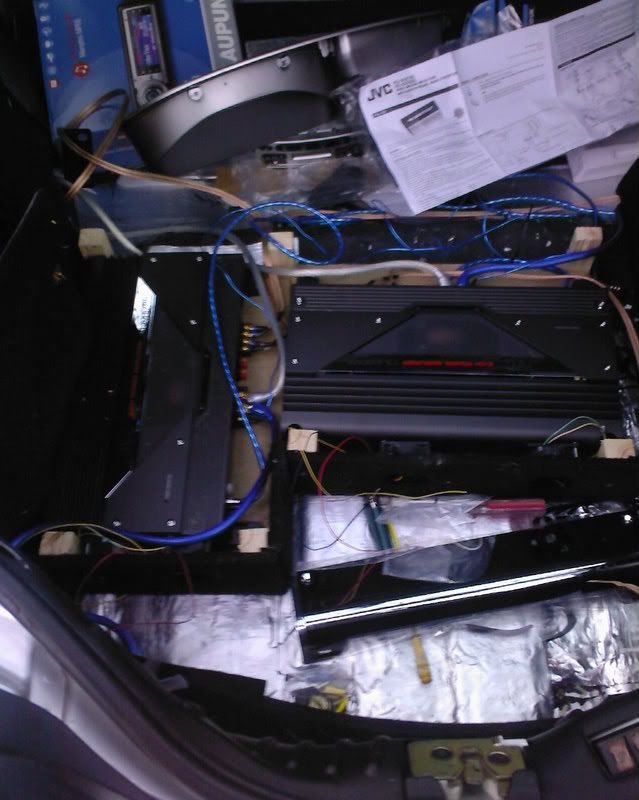
all in the car and wired up!!!!
and finally the (semi) complete boot
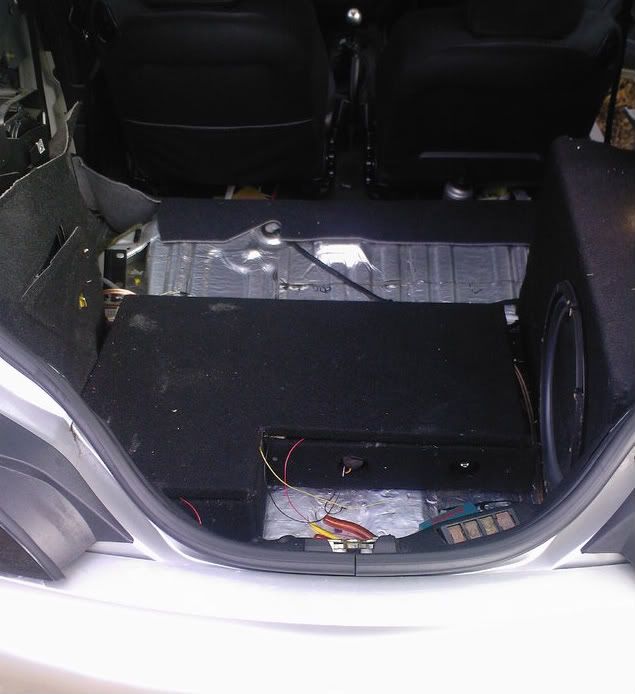
close up of fan:
obviously i need to put the rear seats in and all the side panels along with the rest of the boot carpet which i need to cut out yet!!
i also finally got round to using the dynamat pro bulk kit and wished i had only used this as i could easily have done the whole car with it!!!! only used 3 sheets in the end 2 here:
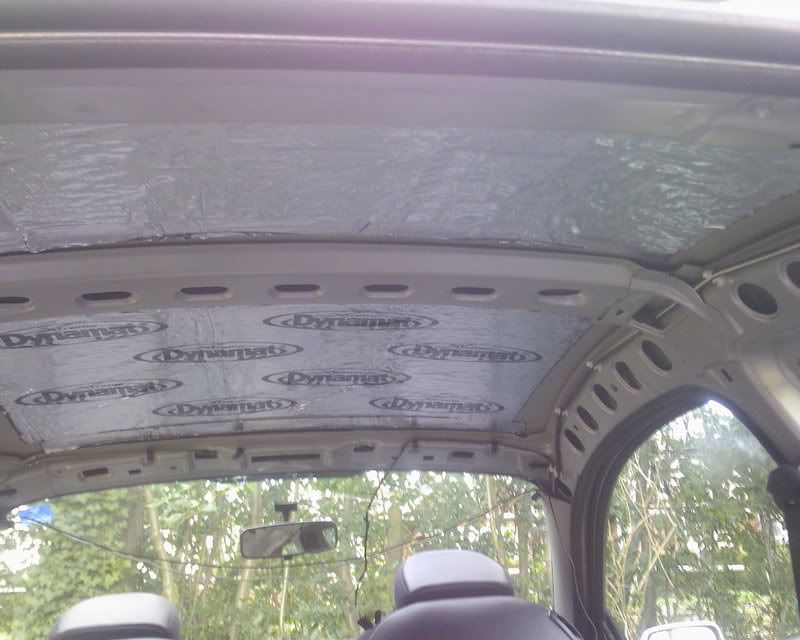
shockingly (to me anyway) there was nothing in the way of sound deadening on the roof and seeing as the rain noise was driving me mad i thought id see what it does and it helps ALOT!!!!
I then used one more sheet of the string stuff to line the boot
i also made use of the roadkill v2 sheets i purchased, i decided to place them in between the door card and the door to see if it made much difference to the road noise................WOW i honestly think this stuff is a god send and will be purchasing more to line the floor of the car in the near future
quick pic:
Also been getting round to some more trimming in nice suede
A pillars:
B pillars:
rear door card things:
these are finished now but forgot to take a picture!
i am also half way through covering the roof lining which is proving to be much harder than i thought!!!
now with my list of problems...........
i seem to have alot of hiss and alternator whine when using the stereo, i have run the power down the left nd the rcas down the right along with the remote lead (could this be causing the whine?? i have only used existing ground points at the moment as i don't have a drill suitable for metal will that help???? if not i need advice on that ASAP!!! also when connecting the fans they seem to produce sound through the speakers?? any reason for that??? and what is the best way to improve the grounding in the car??
have to say though the system is sounding amazing and i cant believe how much of an improvement the sound deadening etc has all made not to mention getting rid of those horrible speakers in the rear!!! even though i only have co-axial in the front they still really sound good so i cant wait to see what a proper set of comps will be like when i get round to fitting some!!! would be very great full for any advice on the hissing and alternator whine!!! and for those of you that thought it was pointless just stick your head in my car and say that again!!!
right, so as i mention earlier in the thread after finally getting it all done there was a significant amount of interference along with very loud audible alternator whine, first off i decided i would try upgrading all the earth's form battery to chassis, earth to engine and live from alternator-battery, however i ran out of crimp terminals large enough so could not get all of them done so have one more battery-chassis to upgrade aswell as the engine-negative
PICS!!!!
negative-chassis
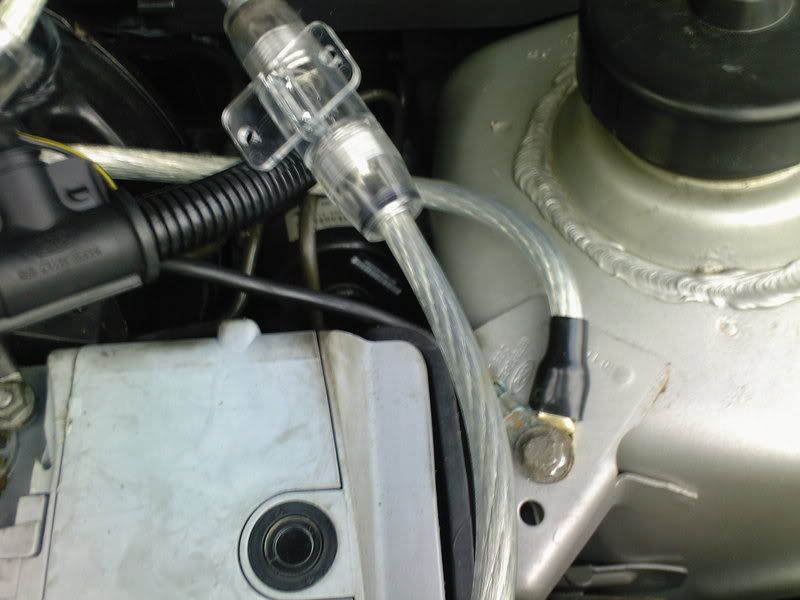
altenator-positive
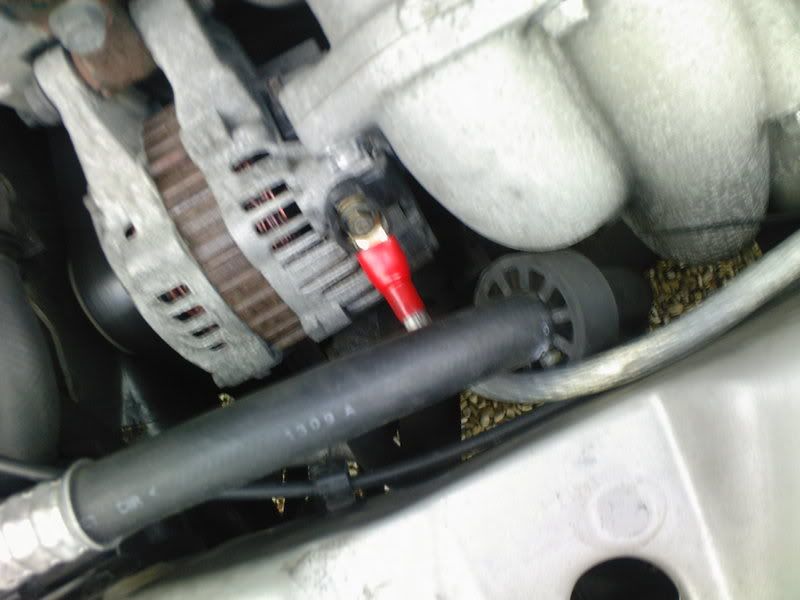
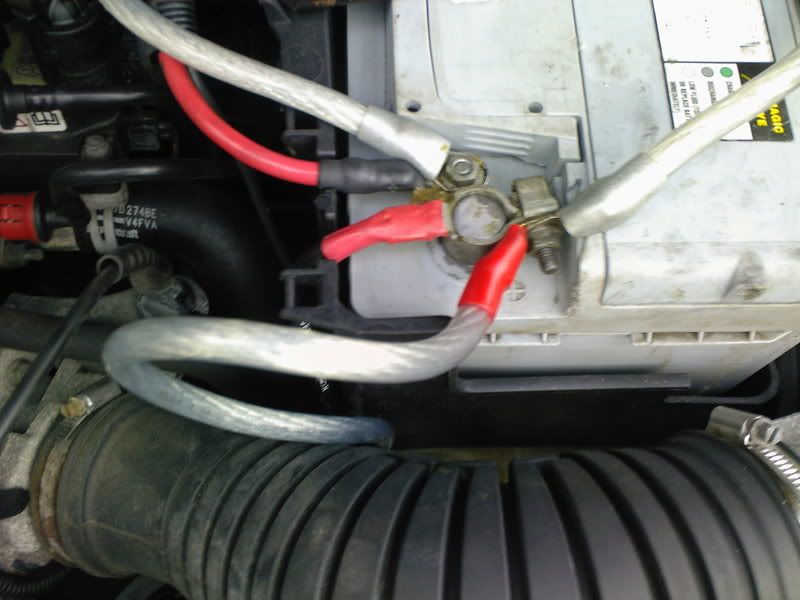
this has reduced the alternator whine down to a minimum but is still there, only slightly audible, im hoping this will go once the rest of the earth upgrade has been completed
HOWEVER
this still left the stupid amount of hissing coming out of the front speakers, so simply i swapped the RCA over from the sub to the speakers and hey presto NO NOISE!!!! this jsut means that i have to buy a new set of RCA's not the worst outcome i feel, so my question is..........What are the best seat of RCA's available????
as far as other progress goes, not much to say really as she's almost finished!!! i created a new section of carpet for the boot as i had ruined mine in the fibre glassing process, so from this:
to this:
i had to stick some thin card to the back to stiffen it up
and now last thing i need to do apart from rip the car to bits again to lay down new RCA's is create a small section of wood to cover this area:
obviously when the rear seats are in there is a smaller area to cover but there is around 4 inchs to cover and this will finish off the boot giving a very clean look!
thanks for looking!
**Edited to say "56K forget it!" in title due to number of great pictures! Dal.**
oh and its still not 100% done lolanyway
finally got round to starting my install yesterday, here is a quick breakdown of what i have planned:
New headunit
New coaxial 6.5" in front (dont have skills to custom mount tweeters)
12"sub in boot
powered by two separate amps
fuly sound-deadened using combination of dnyamat extreme, Edead, and second skin sludge
i will be using the method 80% install 20% equipment
a nice big pile of goodies!!!!!
that has now got about twice the size!!
So firstly i laid some Edead down in the boot
two layers should be enough i think, done the job well considering how much people slag the stuff off!!
topped off with some good old sludge!!
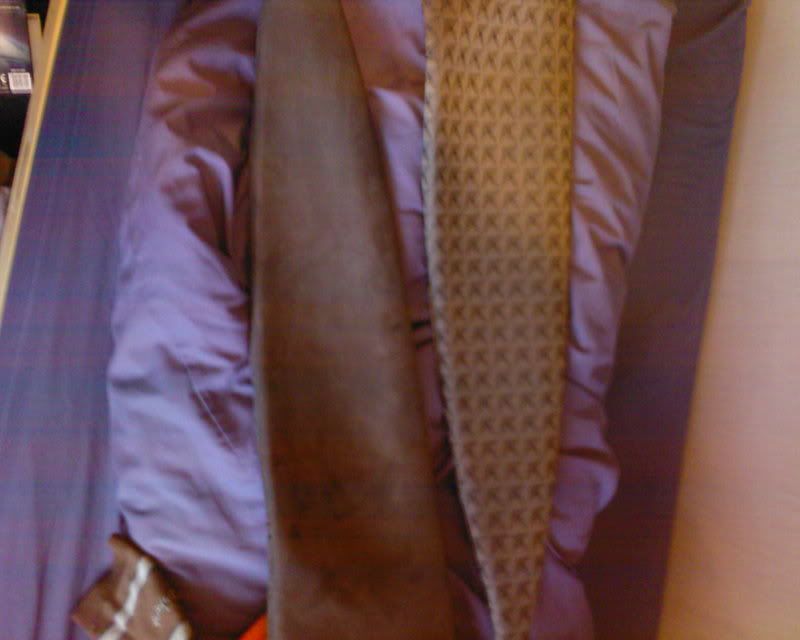
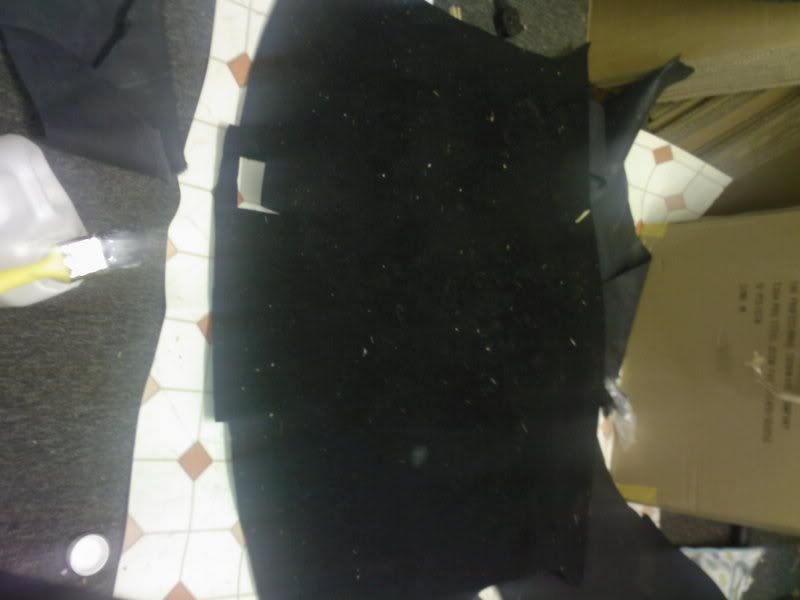
I then went about ripping out the side pannel
laying some mat down
not the best pic but i noticed some rust beginning to form in the seam for the arch i removed any of the surface rust and sprayed the area with waxoil to be safe!!
then i coated that in Sludge
and just a shot of how it looked when i was done for the night!!
Well i've been busy today but don't seem to have got all that much done!! started work on the passenger door, and was surprised to find that ford decided not to fit any sound deadening to the doors!!! all i found was this
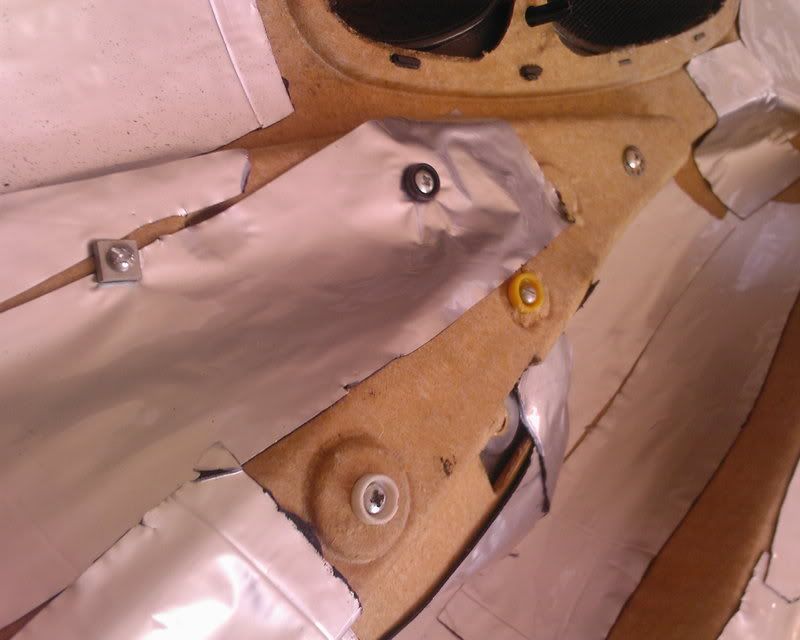
i cant imagine it does all that much so off it comes and i set about cleaning the inside of the door and planning how i was going to get some mat inside the whole door.....
Not all that much access is there!!! although i'm sure there are worse
After the mat was laid, i put two layers of Edead elite down so that amounts to around 120mils of mat, not too bad.
i even put some on the inner wall where you cant see to try and catch some reverberation
After that i went about sludging it up!!! found it too hard with a spreader so ended up using my hands!! that stuff is a killer in the cold
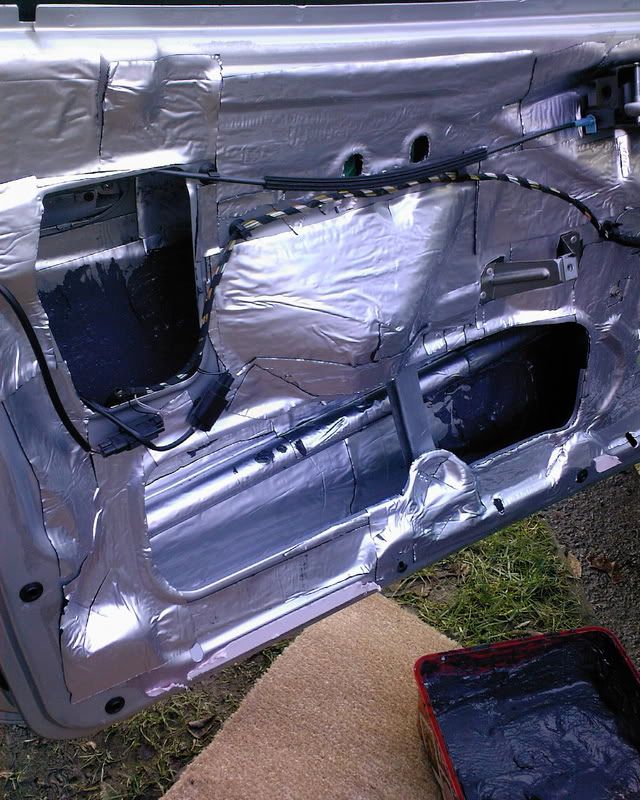
Was happy with the end result and managed to get most of the door behind what you can see ^_^
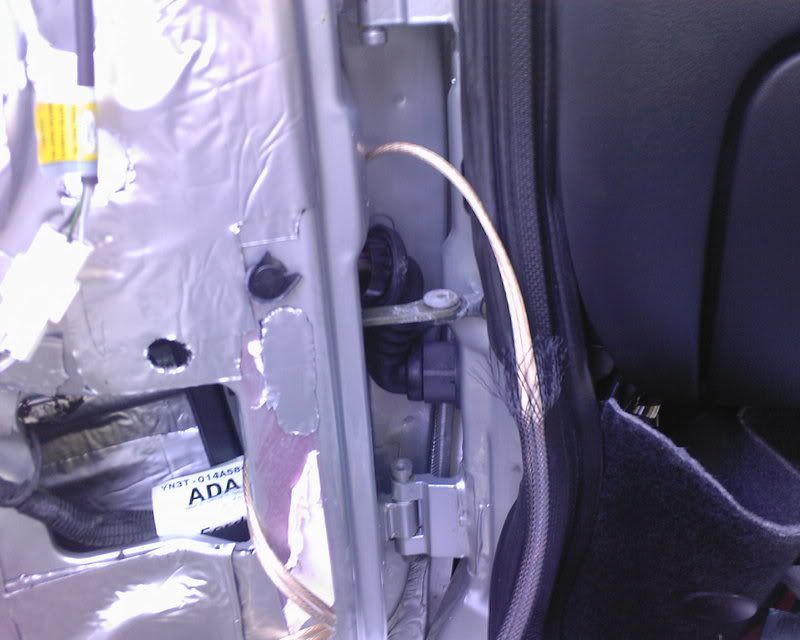
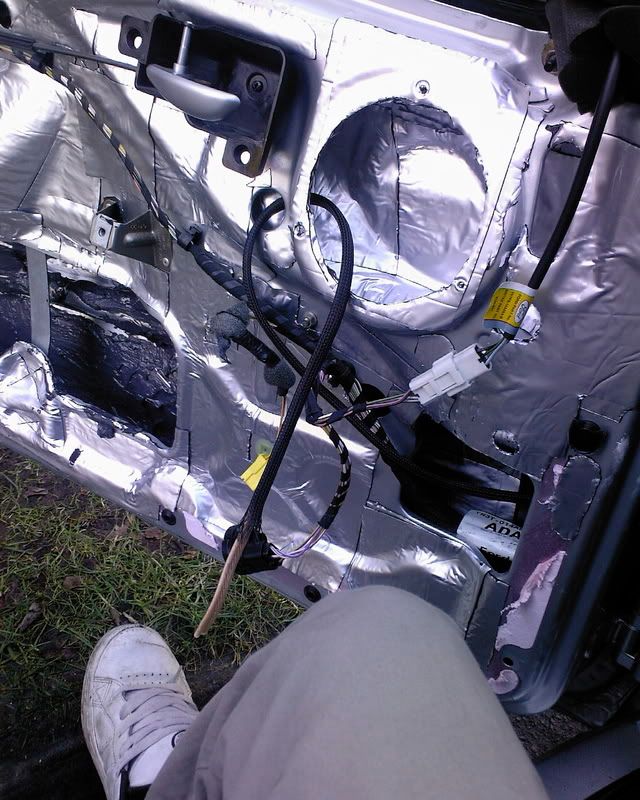
Next i needed to run some cable for the speaker through from the car to the door, this proved to be much harder than i first anticipated but after around an hour!! i cracked it
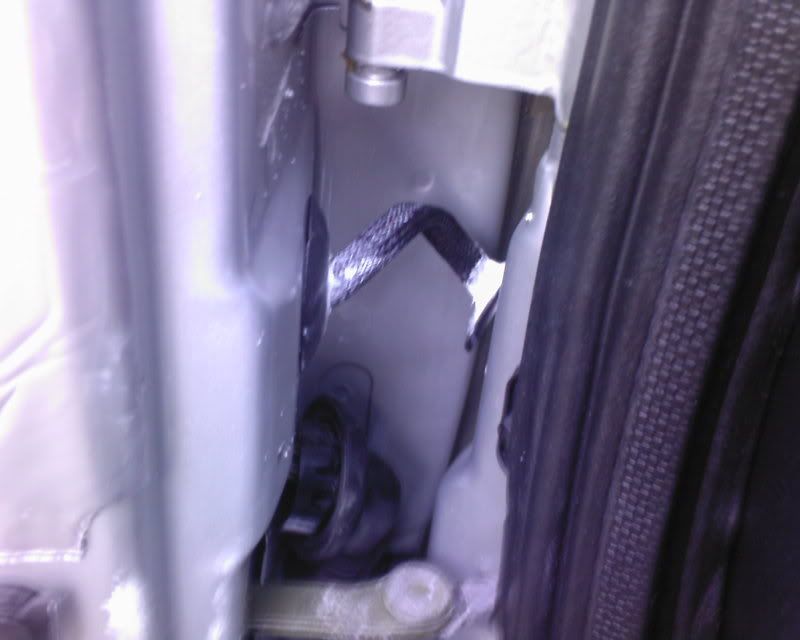
This isn't finished yet, need to glue the car-side grommet to the car as i broke the clip <_< but you get the idea
And that's the end result of the day with the cable fully covered (don't know what the stuff is called LOL)
just a small update, just to keep things going!!!
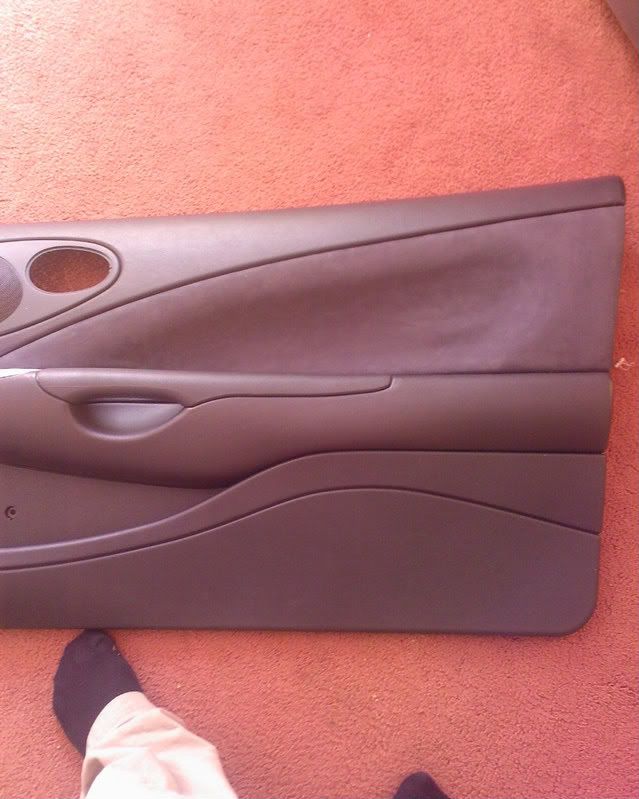
almost finished the passenger door now!!(really slow progress i know but it keeps getting dark before i get a chance to crack on
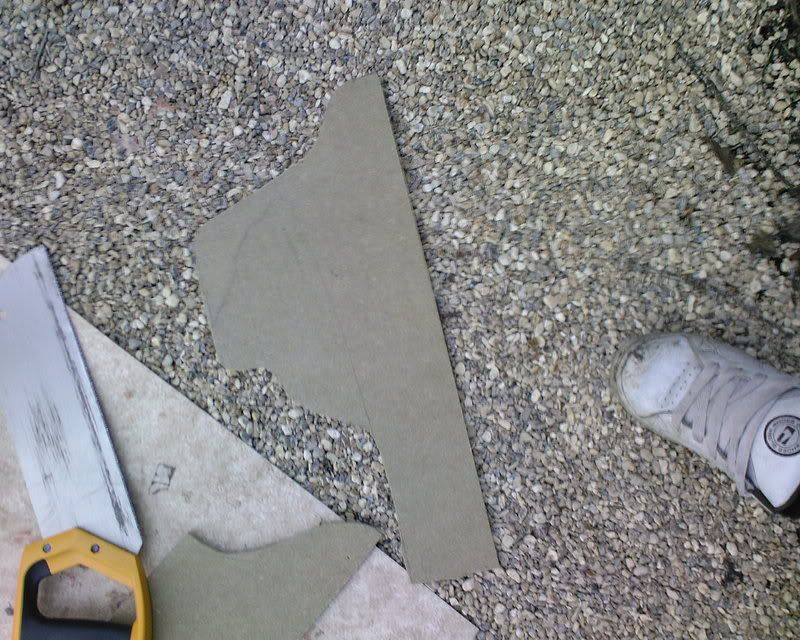
) i finished off sealing it today, from the advice gained on here, had to cut a part off the door card though as it was preventing me from doing this....took this off:
to gain this:
and this is the door with its nice new speaker in and a close up of it too!!!
Part of the reason i got so little done today was mainly due to this......
can anyone guess what that is going to be????? took much longer than i anticipated just to mask off that much area:shake:
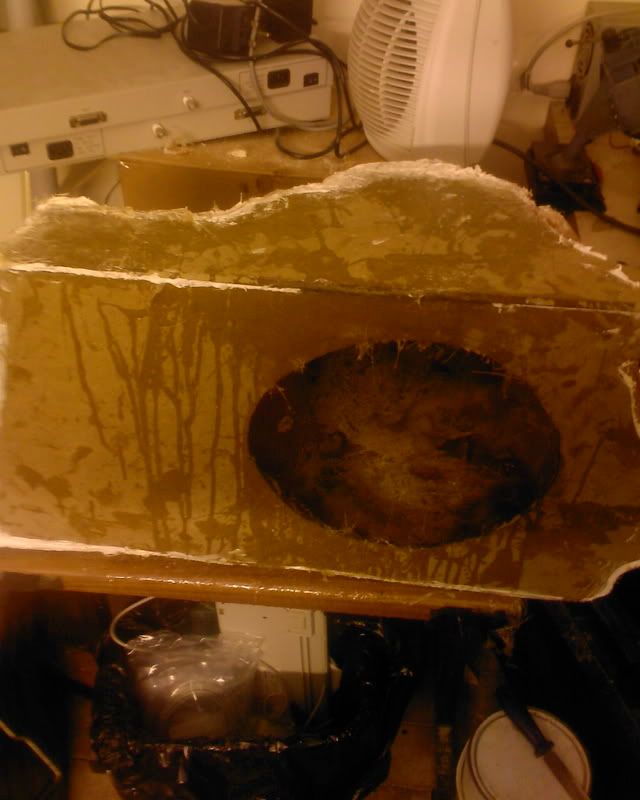
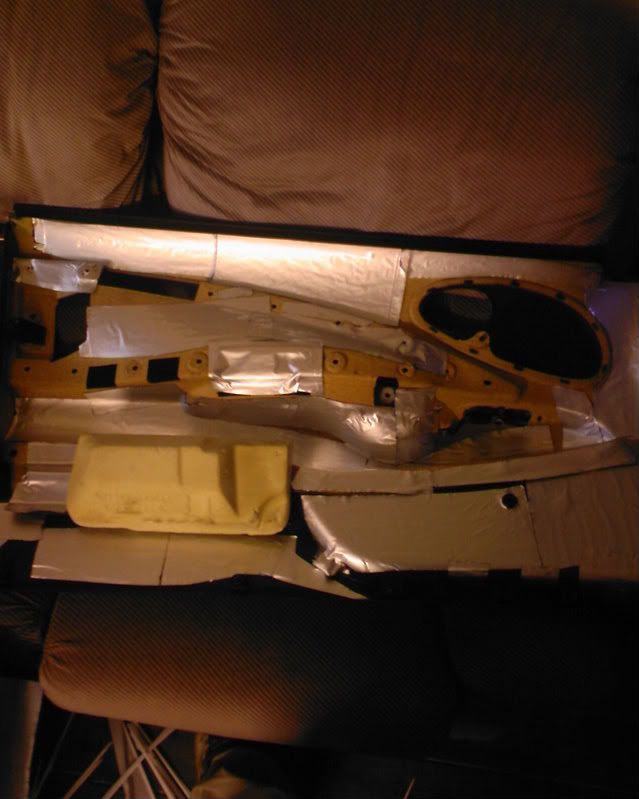
Right today i got a substantial part of the install well under way, i decided to scrap the standard sub box and build a custom fit box out of fibreglass, as you can see from this pic (previously posted) i had masked off the area completely to stop and damage coming to the carpet in the boot area
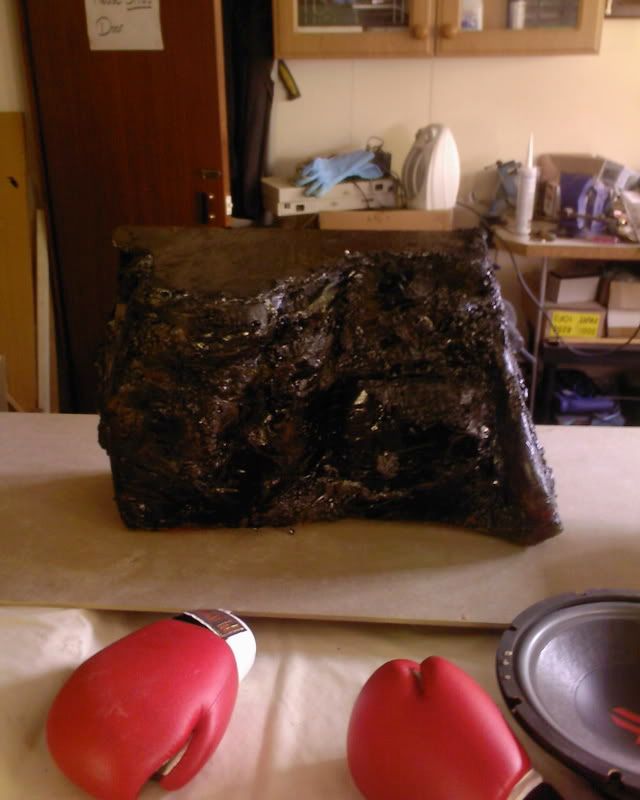
after this i went about applying the fibreglass, i got through about 6 bottles of the stuff and i think i'm going to need at least 1 more to finish it off
not cheap!!!here is the finished article....
side view:
as you can see its moulded completely to the inside of the boot area and i have to say i am truly amazed at how easy it was to build!!!
next i had to think about fixing a front to the enclosure so i cut a rough fit and magically got it near enough perfect after just a few attempts, this is the result:.......
NICE eh???
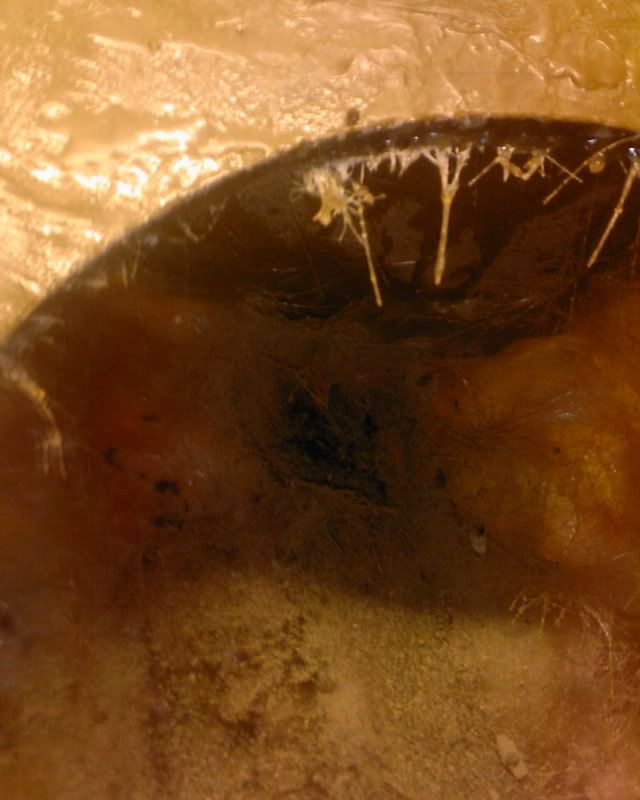
i then cut the hole for the sub itself:
test fit?????
Perfect, that really made me smile
most important bit though, fixing it in place. This is where i was a little unsure, i figured using the fibreglass again would be my best bet so i used 2 layers here just to keep it sturdy, came out beautifully
Quick test fit in the car
last things last for today was shaping the lid for the box, got this done but like i said i ran out of resin so guess where im going in the morning!!!!
quick shot of the lid
All in all im very pleased with how its come along and after fixing the lid on tomorrow will only need to do the odd bit of reinforcement, along with checking it is airtight, and finally carpeting it which may have to wait until funds come through!!!
Got down to some good progress today, so here goes!!!
decided i really needed to crack on with the drivers door as im getting fed up with not having my new stereo in!!!! so got on with that, managed to deaden the whole door with matt, just need to go over with sludge next chance i have then seal off the holes.
got the speaker wire through from door to car, this time was much more of a struggle as the newly installed alarm had made use of the path i used on the passenger door so had to be very careful not to damage that but still make the grommet accommodate the speaker cable, anyway job done! looks good to me B)
i then decided to eliminate any chance of rattle from the loom so went about wrapping it in a open cell foam
should do the trick!!
Now the big part of the update, spent all evening doing this which seems like ages but i've got SOOOOO much closer to completing my sub enclosure, fixed the lid in place with two layers of fibreglass and went around with a bit of bathroom sealant, ended up with THIS!!!!
and ehre is a poor shot from inside the box showing the join.......
I plan on testing the box to check its airtight tomorrow and if all goes to plan i will begin the task of covering the thing!!!
Been a while, had lots of overtime to pay for all this.......
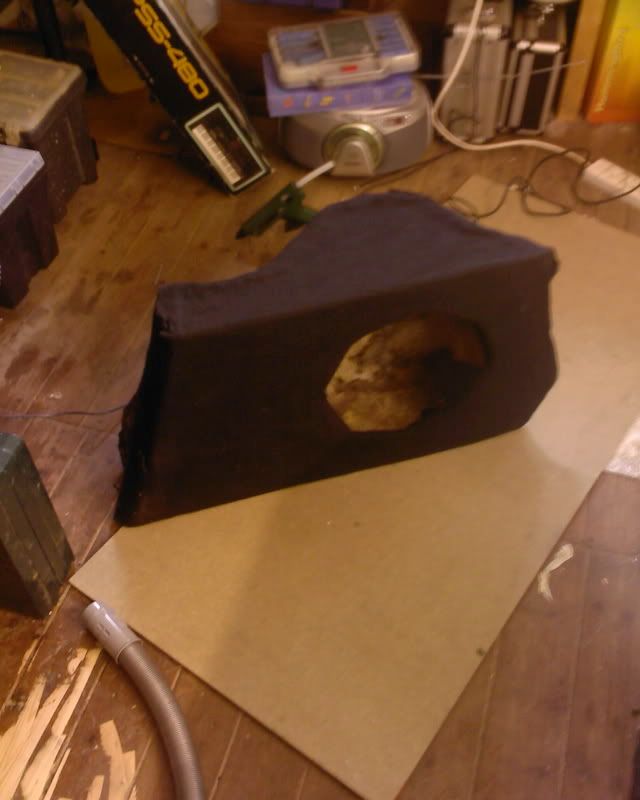
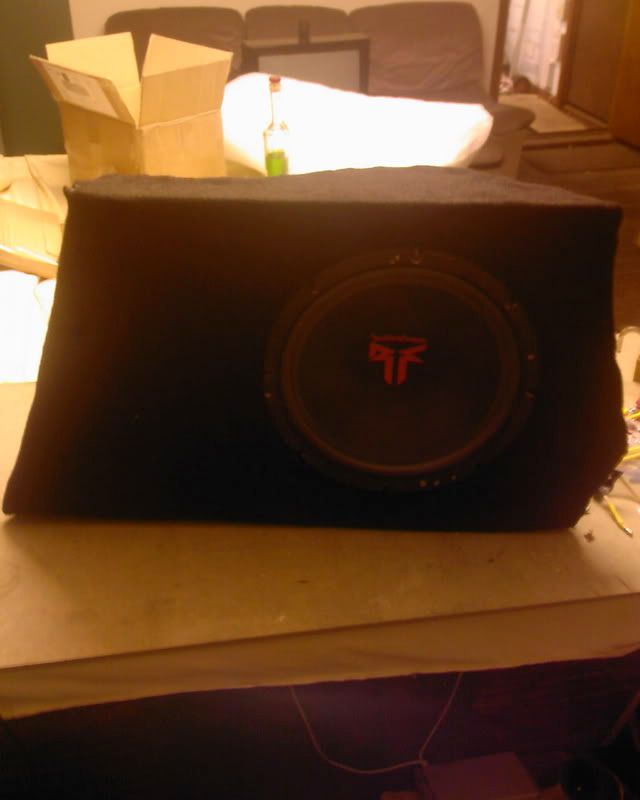
Anyway, finally got round to covering the box with some nice cheap carpet i found in ebay
First off i decided to paint the box mainly round the back where i'm not planning on covering it in case any part is visible:
Job done
i then used some of the high strength contact adhesive i've purchased for another part of the project to glue the carpet on (don't want it falling off!!) this gave me something which looked like this....
i know its not the best box in the world as there are some bumps in the surface etc but its my first attempt at anything like this so i'm very chuffed with the outcome of it all, just hope it sounds good!!!!
Test fit in the car:
shot with sub installed
I need to get some security screws to hold the sub in so was wondering the best place to get them??? as in the Hex type?
anyway i then filled the box with some wadding, wasnt sure on how much to put in so i put a fairly thick amount in and can always add more if needed (any tips would be great)
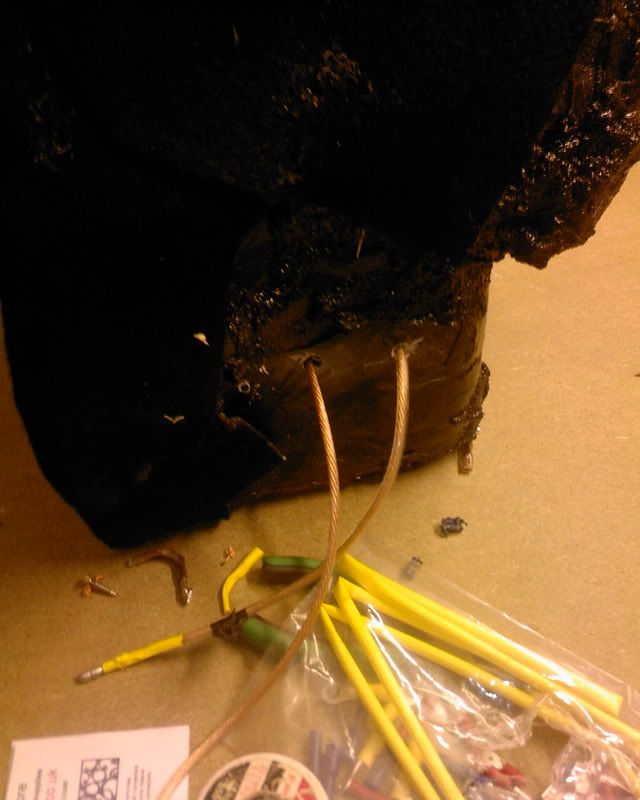
Finally i drilled two holes to feed the speaker wire through
This is all sealed up with bathroom sealant now and the wires have connectors on the end to allow easy removal if needed!!
last things to do with the sub box are.......
1. figure out the best way to fix it to the car making it as hard to steal as possible
2. security screws on the sub itself
3. attach grill to protect from luggage
Next thing on the list of things to do it build a rack of some kind to hide the two amps behind on the opposite side to the sub, so if anyone has any tips on best way to do this or if there are any example threads again id be great full if you could help!!!
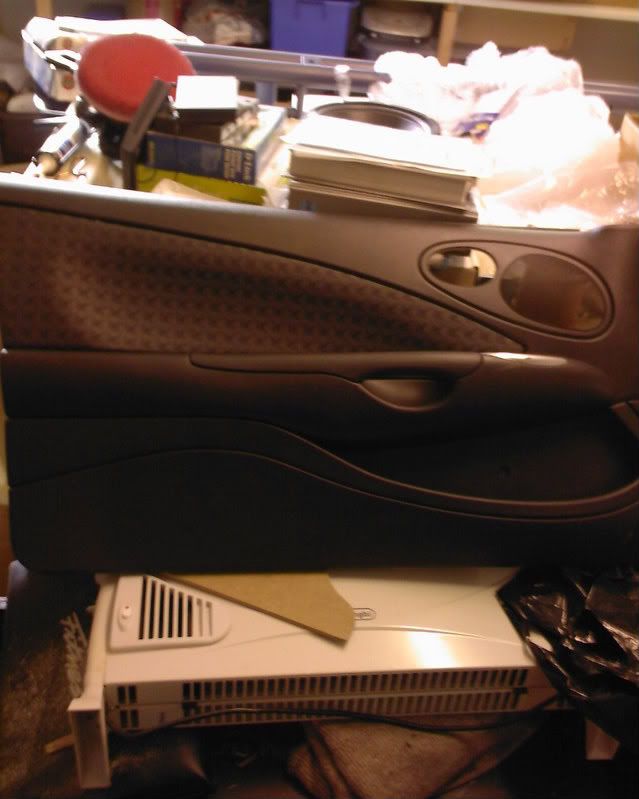
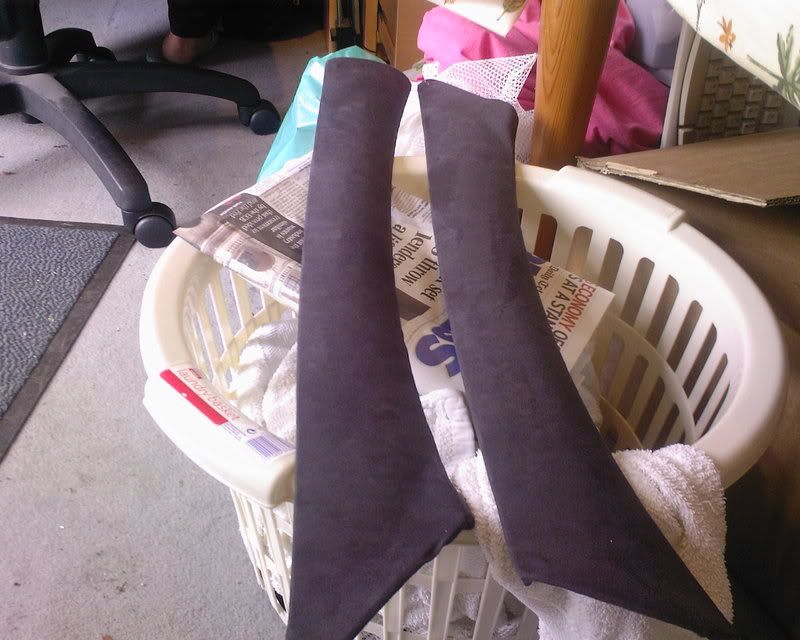
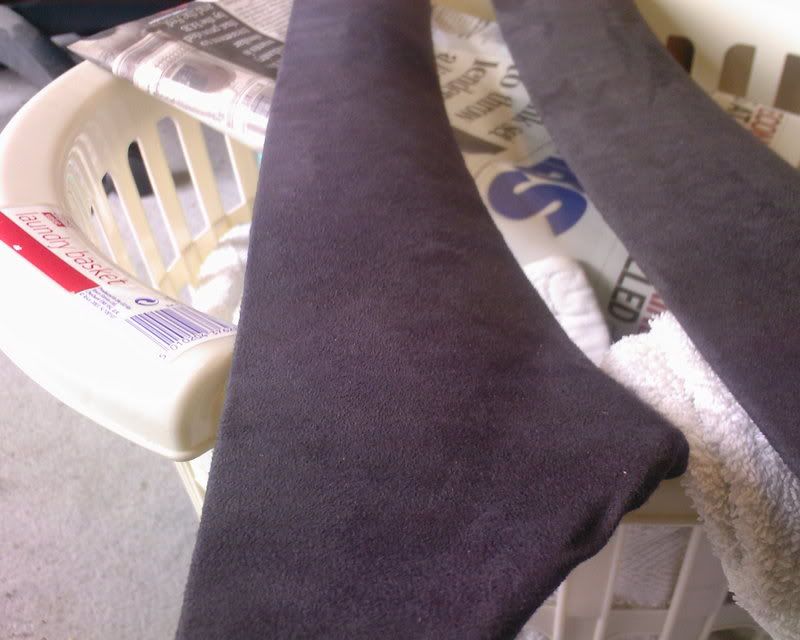
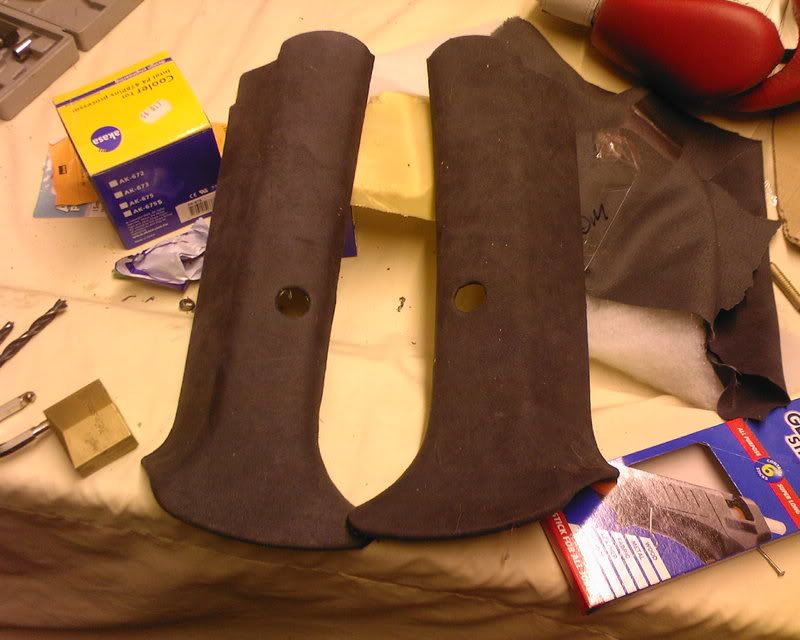
well, its been a while since i have updated but not got much done up until today and didn't see any point in doing lots of little updates, ill start off with my attempt at re-trimming the fabric areas of the door cards:
i decided to use some faux suede i got off ebay as it was £20 for 10m of the stuff and plan on doing the head liner some time soon!!!
quick before shot:
i picture of both the original and after
and an after picture
trying to show the texture of the material:
its come out really well and could mistake you into thinking its real suede considering it only cost £20 and £20 for the glue a job well done, ive done both front door cards and just need to to the rear sections which are a more challenging shape
i then put some sound deadening onto the rear of the door car to use the stuff up as i over ordered plus ive seen it done so every little helps and all that!!
shot of how the fabric sections have been re-attached
now onto the fun.....
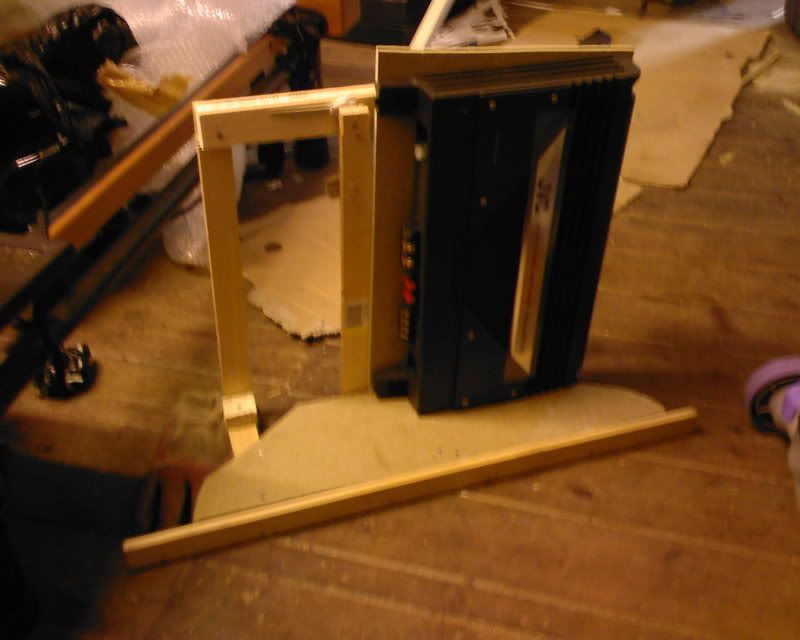
after thinking long and hard i have decided to build an amp "rack" to mirror the built in sub box, after starting this venture i quickly realised i may have been better off building a false floor for both ease and space (i now have a very deep narrow boot) but seeing as i didn't plan very well i build the sub enclosure first and there isn't room to put a flase floor in there now so here goes
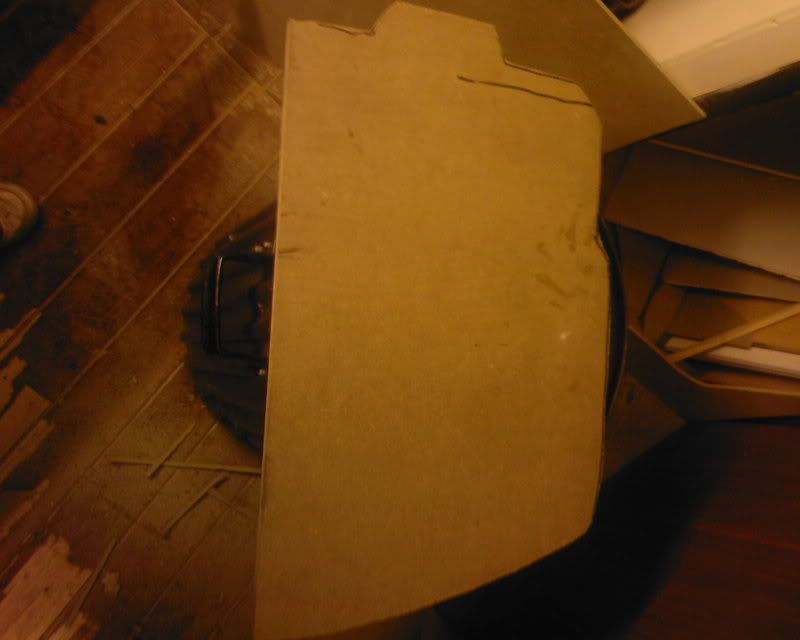
decided to build the door for it first
original plan was to have a very thin area and to have the amps on the door which would hinge down but the shape of the boot would not allow this as it swoops down suddenly not leaving enough room for a frame......
so i went about building this:
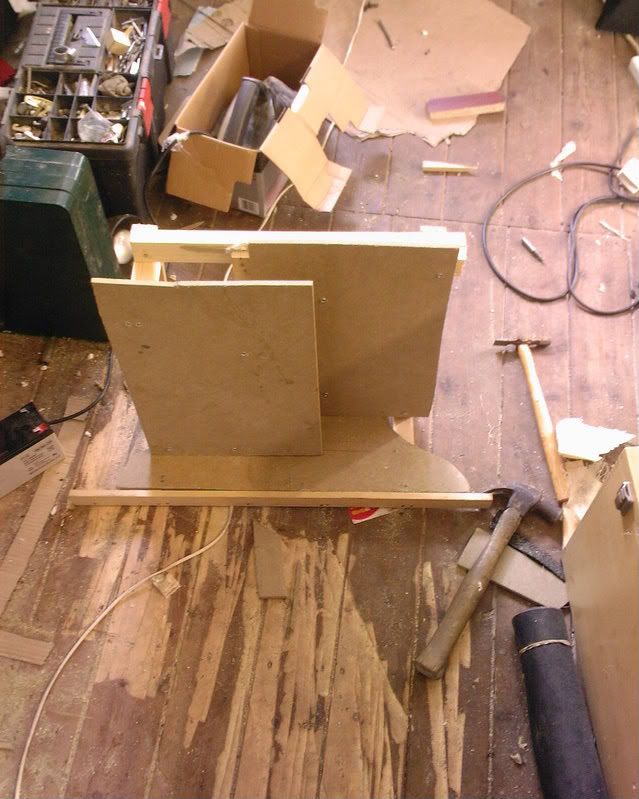
and again because of the shape of the boot i had to think on my feet and have to have two separate layers that overlap each other otherwise the amps would not fit in the same space
and so its born
and a quick shot of it in the boot:
the door will still hinge down allowing access to them if needed and the lid (yet to be built) will unscrew allowing me to remove them if needed!
its that time again im afraid!!!!
i've been busy working away on the car and finally feel as though i have got somewhere, its almost finnished now give or take a few jobs which can wait as i finally have a good sounding stereo back in the car B) (not without some problems though!!!)
to start off i scraped the idea i had for mounting the amps and opted for a semi false floor to be as small as possible but strong enough to stand things being chucked on it. this is the result
as you can see the amps fit in there nicely along with room for some fans if i need any ventilation in the summer months
all in the car and wired up!!!!
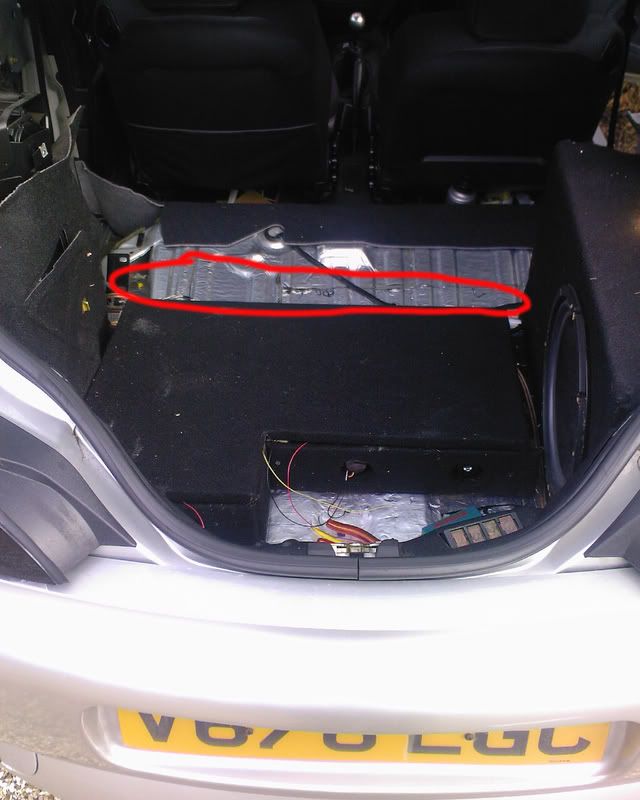
and finally the (semi) complete boot
close up of fan:
obviously i need to put the rear seats in and all the side panels along with the rest of the boot carpet which i need to cut out yet!!
i also finally got round to using the dynamat pro bulk kit and wished i had only used this as i could easily have done the whole car with it!!!! only used 3 sheets in the end 2 here:
shockingly (to me anyway) there was nothing in the way of sound deadening on the roof and seeing as the rain noise was driving me mad i thought id see what it does and it helps ALOT!!!!
I then used one more sheet of the string stuff to line the boot
i also made use of the roadkill v2 sheets i purchased, i decided to place them in between the door card and the door to see if it made much difference to the road noise................WOW i honestly think this stuff is a god send and will be purchasing more to line the floor of the car in the near future
quick pic:
Also been getting round to some more trimming in nice suede
A pillars:
B pillars:
rear door card things:
these are finished now but forgot to take a picture!
i am also half way through covering the roof lining which is proving to be much harder than i thought!!!
now with my list of problems...........
i seem to have alot of hiss and alternator whine when using the stereo, i have run the power down the left nd the rcas down the right along with the remote lead (could this be causing the whine?? i have only used existing ground points at the moment as i don't have a drill suitable for metal will that help???? if not i need advice on that ASAP!!! also when connecting the fans they seem to produce sound through the speakers?? any reason for that??? and what is the best way to improve the grounding in the car??
have to say though the system is sounding amazing and i cant believe how much of an improvement the sound deadening etc has all made not to mention getting rid of those horrible speakers in the rear!!! even though i only have co-axial in the front they still really sound good so i cant wait to see what a proper set of comps will be like when i get round to fitting some!!! would be very great full for any advice on the hissing and alternator whine!!! and for those of you that thought it was pointless just stick your head in my car and say that again!!!
right, so as i mention earlier in the thread after finally getting it all done there was a significant amount of interference along with very loud audible alternator whine, first off i decided i would try upgrading all the earth's form battery to chassis, earth to engine and live from alternator-battery, however i ran out of crimp terminals large enough so could not get all of them done so have one more battery-chassis to upgrade aswell as the engine-negative
PICS!!!!
negative-chassis
altenator-positive
this has reduced the alternator whine down to a minimum but is still there, only slightly audible, im hoping this will go once the rest of the earth upgrade has been completed
HOWEVER
this still left the stupid amount of hissing coming out of the front speakers, so simply i swapped the RCA over from the sub to the speakers and hey presto NO NOISE!!!! this jsut means that i have to buy a new set of RCA's not the worst outcome i feel, so my question is..........What are the best seat of RCA's available????
as far as other progress goes, not much to say really as she's almost finished!!! i created a new section of carpet for the boot as i had ruined mine in the fibre glassing process, so from this:
to this:
i had to stick some thin card to the back to stiffen it up
and now last thing i need to do apart from rip the car to bits again to lay down new RCA's is create a small section of wood to cover this area:
obviously when the rear seats are in there is a smaller area to cover but there is around 4 inchs to cover and this will finish off the boot giving a very clean look!
thanks for looking!
**Edited to say "56K forget it!" in title due to number of great pictures! Dal.**