stumc's supercharged puma: 26/03 rolling road + rebuild woes

ProjectPuma

Help Support ProjectPuma:

This site may earn a commission from merchant affiliate links, including eBay, Amazon, and others.

stumc

New member
Joined
Jul 15, 2012
Messages
301
Location
belfast/stoke
well been on here a while now, attended the rockingham trackday and actually gotten around to doing some proper work on the car, and will imminently be moving into a large workshop which will mean much more will be happening, so thought id start a bit of a build thread.

IMG_0038.jpg


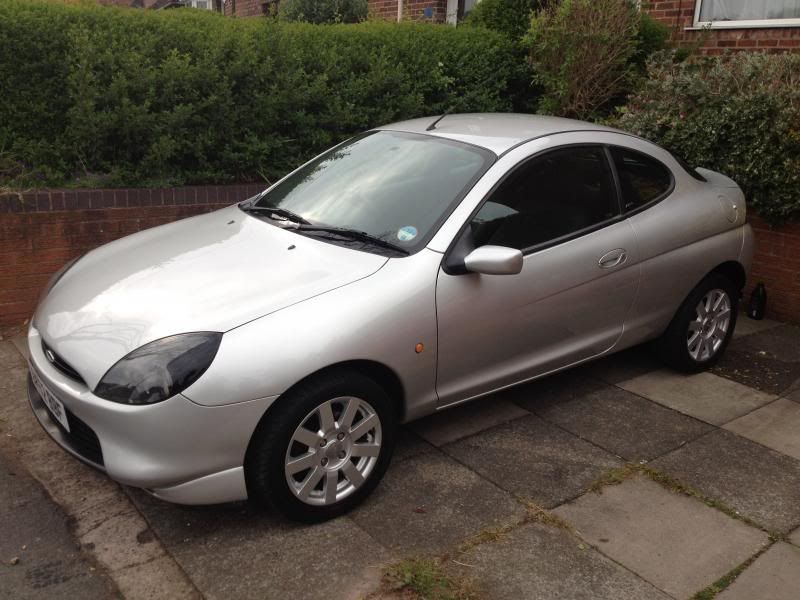
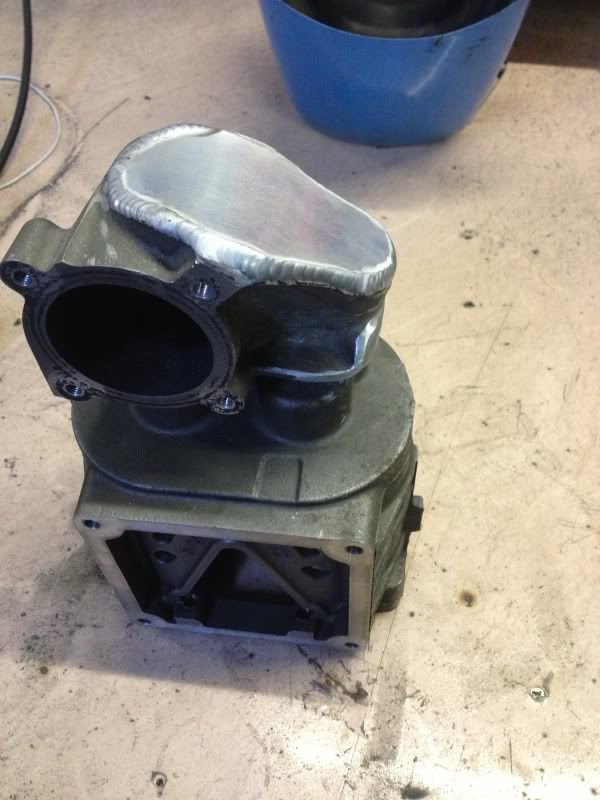
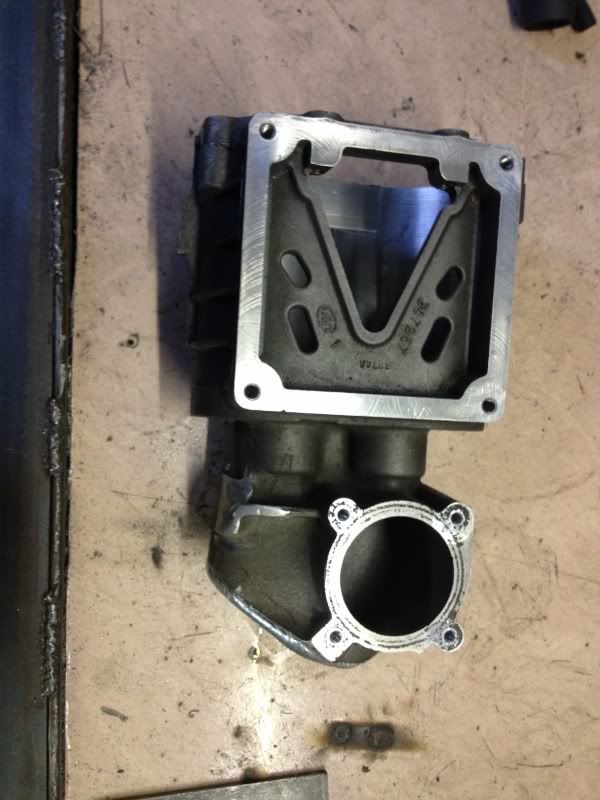
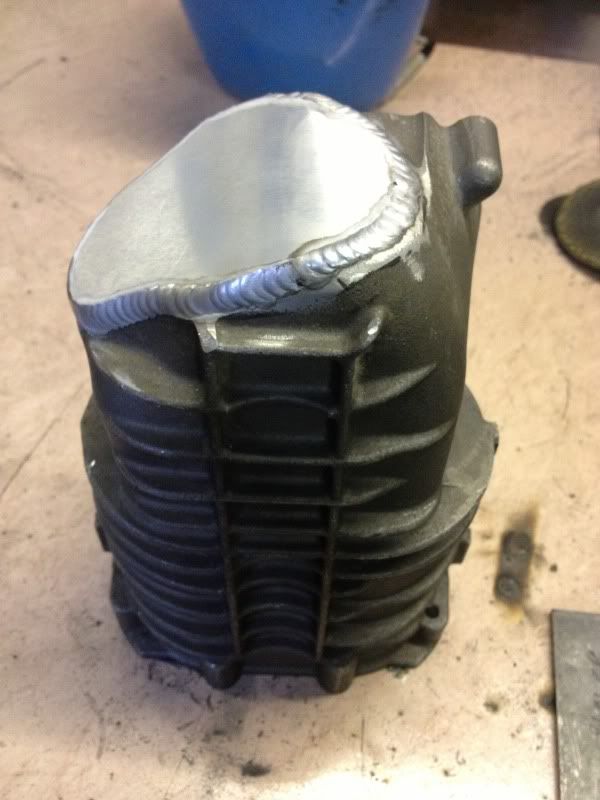
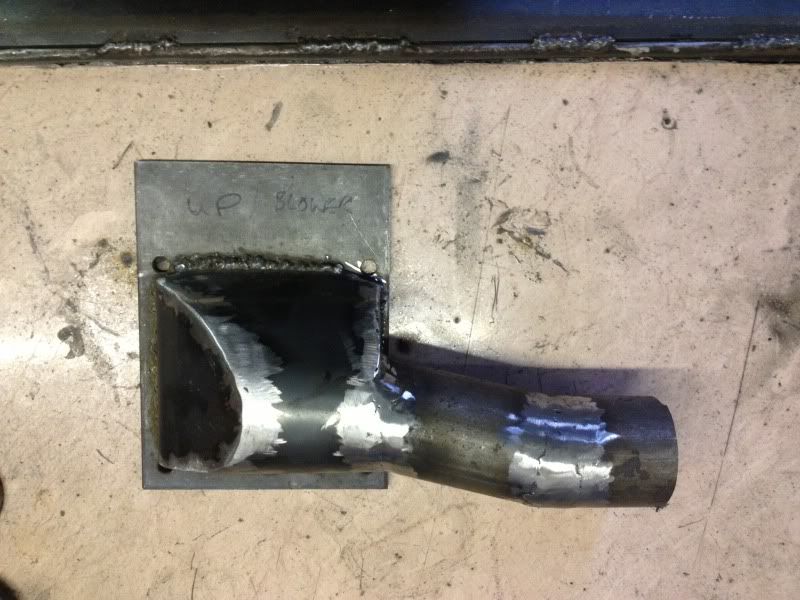
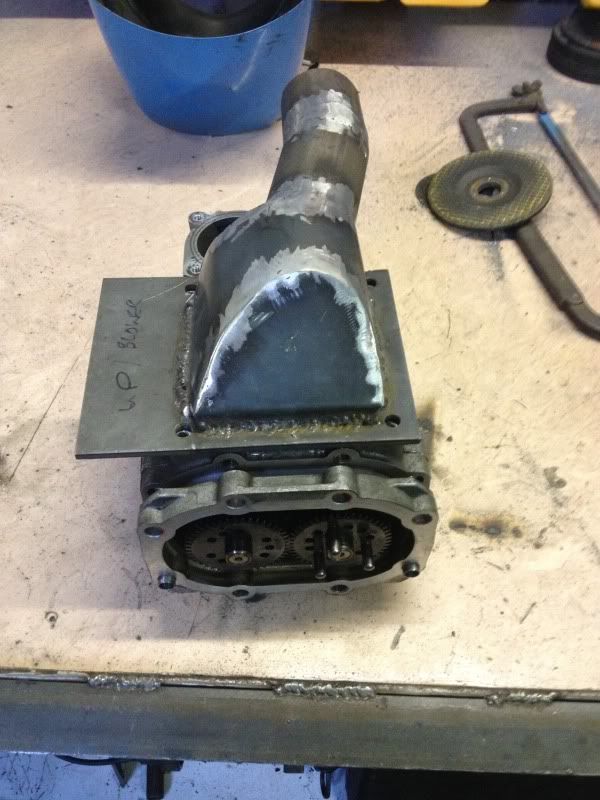
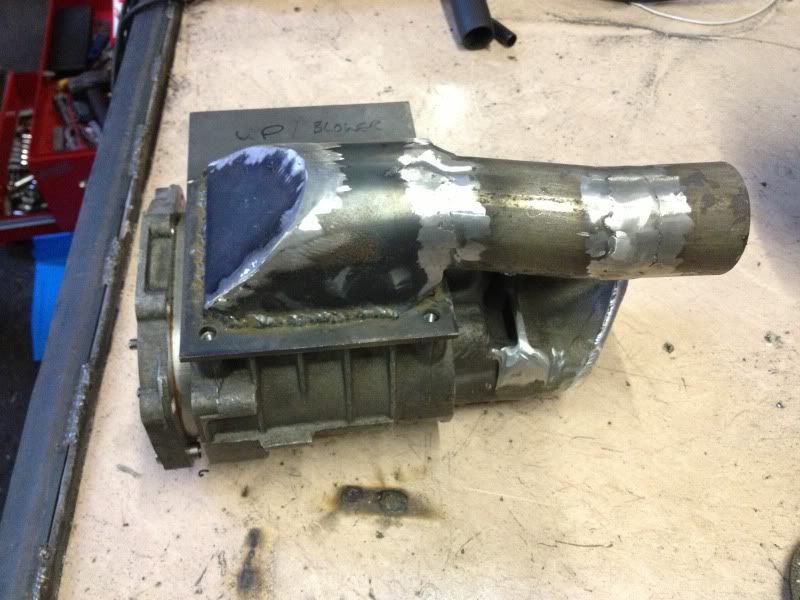
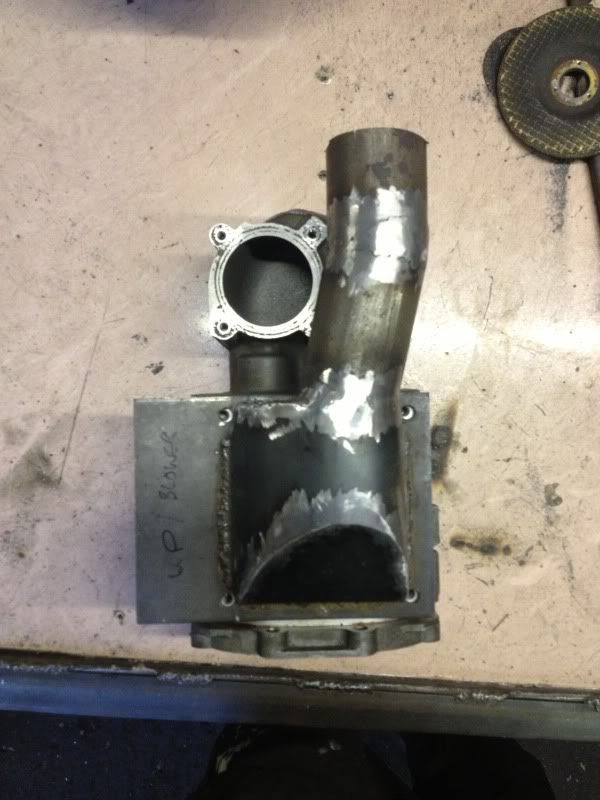
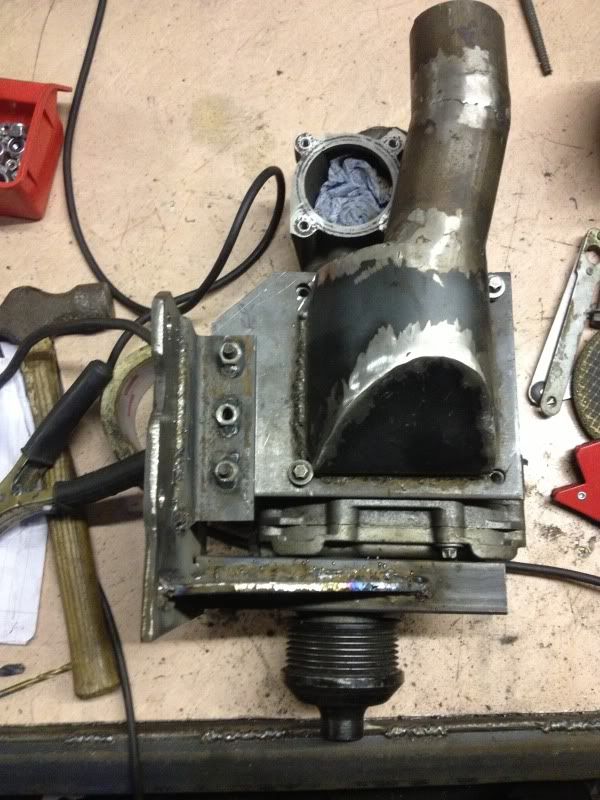
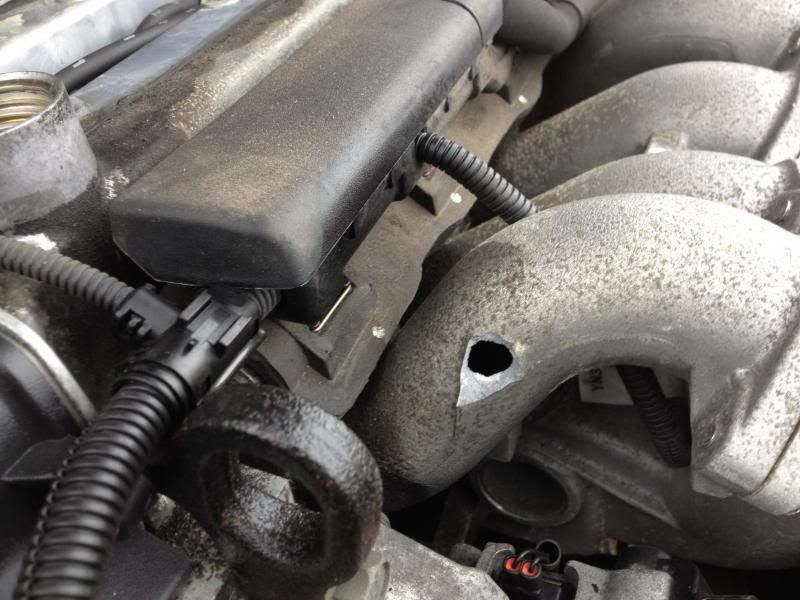
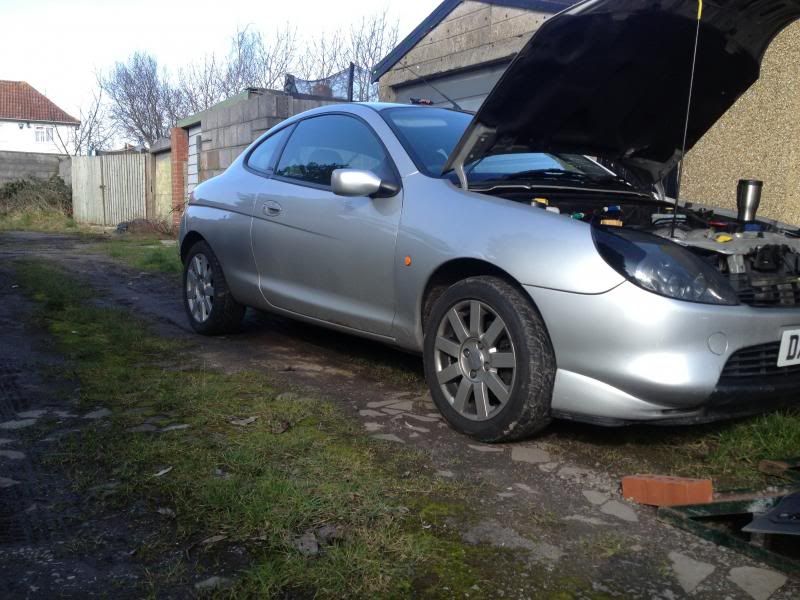
bought the car in may last year, it stayed standard until january with just a service being done on it. it was fairly clean, 2 lady owners, full service history and a fresh mot. i paid over the odds from a local dealer but purely just so i could chop in the corsa i was driving at the time as i couldnt be arsed selling it privately. i serviced it the day i got it and ended up snapping off one of the lugs on the inlet holding the engine cover on, trying to remove a cross threaded and rounded bolt! ended up with a fuck off great big hole in the inlet :x great start!

IMG_0042.jpg


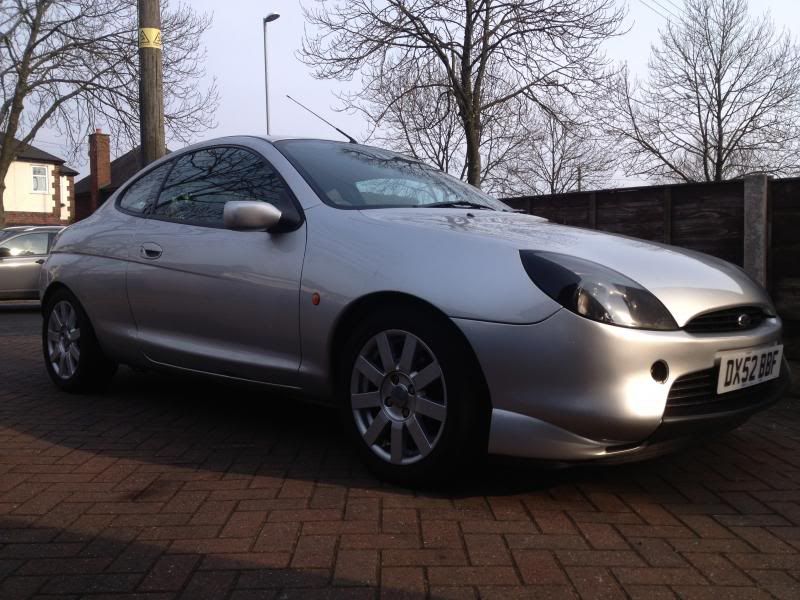
in january after a few weeks of the road, i got back in the car and the brakes were shocking, long story short it had pagid discs, ebc pads and some race fluid, and while the calipers were off i stripped, cleaned and regreased them. shortly after i fitted some apex lowering springs and a set of T1Rs. i intended on leaving it like that but the modifying bug was definitely back and now its all snowballing out of control :lol:

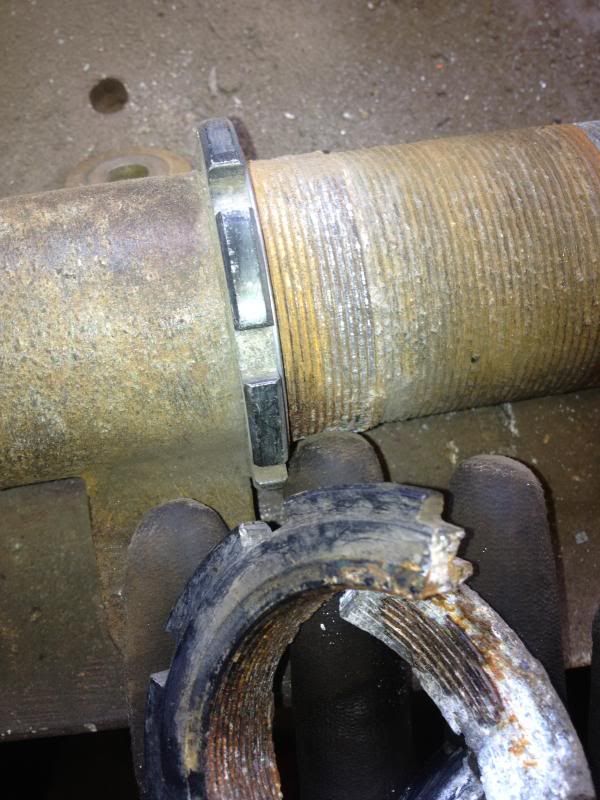
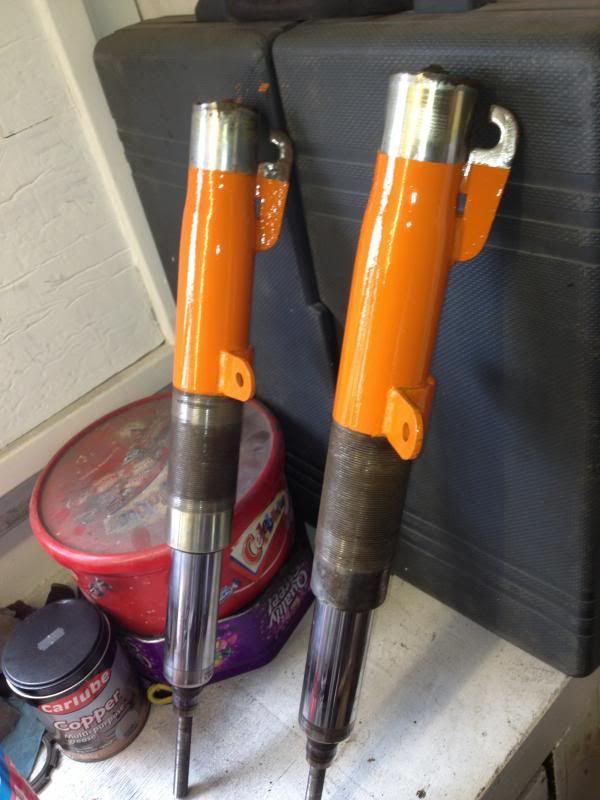
the weekend of the rockingham track day i picked up a set of knackered H&R coilovers. they were alot worse than advertised and ended up needing a complete refurb. most of the seat platforms were oxidised and seized on, and the two rear top cups were crumbling to bits. bizarrely the fronts were fine though :roll:

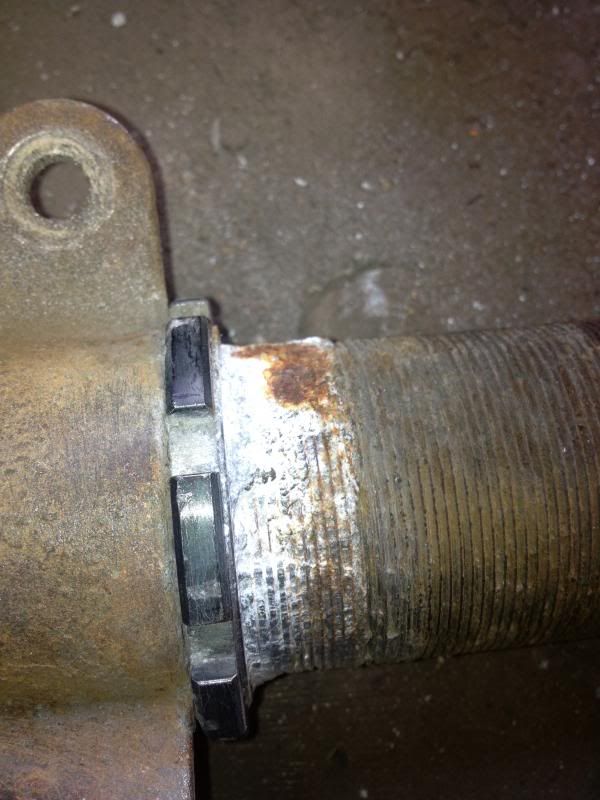
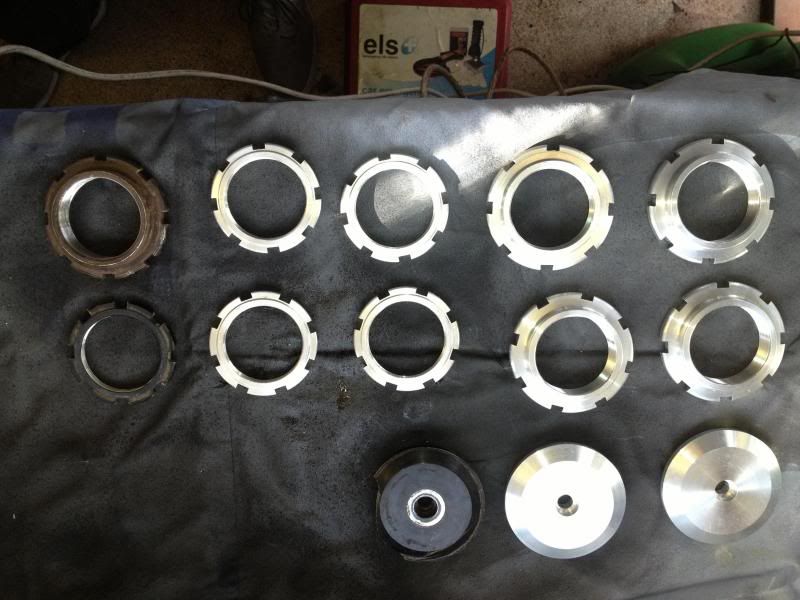
removing the collars left me with loooaads of shit stuck in the threads, plus loads of road grim and rust built up in any exposed threads. a few hours with a fine centre punch and some swearing and the threads were cleaned up, a minute or two on the bench grinders wire wheel and they were good as new and clean ready for paint and rebuilding. combination of wire wheel, nitromors and elbow grease saw the somewhat grotty springs clean and also ready for a new coat of paint.

IMG_0592.jpg


IMG_0593.jpg


IMG_0596.jpg


IMG_0595.jpg


IMG_0597.jpg


IMG_0598.jpg


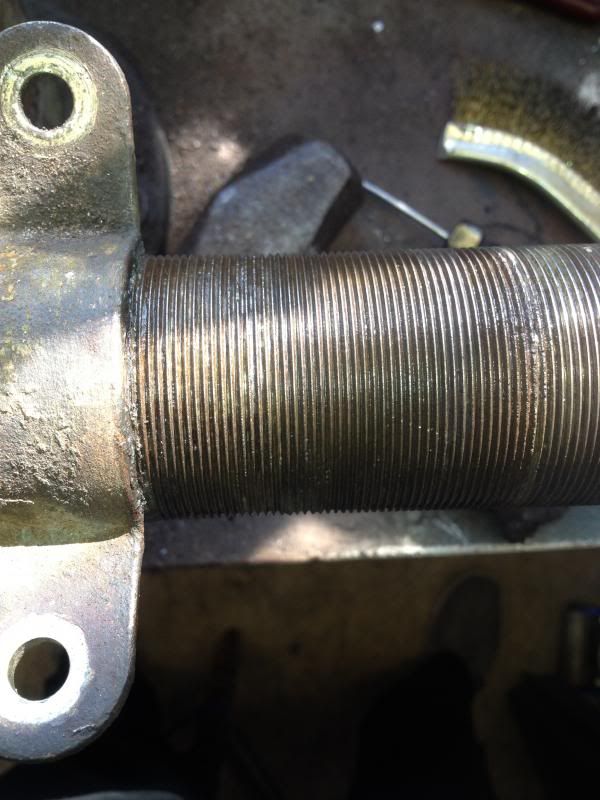
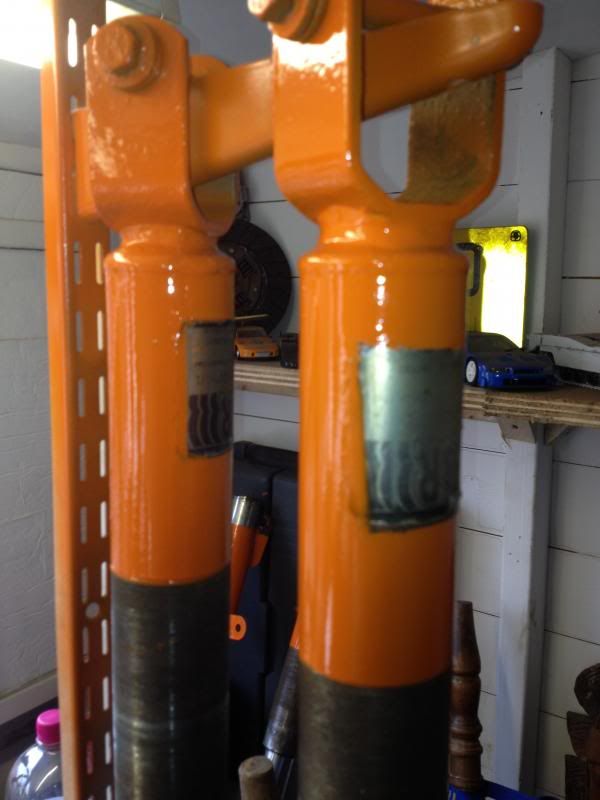
got a mate of mine to knock up a set of new collars, gave the struts and springs a coat of zinc primer and plasticote paint and they were good as new.

IMG_0607.jpg


IMG_0603.jpg


IMG_0604.jpg


IMG_0608.jpg


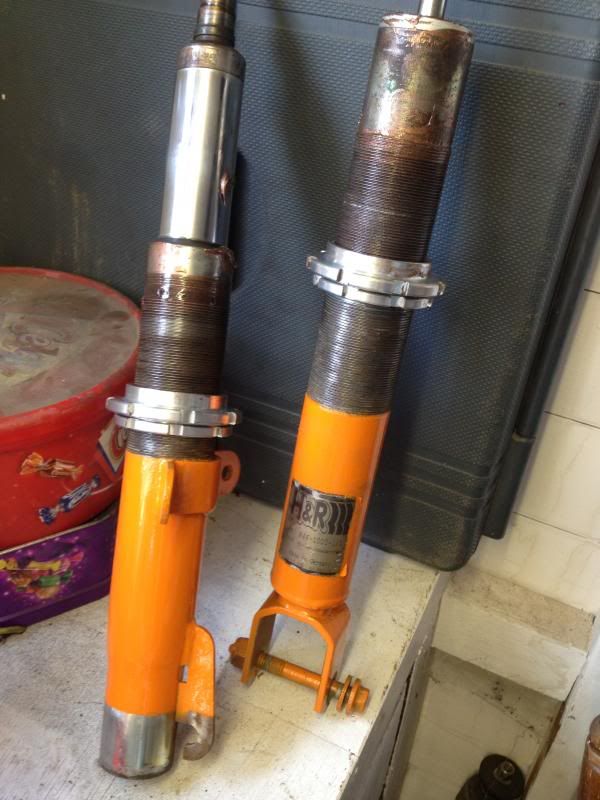
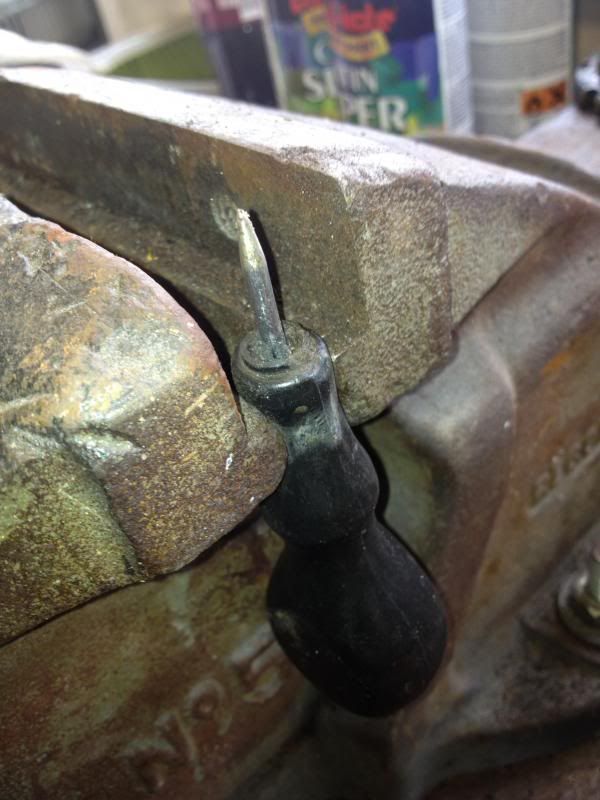
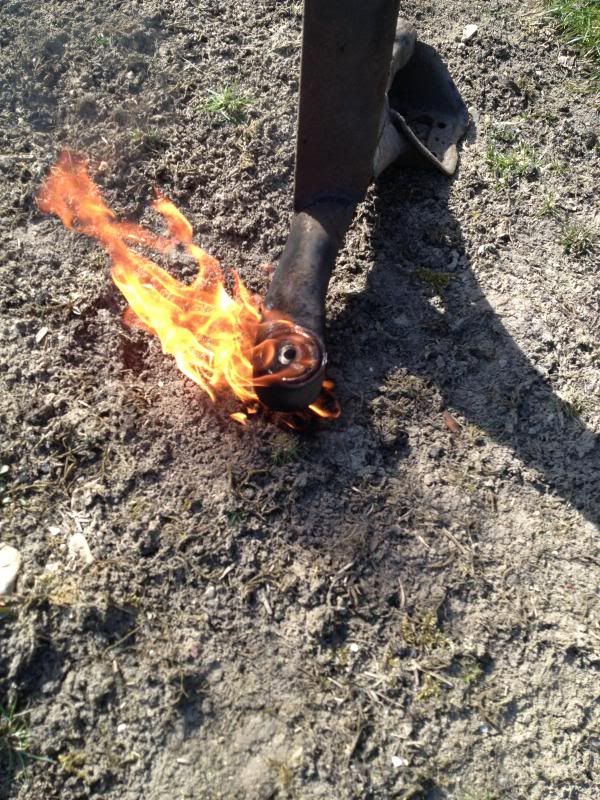
only issue i now had was they were fork fitment and the car was running the later rear beam with the eye fitment, so a new beam was liberated from a scrap mk4 fiesta, bushes removed, rust and shit removed, hammerited and polybushes fitted. had lots of fun removing the old bushes :lol:

IMG_0611.jpg


IMG_0615.jpg


IMG_0639.jpg


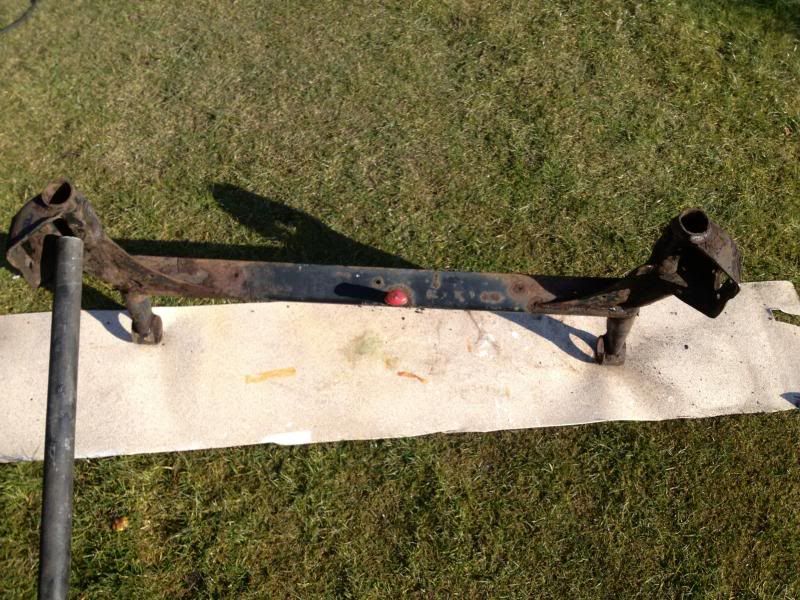
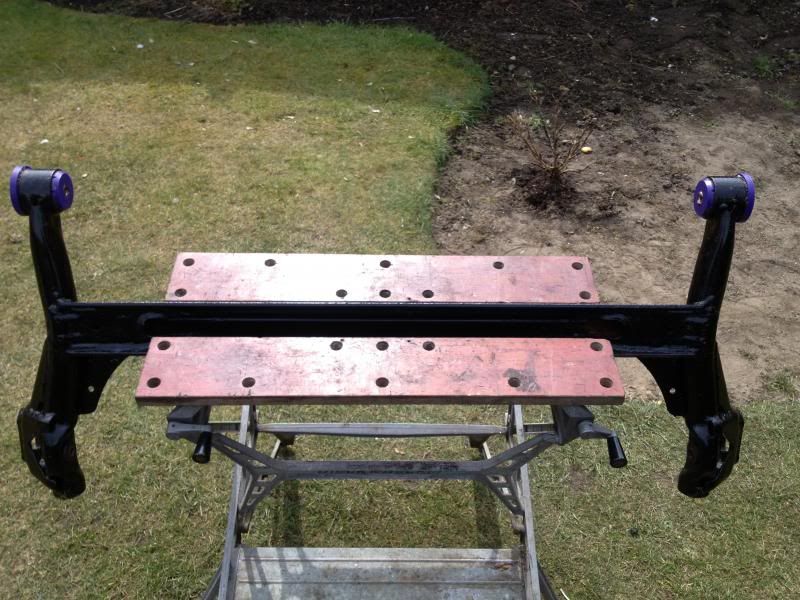
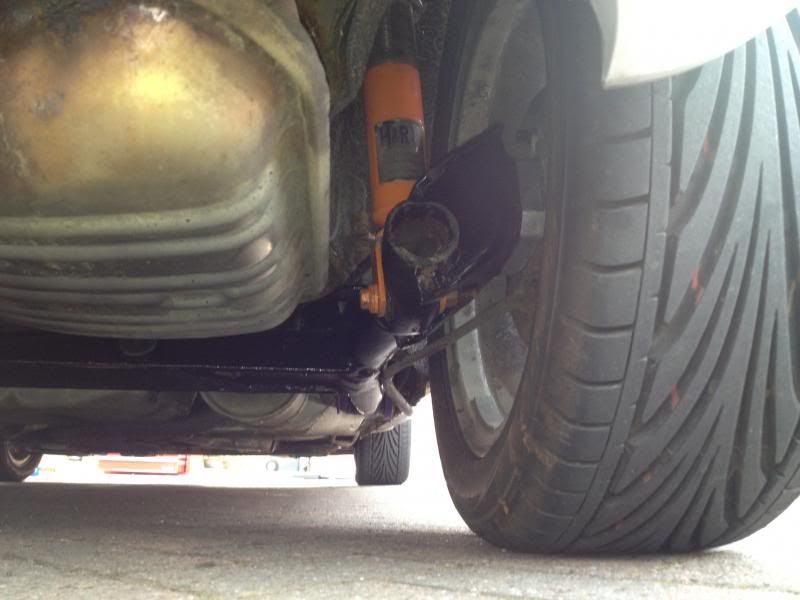
along with the new rear beam i fitted 20mm axle spacers from a streetka, new top mounts alround and new front lower arms. the difference was awesome! the rear bushes were mega shagged and i think changing them alone wouldve made a difference, but the whole package together has transformed the car.


IMG_0646.jpg


before:
IMG_0477.jpg


after:
IMG_0644.jpg


IMG_0649.jpg


im now looking at modifying the rear beam after seeing how much flex there is in it, and possibly adjusting the geometry at the front by opening up the wishbone mounting holes and fitting eccentric spacers to push the lower arms out by a few mm to give slightly wider track and a touch more camber.

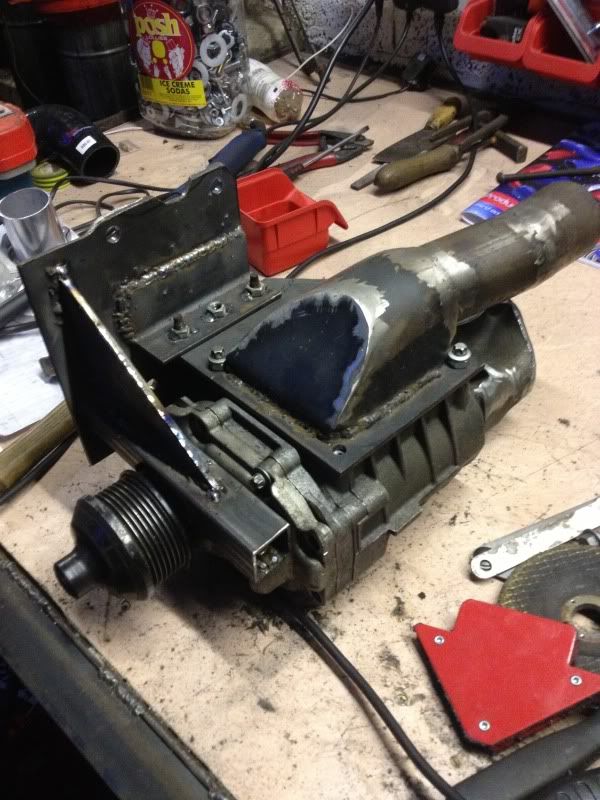
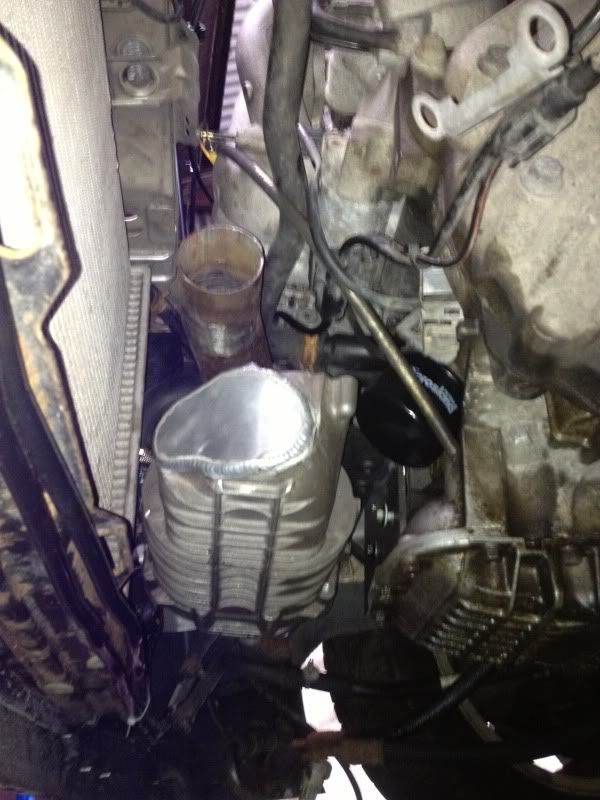
aswell as that theres some engine mods in the pipeline, ive bought a new gearbox as mines definitely on its last legs, some 90 spec escort rst recaros and a few other minor bits, and im sorely tempted to strip it out and go as light as possible.

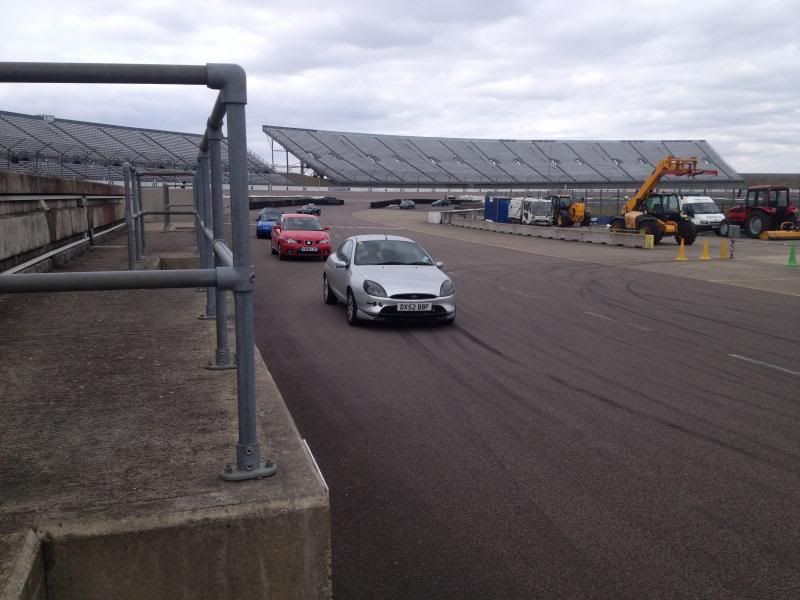
couple of random pics from rockingham!

IMG_0561.jpg


IMG_0575.jpg
 
Great start, keep us updated on the progress. I've always thought about adjusting the camber on mine.. :eek:k:
 
well had some money burning a hole in paypal account :lol:

this arrived at my mates this morning

$T2eC16JHJHYE9nzpcwwGBRUw2Uvuuw~~60_1.JPG


will be next weekend before i can even get my hands on it and really start faffing about with it but the plan thus far is to remove the aircon, fit a rad from something like a civic/crx as theyre much smaller, along with a kenlowe fan. ive got a couple of intercoolers to play with, and then either an auxillary FPR or a home made 5th injector setup to fuel it. want to try and do it on the standard management initially mainly just because i fancy the challenge. potentially i might look at something like a dreamscience remap on the standard ecu or aftermarket management sometime in the future. for now it will be mickeymouse and cheap and cheerful :lol:
 
well finally managed to get some time under the bonnet this weekend and get the first look and a proper idea of how this things gonna go down.

image-4.jpg

image-3.jpg

first thing i did was strip the supercharger down and take off all the mercedes related tat. heres what it looks like bare. shouldve put something next to it for scale but its smaller than i was expecting. anyway, car wise i took the aircon rad and pipe work out, and the radiator fan (ill be fitting a slimline one, probably on the front for clearance). i then took the aircon compressor off and oil filter (ill be fitting a stubby little oil filter in future as the std one is in the way), and offered up the supercharger in the space. i couldnt get any pictures because i didnt have enough hands :lol: but it was pretty snug. to give me a bit more room ive tucked the bottom of the rad in closer to the front crossmember by trimming the forward edges of the mount and bolting it on using the rear holes on the bracket with the front holes on the chassis leg, which gives me about another 2inches. as you can see in this picture this stretches the rad hose a little, which is in the way anyway, so ill make up a new rad hose up in due course. crap pics sorry!

image-6.jpg


image-5.jpg


this give me enough room to comfortably mount the blower with the oulets facing downwards,to make plumbing easier. ill be using the outlet with the bolt on flange, and chopping off the other inlet and that corner of the inlet tract, along with the rear mount.


ive sussed out how the mount is gonna look, the pipework and intercooler. just need to get the relevant steel and start making mock ups, then get the supercharger chopped up and welded. as for the fueling i think ive decided to go for a 5th injector and piggy back ecu.
 
Well this weekend I had a lot to do in of lockup and hasn't planned on doing much on the puma. Was down there til about 1am on Friday night and pretty much finished everything I ha todo so yesterday attention was turned to the puma. Didn't have any of te steel to start working on a bracket for the blower so just got that water hose sorted and gaffes about with the suspension ( a but on the coilovers ha come loose slightly so the op cup wasn't located 100% right, still not convinced its sorted). About 3pm we ended up starting stripping it out, an well, it's stripped now lol! No dash, no heater, door cards, tar pads removed, the works lol! Knocked up a little strut brace/harness bar and got my old 6 point sabelt harnesses in there. Few other bits and pieces.

Also picked up a 2.0 mondeo I'm planning on breakin today, so week after next when I'm off work my attention will be split between stripping this and getting the blower fitted to the puma. Hopefully a decent update then!
 
Well not done huge amounts the past week or two. Been busy doing tons of other stuff but I've managed to sort the water hose, got a stubby oil filter and relocated the power steering cooler. Chopped up the supercharger ready for welding but discovered the Teflon coating on the screws has been damaged so I'm not sure if its gonna need recoating, If that's possible or what. Well see. Got all the steel for the mounts but haven't made a start on them yet, want to wait until the blower has been done so I know exactly what clearance I have. I've Also picked up a 5th injector setup off eBay. It's a micro dynamics PIC5 which is a basic unit but should be able to get it running well enough on that with some tweaking and faffing about with switches and fuel pressures etc. there's an intercooler on its way and I'm getting an ap 4 paddle ready for as an when I swap the box. I think I have pretty much everything parts wise now. Just need the supercharger welding, and then a few days free to attack it and get it fitted n plumbed in.
 
Well progress has been slow recently, been tied up with work a lot an not done much. This weekend I got the blower back from the welders. Not ideal perhaps but the whole setup is not ideal if we're gonna be honest lol!

9076CB49-96FC-4E7A-B7AC-E636CA7C0FBA-7713-00000A19A632C805.jpg


D7B40D5F-A079-4C86-8458-B82A16C73907-7713-00000A199E46975A.jpg


CE9B4163-82AE-4218-A198-BAB4FC447558-7713-00000A199268FC70.jpg


Should do the trick.

Also finished off the outlet flange for the blower. Quite happy to admit the welding isn't the best. Having a hard time with it lately, guessing the maybe a problem with it but muddled through.

E77D3396-3DD4-4249-B39A-3E5D330F7F9F-7713-00000A1959978614.jpg


80D826CF-9B74-43BA-941B-C39CD1F65E12-7713-00000A1980466835.jpg


BC4DAF8B-8E5B-4D3F-845B-E79A6526D057-7713-00000A1974D72CD3.jpg


8E522D42-E689-4B4B-B1E4-0CEEFAE36B86-7713-00000A196CC7D341.jpg


5DDD1672-4A8D-4BD0-AFB3-F2C856DBE4A8-7713-00000A194032C1FF.jpg


Also just a pic of the screws and the damage I mentioned before. Found a place not far away that can recoat it for £25 so gonna finish the mockup off then get it stripped down and sent there. Ill probably get the flanges and brackets all powder coated at the same time.

66779114-2296-4012-8373-883477B49557-7713-00000A198A70EE31.jpg


Hoping to get the inlet flange knocked up this week which should be pretty straight forward, then ill start on the main mount. The flat edge on the flange pictured will be incorporated into it but ill save a long winded description and just post pics wen it's done.

Also got the battery moved into te car, on the exhaust tunnel I front of the heartsick, the dash chopped down to just the top section to house the clocks and hide the wiring as was getting some brutal glare when the sun came out.

And fitted and wired in the 5th injector kit, all works (although needs an new injector) but obviously not plumbed in yet.

Should be more updates later in the week as working from home this week.
 
Well got the mount knocked up this weekend, it's quite agricultural and not pretty but I was working with what I had and had to make do. It'll do the job anyway.

85CF7370-A890-45B7-BCA8-27EBE9EF119A-4732-00000602319E2154.jpg


E5256A53-3FC7-45E2-B01D-664AF8B10B15-4732-000006023A64A0D1.jpg


0A80D03D-07EA-4E9C-8E08-741E59283CA4-4732-000006024DB0A79E.jpg


Clearance is tight and it a slag to get on but was to be expected. It fits anyway. Paid for an intercooler a couple of weeks ago from a member on passionford and it hasnt turned up yet and have had no reply from several pms so not sure what todo but can't really do much now until it shows up or I buy another. Not ideal. Got a load of silicone hoses, Just need to measure up for a belt which ill do next weekend and get hold of a 50-70mm reducer and have the boss for the 5th injector welded in, along with the inlet flange welded up and I'm ready to rock and roll. My wideband should be here from the USA in a couple of weeks so hopefully everything is on by then and I can start setting up the 5th Injector and fpr. Decided to run an auxiliary fpr to increase fueling up until map is at atmospheric, then have the boost switch activate the 5th injector from there. Hopefully ill be able to tweak here and there between to two and have it run a fairly stable Afr all the way through the rev range.
 
thought it was about time for an update!

after a few months of inactivity due to being away with work, ive had this week off and have cracked on, on monday i ordered a load of parts, ashley 4 branch manifold, new airfilter, load of silicone hoses, boost gauge and a new 5th injector (more on that later...), and picked up a ton of various hoses, clips, joiners, etc locally. spent most of the week faffing about waiting on everything but got the last parcel yesterday afternoon and got to it! got it started at about 2.30am this morning and fuck me it sounds good! :dd:

rather than going through everything the basic spec is now as follows:
eaton m45 from mercedes c200k on DIY made mounts, 5pk2060 belt.
escort RS turbo intercooler
microdynamics PIC5 5th injector setup
FSE fuel pressure regulator
ashley 4 branch 'competition' manifold
magnex 2.25" s/s exhaust from fiesta RS turbo (obviously modified)
bosch recirculating dumpvalve (from some form of audi)
pipercross foam filter
shitloads of silicone

ive also fitted an innovate MTX-L wideband, obviously to help me set it up.

so this morning i calibrated the wideband, and before heading off in a blaze of black smoke and borewash i double checked hoses etc and thought id test the 5th injector, as it was an unknown second hand ebay part, as the original that came with the kit (also used) wasnt working. sure enough, neither does the replacement. im unsure if its the injector thats faulty or just whether the voltages from the controller arnt right for that particular injector. either way, a spare beige injector from a 2.0 mondeo i broke a while back works fine when rigged up so ive decided to use that instead. fitting it isnt straight forward, after a bit of head scratching ive basiclly chopped the end off the mondeo fuel rail and will use that with a few tweaks. it wont be particularly pretty but aslong as it works and will be safe (not leak fuel) thats all im bothered about. hopefully ill get that squared away tomorrow and can start setting it up.

will get pictures and a little video later in the week as im waiting for a new phone
 
well ended up getting an engineer mate of mine to knock me up a little collar and used that to mount the top feed beige injector. worked a treat and doesnt look too shonky really. took the car out for its first run to try and set the fueling up and iron out any problems, first stop was BP for a tank of their finest then returned to the car and it would start :wall: fearing something nightmareish i popped the bonnet to find a vacum hose loose! popped it back on then cracked on. made a few adjustments to the fuel pressure and was having some issues with irratic AFRs, then it dawned on me the ecu would be seeing the AFRs are lower than they should be so was probably trying to lean out the mix to compensate for the extra fuel i was adding by upping the fuel pressure. i disconnected the lambda, after a few runs up and down the road and a few tweaks it seems spot on! more luck that judgement possible but at cruise and low loads the AFRs are sitting around mid-high 12s, gradually dropping as load increases down to low-mid 10s throughout the rev range under full load. quite rich but better to be on the safe side considering the high compression and standard timing - although im guessing now the ecu isnt getting a lambda readout it may have retarded it slightly for safety?! dunno.

either way its running alright, theres a slightly flat spot when under full load as i change up a gear but nothing i cant drive around.

my mate who came with me got this short vid to show the AFRs mainly but i thought id put it up. this was on the first shake down, the exhaust was blowing quite a bit so it sounds like shite, but you get the idea. also, i hit the limiter intentionally to see what the AFRs would do, im not just a shit driver :lol:


im gonna have another play with the fueling and try and lean it out very very slightly for the sake of economy and to try and guard against bore wash. its running less than .5 bar at the minute so nothing major but goes alright. already thinking about what can be done to the inlet side of things to try and help it along a little. and may have a tinker with the dump valve to try and make sure its not bleeding off any boost as its at full boost by just under 3k then doesnt seem to make any more throughout the rev range. any sugestions on that would be welcome, or feedback and ideas in general for that matter!! will get some pics tomorrow when i have my new phone hopefully!
 
Top work mate.
Your supercharger is not like a rotrex so it shouldnt climb boost with revs should it, I think it will always stay at the 0.5. Bar you have unless changing pulley sizes.
 
Neither am i mate but im pretty sure this type of supercharger produces the same boost, once it has full boost regardless of revs

Superchargers like the rotrex type will typically gain 1.5 psi per 1000rpm
 
Awsome work.. I actualy had the same idea, even went asf ara ss earching for the same supercharger.. But it's all ben put on hold, as I'm curently trying to sel it to pay for my new car :(

It's realy cool to se that the thoughts i had in my head actualy worked :)

For more or less boost, you can change the pulley for either a bigger or smaler one. I don't remember right now how much the mercedes pully generates on the mercedes, but it was a fair bbit, however, I do belive the mb has a slightly bigger crank pully than the puma, and that this wil give you les boost..

This type of screw supercharger generaly increeses boost whit rpm, as it's a fixed ratio, a sentrifugal supercharger wil work slightly more like a turbo, giving boost more based on load..
I prefer the screw, because you have a moore stable power delivery :)
 

Latest posts

Back
Top