Mk1 Focus RS powered Puma, now going RWD, JWRC

ProjectPuma

Help Support ProjectPuma:

This site may earn a commission from merchant affiliate links, including eBay, Amazon, and others.
True, Barry. Not needed, but what about wanted :wink: :lol:

Shame about the supercharger :-(

With almost twice that weight I feel the turbo is definitely needed my end, in fact I feel I need a better turbo :lol:
 
Have you had the chance to weight the PEC conrods? How are they comapring to the standard items? And what is the weight difference among them (I mean between PEC conrods)?

How much bhp are you aiming for this time?
 
Hi Sinisa,

The engine is about 35 miles away so I haven't been many times. I doubt they would be too keen if I started weighing items unfortunately.

Expecting similar bhp as I'm limited by injectors and turbo flow. This engine should do 500hp easily with the right blower. Would need a new inlet manifold also.
 
Onto the fuel tank next to replace the pump.

This obviously involved removing the tank, which wasn't fun considering it had almost 1/4 left. A reasonable amount of petrol was lost to the floor, via me! Luckily pretty much nothing on the car which is only a good thing.

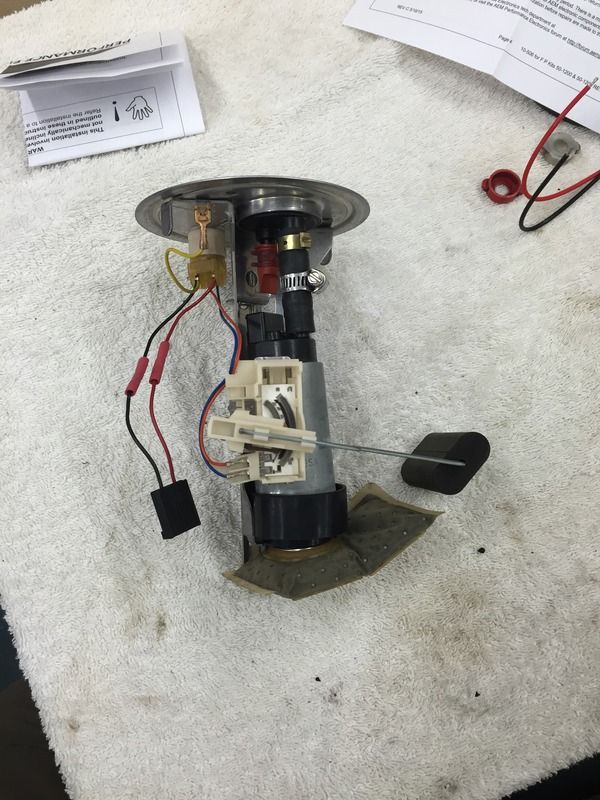
Removed and disassembled the sender unit first.


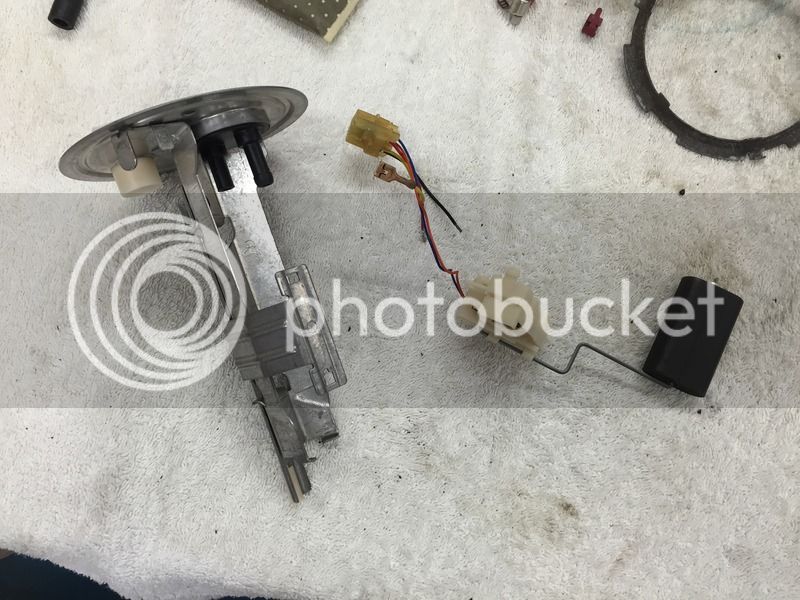
I did a lot more prep than this, but here is the state of it - you get the idea.


Then Kurust... I really rate this stuff, I know some people don't but it's always worked for me. I may try the Bilt Hamber stuff in the future as they do better quantities.


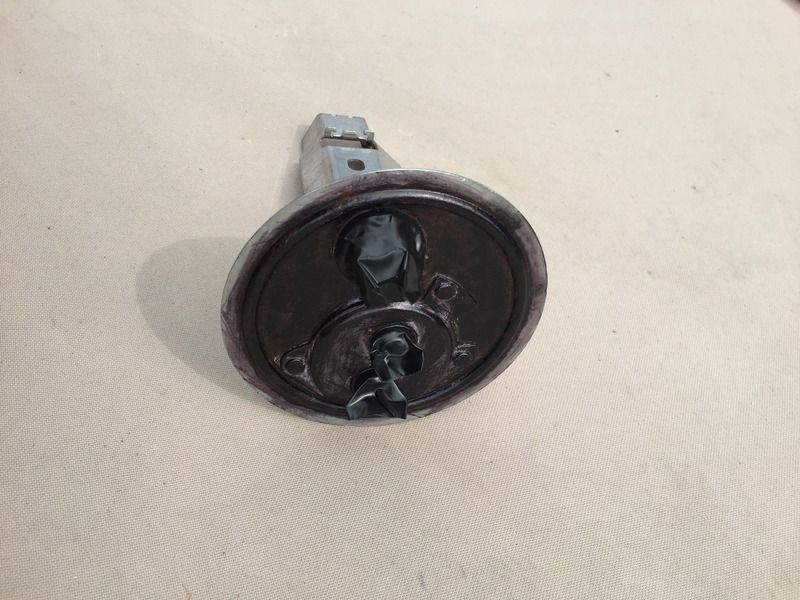
Then etch primer and hammerite stonechip.. and yes, that's white you're seeing :lol:


It now needs reassembling with the new pump, which I've test fitted already.

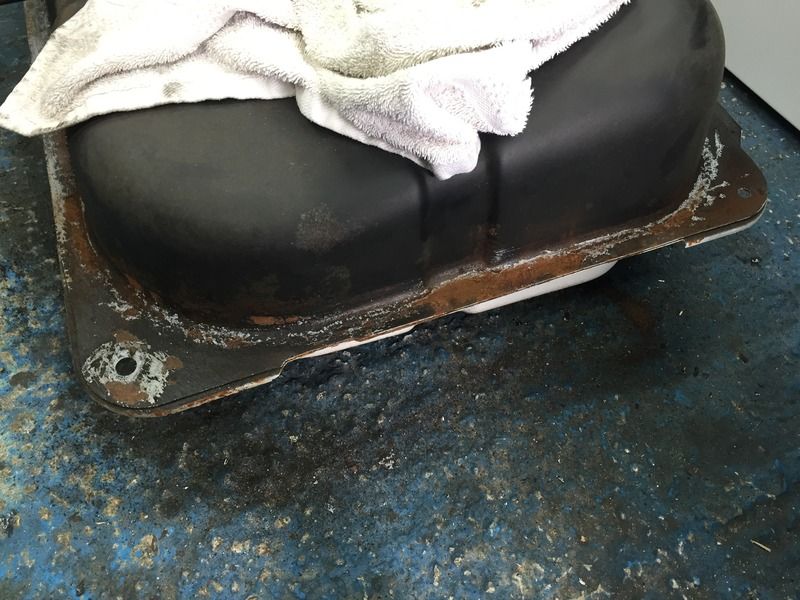
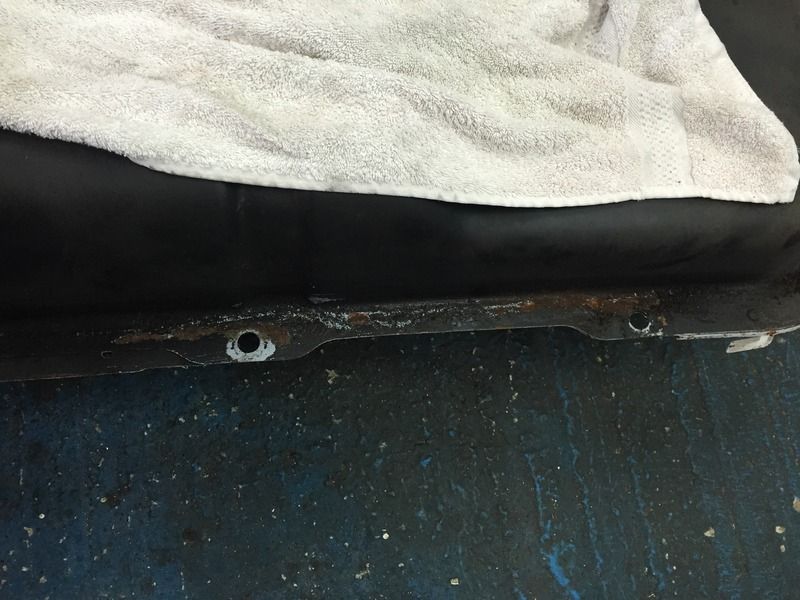
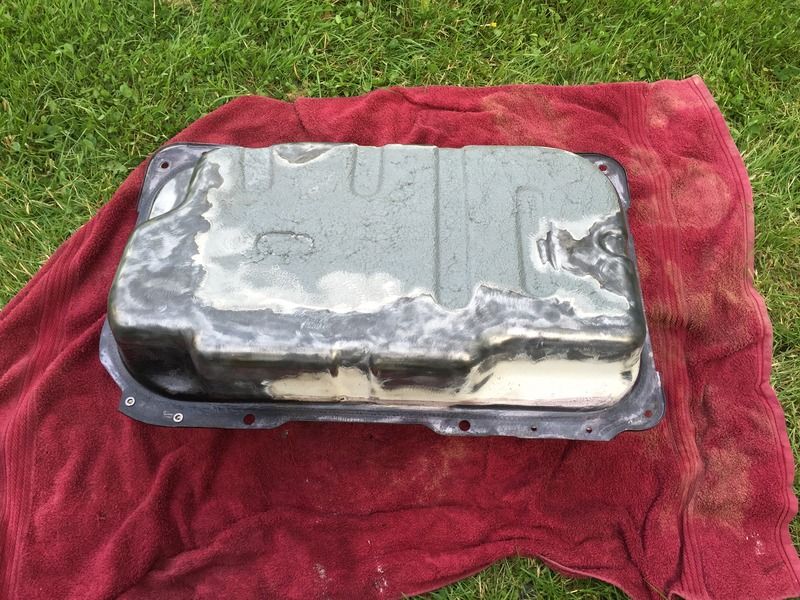
Now for the tank.. I decided to try and salvage this one because you can't get original tanks anymore and you needed a mortgage to buy one anyway. I couldn't find any information on the quality of the swirl pot inside pattern items (circa £65) so that was one reason why I've stuck with the original tank.

Here it is anyhow.


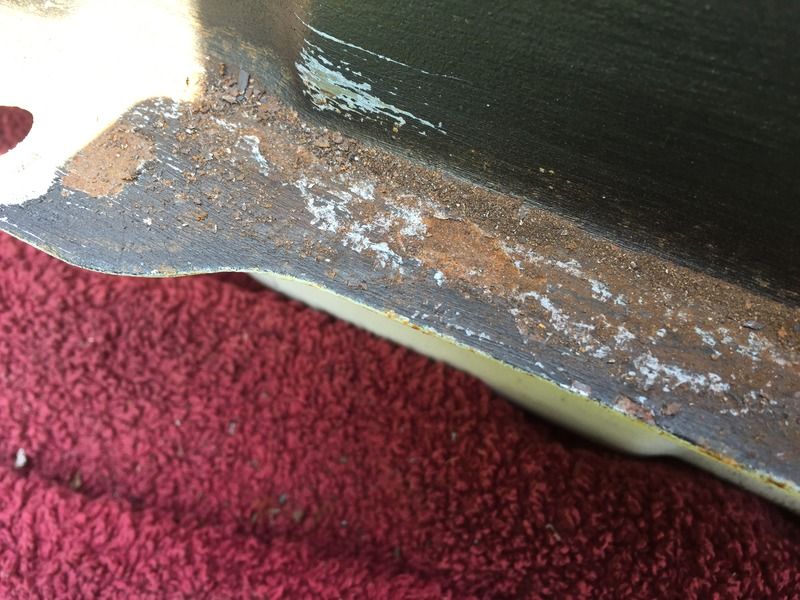
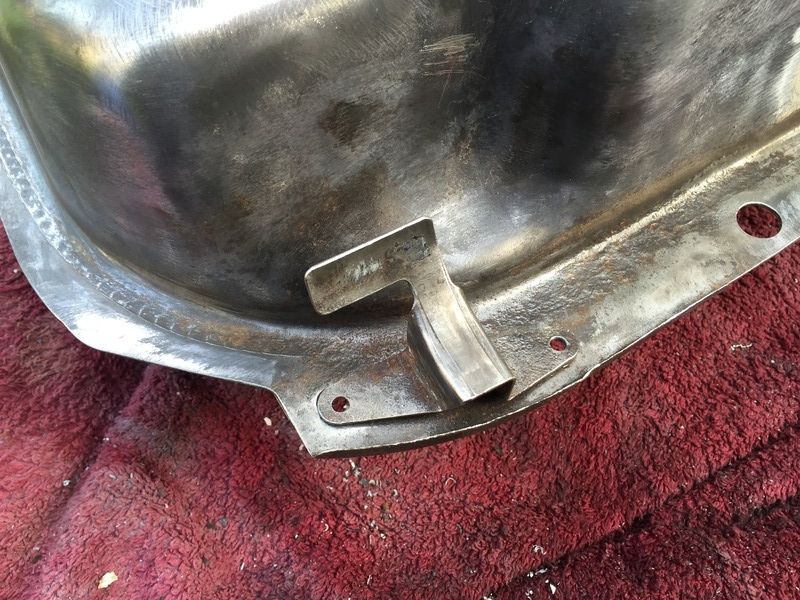
Then onto some prep, which took some time with a grinder and knotted wire wheels. I have a variable speed socket which I plug the grinder into to make it a lot more tame!!


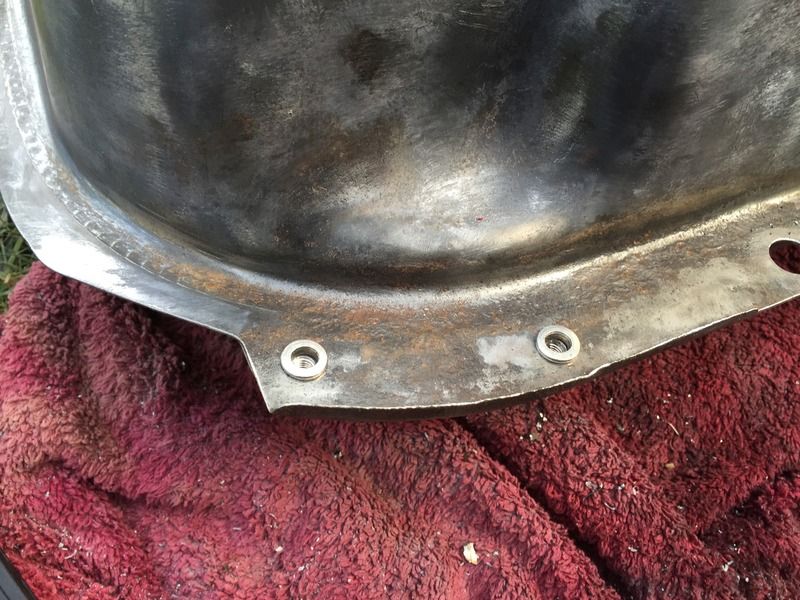
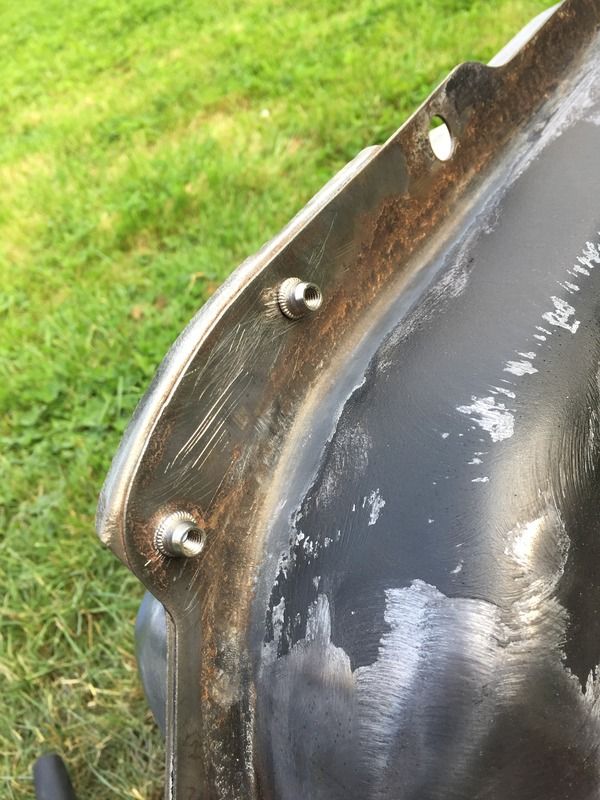
I decided to take the fuel filter bracket off by drilling out the rivets, so I could get the metal on the tank properly. I then used rivnuts so I can then bolt it back on instead :cool:


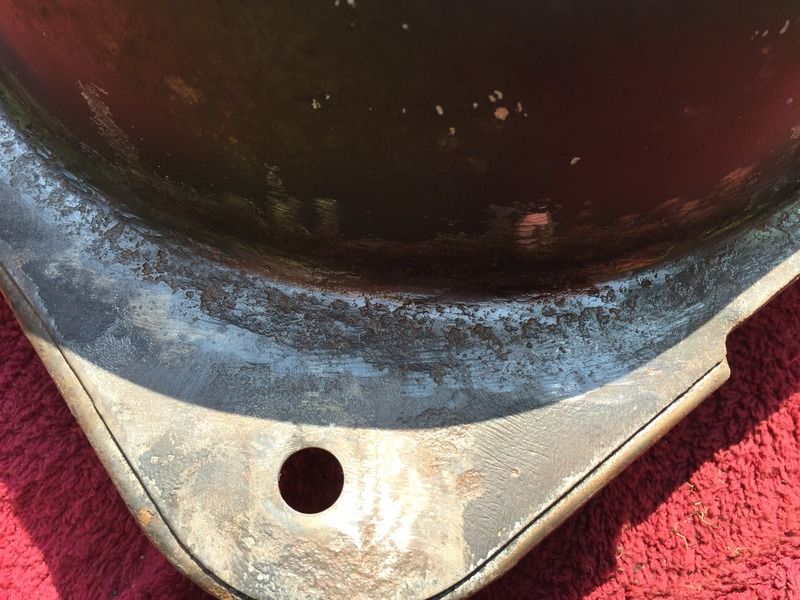
Time for treating.. (I went a bit far with preparing the underside of the tank where my 3M sealer was, should have left it on as I decided to coat the tank around the lip as well)


Acid Etch


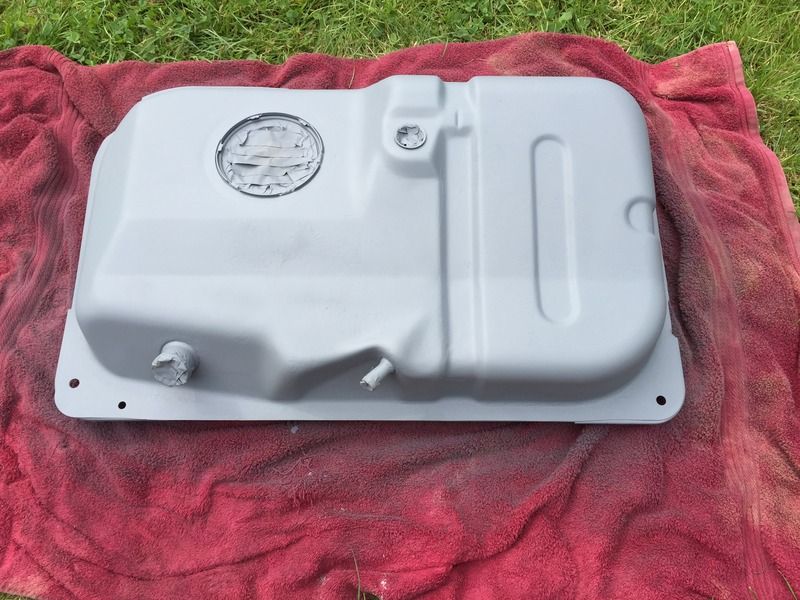
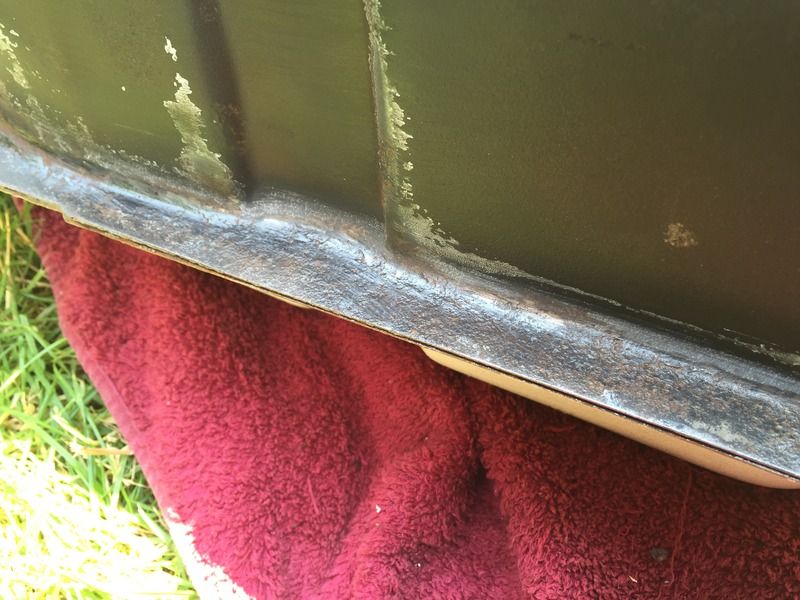
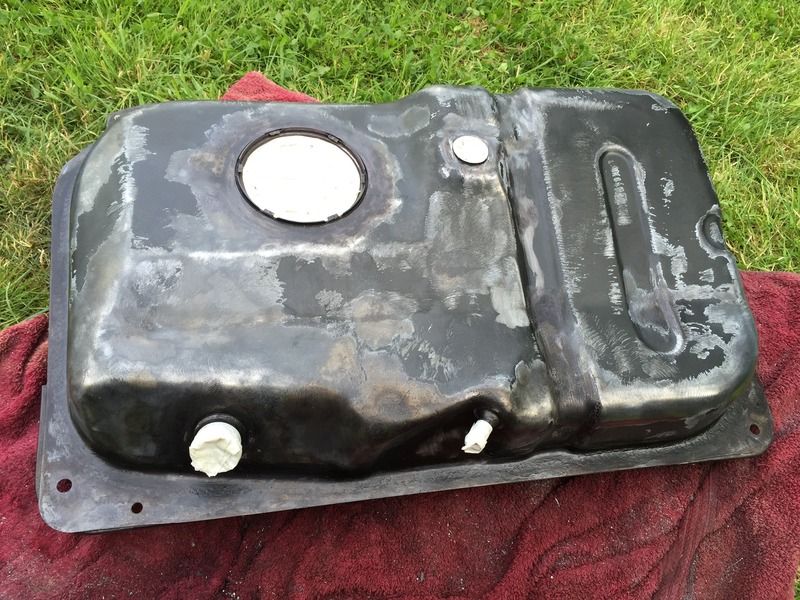
Masked up for where I want the 3M sprayable sealer to go (3M 08800 is in my opinion, THE best sealer to protect the underside of a car - not cheap though) Once this gets round the lip of the tank, I'm pretty confident this wont rust this time.


This is the underside, I only had one bag and it wasn't enough to the complete around the lip and on top :-( Got another bag ordered. Spraying this stuff on at different angles and pressures changes the look and thickness. I prefer spraying it at around 5 bar.
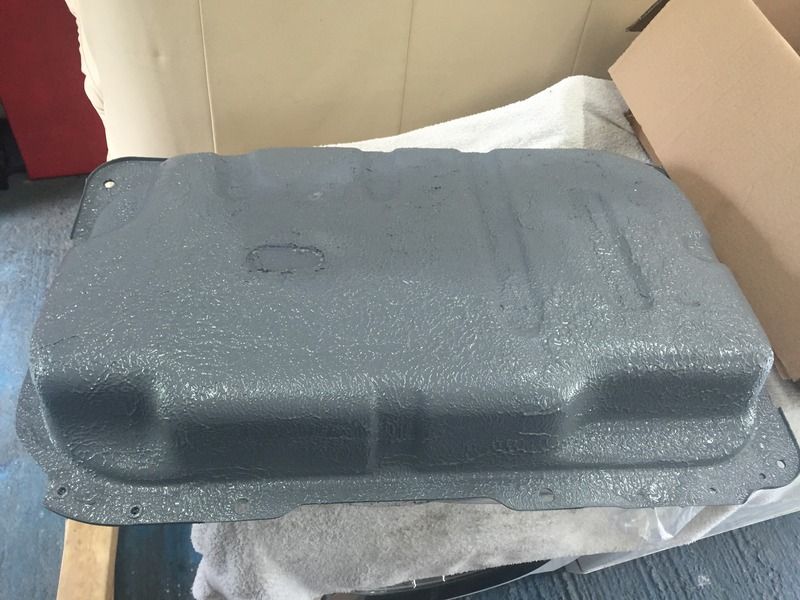


Almost there!
 
As I am about to the the same, I am wondering aboutthe sender unit. I would assume there is some seal. Is it just a rubber seal (of course, fuel resistant) and is it reusable, or one time only?

Very nice effort there!
 
Hi Sinisa,

Yes, the sender seal is re-usable as I'd re-used the one on mine but this time around I have bought a new one from Ford. I would guess it's a Viton seal or similar as this type is fully fuel resistant.

However, there is another plasticy type ring that follows the shape of the locking ring that you can't get anymore. I had wanted to replace it, but it's actually still pretty malleable so I'll have to make do with re-using it. I'll get pics.

Ben
 
Here we are, for reference:

Sender unit seal..


And this is the other piece that sits underneath the metal locking ring which, unfortunately we can't get anymore or so I'm told.

 
More on the fuel tank..


3M sealer went on well, and although some people might think it's hideous, this will totally stop any stone chips and therefore consequential rust. I like the look anyhow :) This is now fully sealed all the way around the joining lip which should prevent any corrosion whatsoever from the seam.

And yes, I sprayed the tank white... some reasons: I'll be able to easily see any deterioration of the tank, see if it leaks at all and I think it makes it less boring under there :lol:

 
Great write up and work on the tank :thumbs: takes me straight back to all the prep work I did on mine!
 
Good work, that sealing you did should do the job. I also believe an original tank is the best.
I have seen some new reconstruction tanks available.
But as you said, quality is always a major question, at least now you have a decent one and well protected :grin:
 
Thanks :grin:

Almost there with it now.


Sender unit and pump assembled.


Unfortunately, the electro-platers let me down and the retaining ring or fuel filter bracket and a load of other bolts weren't done in time, so had to collect them again. I have ordered a new retaining ring and tank mounting clips from Ford though, and they should arrive tomorrow. The engine should be finished tomorrow and I'll be collecting it Tuesday.
 
Hi Nick,

Yes, I usually Google at the time to try and find the best price. Last packet I got from here:

https://www.spraygunsdirect.co.uk/3m-two-part-sprayable-grey-sealer-250ml.html#sthash.ogFtHa1b.dpbs

Quick delivery too. Not sure if they do it but you can get it in 150ml bags also. Unfortunately you have to buy the spray gun to spray it and need a compressor. Having said that, happy to lend you my gun.

I'll post evidence of the good news soon, but the engine is back and all but fitted now almost ready for first start on Monday.
 

Latest posts

Back
Top