beko1987
New member
Hi All.
This is a copy of a post made on detailing world of what I did this weekend - enjoy!
"A good old fashioned post - just like momma used to make..."
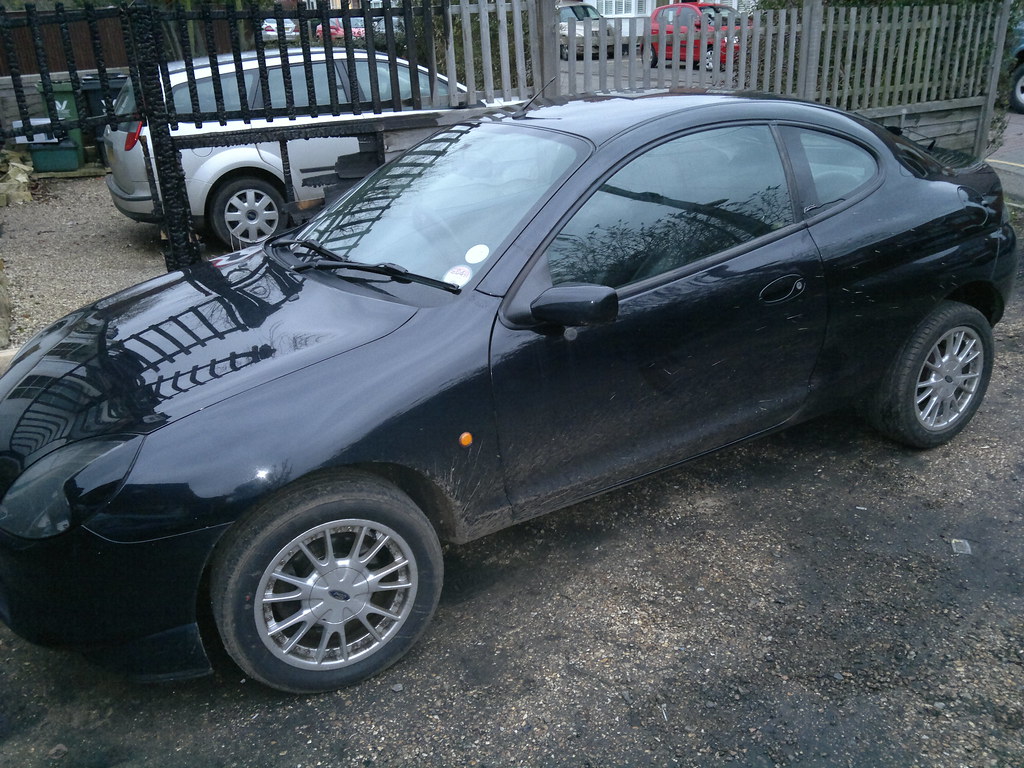
I bought my 2001 Y 1.7vvt Puma at the end of October 2010. Since then, it's been cleaned, but never 'deep cleaned'.
It got vacced, washed and clayed, but never 'loved'.
Rectified that this weekend.
*Note to Mods, This will probably progress, and I can't promise it will stay on topic, so feel free to move if it winds up in the wrong forum.*
The carpets were filthy. 103,500 miles of inground grit, dirt and the pile was flat!.
I went for a shampoo, a really good shampoo. For this, I had a problem.
When I did my old car, I found using the upholstry tool of George was rubbish, and that APC, a stiff brush and just a crevice tool on george to suck only worked better.
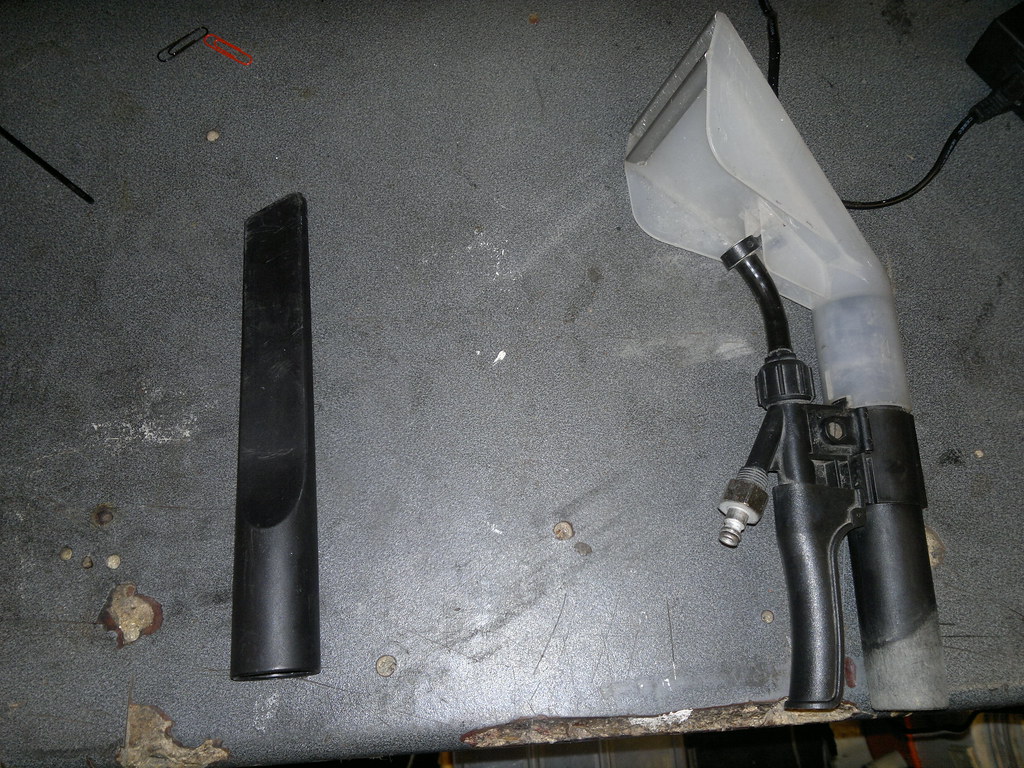
is the standard tools.
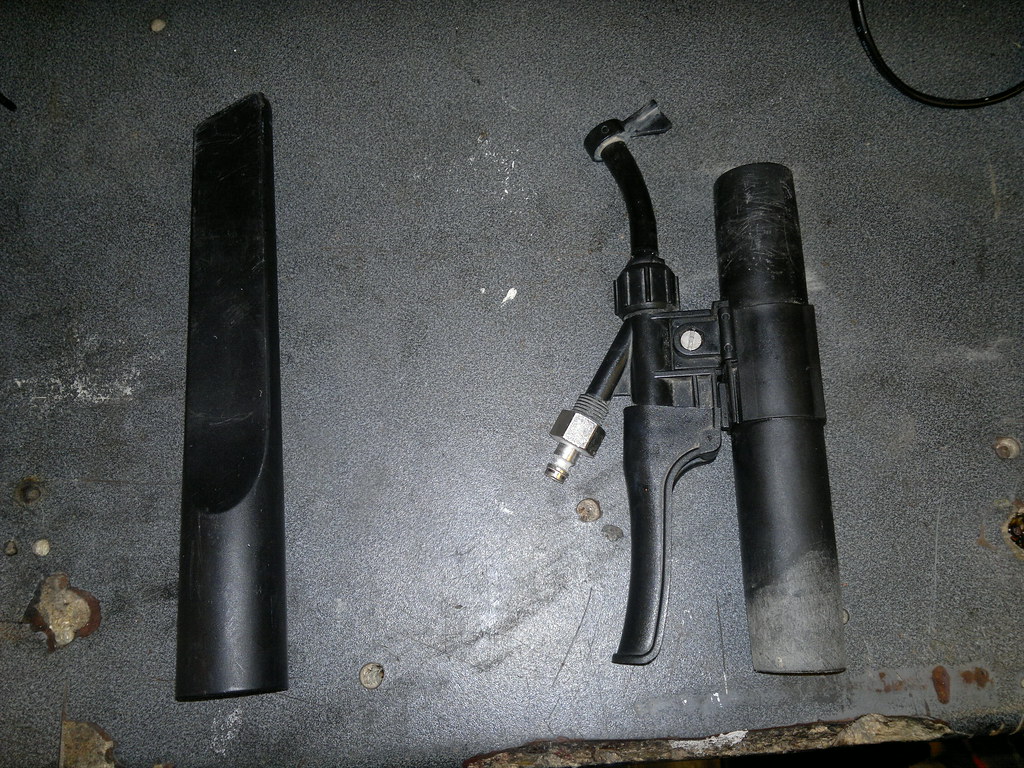
Simply unclip the sprayer and pull the fishtail off.
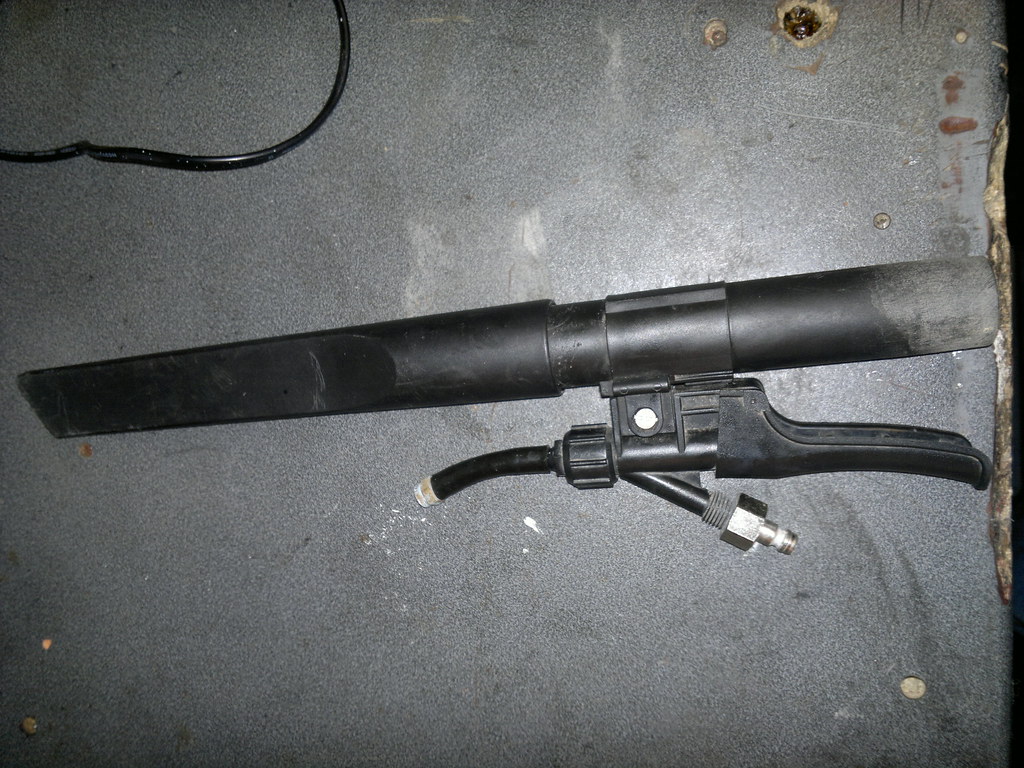
Push the nozzle on the end!
Now, the sprayer tube was far too short, so I bodged a new one up. I dug the carpet part and tubes out of the utility room, and chopped the solution tube from that to the length required. I will NEVER use george for shampooing large areas with the main floor tool because it is hopeless! Sprays such a fine spray that the floor only gets slightly moist, and doesn't suck anything back up. You have to lean on the poles so much you weld them together with friction for life trying to push the nozzle on the carpet!
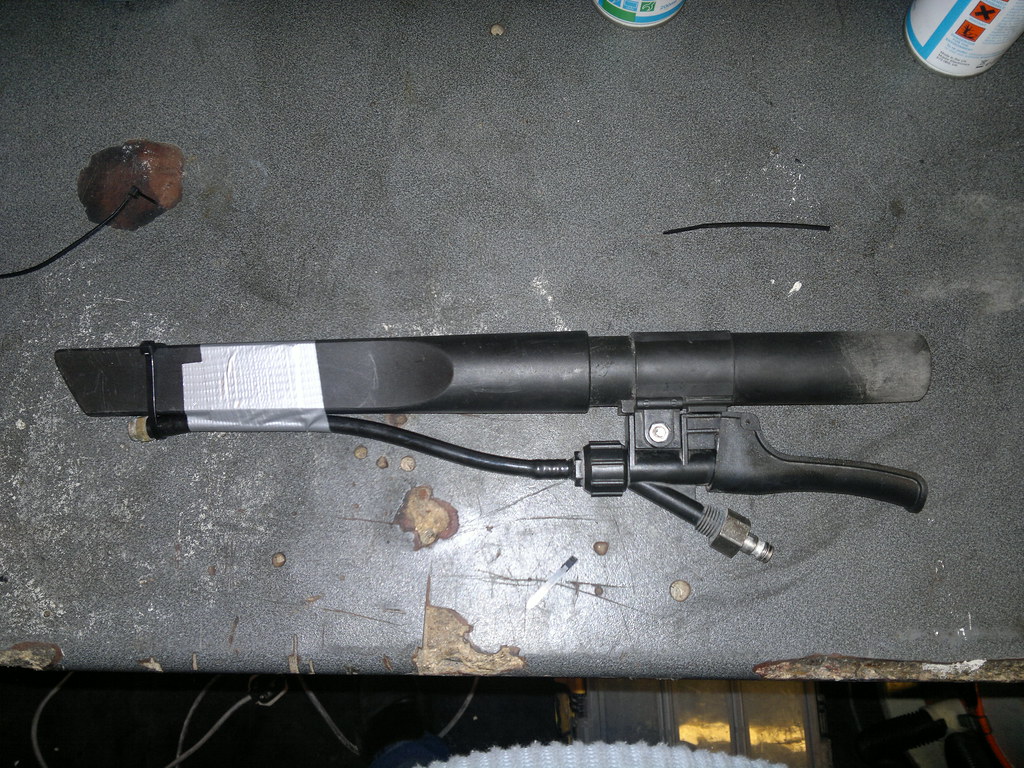
And tidied up with a bit of gaffertape to hold the sprayer onto the nozzle, a tool!
It's brilliant, I divide the carpet up into sections (pretty much like DA'ing) and soak it, scrub it with a stiff brush then scrub it with the nozzle. Gets 97% of the water out easily.
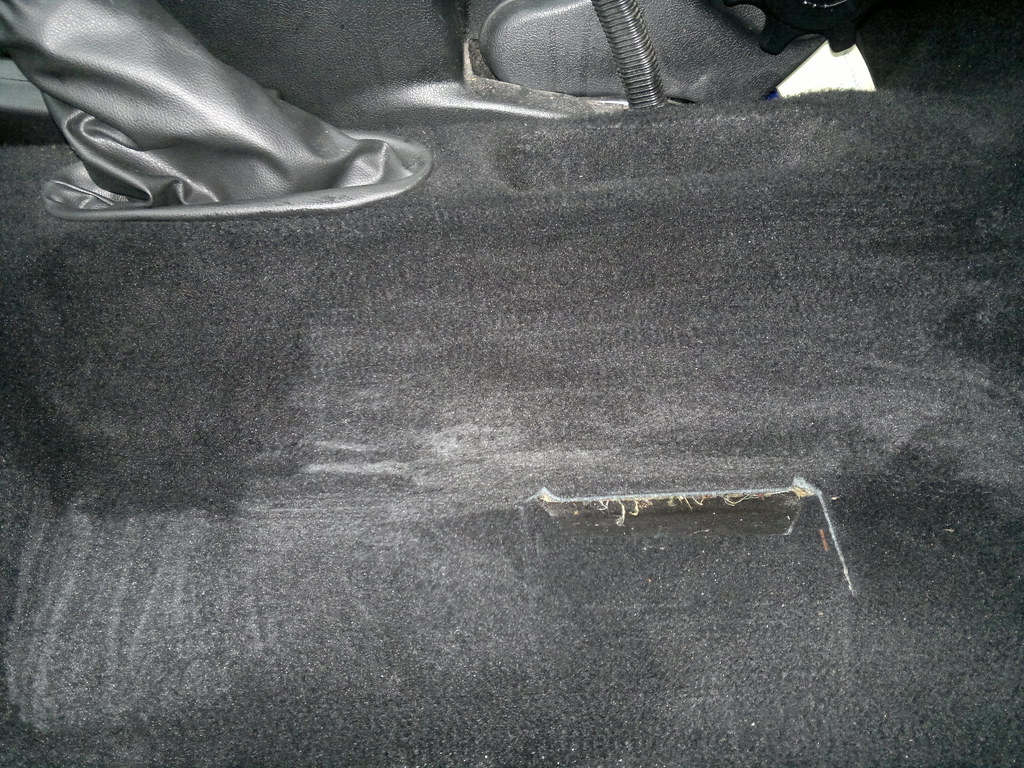
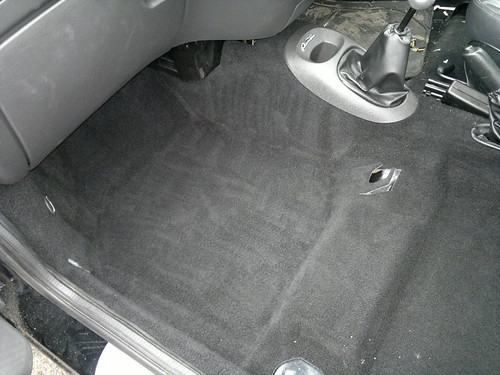
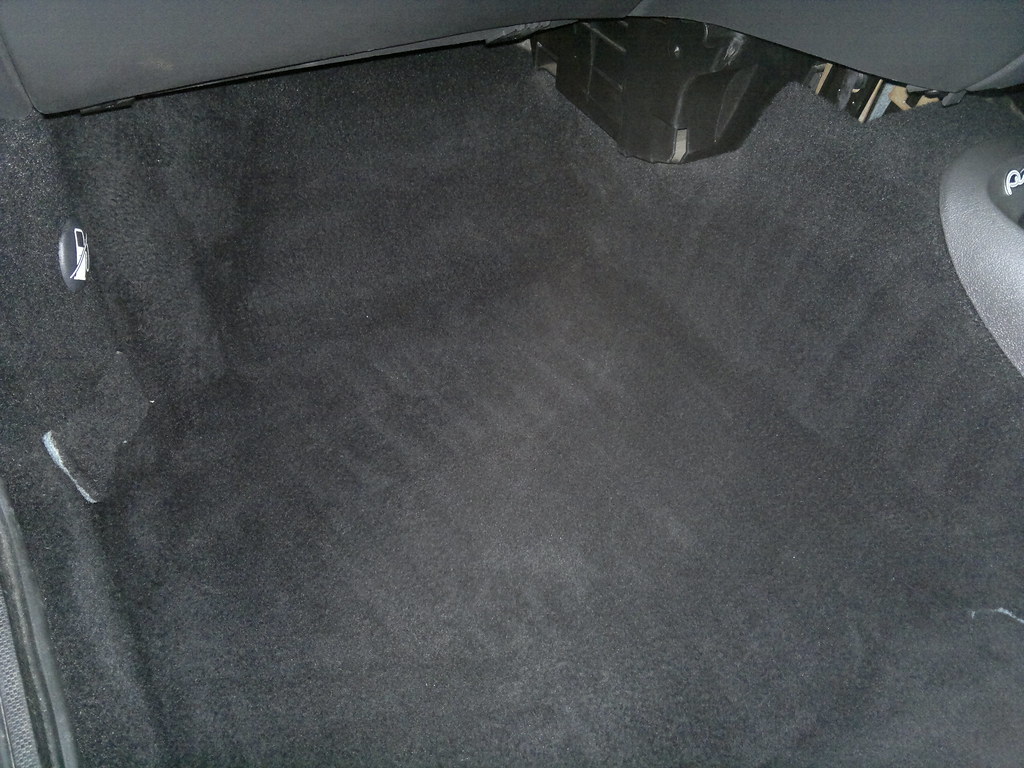
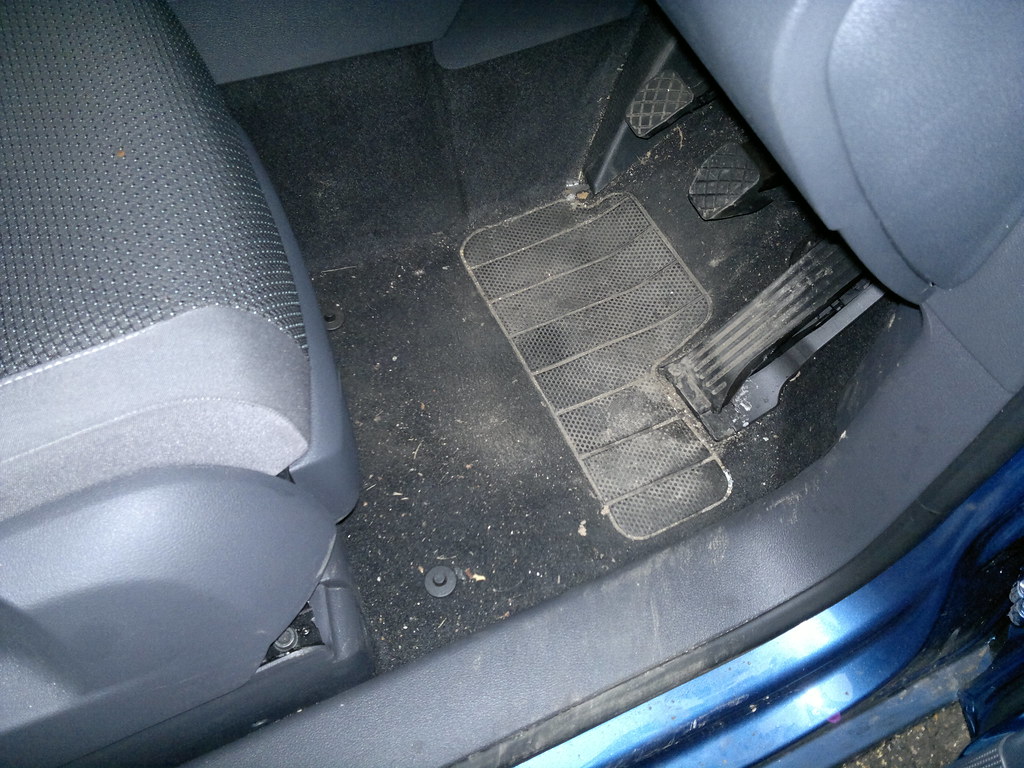
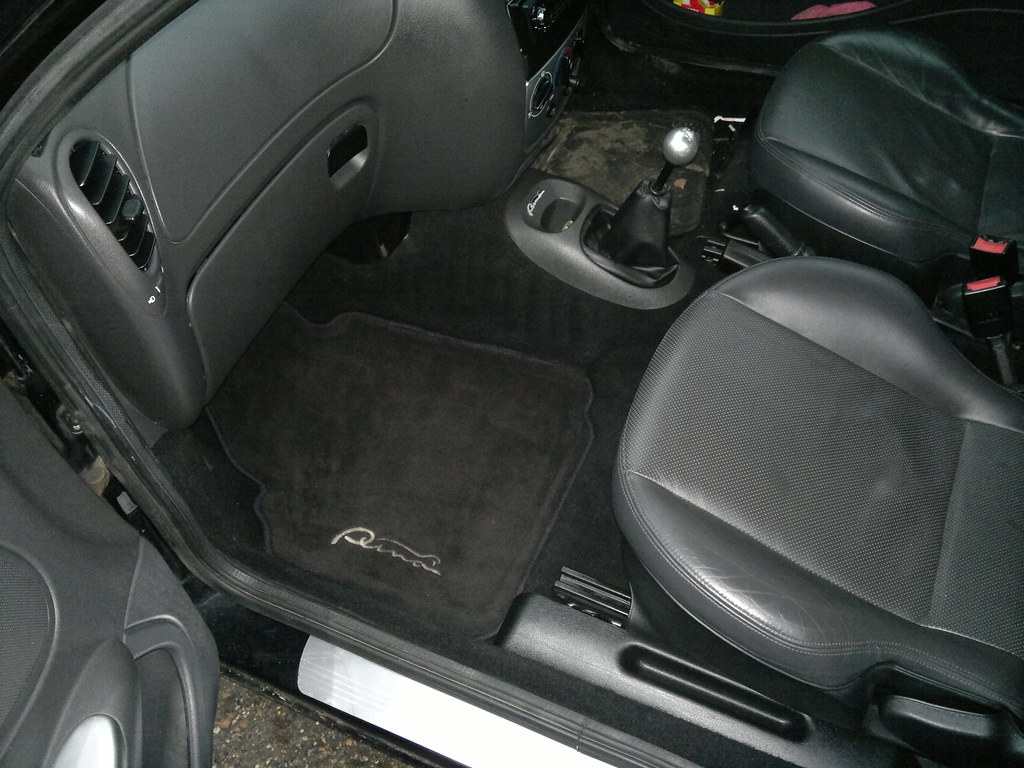
The passenger footwell, mat removed. This side has never really been cleaned! A quick vac every other weekend but that was it. I did this process to the drivers side a few months back, although nowhere near to this degree, and will be doing this again next weekend!
That stain towards the seat is actually mould! Worrying, checked under the carpets and it was all dry, so can only assume some snow got under it?

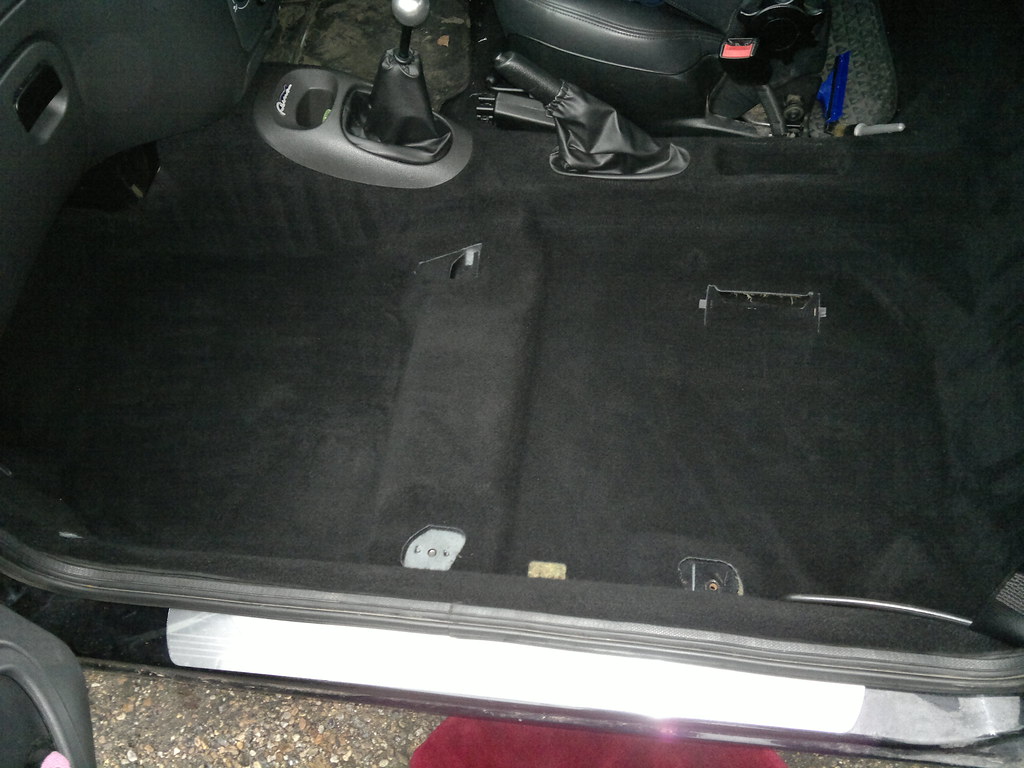
Then decided to take the seat out! So, took the battery out, waited about half an hour and took the seat out with 5 bolts and a 10mm ratchet.

Safely in the utility room, the cat very happily slept on it all night
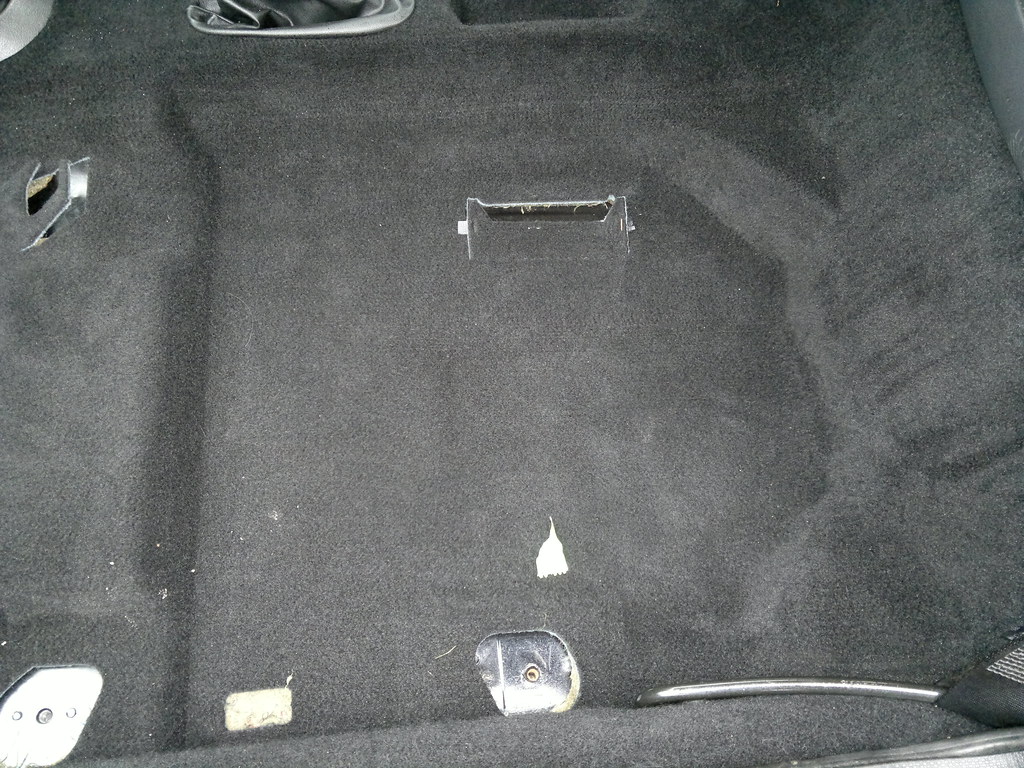
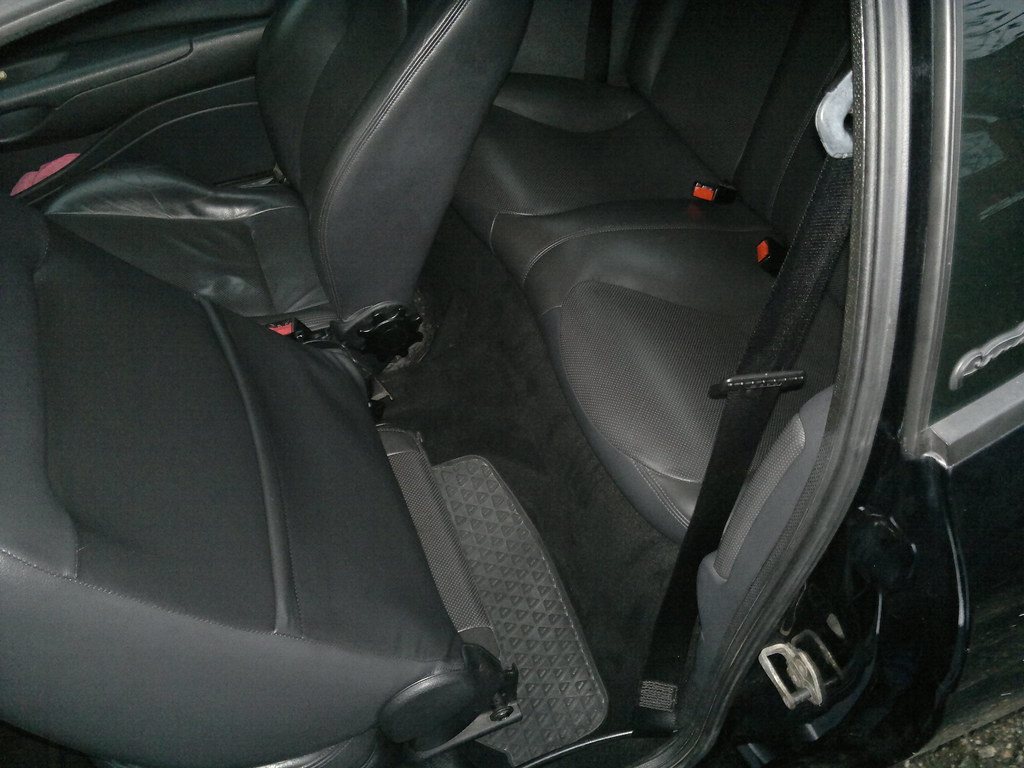
And the grand picture. I sat in the back, it felt pretty cool! Went for a drive, was good (more on that later)
The yellow plug on the carpet is the seatbelt tensioner wire (hence battery out). To get rid of this, I pulled the door seal up at the bottom. Found some corrosion under there, so in the summer when I do my arches I'll sand it back, primer and hammerite it. It's hidden by the seal.
Pull the carpet up and pull the wire back through the large hole in the carpet, leave it lying down the cable chase.
Lifting the seals also revels alot of trapped in dirt, usually a filthy line then a really clean bit of carpet!
I found a nice stiff brush, and gave it all a vacuum. The pile came up really well with a good scrub, in future, this should be all it needs on big cleans. Only problem is you do end up chasing grit around. It keeps coming up no matter what you do. The only way I;ve found to pretty much get it all out is a steam cleaner, with the nylon tiny round brush for doing the oven with.
Sadly, I can't find that part for mine, so couldn't do it now. When I find it/buy a new one, I will do it all again!

50/50 with the drivers side! Beleive it or not, the drivers side comes up pretty much like the passenger side now looks with a good vac. Needs going over again though, I didn't take the seat out first time...
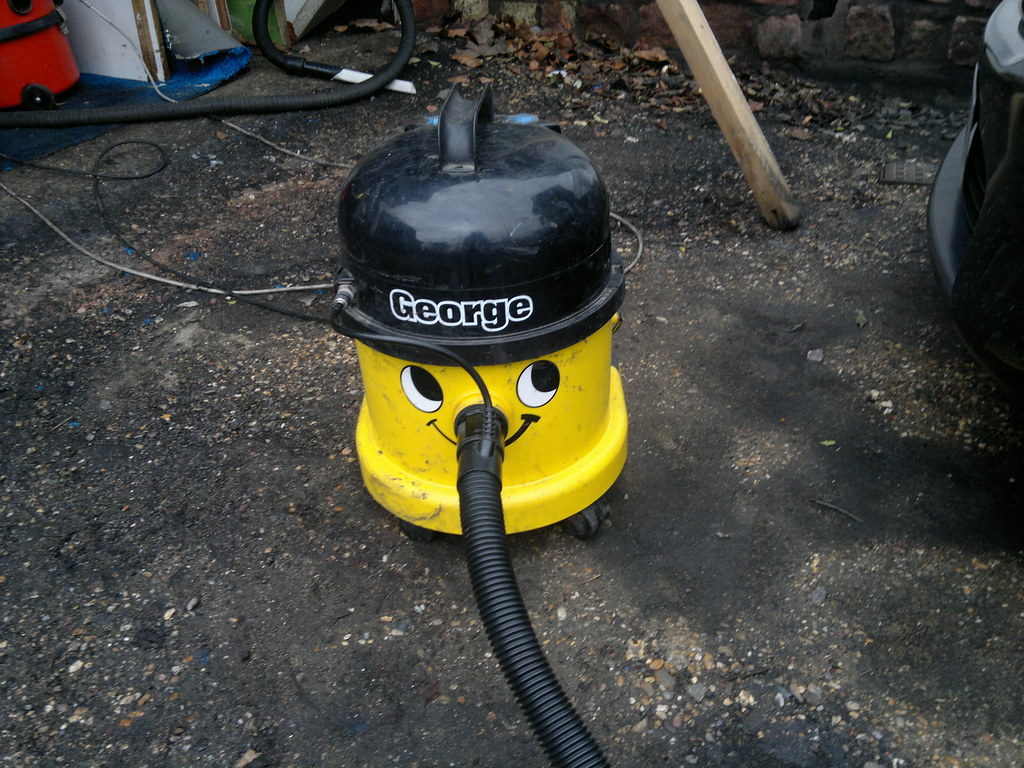
George was dug out of the garage and looking very happy! (and muddy! I lent him to a mate of mine who was moving flats, to clean his old one, and we ended up having to park about half a mile away from this bloody flat, and I just wheeled george behind me! Offroad Hoover!
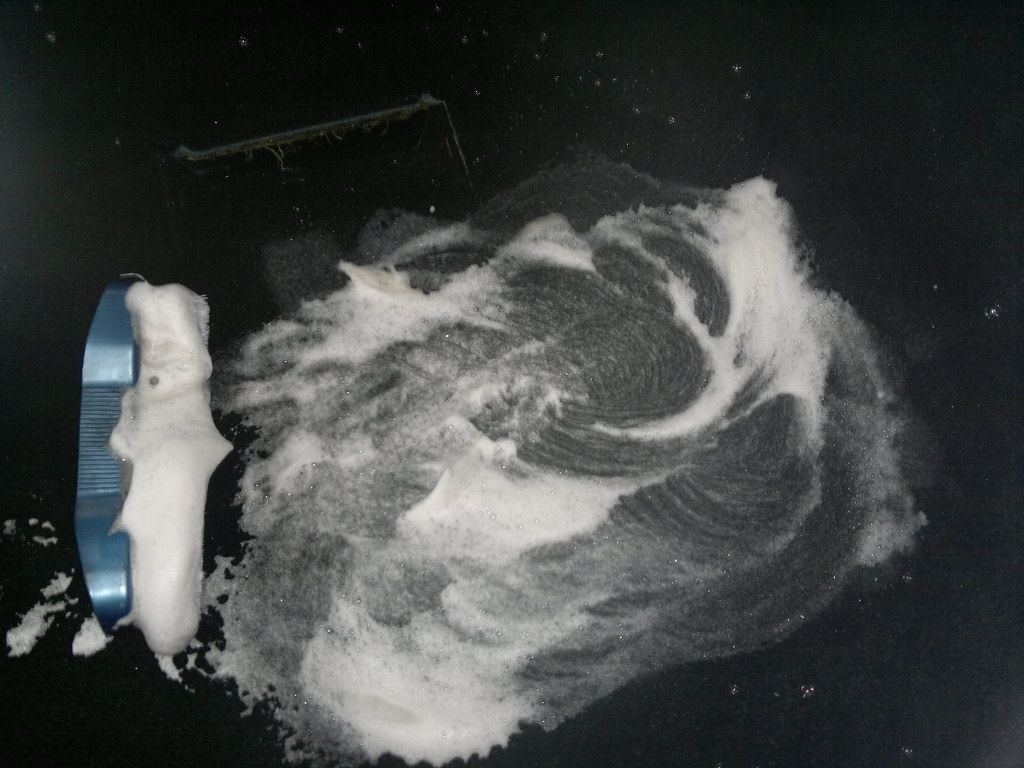
This bit was wicked! The solution I'd put in the tank (Vax carpet cleaner and a good slosh of APC) sort of made little proper bubbles as well, so after a session it was like a bubble pool on the carpet!
After a good soak, scrub, vac. Probably went over it 4 times before moving on!
Now, the nozzle was good for the edges, but not quite cutting it on the floors. So, I dumped about a litre of water into the footwell, and a slosh of apc and got scrubbing :devil:
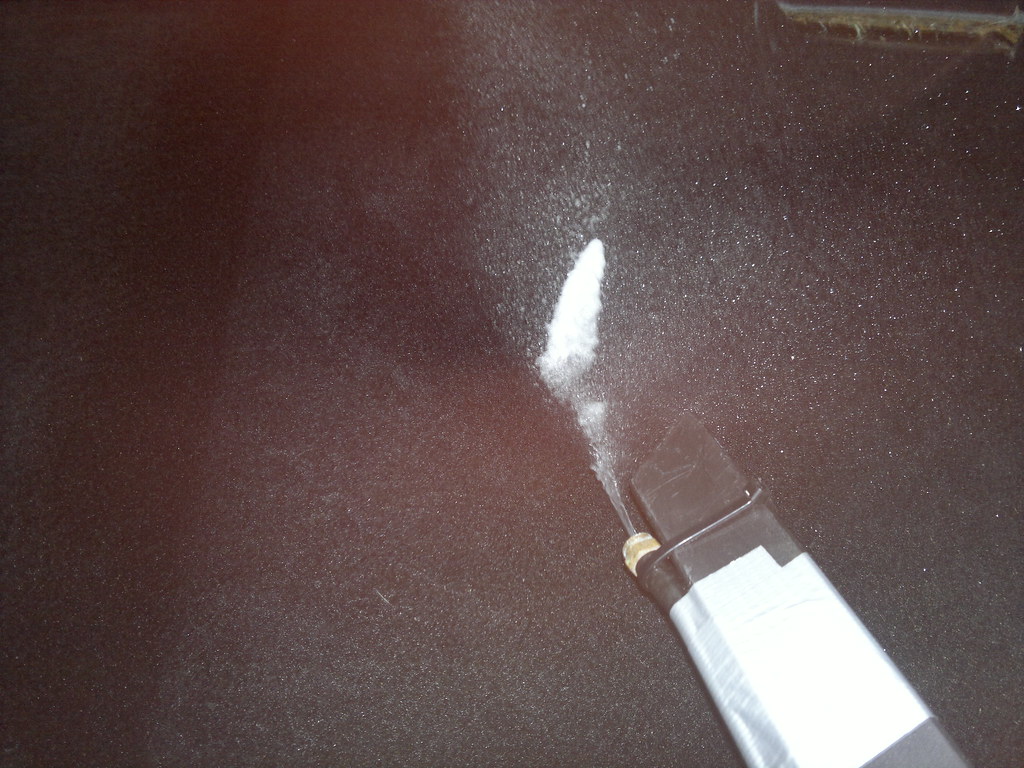
The solution as it came out of george. Good for the edges, but not enough for the footwells.
Wash, Scrub, Rinse repeat about 5 hours later I had this
TBH, I could do it another 5 times and the water would look roughly like this, so I will probably do it again in the summer with the steamer, but for now, it's a vast improvement! 10 years of dirt! Carpets look alot blacker now!
I'd got bored of scrubbing carpets, so took a break and had a go at the headlining. Spray APC, agitate with a slightly stiff brush (the red kent one from asda :thumb and vac off. Once vacced off, 'buff' with the scrubbing mf to plush the whole thing up. Ended up doing the whole thing, mainly today. Pics as and when they were taken!

This car's been a smokers car for a while now! There's a cig melt on the drivers carpet, and when I took the dials off to change a bulb, there was a huge pile of ancient ash from using the cigarette lighter. I also smoke in it daily (although more carefully and only rollys, no not as many worries about cherries and ash)
That was it for yesterday. I went for a drive that night (randomly up to Cherwell Valley services on the m40 and back. Had a good podcast on (TATW #355). Also did it to blast the footwells with hot air! The carpets hold moisture, so were still pretty damp in the evening.
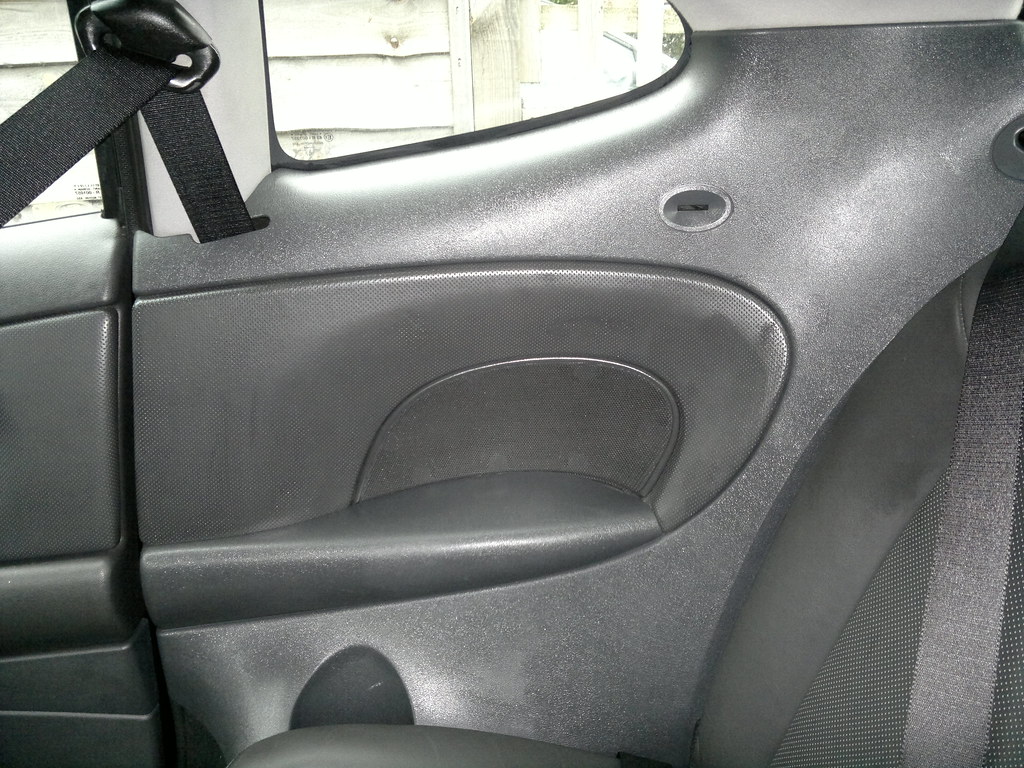
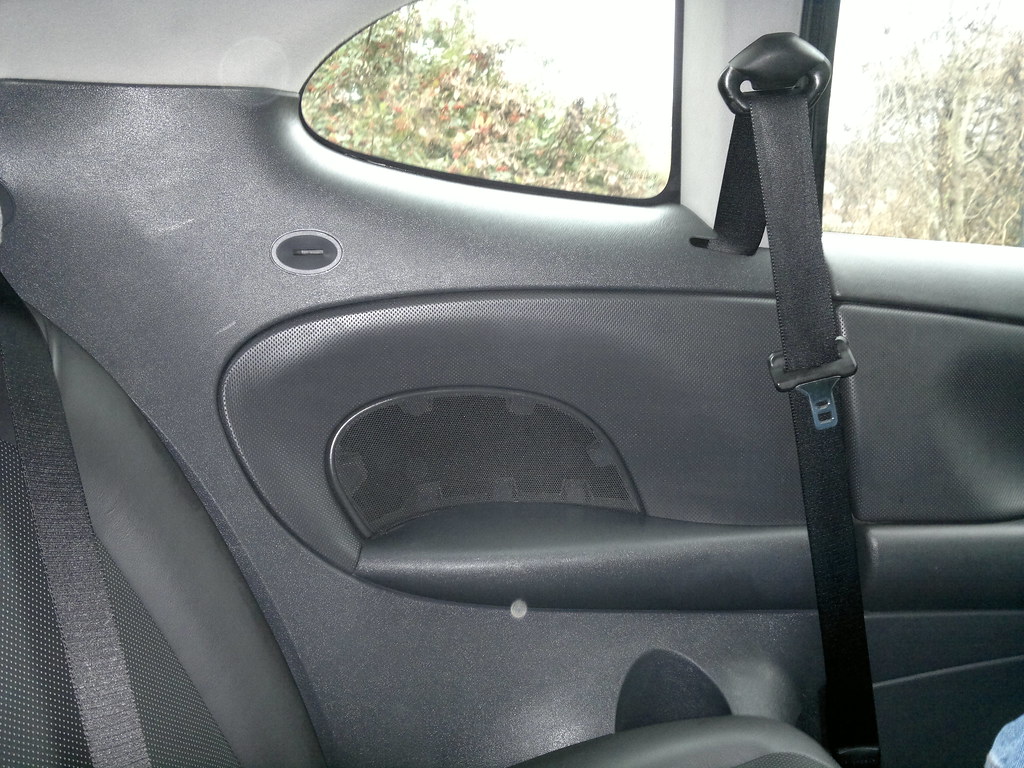
I decided to start on the back. Since the seat was out there was so much room, and I just took my shoes off and crawled around in the passenger footwell! Above is the pastics after a good scrub with APC and a detailing brush. No one really sits in the back, so it wasn't too dirty. Anyway, it got done!
Starting to apply CG Trim Restorer
Trim Restorer curing (can't remember what I did whilst this was happening... Cup of Tea I think..)
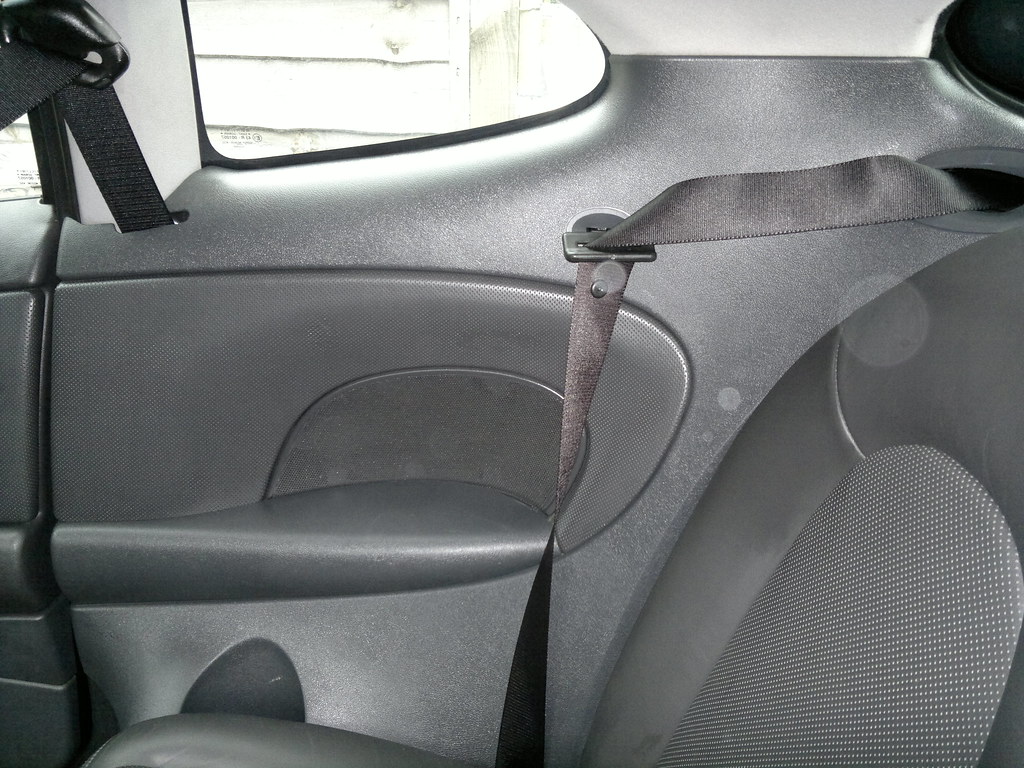
Buffed off after about 15 mins and the seatbelt was wiped down with APC and a MF, and parked in it's slot.
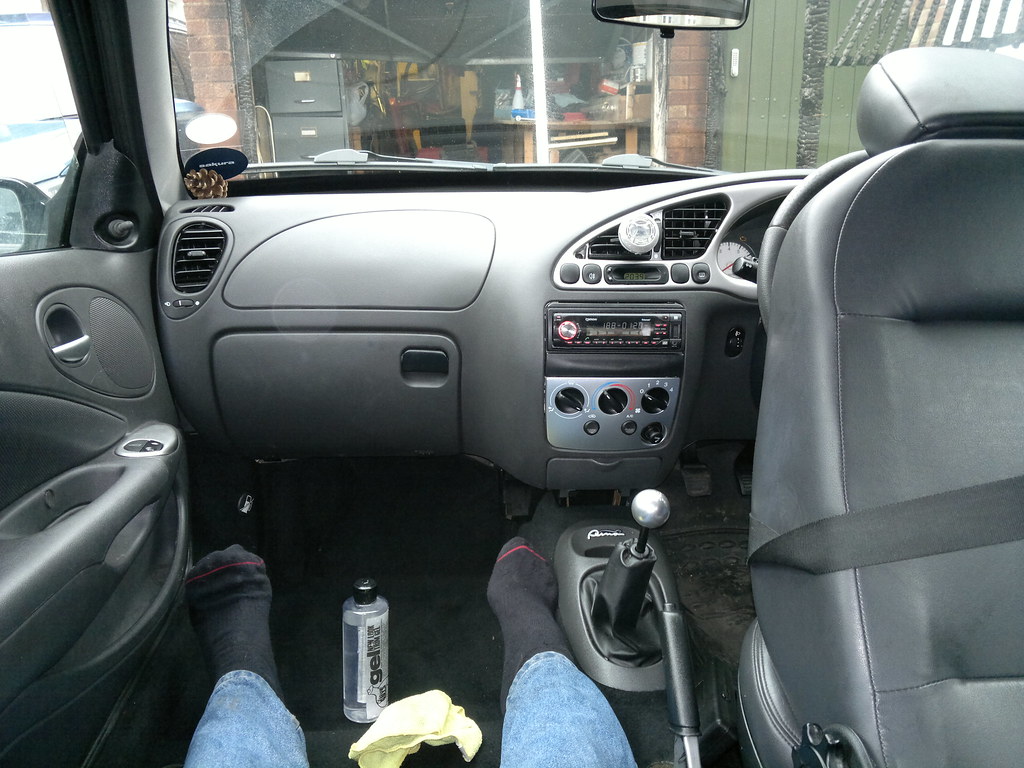
The view I had from sitting in the back footwell!
Started the other side
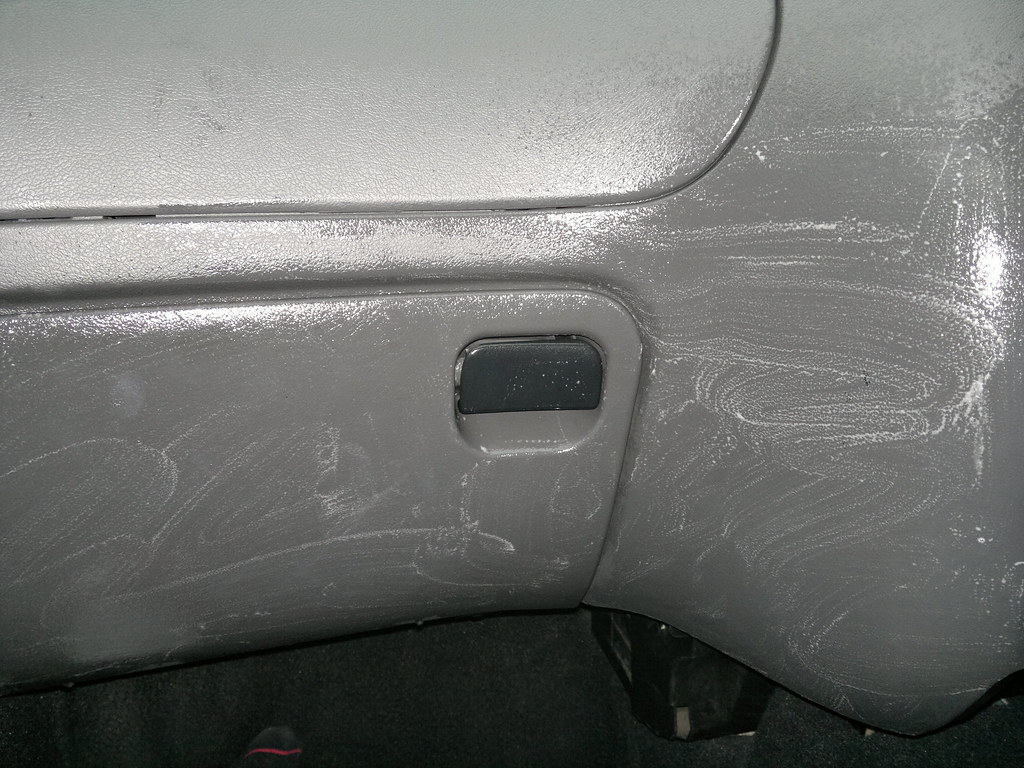
It doesn't dry this shiney, don't worry. You buff the shine off later!
As you can see, door is shut, engine is running and heater and Marillion are playing! Was a nice toasty job.
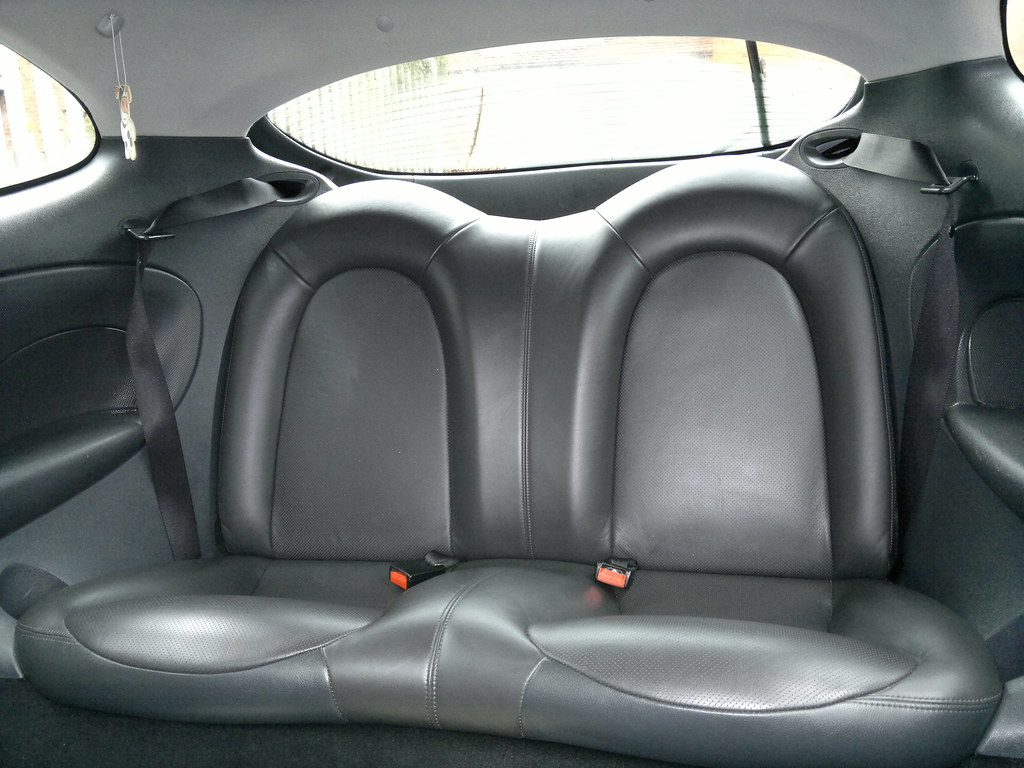
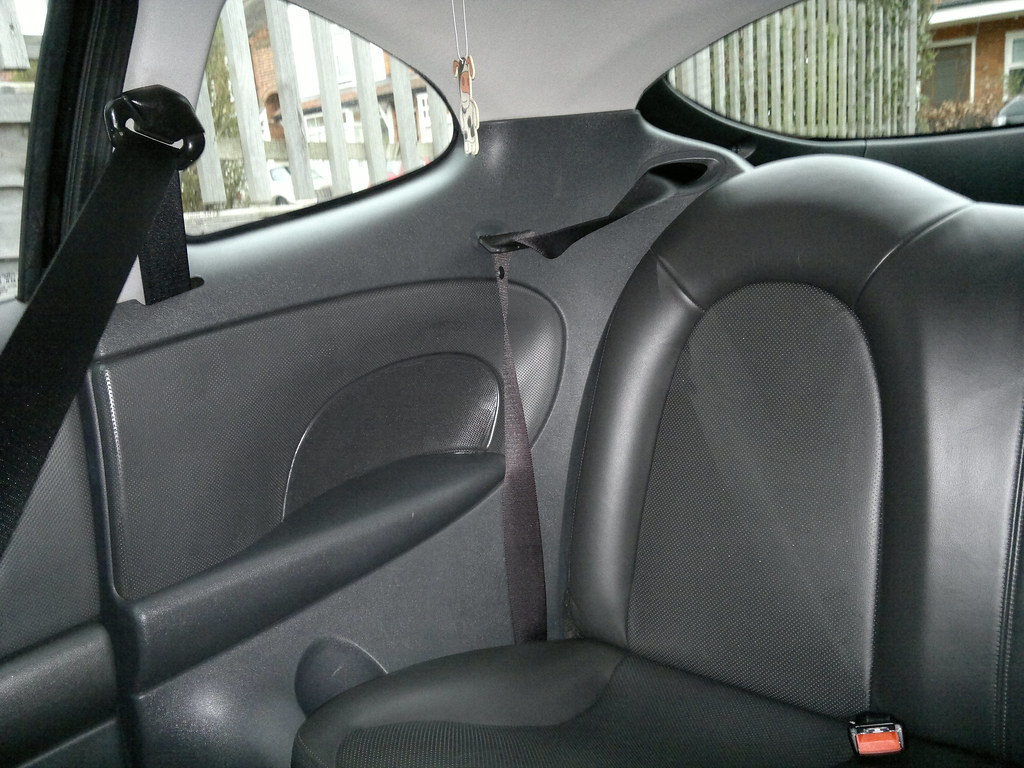
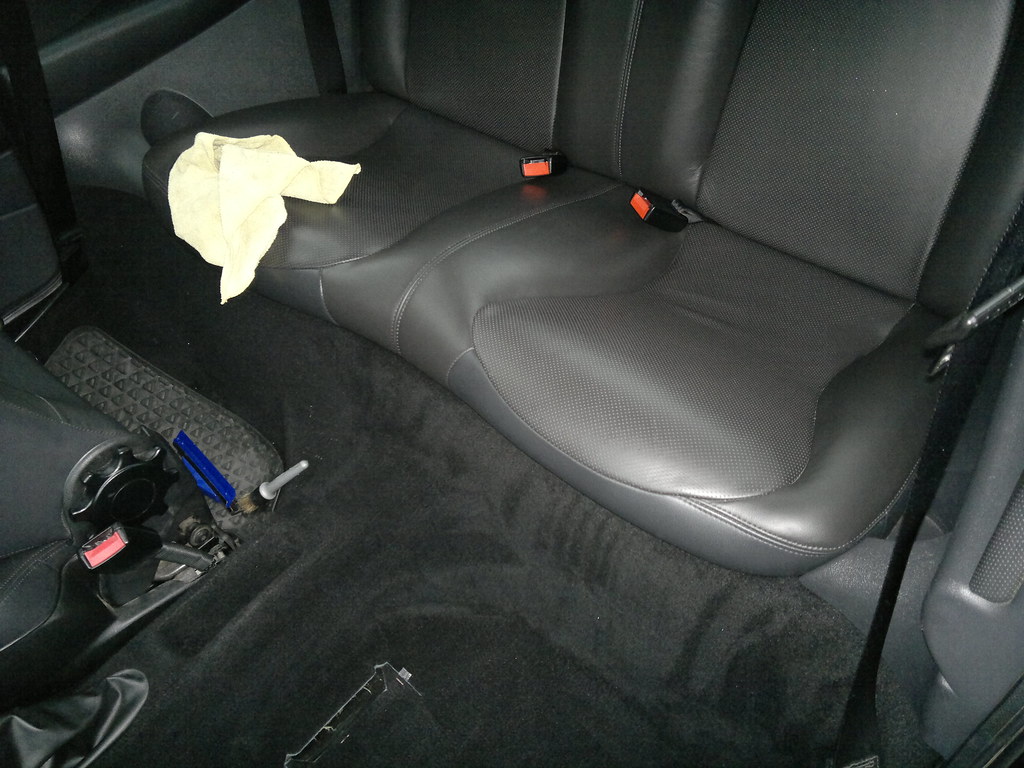
Then came the rear seats. I know their probably not real leather probably nice vinyl, but... (seats are a before shot btw, just a good vac really. It's nice for a 100k car that the interior is hardly worn!)

Also showing the clean shiny headlining! I made a home brew of biological hand washing liquid and a slug of tesco spray on stain remover. Shook up and used in a megs quick detailer spray. Smelled funkin wonderful too!
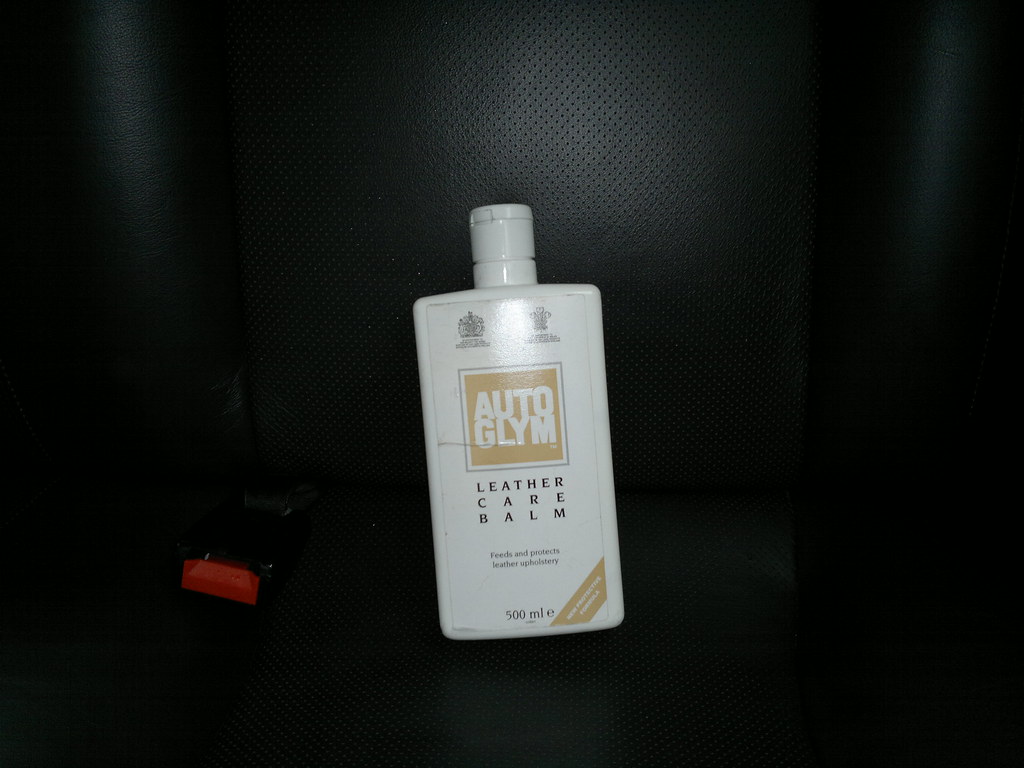
I'll be honest, thinking back I can't remember which order the seat pics were! They looked clean anyway, so even after being scrubbed with the cleaner, and seeing the foam go brown, then white again with scrubbing, they looked the same. However, the leather cream was applied and left until later to be buffed off. Advice - this stuff is a git to get out of the bottle. It's soooo thick. Think trying to suck a maccy d's milkshake right after it gets poured! Ended up leaving it upside down in the cup holders whilst applying with the lid off and none leaked out!
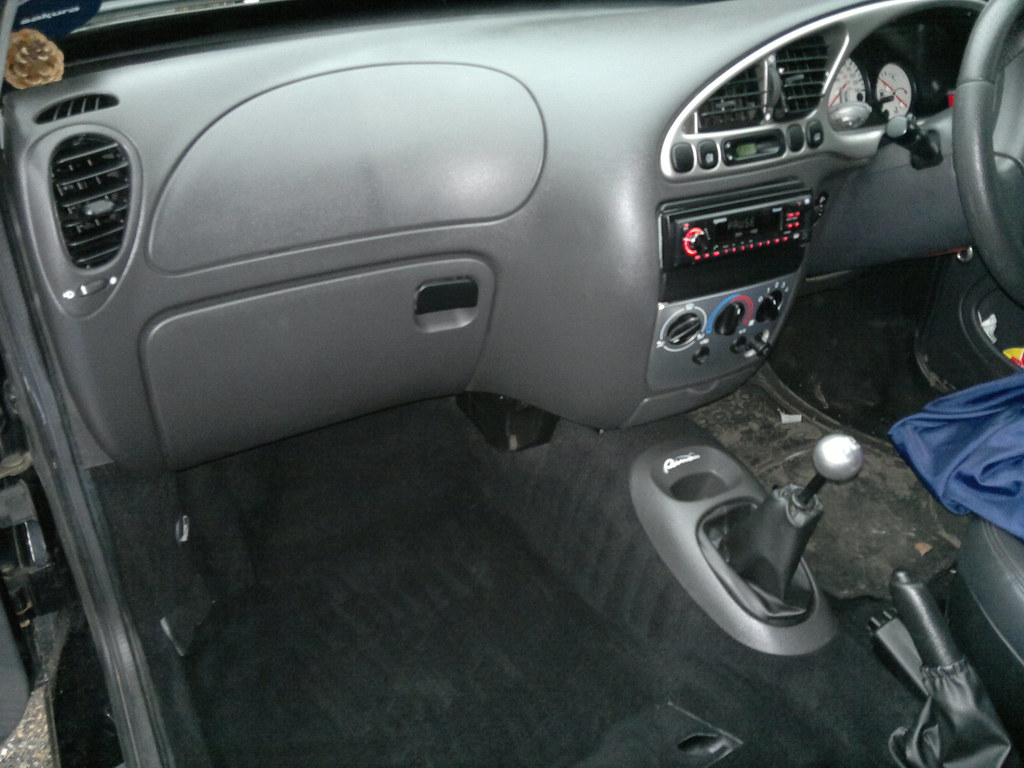
After looking at the correct clock (forgot the puma clock was waaay out after having the batter out), and realising it was only half 2, I decided to make the most of the seat being out and do the dashboard as well!
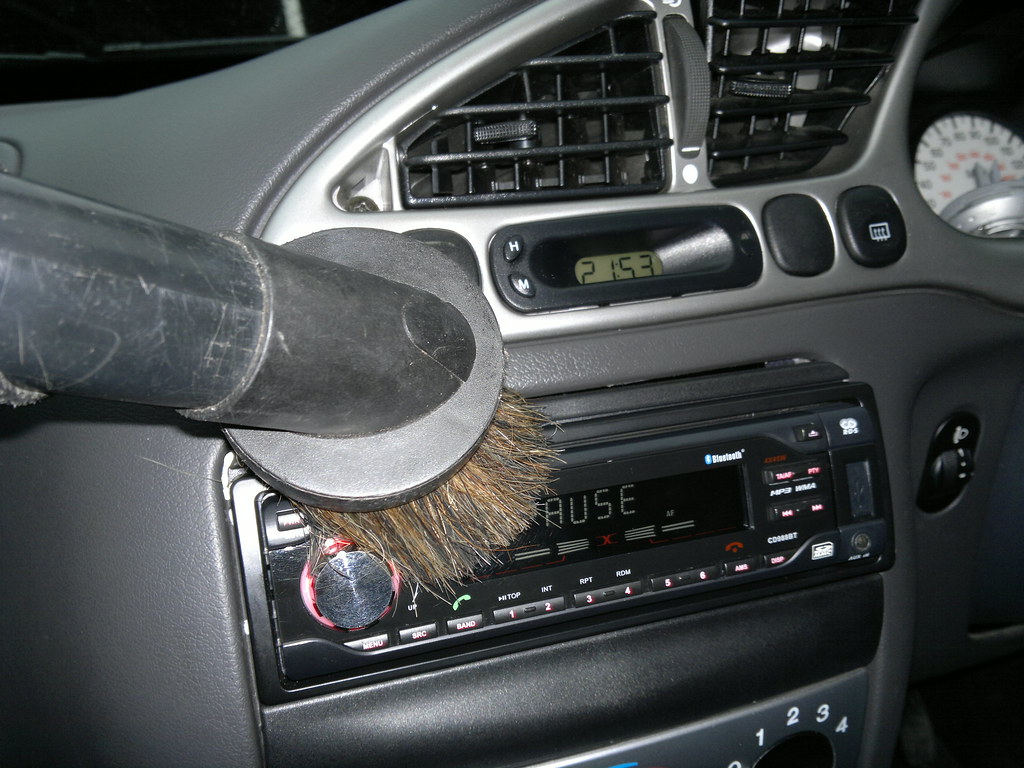
NOW, apologies for the halfords headunit! It's functional (bluetooth handsfree, sd, usb, aux) but it a pig to use! To hear the phone you have to turn it way up to 25-30, and when the phone call ends, it trips straight back into Iron Maiden's Number of the Beast and blows your eardrums off
Getting sorted this year with a Parrott mki9200 or similar and the stock HU put back in, but amped and better speakers!


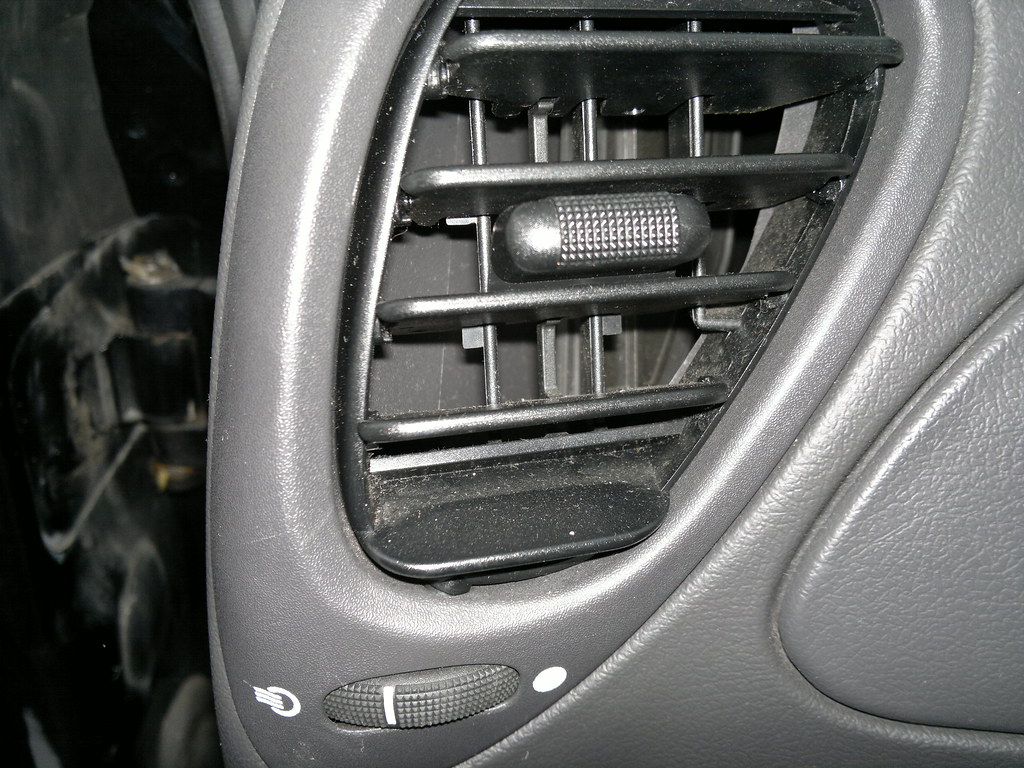
Ended up popping that vent out to do it properly! Unlike my 206 though, you can't dismantle it to fin level (boy did I get some stick when my mate saw me applying cg trim gel to each slat of the vent then re-assembling! Commented on it after though :thumb:
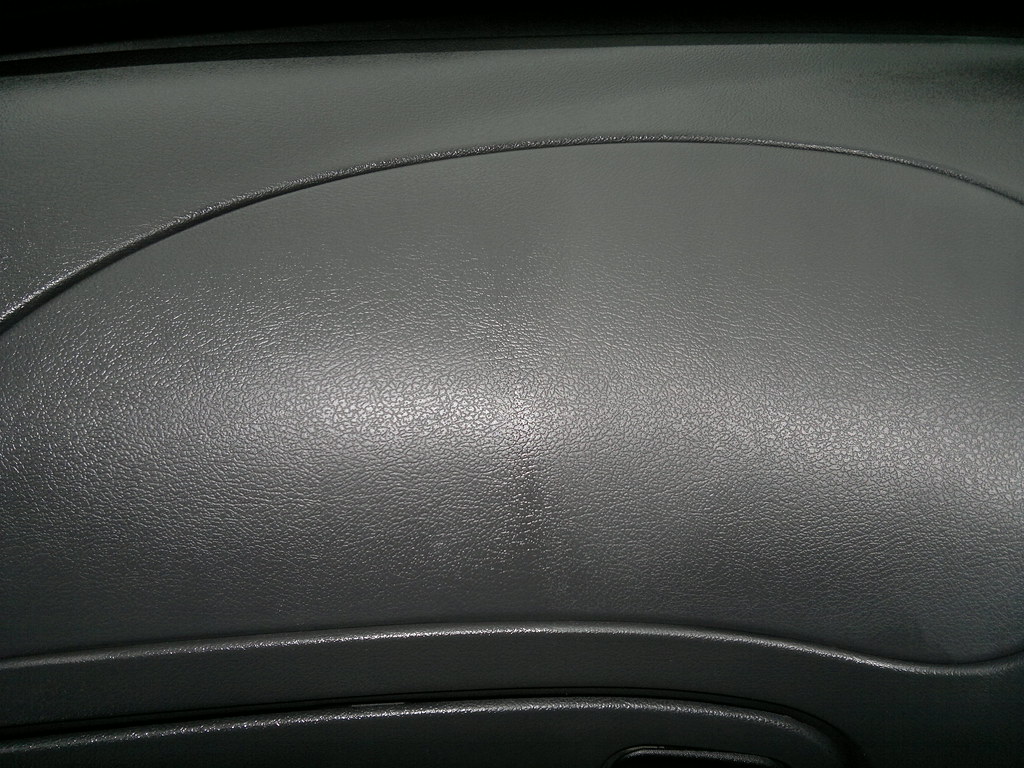
The marks on the plastic are actually scuffs that have gone through the painted/top bit. Bit of a shame but I can't see them from the drivers seat, so meh :car: They are clean now :buffer:
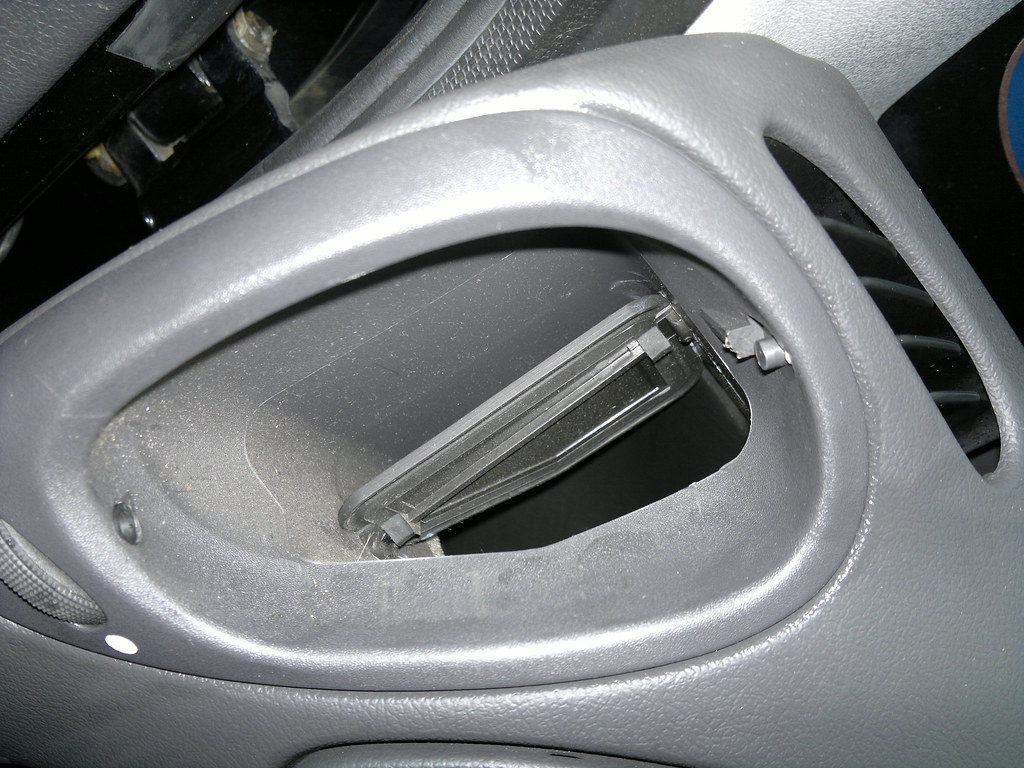
So, after a thorough scrub on the passenger side of the dash and centre console, it was time for a vac. Now, the process I use when doing a dashboard, is a Numatic nylon & horsehair dusting brush, coupled with the Numatic double-ended adapter and hose end. This makes the length very short, and you are very close to the end, so you can be delicate. A normal small detailing brush does the rest.
So the door was opened, the button was pressed and the neighbourhood got noisy again! (bearings need oiling in the vacuum!)
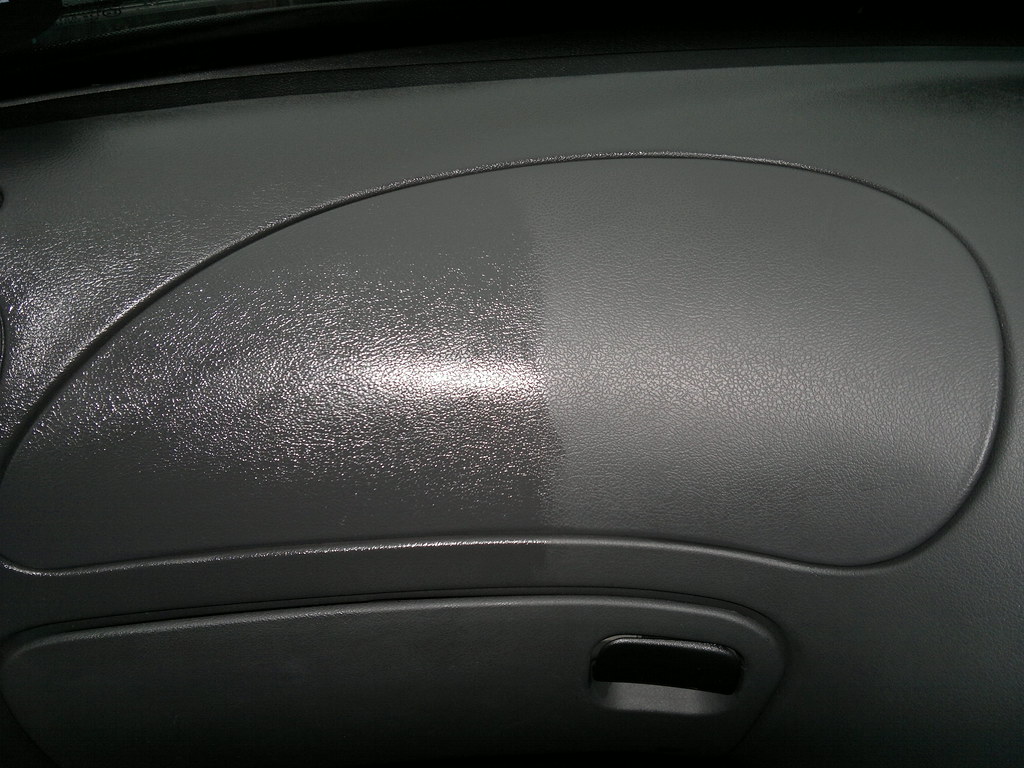
Left side buffed off, right side un-applied, just cleaned.
Another quick look at that rear passenger footwell...
and front.
Then a clean MF was taken from the box, and the back seats were buffed out! Gawd Dammmn they look good! Want to get seat covers to protect them, but then an even bigger part of me ovver-rides that cos they look smegging awesome! Comfy too.
Buffed the sides again and the windows to get rid of overspray from cleaning.

103,500-odd miles :argie:
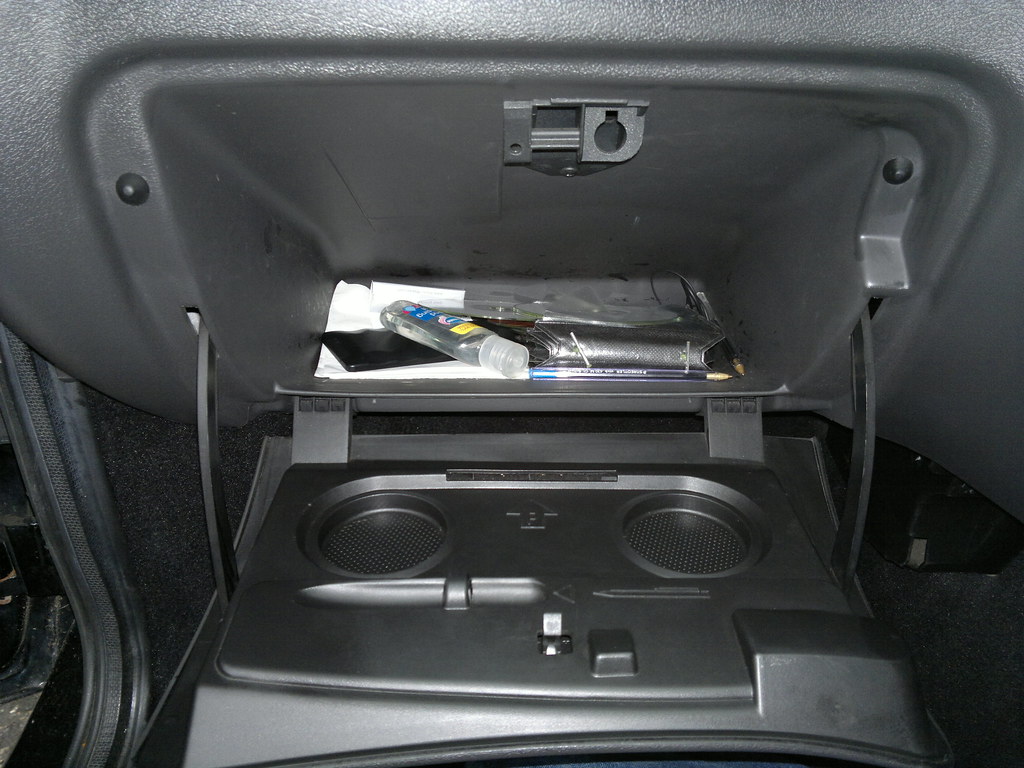
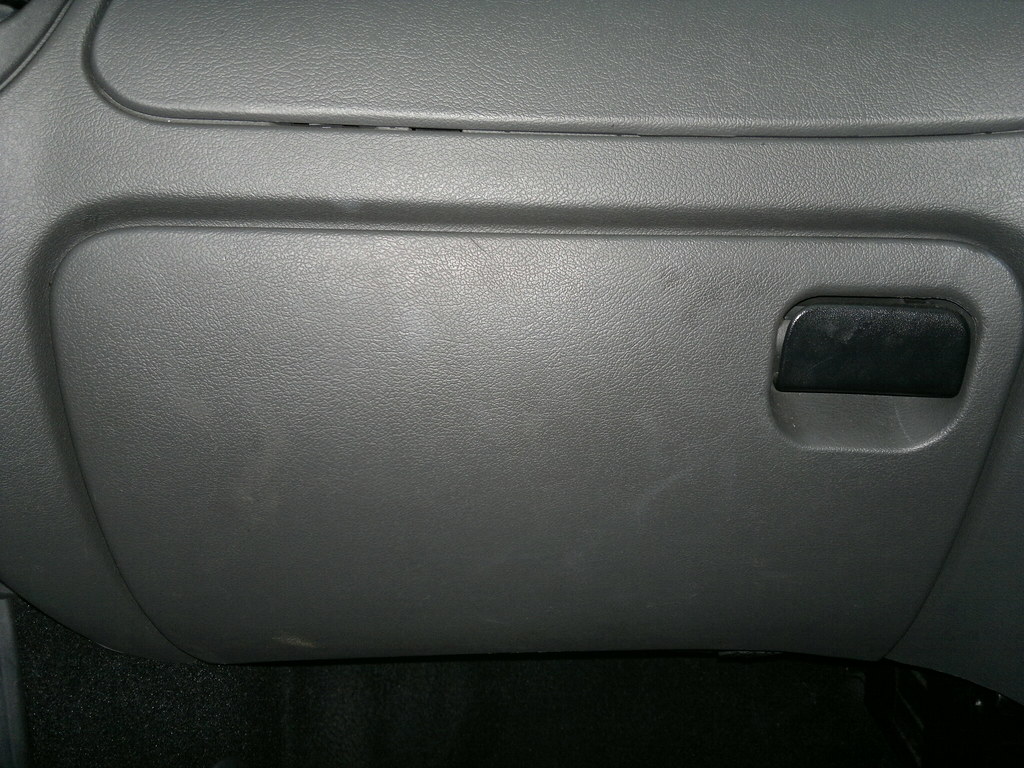
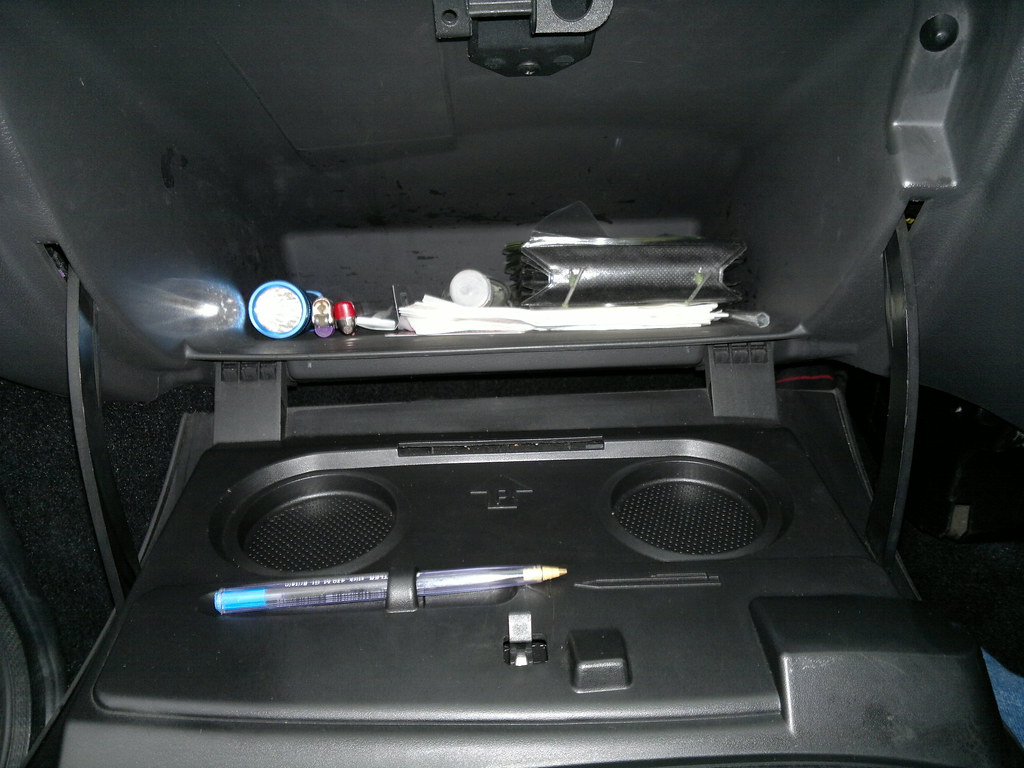
Gave the glovebox a bit of a tidy
Fettling over, I cracked on.
Through vac! Used the stiff brush again and really went at it! Pepped the pile right up!

All buffed and lovely-fied.
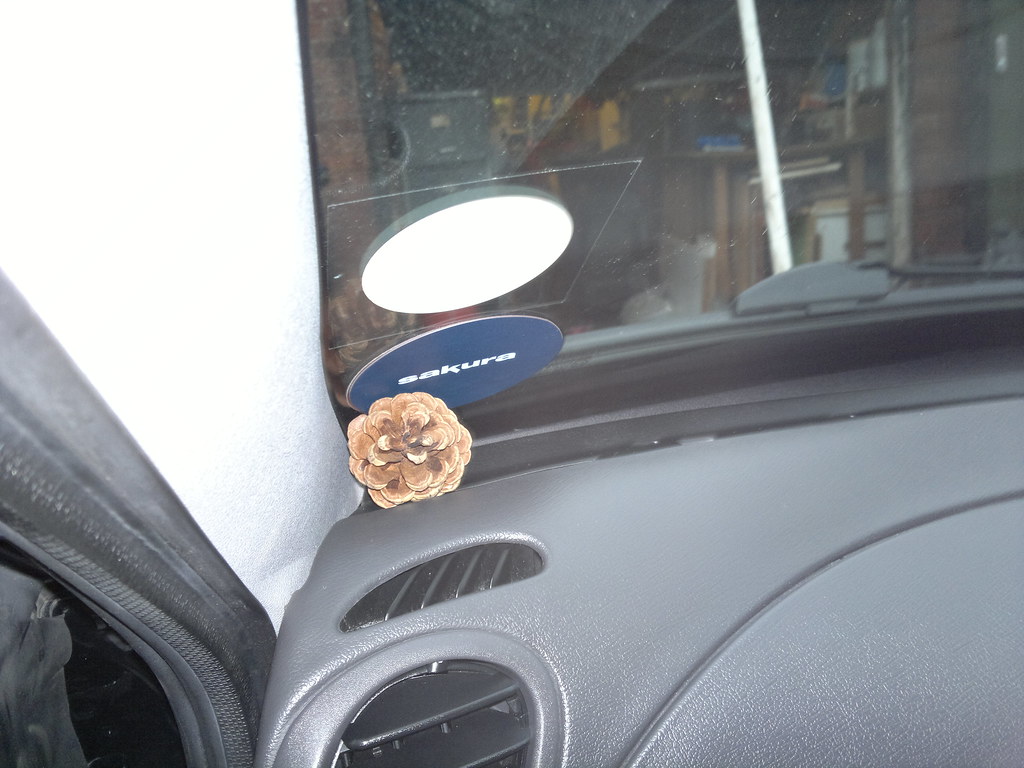
Pine cone went back in.
The passenger seat had been moved out of utility room and into the garage by a demand from mother, so I decided to crack open some music and give them a clean!
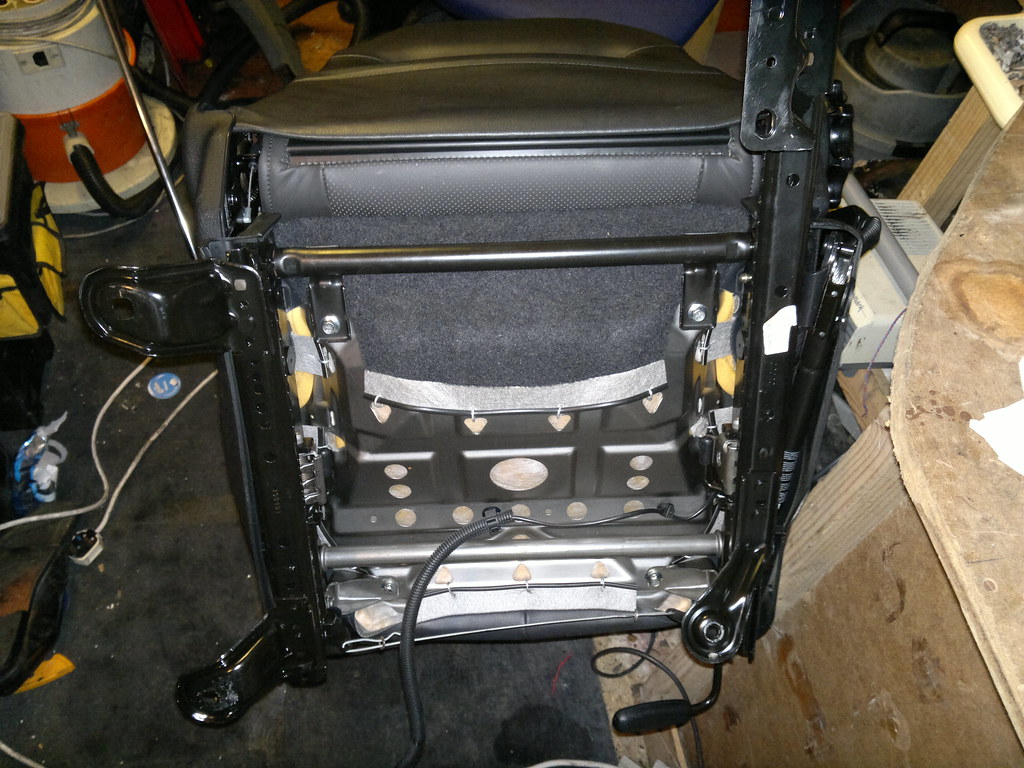
Gave the bolt fixings a good clean as you can see them when the seat is in, and the runners a quick wipe. Wasn't too bad really.
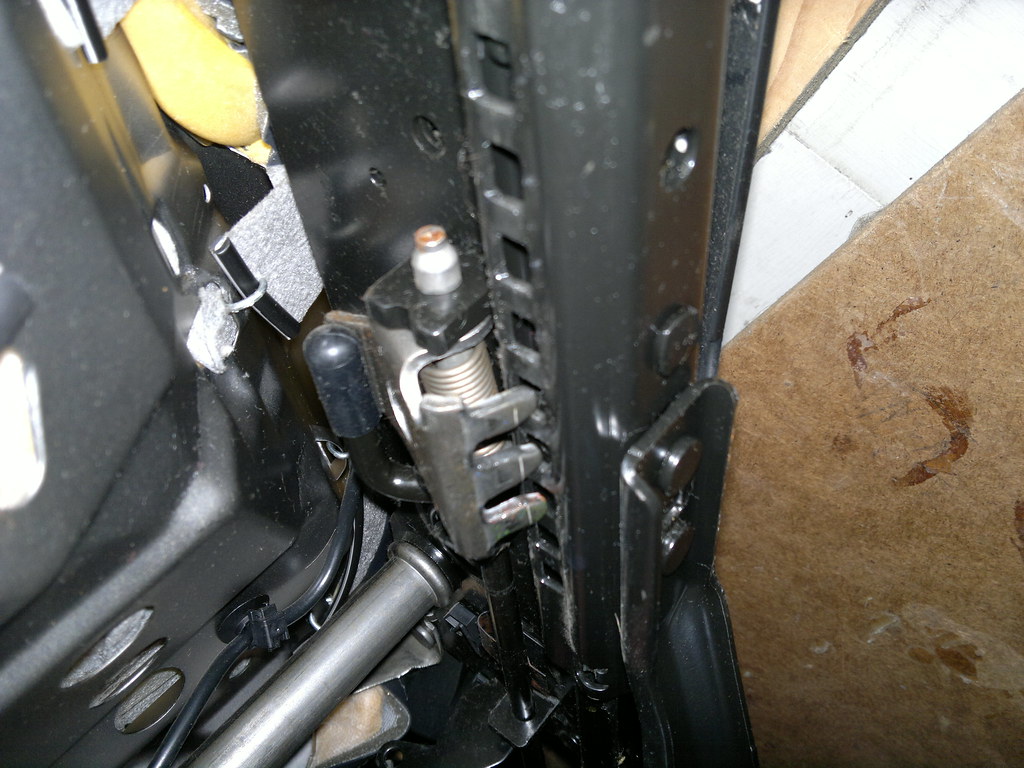
Soaked all the moving parts I could see with spray contact cleaner, then doused them again with spray on silicone grease (maplins - £7 iirc per can). Had to wipe it off the leather I sprayed that much!
All moves slightly more quietly now :thumb:
Random shot of the passenger seat. Can't remember why I took that
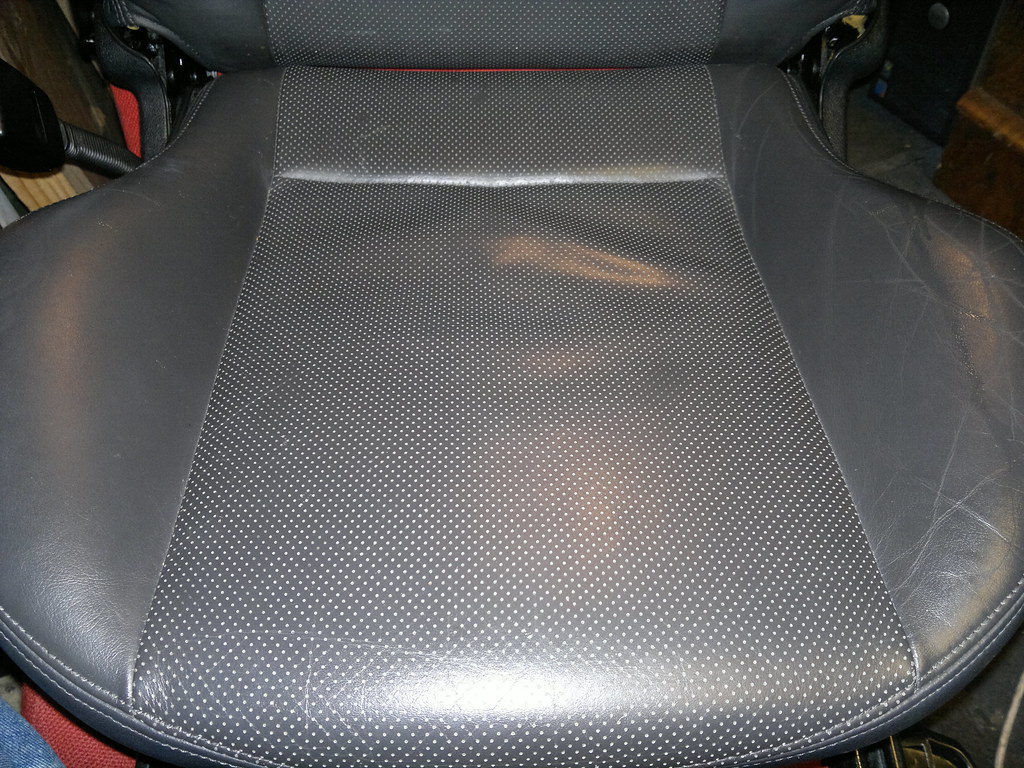
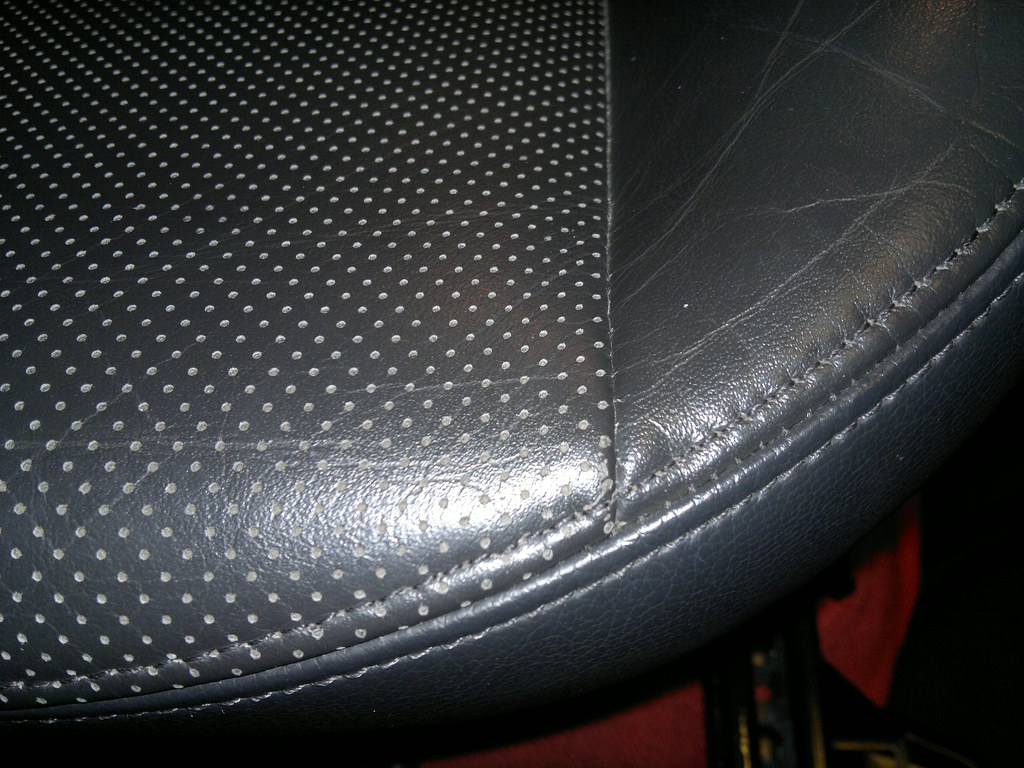
Overall passenger seat. Need to find a way to hide those crease marks. Ideas?
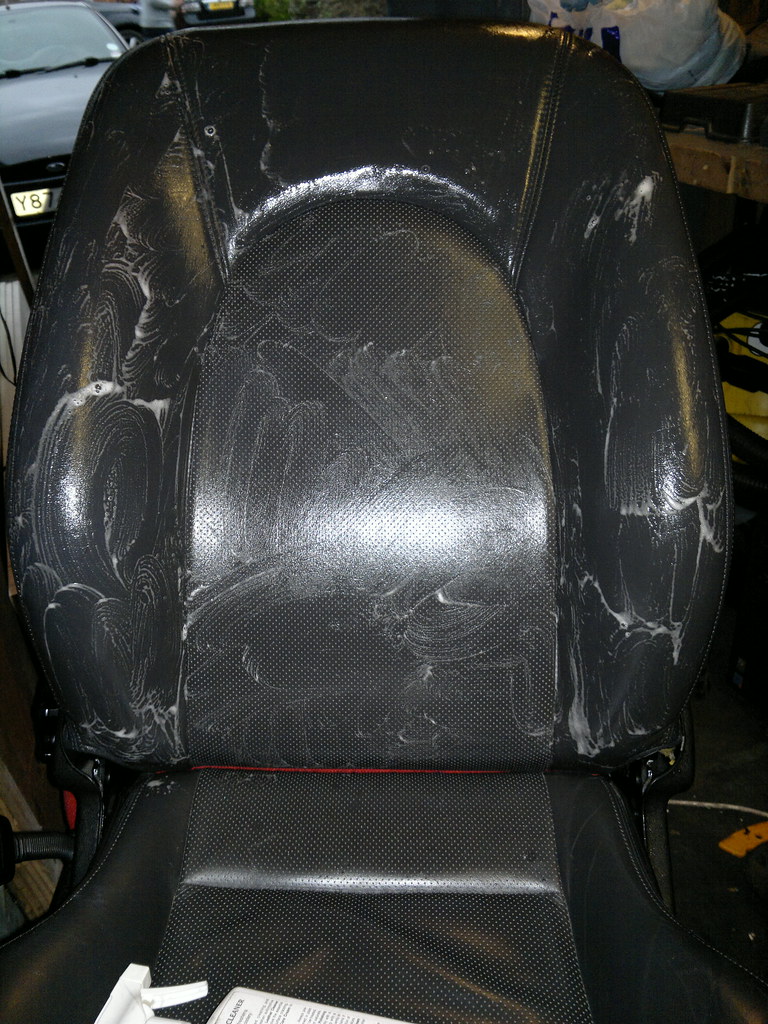
I did this for the rear seats as well. The leather cleaner foams up nicely! To get it out of the perforations, I put a dirty MF over the end of the vac nozzle and hoovered the foam out!
Left it too for a few minutes iirc.
Then I dried off with a damp mf, then buffed with a dry one. I then generously applied the leather cream, workingit in well. To stop it building up inside the holes I swiped it on the bolsters first, then over the perforations.
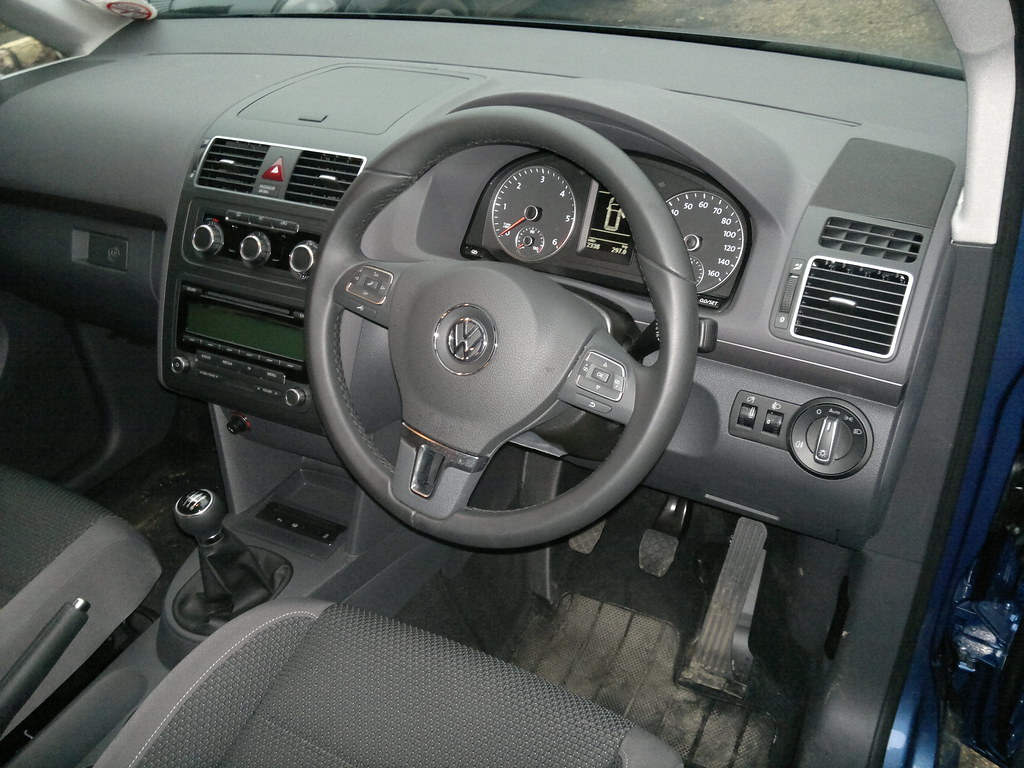
Left that to cure and gave my stepdads 60 plate touran a quick drivers side vac.
I then buffed the seat
I cleaned and dressed the plastic cover for the seat and re-fitted it
Seat back in, mats down and another quick vac!
And job done! Will try to do the drivers side in the same way next weekend!
Oh for summer. :car:
This is a copy of a post made on detailing world of what I did this weekend - enjoy!
"A good old fashioned post - just like momma used to make..."
I bought my 2001 Y 1.7vvt Puma at the end of October 2010. Since then, it's been cleaned, but never 'deep cleaned'.
It got vacced, washed and clayed, but never 'loved'.
Rectified that this weekend.
*Note to Mods, This will probably progress, and I can't promise it will stay on topic, so feel free to move if it winds up in the wrong forum.*
The carpets were filthy. 103,500 miles of inground grit, dirt and the pile was flat!.
I went for a shampoo, a really good shampoo. For this, I had a problem.
When I did my old car, I found using the upholstry tool of George was rubbish, and that APC, a stiff brush and just a crevice tool on george to suck only worked better.
is the standard tools.
Simply unclip the sprayer and pull the fishtail off.
Push the nozzle on the end!
Now, the sprayer tube was far too short, so I bodged a new one up. I dug the carpet part and tubes out of the utility room, and chopped the solution tube from that to the length required. I will NEVER use george for shampooing large areas with the main floor tool because it is hopeless! Sprays such a fine spray that the floor only gets slightly moist, and doesn't suck anything back up. You have to lean on the poles so much you weld them together with friction for life trying to push the nozzle on the carpet!
And tidied up with a bit of gaffertape to hold the sprayer onto the nozzle, a tool!
It's brilliant, I divide the carpet up into sections (pretty much like DA'ing) and soak it, scrub it with a stiff brush then scrub it with the nozzle. Gets 97% of the water out easily.
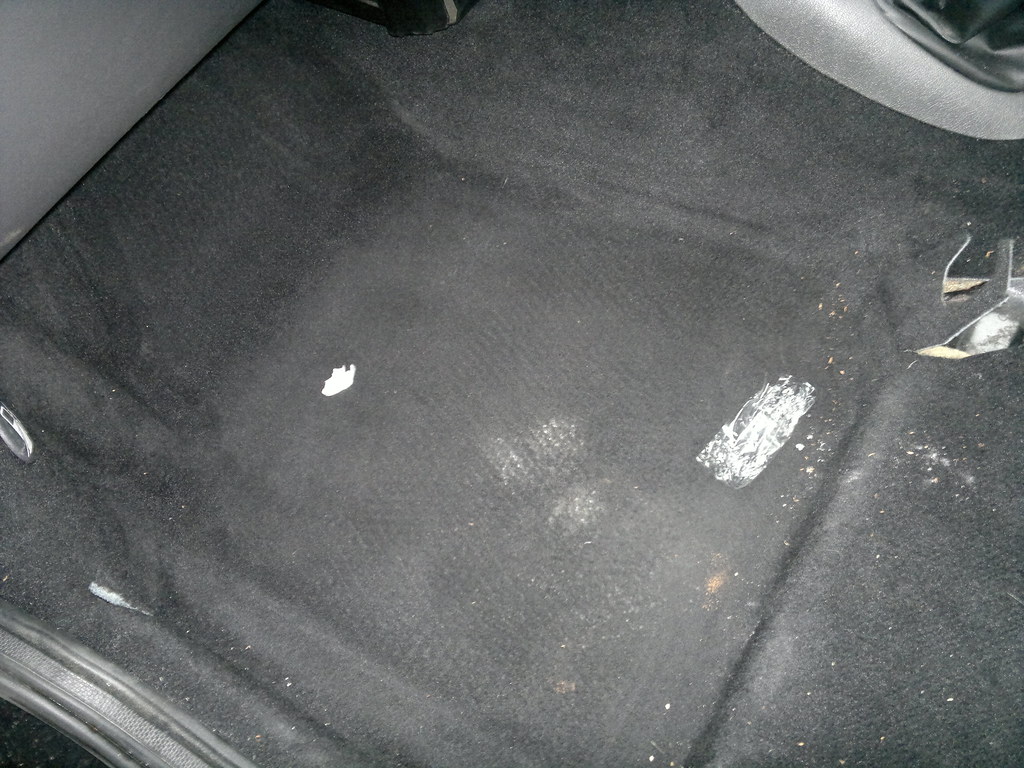
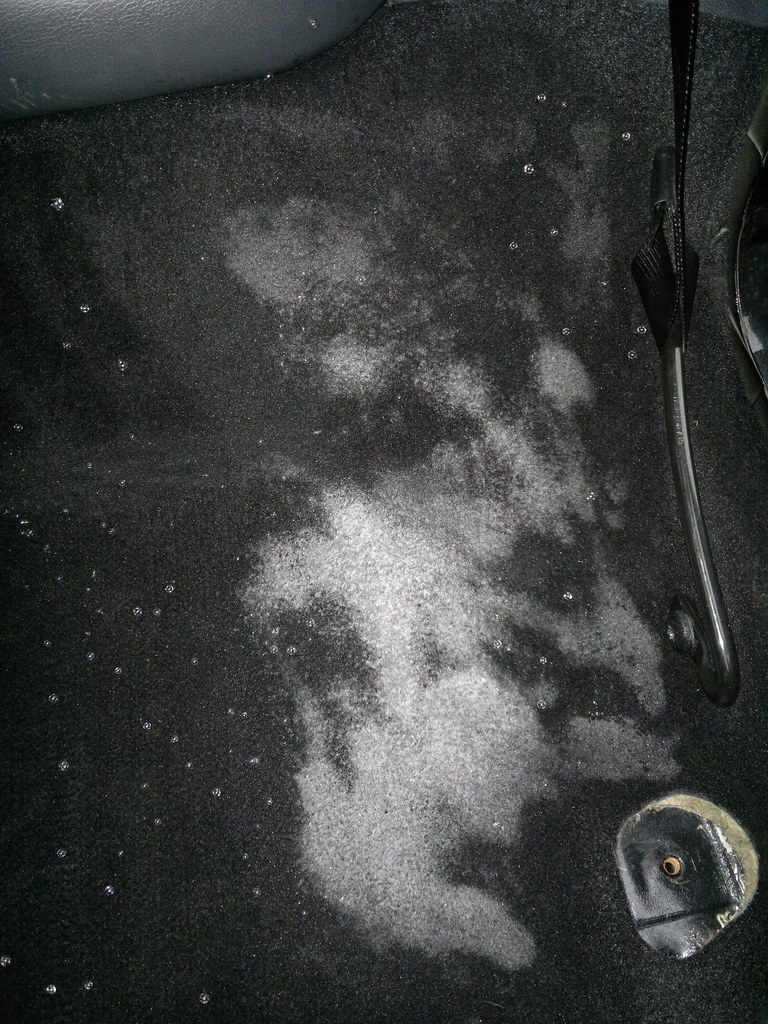
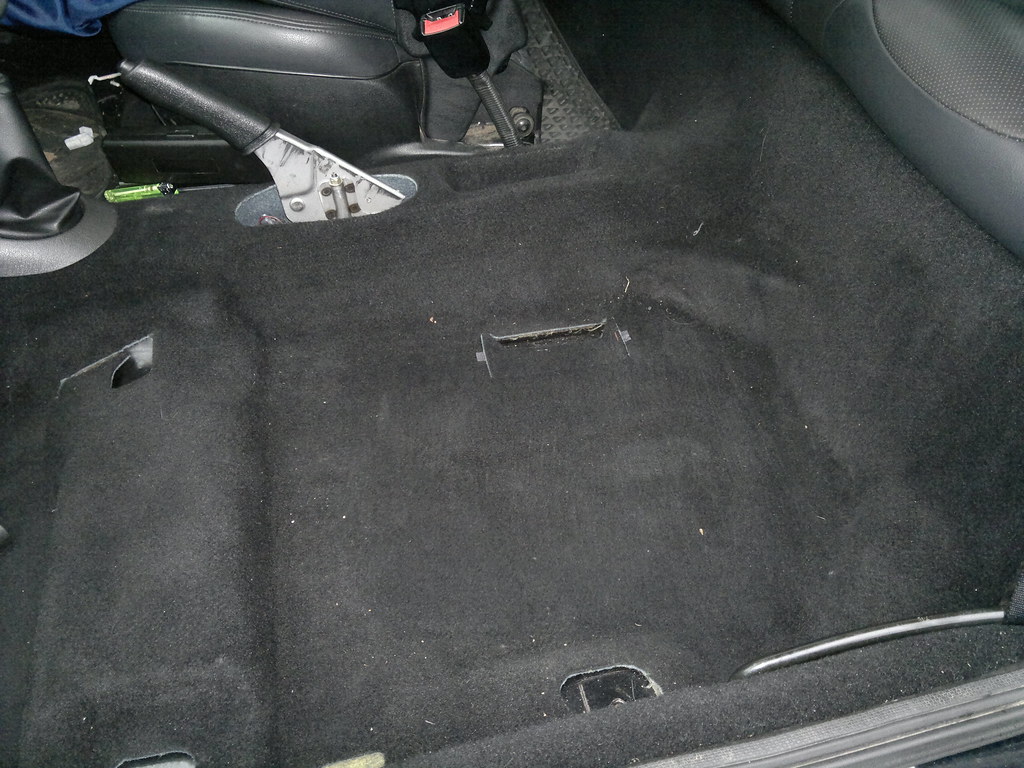
The passenger footwell, mat removed. This side has never really been cleaned! A quick vac every other weekend but that was it. I did this process to the drivers side a few months back, although nowhere near to this degree, and will be doing this again next weekend!
That stain towards the seat is actually mould! Worrying, checked under the carpets and it was all dry, so can only assume some snow got under it?
Then decided to take the seat out! So, took the battery out, waited about half an hour and took the seat out with 5 bolts and a 10mm ratchet.
Safely in the utility room, the cat very happily slept on it all night
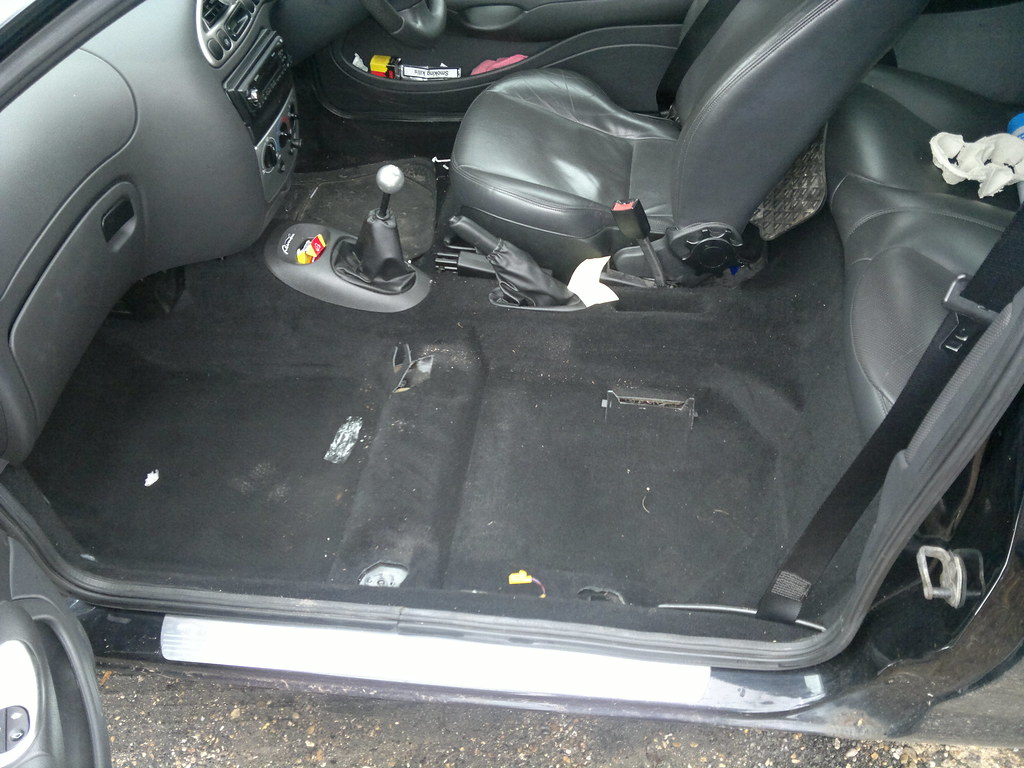
And the grand picture. I sat in the back, it felt pretty cool! Went for a drive, was good (more on that later)
The yellow plug on the carpet is the seatbelt tensioner wire (hence battery out). To get rid of this, I pulled the door seal up at the bottom. Found some corrosion under there, so in the summer when I do my arches I'll sand it back, primer and hammerite it. It's hidden by the seal.
Pull the carpet up and pull the wire back through the large hole in the carpet, leave it lying down the cable chase.
Lifting the seals also revels alot of trapped in dirt, usually a filthy line then a really clean bit of carpet!
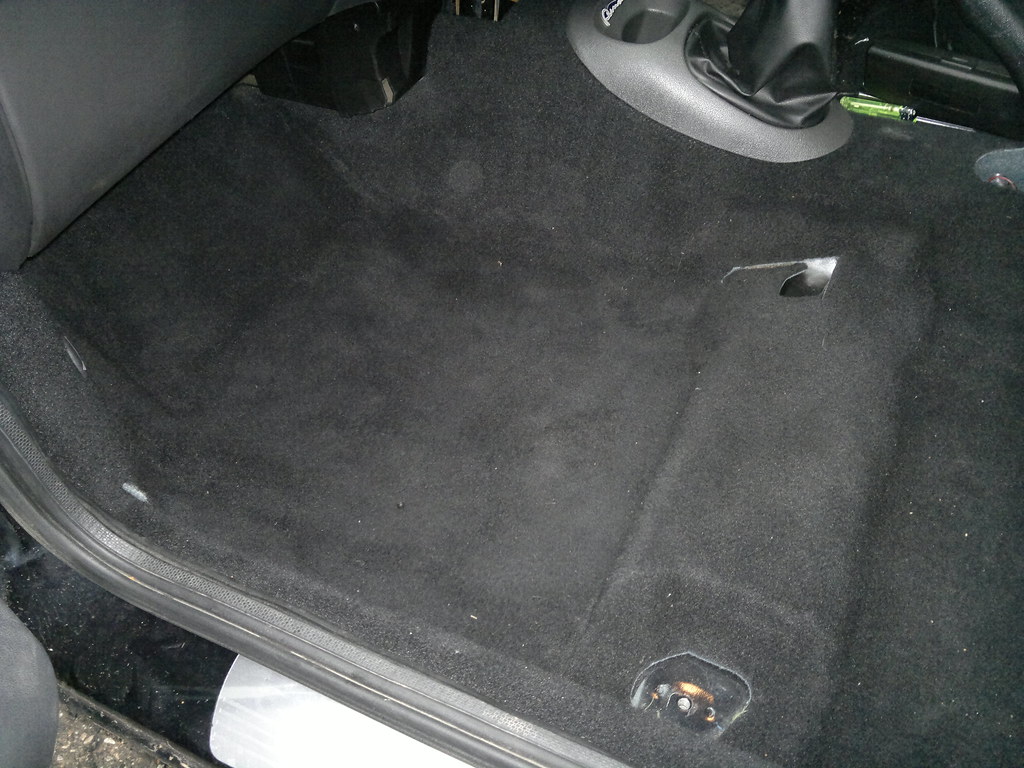
I found a nice stiff brush, and gave it all a vacuum. The pile came up really well with a good scrub, in future, this should be all it needs on big cleans. Only problem is you do end up chasing grit around. It keeps coming up no matter what you do. The only way I;ve found to pretty much get it all out is a steam cleaner, with the nylon tiny round brush for doing the oven with.
Sadly, I can't find that part for mine, so couldn't do it now. When I find it/buy a new one, I will do it all again!
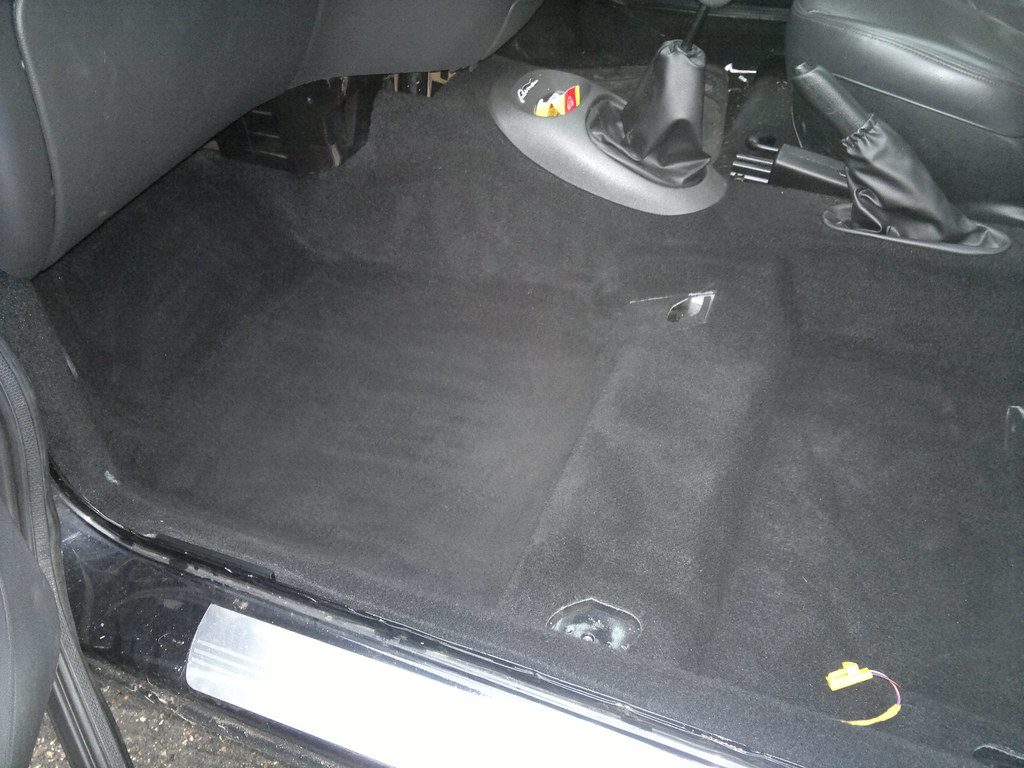
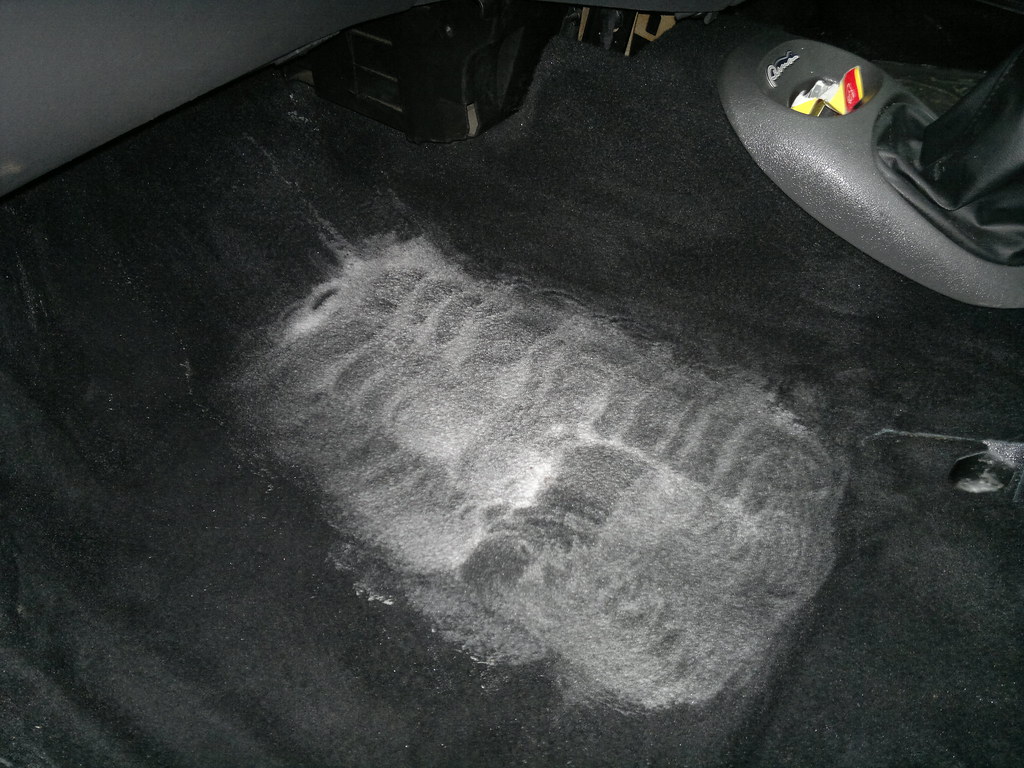
50/50 with the drivers side! Beleive it or not, the drivers side comes up pretty much like the passenger side now looks with a good vac. Needs going over again though, I didn't take the seat out first time...
George was dug out of the garage and looking very happy! (and muddy! I lent him to a mate of mine who was moving flats, to clean his old one, and we ended up having to park about half a mile away from this bloody flat, and I just wheeled george behind me! Offroad Hoover!
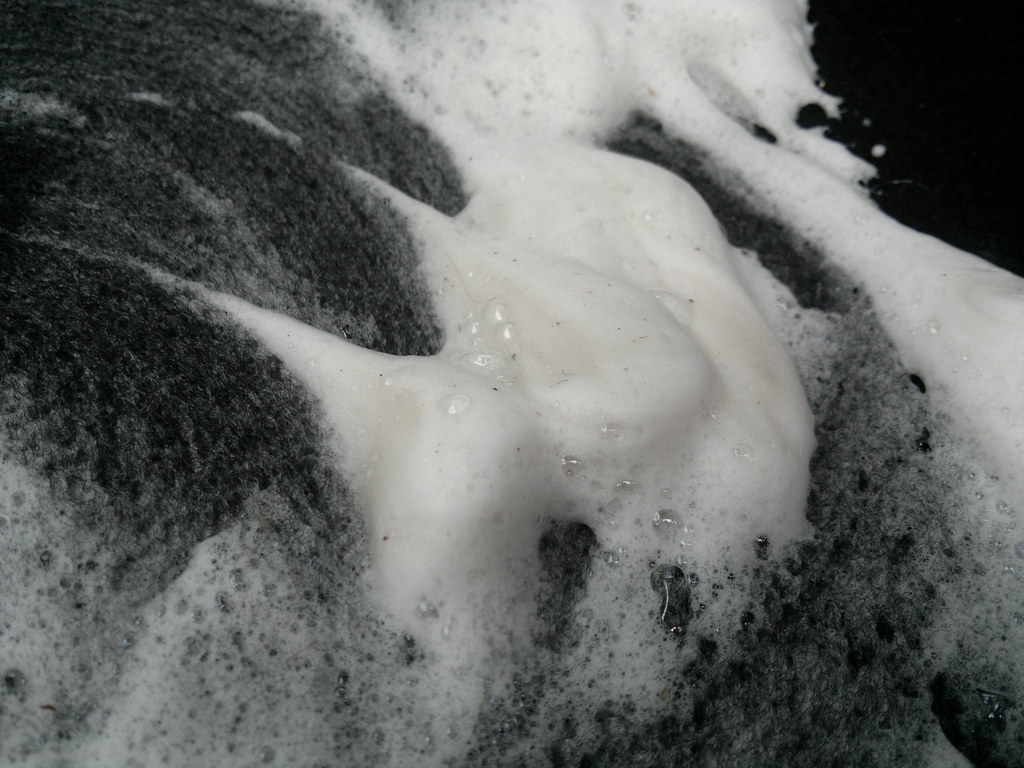
This bit was wicked! The solution I'd put in the tank (Vax carpet cleaner and a good slosh of APC) sort of made little proper bubbles as well, so after a session it was like a bubble pool on the carpet!
After a good soak, scrub, vac. Probably went over it 4 times before moving on!
Now, the nozzle was good for the edges, but not quite cutting it on the floors. So, I dumped about a litre of water into the footwell, and a slosh of apc and got scrubbing :devil:
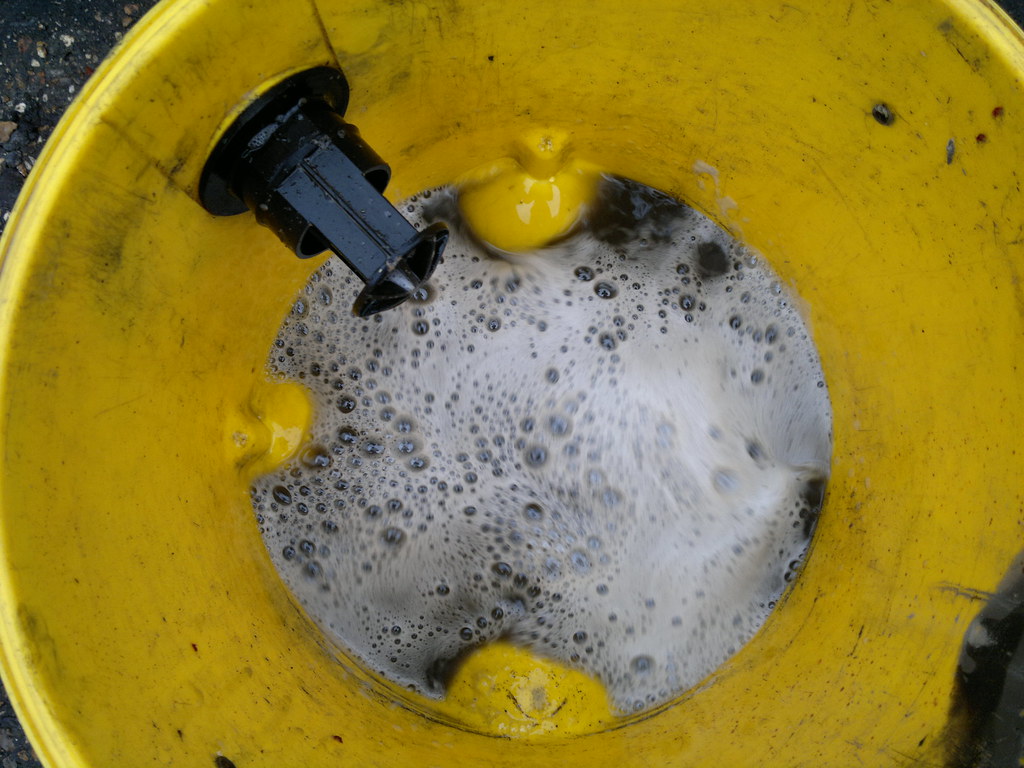
The solution as it came out of george. Good for the edges, but not enough for the footwells.
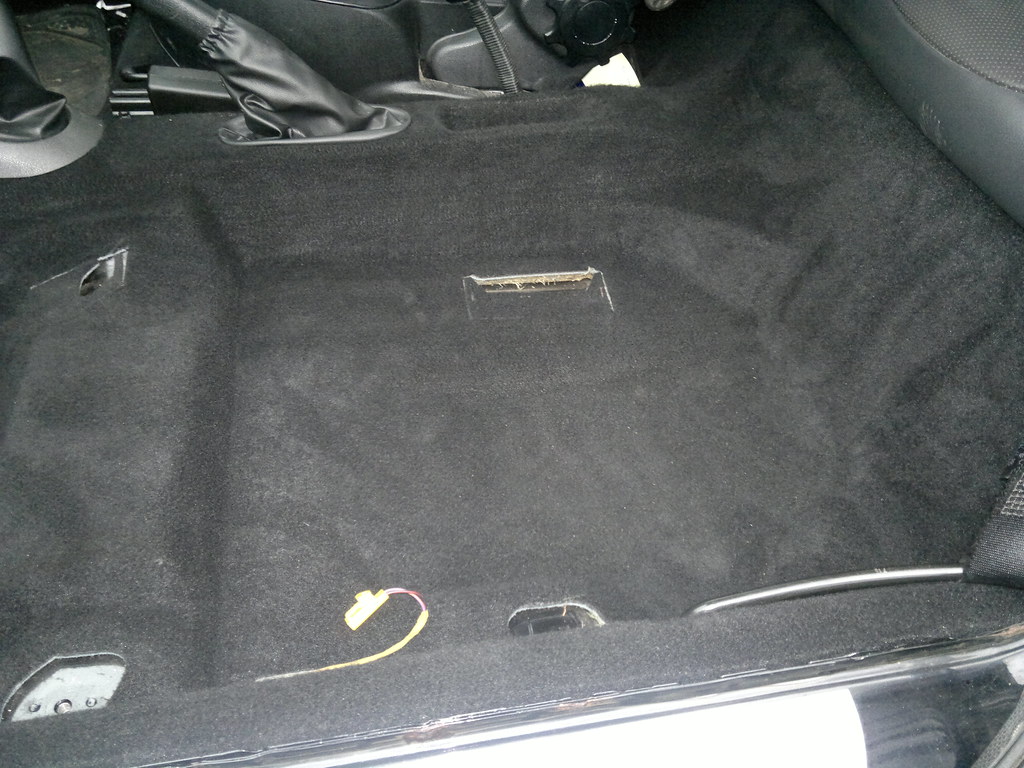
Wash, Scrub, Rinse repeat about 5 hours later I had this
TBH, I could do it another 5 times and the water would look roughly like this, so I will probably do it again in the summer with the steamer, but for now, it's a vast improvement! 10 years of dirt! Carpets look alot blacker now!
I'd got bored of scrubbing carpets, so took a break and had a go at the headlining. Spray APC, agitate with a slightly stiff brush (the red kent one from asda :thumb
and vac off. Once vacced off, 'buff' with the scrubbing mf to plush the whole thing up. Ended up doing the whole thing, mainly today. Pics as and when they were taken!
This car's been a smokers car for a while now! There's a cig melt on the drivers carpet, and when I took the dials off to change a bulb, there was a huge pile of ancient ash from using the cigarette lighter. I also smoke in it daily (although more carefully and only rollys, no not as many worries about cherries and ash)
That was it for yesterday. I went for a drive that night (randomly up to Cherwell Valley services on the m40 and back. Had a good podcast on (TATW #355). Also did it to blast the footwells with hot air! The carpets hold moisture, so were still pretty damp in the evening.
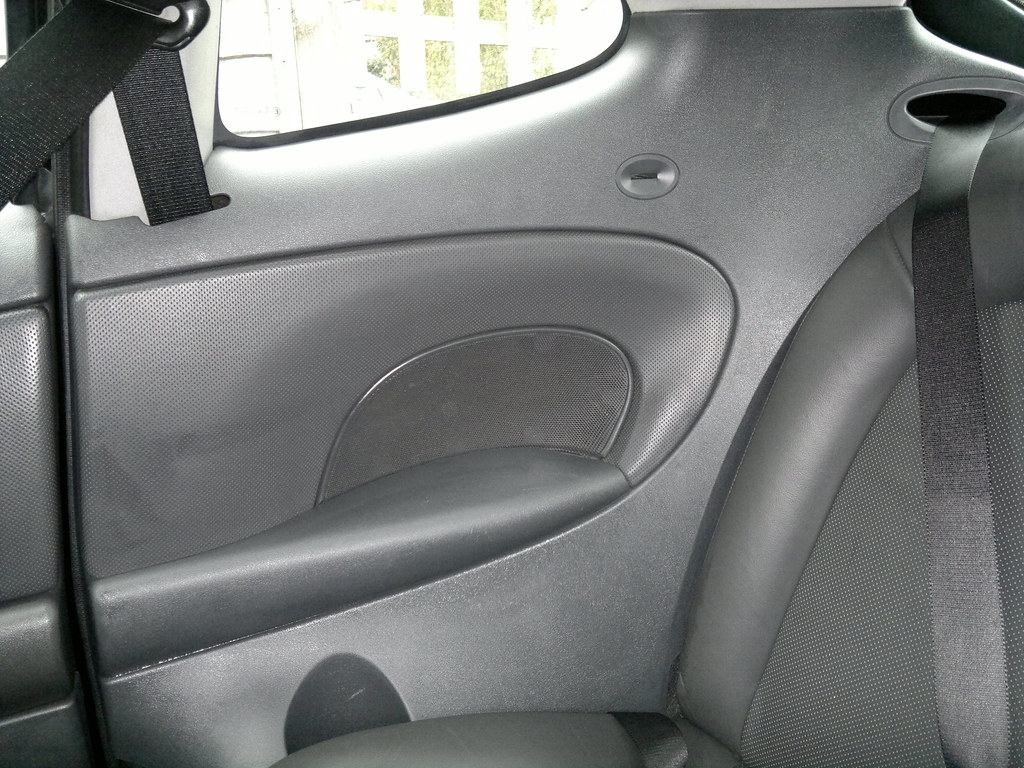
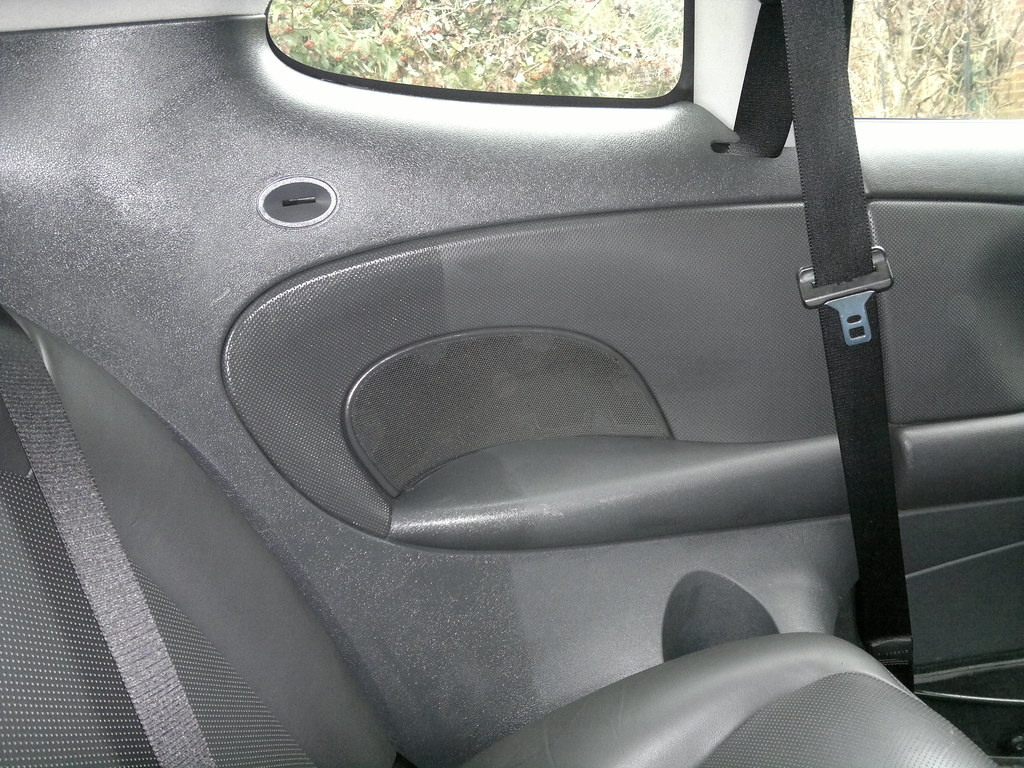
I decided to start on the back. Since the seat was out there was so much room, and I just took my shoes off and crawled around in the passenger footwell! Above is the pastics after a good scrub with APC and a detailing brush. No one really sits in the back, so it wasn't too dirty. Anyway, it got done!
Starting to apply CG Trim Restorer
Trim Restorer curing (can't remember what I did whilst this was happening... Cup of Tea I think..)
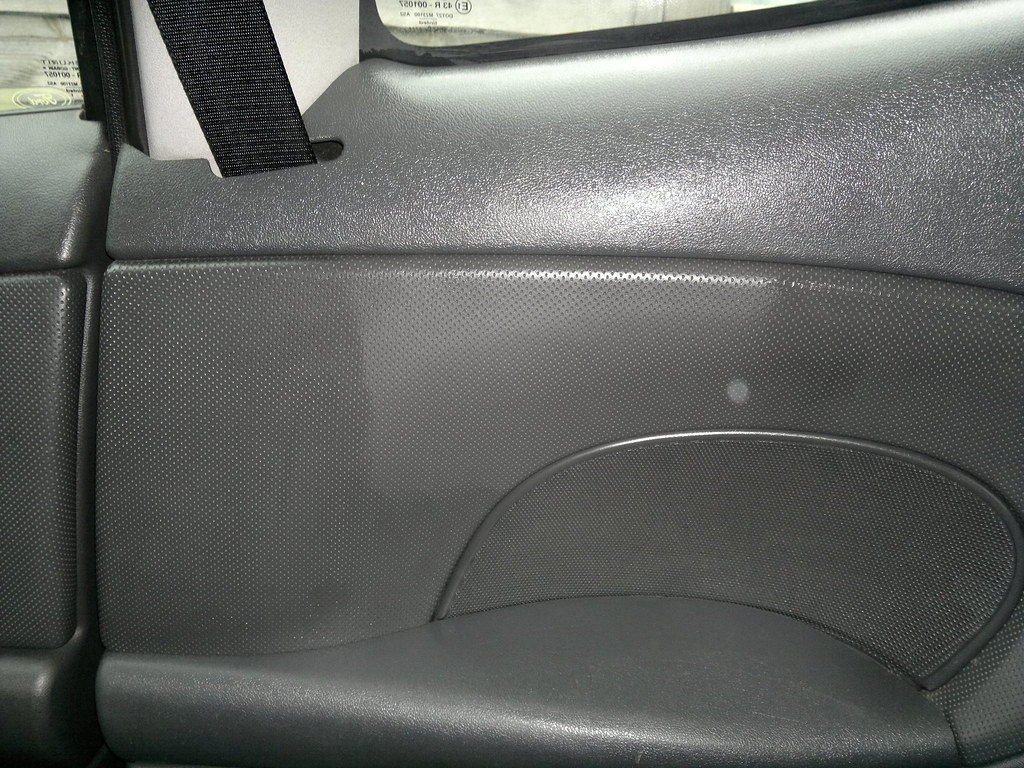
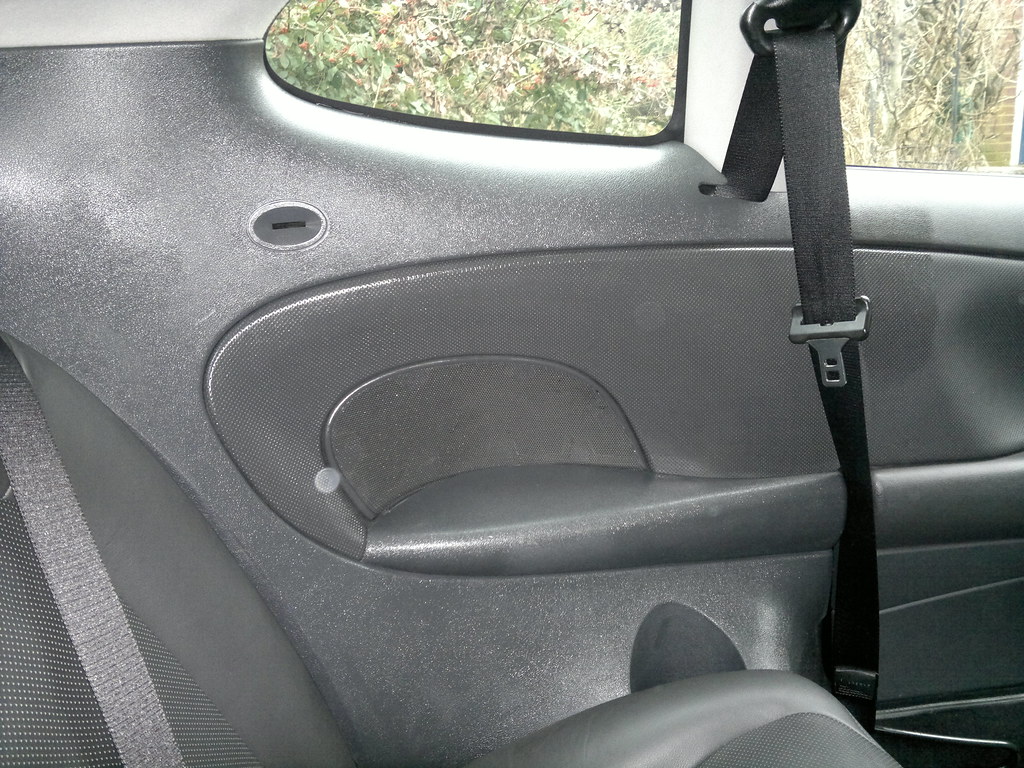
Buffed off after about 15 mins and the seatbelt was wiped down with APC and a MF, and parked in it's slot.
The view I had from sitting in the back footwell!
Started the other side
It doesn't dry this shiney, don't worry. You buff the shine off later!
As you can see, door is shut, engine is running and heater and Marillion are playing! Was a nice toasty job.
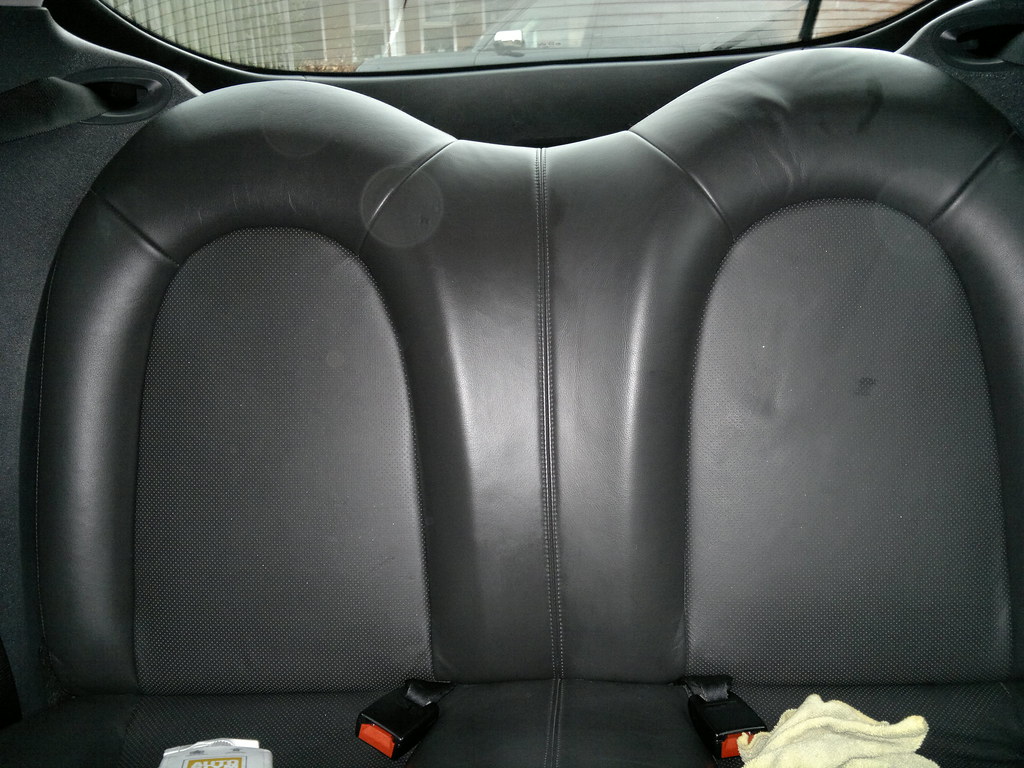
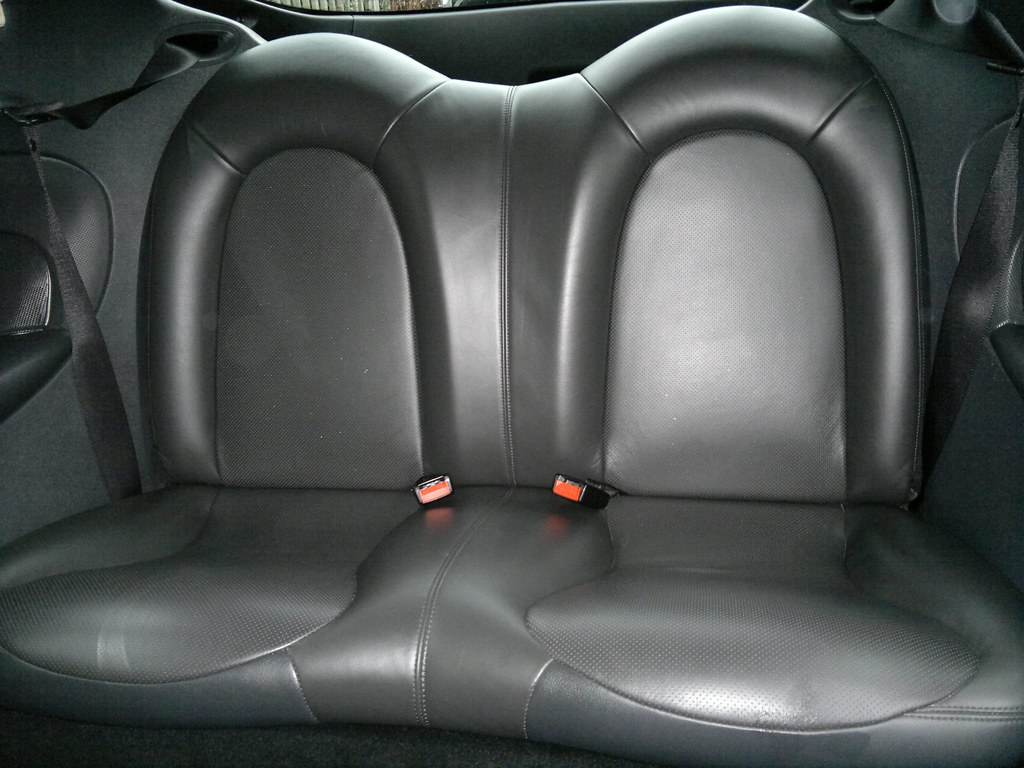
Then came the rear seats. I know their probably not real leather probably nice vinyl, but... (seats are a before shot btw, just a good vac really. It's nice for a 100k car that the interior is hardly worn!)
Also showing the clean shiny headlining! I made a home brew of biological hand washing liquid and a slug of tesco spray on stain remover. Shook up and used in a megs quick detailer spray. Smelled funkin wonderful too!
I'll be honest, thinking back I can't remember which order the seat pics were! They looked clean anyway, so even after being scrubbed with the cleaner, and seeing the foam go brown, then white again with scrubbing, they looked the same. However, the leather cream was applied and left until later to be buffed off. Advice - this stuff is a git to get out of the bottle. It's soooo thick. Think trying to suck a maccy d's milkshake right after it gets poured! Ended up leaving it upside down in the cup holders whilst applying with the lid off and none leaked out!
After looking at the correct clock (forgot the puma clock was waaay out after having the batter out), and realising it was only half 2, I decided to make the most of the seat being out and do the dashboard as well!
NOW, apologies for the halfords headunit! It's functional (bluetooth handsfree, sd, usb, aux) but it a pig to use! To hear the phone you have to turn it way up to 25-30, and when the phone call ends, it trips straight back into Iron Maiden's Number of the Beast and blows your eardrums off
Getting sorted this year with a Parrott mki9200 or similar and the stock HU put back in, but amped and better speakers!
Ended up popping that vent out to do it properly! Unlike my 206 though, you can't dismantle it to fin level (boy did I get some stick when my mate saw me applying cg trim gel to each slat of the vent then re-assembling! Commented on it after though :thumb:
The marks on the plastic are actually scuffs that have gone through the painted/top bit. Bit of a shame but I can't see them from the drivers seat, so meh :car: They are clean now :buffer:
So, after a thorough scrub on the passenger side of the dash and centre console, it was time for a vac. Now, the process I use when doing a dashboard, is a Numatic nylon & horsehair dusting brush, coupled with the Numatic double-ended adapter and hose end. This makes the length very short, and you are very close to the end, so you can be delicate. A normal small detailing brush does the rest.
So the door was opened, the button was pressed and the neighbourhood got noisy again! (bearings need oiling in the vacuum!)
Left side buffed off, right side un-applied, just cleaned.
Another quick look at that rear passenger footwell...
and front.
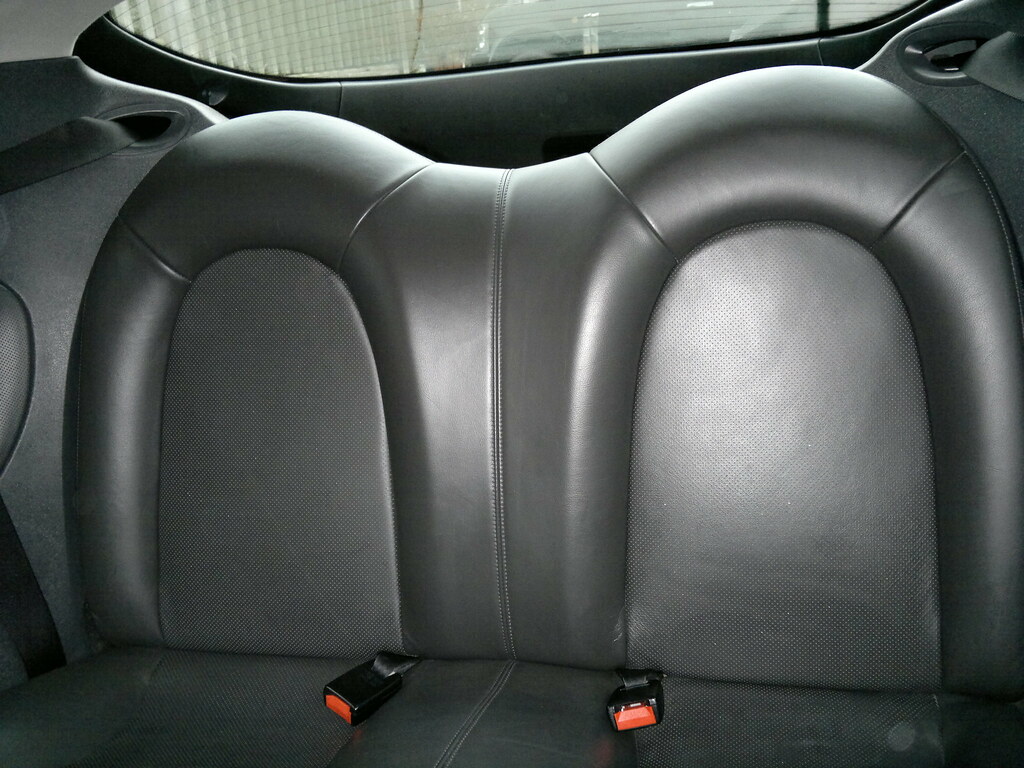
Then a clean MF was taken from the box, and the back seats were buffed out! Gawd Dammmn they look good! Want to get seat covers to protect them, but then an even bigger part of me ovver-rides that cos they look smegging awesome! Comfy too.
Buffed the sides again and the windows to get rid of overspray from cleaning.
103,500-odd miles :argie:
Gave the glovebox a bit of a tidy
Fettling over, I cracked on.
Through vac! Used the stiff brush again and really went at it! Pepped the pile right up!
All buffed and lovely-fied.
Pine cone went back in.
The passenger seat had been moved out of utility room and into the garage by a demand from mother, so I decided to crack open some music and give them a clean!
Gave the bolt fixings a good clean as you can see them when the seat is in, and the runners a quick wipe. Wasn't too bad really.
Soaked all the moving parts I could see with spray contact cleaner, then doused them again with spray on silicone grease (maplins - £7 iirc per can). Had to wipe it off the leather I sprayed that much!
All moves slightly more quietly now :thumb:
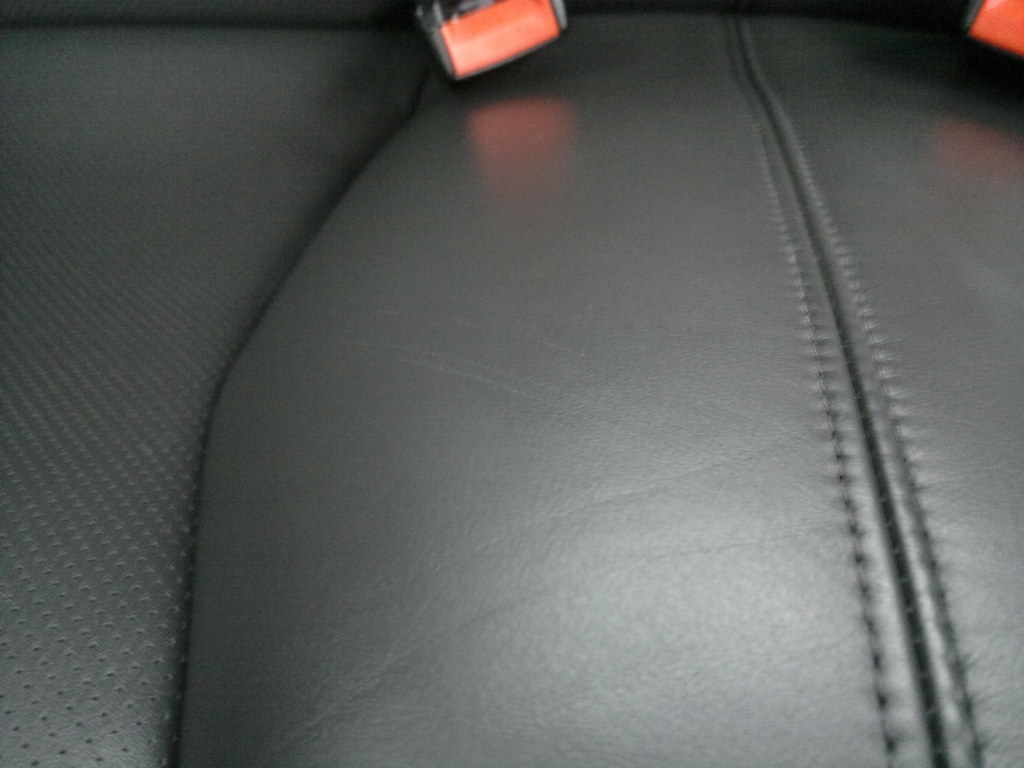
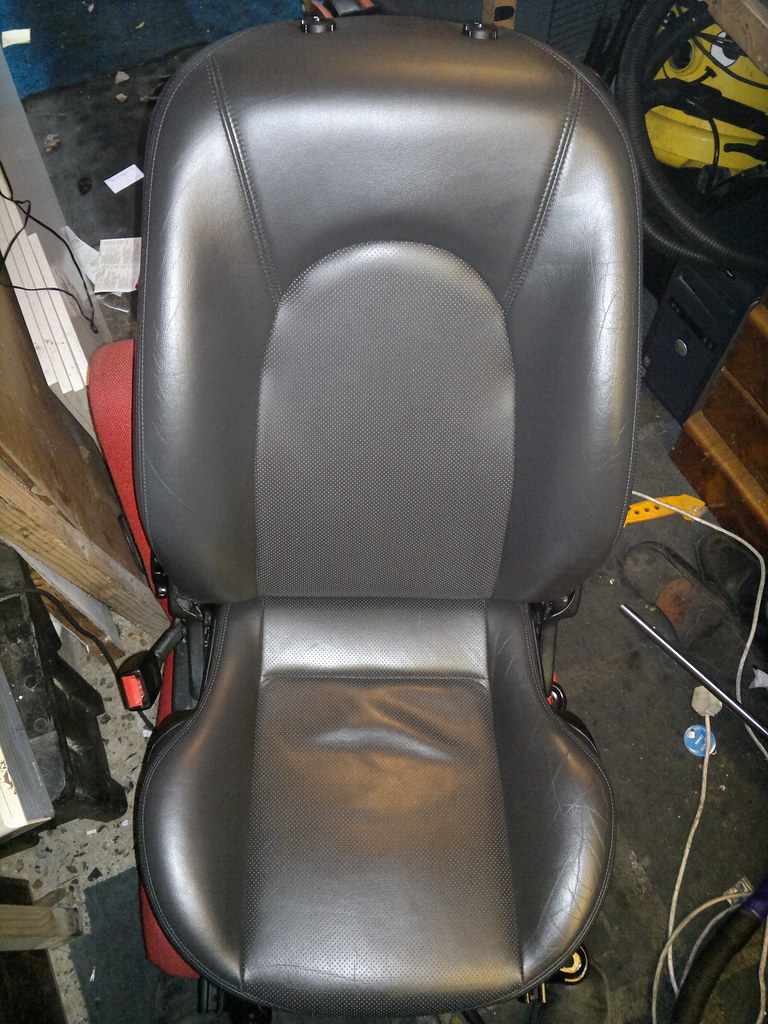
Random shot of the passenger seat. Can't remember why I took that
Overall passenger seat. Need to find a way to hide those crease marks. Ideas?
I did this for the rear seats as well. The leather cleaner foams up nicely! To get it out of the perforations, I put a dirty MF over the end of the vac nozzle and hoovered the foam out!
Left it too for a few minutes iirc.
Then I dried off with a damp mf, then buffed with a dry one. I then generously applied the leather cream, workingit in well. To stop it building up inside the holes I swiped it on the bolsters first, then over the perforations.
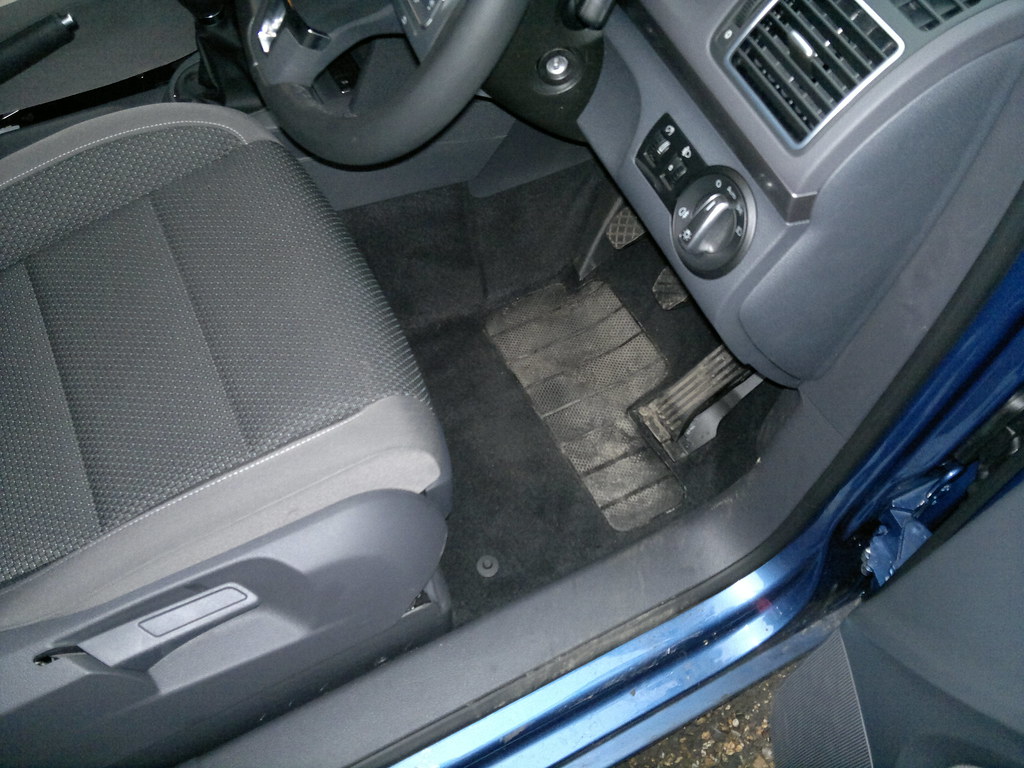
Left that to cure and gave my stepdads 60 plate touran a quick drivers side vac.
I then buffed the seat
I cleaned and dressed the plastic cover for the seat and re-fitted it
Seat back in, mats down and another quick vac!
And job done! Will try to do the drivers side in the same way next weekend!
Oh for summer. :car: