Fatttty's FRP #401 - Underbody restoration and rebuild

ProjectPuma

Help Support ProjectPuma:

This site may earn a commission from merchant affiliate links, including eBay, Amazon, and others.

Fatttty

New member
Joined
Jul 11, 2012
Messages
68
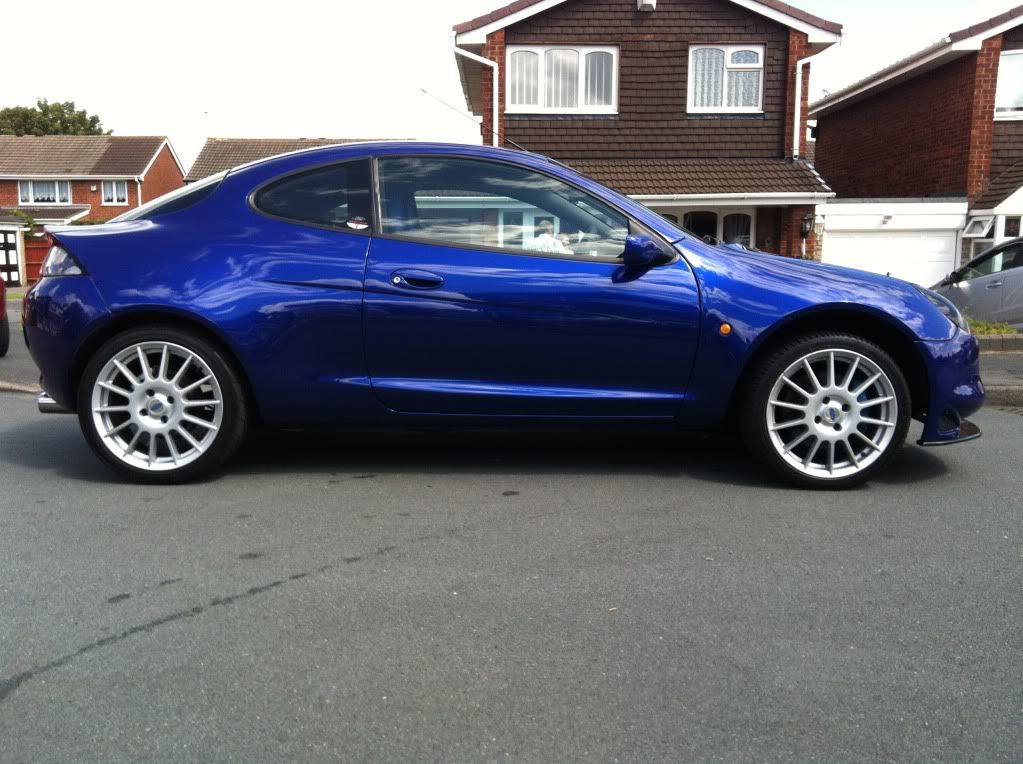
Hi guys and girls, I'm Alex (Fatttty) thought I would start a thread about my FRP. I purchased the car at the end of June 2012 from Jay in Birmingham. I had been searching for a good one since December 2011.

With all the rust issues that these cars are prone to I wanted one that had been rebuilt and had fresh paint and no rust. I think Jay had a build thread for #401 on here, some of you may know of the car and know the lengthy rebuild he did on it.

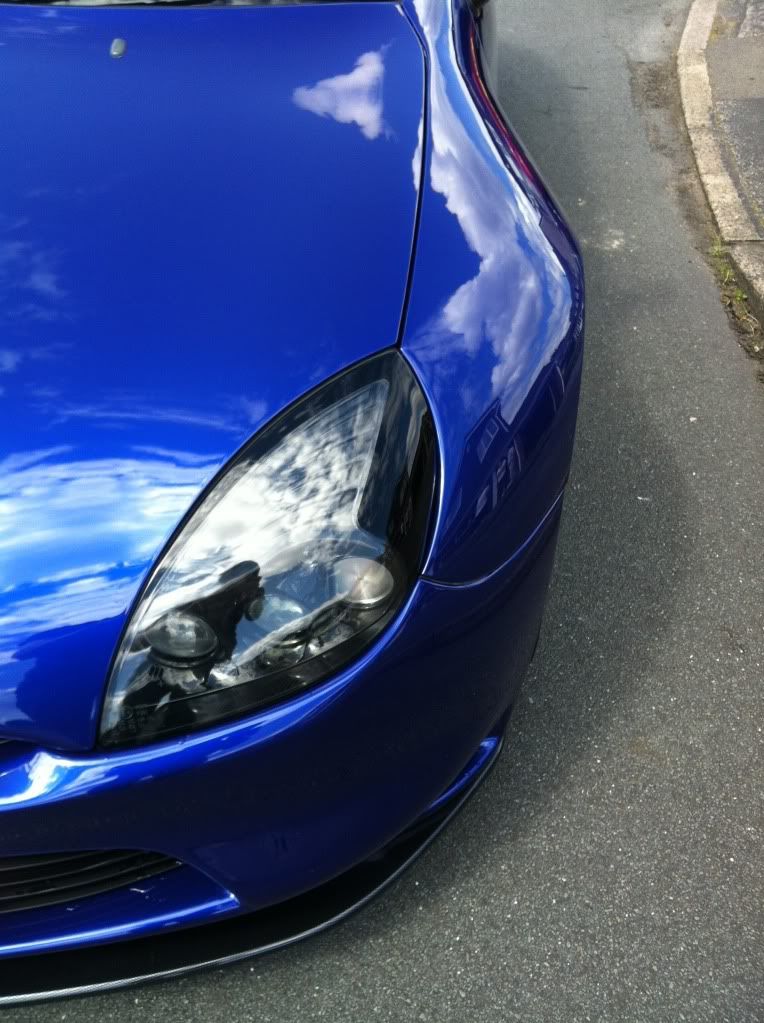
The paint and bodywork is faultless, I am quite particular with paintwork so this car was the perfect choice for me.

Basically it was fully stripped to bare metal, etch primed and painted inside and out. All the panels were correctly alligned, underneith it was stripped and unsealed along with the arches and sills. It has powder coated rear beam with new poly bushes, powdercoated wishbones with new bushes.

#401 has a load of new parts fitted a few months before I purchased it-

New rear ABS sensors
New hubs and bearings
Wishbones and bushes
Rear brakes
CV boot rubbers

My main plans are-
Refurbish the wheels in factory silver
Replace Racing badges with new ones from Pumabuild
Clean and detail the egnine bay and underneith
Replace any parts that require it
And generally enjoy it

I have only got a couple of photos from when I first purchased the car-
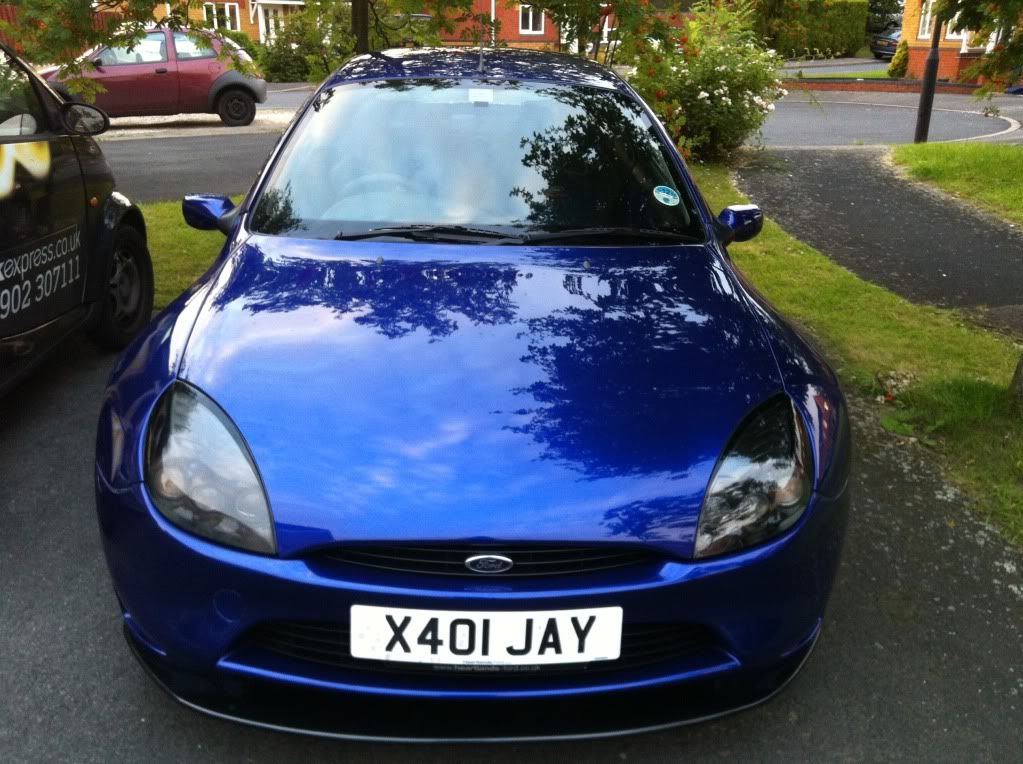
IMG_1496.jpg


IMG_1497.jpg


IMG_1498.jpg


Plenty of updates to come, thanks for looking, Alex :)
 
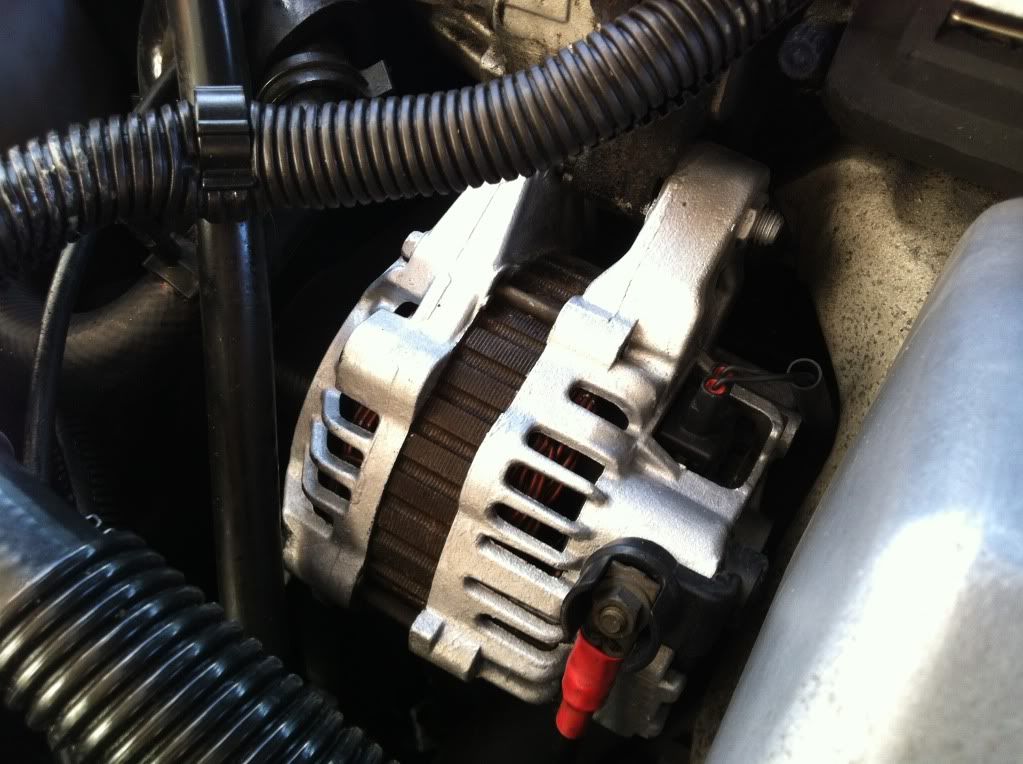
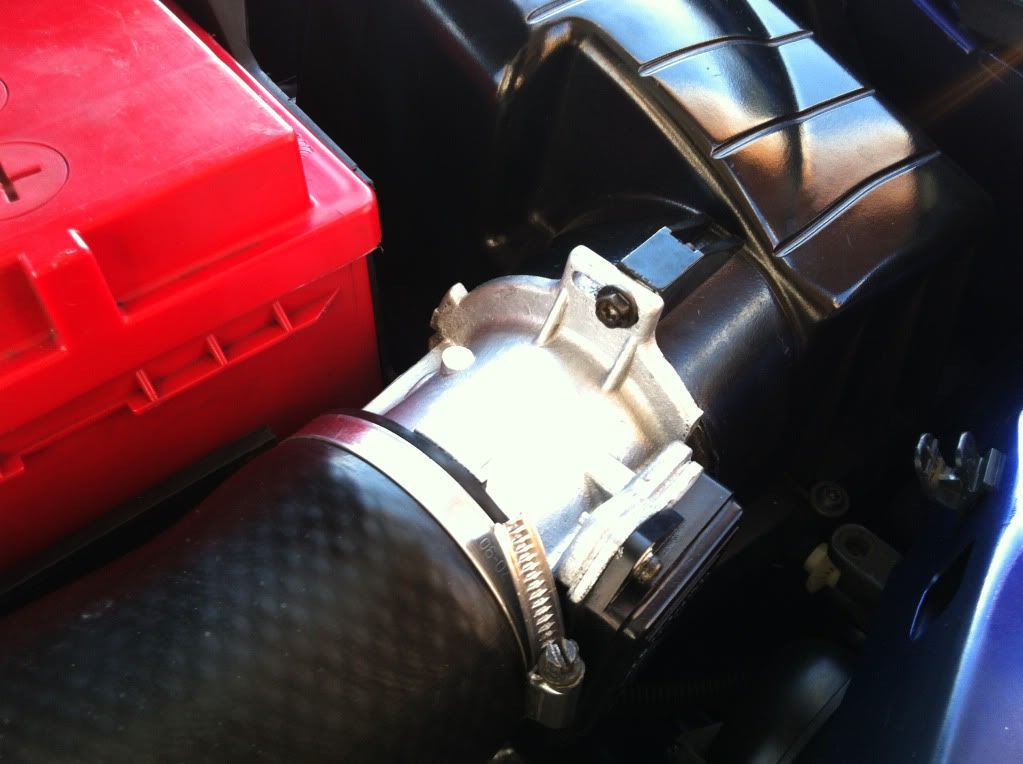
Ok so first things first was to start detailing the engine bay, there will be a lot more to come with the engine bay but for now I simply cleaned, degreased and painted the alternator and the airmass sensor on the air intake.

Looks much fresher now-

IMG_1499.jpg


IMG_1500.jpg


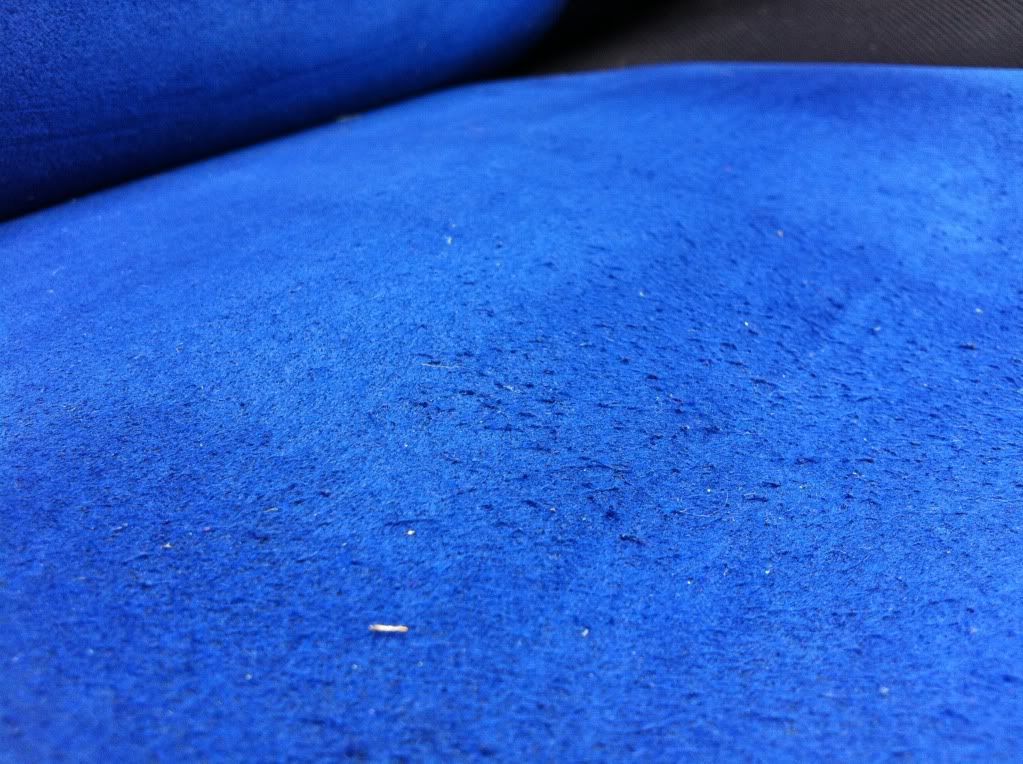
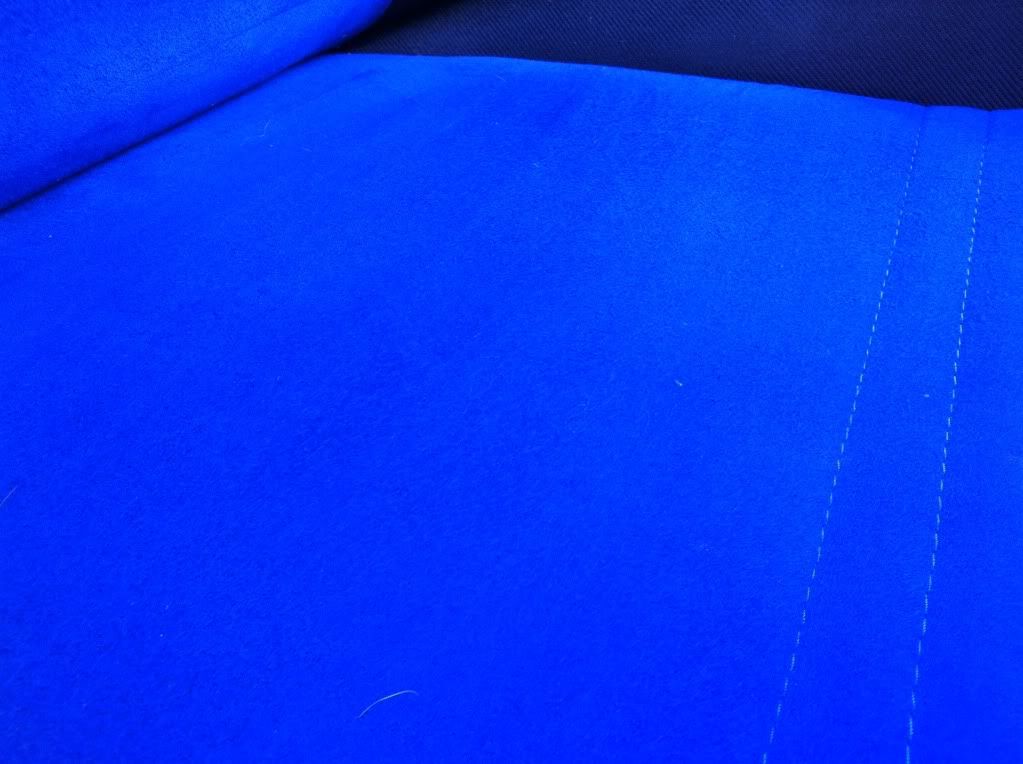
As most of you know the Sparco seats are a nightmare for bobbling, purchase a lint remover off eBay and set to work shaving the seat lol!

Before-

IMG_1509.jpg


And after-

IMG_1510.jpg
 
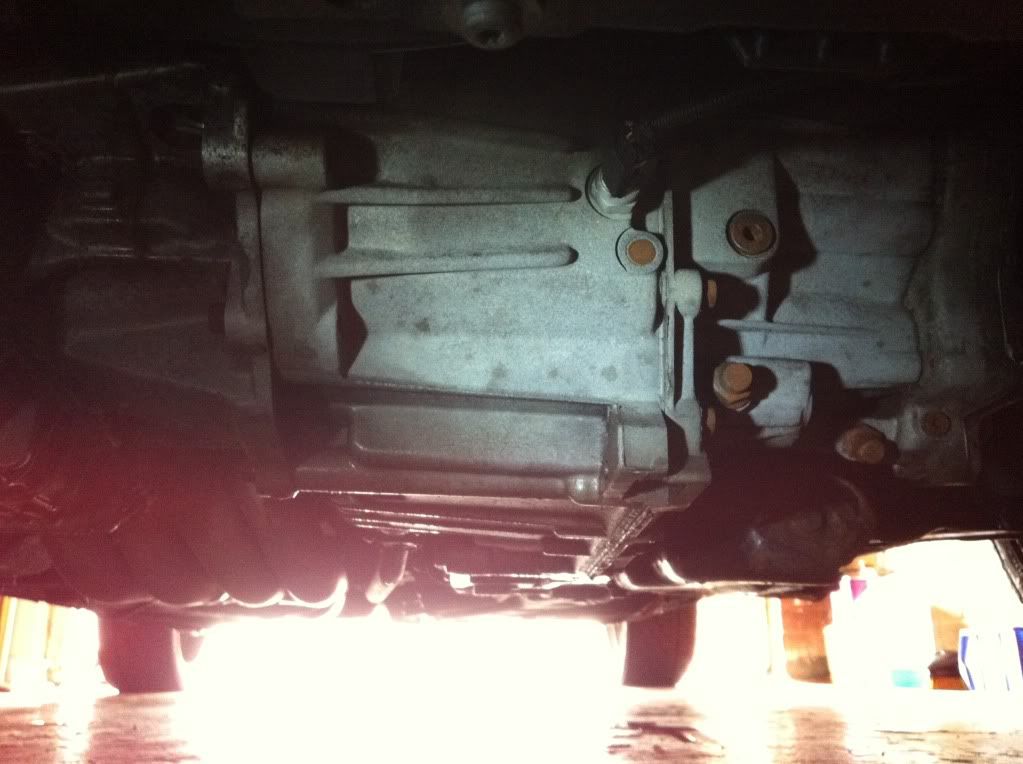
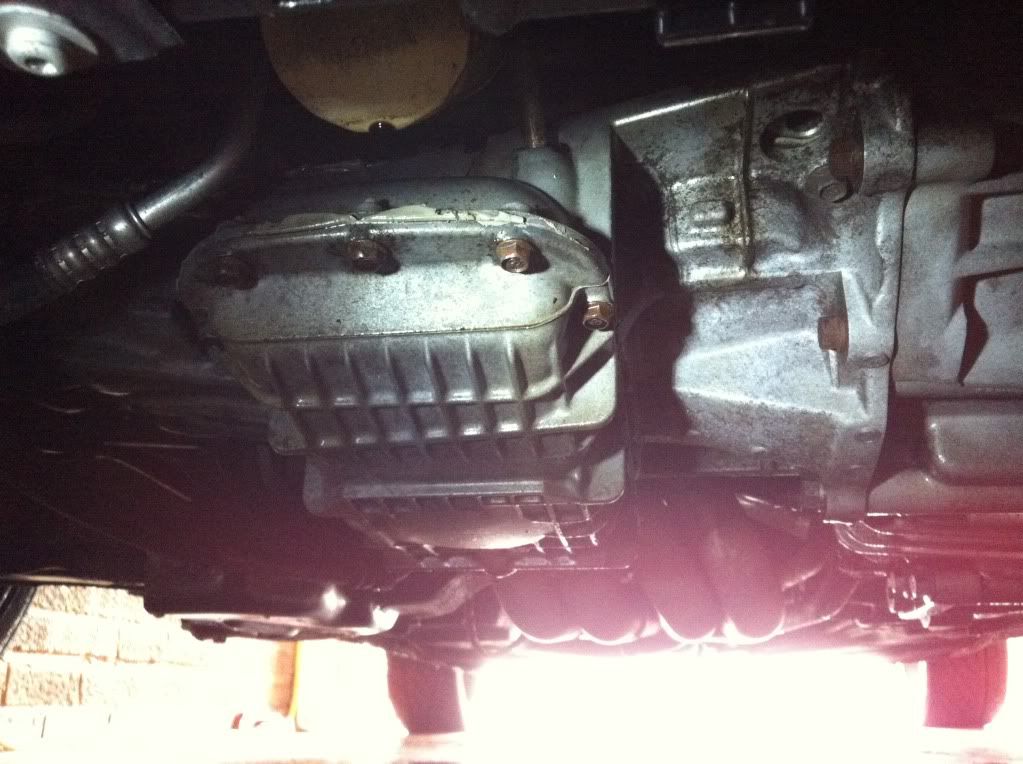
Engine bay detailing continues, got under the car and cleaned / degreased the gearbox and sump, this will be repeated before I paint and detail the box and sump / lower part of the block

Gearbox-

IMG_1523.jpg


Sump-

IMG_1524.jpg


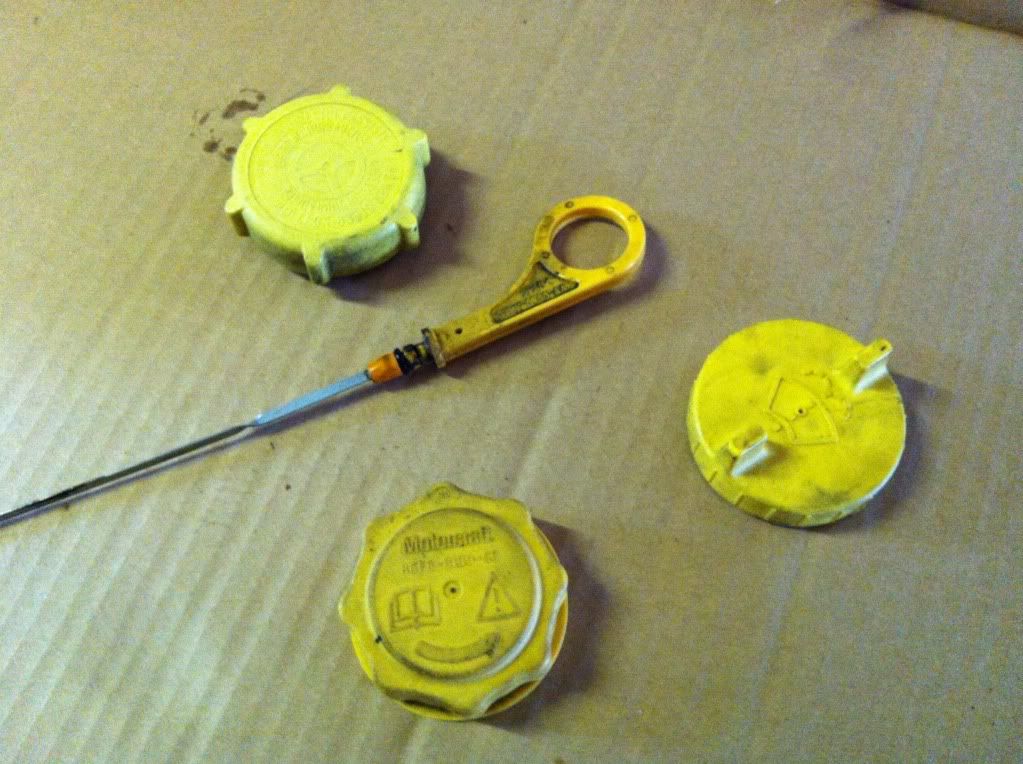
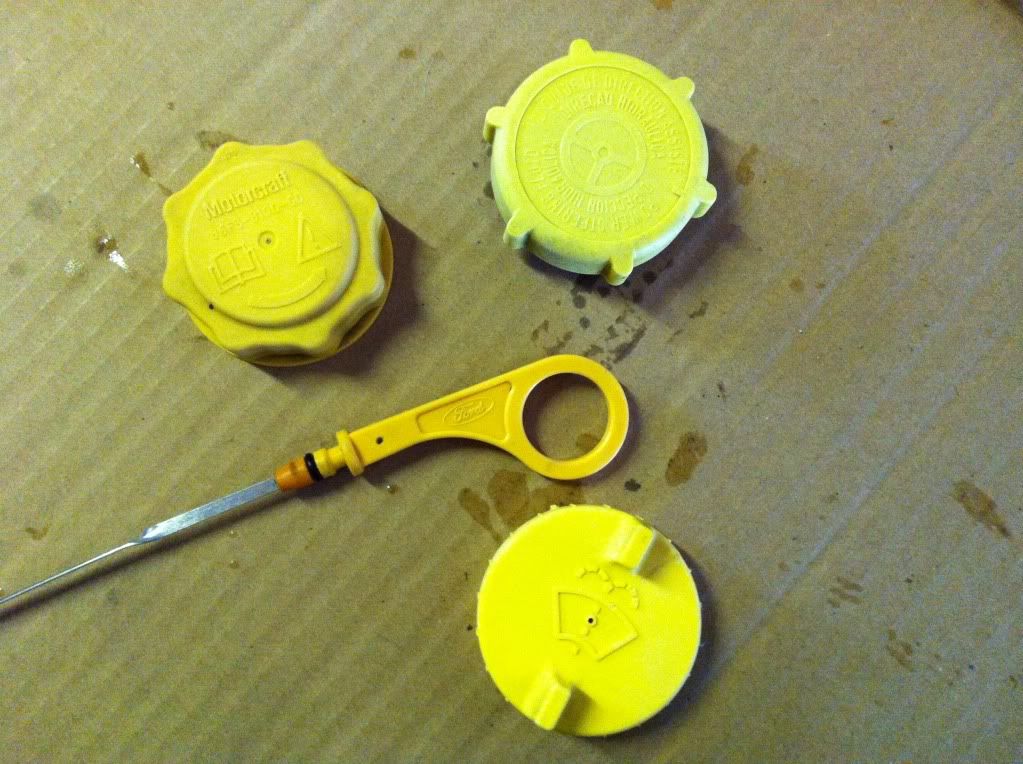
The powersteering, coolant, brake fluid caps and dip stick were looking tired and grubby. Gave them a good degreasing and washed with warm soapy water.

Before-

IMG_1527.jpg


And after-

IMG_1528.jpg


Got lots more planned for the coming months.

Hope you guys enoy reading.

Thanks, Alex
 
Welcome along to ProjP. :thumbs:

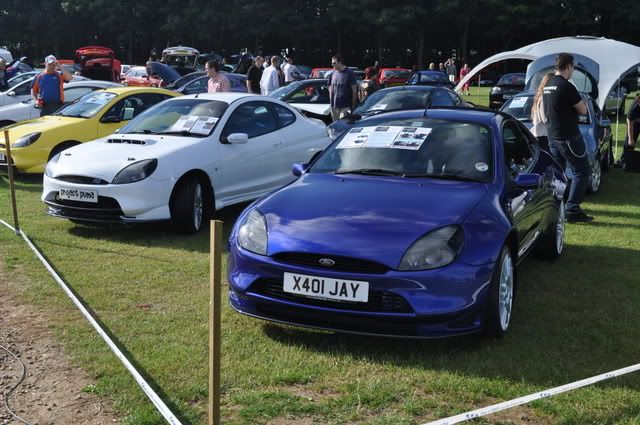
We are all very familiar with 401, especially after Jay's rebuild last year. I also had this machine parked next to mine on the Ford Fair stand last year...

DSC_1314-1.jpg


But great to have you along and that 401 didn't end up in a muppets hands who would not look after sucha car.

Mac
 
I live quite local to jay and popped in a few times during its rebuild, it is a beauty bodily just needs anti of mech tidying but seems you are well on the way with that work

Welcome

simon
 
Wow - great to see such a fantastic and loved car continue to be cared for. :thumbs:
 
Thanks guys :) jay did a fantastic job with the body and paint. As I said I plan to keep chipping away at the little jobs to make her a minter!

Alex
 
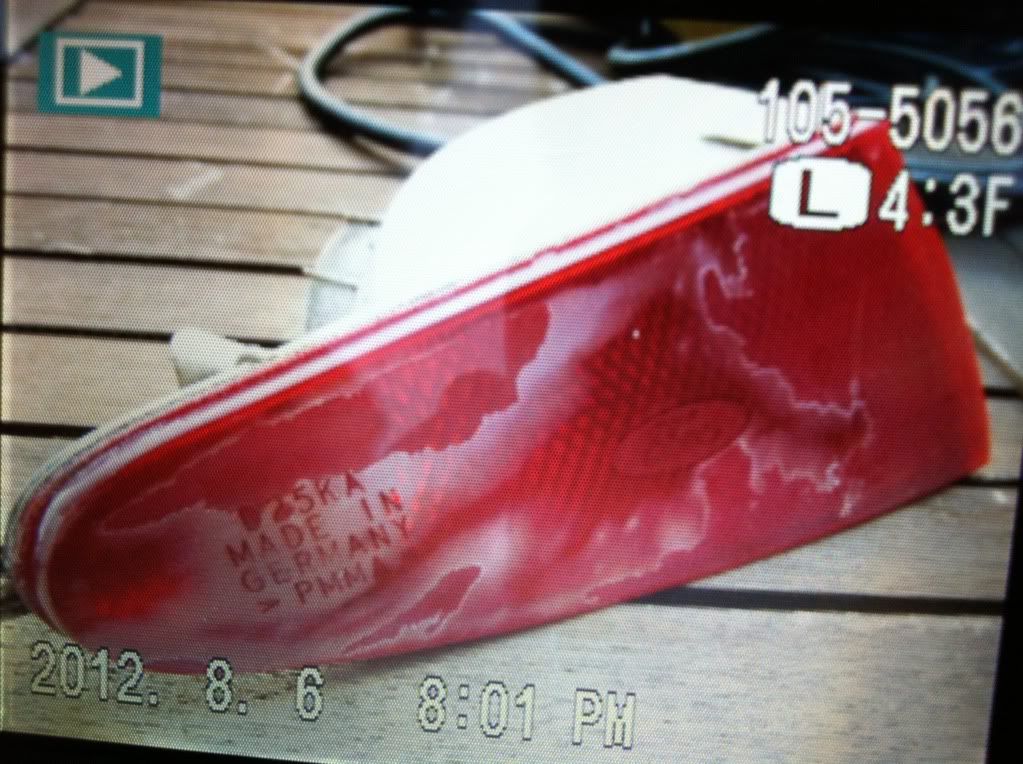
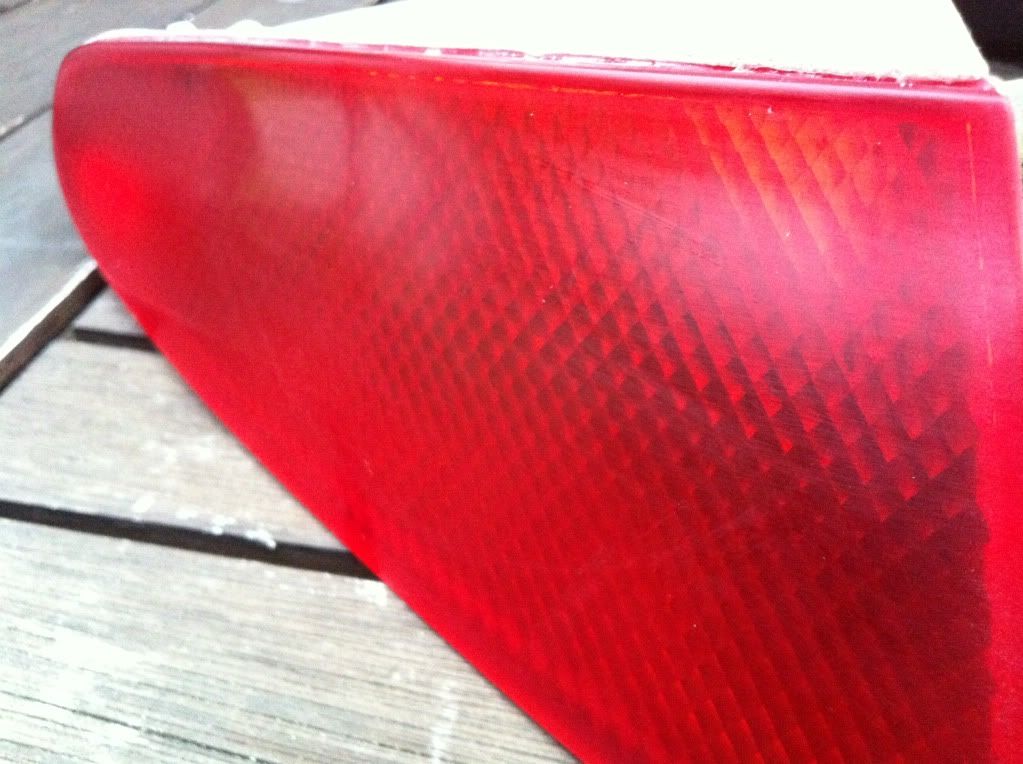
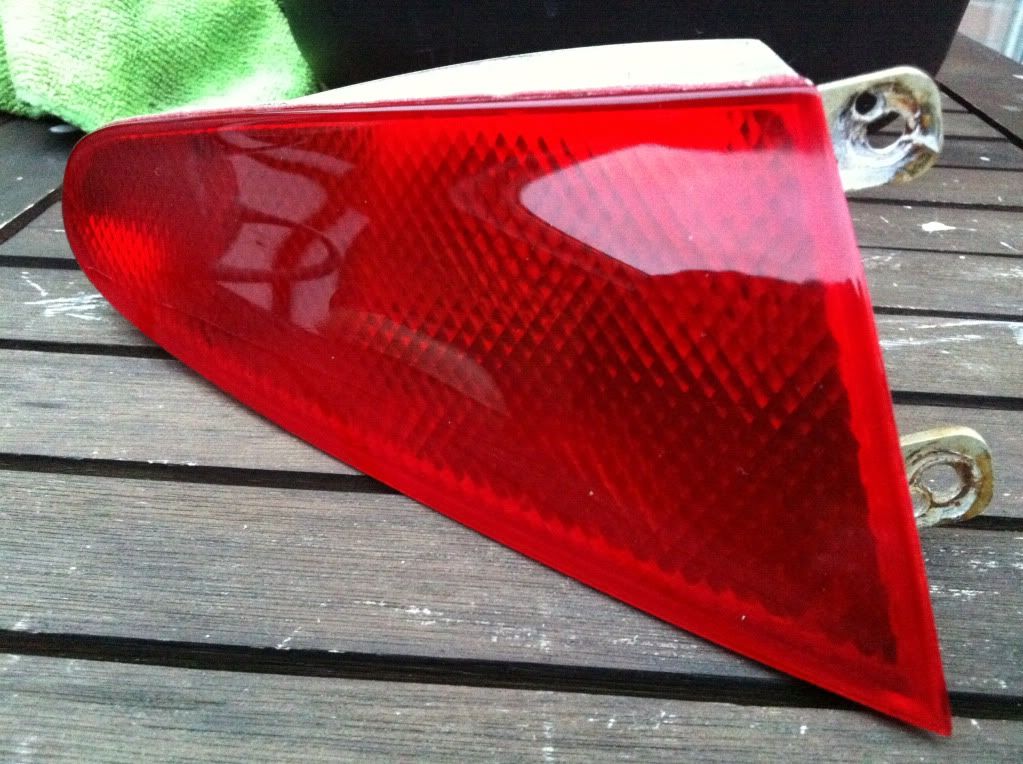
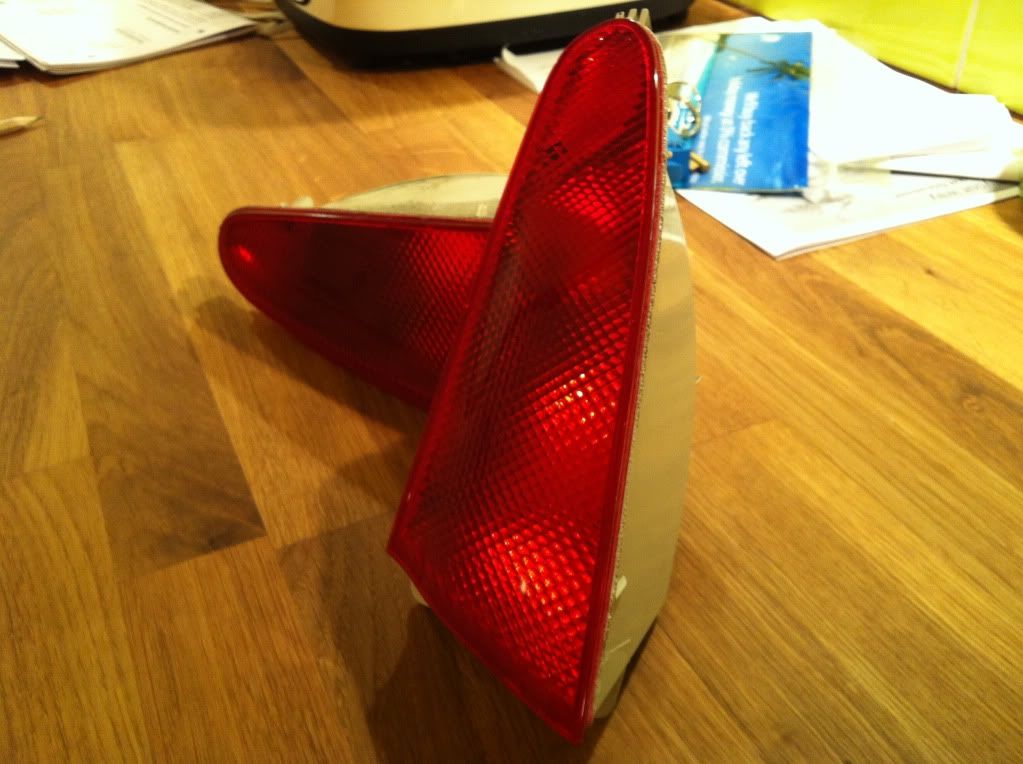
One of the rear fog lights was looking worse or wear it was dull and looked like it had been lacquered at some point in the past. Got a price from fords at £67 for a new one... Fook that!

So I whipped it off, wet sanded with 600 and 1200 grades before machine polishing it.

Before; milky and dull-

IMG_1530.jpg


Wet sanded-

IMG_1531.jpg


Machine polished-

IMG_1532.jpg


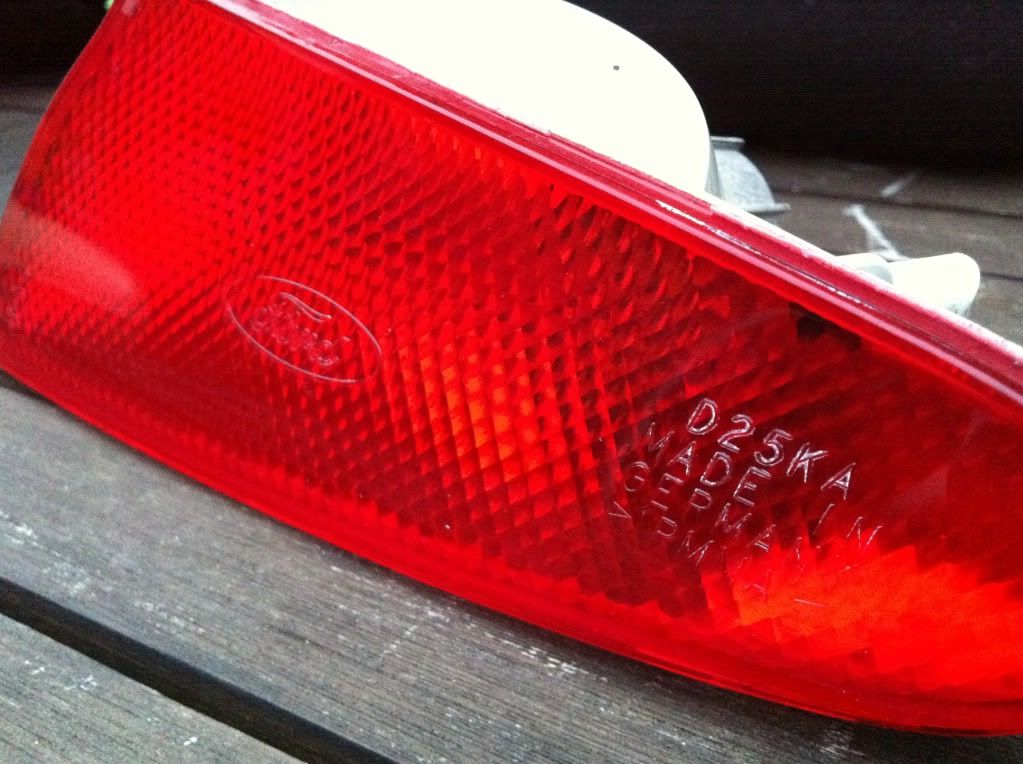
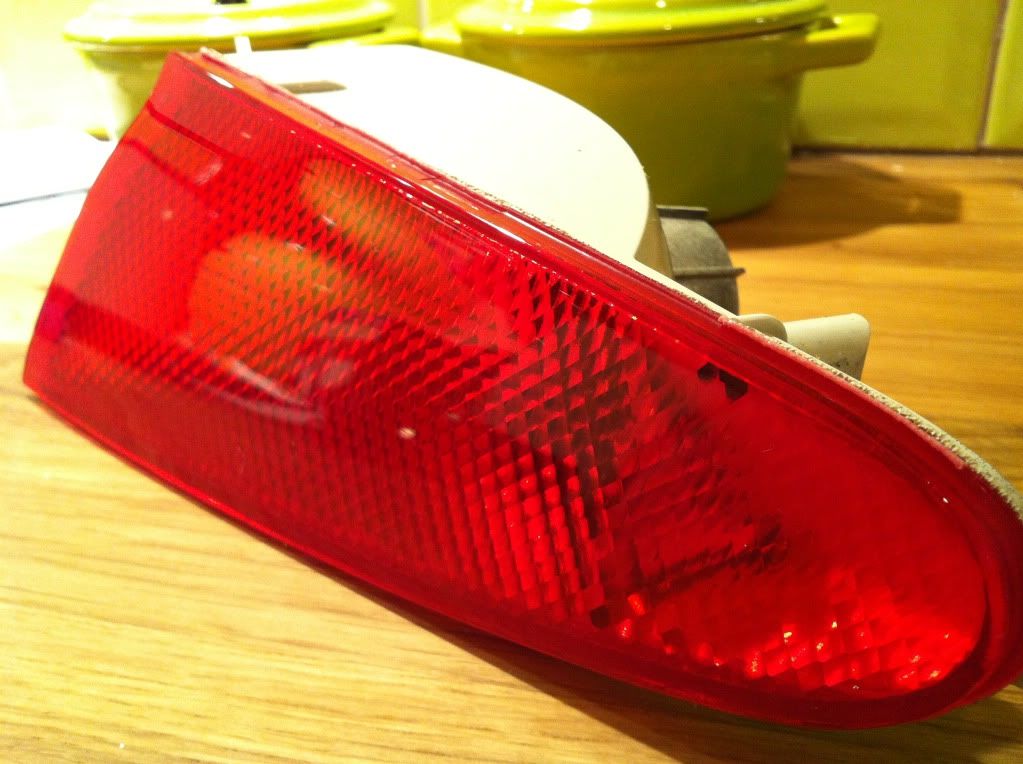
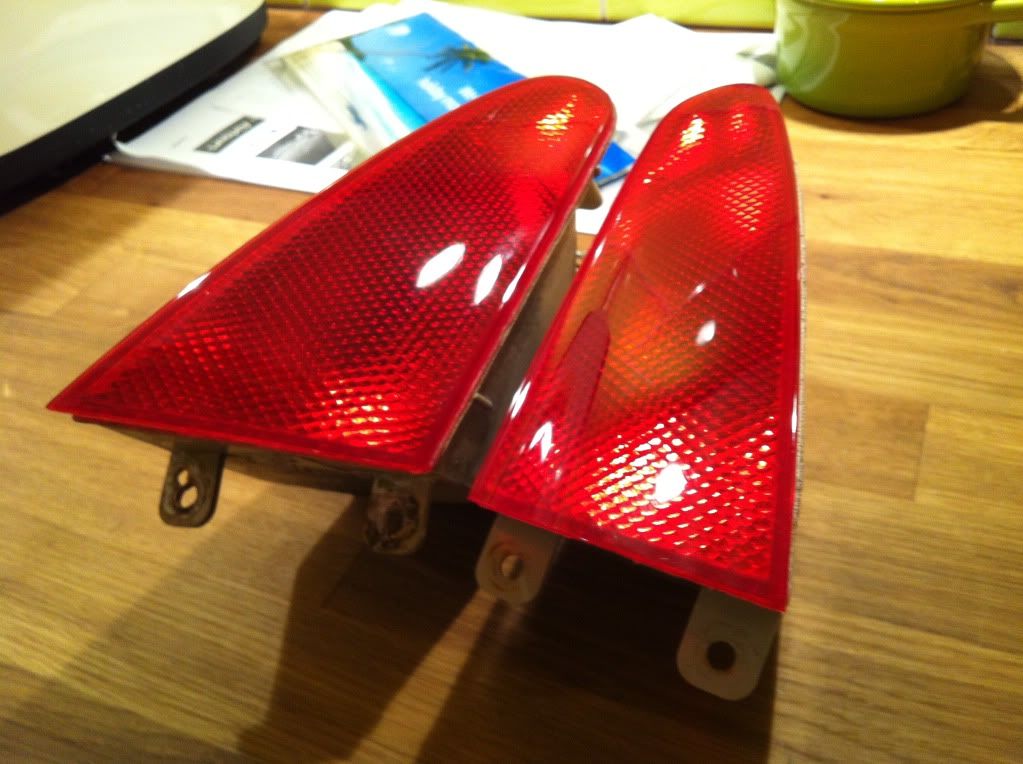
The other fog light had the ford markings and e-markings on it which kept getting polish stuck in them. Decided to do the same with this one so it matched the other one.

Before; markings and lettering-

IMG_1535.jpg


Wet sanded and smooth-

IMG_1536.jpg


Done :)

IMG_1537.jpg


IMG_1538.jpg


More to come ;)

Alex
 
Great work there and love the attention to detail.
Great example of the FRP. Well done mate. :grin:
 
:cool: Fantastic attention to detail! Great to see you picking up the journey with 0401 after it's rejuvenation!
 
Scott134 said:
Great work there and love the attention to detail.
Great example of the FRP. Well done mate. :grin:

Thank you :) I'm a sucker for the details!
 
red said:
:cool: Fantastic attention to detail! Great to see you picking up the journey with 0401 after it's rejuvenation!

Thanks Red :) glad I can continue jay's excellent work and keep on improving 401 :)
 
good to see Jay work being carried on there mate!! :eek:k:

lint shavers are actually a life saver!!
 
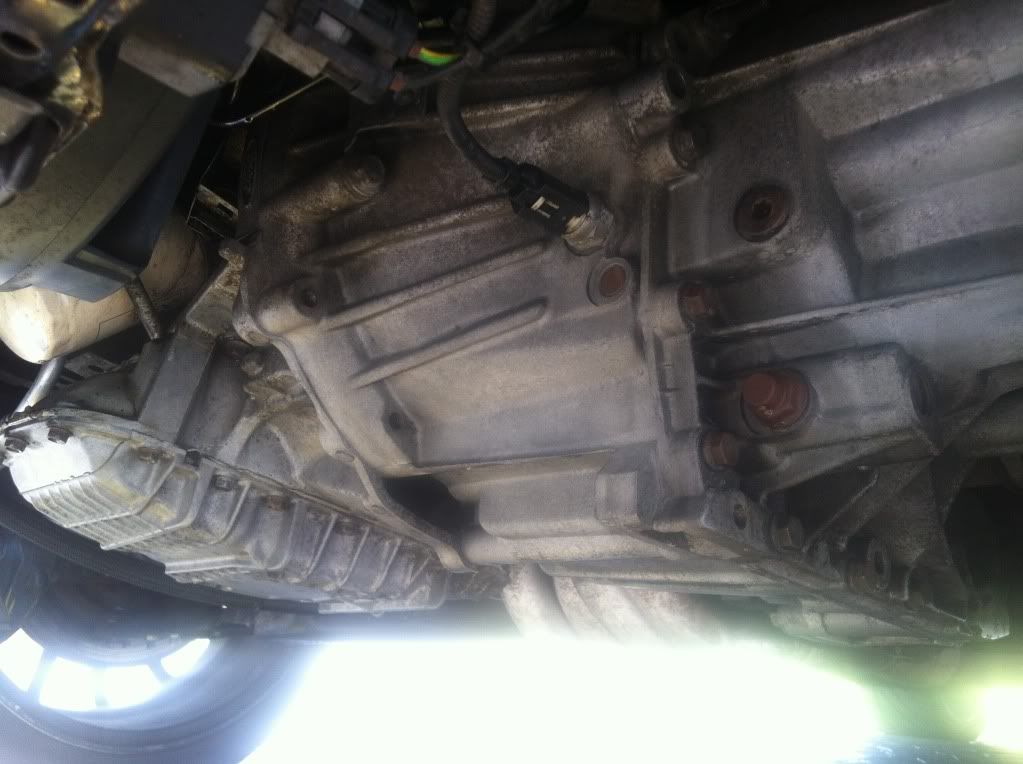
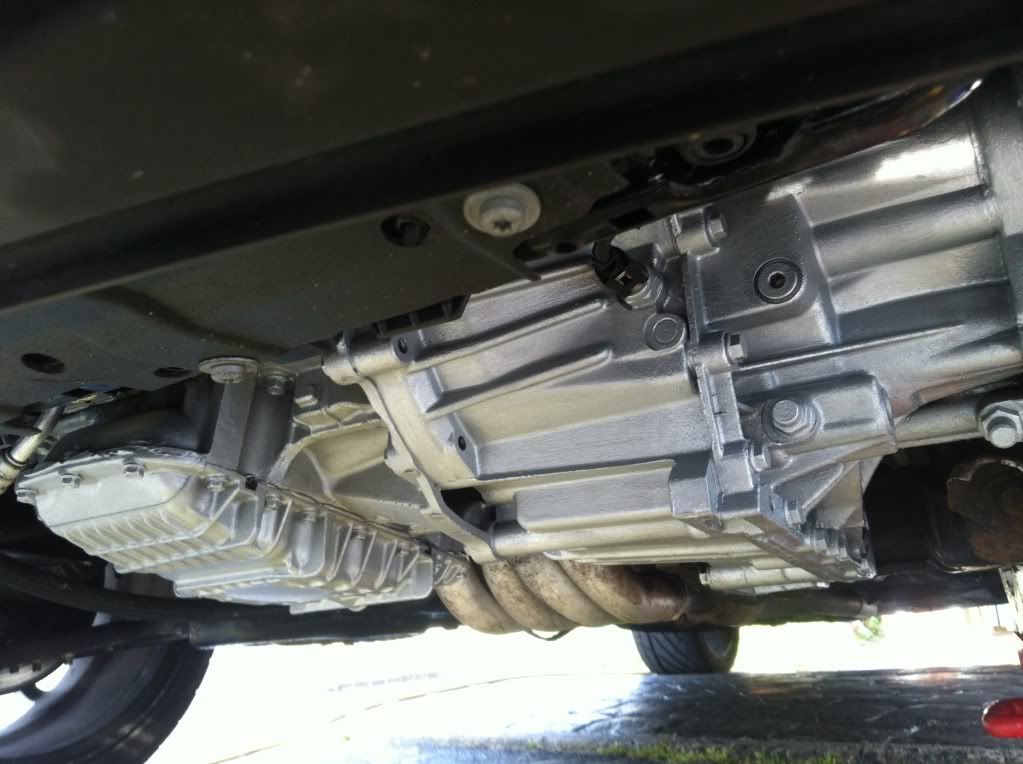
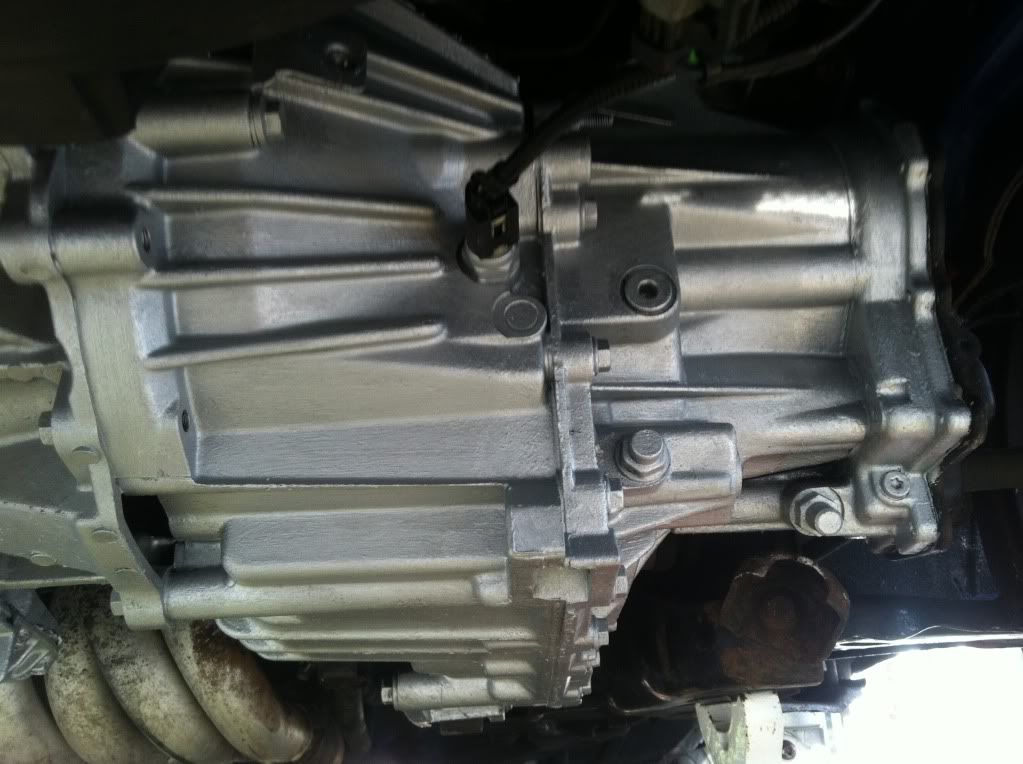
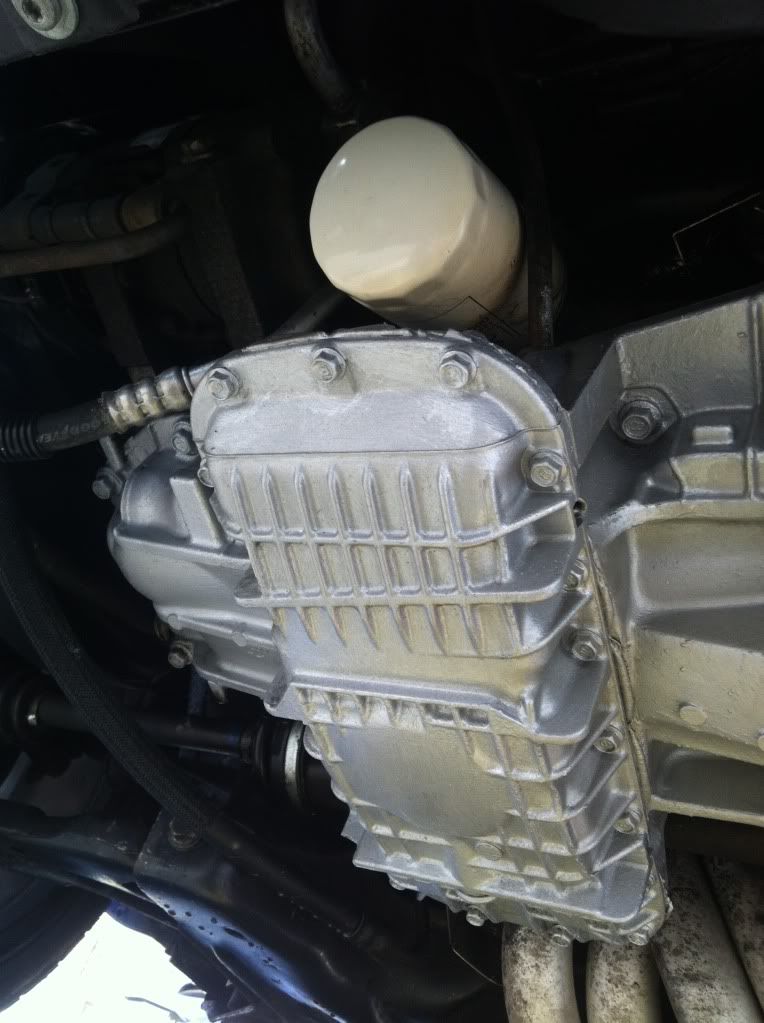
Moved 401 into my dads garage for the winter. Going to get her on axel stands in the next few weeks and start a full resto underneath. Had an afternoon free so I started on the gearbox casing and engine sump.

Good clean, degrease, before-

IMG_1675.jpg


And after-

IMG_1676.jpg


IMG_1677.jpg


IMG_1679.jpg


Got a lot to do over winter, hoping to have the rear axel off, calipers stripped, new disc, pads, drop the fuel tank etc in the next few weeks :)
 

Latest posts

Back
Top