Hi everyone, well it's finally happened, after lurking for a while I finally saw another puma on here thats inspired me to get the finger out and make a start on a car that I originally intended just as a cheap runaround for a couple of months.
Managed to pick up a bargain from a great guy in Ashford for a mere £350, she had 6 month tax and MOT, the usual tinworm in the door shuts and the wheel arches and lot's of marks and scrapes, but for the money I didnt expect much.
So far I've done the following (barely started)
Replaced the bonnet with one from a scrappie (Gas Road in Sittingbourne, nice clean black one if you need any bits)
Ground out the rust in the door shuts and the rear arch and primed the surface to protect it for the moment
Washed it
Fitted a set of Ford Mudflaps that I found in the scrappies, had to get a new set of clips from Fords as the old ones were rusted into single blobs.
Smaller Antenna on the roof
Aftermarket radio fitted with a 1 din adaptor
Cleaned the engine bay
Replaced the 501 bulbs with LED equivalents in the sidelights and the number plate lights
Had the Air Con serviced
Things I need to do are an ever increasing list
Started getting the bits to service it, so far I have the timing belt kit, fuel, oil, air and cabin filters, and a set of spark plugs. Need to pick up the oil, a set of new leads (it's the older ones with the retaining clips) and a new coilpack.
Start sorting out all the niggles in the paintwork
Find out what the knocking noise is coming from the passenger side
Fettle the bonnet so it actually lines up with the headlights, it stands out a bit at the front at the moment.
Decide where I'm going to go with mods
So not very much, but after reading loads of threads and specifically seeing those pictures of Al's beast I want to get it properly sorted.
A few pictures before starting anything
You can see the state of the bonnet, the laquer was completely knackered
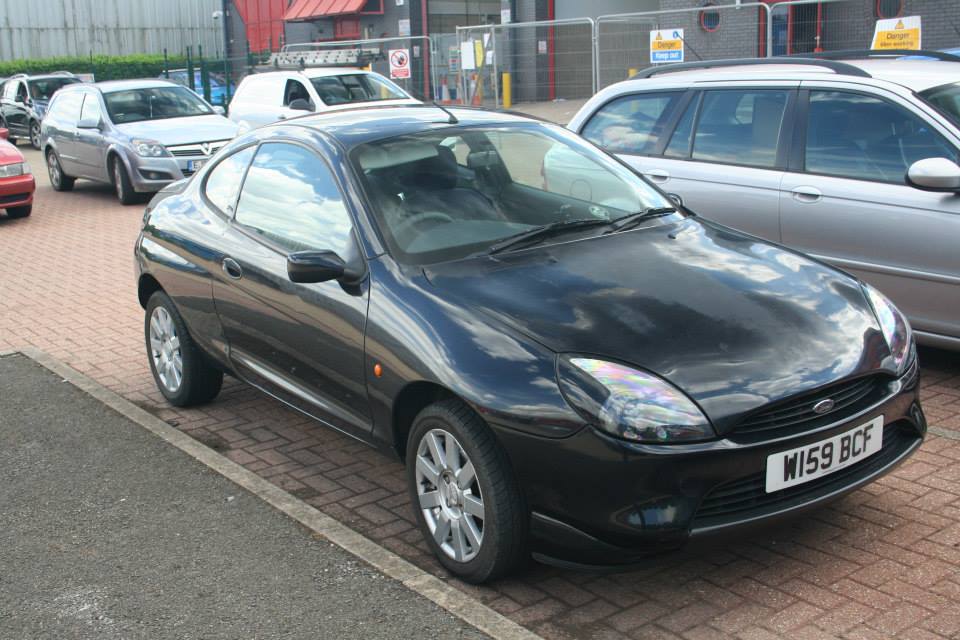
Drivers side, nice manky wheelarch
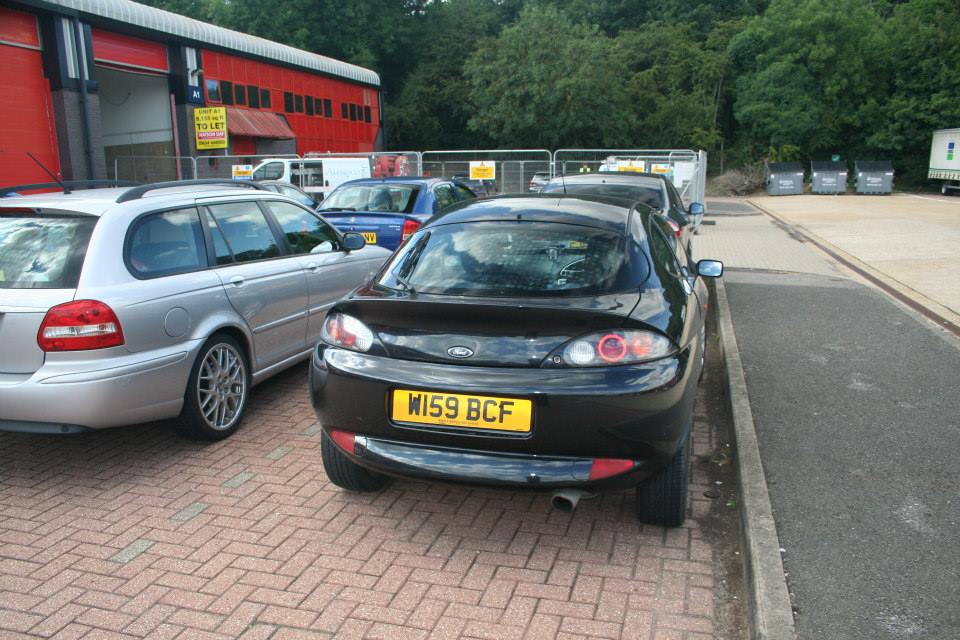
And the backside")
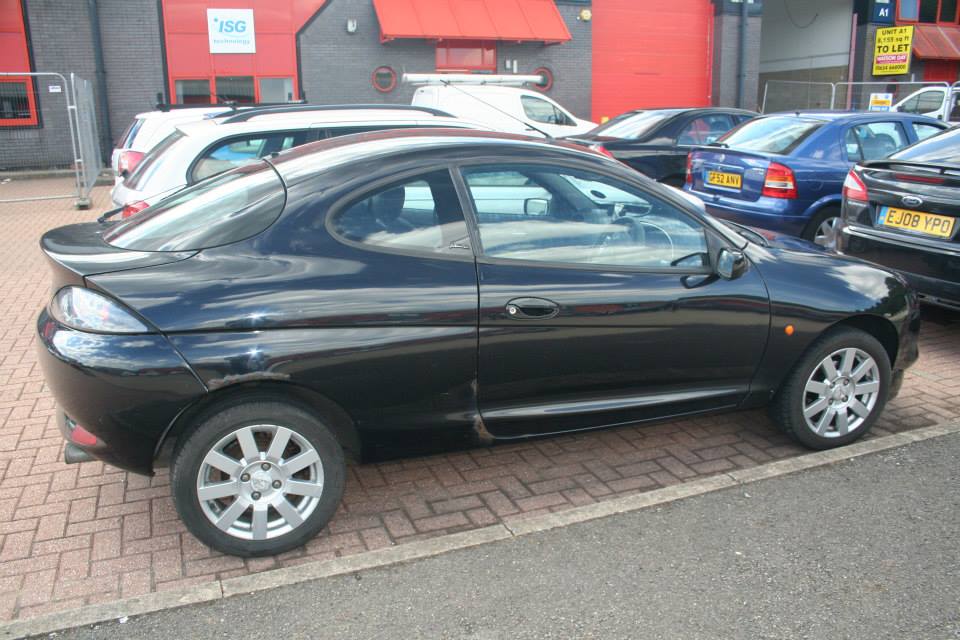
Passenger side was pretty good, just the corner of the door shut, the wheelarch was fine.

Managed to pick up a bargain from a great guy in Ashford for a mere £350, she had 6 month tax and MOT, the usual tinworm in the door shuts and the wheel arches and lot's of marks and scrapes, but for the money I didnt expect much.
So far I've done the following (barely started)
Replaced the bonnet with one from a scrappie (Gas Road in Sittingbourne, nice clean black one if you need any bits)
Ground out the rust in the door shuts and the rear arch and primed the surface to protect it for the moment
Washed it
Fitted a set of Ford Mudflaps that I found in the scrappies, had to get a new set of clips from Fords as the old ones were rusted into single blobs.
Smaller Antenna on the roof
Aftermarket radio fitted with a 1 din adaptor
Cleaned the engine bay
Replaced the 501 bulbs with LED equivalents in the sidelights and the number plate lights
Had the Air Con serviced
Things I need to do are an ever increasing list
Started getting the bits to service it, so far I have the timing belt kit, fuel, oil, air and cabin filters, and a set of spark plugs. Need to pick up the oil, a set of new leads (it's the older ones with the retaining clips) and a new coilpack.
Start sorting out all the niggles in the paintwork
Find out what the knocking noise is coming from the passenger side
Fettle the bonnet so it actually lines up with the headlights, it stands out a bit at the front at the moment.
Decide where I'm going to go with mods
So not very much, but after reading loads of threads and specifically seeing those pictures of Al's beast I want to get it properly sorted.
A few pictures before starting anything
You can see the state of the bonnet, the laquer was completely knackered
Drivers side, nice manky wheelarch
And the backside
Passenger side was pretty good, just the corner of the door shut, the wheelarch was fine.