warrenpenalver
Active member
Doing this thread separate from my car thread as its going to be about carbon bits rather than just my car. The idea being it documents how ive made bits and progress as i learn and hopefully it inspires others to do the same and demistifies some of it as in its simplest forms its just playing with plastics!!
Some of the parts i want to make are specific to my car and some are not but specifically ideas for me to work on to improve my skills/learn more and to help out mates etc.
Ive played with glassfibre before as well as playing with resins so moving onto carbon was kind of the next stage. Also carbon parts can be both stronger and lighter than the original parts so win on all rounds.
Ive got a string of parts ive got hold of to make moulds including the following:
mirror baseplate.
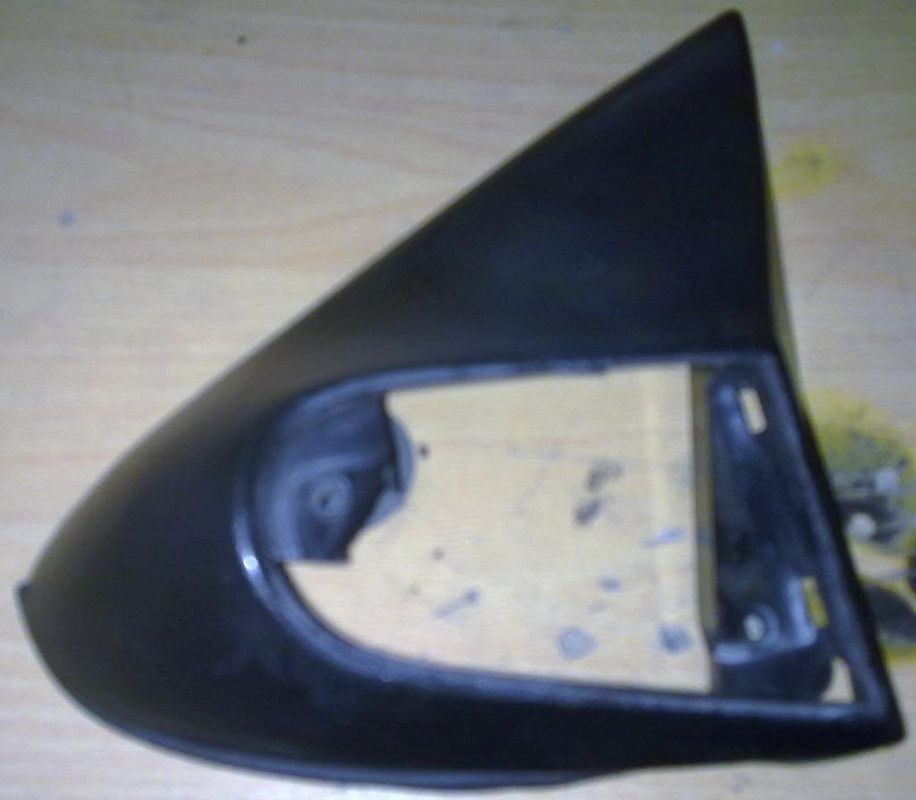
chosen as its relatively simple shape but with some fixing points to fix to car so needs practice with combining different laminates and ensuring structural strength around the fixing screw hole as well as the cosmetic finish
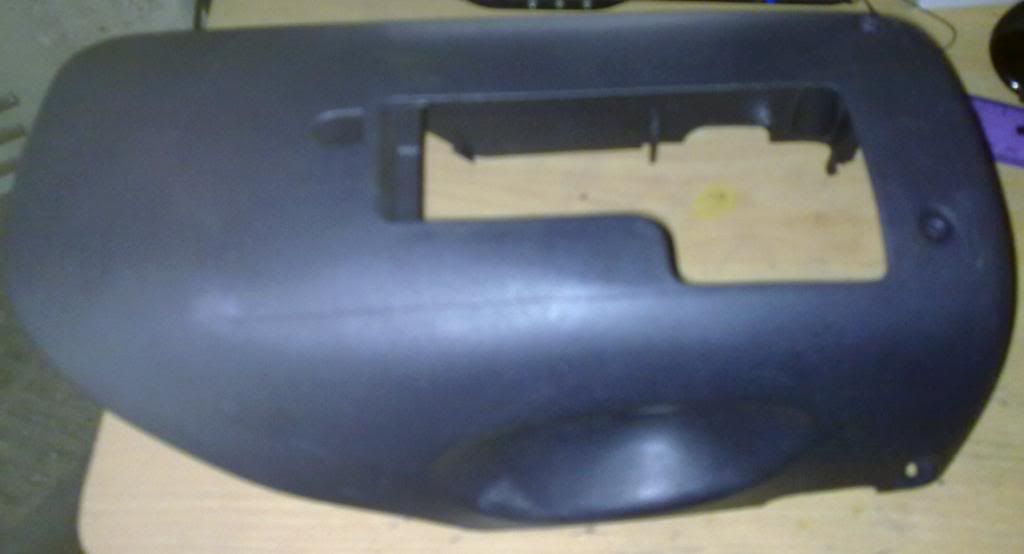
steering column upper shroud:
chosen as several tight curves and sharp edges as well as screw fixings underneath so needs to learn skills of combining carbon/resin with accurately positioning screw threaded metal.
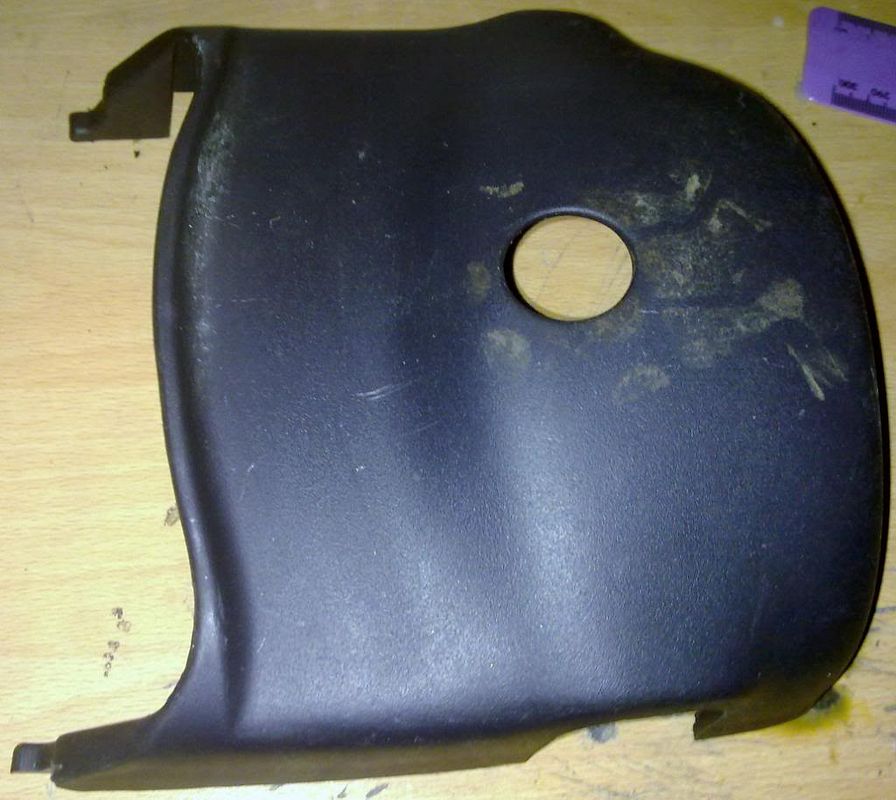
steering column lower shroud:
relatively simple shape, but with ignition key recess requiring two part mould to prevent "mechanical lock". Needs hooks making out of carbon sheet to latch with upper shroud. Also matches up with upper shroud.
Door handle
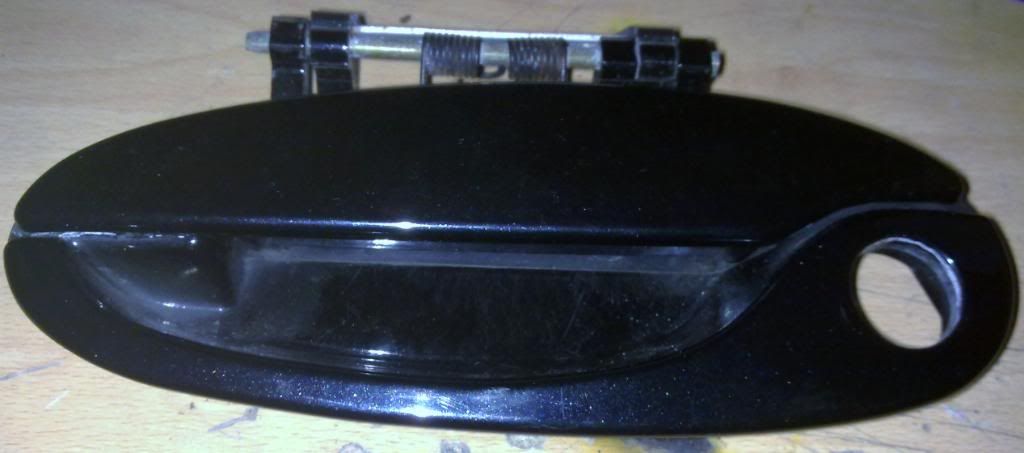
chosen because it is complex injection moulded plastic. The aim being to design either the complete unit in carbon or a combination part where the mechanism remains plastic but the visual surfaces carbon for cosmetic reasons. will need a multitude of skills combining basic moulding, thought about screw fixings, making strong yet light levers and support arms and accuracy in locating the multiple moulded parts to make a working mechanism. probably one of the last things i do as its the most complex!!
I might have a go at some larger panels and parts at a later date but while im learning, the moulding costs of big panels makes it prohibitively expensive for experimenting and i dont fancy spending 2 hundred quid on a mould for a part im just messing with and might not work!!
ok to make carbon bits you need some specialist equipment and an array of common workshop tools and materials so you can make moulds, sand bits, cut things, etc etc
To choose your equipment you need to decide which method of part making you will use. There are 3 core methods for making carbon parts namely wet lay, vacuum resin-infusion and pre-preg.
Wet-lay
in simple terms you have a mould, brush in resin for the gel coat, then lay in your laminate layers wetting out each layer with more resin then finally allowing the part to cure.
This is the simplest method to use and needs no special equipment but it is also hard to achieve cosmetically pleasant results as well as the parts will likely be fairly resin rich meaning not as light or as strong as they could be. It takes a lot of practice and patience to get a good cosmetic finish with the key being a good even gel coat layer and careful application of the first visible layer of carbon.
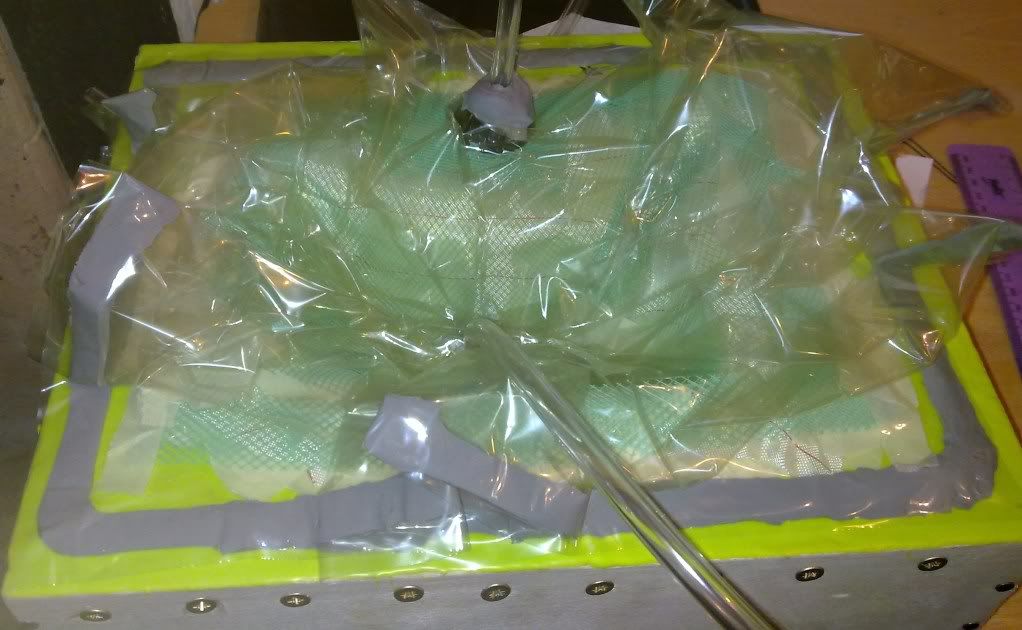
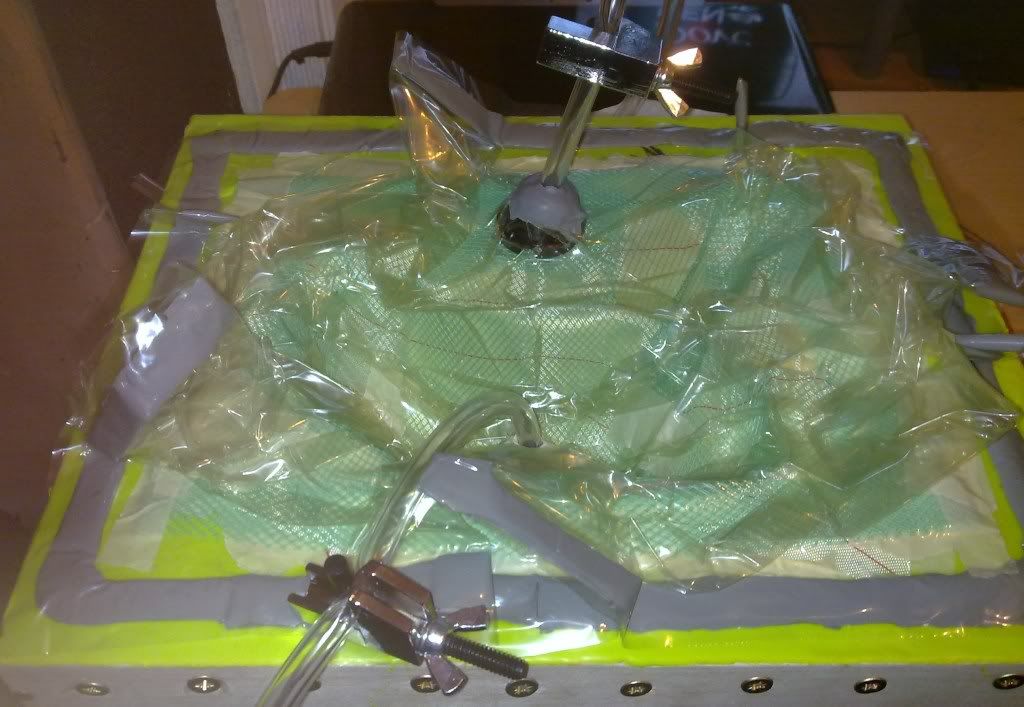
Vacuum Resin Infusion
The name gives it away here. In essence the part is made in a vacuum and resin is sucked through the part by the vacuum pump. It is then left to cure under vacuum either at room temp or in an oven.
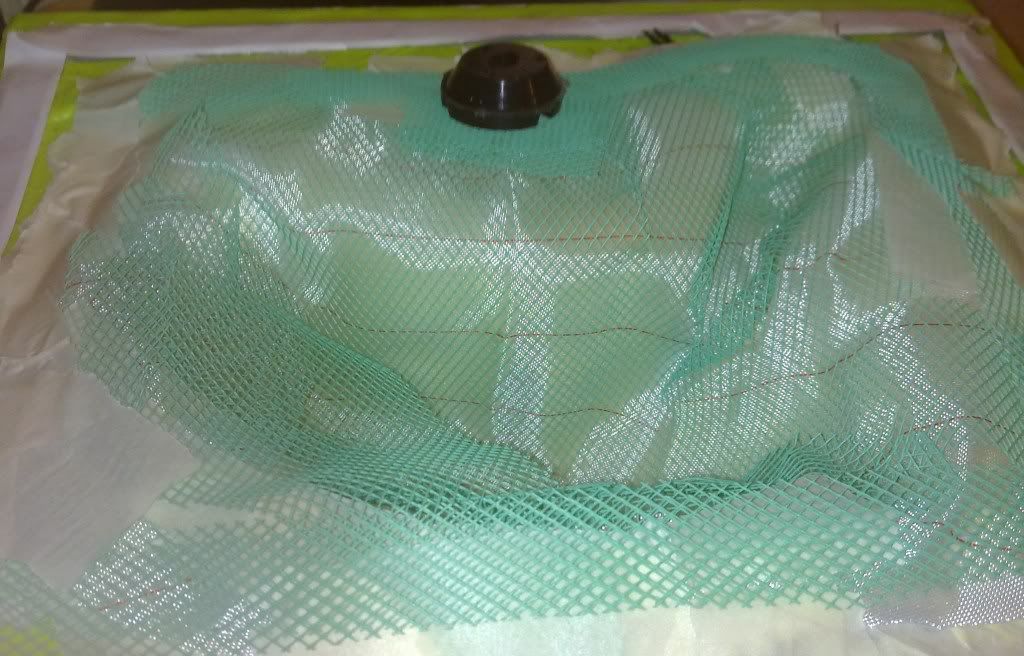
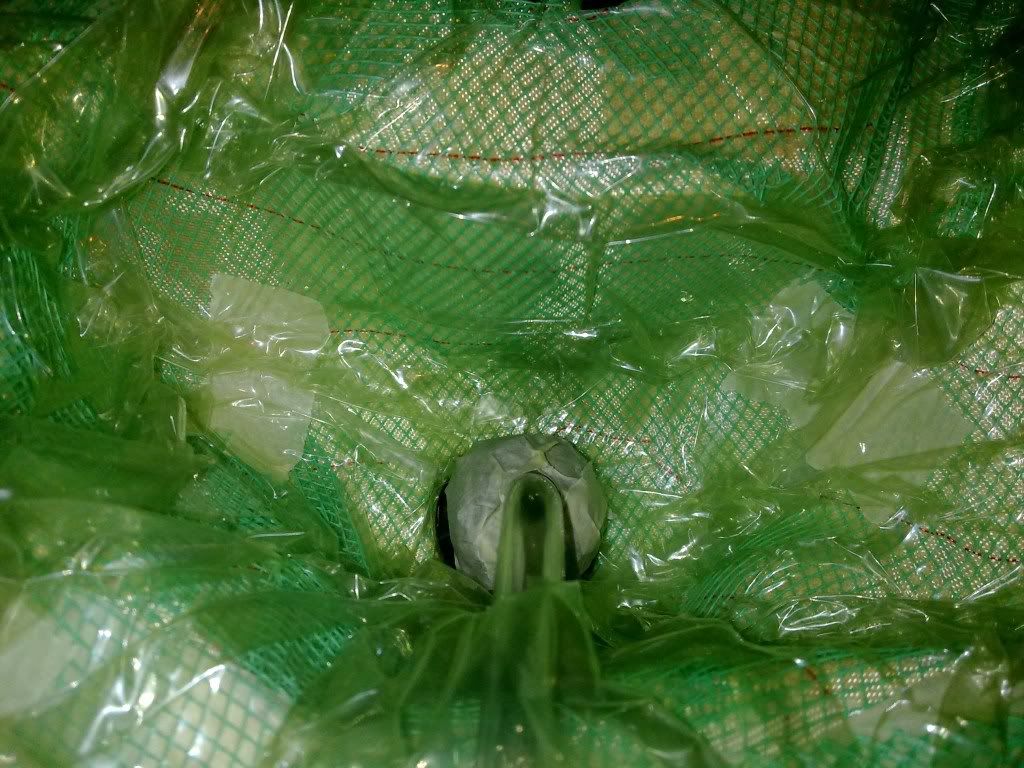
This method is more complex yet can achieve very good results. The mould has to be constructed with a large flange to enable the bagging and infusion materials to fit in. The carbon is laid in dry, then a stack of peel ply, infusion mesh and bagging film is laid on top. The bagging film is sealed either to the mould or as a bag (supplies as open ended tube) to make a air tight bag. You have a vacuum outlet and a resin inlet on the bag. Vacuum is then drawn to help hold all the material layers in place as well as promote resin flow. Then a resin is drawn through the whole mould by the pump. The infusion mesh has the gaps needed to allow it to flow. once resin has reached all parts of the mould it is then cured either at room temp or in an oven. roomtemp curing can be further strengthened by postcuring in an oven.
The advantage over wetlay is much lighter and stronger parts due to the method ensuring the correct ideal resin/carbon ratio and also parts with a better cosmetic finish due to the vacuum ensuring no bubbles or pin holes. It is also easier to learn with less emphasis on fiddly skill but more emphasis on being systematic in making sure you have a good bag stack and air tight bag. The disadvantage is it requires some specialist kit so is not ideal if you just want to make one or two things.
Pre-preg.
This method uses carbon fabric that already has the resin in the fabric. It is laid in moulds in a similar way to resin infusion and then bagged under vacuum. It is then cured in an autoclave both under pressure and temperature.
This is the ultimate in strength and lightness and hence often used in top flight motorsport, aerospace etc. But it is beyond the capabilities of the home enthusiast due to the sheer expense of the equipment. The much more expensive pre-preg material and process makes the final parts sometimes several times the price of equivilant resin infused parts.
Specialist gear.
I have chosen to use vacuum resin infusion as my method because although it has a small initial outlay on equipment (£200), can achieve far better results than wetlay and with careful planning and sticking to routines can achieve good results without the need for fiddly intricate abilities of the dummy doing the work (ie me!).
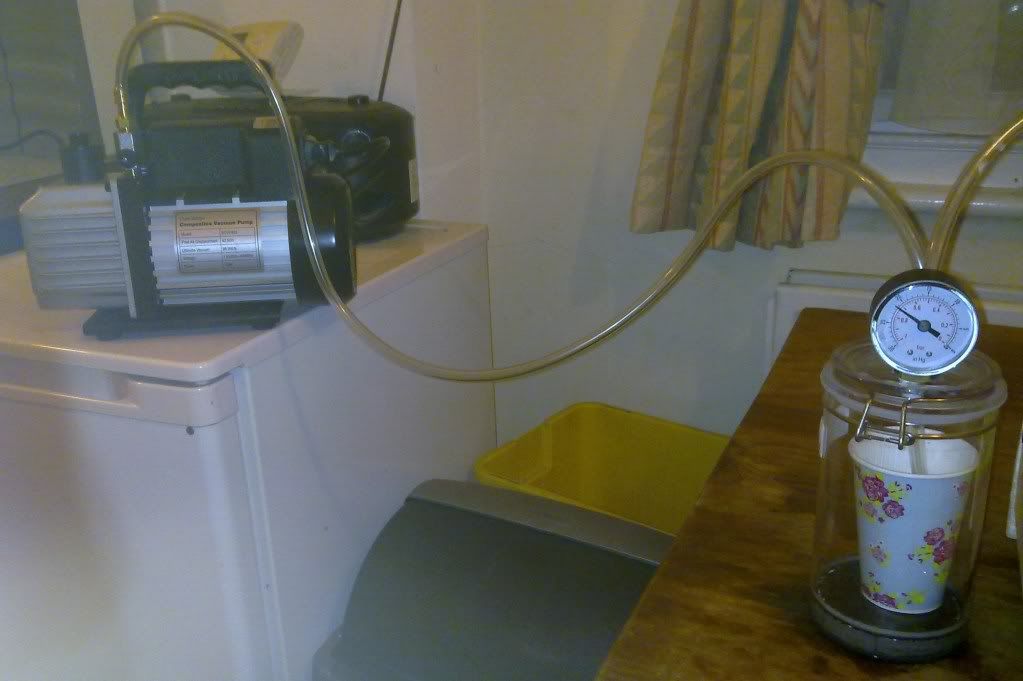
The key bits you need are firstly the vacuum pump:
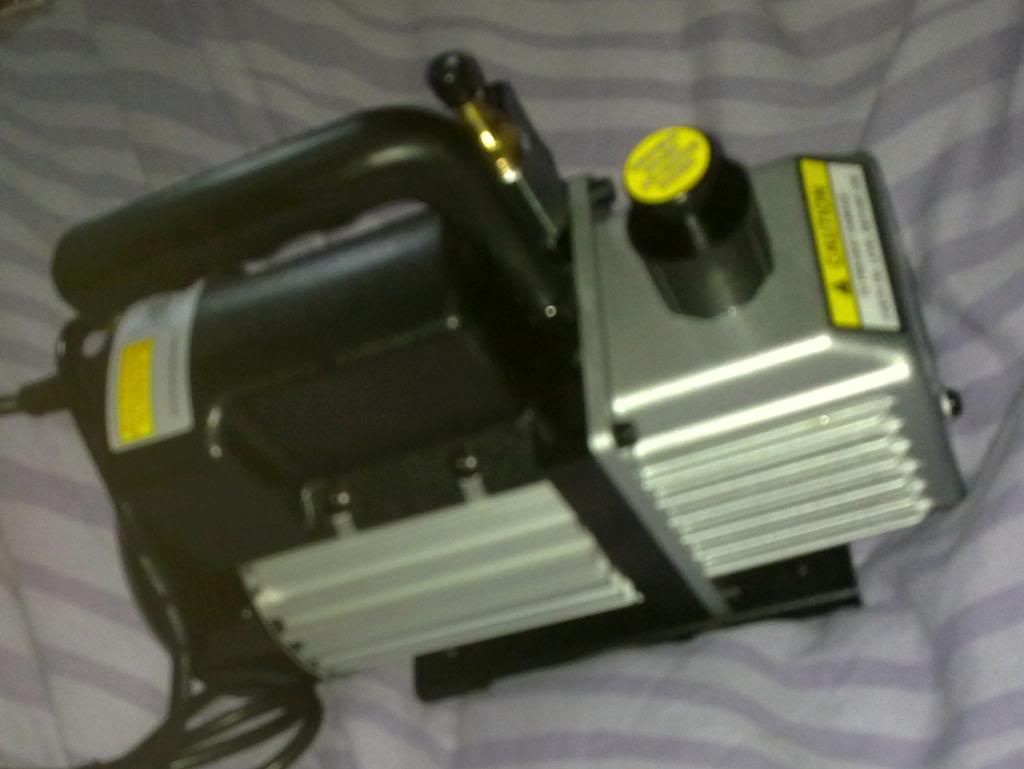
does what it says on the tin really. key to making the process work!
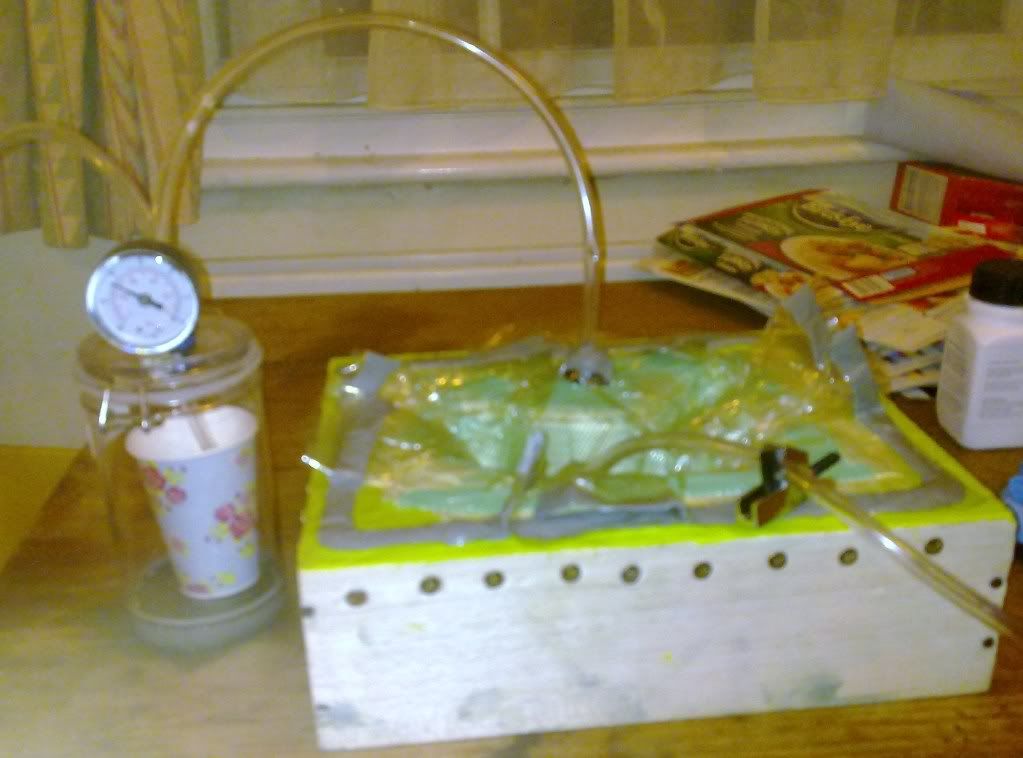
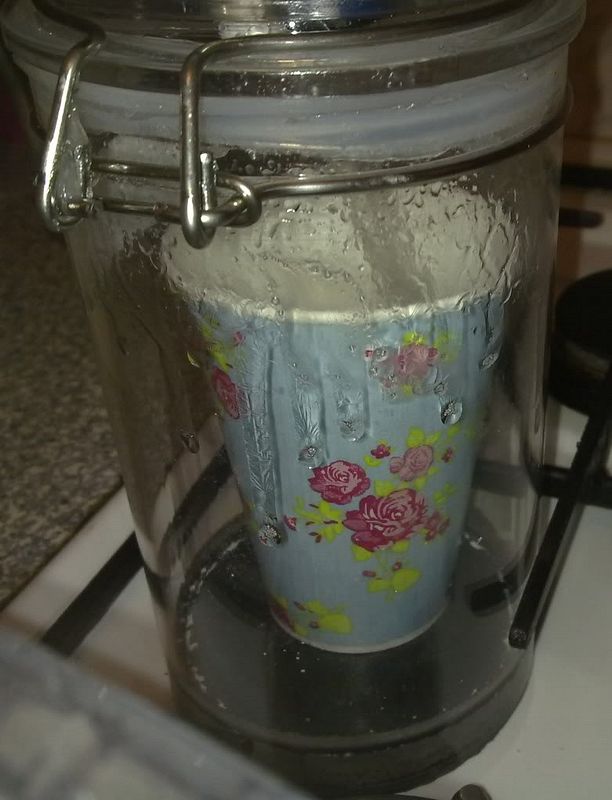
Catch pot:
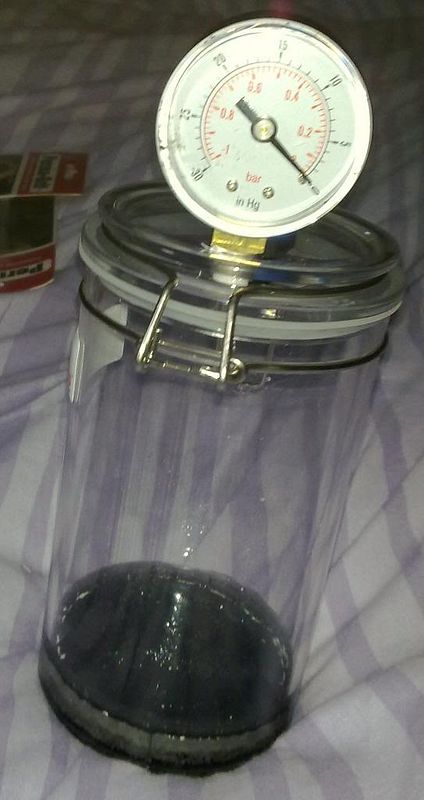
catches the excess resin drawn out of the bagging stack and stops you killing your pump with resin!! Also has the vacuum guage so you know when youve achieved the good vacuum.
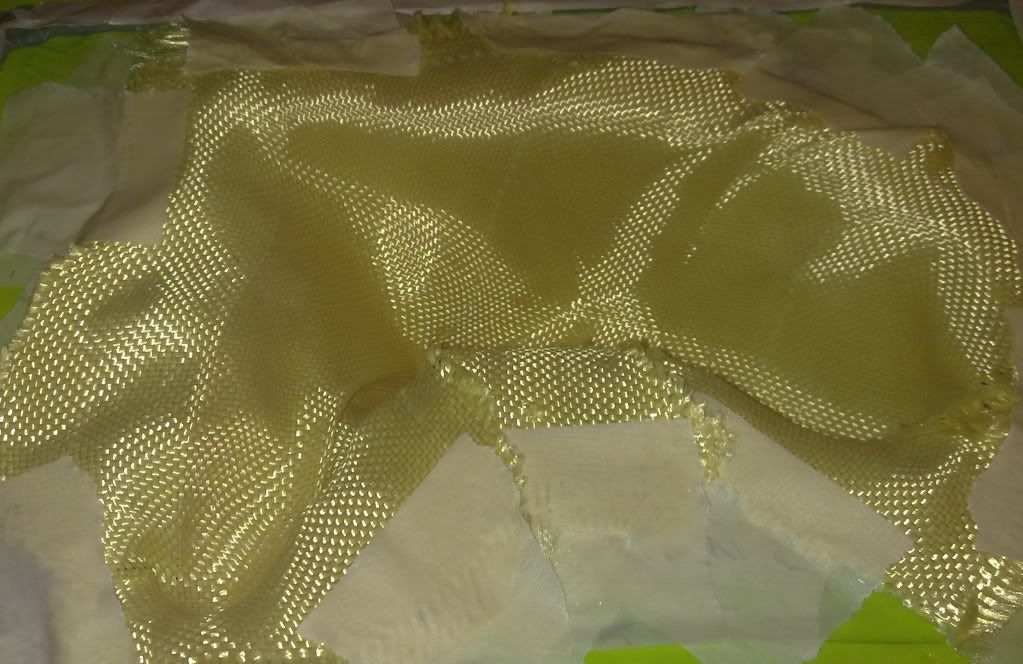
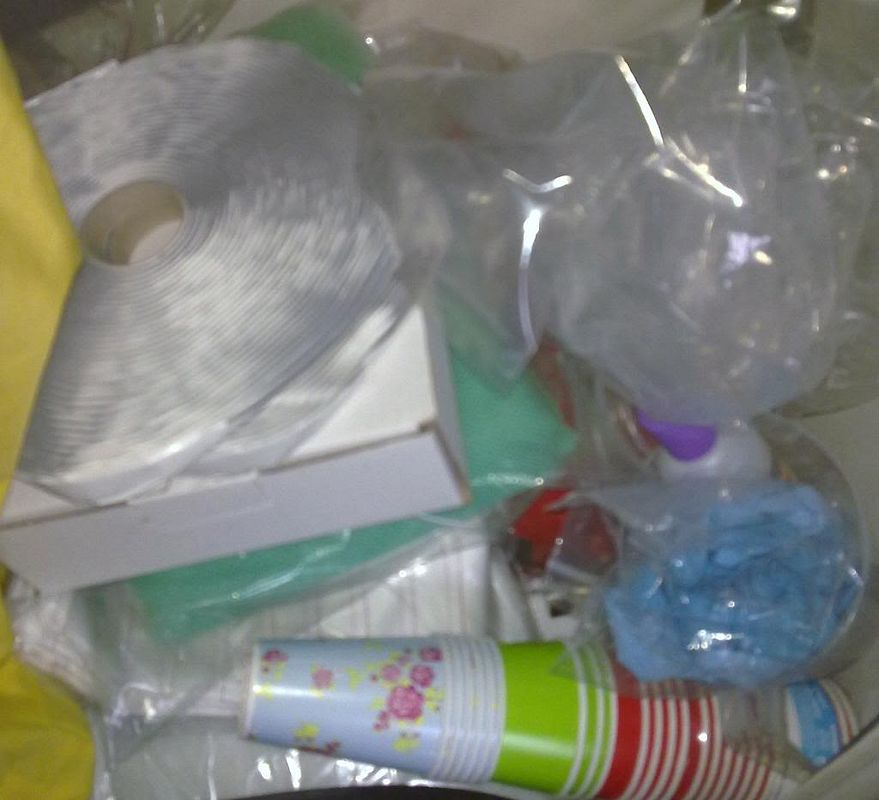
Bagging materials:
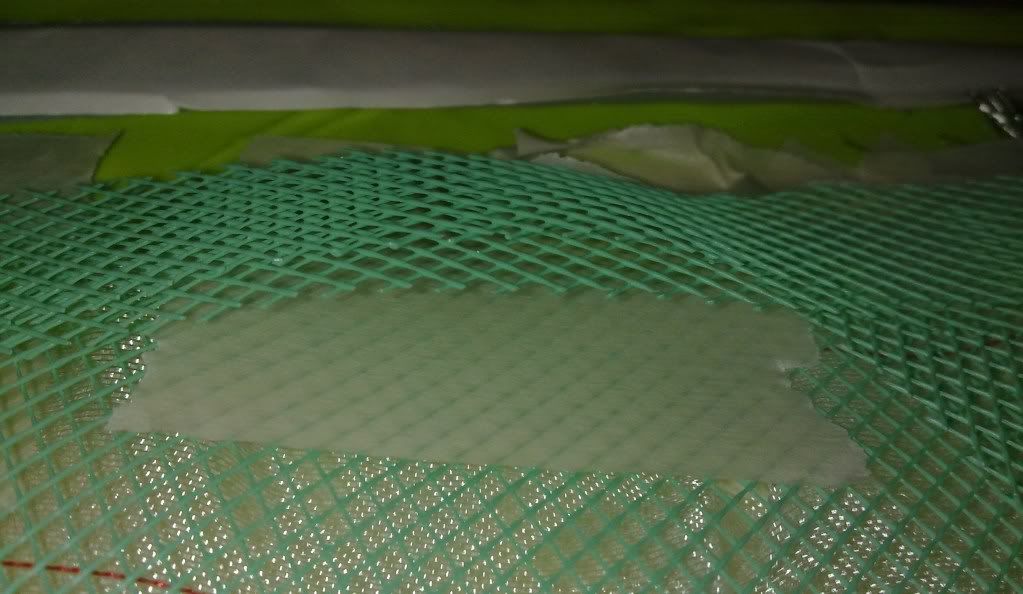
resin infusion mesh: plastic mesh that allows resin to flow across mould
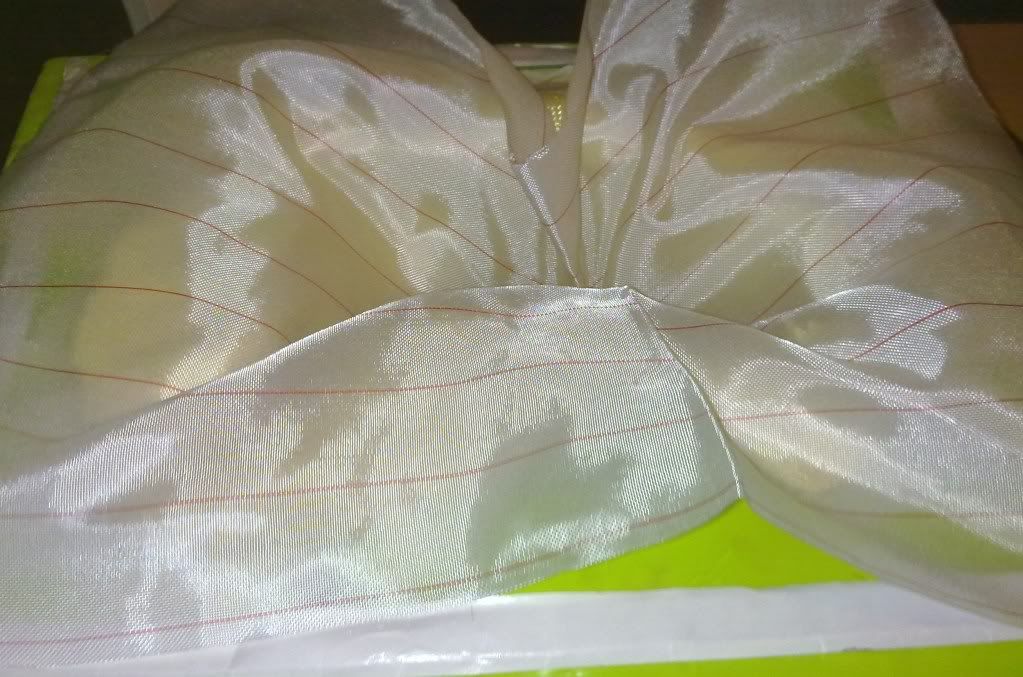
peel-ply: Stops the bagging material sticking permenantly to the part
bagging film: seals the mould and enables a vacuum to be made
gum tape: seals between bag and mould flanges
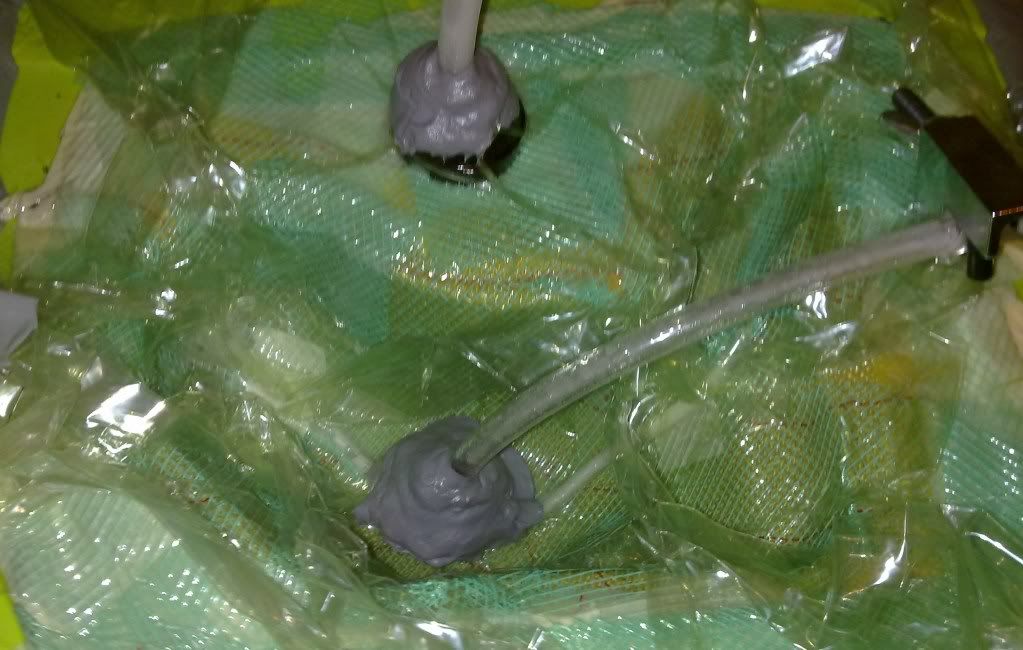
infusion spiral tube: similar to spiral cable wrap! Allows resin to flow easily from resin inlet
inlet and vac ports: allows tube to go through bag for resin inlet and vac outlet
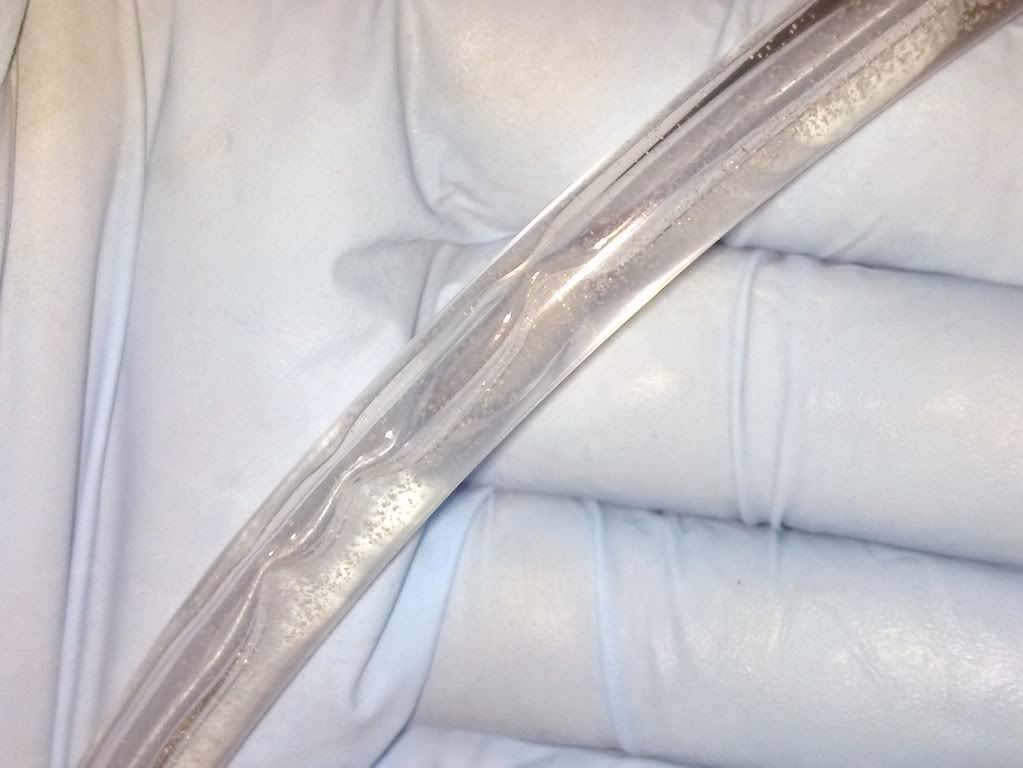
6mm pvc tube: links resin to bag, bag to catchpot and catchpot to vac pump
masking tape: helps hold things in place!
Breather fabric: sometimes used to absorb excess resin or to allow resin to flow in places.
infusion resin: epoxy resin with a low viscosity so it flows easily
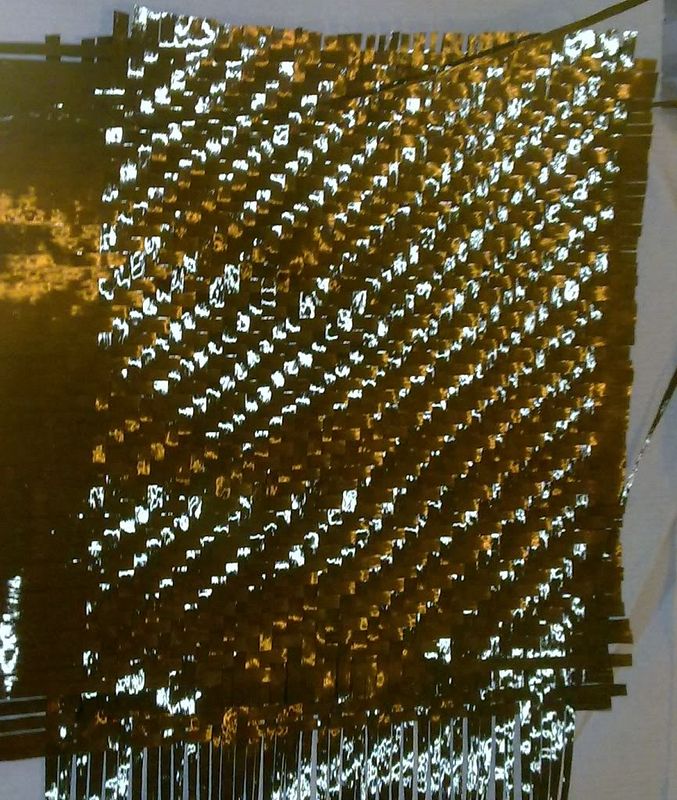
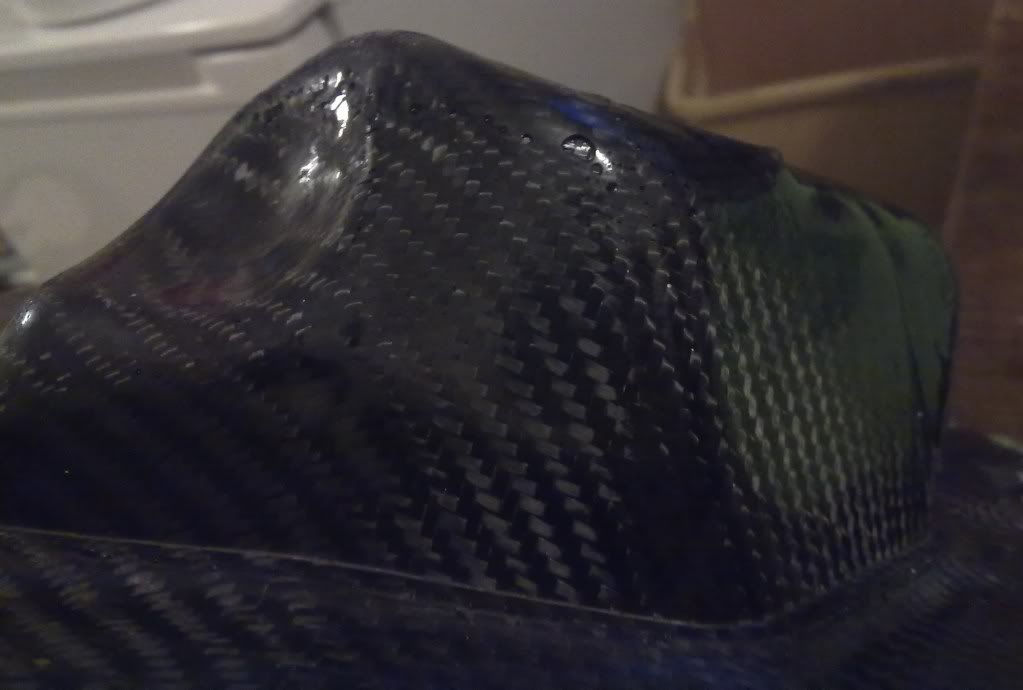
carbon fabric: the laminate! different styles used include 4x4 and 2x2 twill as well as unidirectional or plain weaves
release agent: designed to stop the carbon sticking to the mould.
Mould Making:
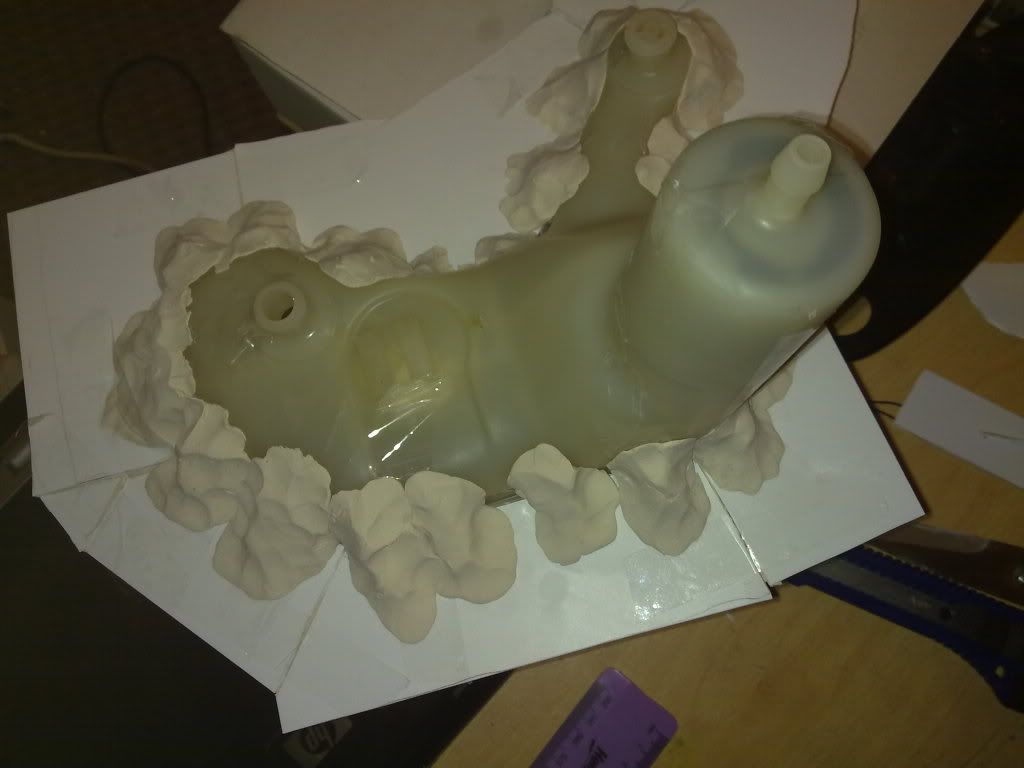
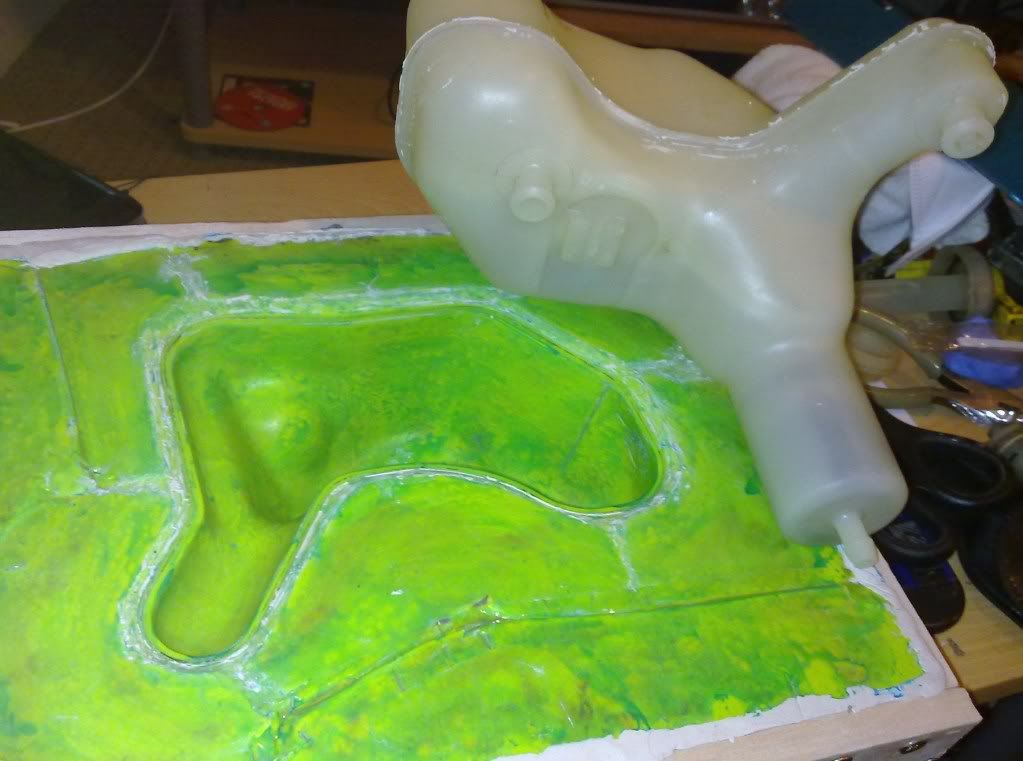
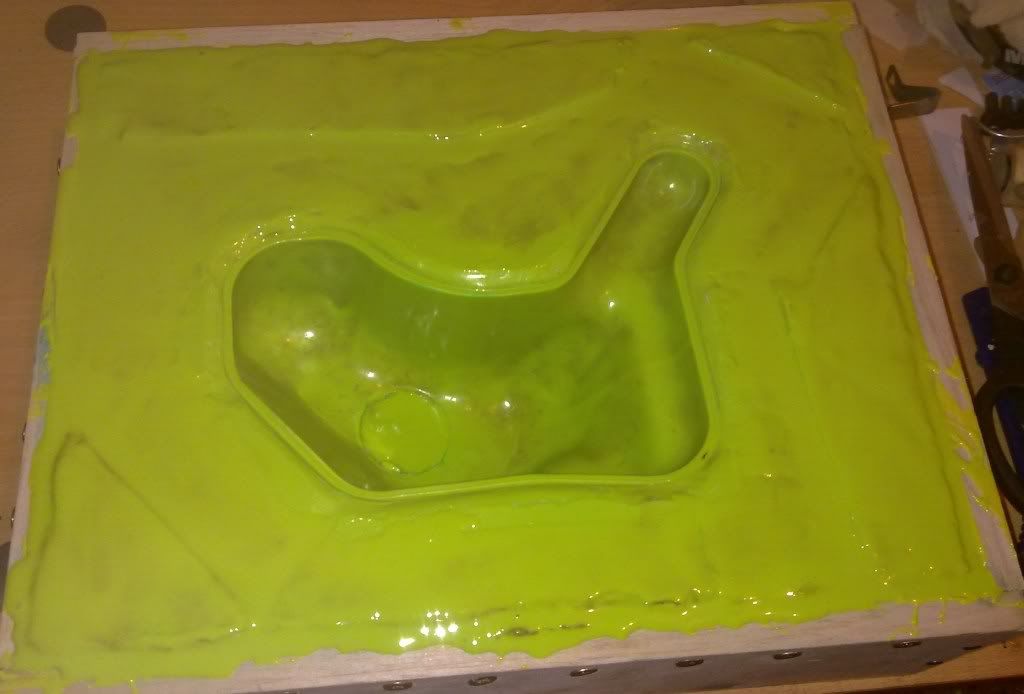
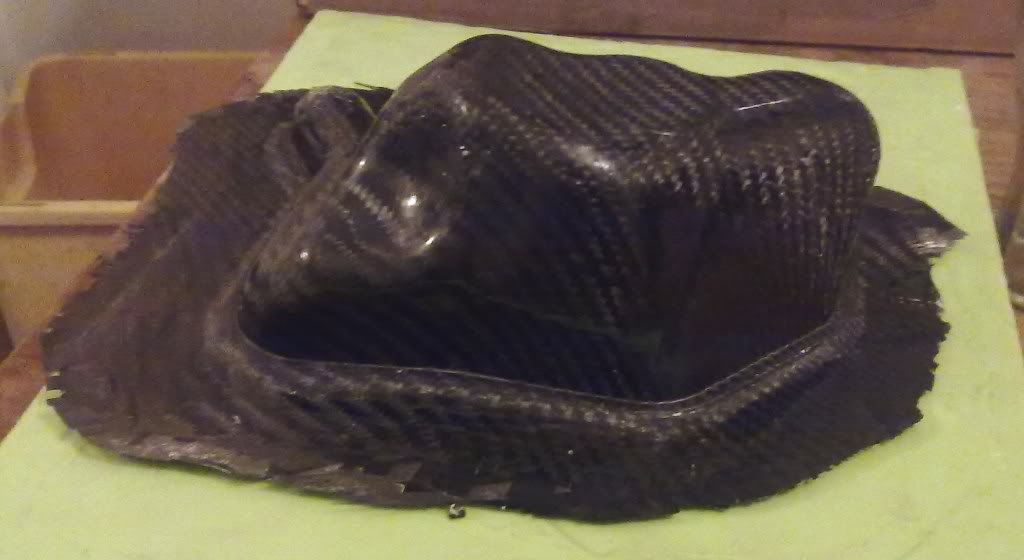
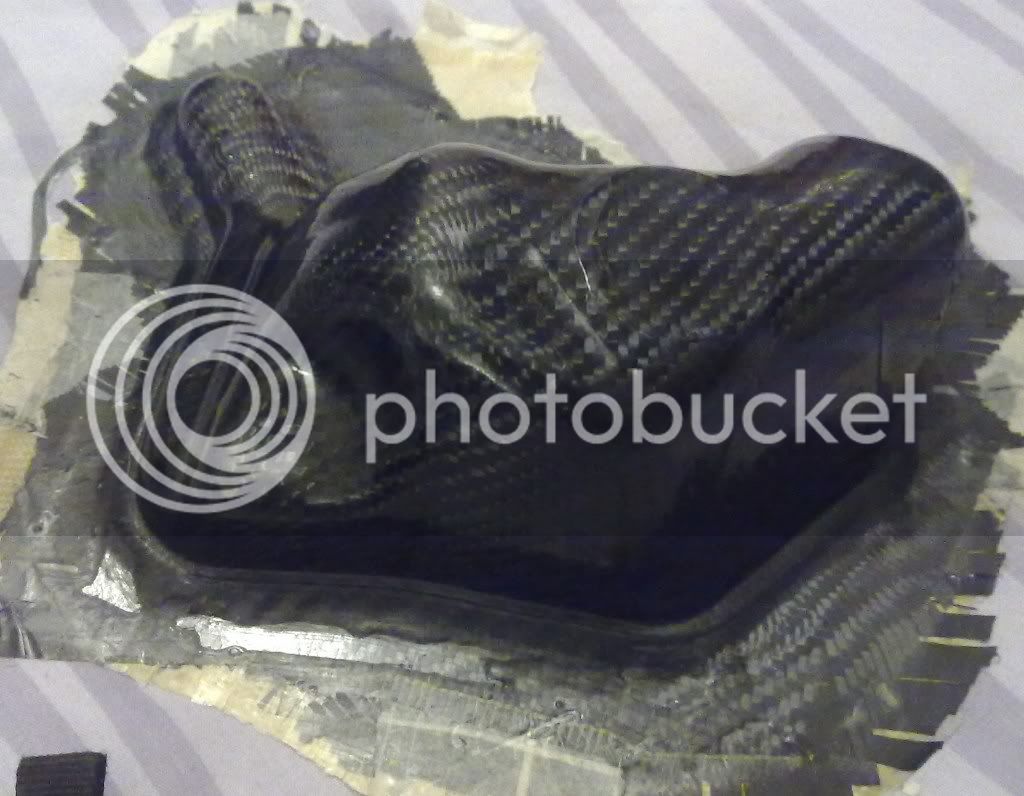
For this thread i will be making a mould of a cosworth brake fluid resevoir. Its got a few curves as well as a flat edge where i make it a 2 part mould and some fixings/screw threads so will involve a bit of skill.
First of all you need to decide how you will make a mould. In this case you can copy ford as it was made in 2 halves then bonded together, so you have a good line for making a mould flange. In this case i decided i will also need to make the screw threads and fluid oulets out of black resin plastic as those parts cannot be made in carbon easily.
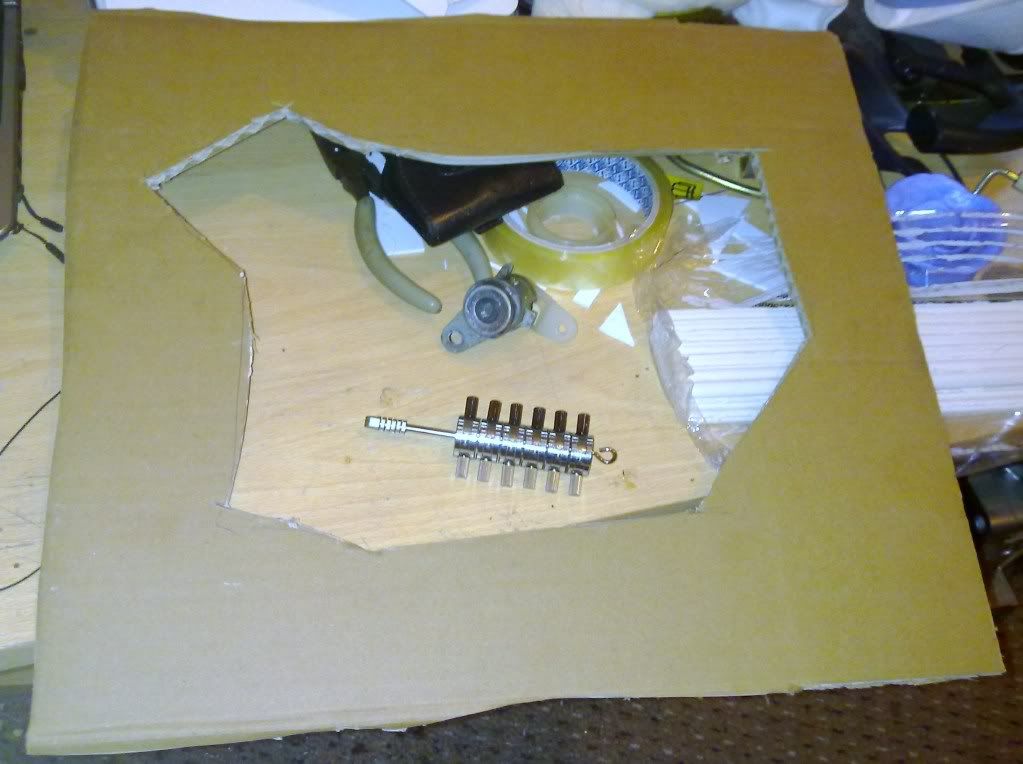
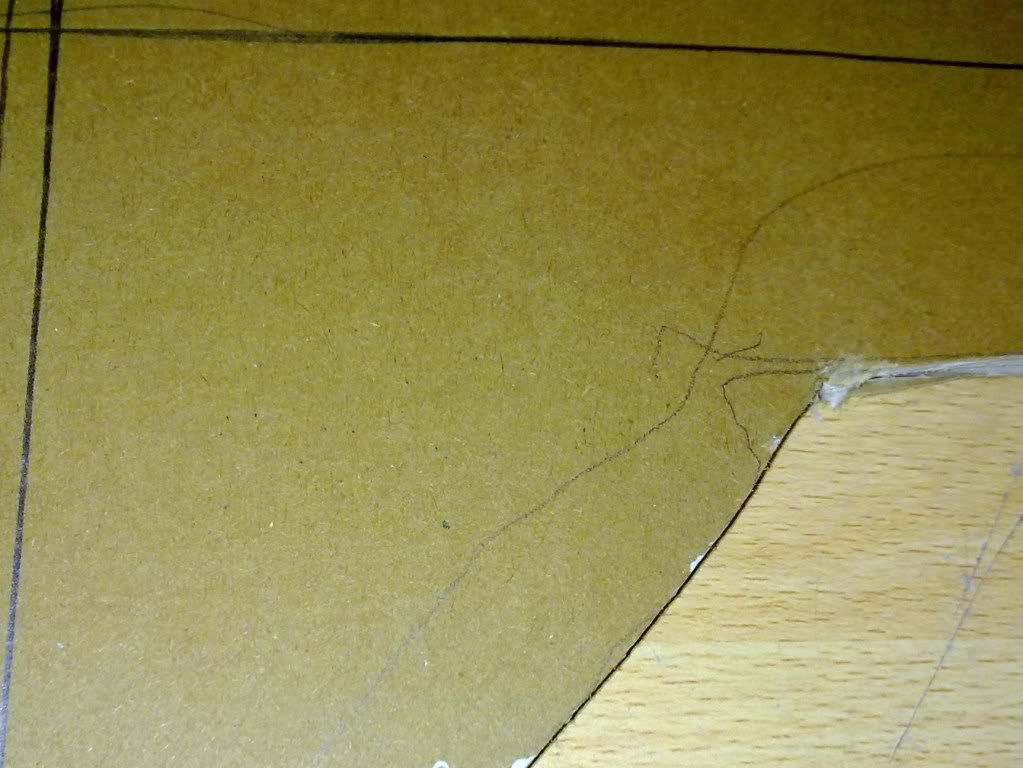
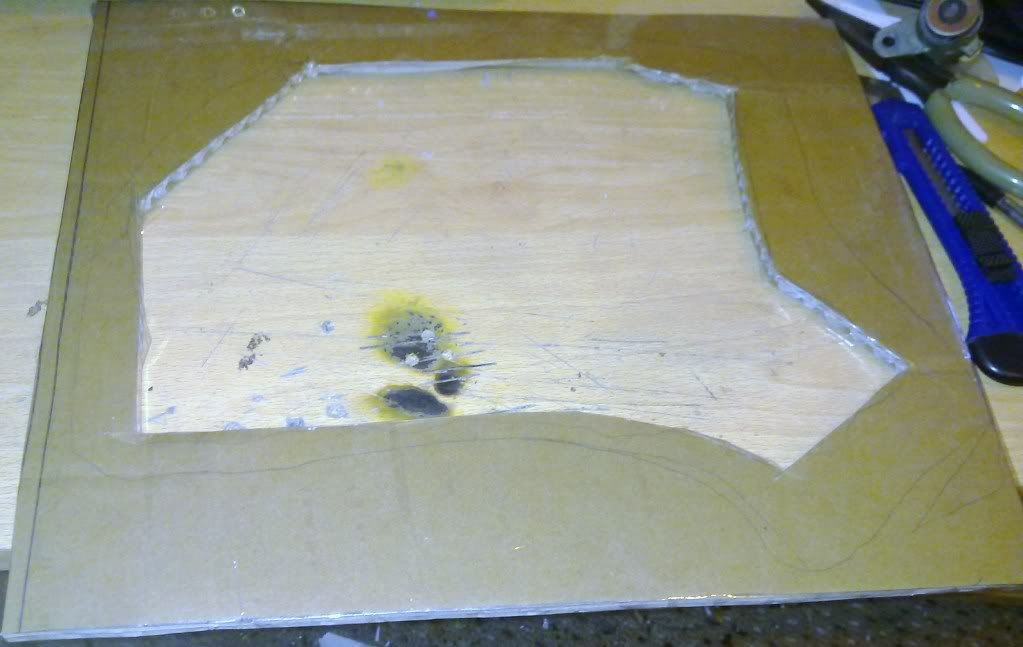
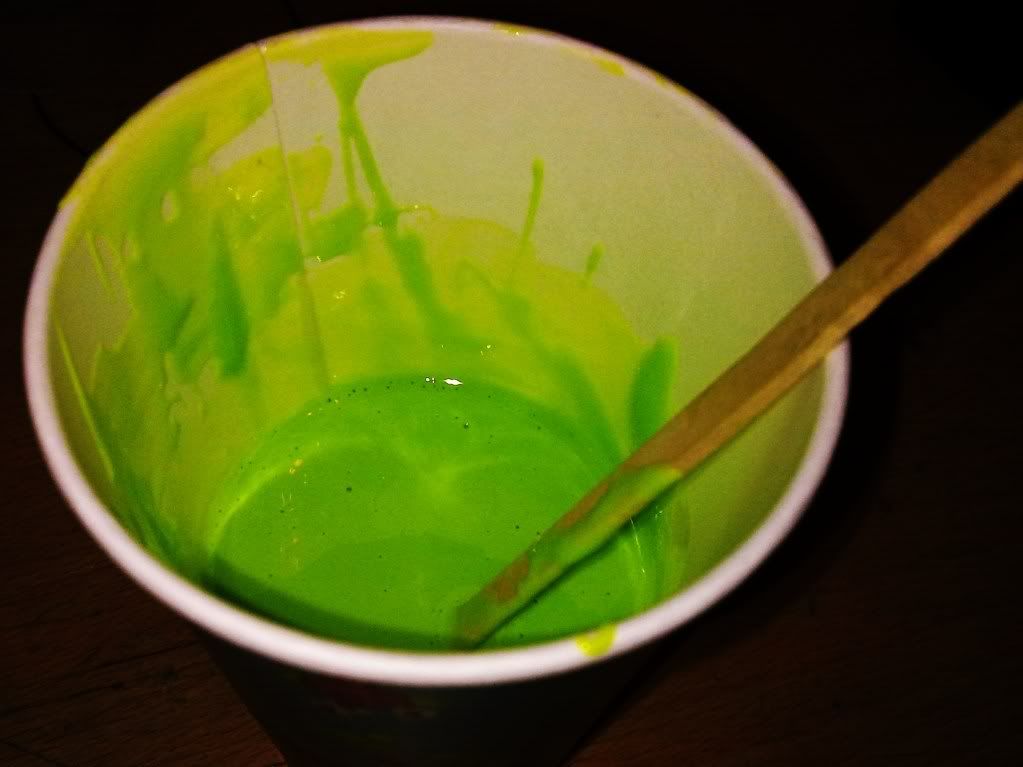
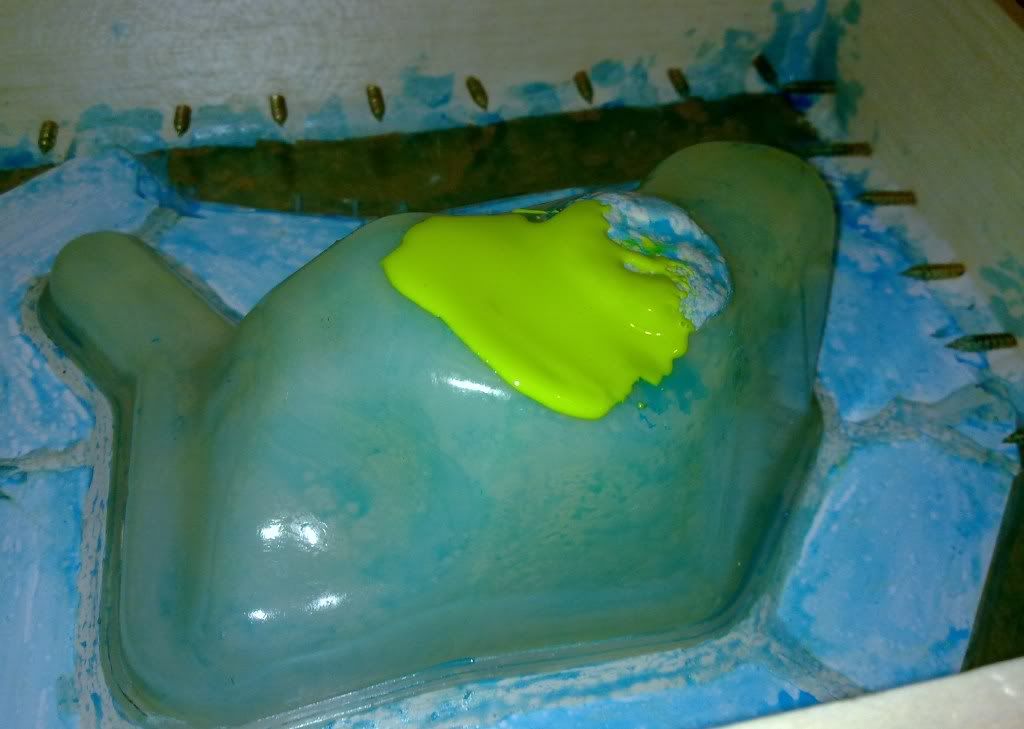
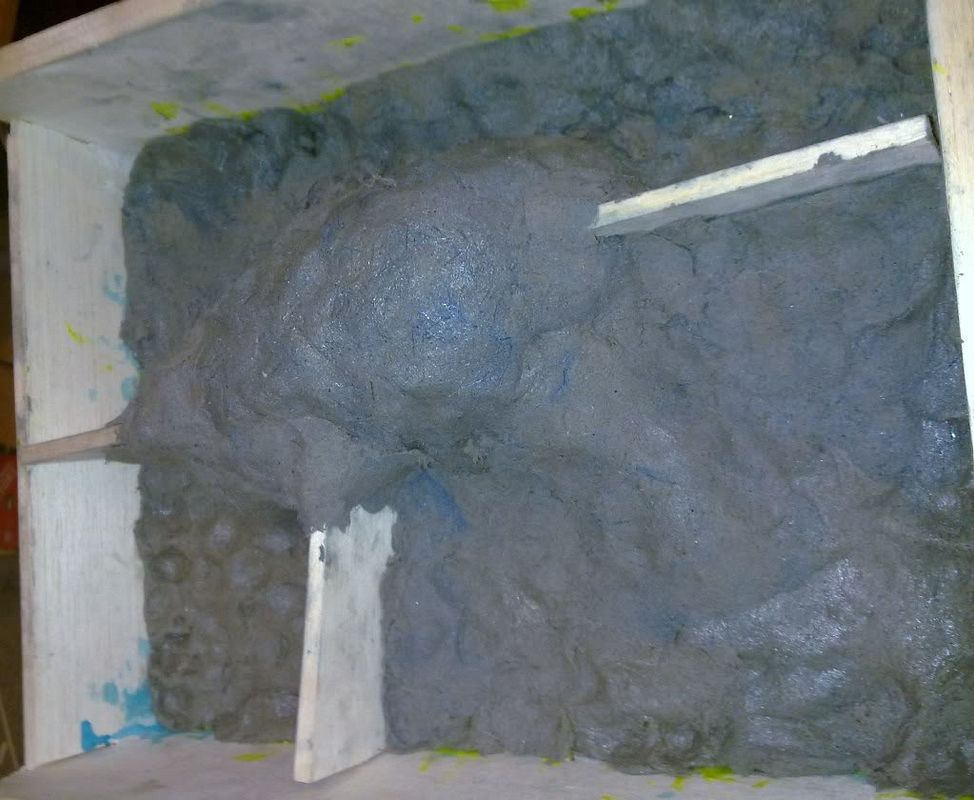
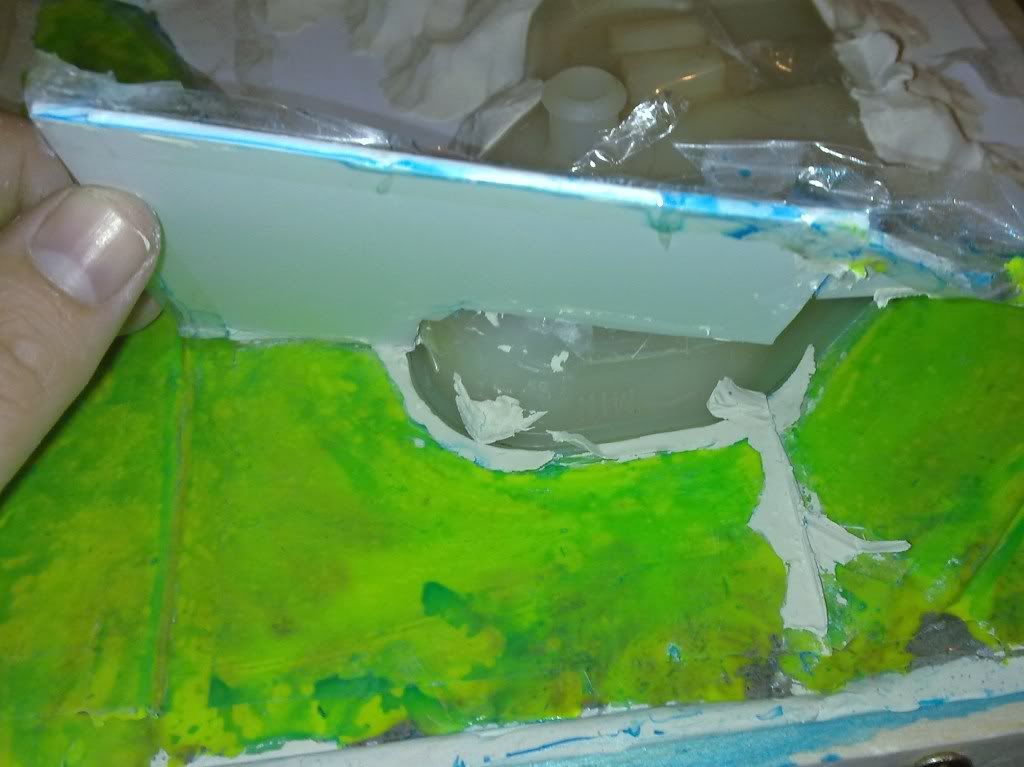
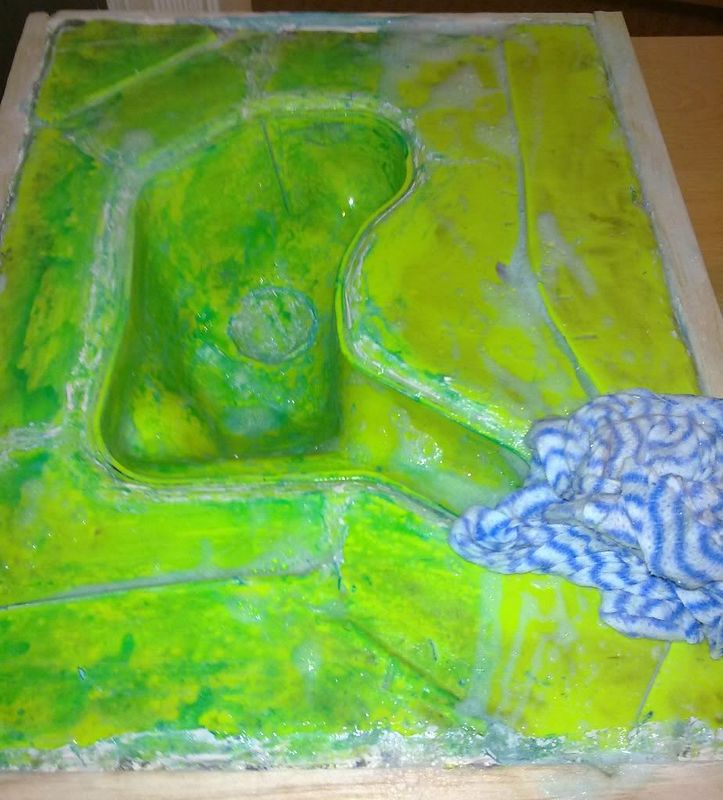
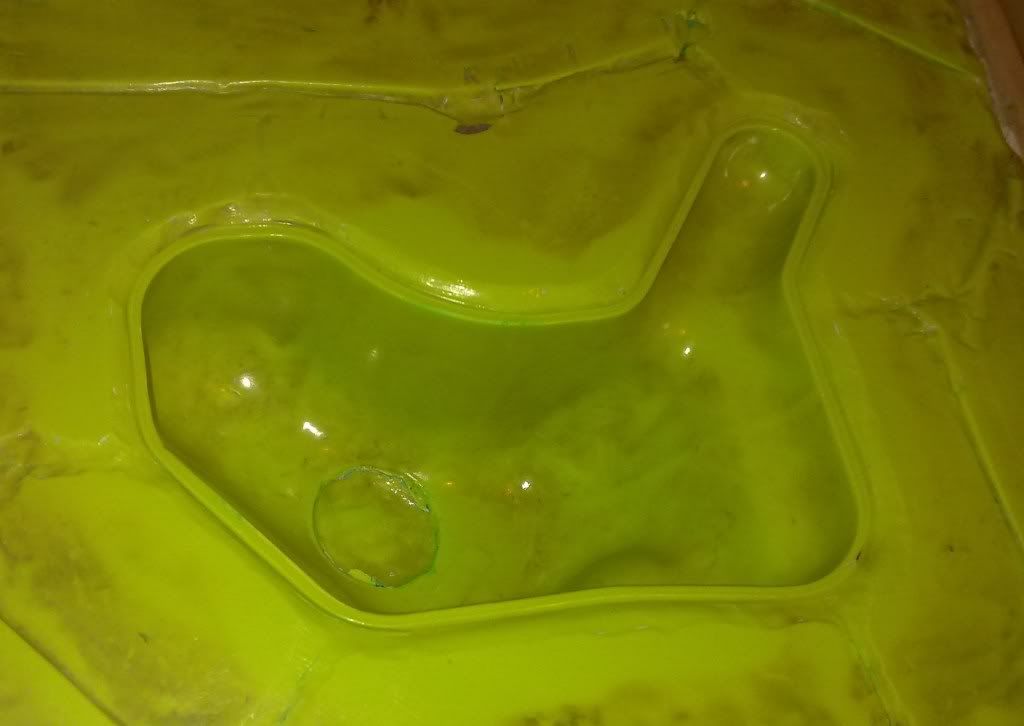
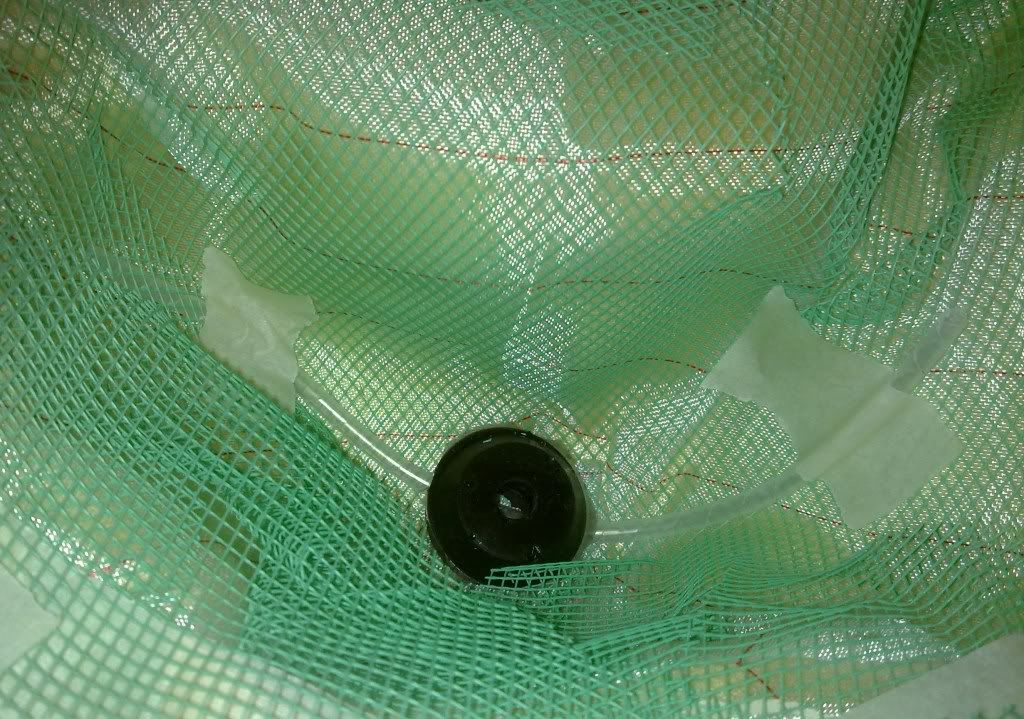
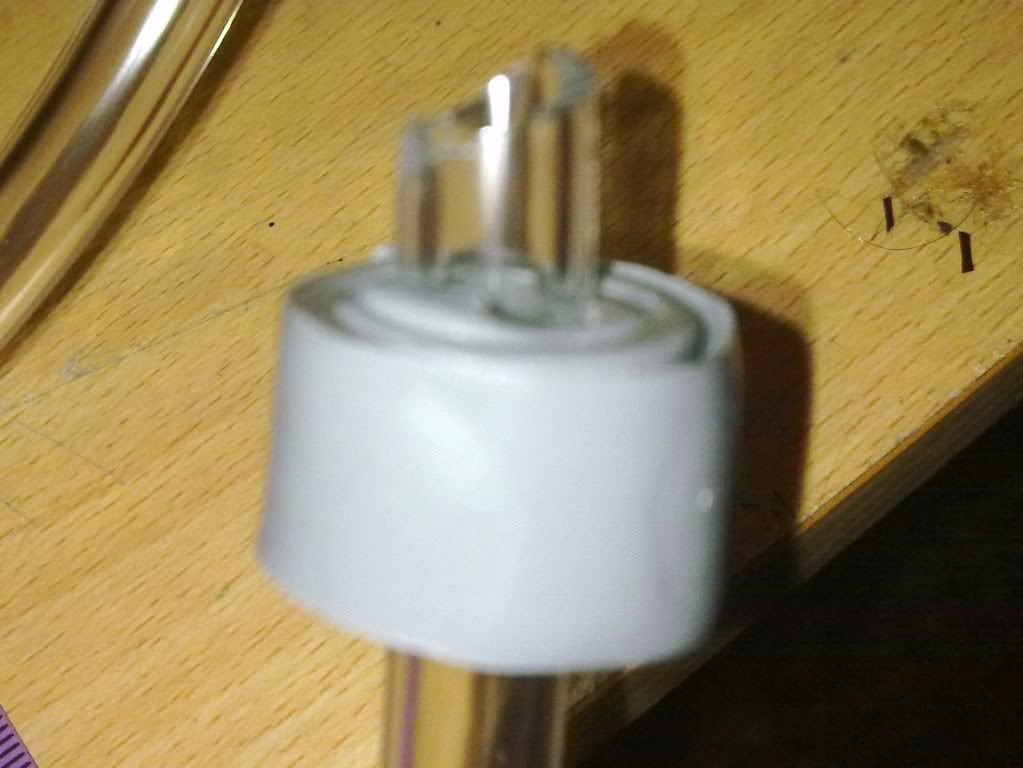
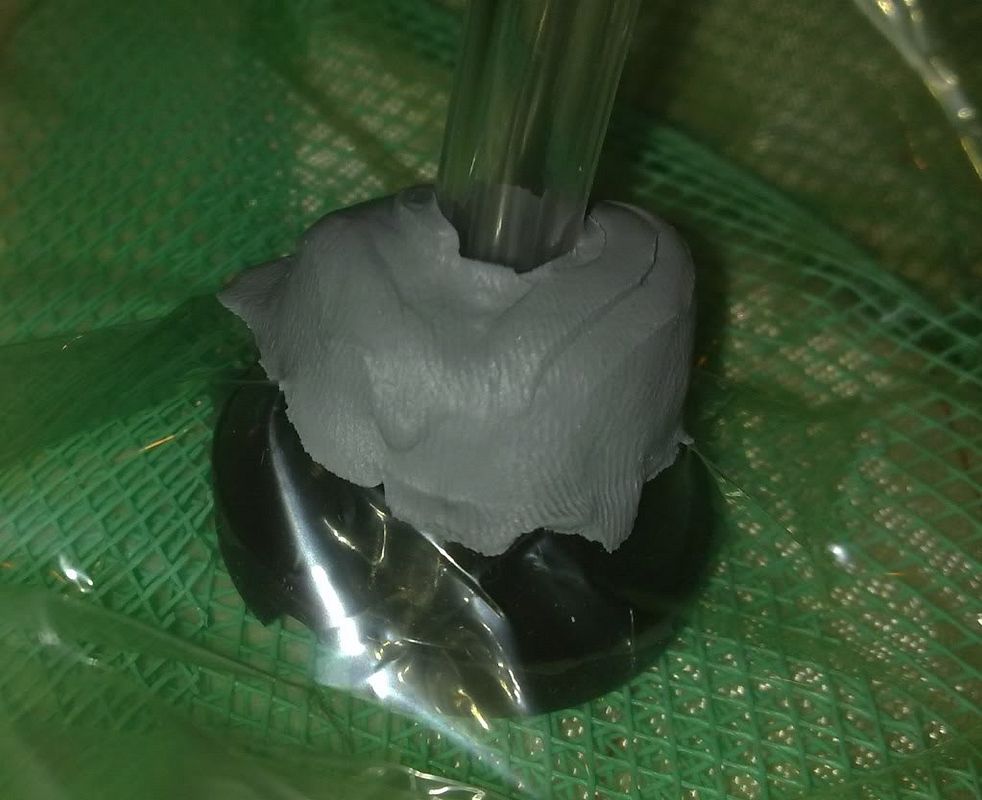
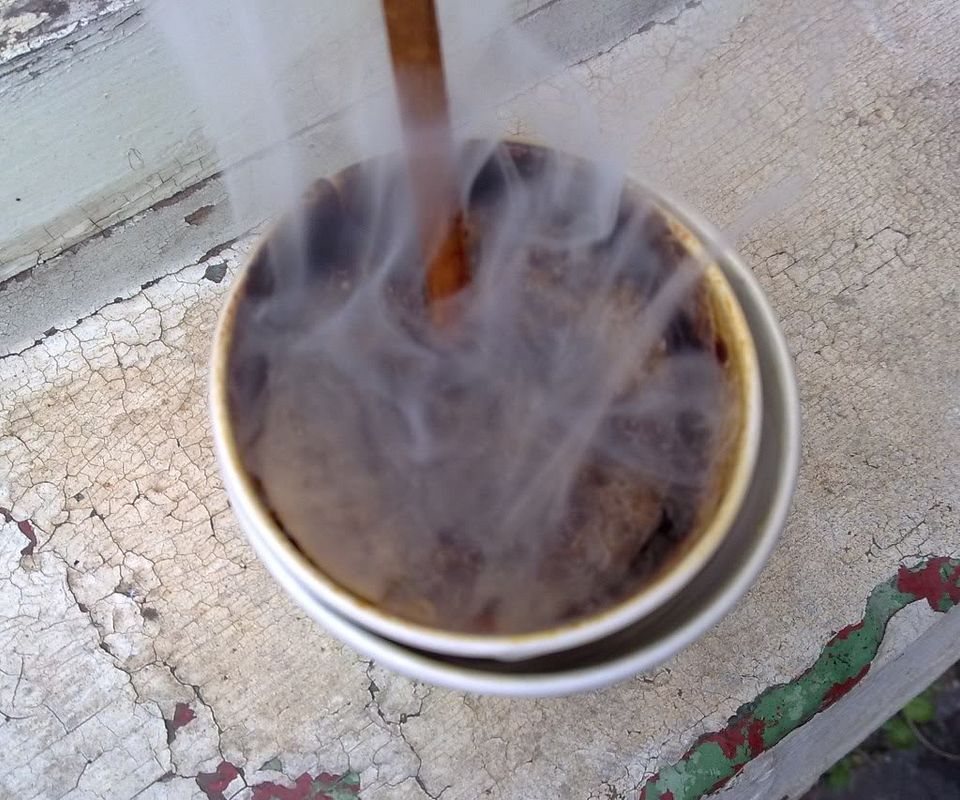
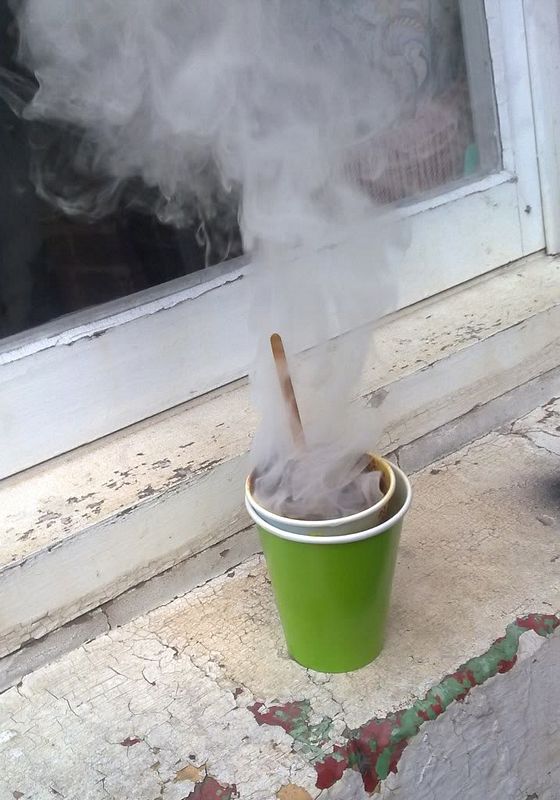
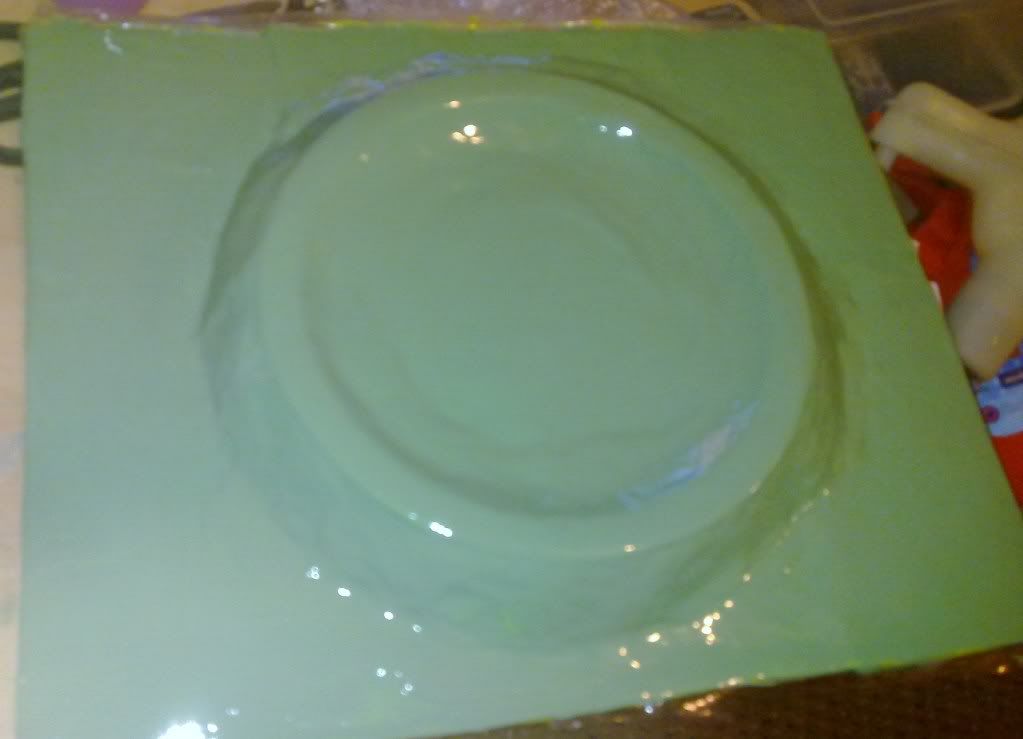
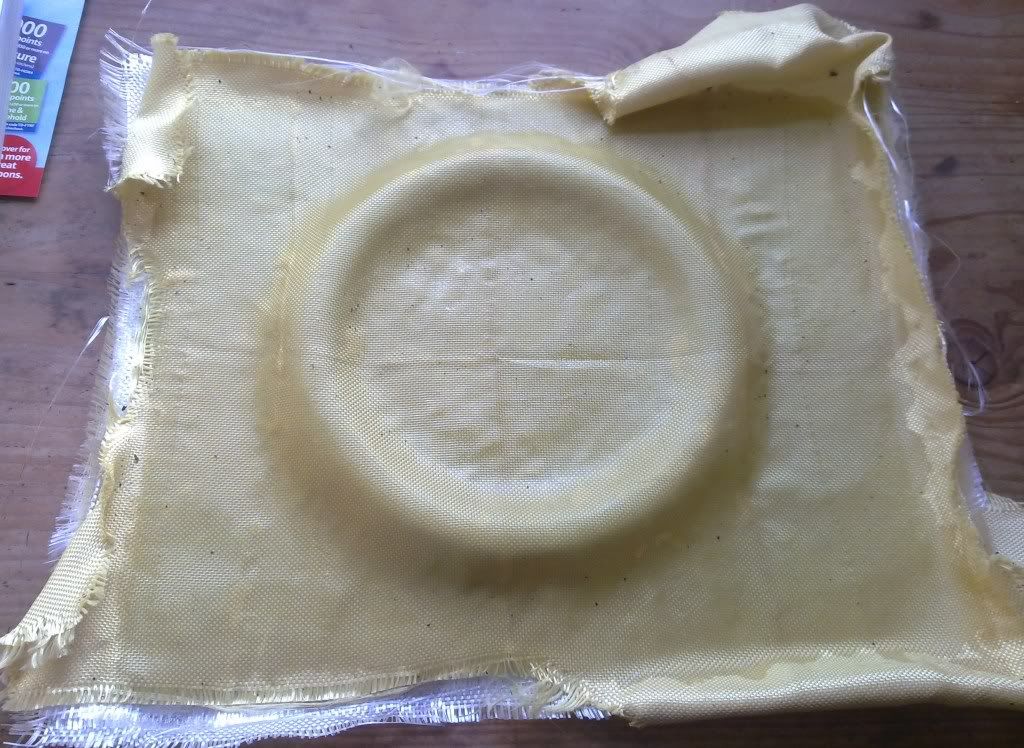
First of all i made moulds of the resin parts. I did this using a 2 part silicone moulding putty. You just measure out equal quantities of each silicone, mix it then press it over the part and it cures within 5 minutes! the mould is then ready to pour resin into!
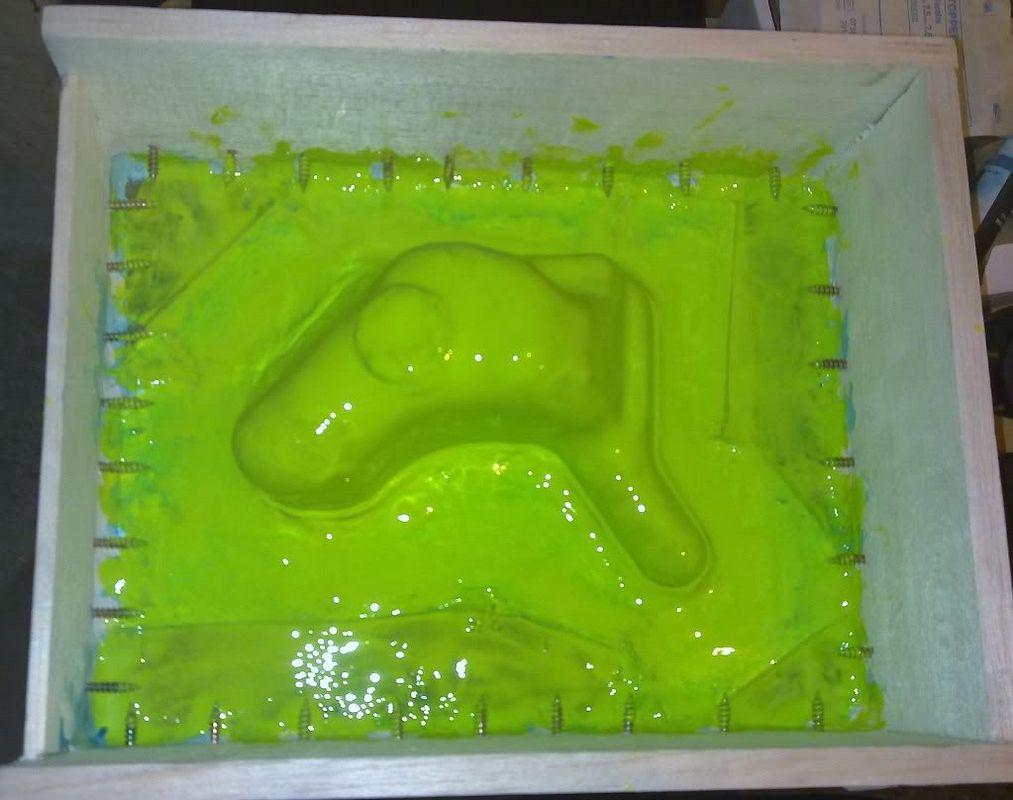
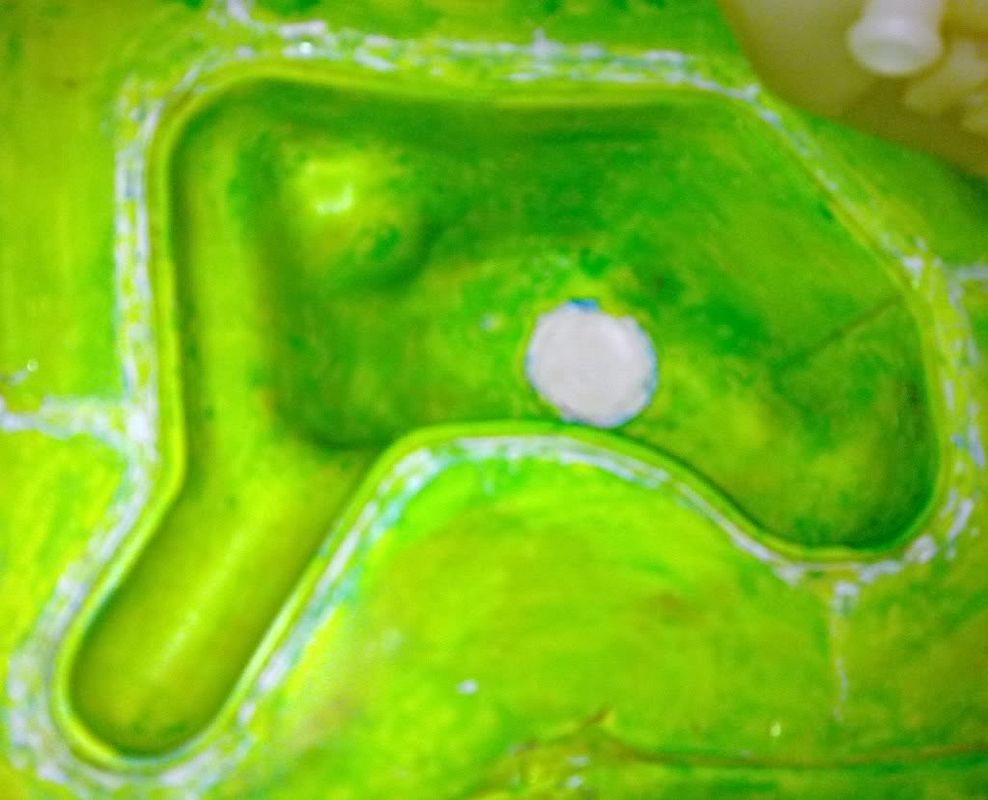
These are the simple moulds made:
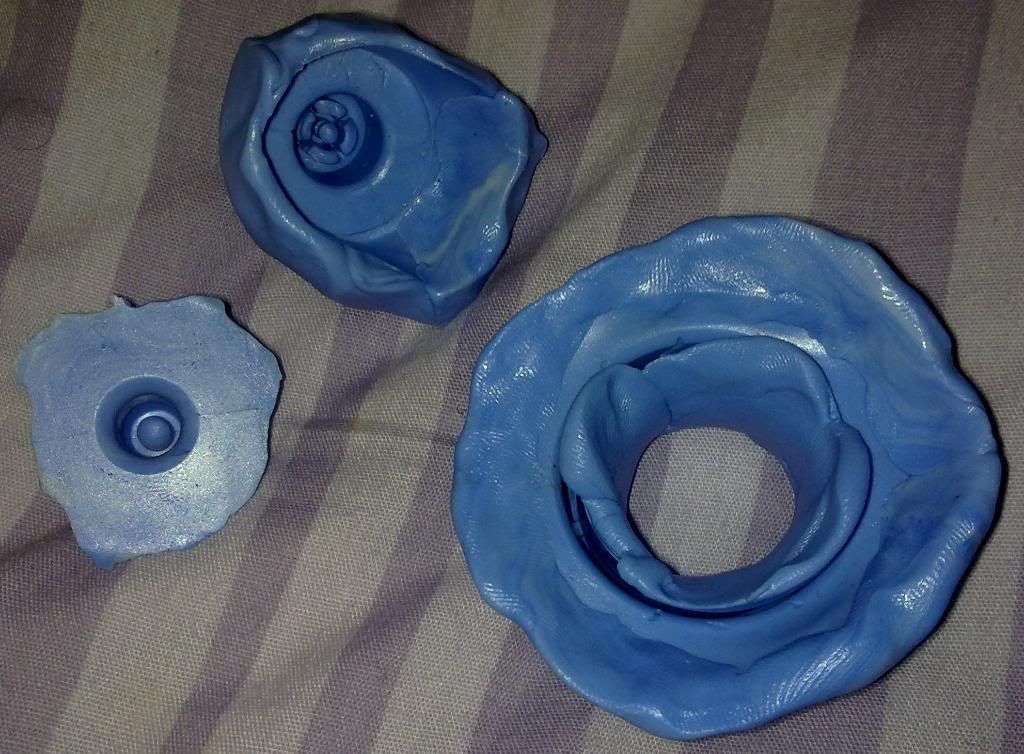
quite hard to see whats what due to the silicone on the edges but all the detail is there deep in the silicone.
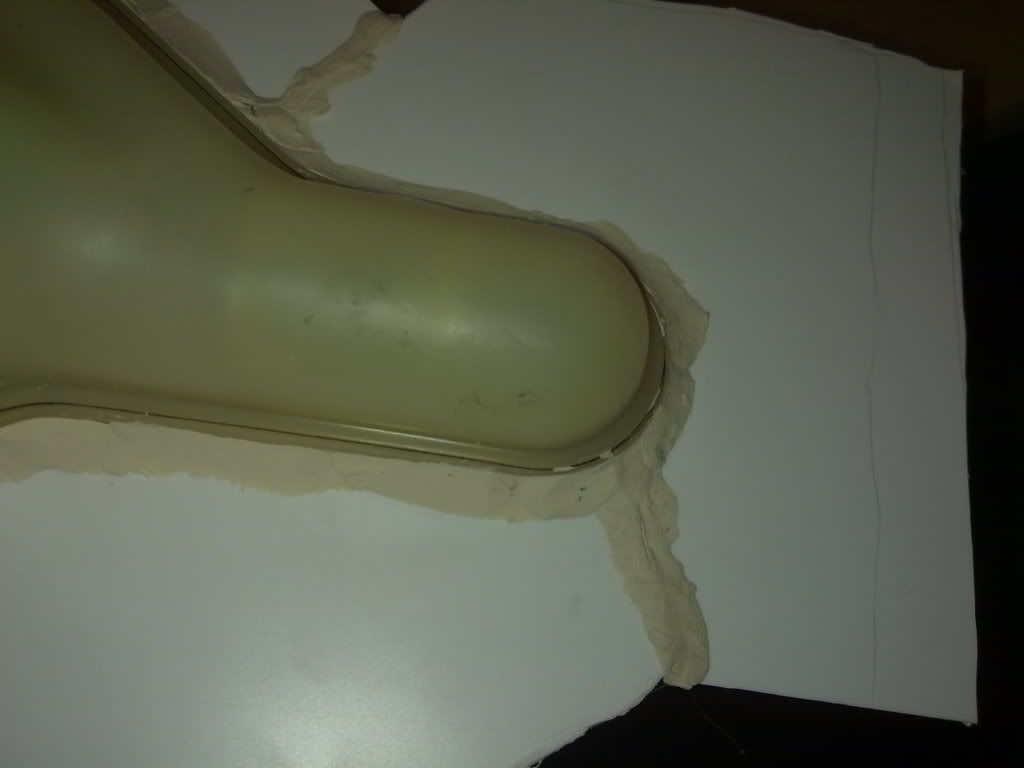
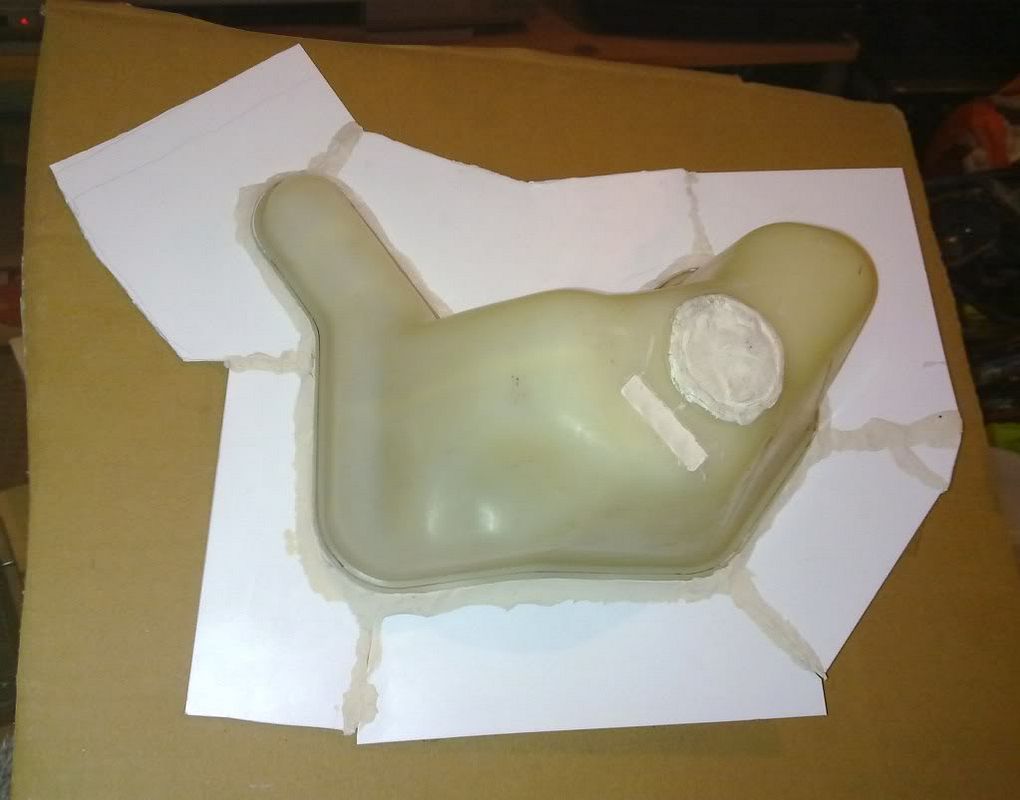
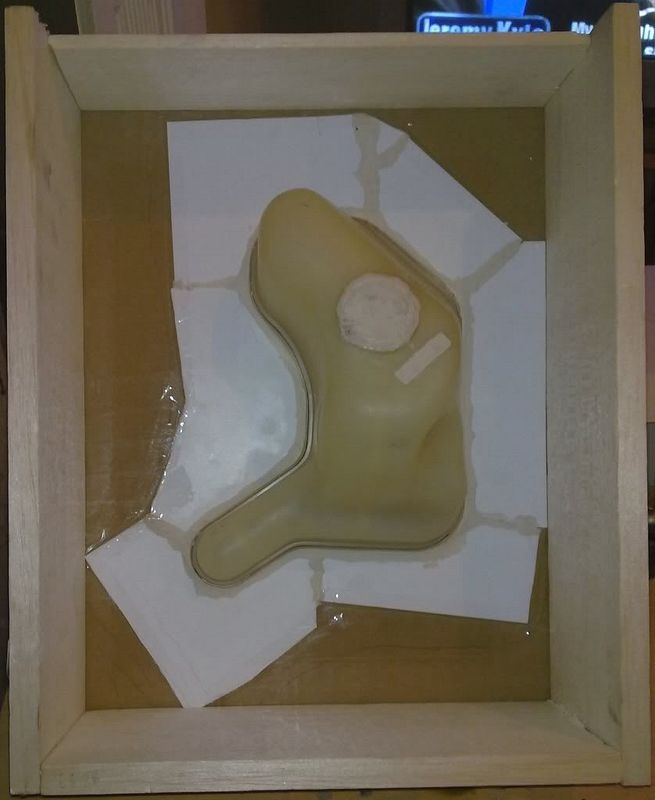
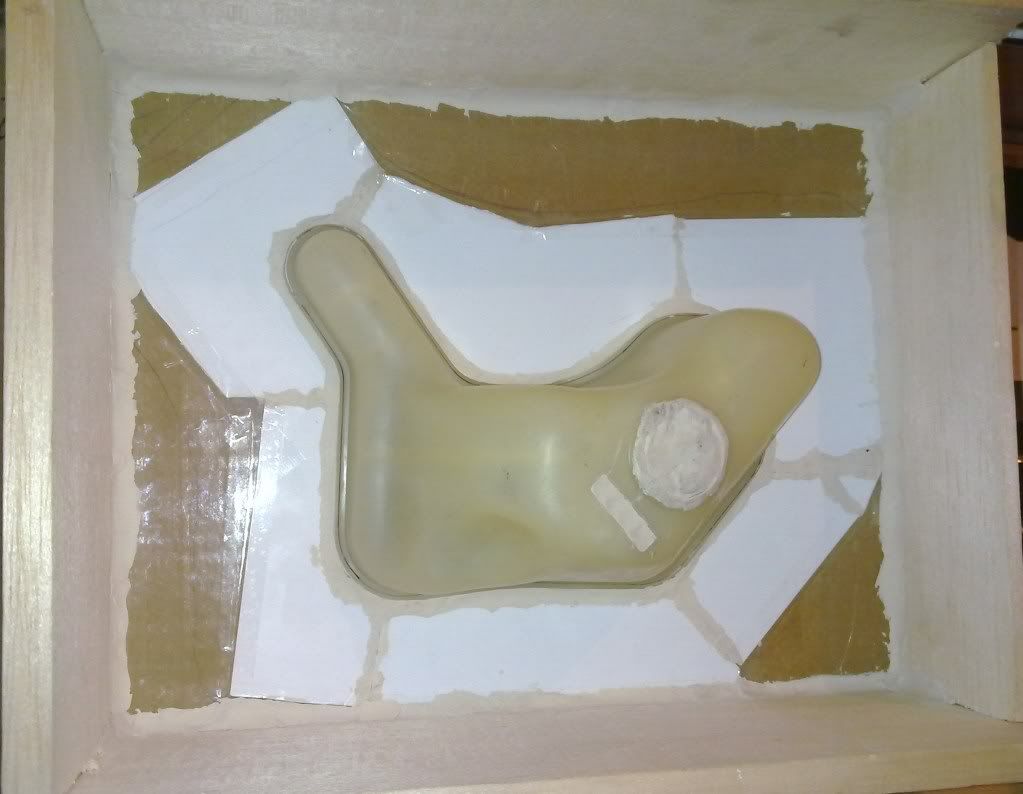
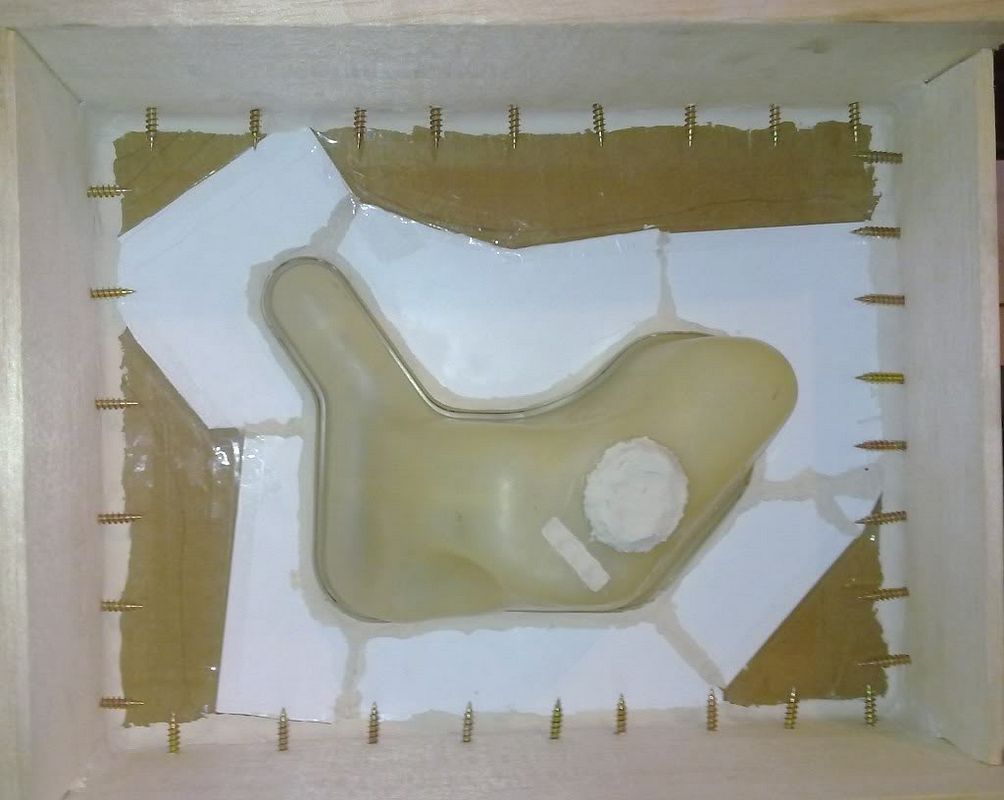
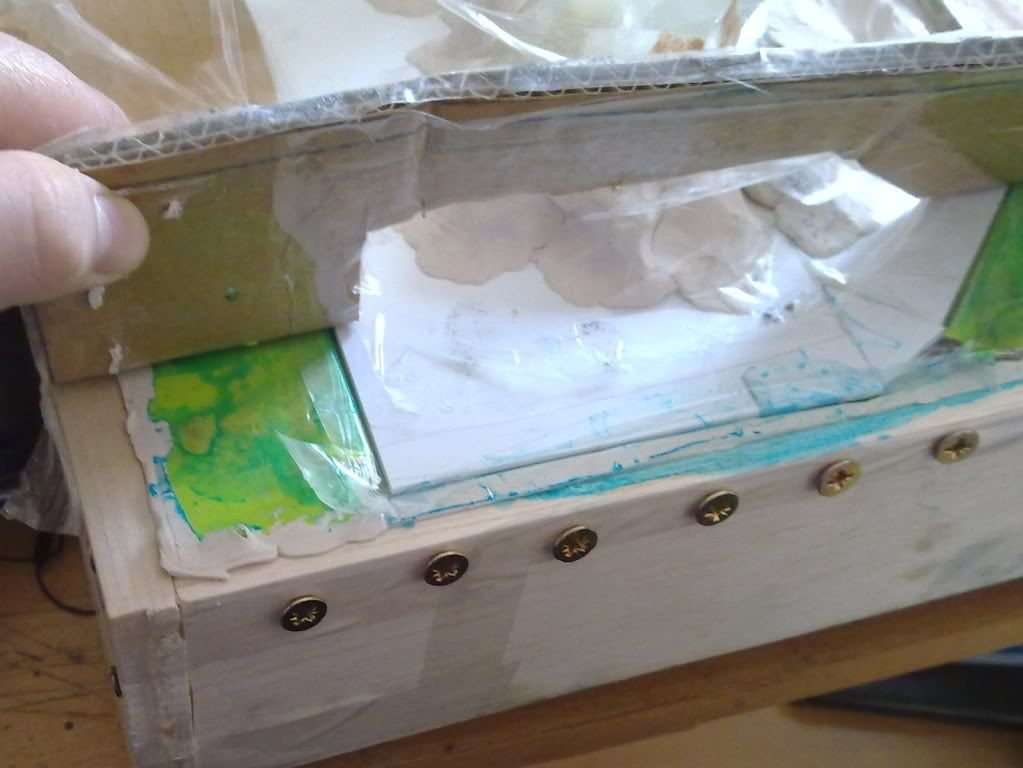
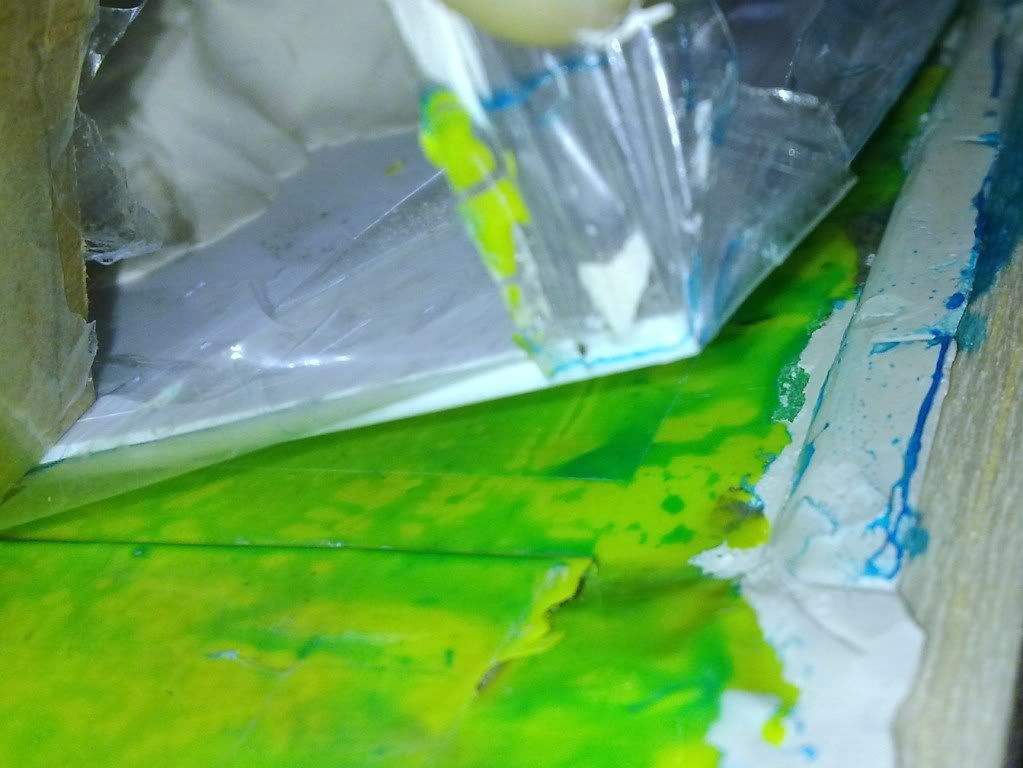
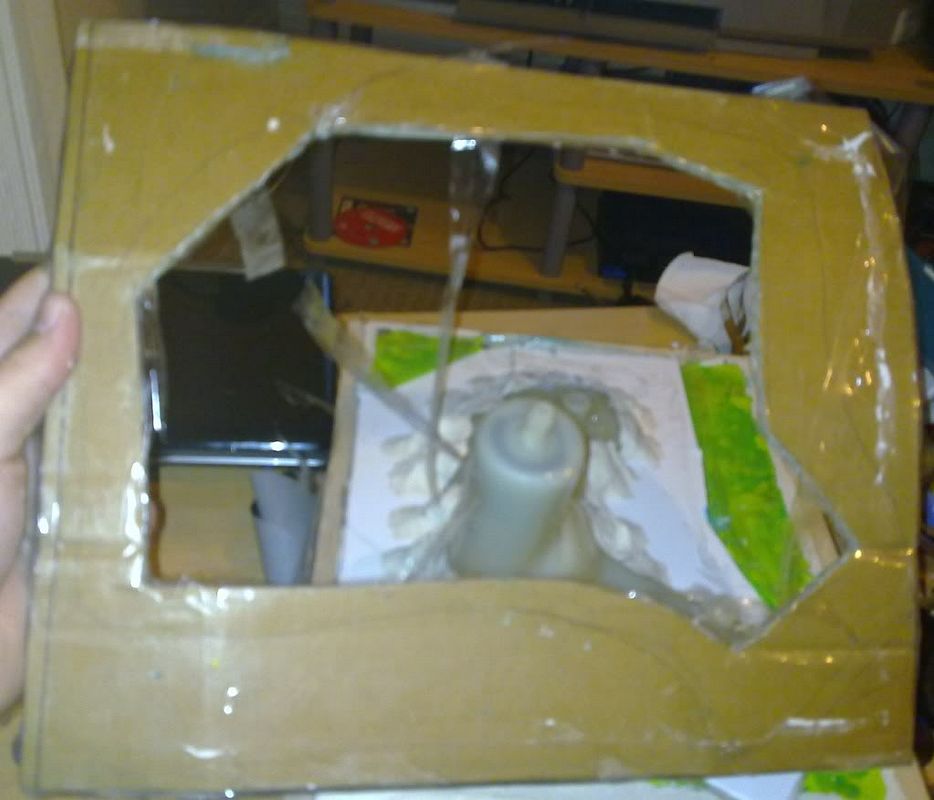
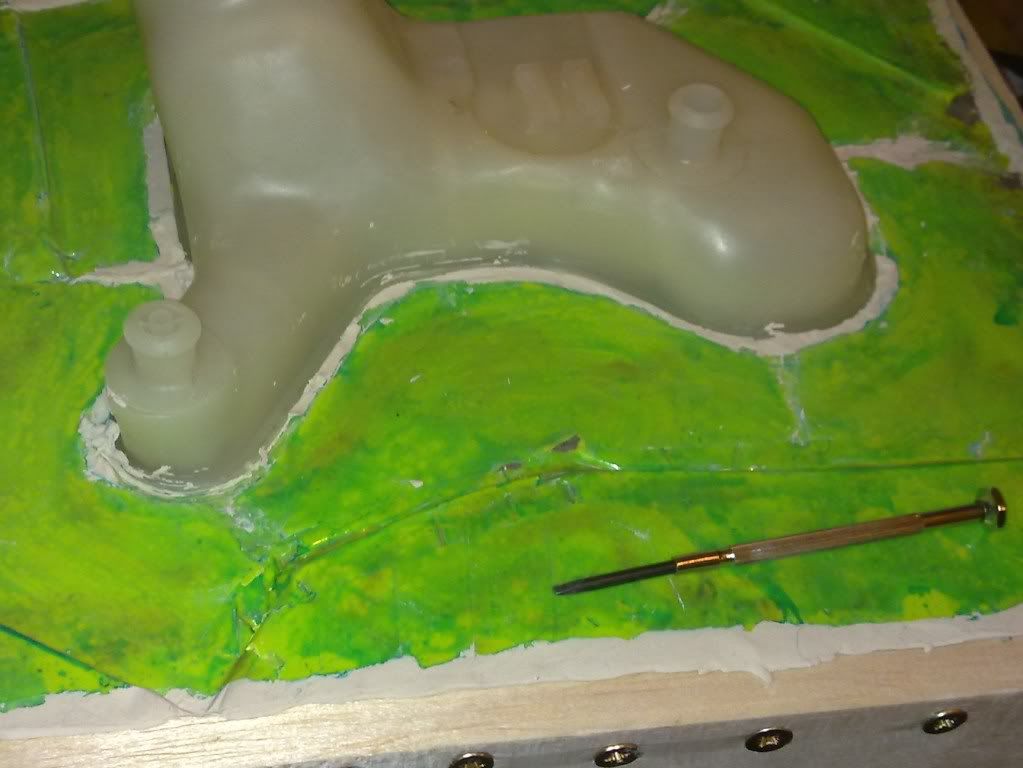
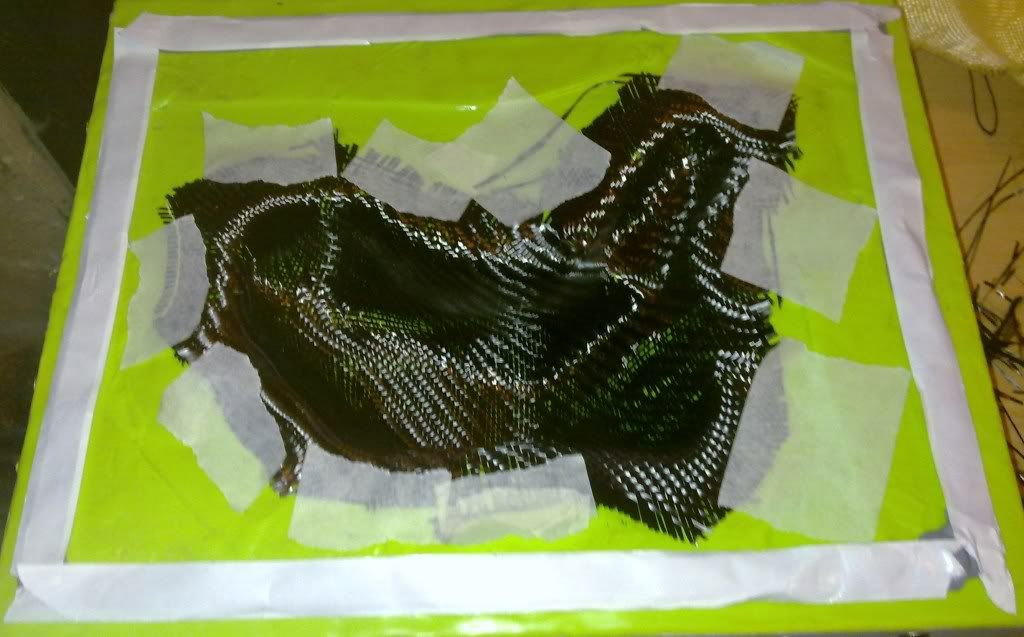
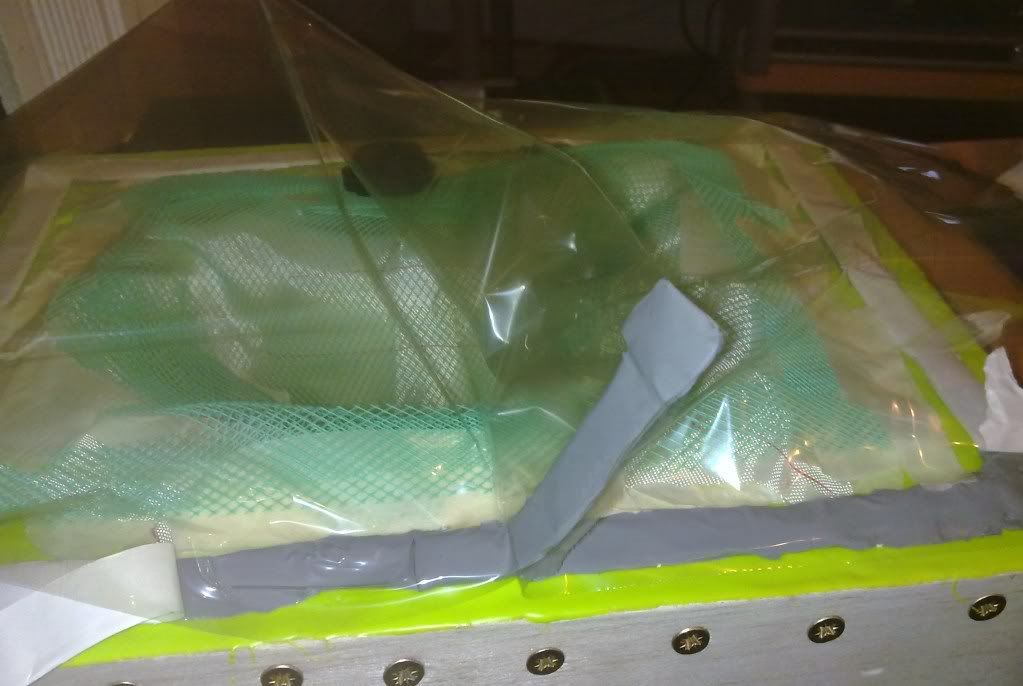
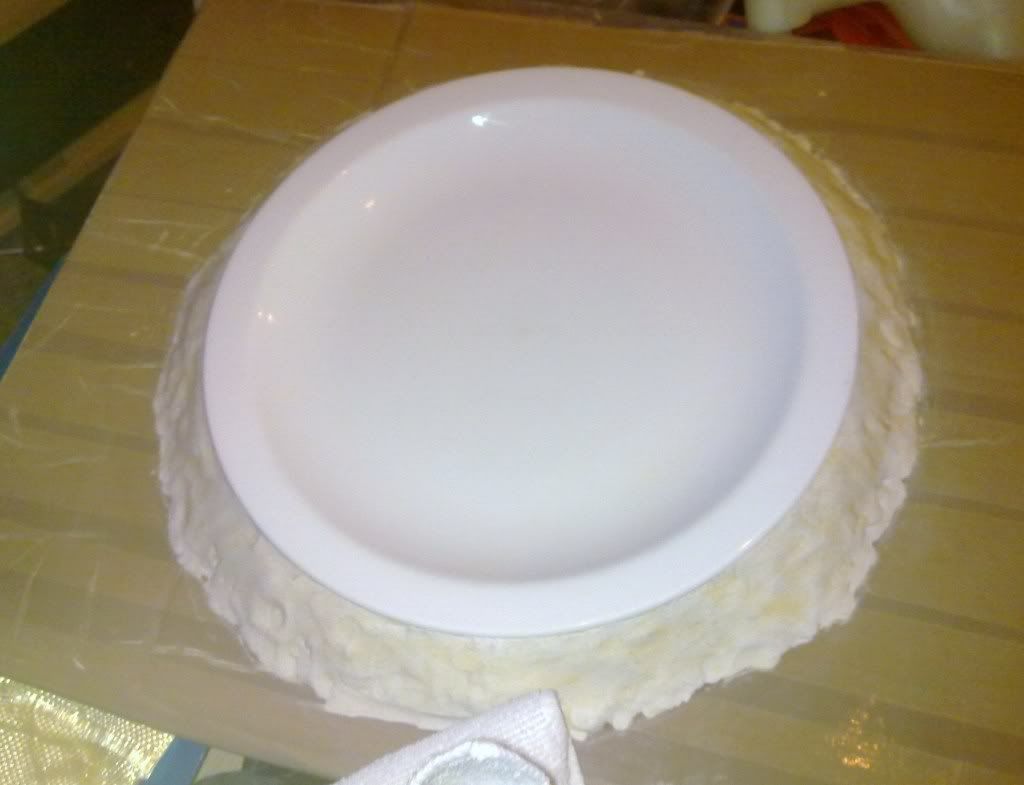
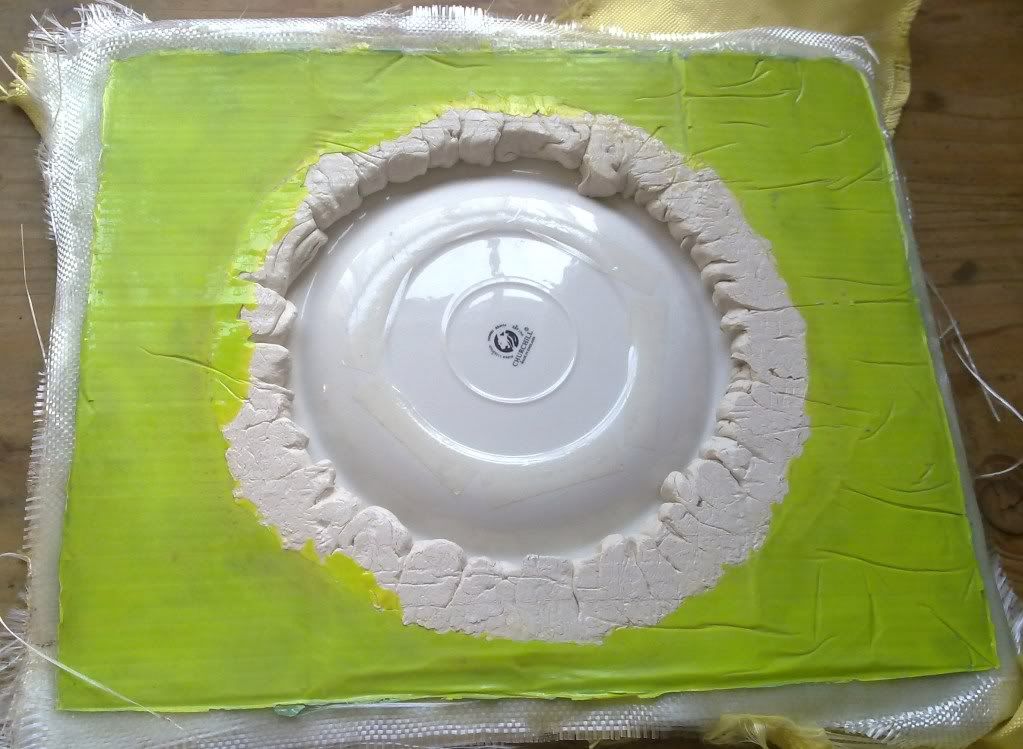
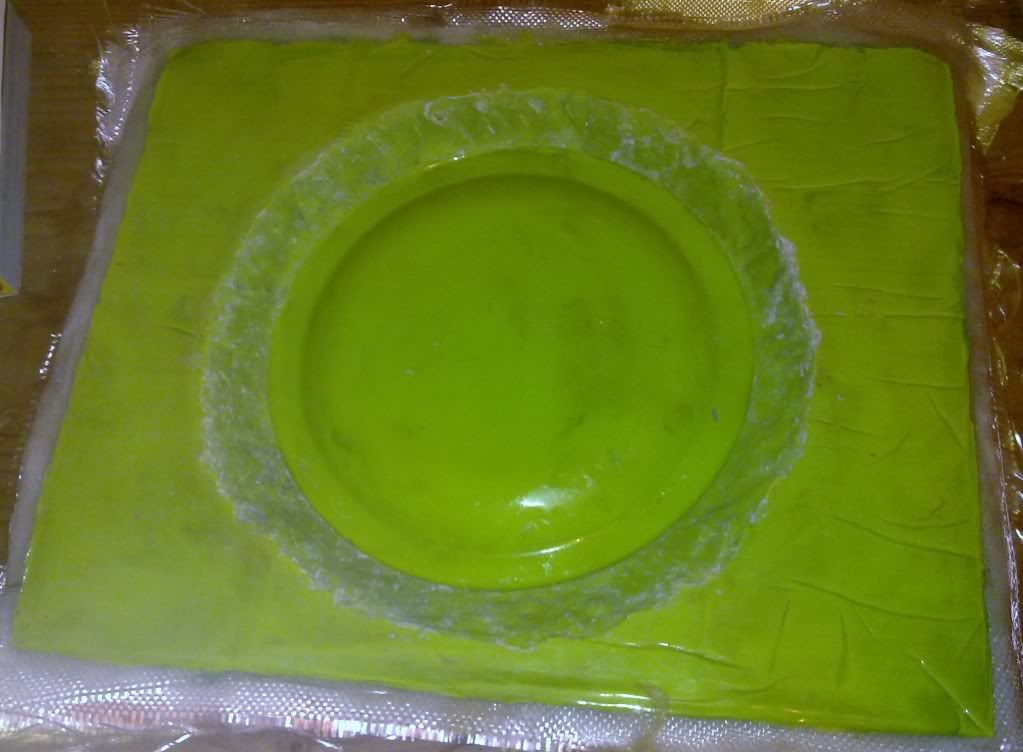
The second stage is making a flange. I have used plasticard and made a start in this photo:
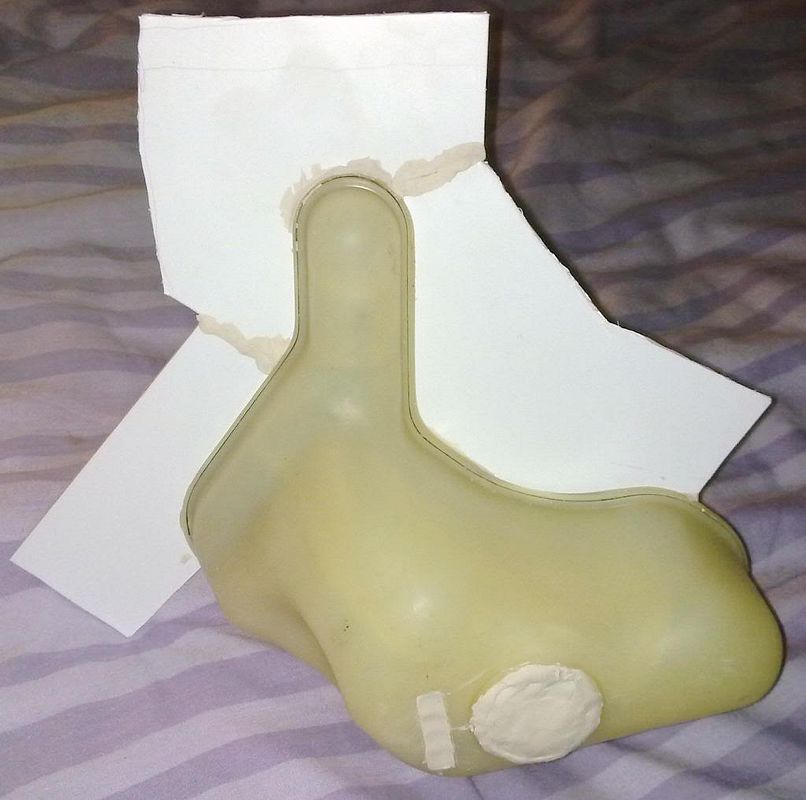
when its finished it will go all round the edge. You can hold the flange on with plasticine and glues and tapes. Ive used pasticine and tape. I have also filled in the lid recess as that cant be made easily in carbon, and cut off the screw thread as it just gets in the way of making a mould and is replicated in resin later. Plasticine is a good material for filling holes or making edges and flanges as it does not stick to epoxy resins and is firm enough to survive the moulding process.
I will update this thread more as i go along the process.
Some of the parts i want to make are specific to my car and some are not but specifically ideas for me to work on to improve my skills/learn more and to help out mates etc.
Ive played with glassfibre before as well as playing with resins so moving onto carbon was kind of the next stage. Also carbon parts can be both stronger and lighter than the original parts so win on all rounds.
Ive got a string of parts ive got hold of to make moulds including the following:
mirror baseplate.
chosen as its relatively simple shape but with some fixing points to fix to car so needs practice with combining different laminates and ensuring structural strength around the fixing screw hole as well as the cosmetic finish
steering column upper shroud:
chosen as several tight curves and sharp edges as well as screw fixings underneath so needs to learn skills of combining carbon/resin with accurately positioning screw threaded metal.
steering column lower shroud:
relatively simple shape, but with ignition key recess requiring two part mould to prevent "mechanical lock". Needs hooks making out of carbon sheet to latch with upper shroud. Also matches up with upper shroud.
Door handle
chosen because it is complex injection moulded plastic. The aim being to design either the complete unit in carbon or a combination part where the mechanism remains plastic but the visual surfaces carbon for cosmetic reasons. will need a multitude of skills combining basic moulding, thought about screw fixings, making strong yet light levers and support arms and accuracy in locating the multiple moulded parts to make a working mechanism. probably one of the last things i do as its the most complex!!
I might have a go at some larger panels and parts at a later date but while im learning, the moulding costs of big panels makes it prohibitively expensive for experimenting and i dont fancy spending 2 hundred quid on a mould for a part im just messing with and might not work!!
ok to make carbon bits you need some specialist equipment and an array of common workshop tools and materials so you can make moulds, sand bits, cut things, etc etc
To choose your equipment you need to decide which method of part making you will use. There are 3 core methods for making carbon parts namely wet lay, vacuum resin-infusion and pre-preg.
Wet-lay
in simple terms you have a mould, brush in resin for the gel coat, then lay in your laminate layers wetting out each layer with more resin then finally allowing the part to cure.
This is the simplest method to use and needs no special equipment but it is also hard to achieve cosmetically pleasant results as well as the parts will likely be fairly resin rich meaning not as light or as strong as they could be. It takes a lot of practice and patience to get a good cosmetic finish with the key being a good even gel coat layer and careful application of the first visible layer of carbon.
Vacuum Resin Infusion
The name gives it away here. In essence the part is made in a vacuum and resin is sucked through the part by the vacuum pump. It is then left to cure under vacuum either at room temp or in an oven.
This method is more complex yet can achieve very good results. The mould has to be constructed with a large flange to enable the bagging and infusion materials to fit in. The carbon is laid in dry, then a stack of peel ply, infusion mesh and bagging film is laid on top. The bagging film is sealed either to the mould or as a bag (supplies as open ended tube) to make a air tight bag. You have a vacuum outlet and a resin inlet on the bag. Vacuum is then drawn to help hold all the material layers in place as well as promote resin flow. Then a resin is drawn through the whole mould by the pump. The infusion mesh has the gaps needed to allow it to flow. once resin has reached all parts of the mould it is then cured either at room temp or in an oven. roomtemp curing can be further strengthened by postcuring in an oven.
The advantage over wetlay is much lighter and stronger parts due to the method ensuring the correct ideal resin/carbon ratio and also parts with a better cosmetic finish due to the vacuum ensuring no bubbles or pin holes. It is also easier to learn with less emphasis on fiddly skill but more emphasis on being systematic in making sure you have a good bag stack and air tight bag. The disadvantage is it requires some specialist kit so is not ideal if you just want to make one or two things.
Pre-preg.
This method uses carbon fabric that already has the resin in the fabric. It is laid in moulds in a similar way to resin infusion and then bagged under vacuum. It is then cured in an autoclave both under pressure and temperature.
This is the ultimate in strength and lightness and hence often used in top flight motorsport, aerospace etc. But it is beyond the capabilities of the home enthusiast due to the sheer expense of the equipment. The much more expensive pre-preg material and process makes the final parts sometimes several times the price of equivilant resin infused parts.
Specialist gear.
I have chosen to use vacuum resin infusion as my method because although it has a small initial outlay on equipment (£200), can achieve far better results than wetlay and with careful planning and sticking to routines can achieve good results without the need for fiddly intricate abilities of the dummy doing the work (ie me!).
The key bits you need are firstly the vacuum pump:
does what it says on the tin really. key to making the process work!
Catch pot:
catches the excess resin drawn out of the bagging stack and stops you killing your pump with resin!! Also has the vacuum guage so you know when youve achieved the good vacuum.
Bagging materials:
resin infusion mesh: plastic mesh that allows resin to flow across mould
peel-ply: Stops the bagging material sticking permenantly to the part
bagging film: seals the mould and enables a vacuum to be made
gum tape: seals between bag and mould flanges
infusion spiral tube: similar to spiral cable wrap! Allows resin to flow easily from resin inlet
inlet and vac ports: allows tube to go through bag for resin inlet and vac outlet
6mm pvc tube: links resin to bag, bag to catchpot and catchpot to vac pump
masking tape: helps hold things in place!
Breather fabric: sometimes used to absorb excess resin or to allow resin to flow in places.
infusion resin: epoxy resin with a low viscosity so it flows easily
carbon fabric: the laminate! different styles used include 4x4 and 2x2 twill as well as unidirectional or plain weaves
release agent: designed to stop the carbon sticking to the mould.
Mould Making:
For this thread i will be making a mould of a cosworth brake fluid resevoir. Its got a few curves as well as a flat edge where i make it a 2 part mould and some fixings/screw threads so will involve a bit of skill.
First of all you need to decide how you will make a mould. In this case you can copy ford as it was made in 2 halves then bonded together, so you have a good line for making a mould flange. In this case i decided i will also need to make the screw threads and fluid oulets out of black resin plastic as those parts cannot be made in carbon easily.
First of all i made moulds of the resin parts. I did this using a 2 part silicone moulding putty. You just measure out equal quantities of each silicone, mix it then press it over the part and it cures within 5 minutes! the mould is then ready to pour resin into!
These are the simple moulds made:
quite hard to see whats what due to the silicone on the edges but all the detail is there deep in the silicone.
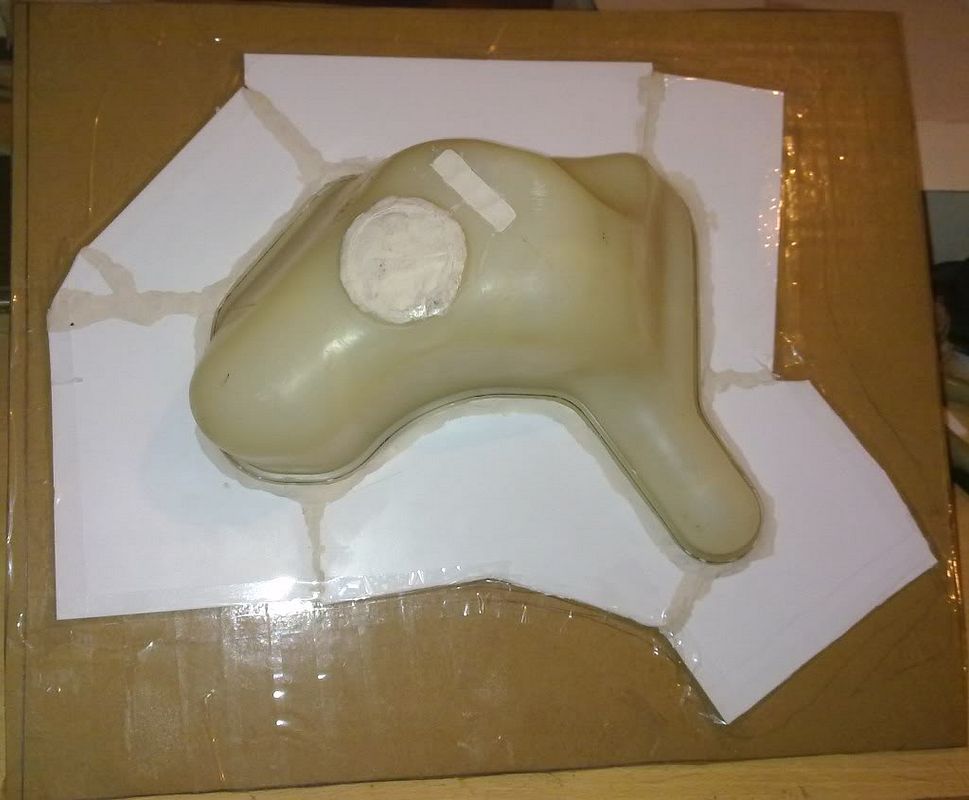
The second stage is making a flange. I have used plasticard and made a start in this photo:
when its finished it will go all round the edge. You can hold the flange on with plasticine and glues and tapes. Ive used pasticine and tape. I have also filled in the lid recess as that cant be made easily in carbon, and cut off the screw thread as it just gets in the way of making a mould and is replicated in resin later. Plasticine is a good material for filling holes or making edges and flanges as it does not stick to epoxy resins and is firm enough to survive the moulding process.
I will update this thread more as i go along the process.
 k:
k: