learning about making carbon parts

ProjectPuma

Help Support ProjectPuma:

This site may earn a commission from merchant affiliate links, including eBay, Amazon, and others.
Time for a small update! Been busy with stuff, been ill and skint so not done much lately.

any restocked on carbon fibre:
28042011521.jpg

got a lot of carbon material, resins and bagging materials to keep me busy.

Also moulded my carbon dinner plate:
02052011532.jpg


just need to trim it and polish it.
 
been doing a bit more work on bits lately!

First of all got a mate to take a photo of me standing on the carbon brake resevoir upper half i made:
09042011505.jpg

no cracks or anything!! not bad for only 2 layers of carbon and 1 of kevlar!!

In preparation for making some body panels, i have been experimenting with using different core materials to stiffen the panels up. The main material i am choosing to use is closed cell foam as its much lighter than the equivilent thickness of carbon and when made as a sandwich panel makes the final panel very very strong yet still nice and light.

09052011538.jpg


that is a small sample of the foam core. Because i am using resin infusion, you need to make small holes and score lines on it so that the resin can flow freely otherwise you risk the odd pin hole on the panels as the resin will be slowed down infusing under the foam. Obviously i dont want surface defects so prior preparation and all that!! the edges will also be sanded down to a shallow chamfer so the edge of the foam cannot be seen on the visible side of the panel.

To make my composite panels i need to decide on how many layers of material i want It is a fine balance between a stiff enough panel and lightness, so i have made some small trial panels.

Firstly laid up the two panels in a resin infusion on a base board:
06052011533.jpg

then carried out the infusion:
06052011535.jpg

there is no longer a neat line of resin flowing across the material as i used to have because i now use a perforated release film between the peel ply and the infusion mesh. Makes demoulding the part a piece of cake.

Once left to cure, i then cut out each panel.
09052011536.jpg

As you can see i am now getting an almost flawless surface finish on my parts which is good as im mastering the technique nicely!!

Now on the reverse:
09052011537.jpg

firstly its yellow as i used kevlar as the last layer. The top panel with the cut out carbon 4 on it is 4 layers of fabric, 3 carbon - 1 kevlar. The bottom one with the pacman is 3 layers, 2 carbon - 1kevlar. Used a pacman as its easier to cut than a 3 out of dry unwoven carbon LOL!!

just need to do some experimenting with the panels now. Already it looks like i may be forced to use 4 layers as with uneven layers either side of the foam, you get very slight warping of the panel. Obviously i want to avoid my panels being warped even slightly so i might have to use 4 layers, or move the kevlar layer to balance out the stack. 3 layers seems plenty stiff enough for my needs though. I reckon i can make a bonnet with no full inner frame except perhaps around hinges and an area for bonnet latch.
 
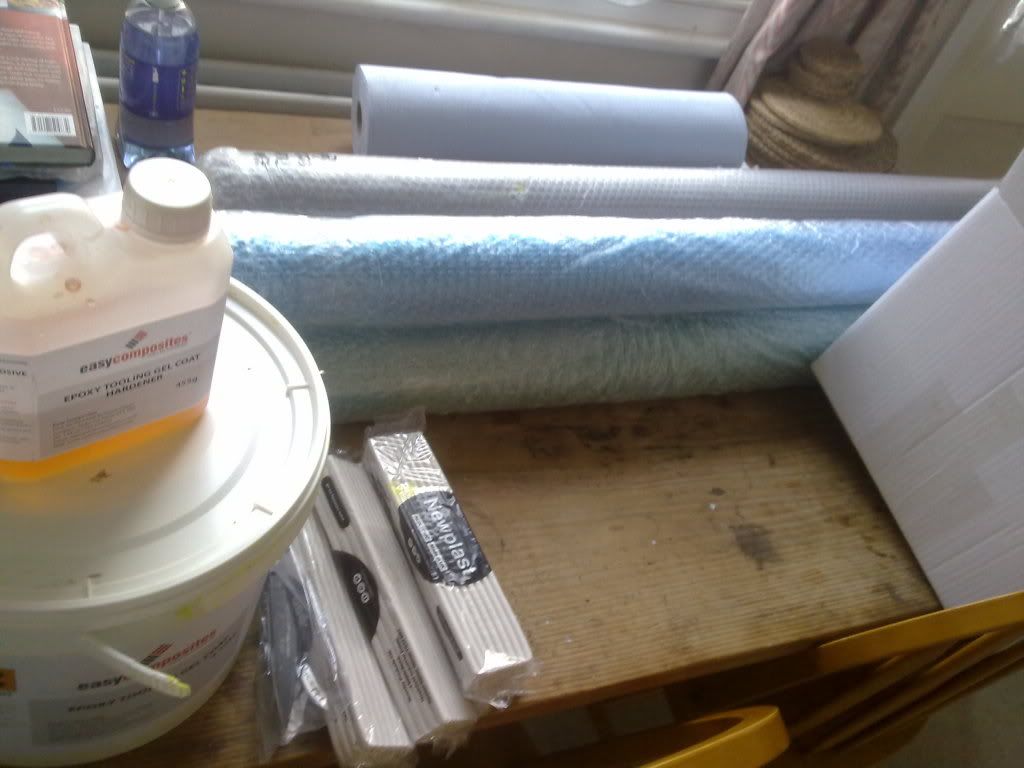
Been making a mould for a lifeline fire extinguisher.

This post will show the whole mould making.

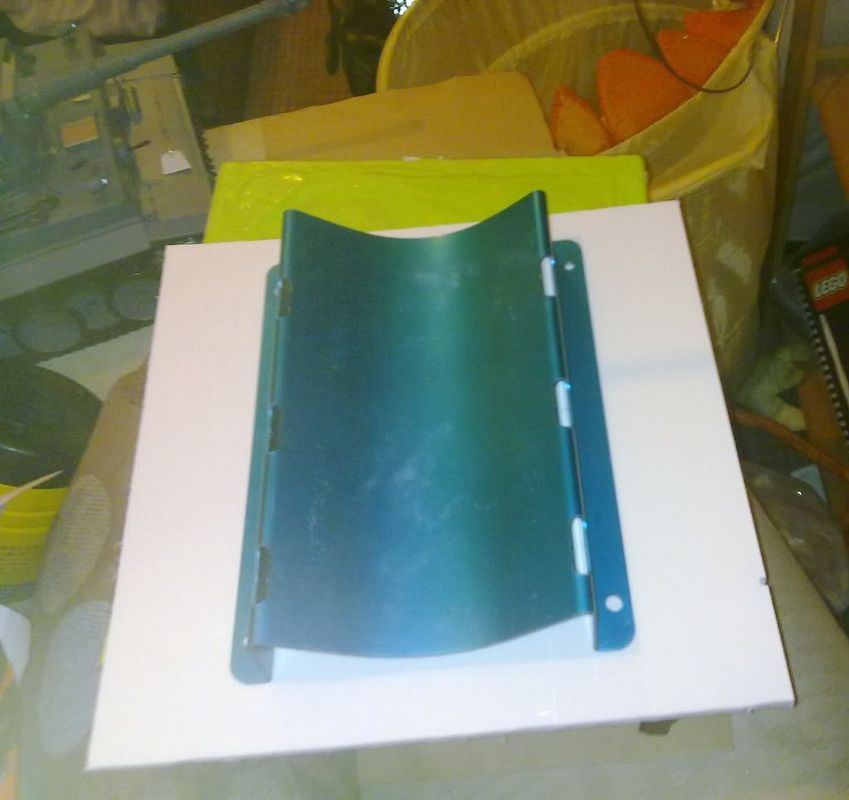
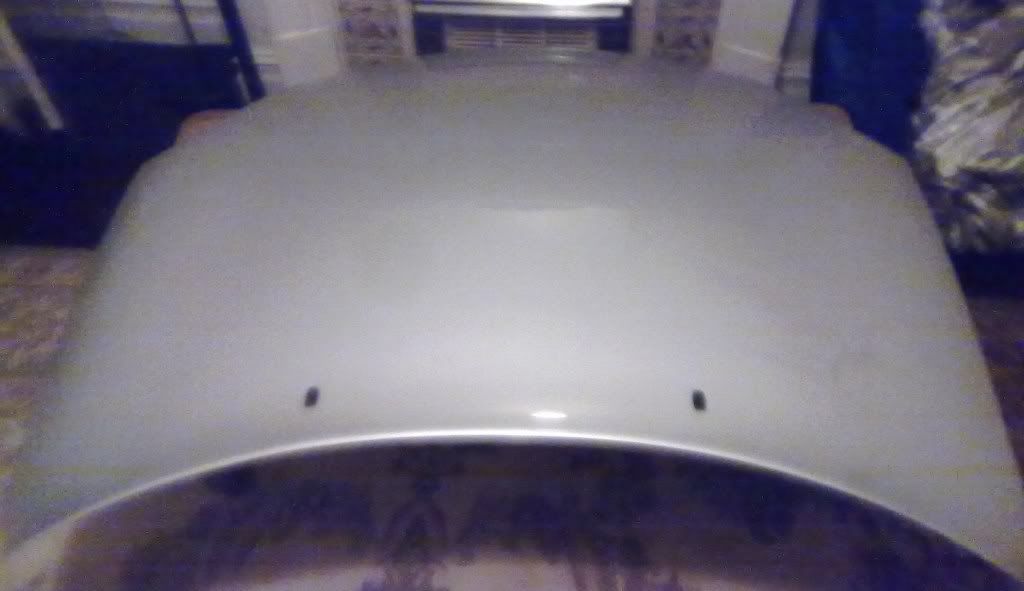
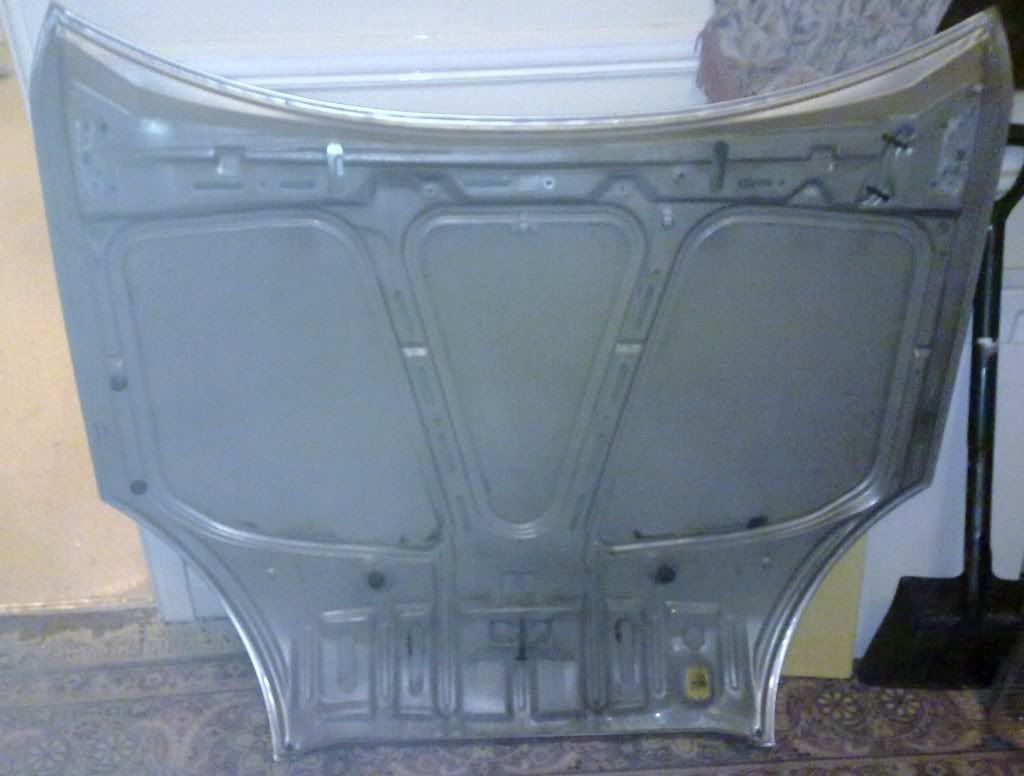
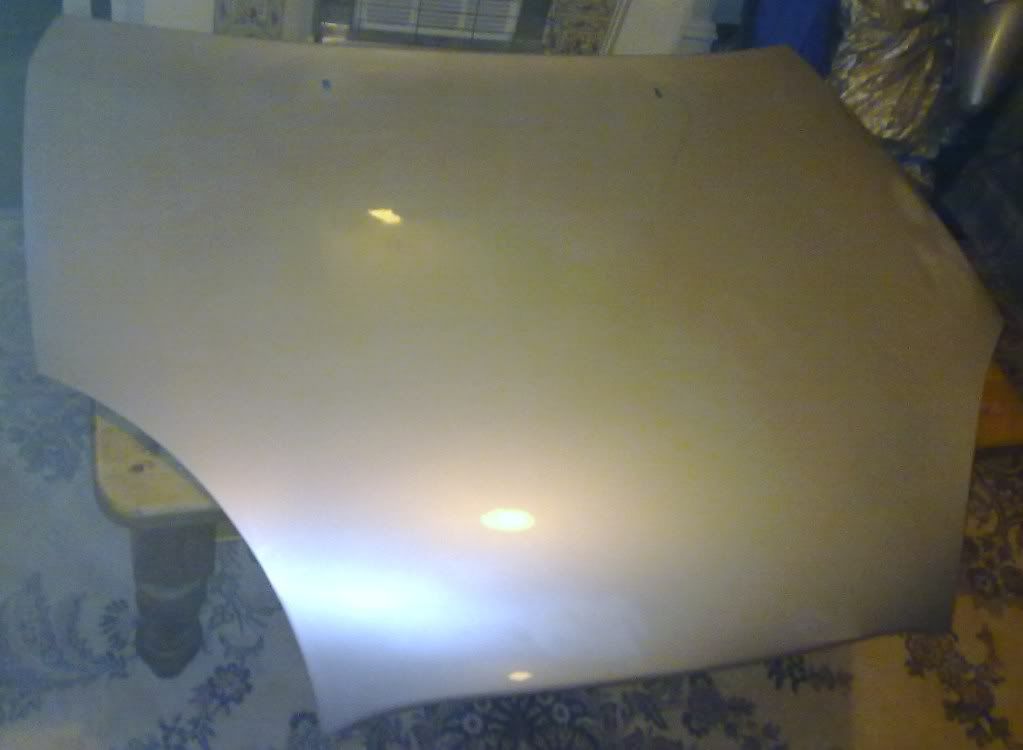
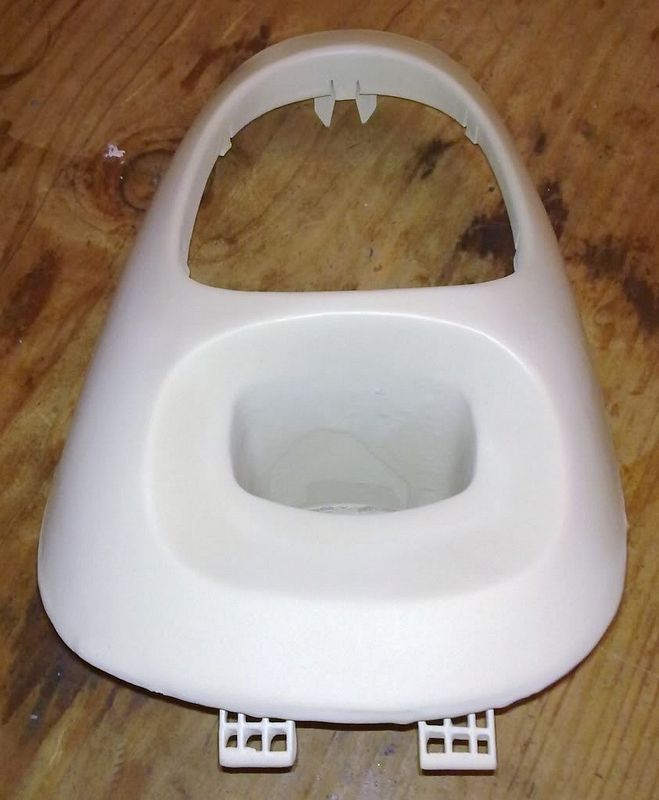
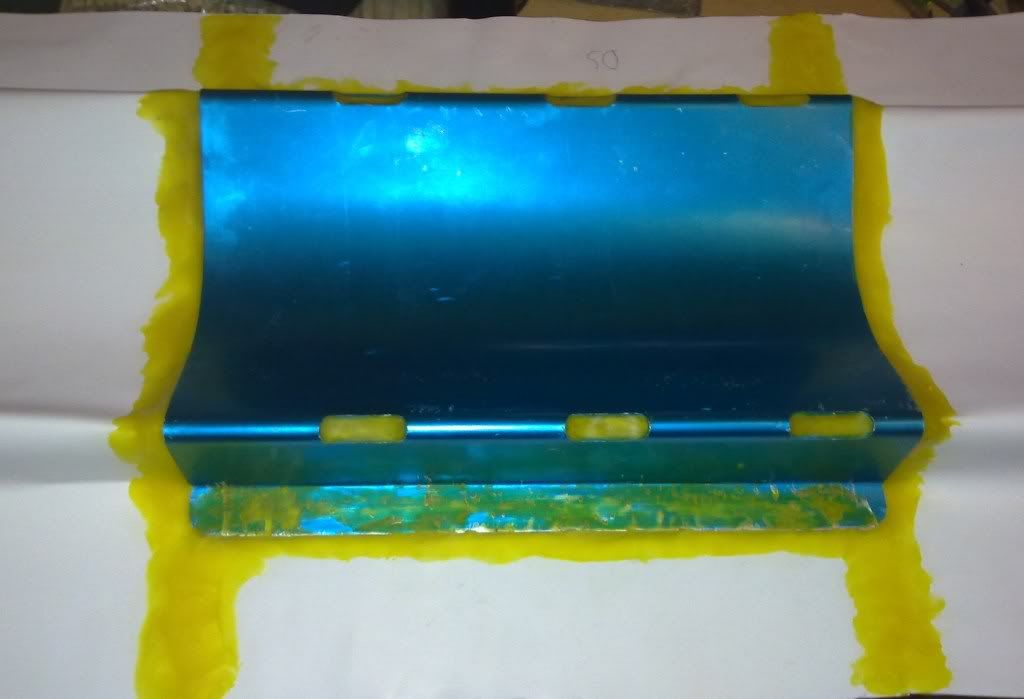
Ok first of all this is the part i am making:
06042011497.jpg


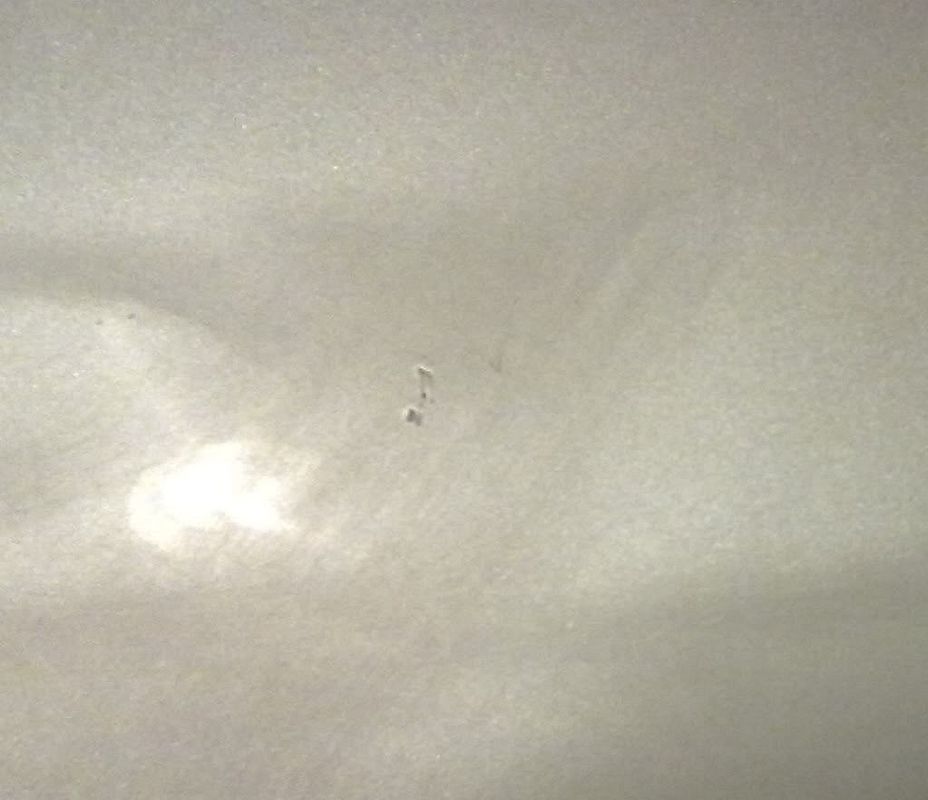
Needs to be cleaned up, polished and tidied a little. The holes and ends need filling so it can take a mould.
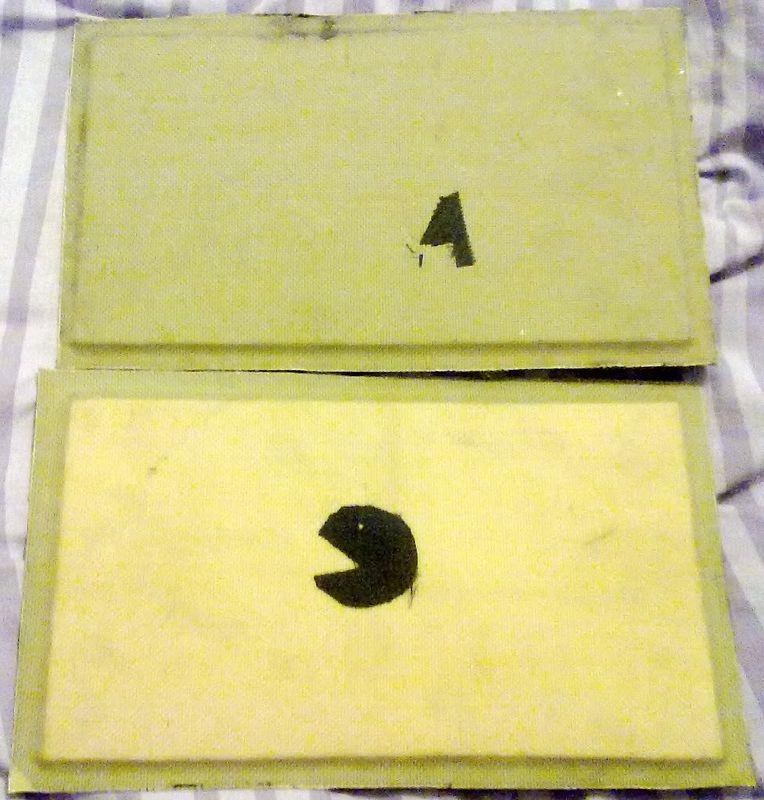
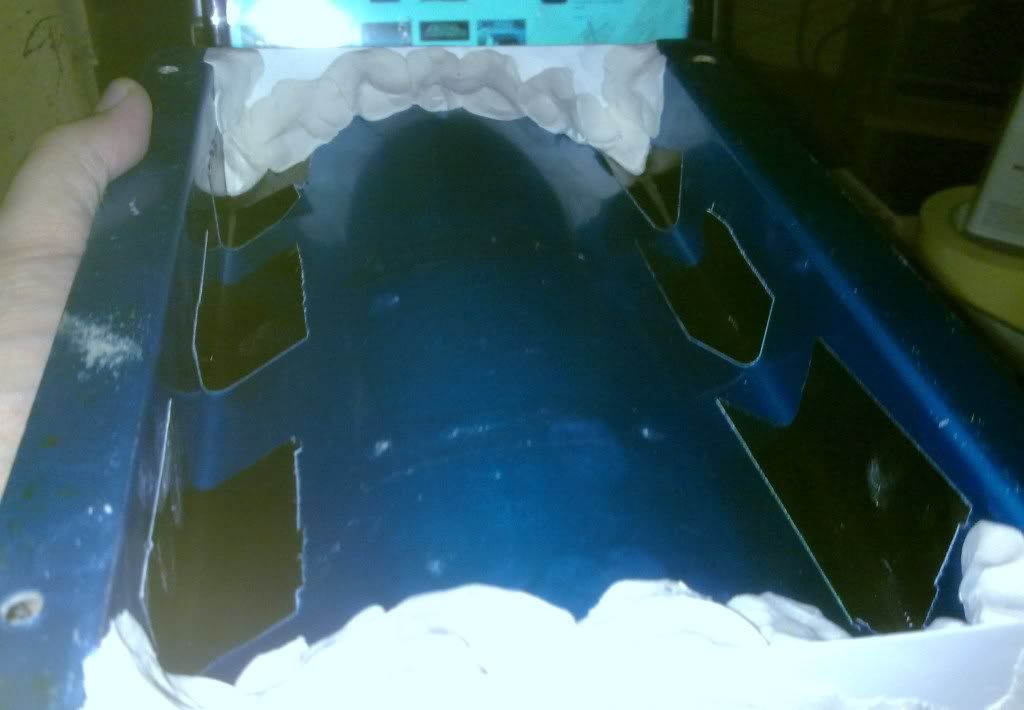
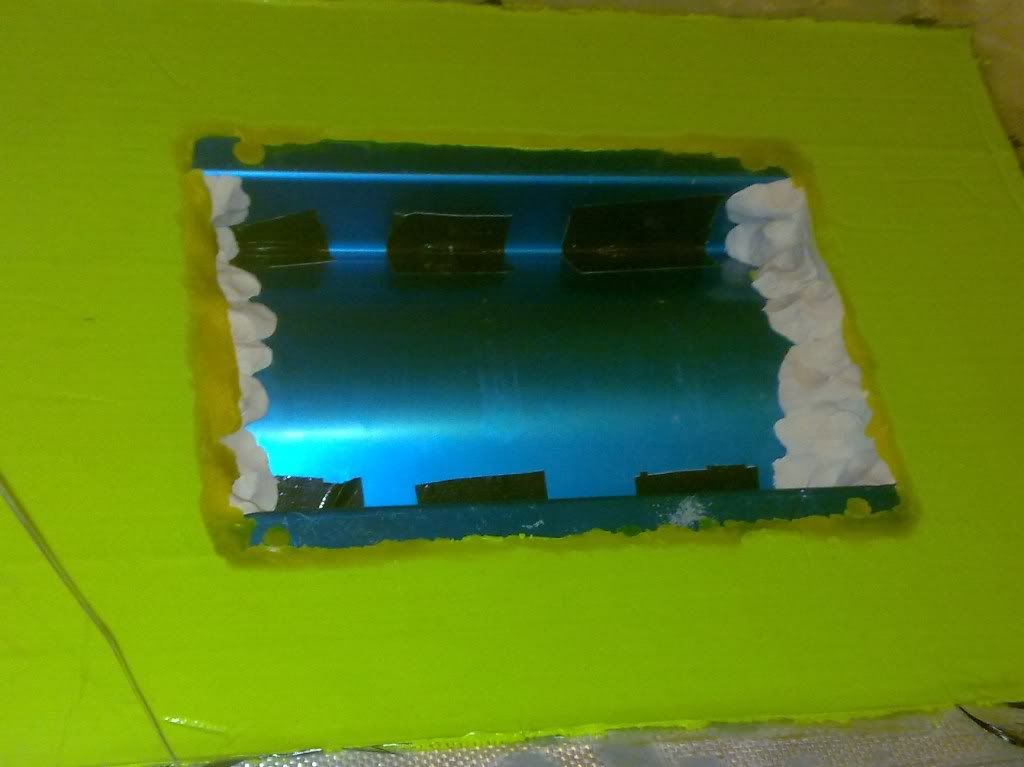
First of all i began by making the end plates out of plasticard. They are held in place with plasticine to support them and fill the gaps.
14052011548.jpg


Ive gone quite chunky with the supports, and also taped over the strap holes so they can be filled from the other side later.
14052011549.jpg


Made a baseboard out of card covered in the cheapest brown packing tape i can find. Resin doesnt stick to the tape you see!!

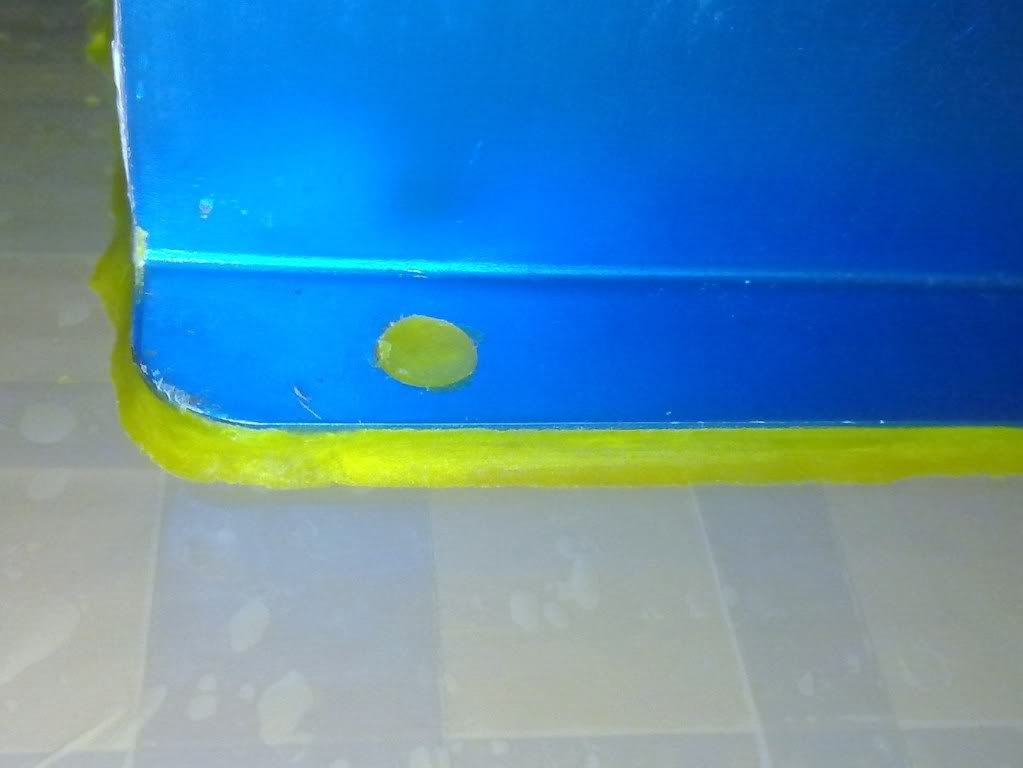
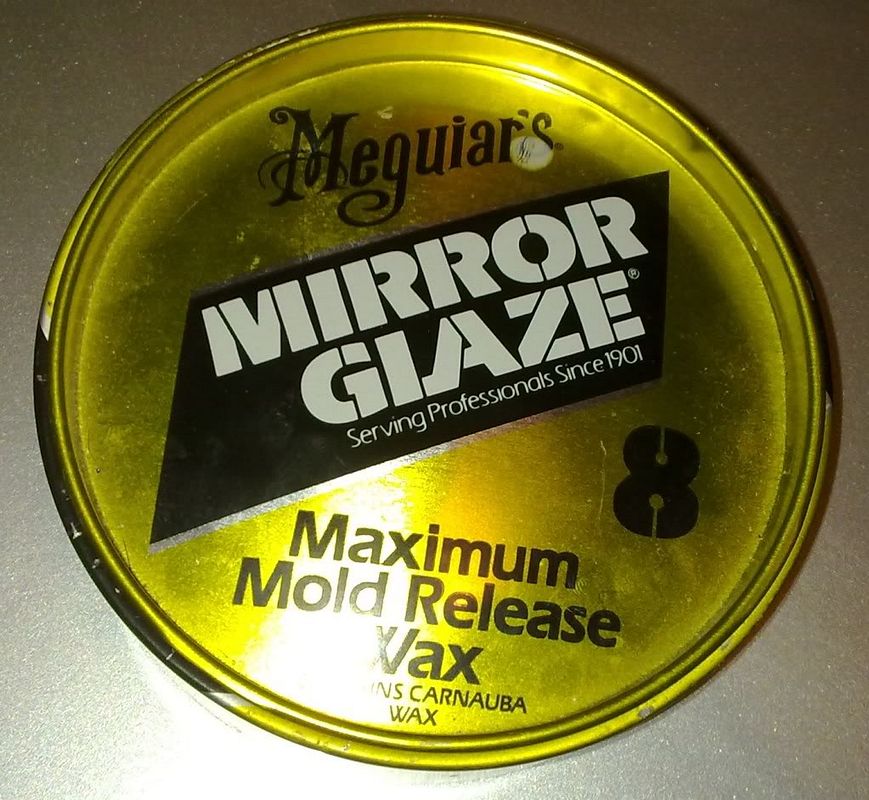
Then mounted the mount to the board with double sided tape. Then proceeded to use moulding wax to seal around the edge between the base board and part so that resin doesnt seep under and create a mechanical lock when it comes to demoulding.
14052011553.jpg


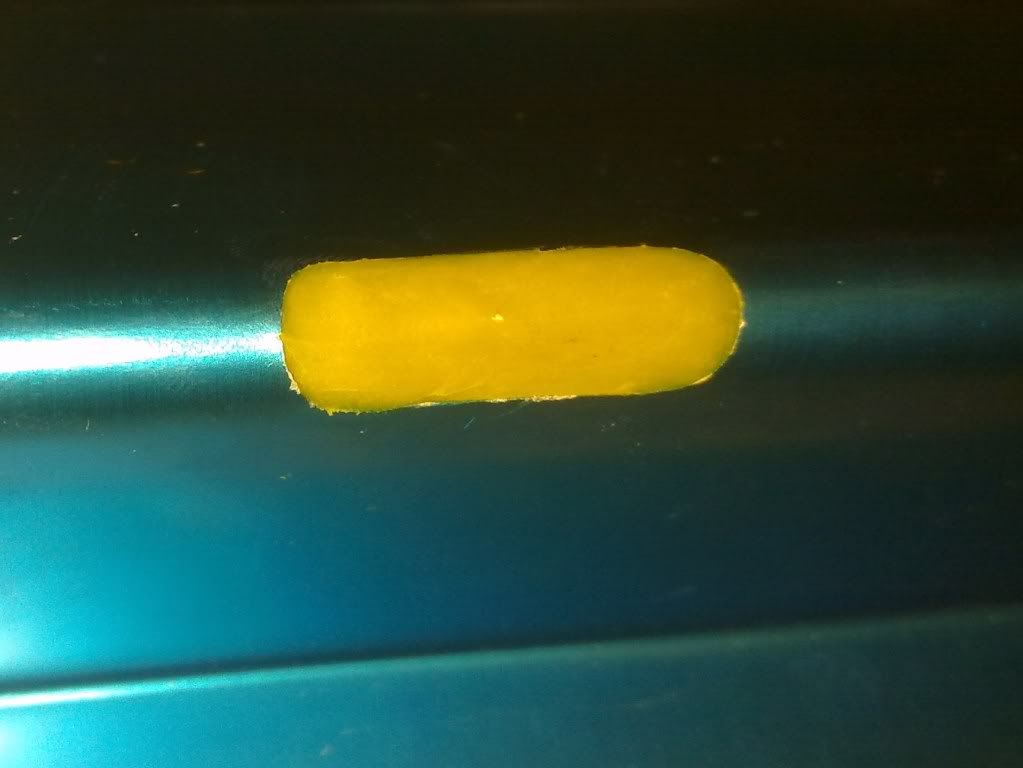
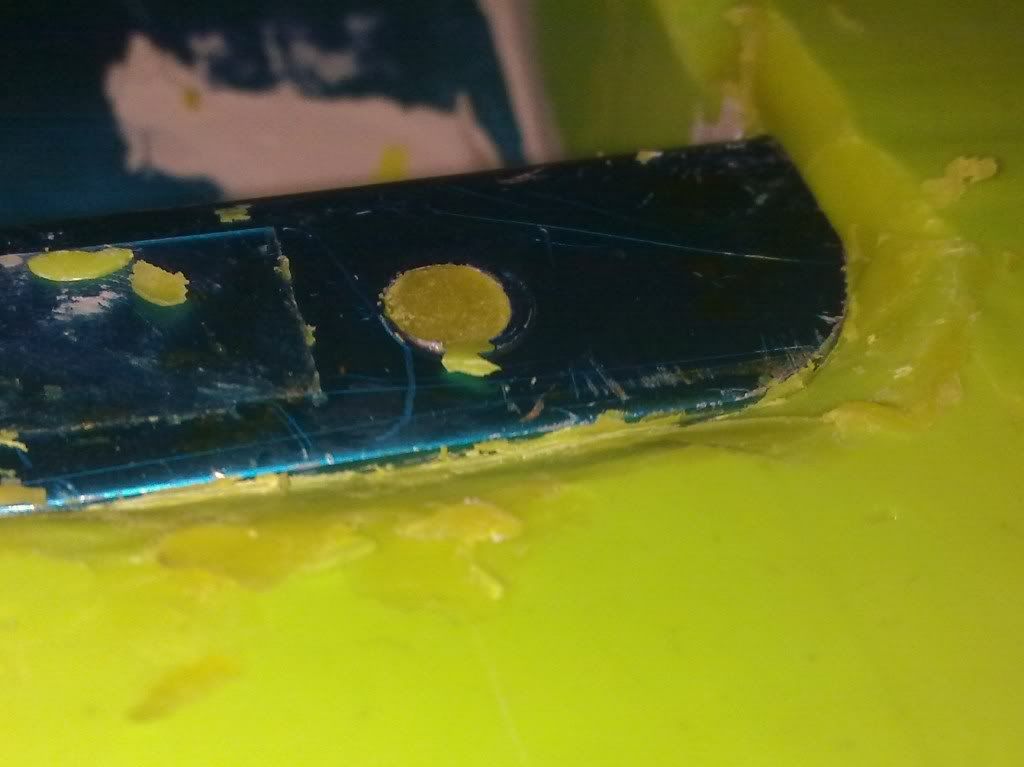
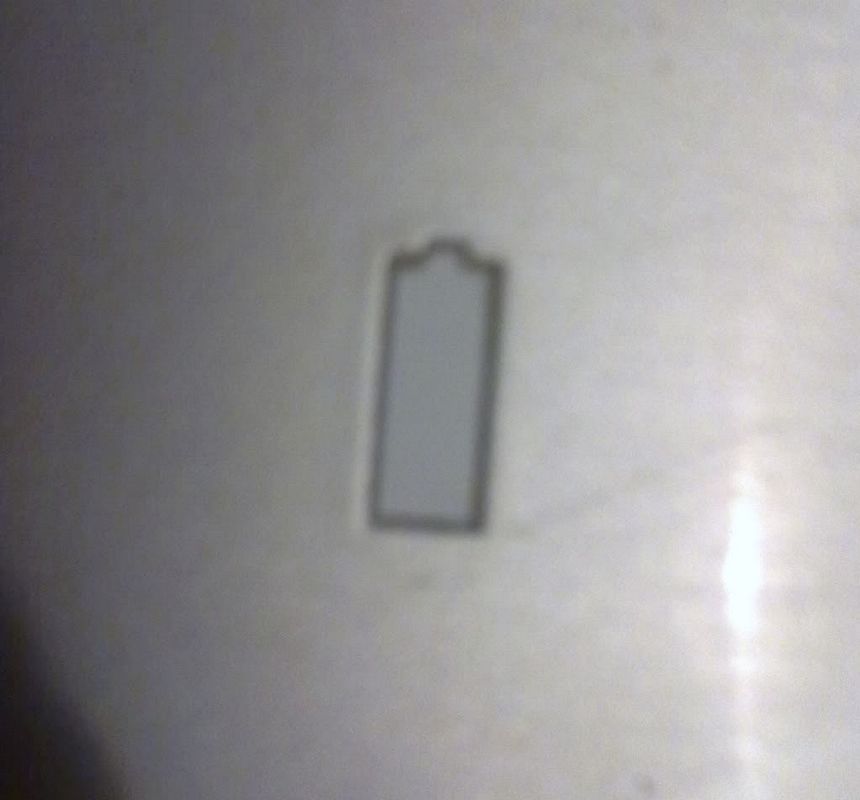
also filled in the mounting hole with wax too. There will be a slight impression on the carbon so new ones can be drilled. Did the same with the slots for the extinguisher metal straps:
14052011554.jpg


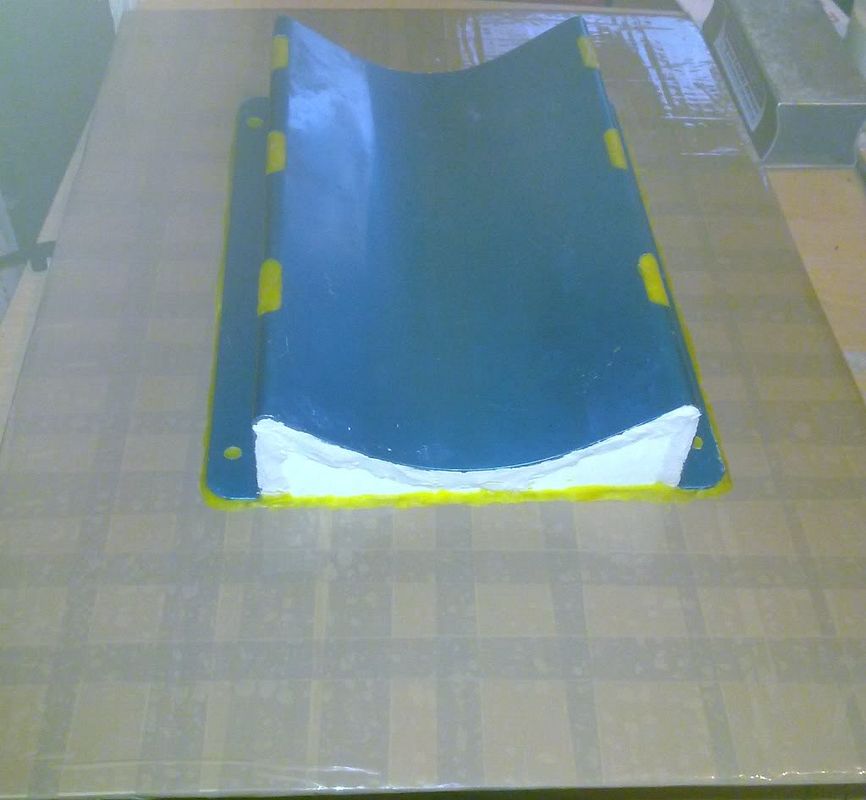
Finished the wax all the way round and filled all the holes.
14052011555.jpg


Just need to add approx 8 layers of mould release agent then its time to consider making the mould!!

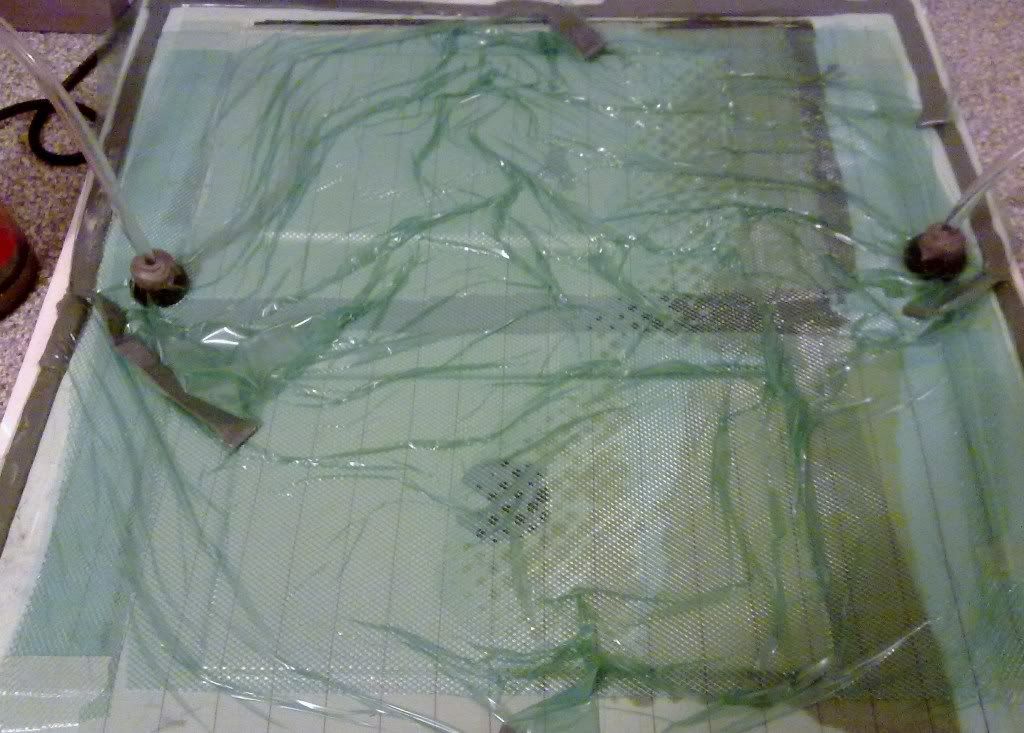
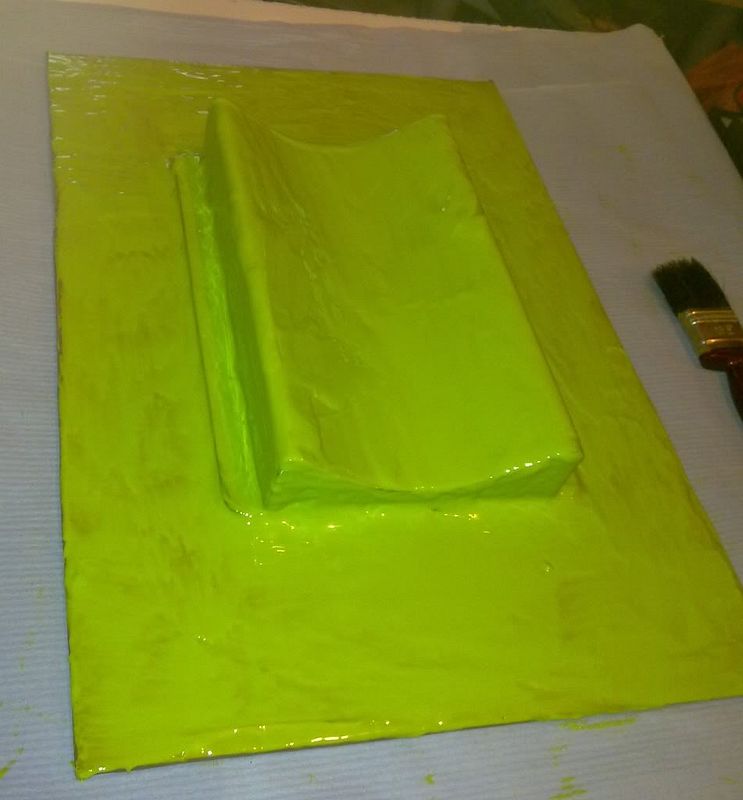
First i had to paint the waxed "plug" with tooling gelcoat:

22052011566.jpg


Left it until just beginning to set then added another layer, which was left until tacky. Thicker the better as it means you can sand things and tweak the mould if needs be without risking breaking through to the reinforcement underneath.

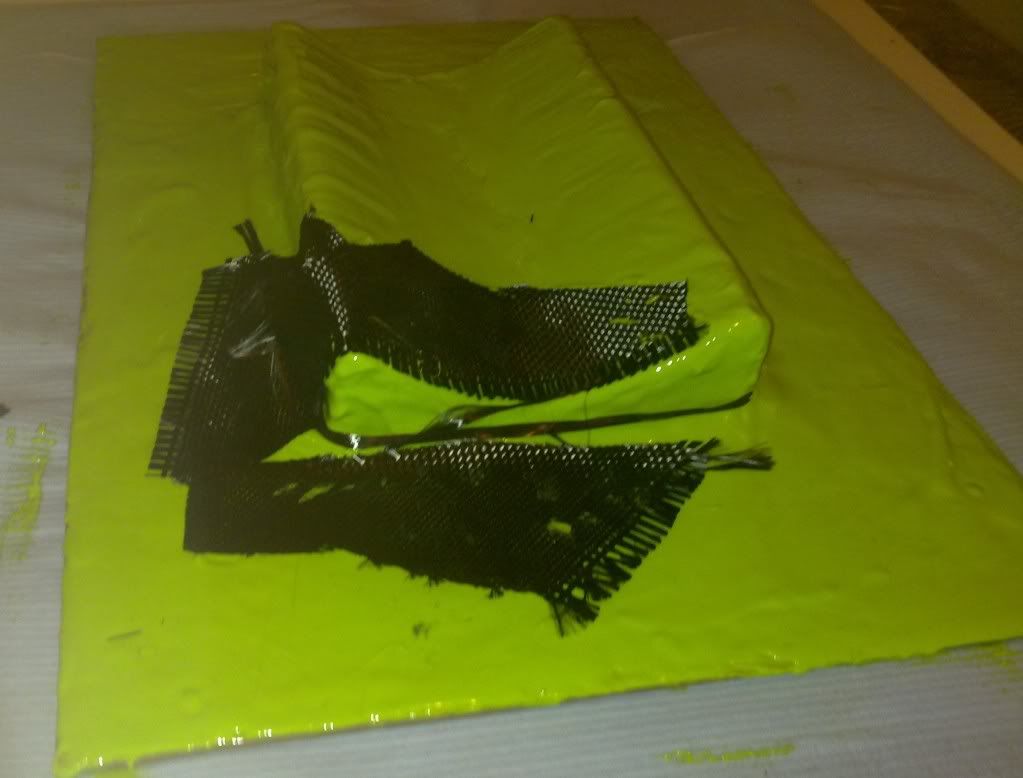
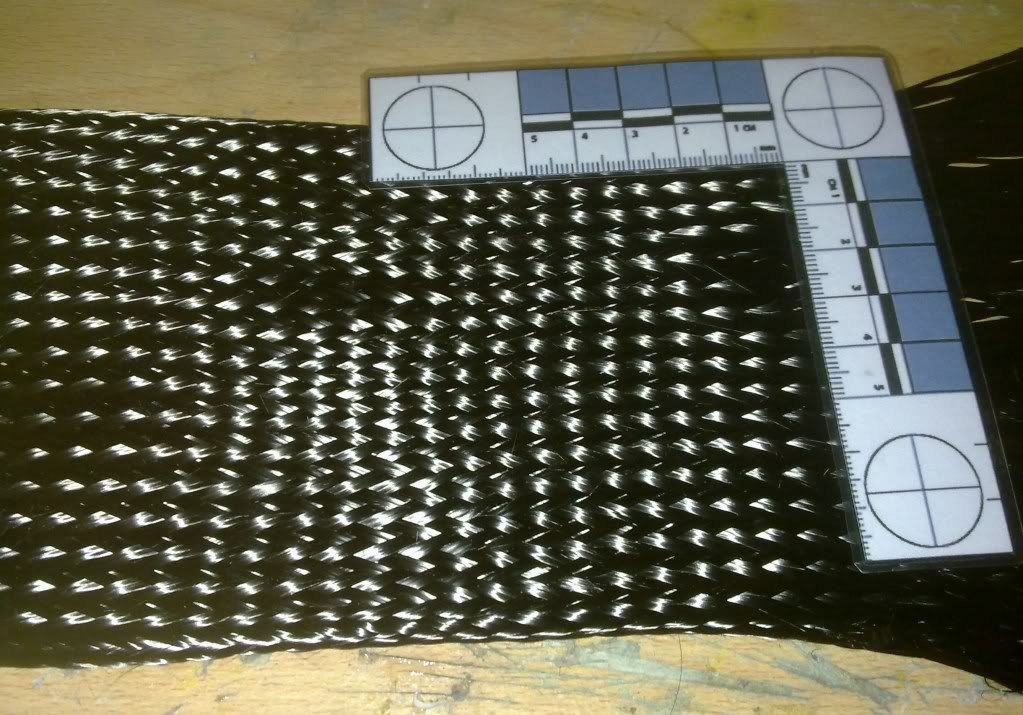
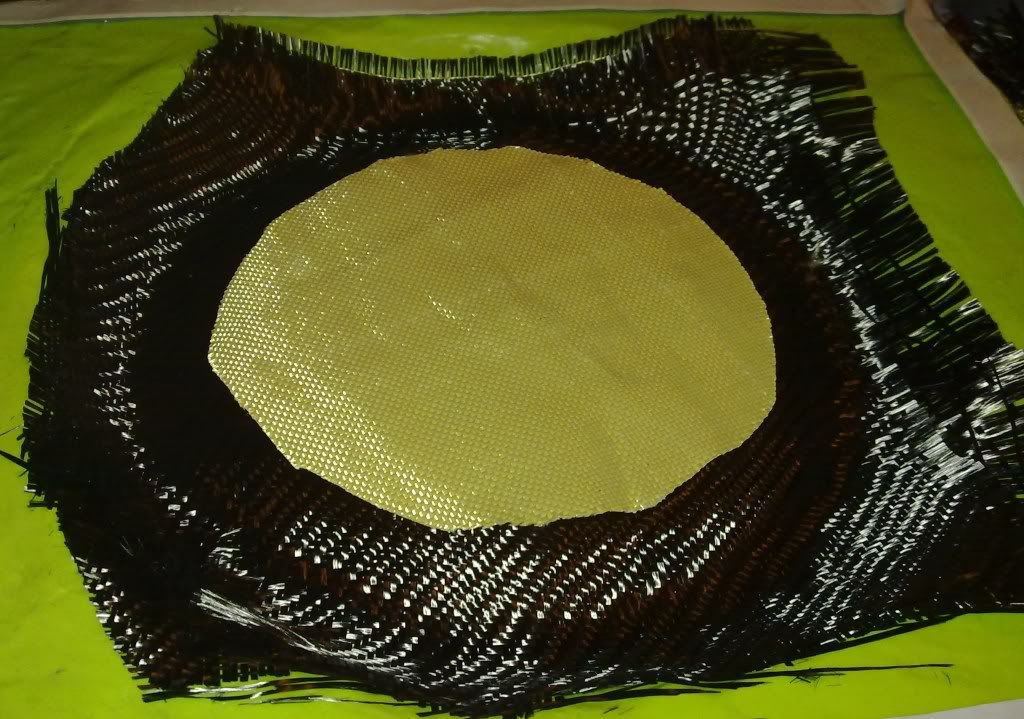
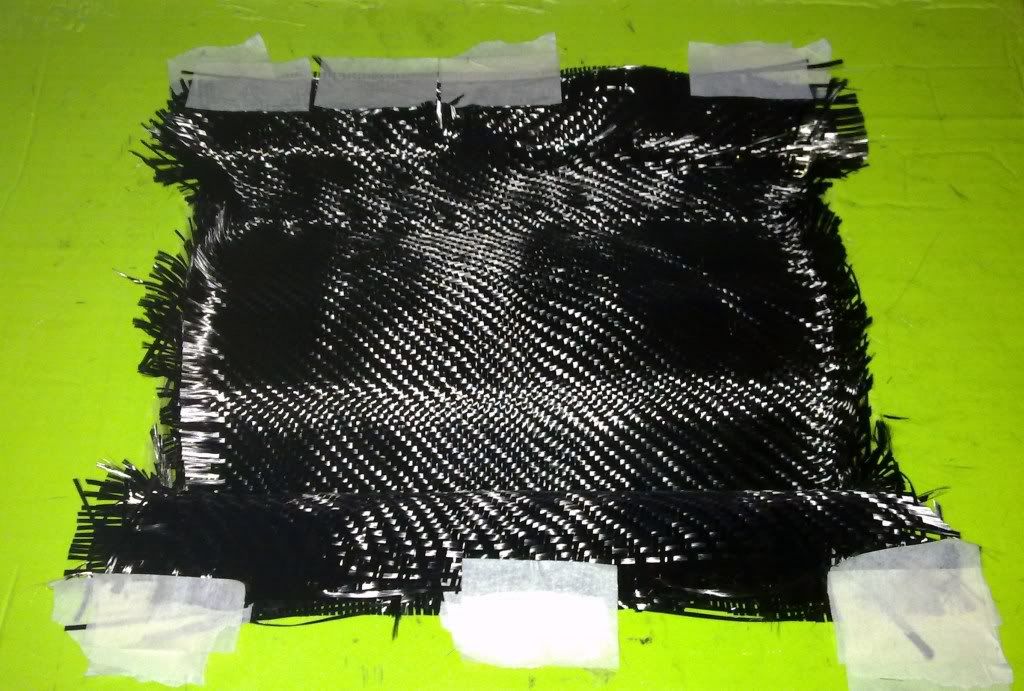
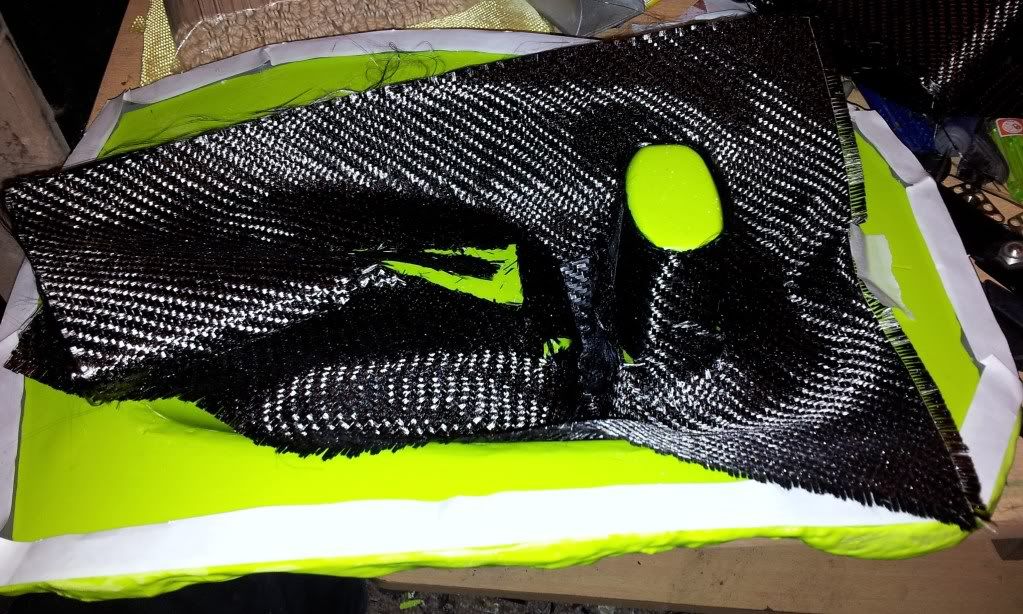
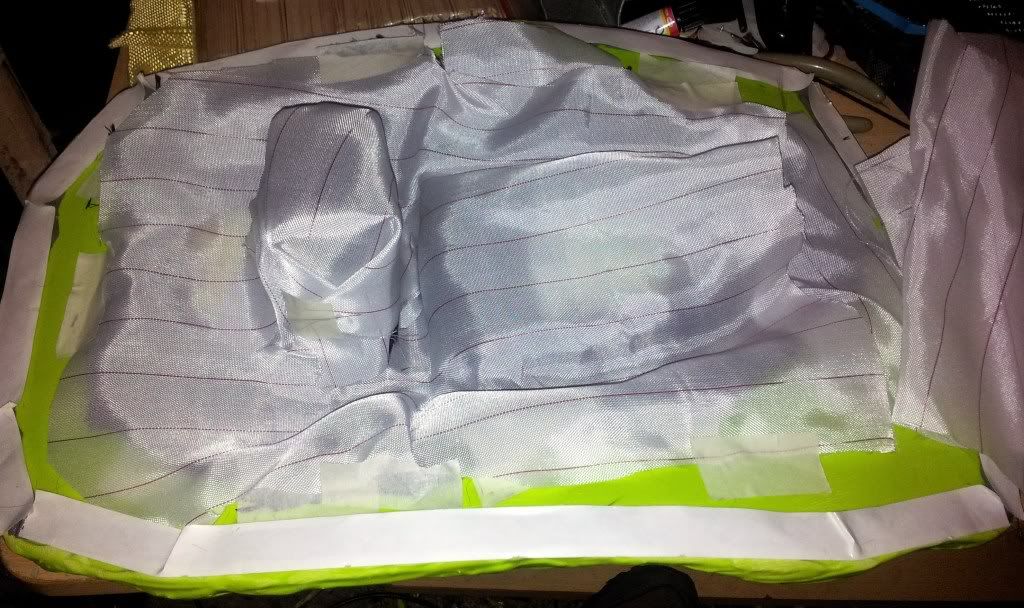
Then used some carbon offcuts for the tight corners and to add some strenth:
23052011567.jpg


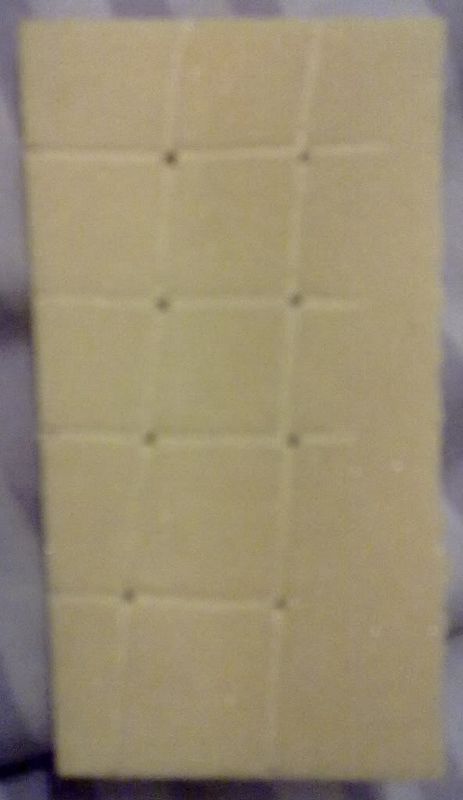
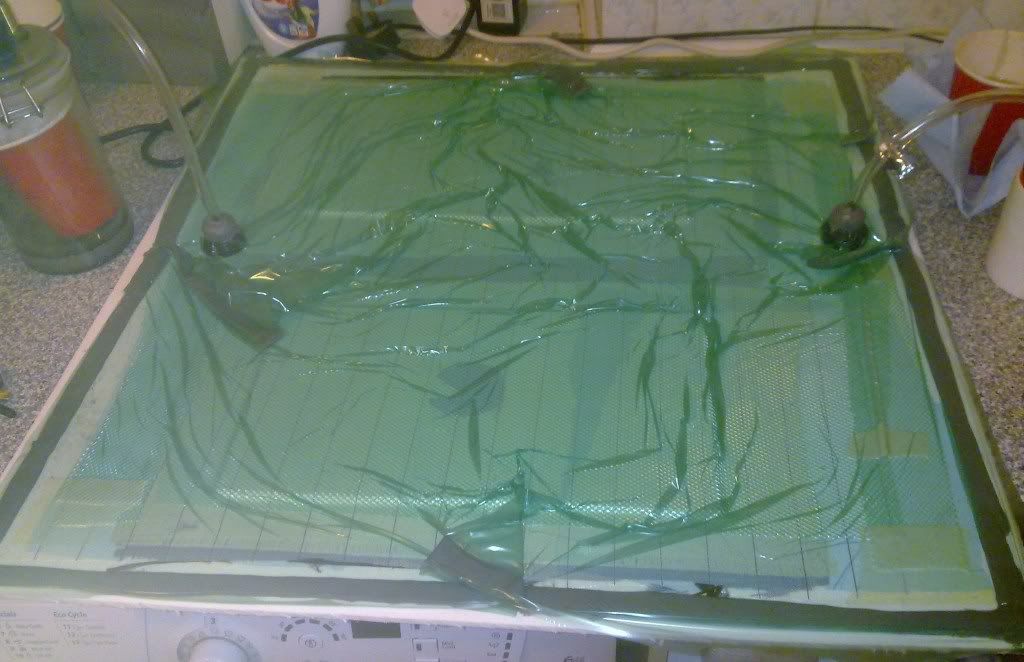
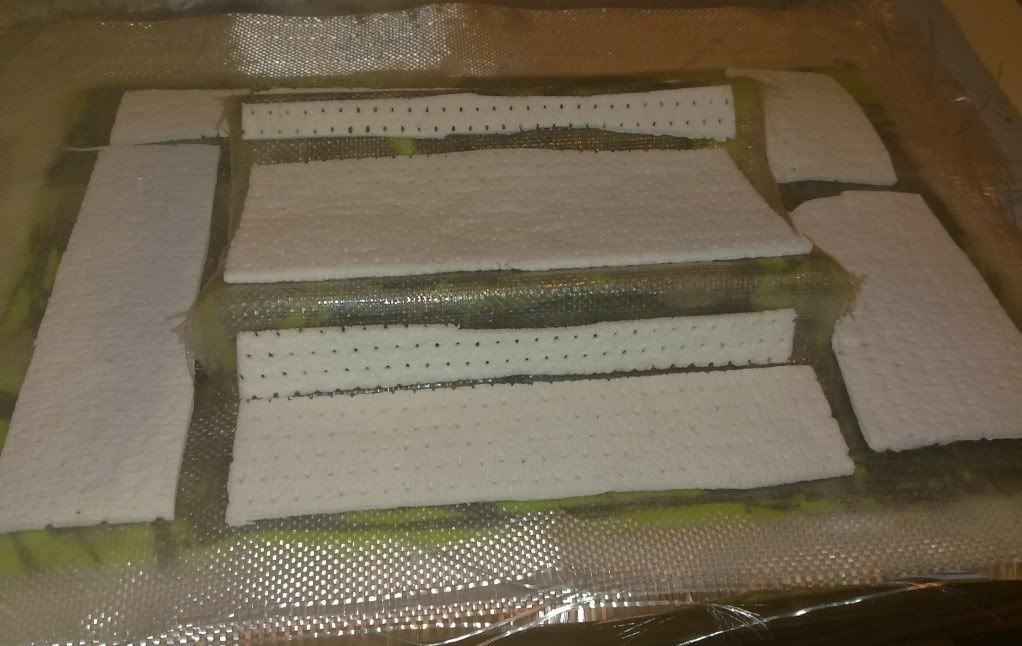
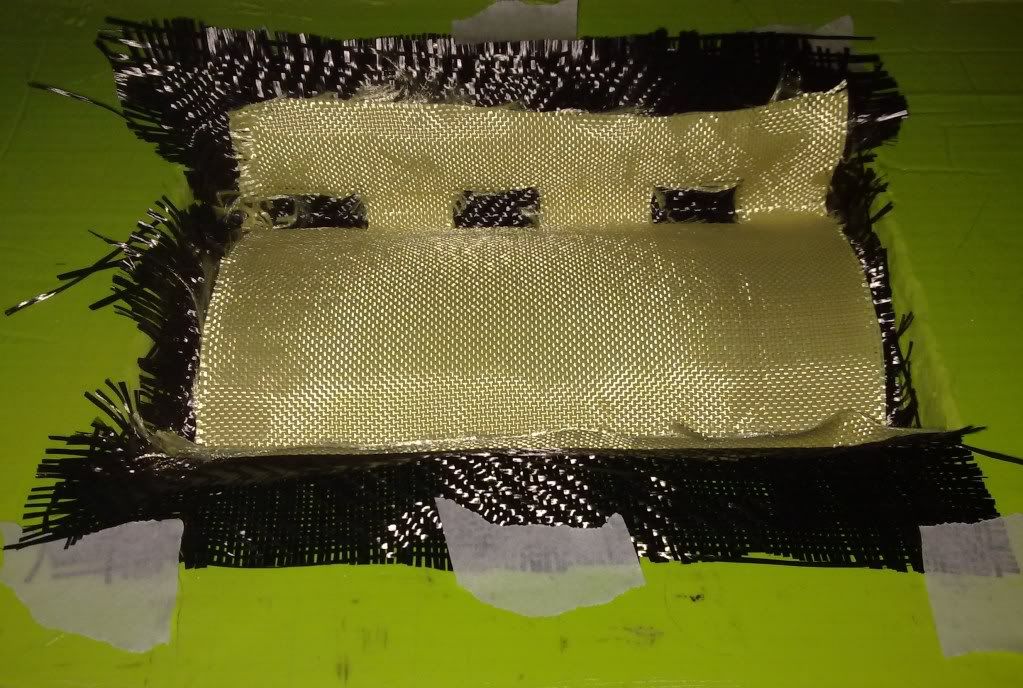
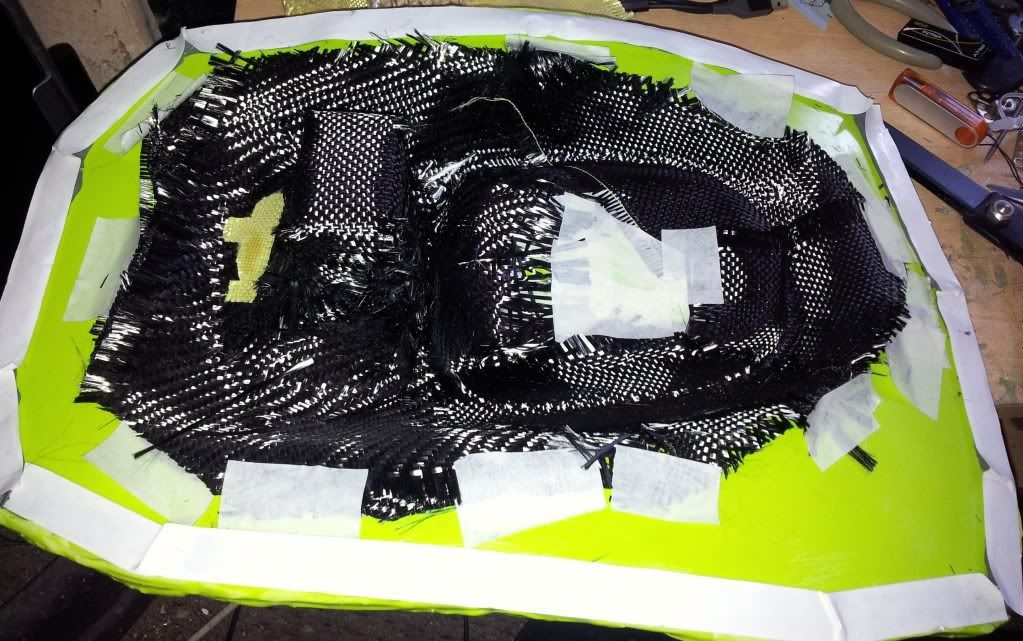
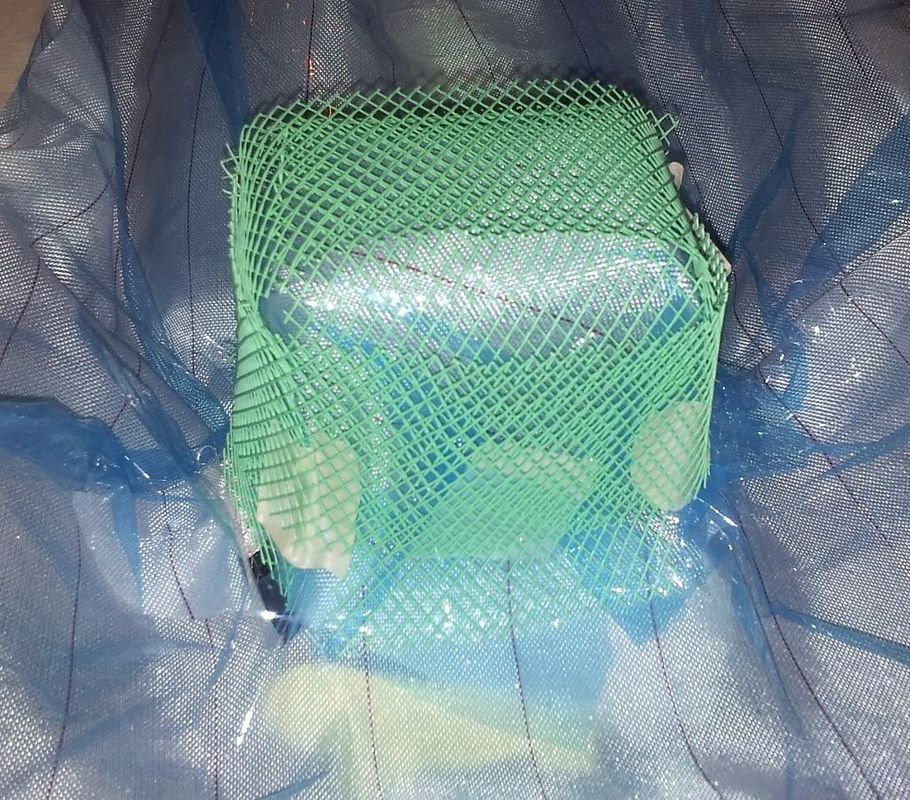
Then started layering on the fiberglass until i got to layer 4 where i added coremat to thicken up the mould. Coremat will stiffen the mould massively yet weighs much less than an equivilent thickness of fibreglass.
23052011568.jpg


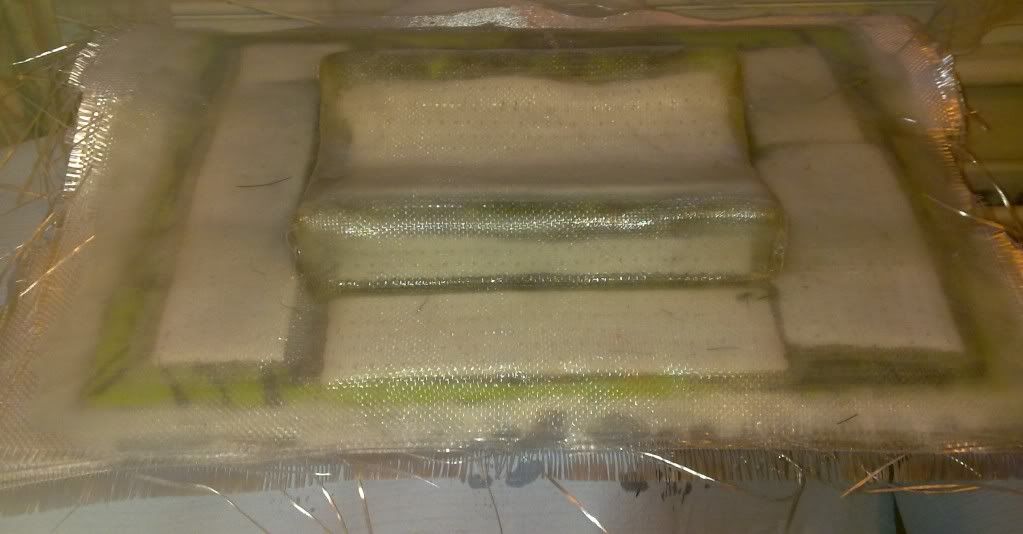
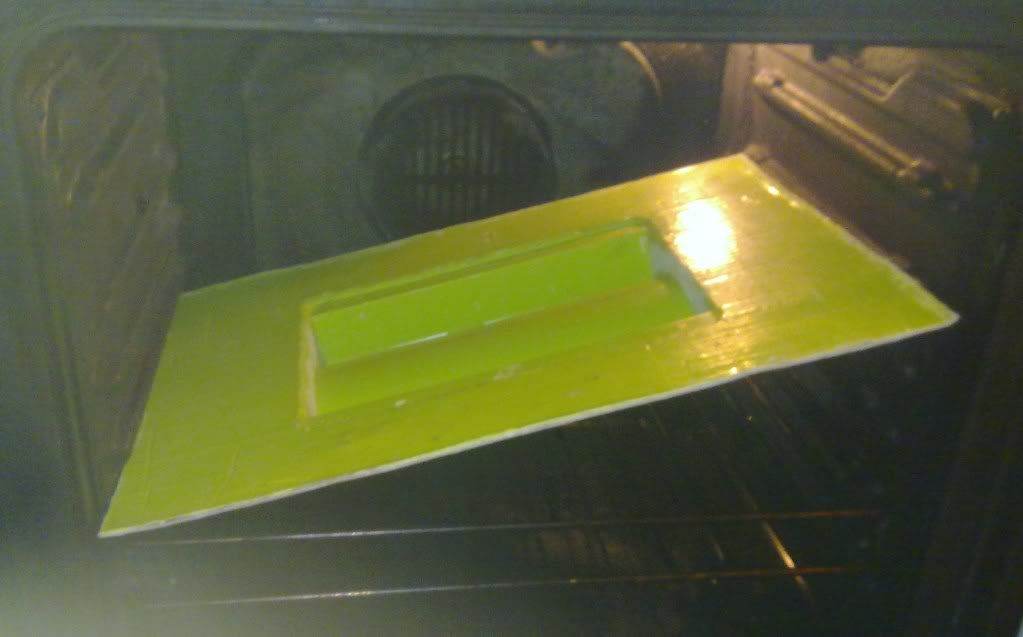
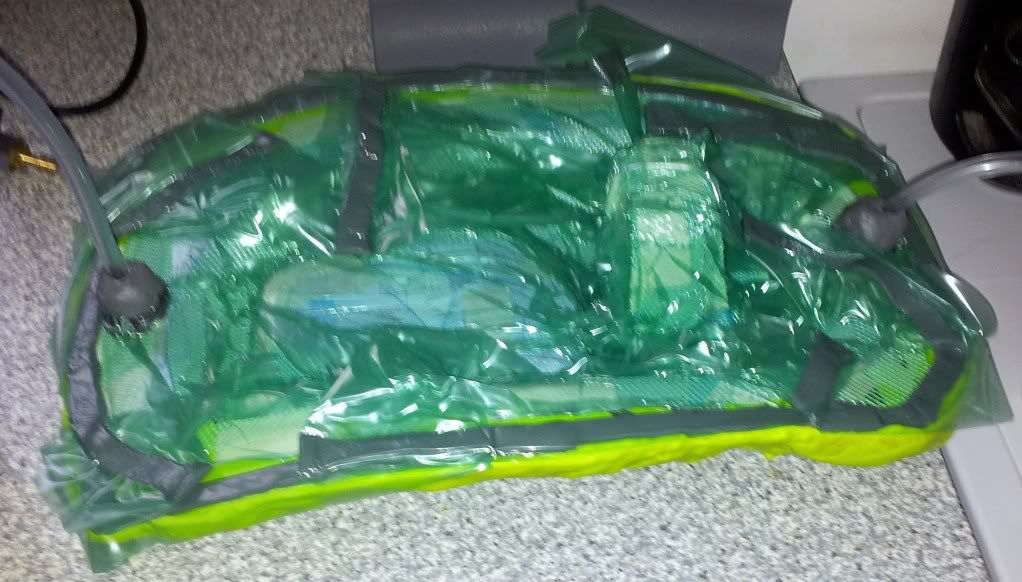
then another 3 layers of fibreglass and its time to leave it to set:
23052011569.jpg


let the mould cure 24hours.

First thing to do is remove the baseboard. It prises off dead easy showing the release agent works well.
24052011570.jpg


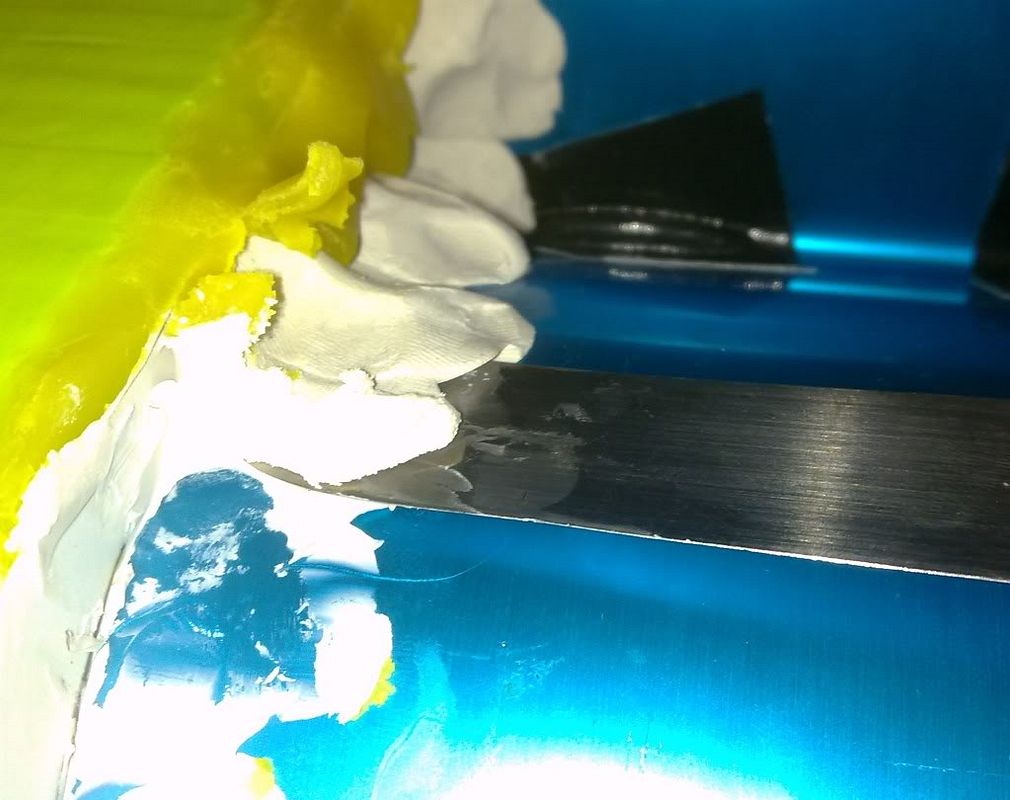
Next you need to prise out some of the wax and plasticine flanges with a flat blade:
24052011573.jpg


Once the flange is off you can see underneath:
24052011574.jpg


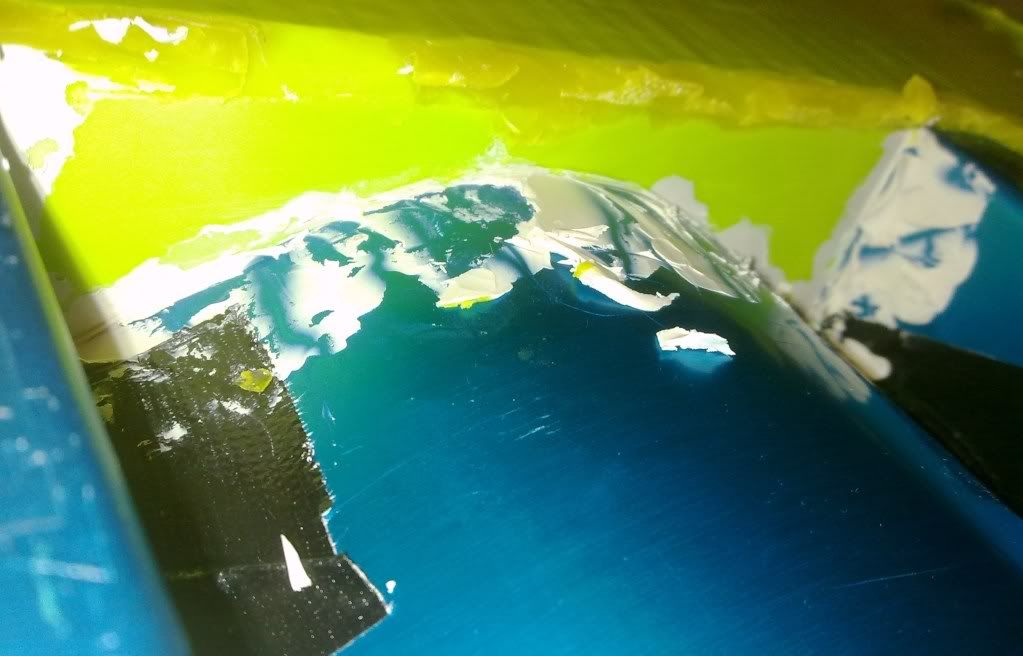
Then you need to dig out the wax around the edge of the part so you can get under the part to release it from the mould:
24052011576.jpg


It was really tightly in the mould due to the vertical edges so a few taps with a rubber mallet was needed to get it moving, then using a pry bar on the edges to wiggle the part out of the mould. Luckily when making the carbon parts it will be much easier as the carbon will flex a little bit easier than the aluminium.

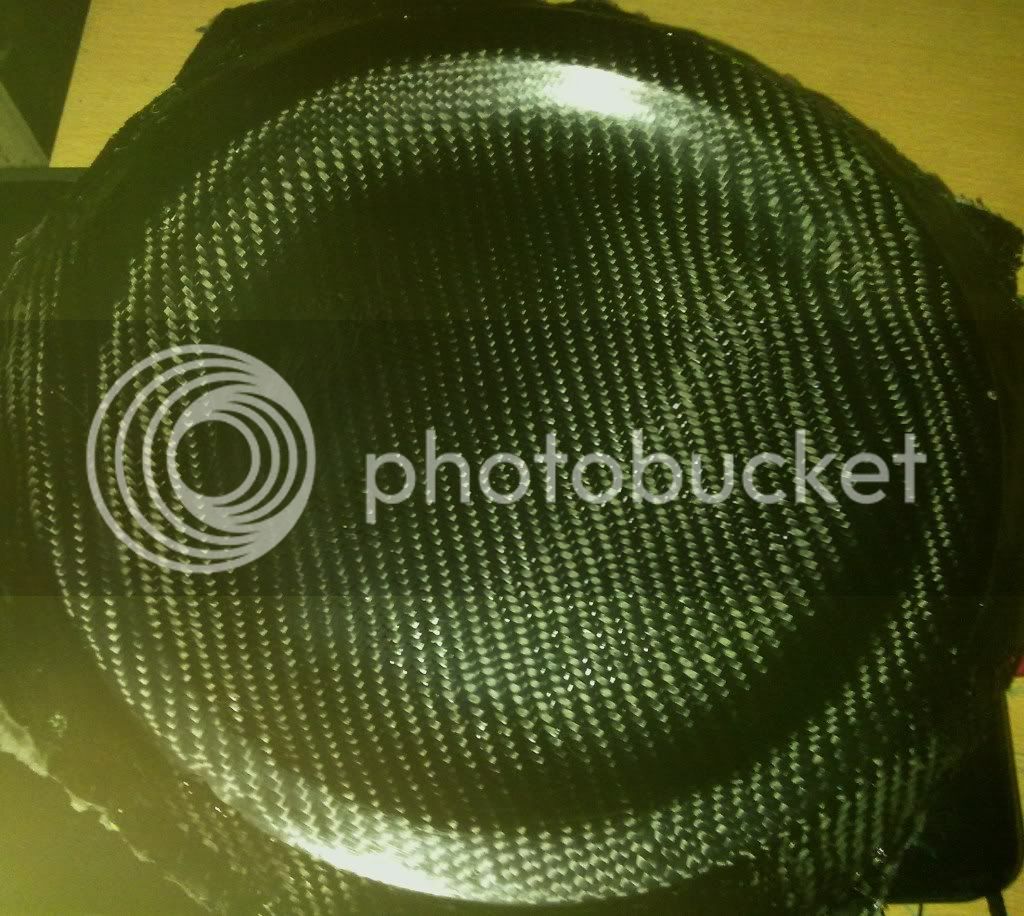
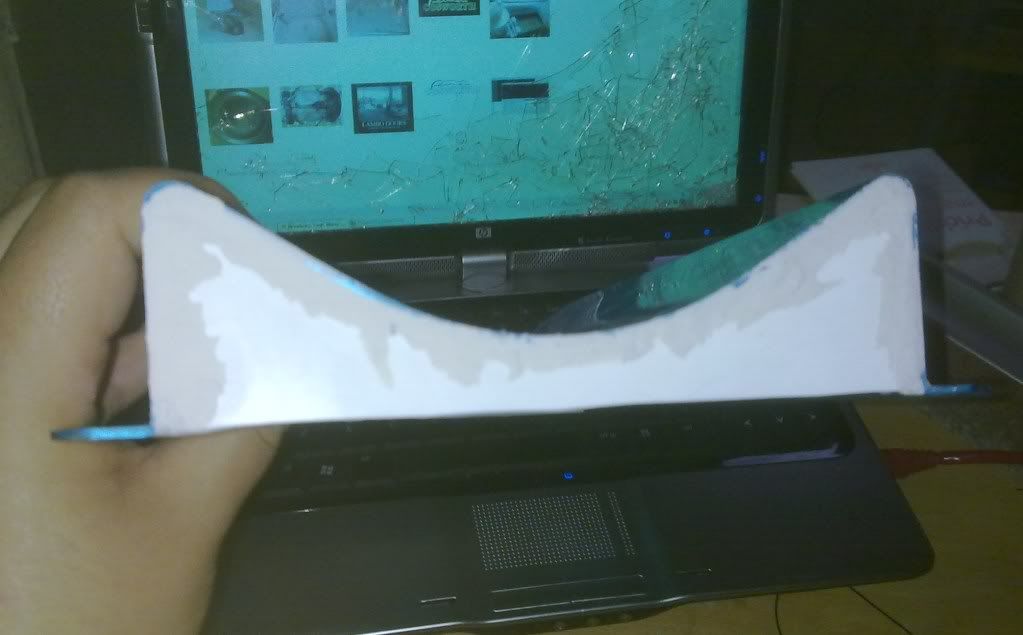
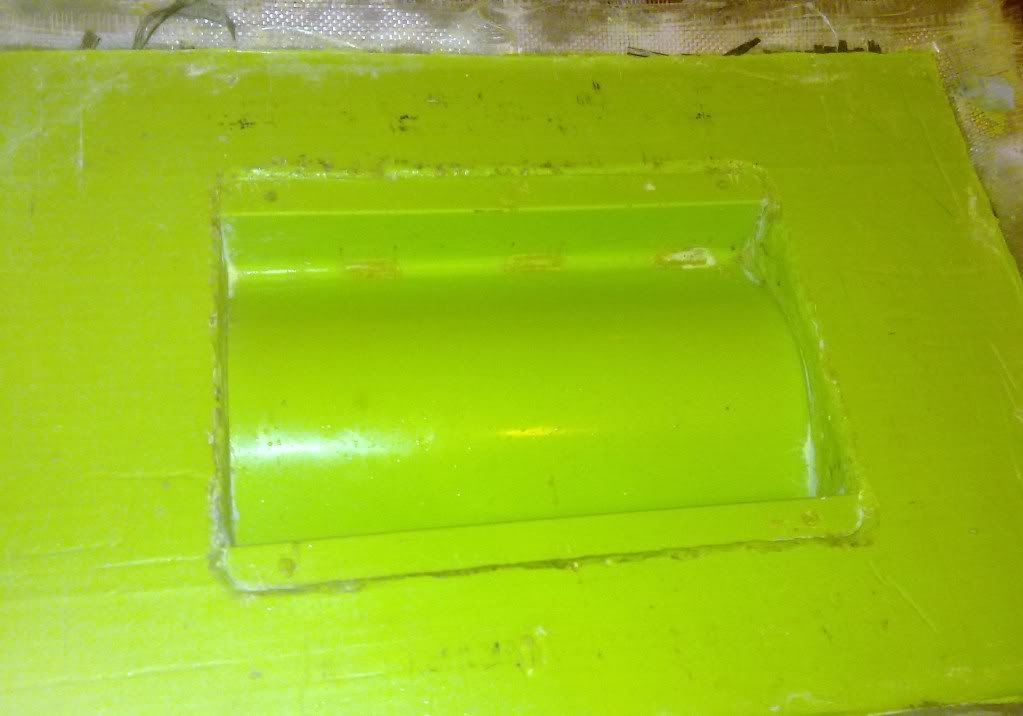
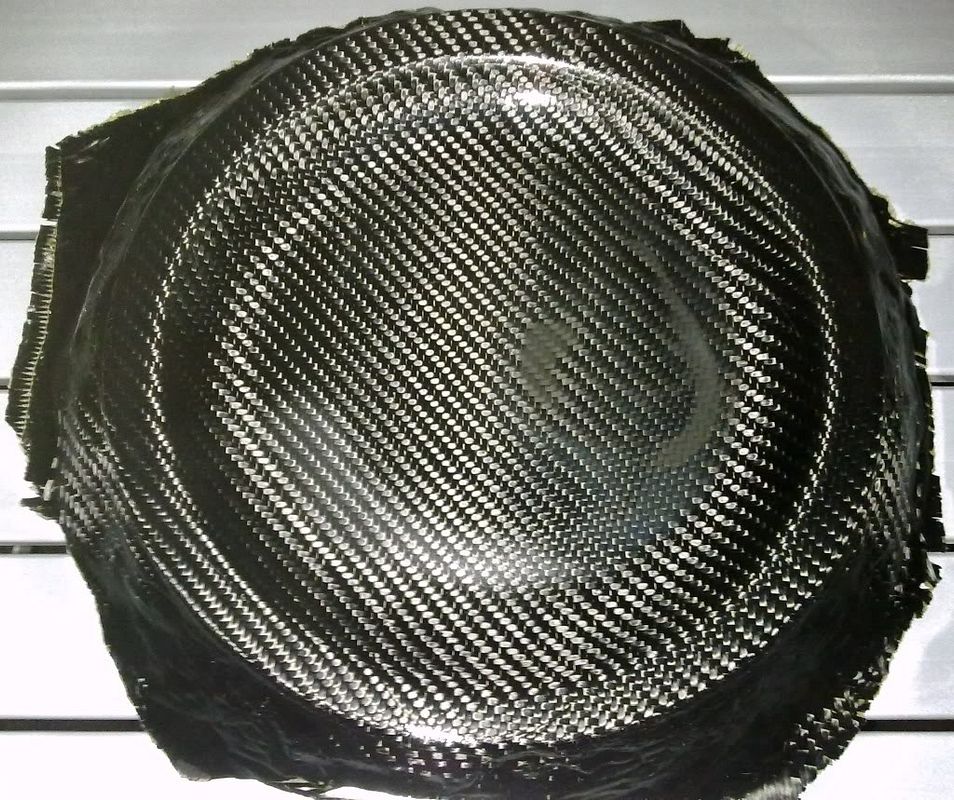
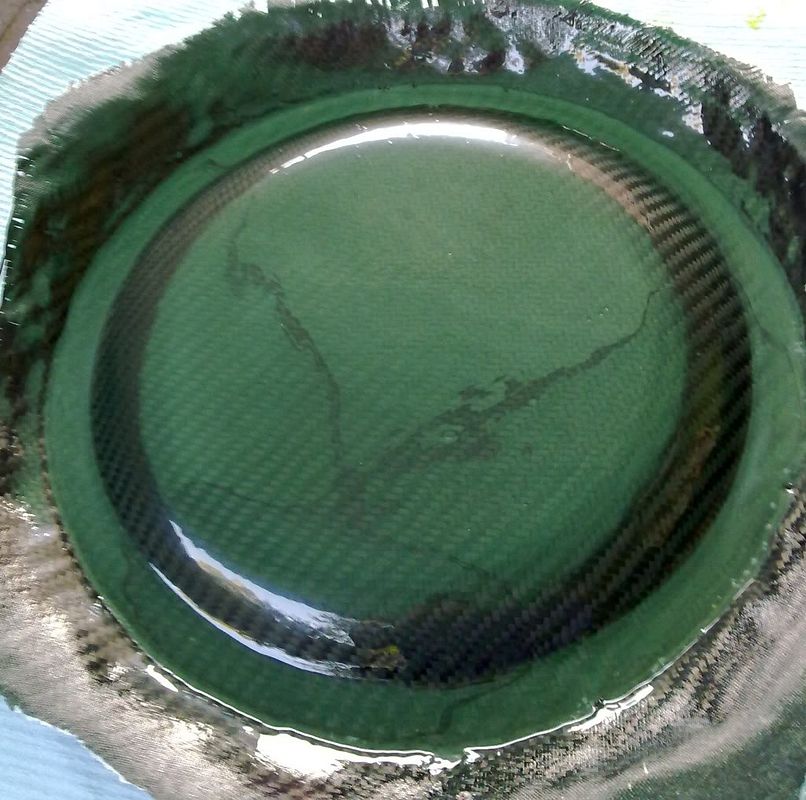
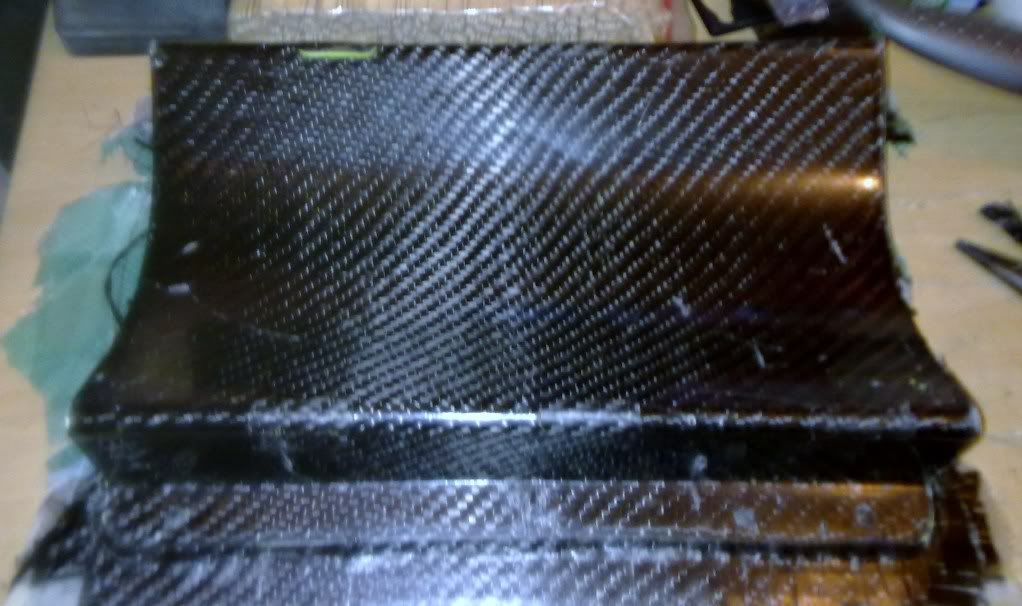
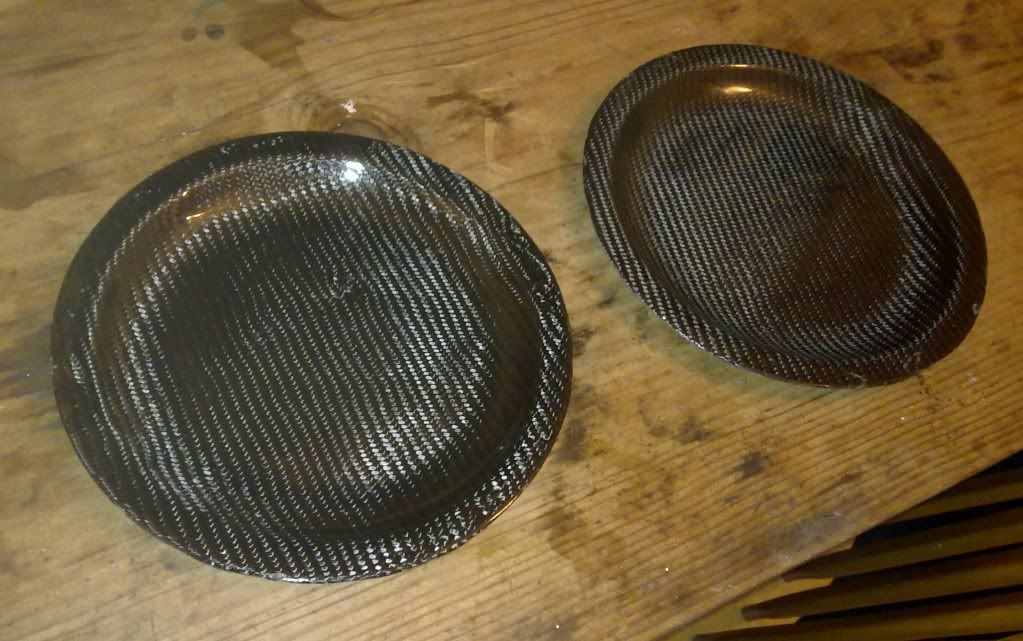
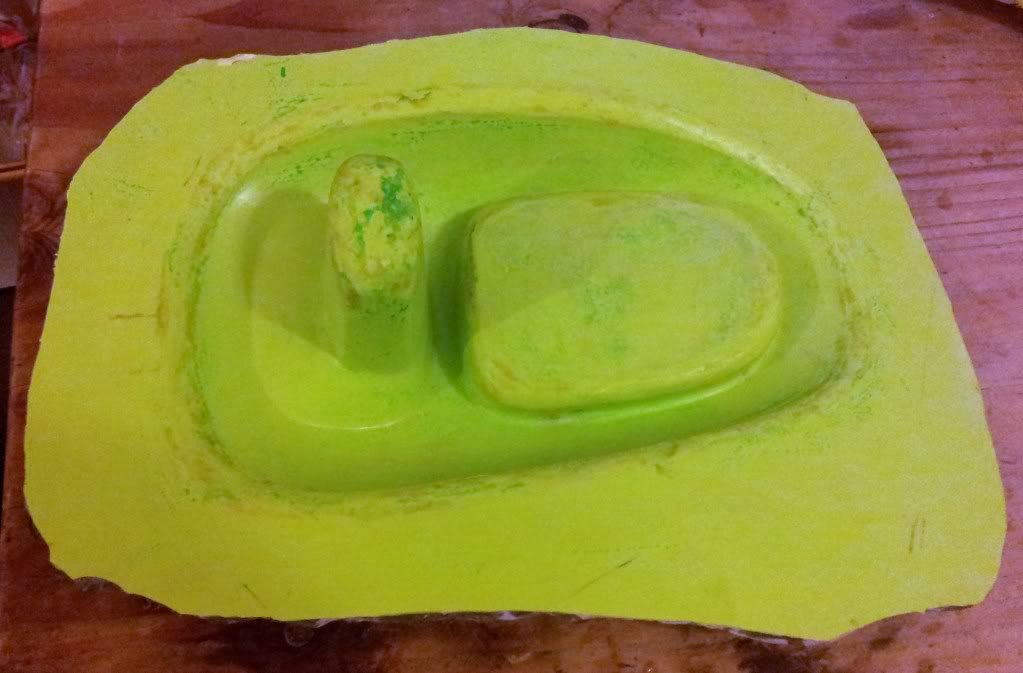
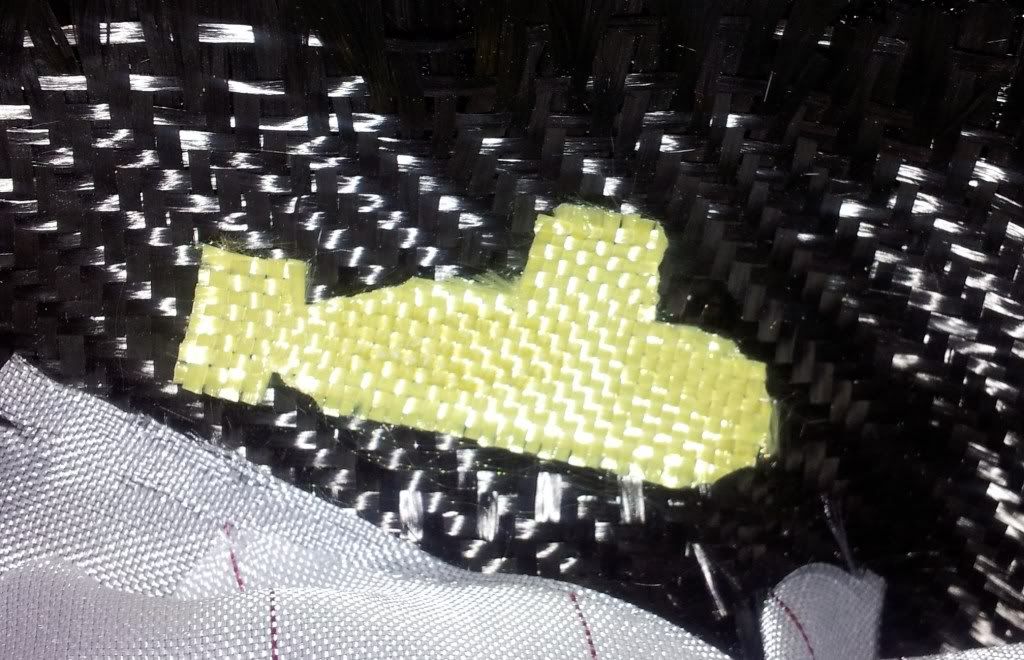
Part out the mould you can see the copied shape easily:
25052011581.jpg


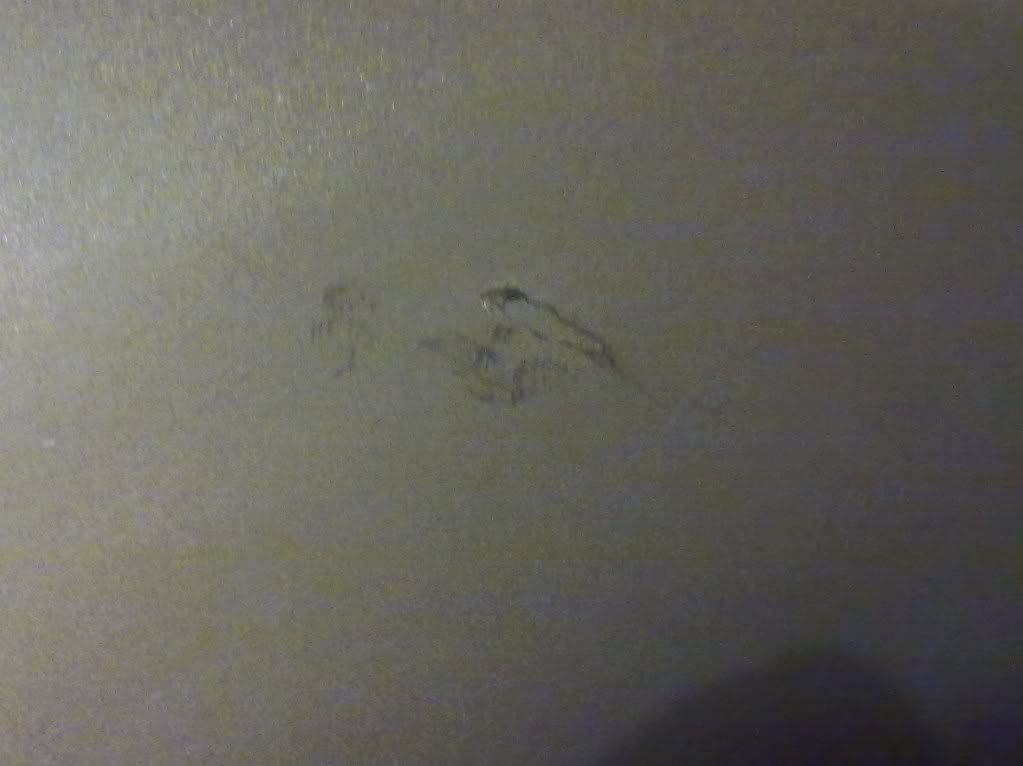
On looking closer, the surface is in good condition so will only need a few prising scratches sanded out:
25052011582.jpg


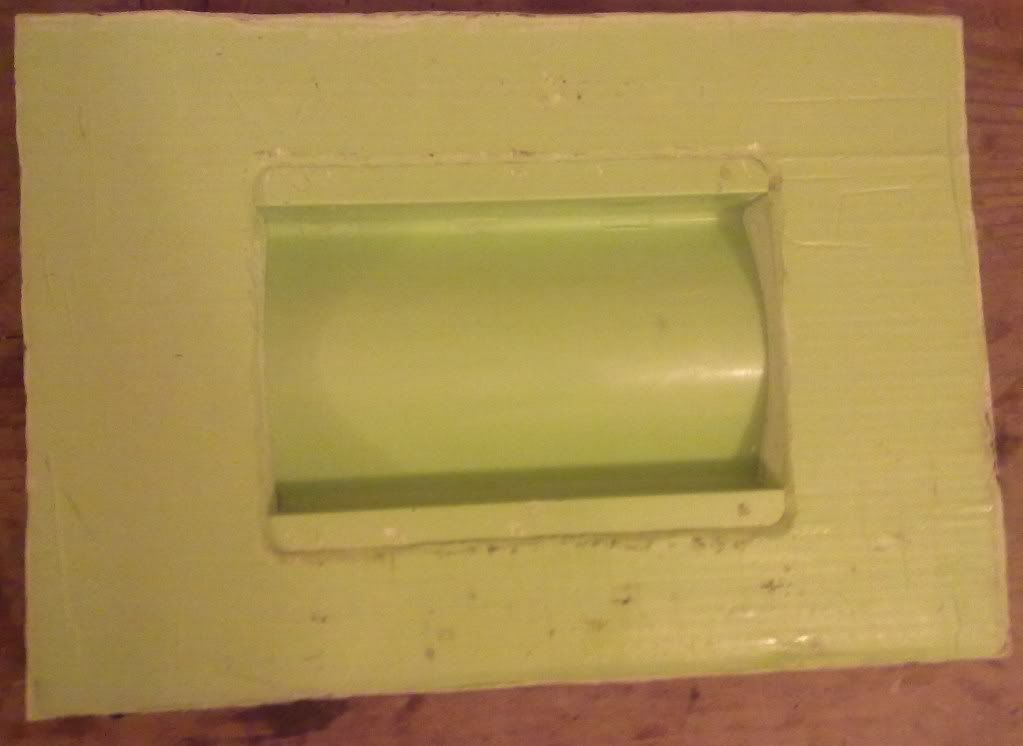
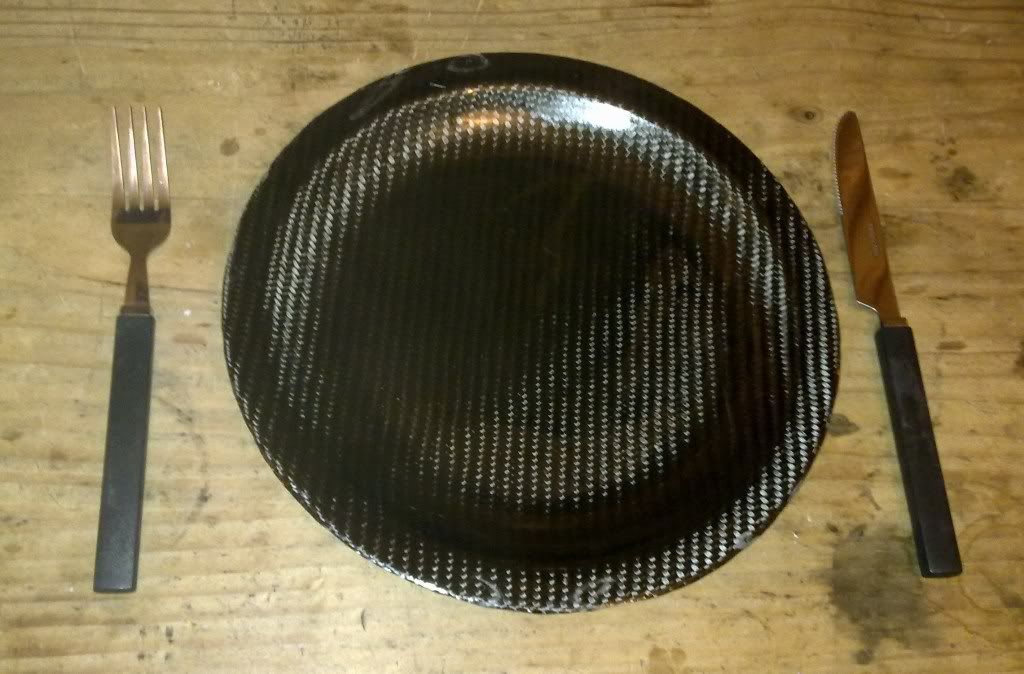
all that needs to be done now is trim the edges of the mould, sand some of the flange edges on the mould to make part release easier next time, and a bit of polishing, then its ready for making a carbon part!!
 
Some good work here.

I work making boat frames from fibreglass using resin injection moulds, and this is very similar, only you are making carbon parts. I have been meaning to do something like this for a while now.

A tip for your catch pot is to put some carboard over the tub inside. The make a hole for the pipe to feed the excess resin into it. Stops the resin from splashing up and covering the catch pot.
 
Thanks for the tip, shall try that one out!!

Got the dremel and permagrit cutting discs out and trimmed all the rough fibreglass edges. Then used a sanding drum on the dremel to blunt all the edges as well as fettle the edges of the mould itself to make it slightly smoother and easier to work with later.

26052011586.jpg


I then did a postcure in the oven!! technically at room temperature it can take a week or 2 for the resins fully to 100% cure and achieve maximum strength. This can be speeded up in the oven as well as the unique properties of epoxies meaning that a good bake actually means the end product ends up stronger than curing at room temperature.

26052011585.jpg


The next stage is to fettle the mould with wet and dry sandpapers and then polish it up ready for use to make parts.


I have also got some sample materials to play with!
26052011583.jpg


Its a carbon fibre woven tube, used in aerospace, prosthetic manufacture and simple tube manufacture! It is quite stretchable and much less fragile than normal carbon fabric.
26052011584.jpg
 
bit of an update. Been making some more carbon dinner plates.

I now add a layer of kevlar into the plate so its impact proof:
10062011593.jpg


Also in this photo of the infusion process, you can see how the addition of the layer of perforated release film effects the resin flow with little blobs rather than a regular line of resin flow.
06062011590.jpg

They are coming out ok now:
19062011603.jpg


also experimented with lacquering the rear of the plate so you can see the weave on both sides which usually you cant on carbon parts.

07062011592.jpg


Also finished prepping the mould for extinguisher mounts and started to do my first layup. The shape is a lot easier to lay the carbon in:
17062011598.jpg


also adding a layer of kevlar so that worst case in a heavy crash the mount stays intact even if it was crushed/smashed up so the extinguisher cant break free.
17062011597.jpg


Bagged it all up ready for resin infusion and its just sitting under vacuum to test the bag for leaks then i will infuse the part.
19062011601.jpg


Also got myself a spare bonnet so i can make a mould of that!!
 
little update. Made my first extinguisher mount in the mould.

21062011610.jpg


all went well except demoulding which took an hour with a pry bar and various tools!!! I think i shall cut up the mould a bit to make it easier in future!!!

Also added a little logo to the underside of the part before infusion:
21062011611.jpg

Might do that on all the parts i make so in future its easy to identify bits ive made.

Also bought my new bonnet inside to get it ready to be moulded:
21062011618.jpg
 
Cleaned the bonnet up then stripped the underside of all the liners and washer pipes that will just get in the way:
24062011620.jpg


Also removed the washer jets, then cleaned the bonnet including claying it to get rid of any tars or dirt that could mess things up.
25062011621.jpg


Also went round the bonnet with 2000 grit wet and dry to sand down any stone chips so they are more or less smooth including these two slightly bigger ones:
25062011622.jpg

25062011623.jpg

they will mostly be filled with wax so will have little impact. Also with the mould being the reverse image there will be a slight bump rather than dink so its easily sanded flat when i sand the mould.

the next stage is to get the wax going!
25062011627.jpg

Needs a minimum of 5 layers of wax although i will be doing more like 8 to be safe.

Also almost finished a couple of plates now:
25062011624.jpg

Just need sanding down to smooth the lacquer out then a good polish up.

25062011625.jpg

as you can see, proper size dinner plates!!

Also started my next item to mould which is a centre console/gear lever surround. Flatted the horrible eggshell found on most ford interior panels then sprayed on several layers of high build primer which i will flat down nice and smooth to get a good finish.
25062011626.jpg
 
LOL just made the plates for fun!!

Only small update tonight. Been polishing the bonnet loads. Nothing to really see from that really!!

only thing to show is ive filled in the washer jet holes with plasticard for the moulding. Should still have a small line around the edge of where the washer jet is on the finished part. that way I know where to cut without measuring.

26062011635.jpg
 
Ive decided to remake the extinguisher mount mould as with it enclosed vertically on all sides its the biggest pain to demould parts without damaging them so im making the ends of the mould open so in theory its only 2 vertical surfaces to prise off rather than 4!!
29062011637.jpg


Just got to wax it, then gel coat and fibreglass then i can start again!!

Also made a sign for the new office door at work:
28062011636.jpg

bit rough around edges but they dont care.
 
small update as im busy making some bits for ford fair.

first of all made a "minimilist" carbon wall clock:
2011-07-08054647.jpg


also made my mould for the centre console!! came out brilliantly!
2011-07-12042620.jpg


hopefully i will have a first go at moulding a part later this week then if all goes well I will be ready to produce the console.
 
I still want one pleaseeeeeeeeeeeeeeeeeeeeee.

I'll be wanting a bonnet, boot and doors too if you get round to making them.
 
ok continueing with the center console, I spent ages sanding the mould down and polishing it up to achieve a good finish. The mould was then coated with my release agent and ready to lay the carbon in. This is the second layer going on:
2011-07-25014241.jpg

The shape is very complicated so i have been forced to use a mixture of pre-preg and normal carbons. Pre-preg is slightly sticky and easily cut so is ideal for the surface layer so the carbon holds itself in the mould better. The con is its horrendously expensive and will require extensive baking for hours in the oven, much to my housemates annoyance!! Finished off the layup of carbon using normal cloth for the bits underneath.
2011-07-26100552.jpg

Took several hours and im hoping I can do it a bit quicker on future examples. Ive also added a kevlar submarine as a bit of a logo so i can identify my bits in the future:
2011-07-28034448.jpg


I then started to add the bagging stack starting with the peel ply:
2011-07-28035436.jpg

this was followed by the release film and the infusion mesh. You can see in this picture how complicated it is to cover all of the part necessitating a fair bit of chopping about compared to flatter shapes:
2011-07-28040746.jpg


I also added an extra bit of resin feed spiral to the the top of the mould to insure the whole part gets enough resin flow. The bag film was then added and ive drawn a vacum. Pleanty of pleating is necessary to ensure enough film to fill the complicated shape.
2011-07-28055408.jpg


I am now testing the vacuum for the next few hours to make sure the seal is good enough. I will do the infusion and baking this evening.
 
Back
Top