Sorry for not updating for a while but ive been unwell lately!
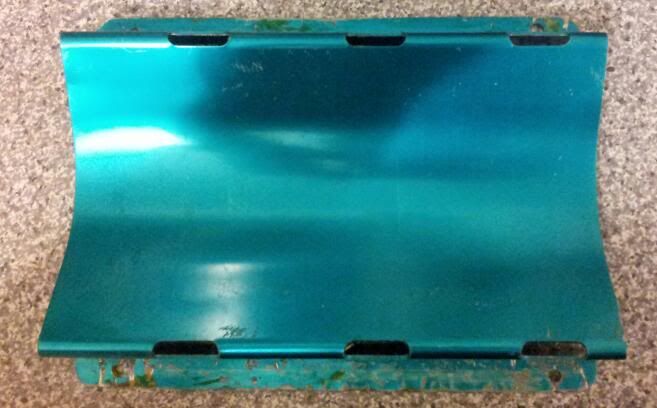
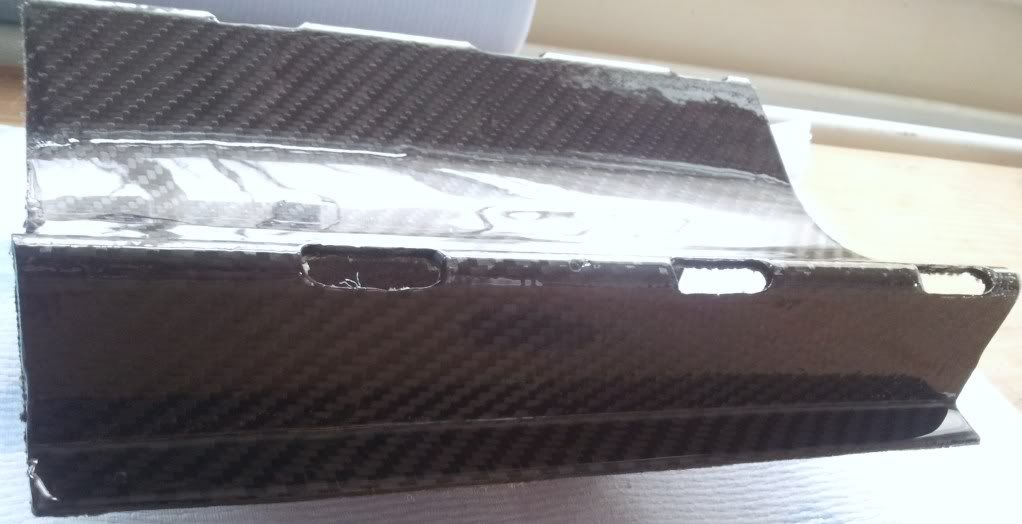
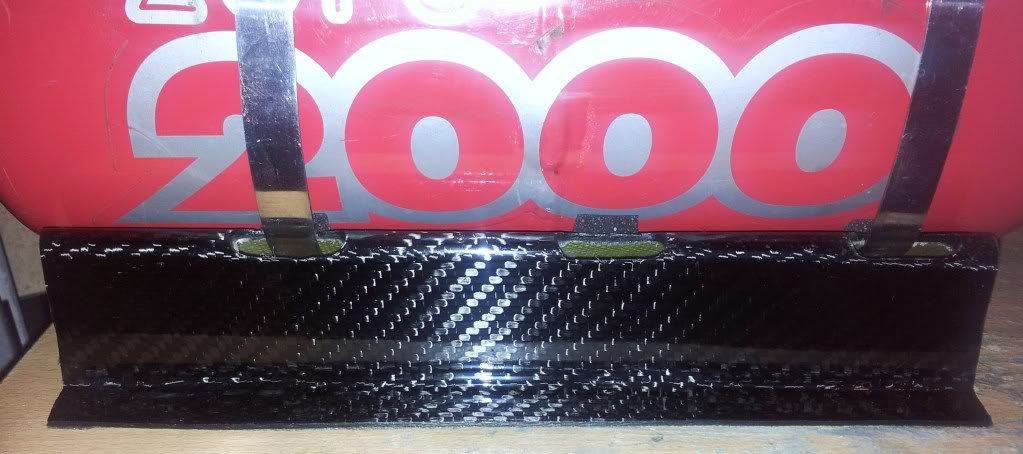
This project is about remaking a lifeline fire extinguisher mount in carbon. The standard part is pretty light in alloy, but i thought i could do better in carbon!!
Heres a pic of the kind of mount i mean:
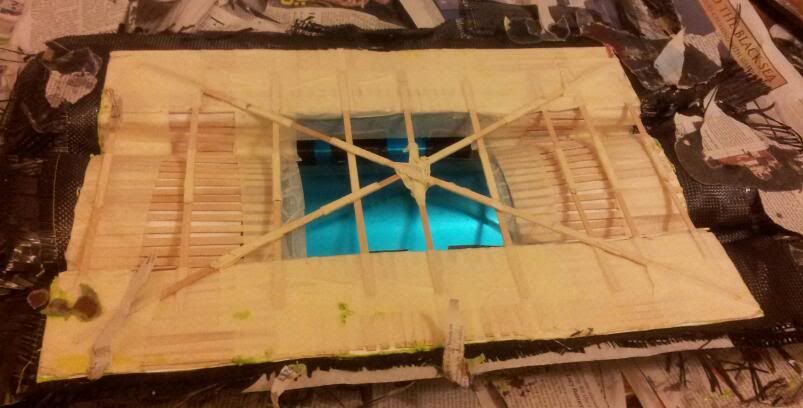
First i decided i needed to make flanges. To do this i needed to build a structure around the edge of the extinguisher mount. I used small wooden sticks braced around the edges:
I then covered the flange sticks with waxed card to provide the smooth surface i required.
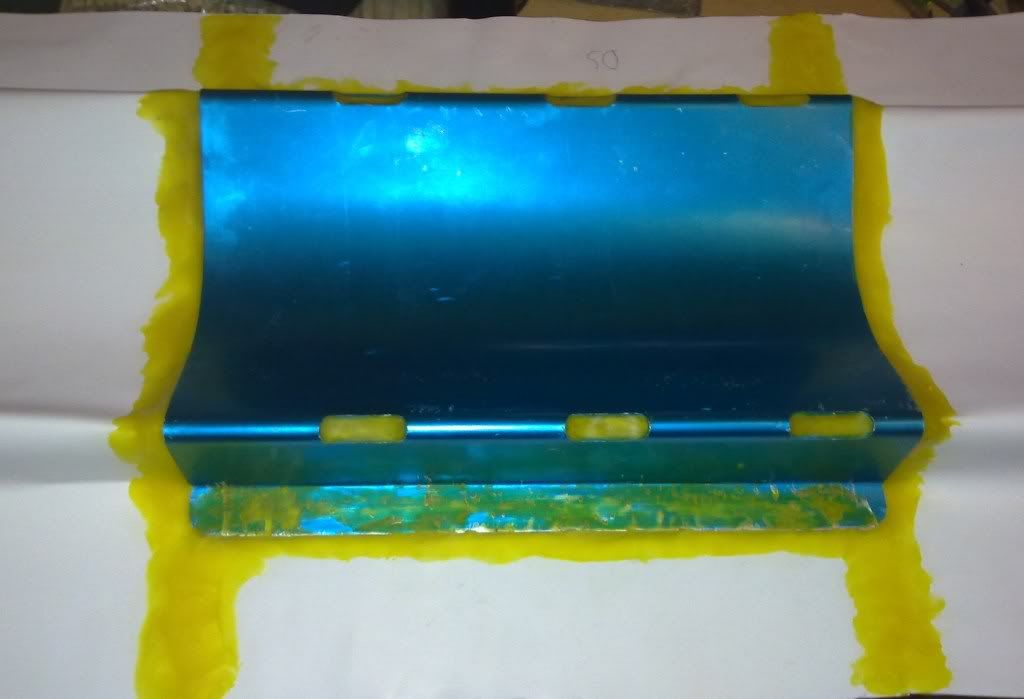
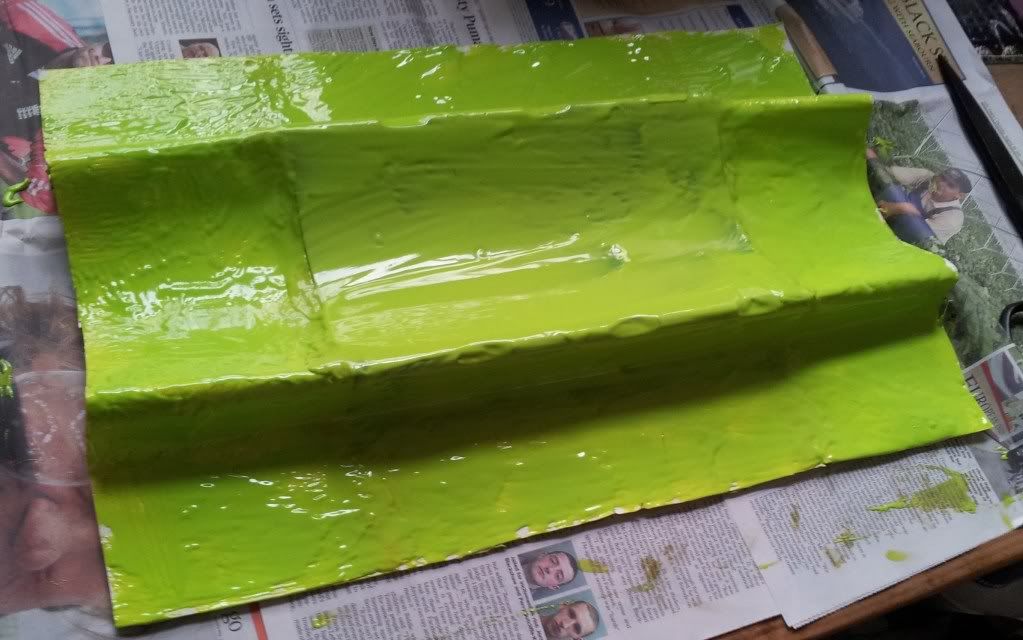
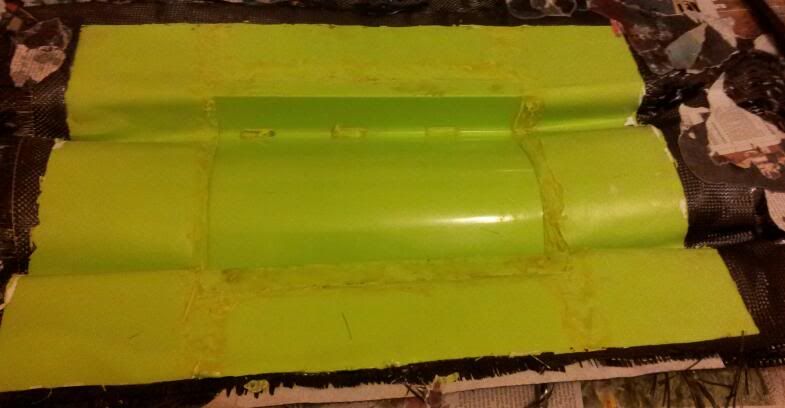
the yellow stuff is fileting wax. I have used it to smooth and fill any edges as well as fill any holes in the mount.
Next I put 6 layers of mould release wax on the plug ready to make the mould.
First covered it in gel coat:
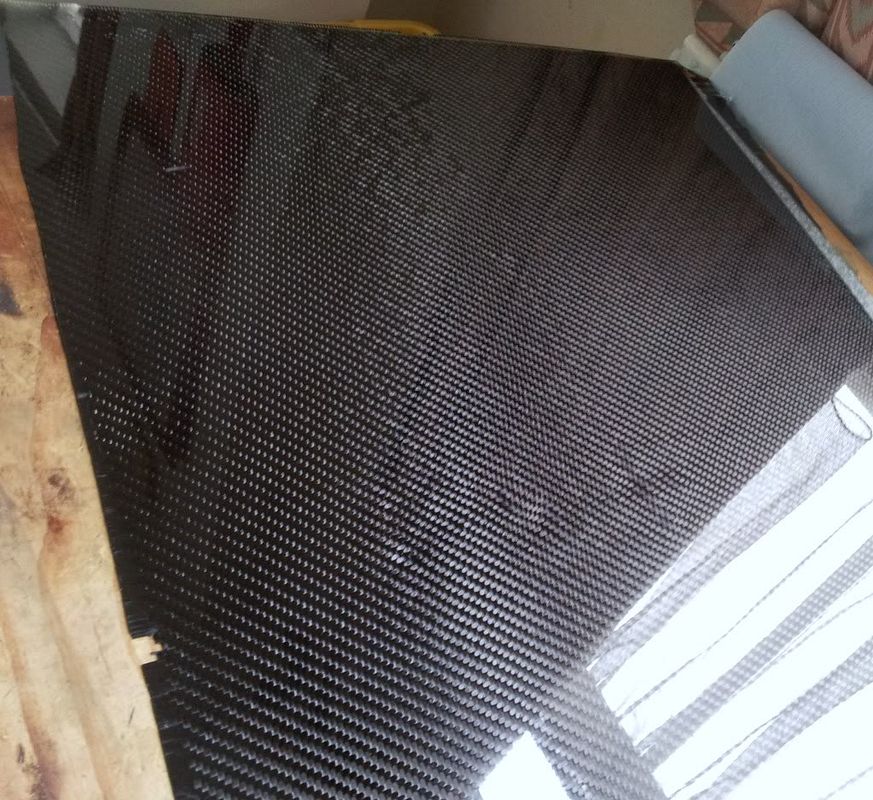
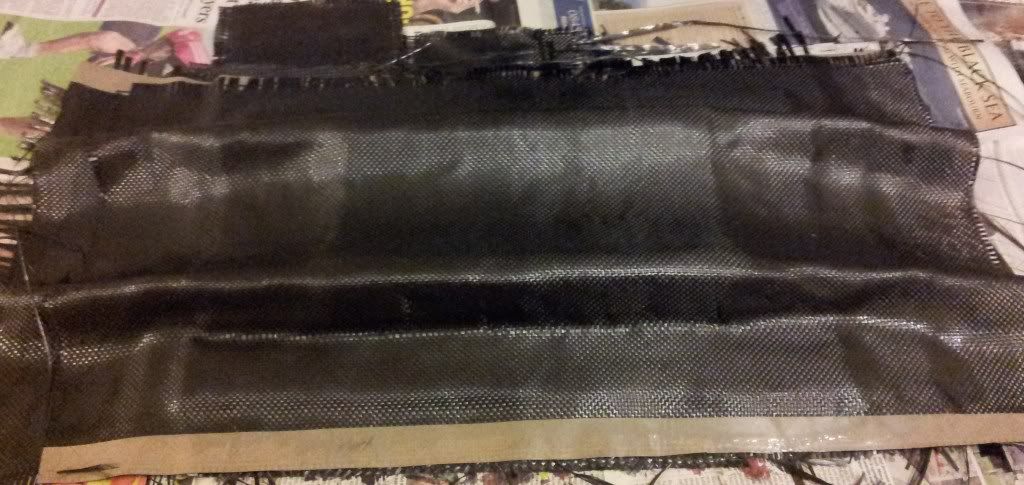
Then me layering on the carbon wet lay fashion:
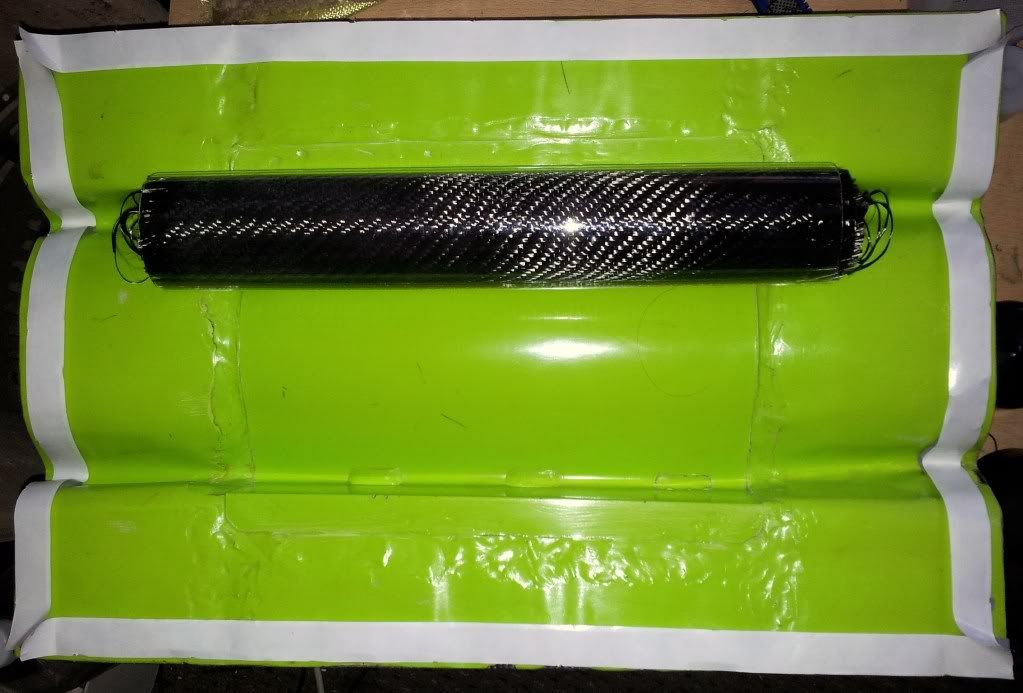
All done:
You can see how the mould shape is different. No sharp side for the part to get mechanically locked into the mould so should demould easier. Also put coremat in the layers of carbon to stiffen the mould even further
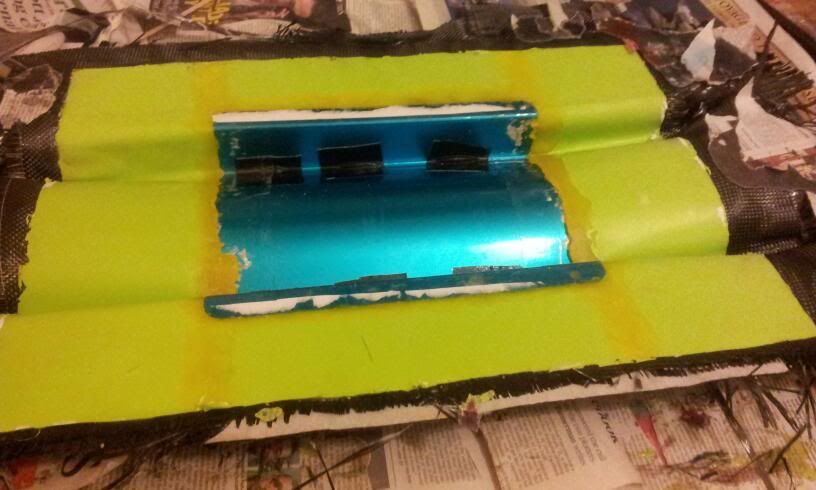
Once it had cured for 24 hours I then stripped off all the flanges and the supports:
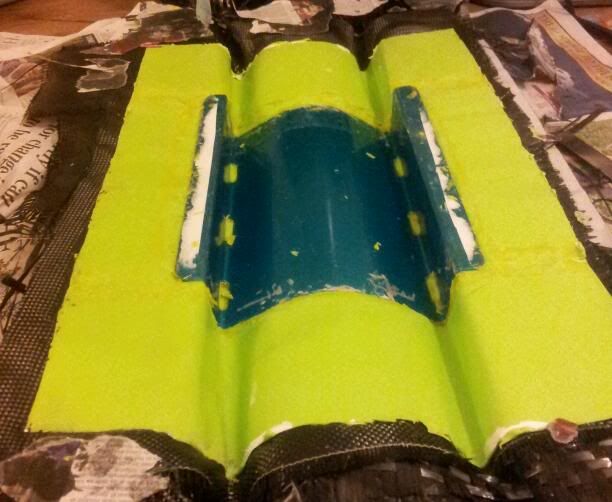
after that it was time to dig out all the wax so i can work up to releasing the part.
Once the wax was out, i used a blunt butter knife and tried to lift the edges of the part to pop out the part. It popped out dead easy!! Proof that good use of mould release agents pays dividends!!
Needs a bit of a fettle here and there around the edge of where the part was as well as the edges trimming. Once trimmed and tidied up the mould looked like this:
Now adding layers of wax to smooth out the mould surface and as a release agent.
All waxed up now and ready to make first mount!! Ive taped it up round the edges ready for the bagging.
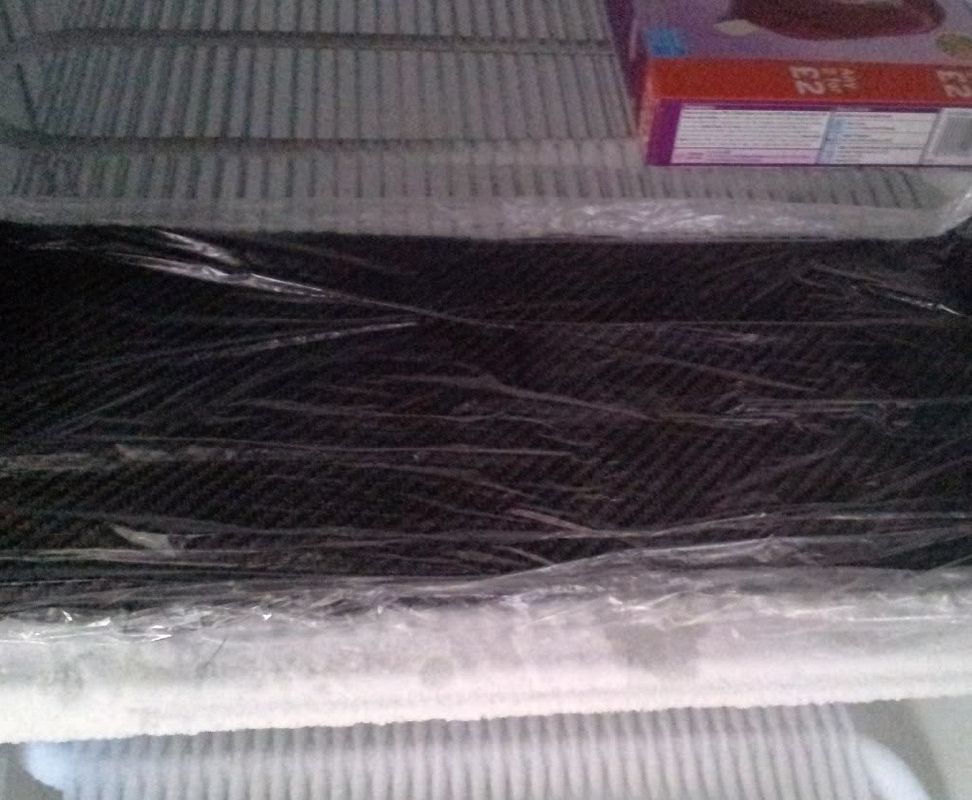
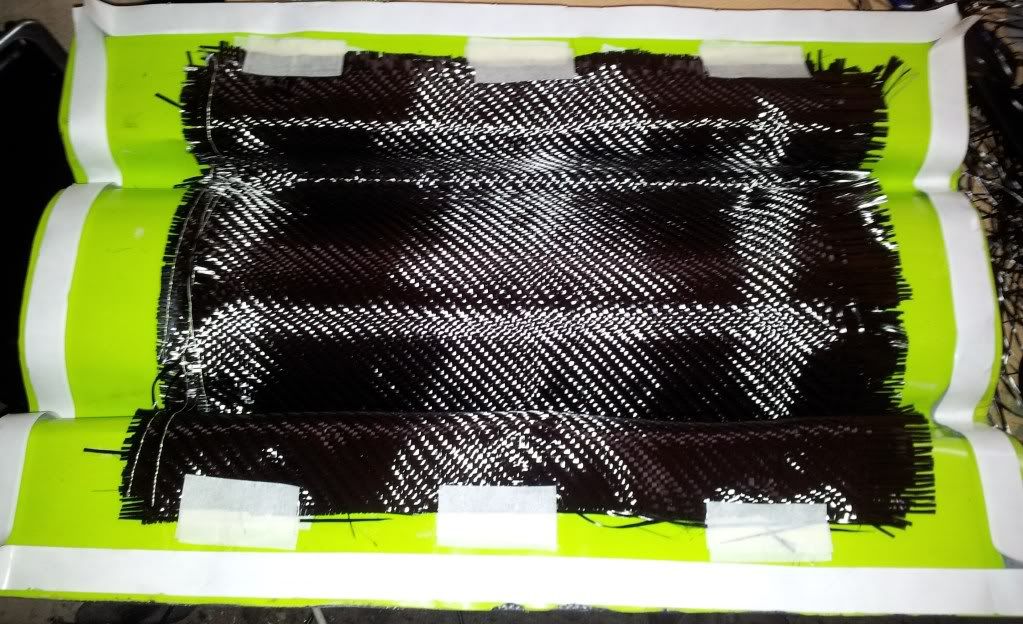
Laid all the layers of carbon into the mould:
Then a layer of kevlar:
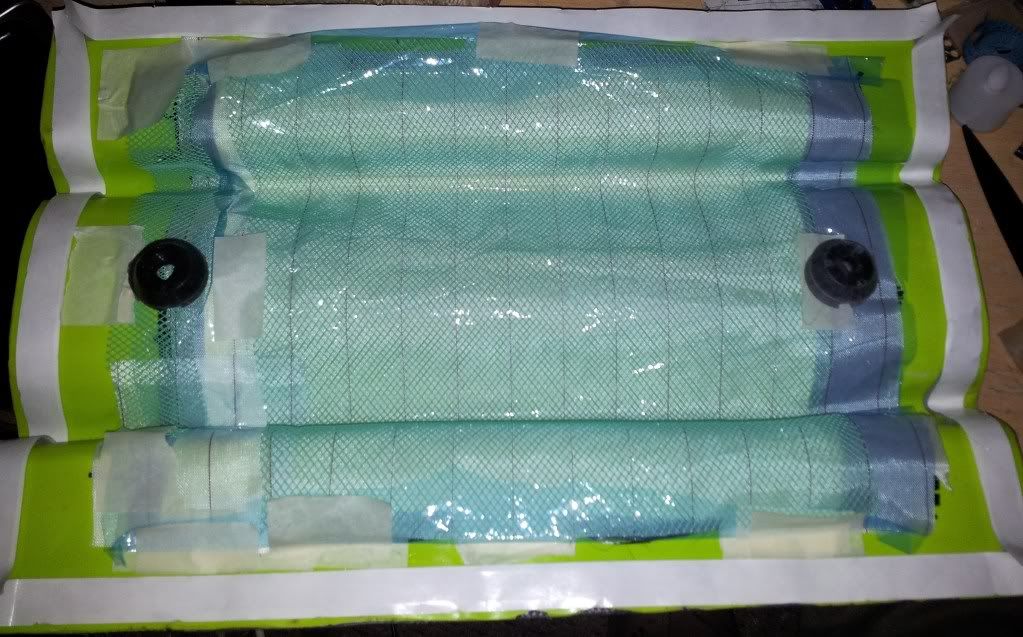
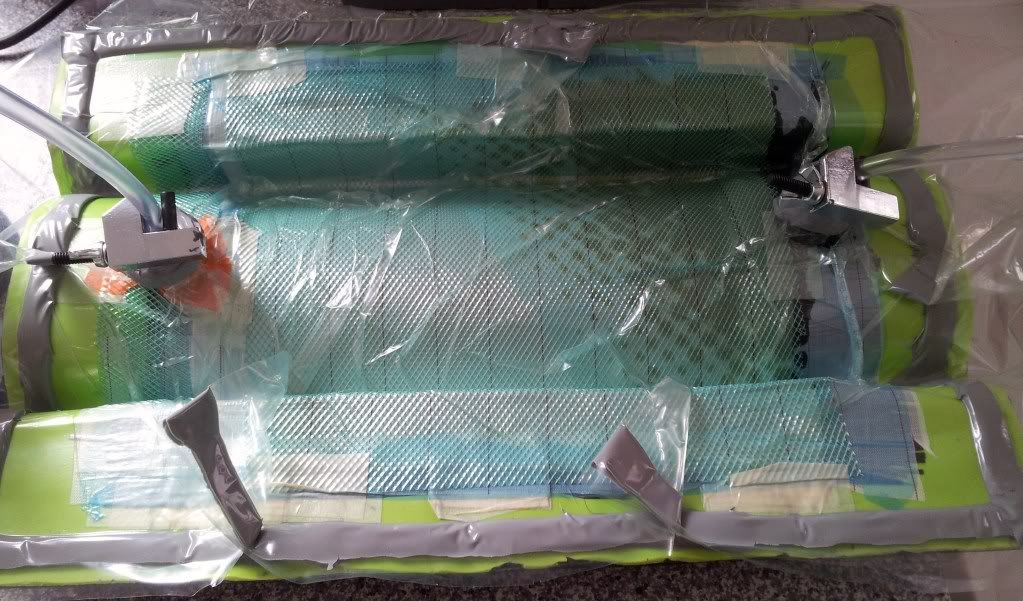
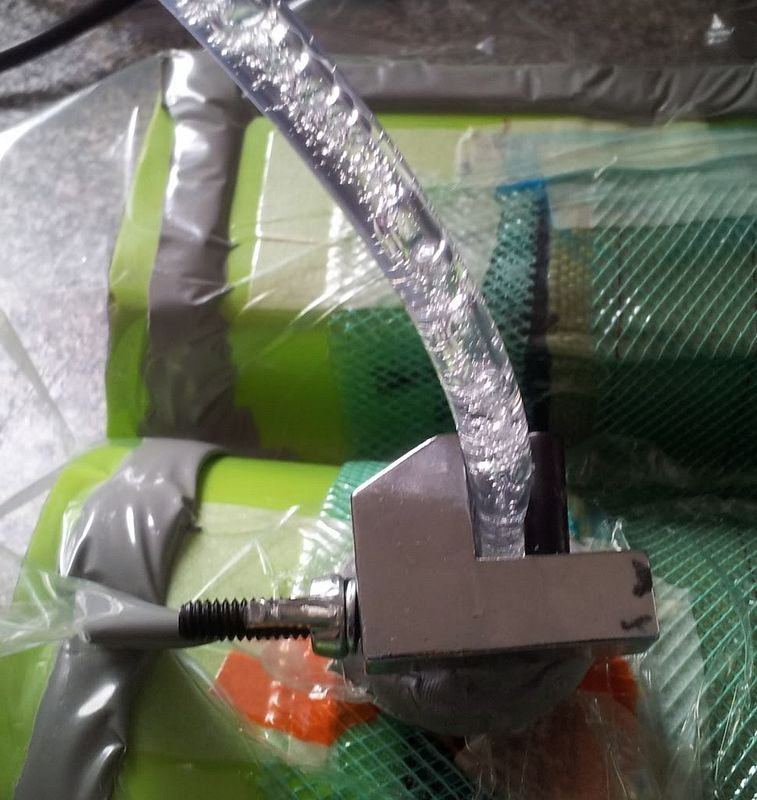
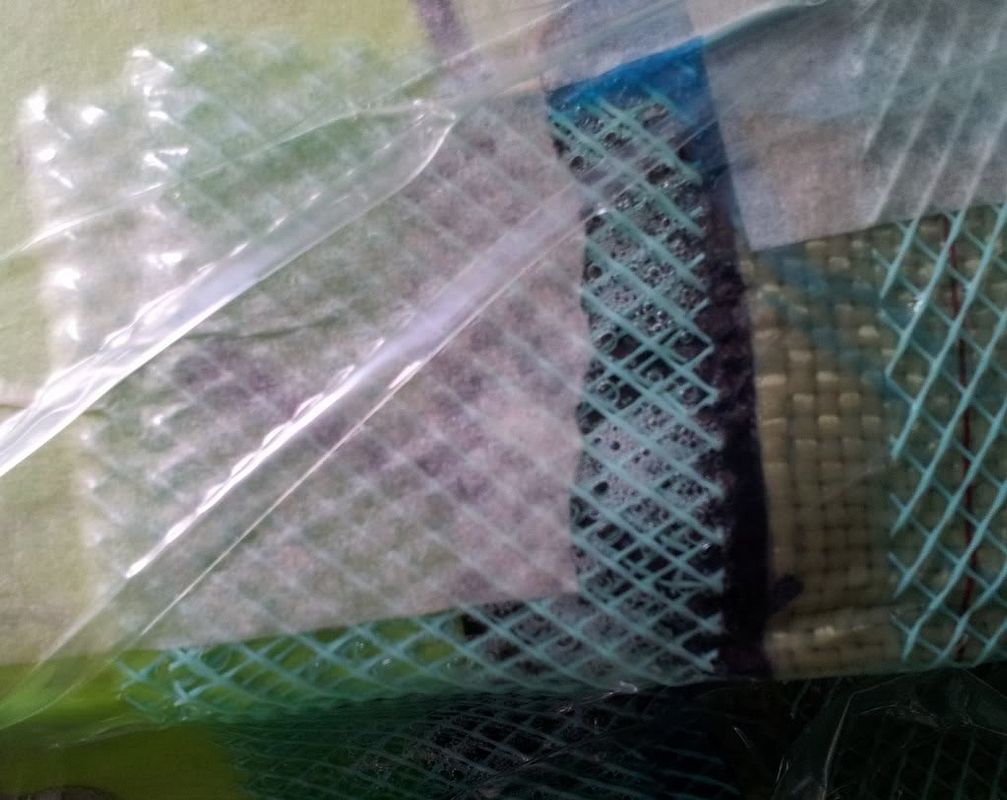
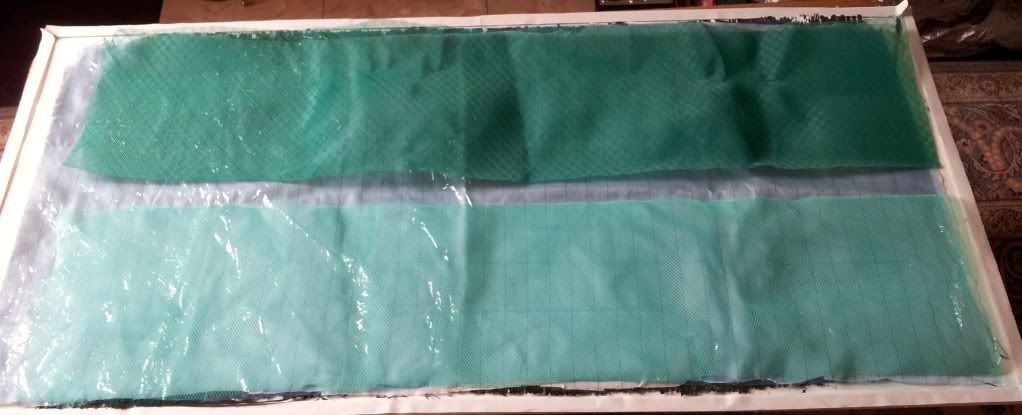
Now started the bagging stack with the peel ply, release film, infusion mesh and the vacuum/infusion ports.
Next stage is the bagging film then leak testing prior to infusing the resin.
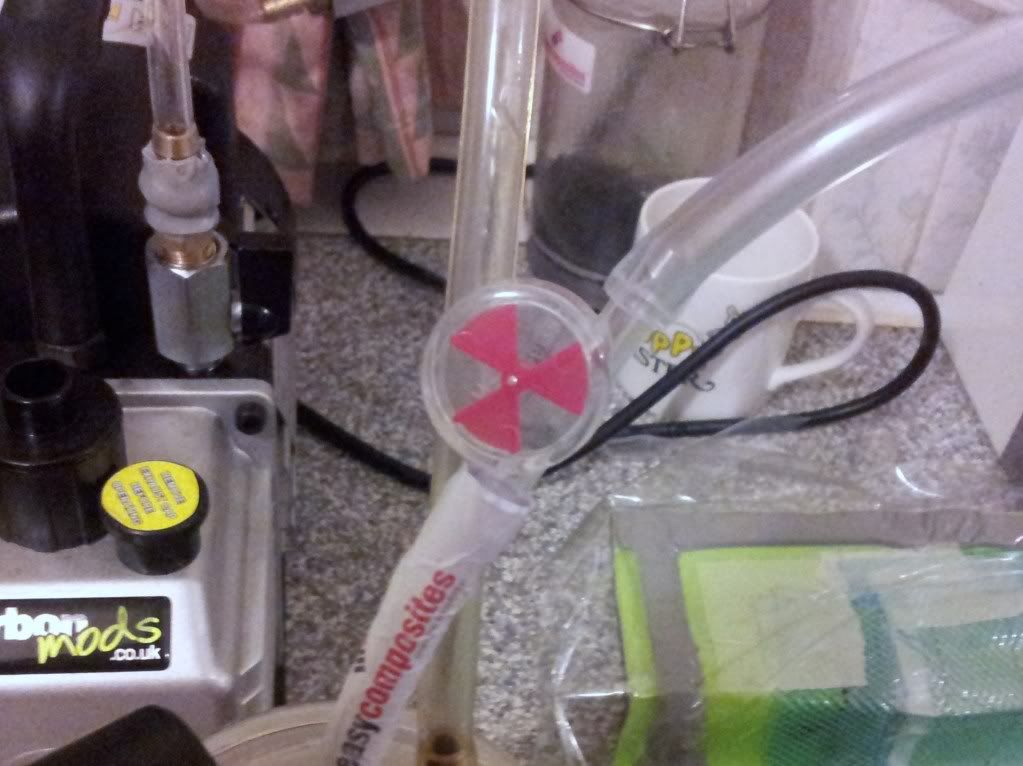
First thing i did was leak testing it using a little flow meter ive got:
its really sensitive and even the tiniest of leaks makes the rotor begin to turn so you can see straight away if things are leaking or not.
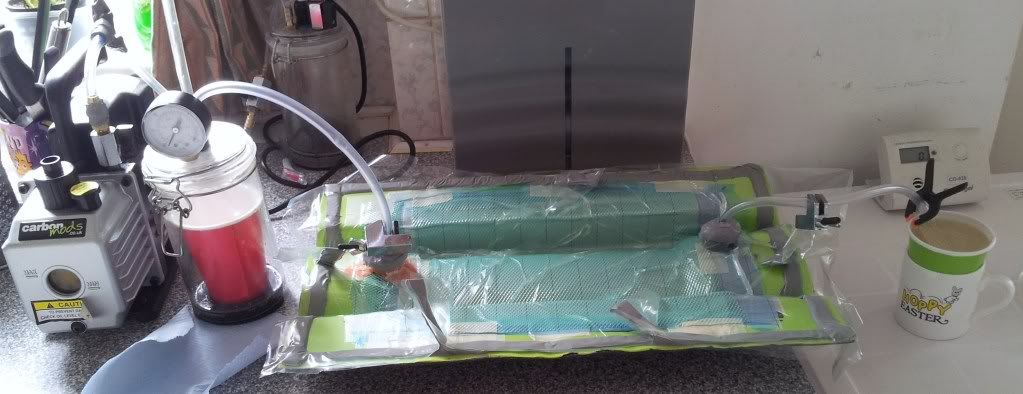
leak tested it over night and all was fine so on with the infusion. Here is the setup:
As you can see you can do it on the kitchen table for smaller parts!
Then let the resin flow:
What i do is let some resin flow into the catchpot to take out any traces of air in the resin from mixing it.
If you look carefully you can see the tiny bubbles by the vacuum port as micro bubbles expand as they get full vacuum before being sucked out.
Just got to wait 24hrs for it to cure then i shall have a go at demoulding!!
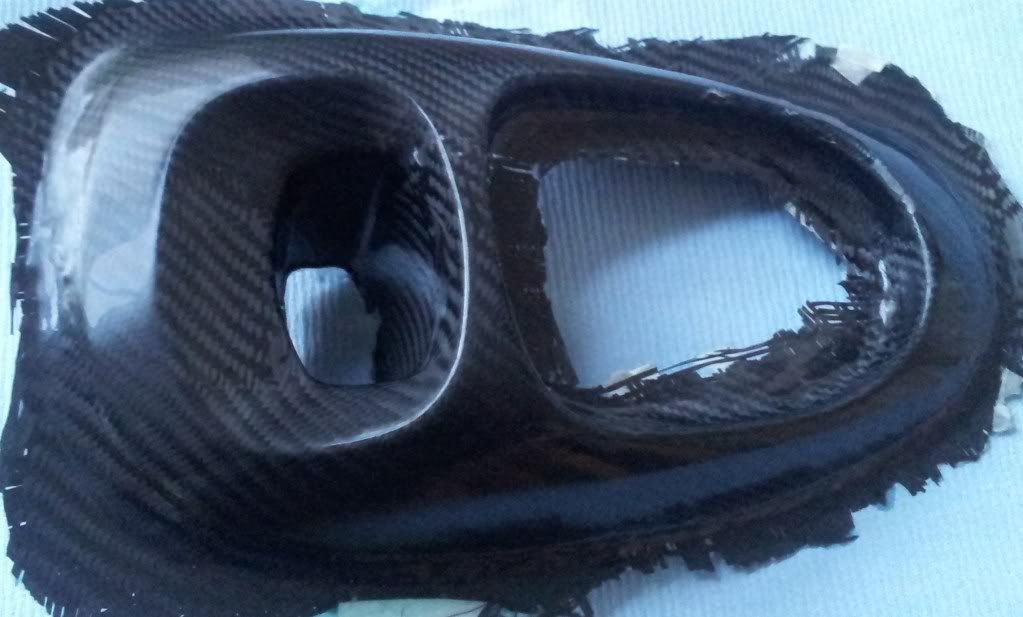
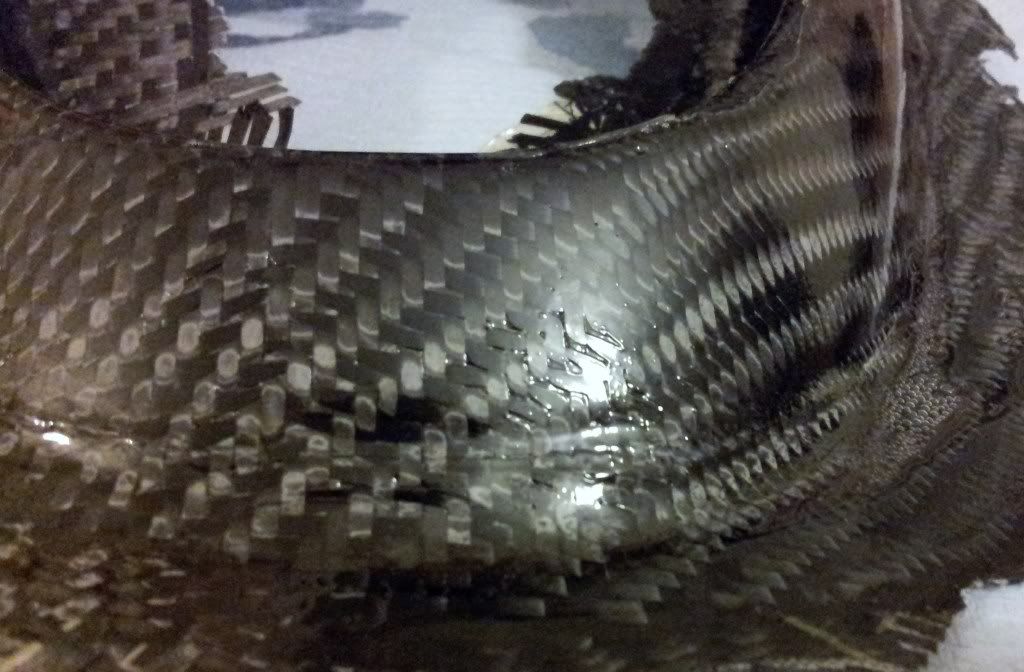
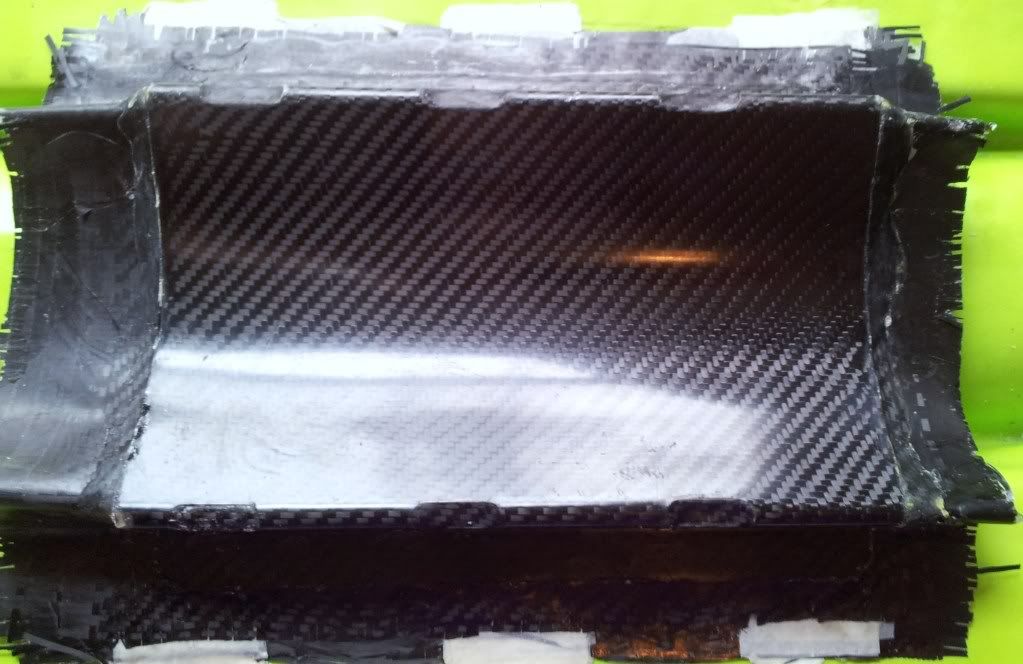
Demoulded the part! will let the picture do the talking:
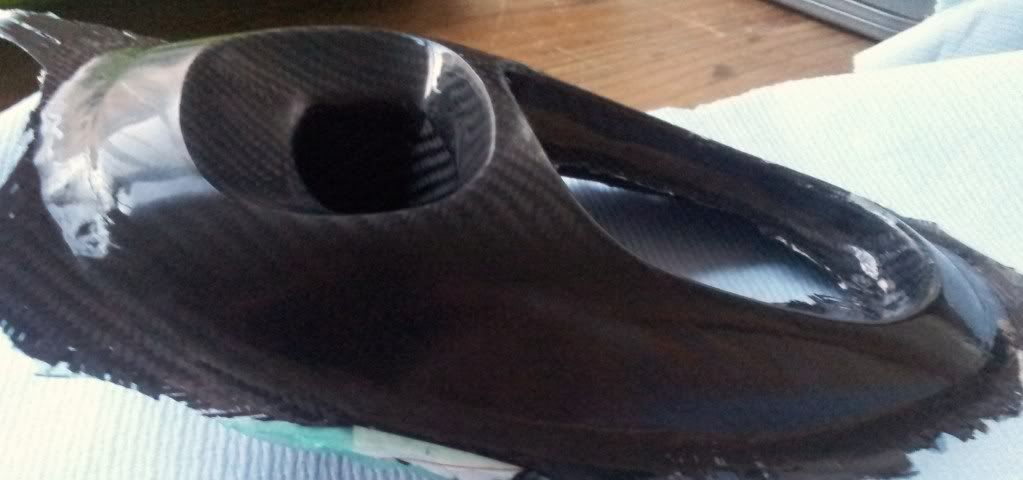
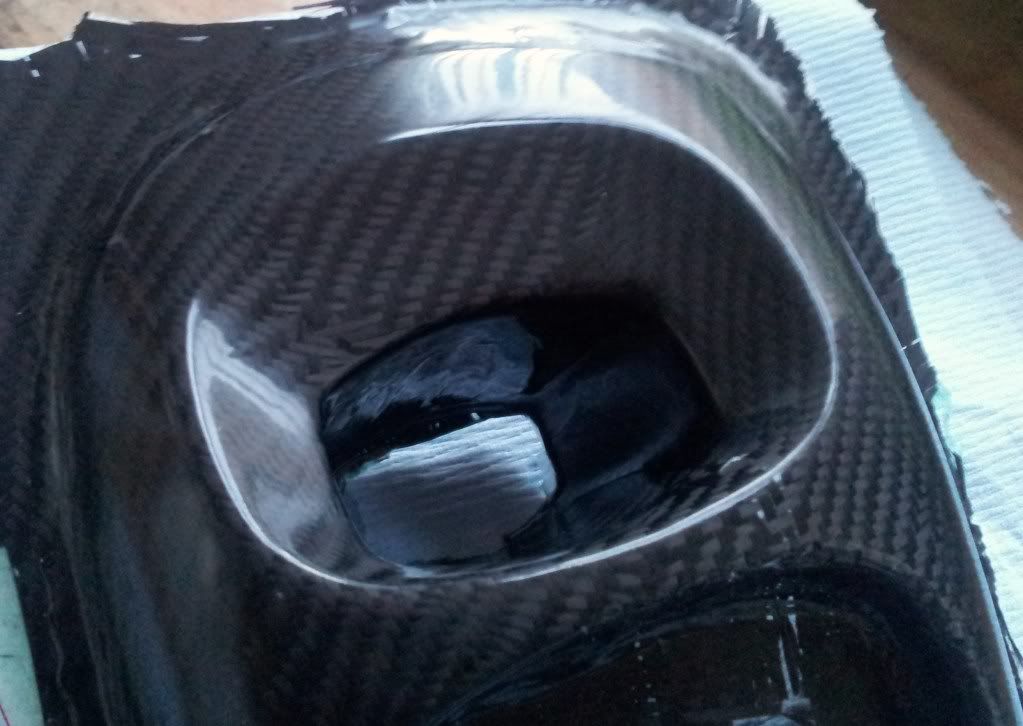
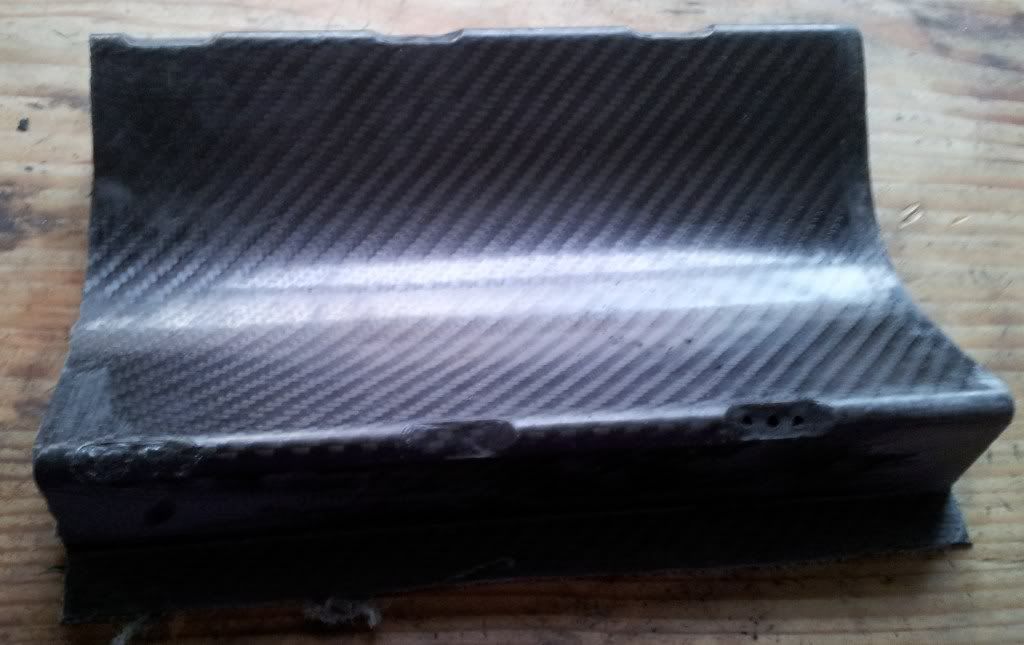
Needs the rough edges trimming and sanding, mounting plates sanding where the original had been hammered flat, and the holes cutting out.
ive done most of the rough trimming of the part.:
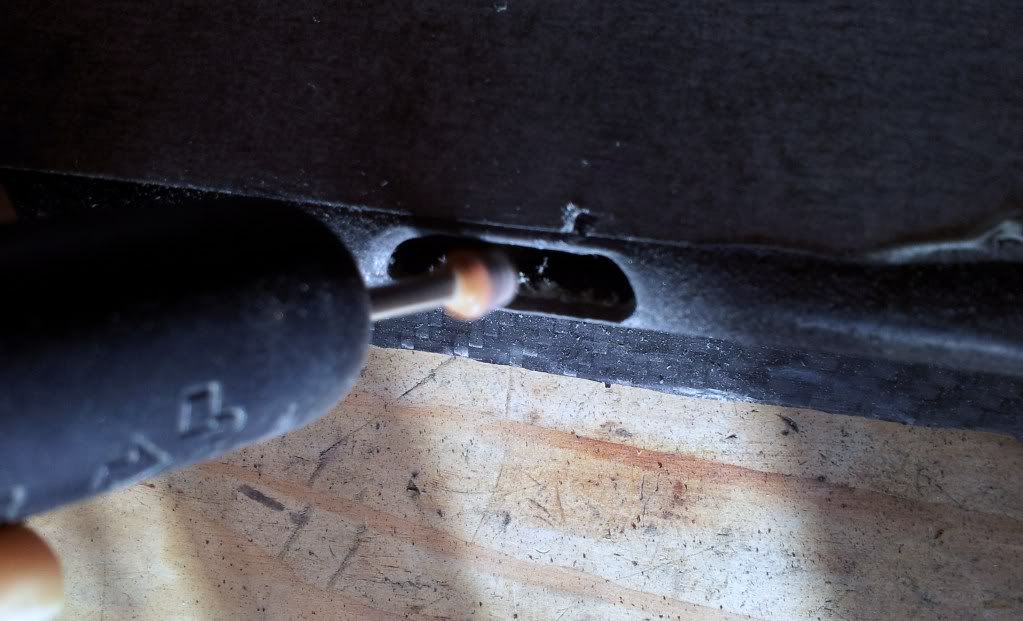
Anyway got some drill bits and finished the drilling, then went a bit skitzo with the "mini grinder" to trim the holes.
The part was then post cured in the oven for several hours!!
Tidied it all up, sanded edges of the part then given it some coats of lacquer:
just needs to dry properly then a bit of wet sanding and polish, then add the foam and straps!!
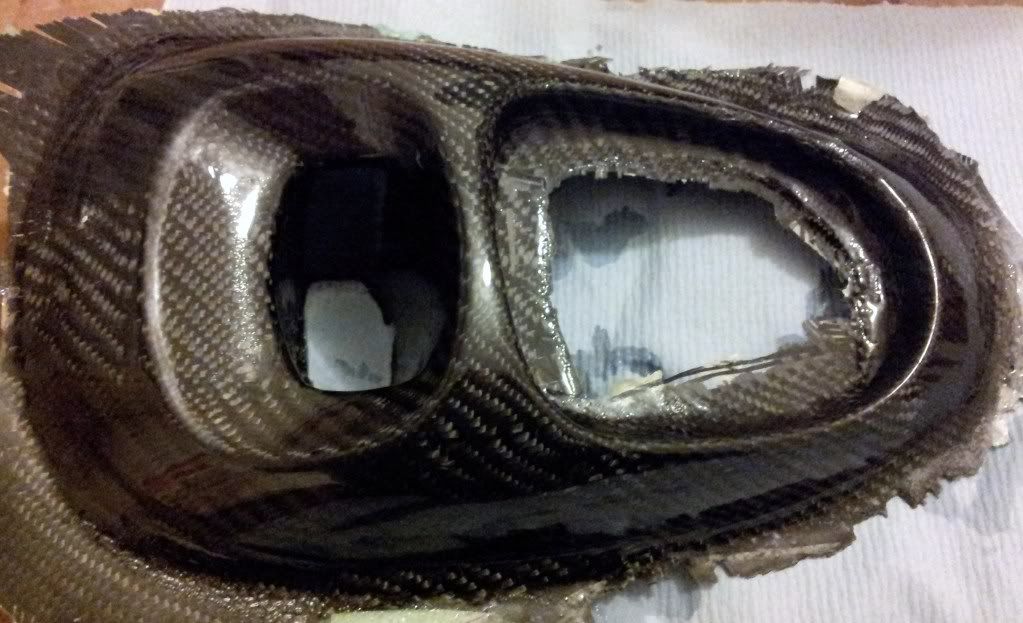
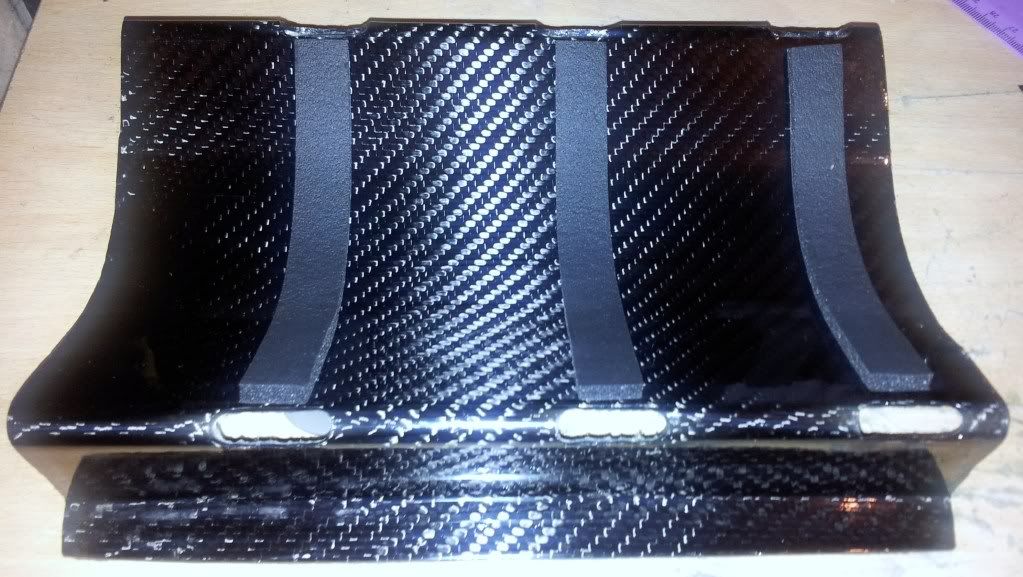
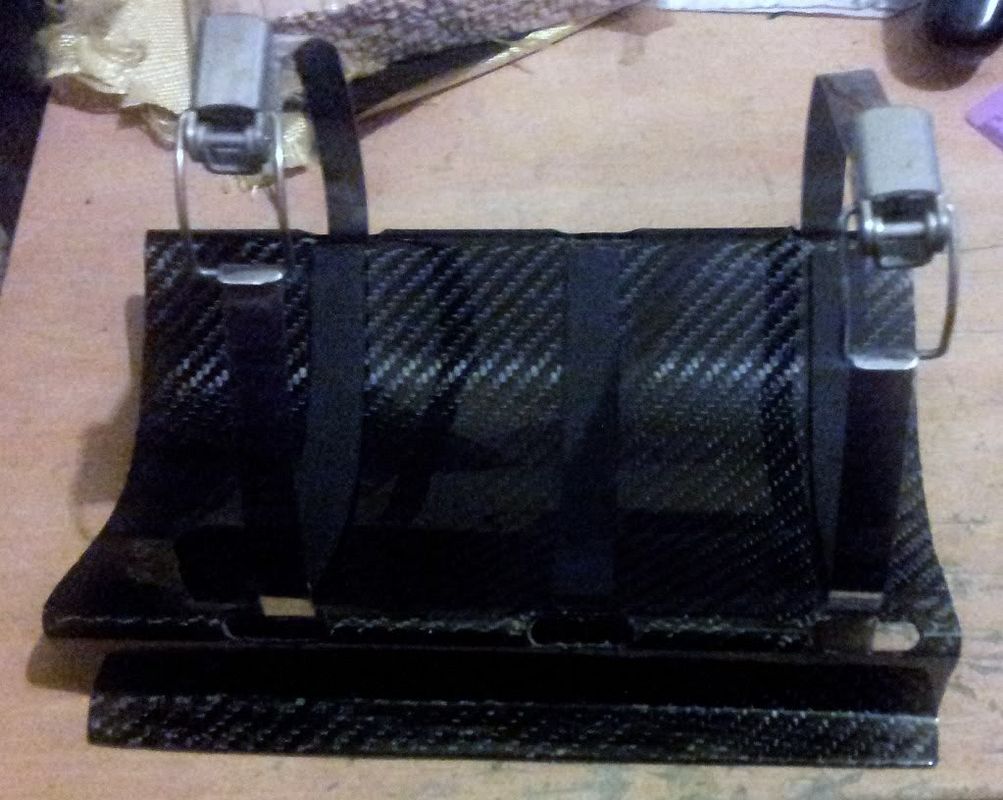
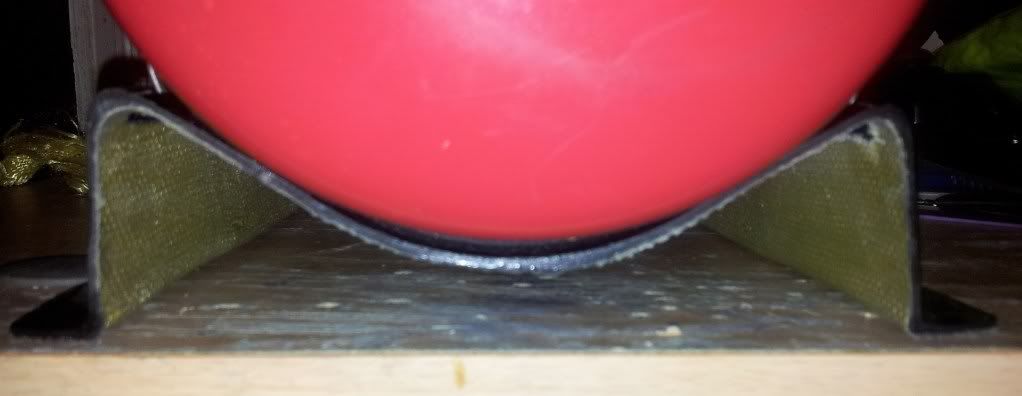
All finished and trimmed with the foam and brackets added:
The edges are a bit rough due to cutting kevlar= mission impossible. At least if you crash the shell real hard even if you impact the extinguisher mount itself, it might crack up but the kevlar will hold it in one piece and the extinguisher in position. Maybe a little overkill.
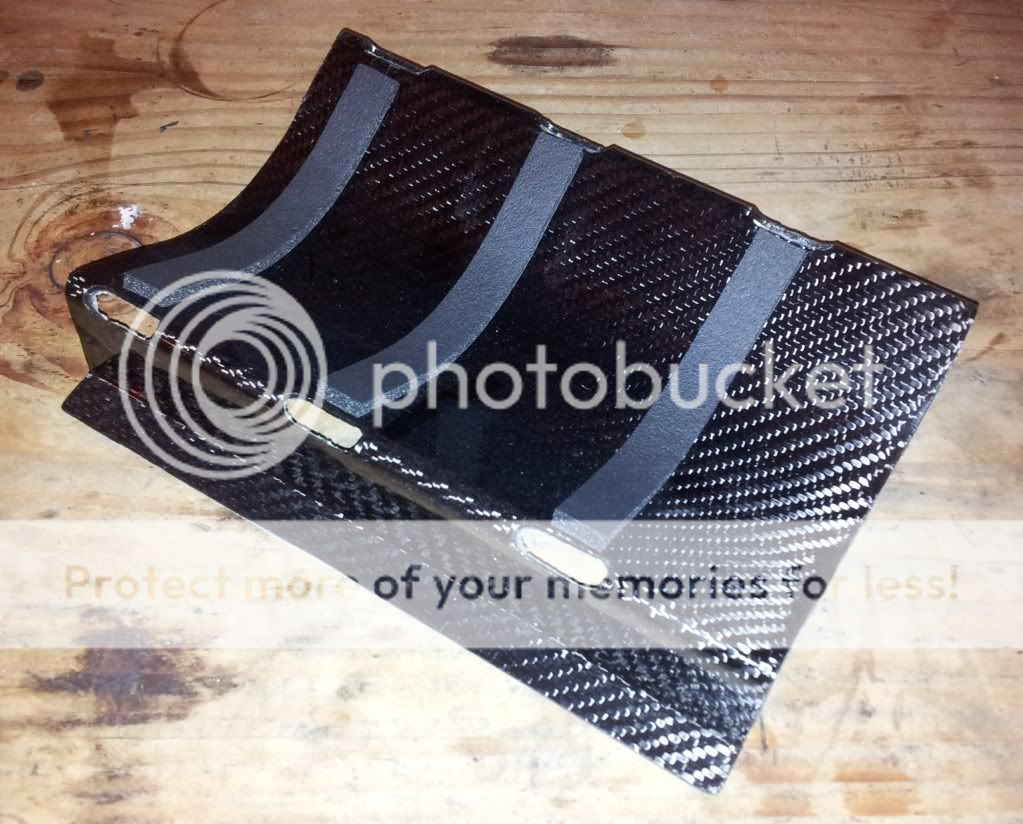
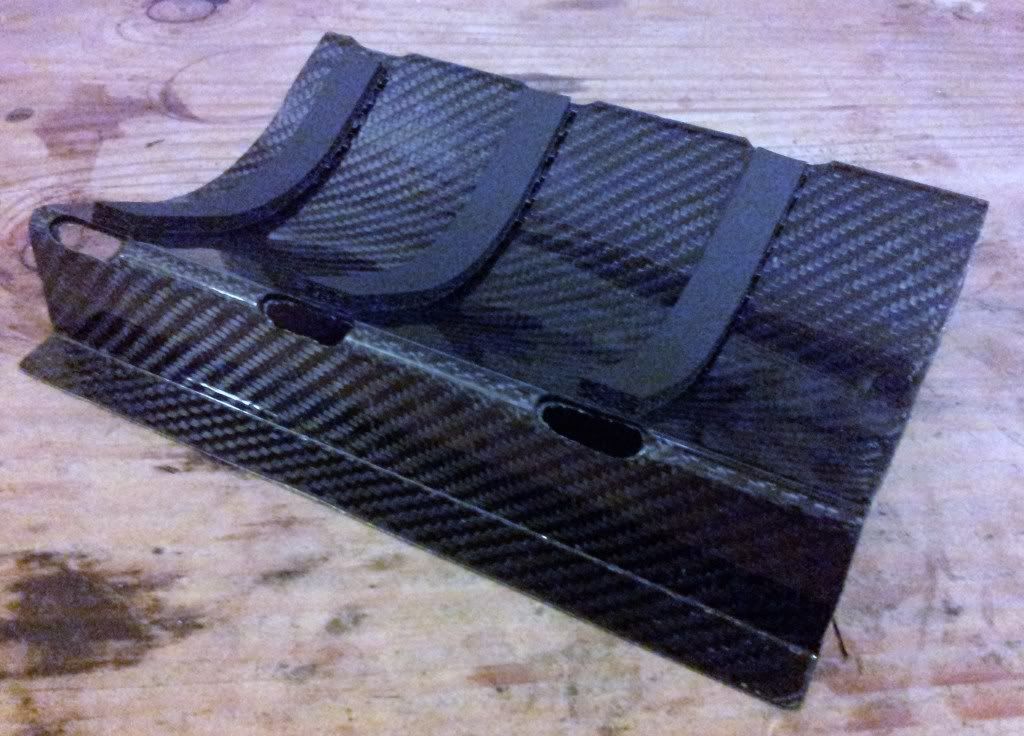
A couple of pics on its own:
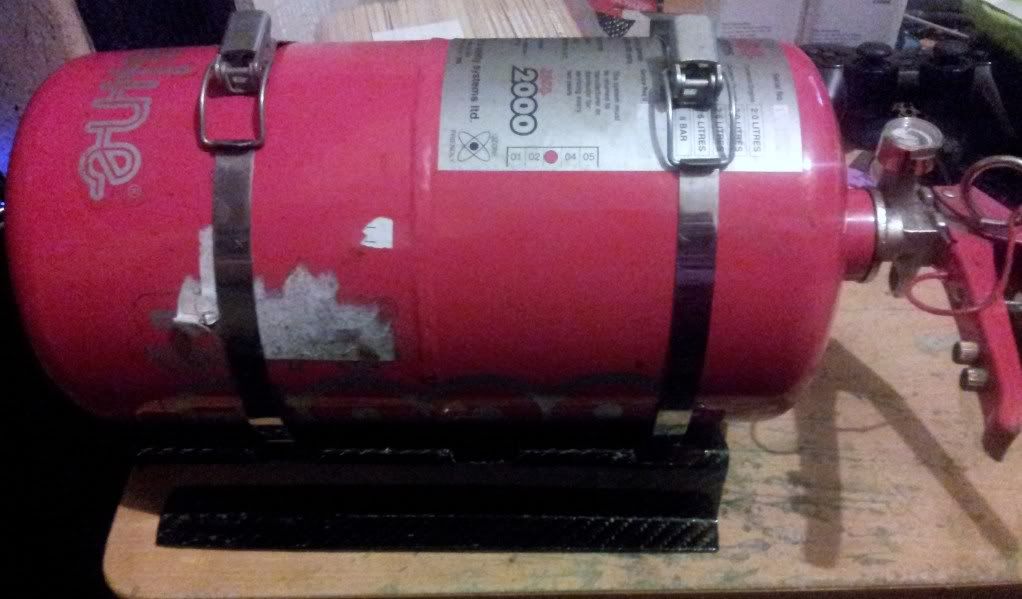
Also done a quick weigh in! Original alloy mount 340g, carbon mount 190g so a nice weight saving over standard!!!
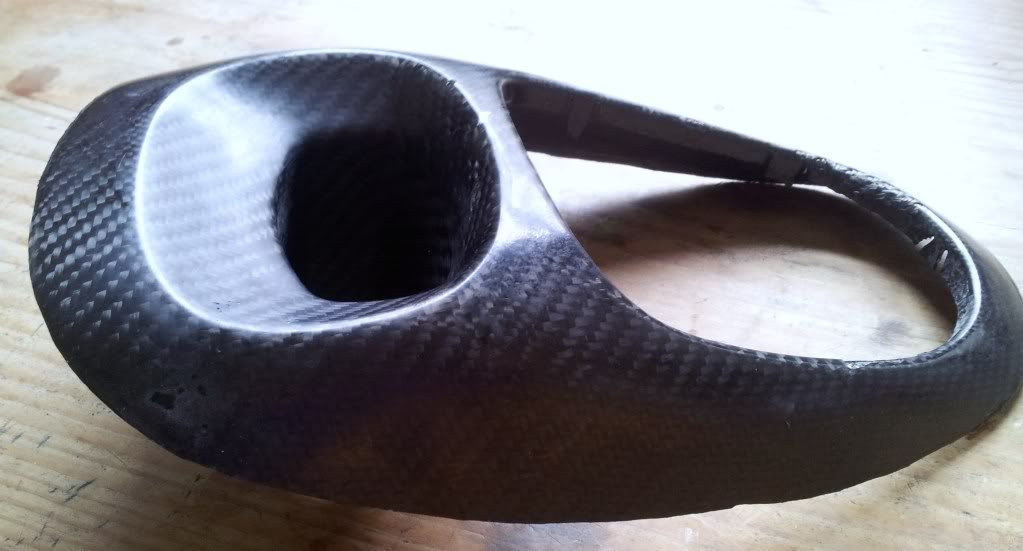
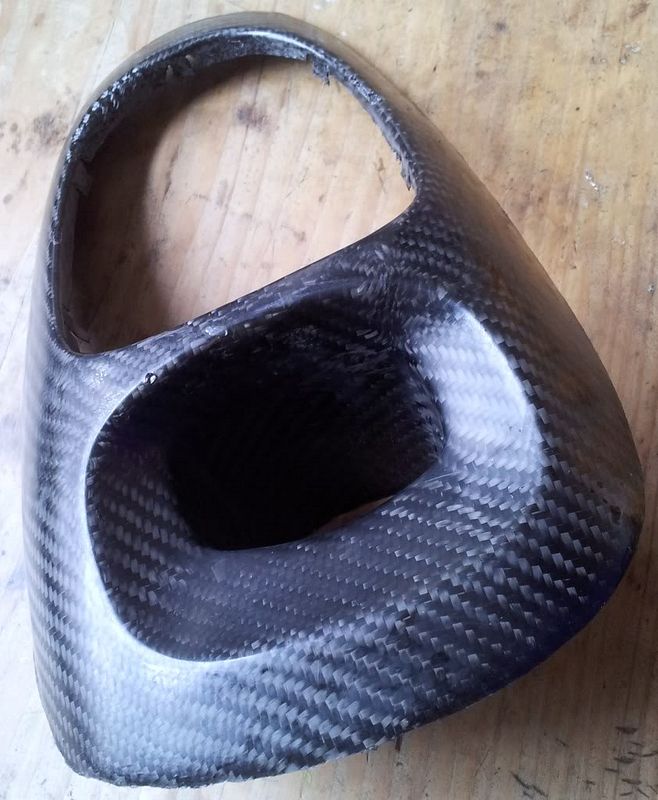
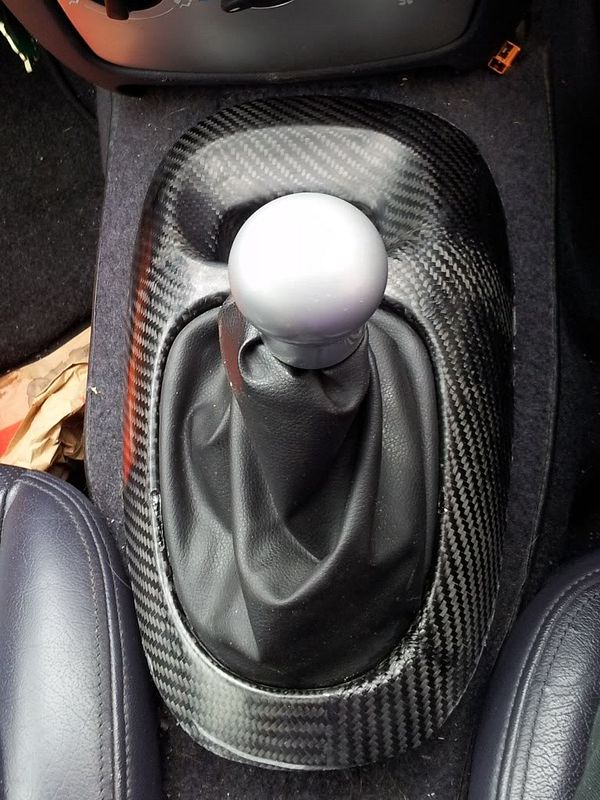
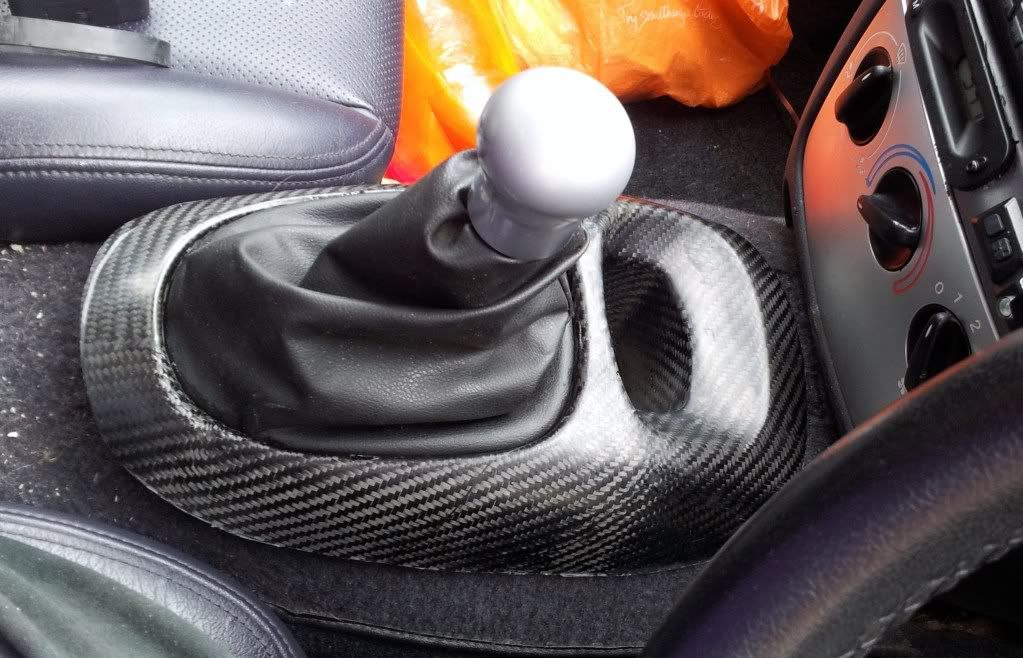
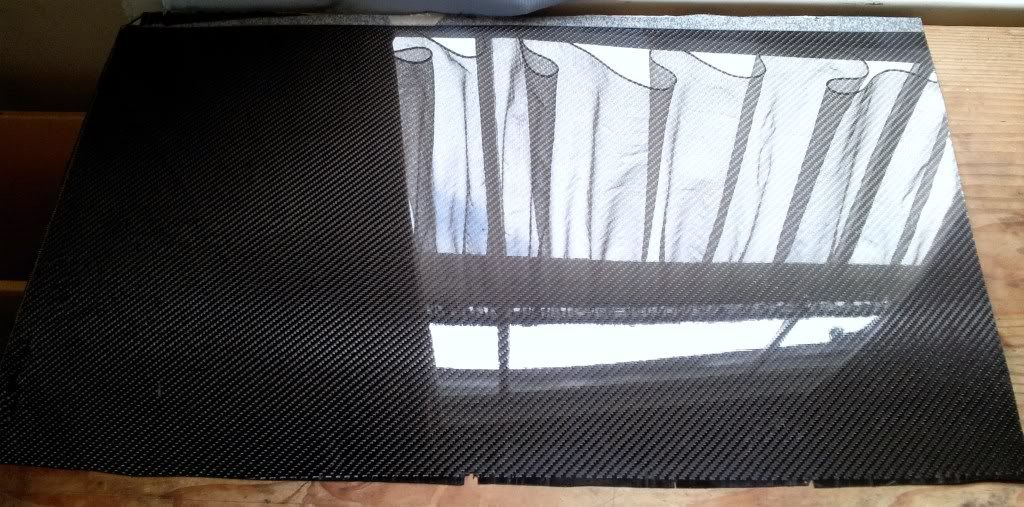
 not the same as proper pre-preg but may be useful for small parts like the gear lever surround to save costs. the decent pre-preg is almost 4 times the cost of normal carbon and resin combined so if it reduces costs but works just as effectively then cool. Shall play with it later.