MaxSparta
New member
- Joined
- Jul 6, 2013
- Messages
- 207
Well its been a busy few weeks and as im winding down for Christmas I figured it would be a good time to finally get a project page going 
I dont plan on going mental with her, I have neither the funds of the brainpower to do such things so its mostly going to be restoration and personal tweaks.
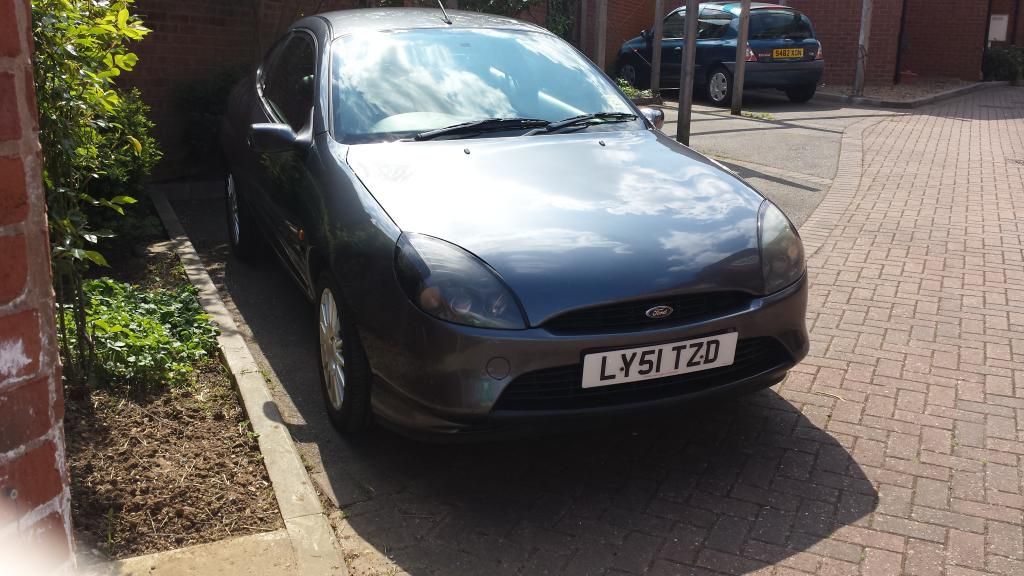
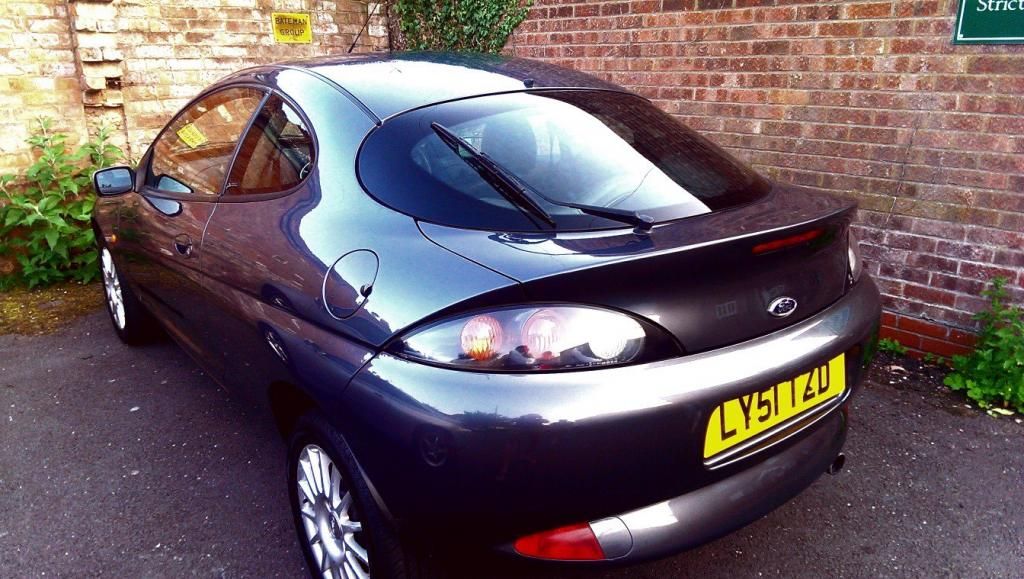
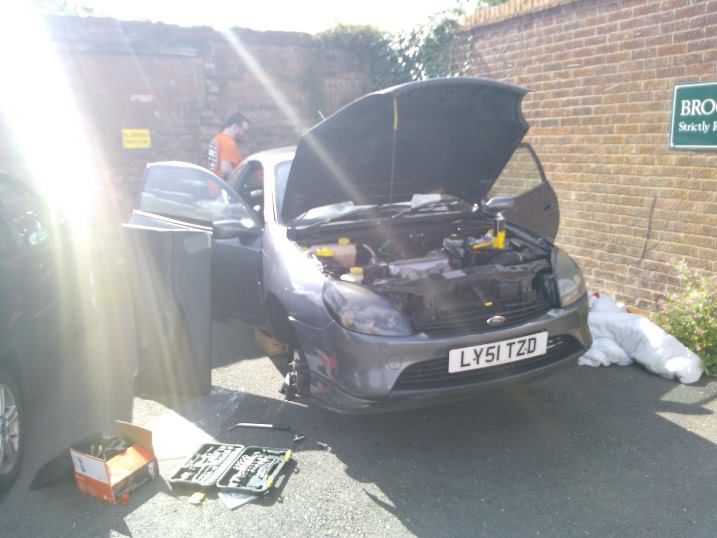
So here she is looking all shiny and purdy
Inside
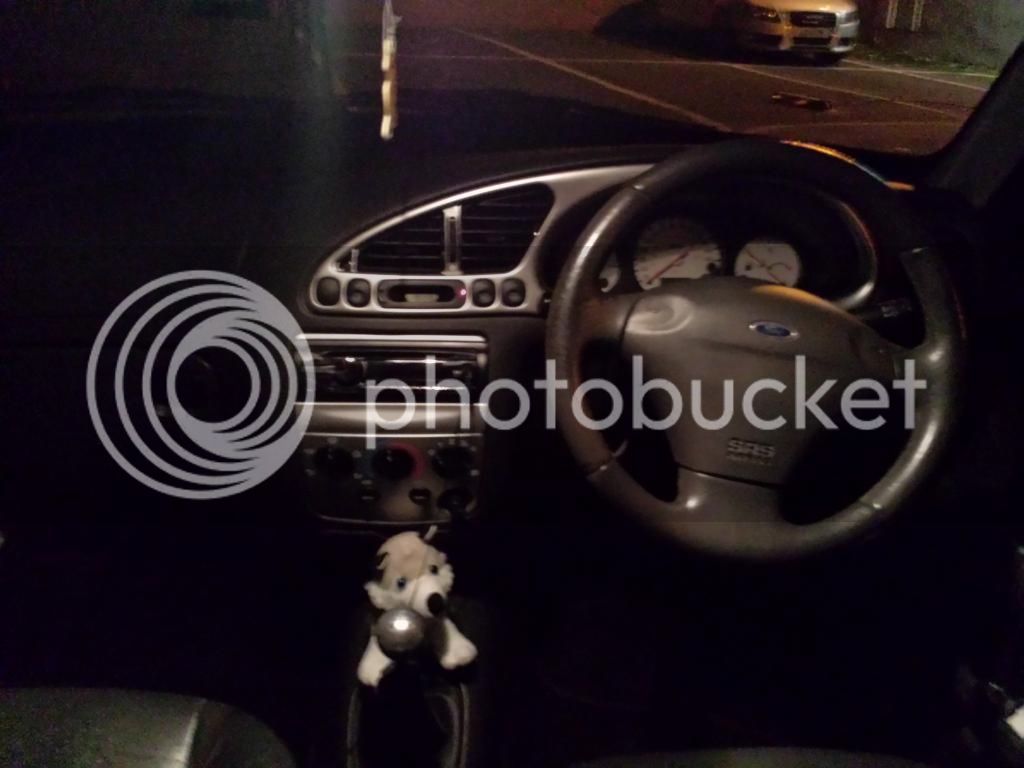
Ill get some better pics when its light (my phone sucks in the dark)
Ive managed to get most of the basics sorted. Gave her a full service which set me back over £600 once we realised just about everything detachable on the engine needed replacing :'(
Then there was the stuff I did myself (With some help from my mates)
God rid of the 6006 changer as it decided to swallow and never return my CDs on the first try of using it. Got myself a nice Sony head unit (above) but went through 3 infill panels trying to fit it as i kept breaking the side clip :crazy:
Painted the rear hubs
Before
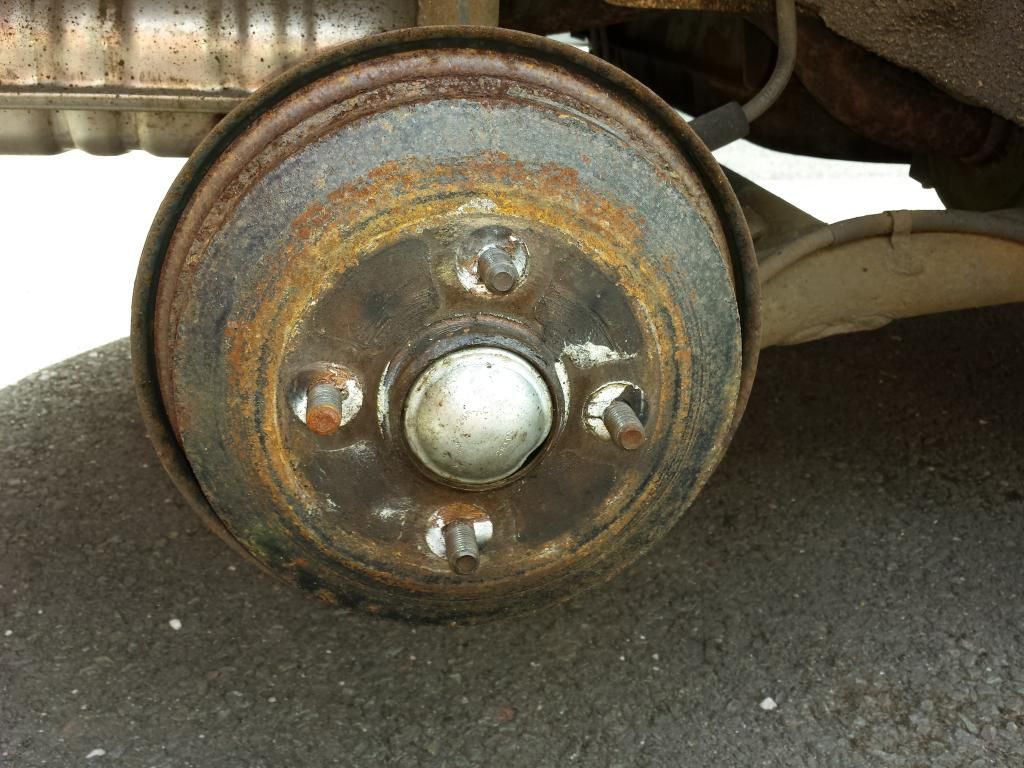
Derust
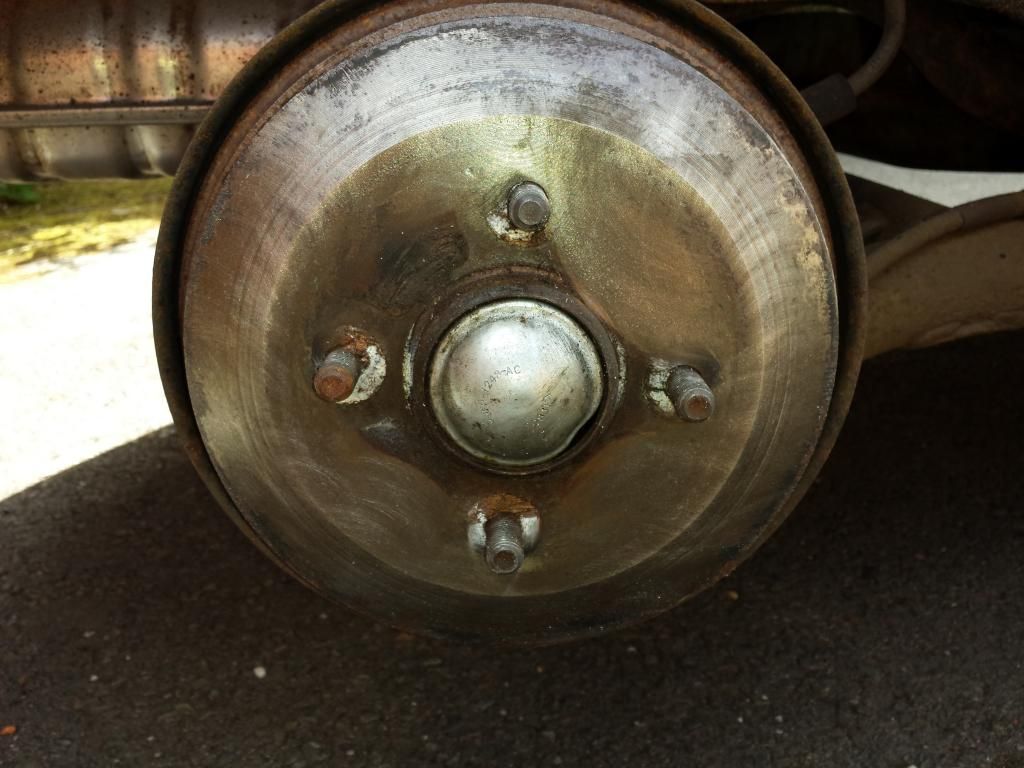
Painted

If I had thought about it I would have taken the drum covers off and sprayed them rather then brush painting them while fitted but hay-ho.
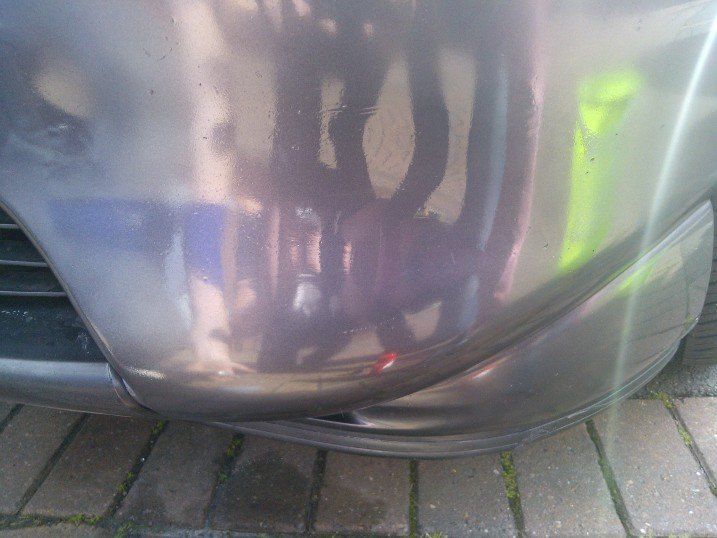
Next was the Front bumper which had a nasty gash in the paintwork
We go from this
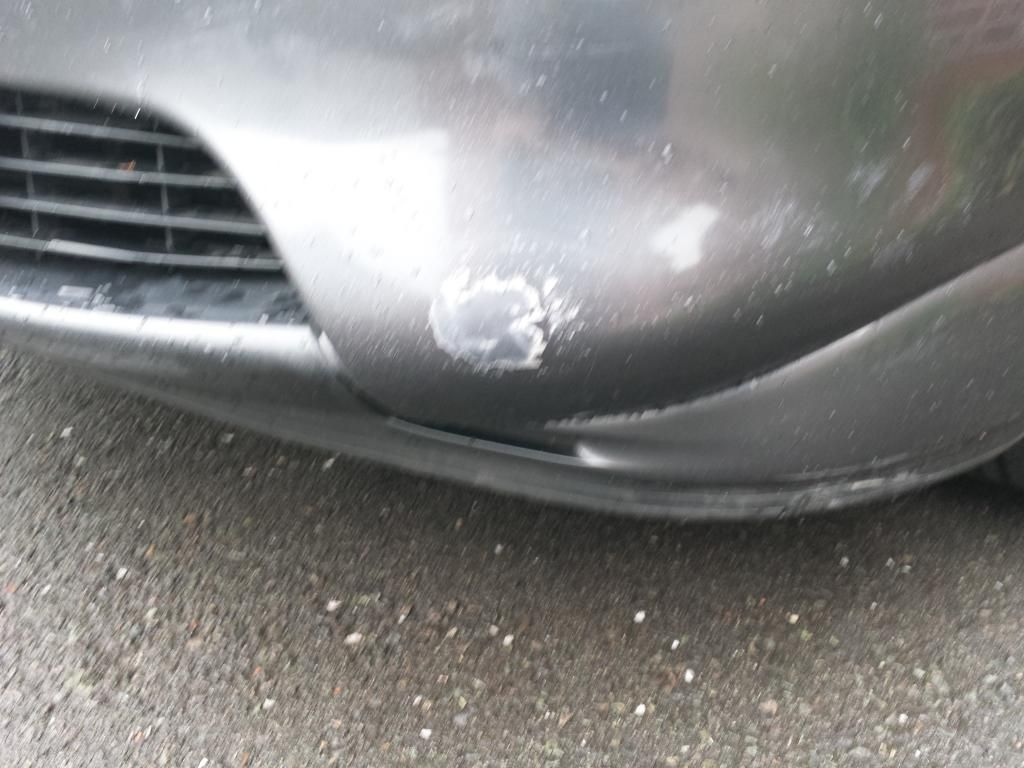
To this
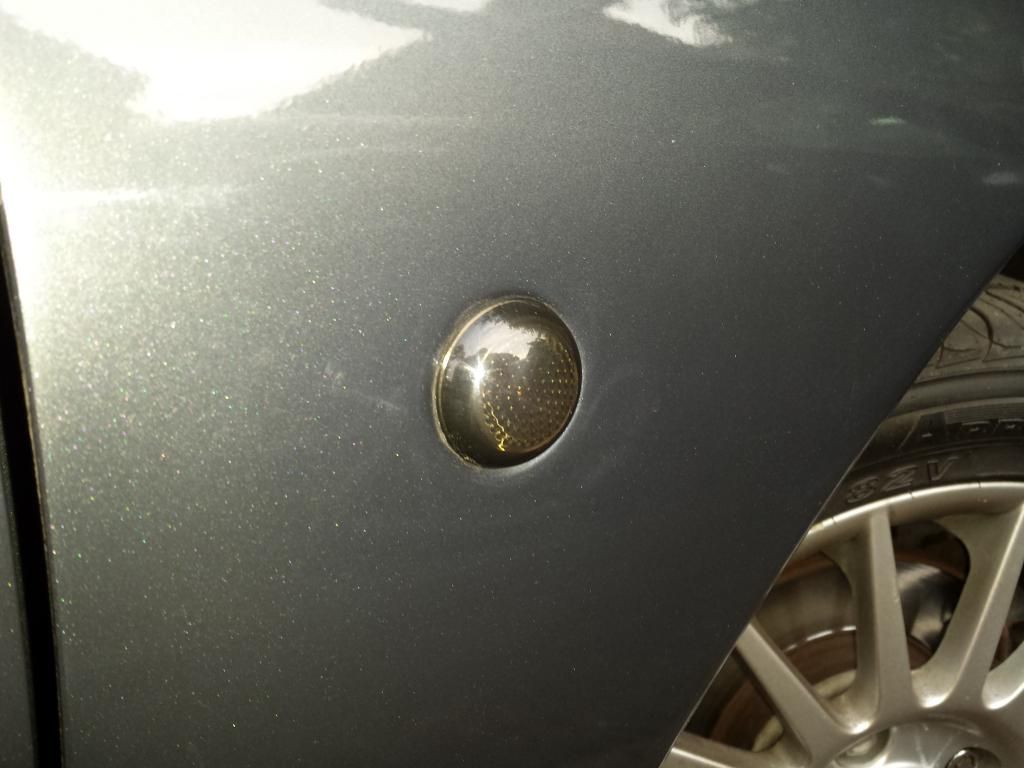
Smoked repeaters
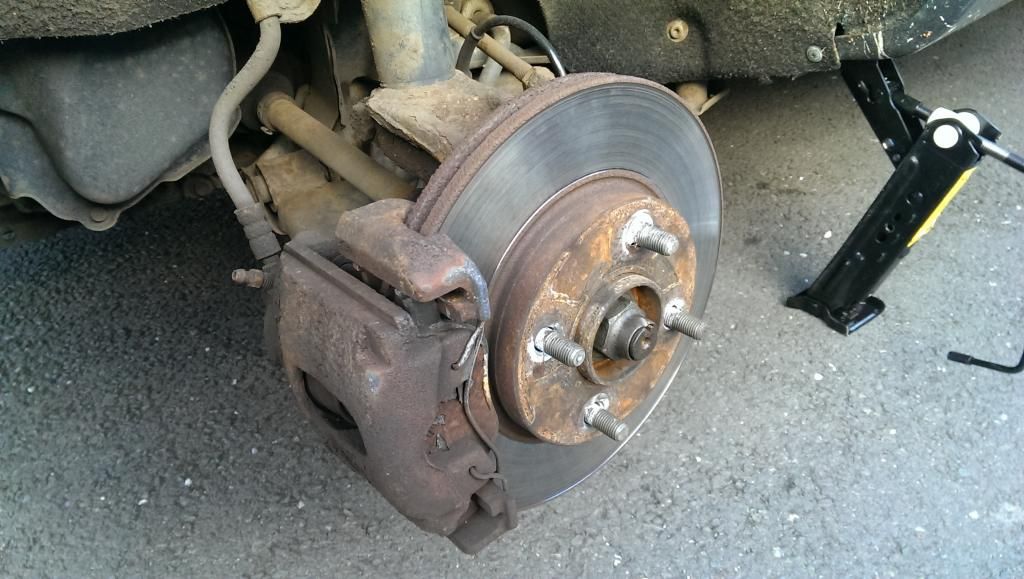
Decided at this stage to go for a yellow theme throughout the car so started with the callipers
From this
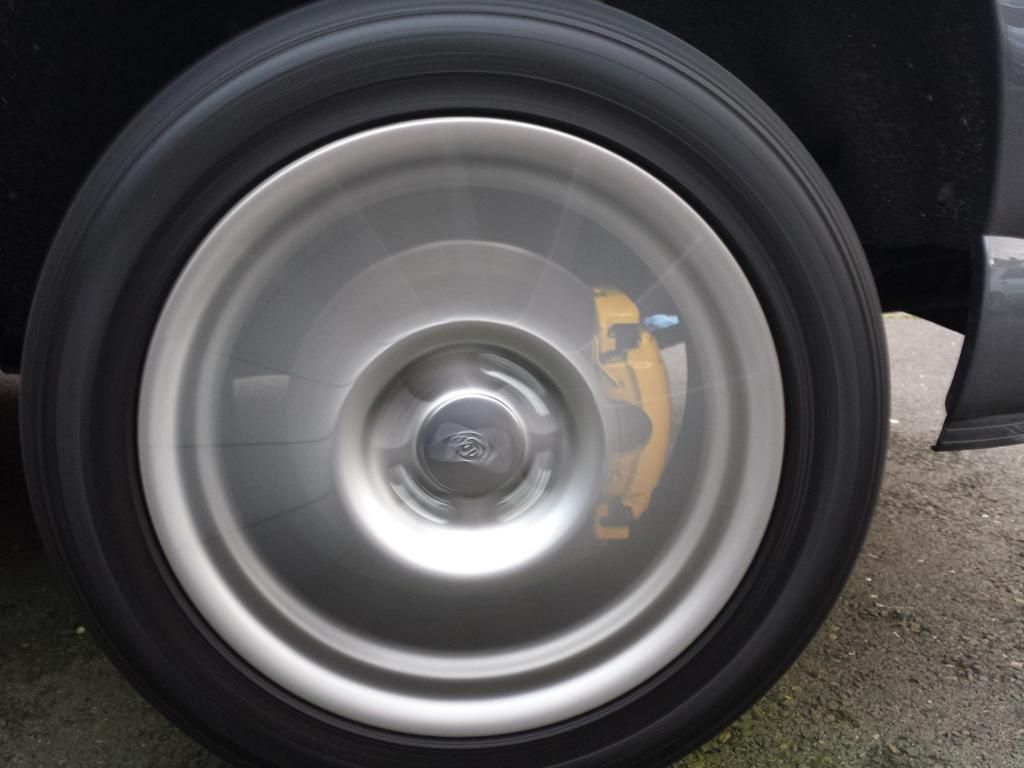
To this
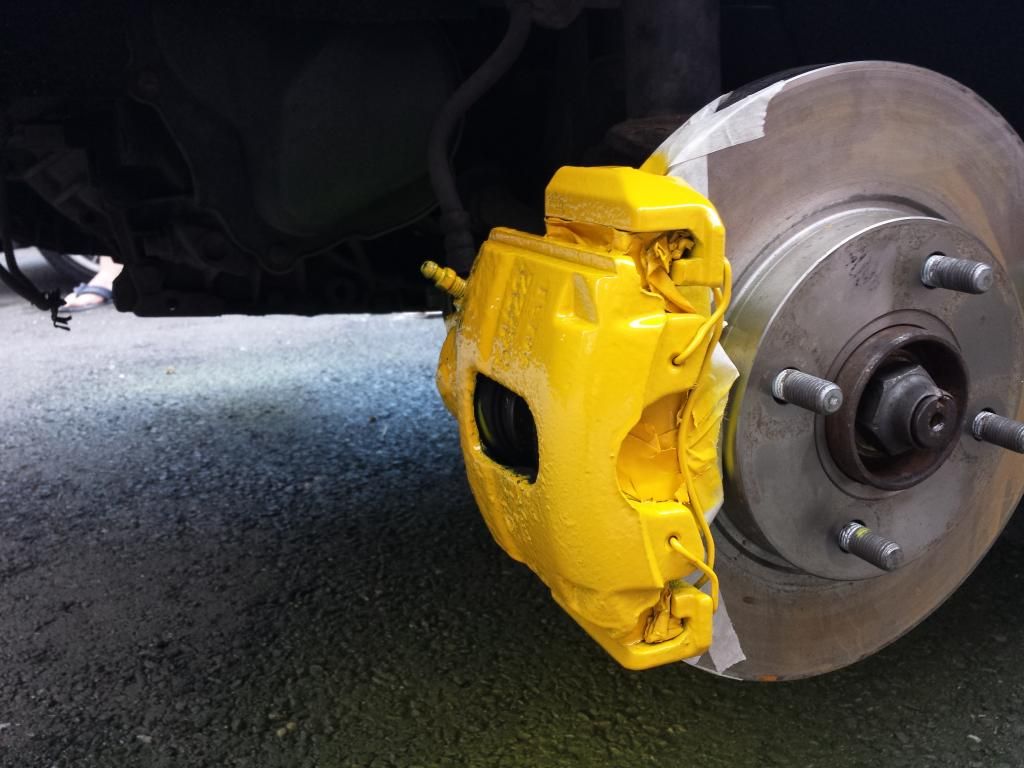
While I was at it i fitted new Brembo disks and pads
Also stripped the doors and added sound deadening inside which has helped quieten her down a bit
Now that the weather has turned its mostly minor jobs now until next year (that and funding it)
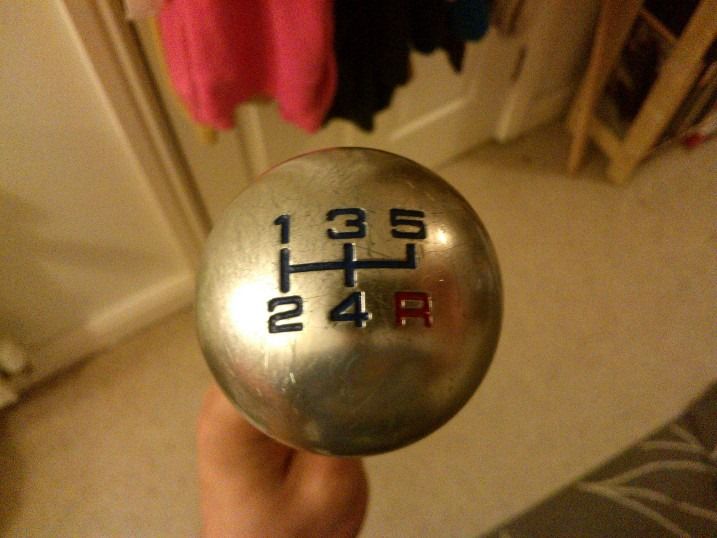
For example got my knob buffed and markered. Not as shiny as CJ2013s but im not complaining
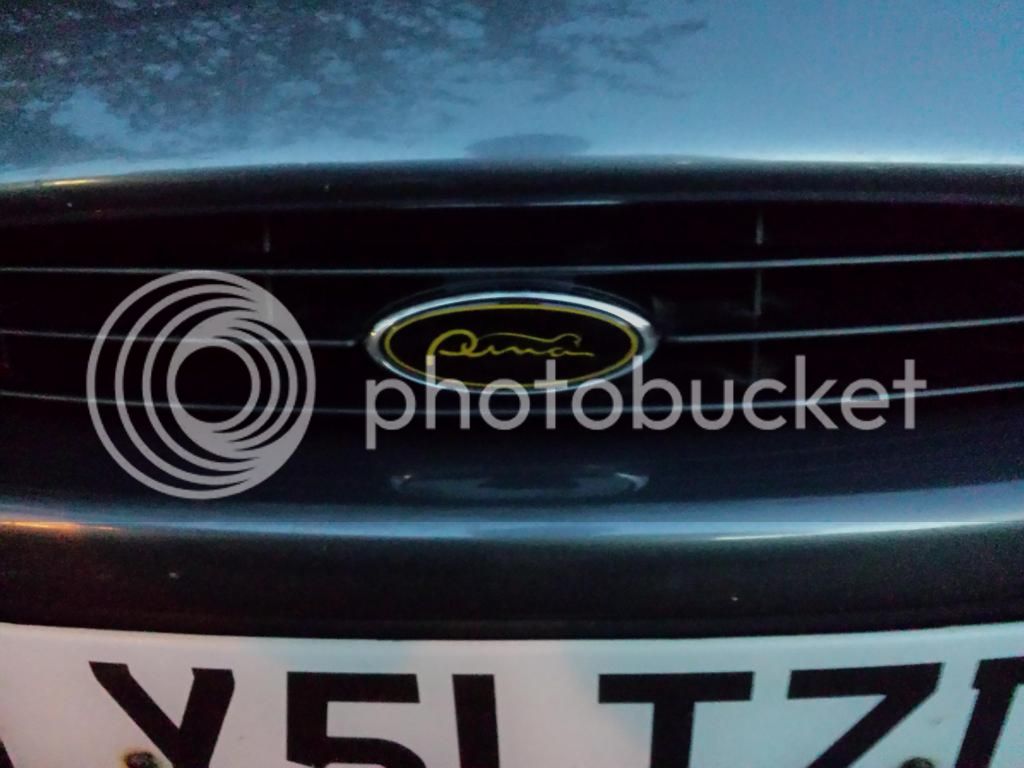
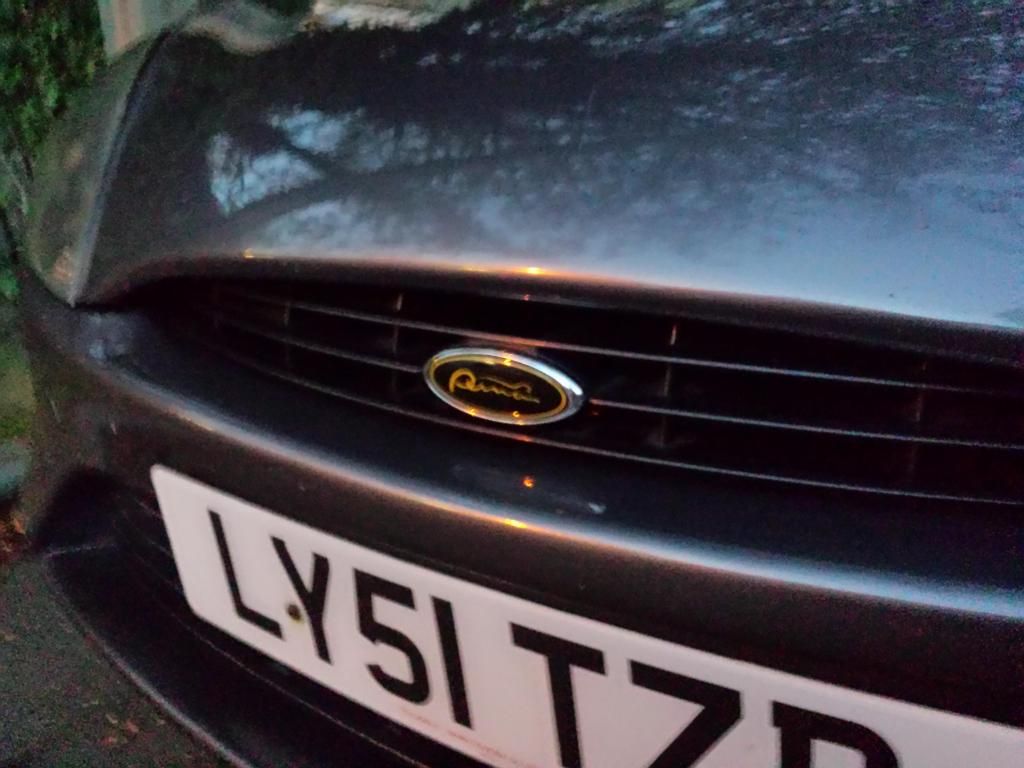
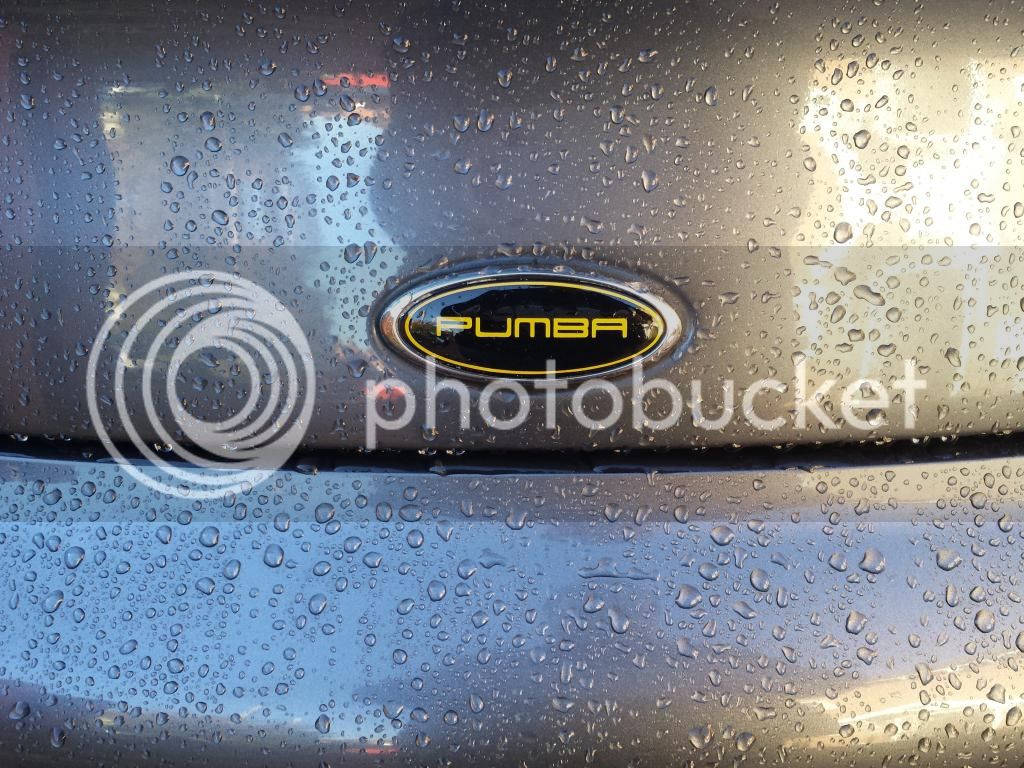
Replaced the 2 outside badges
Front
Back
Also have one for the steering wheel but waiting for a dry day so I can run an extension lead outside and hairdryer the old one off.
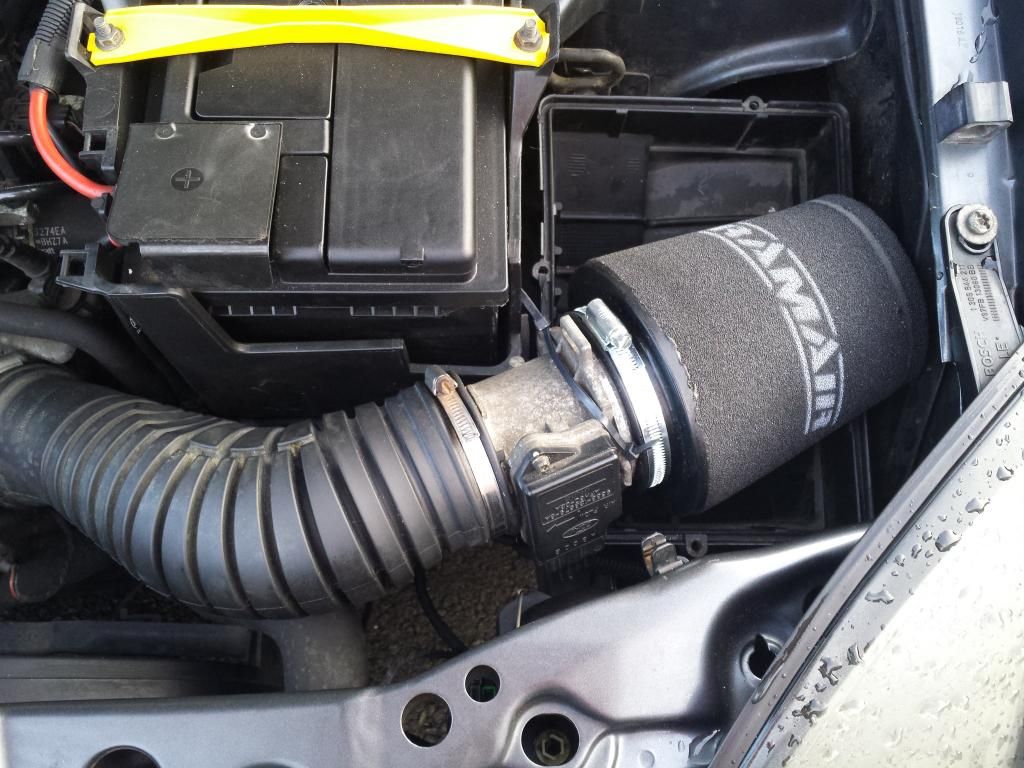
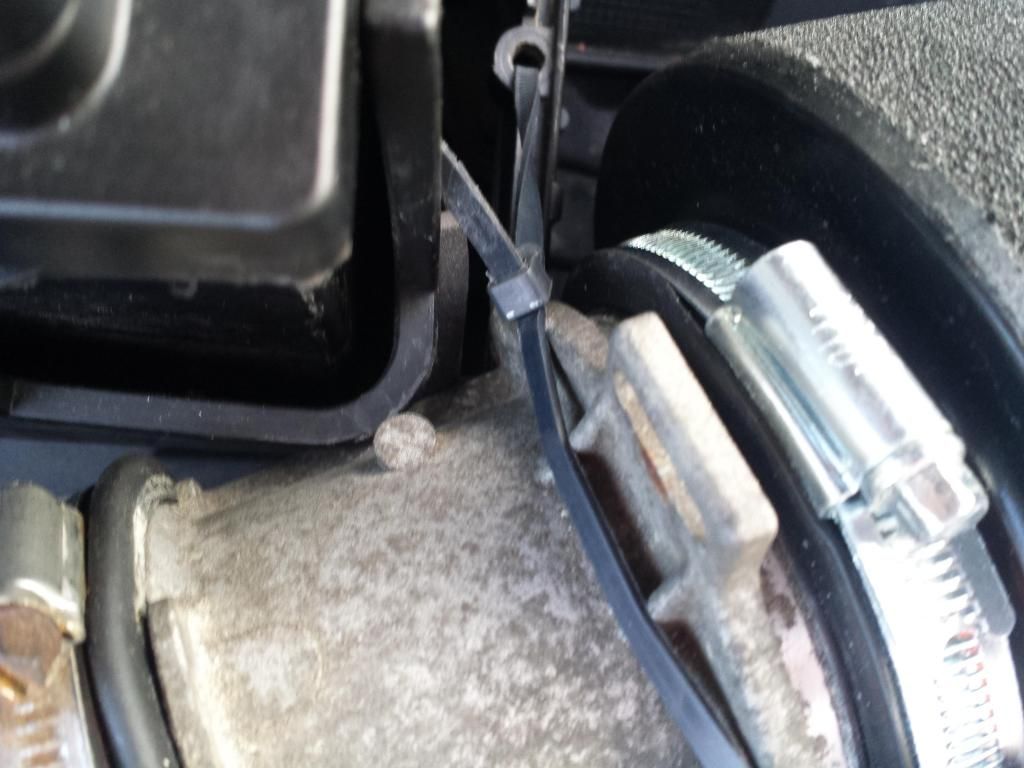
Also fitted a new RAMAIR filter a few days ago.

Ill put up a pic of it fitted this weekend
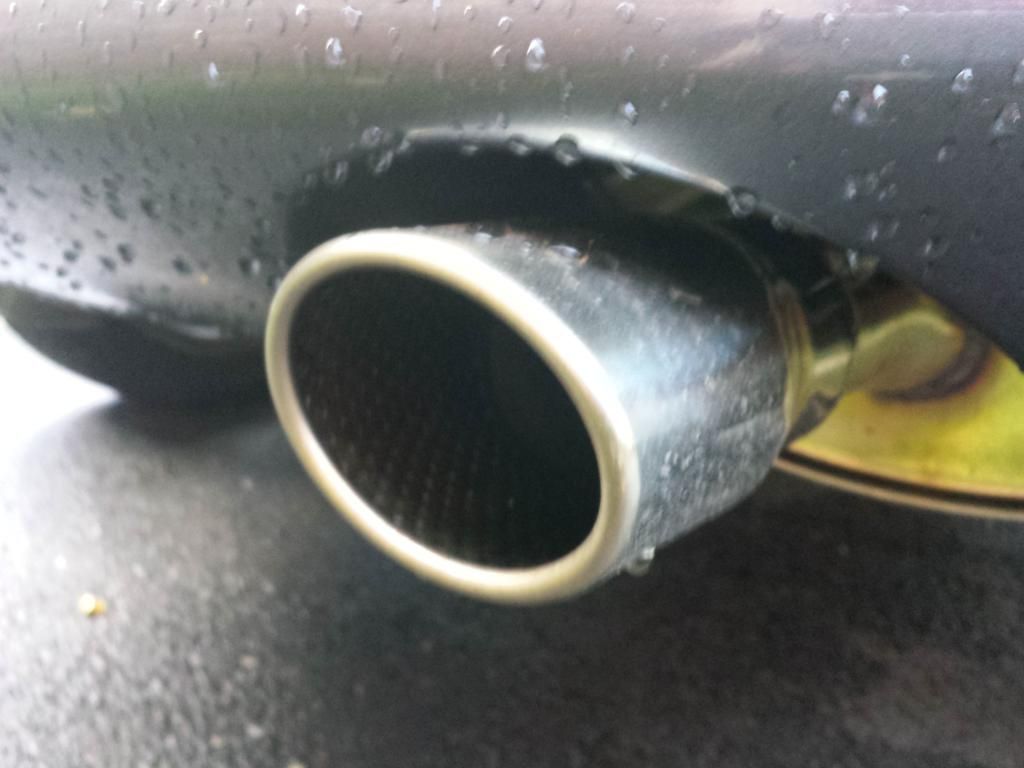
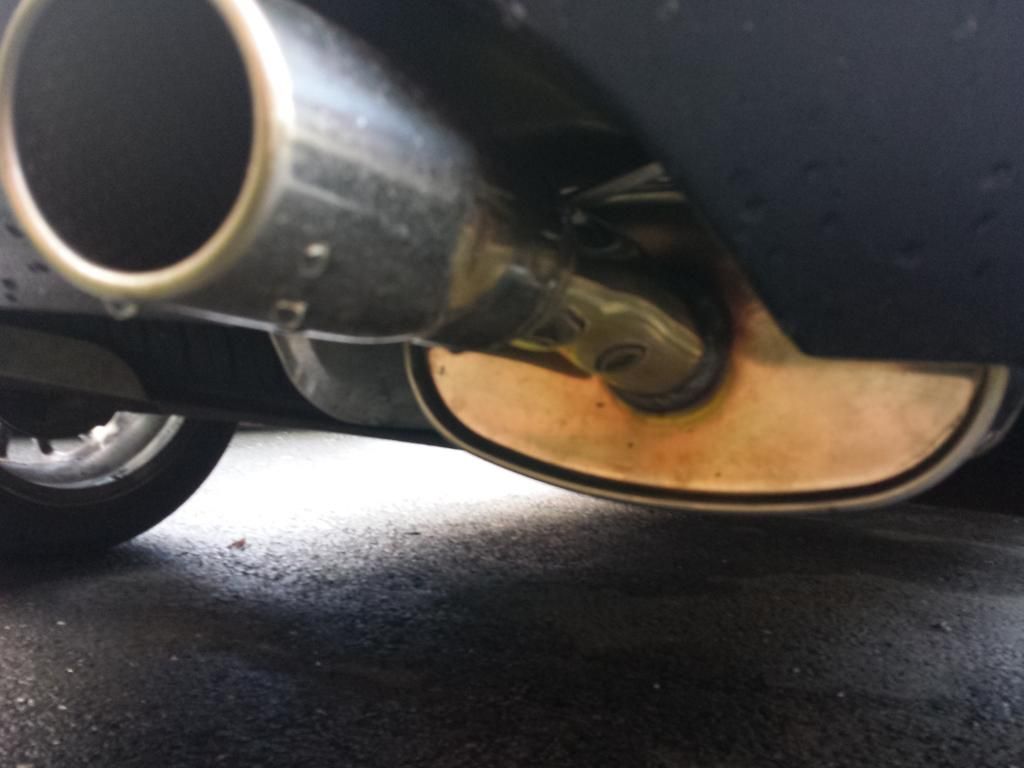
Last thing ive had done, which was today, was a brand new custom MIJ stainless exhaust. Dont have any pics of this yet but ill get some and a vid so you can hear it this weekend
Now then, the shopping list. (I dont know how to make a ticklist so just gonna do it this way)
1. Lowering springs (Yellow of course)
Currently eyeballing these on ebay but wont be until new year before I get any
http://www.ebay.co.uk/itm/180655562481?ssPageName=STRK:MEWAX:IT&_trksid=p3984.m1423.l2649" onclick="window.open(this.href);return false;
2. Getting my drivers side wing fixed/replaced.
Waiting on Reecey to get back to me with some pics of his Thunder he is breaking
Ive pushed the dent out but the metal has pinched so its probably only going to be sorted with a new one.
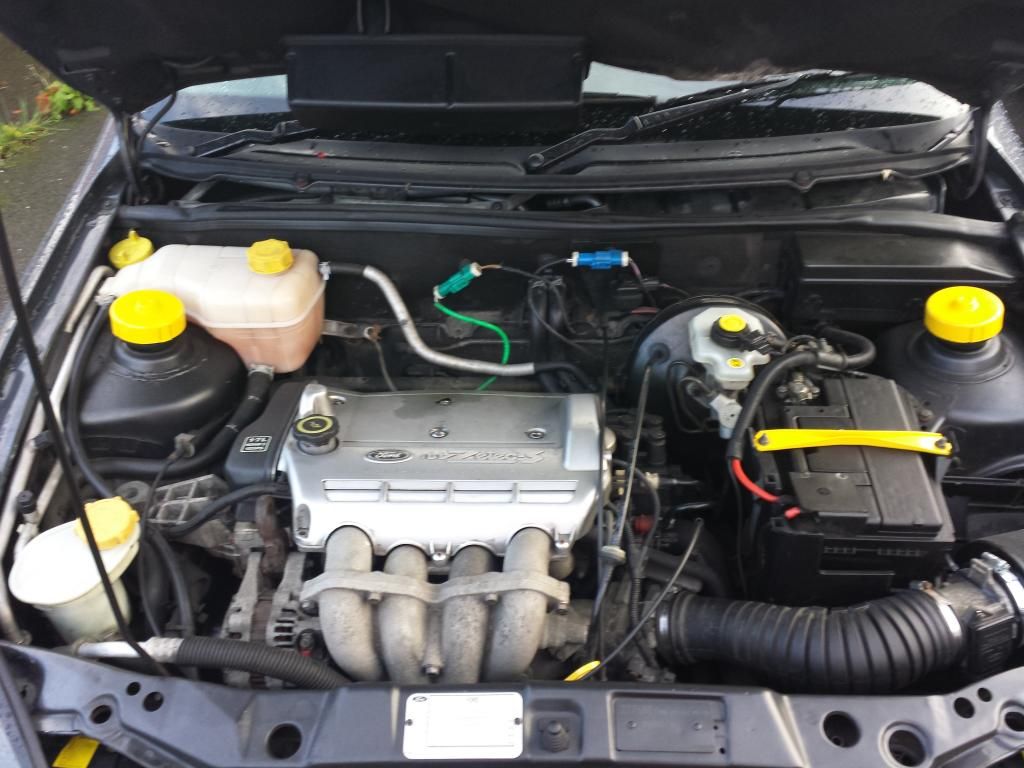
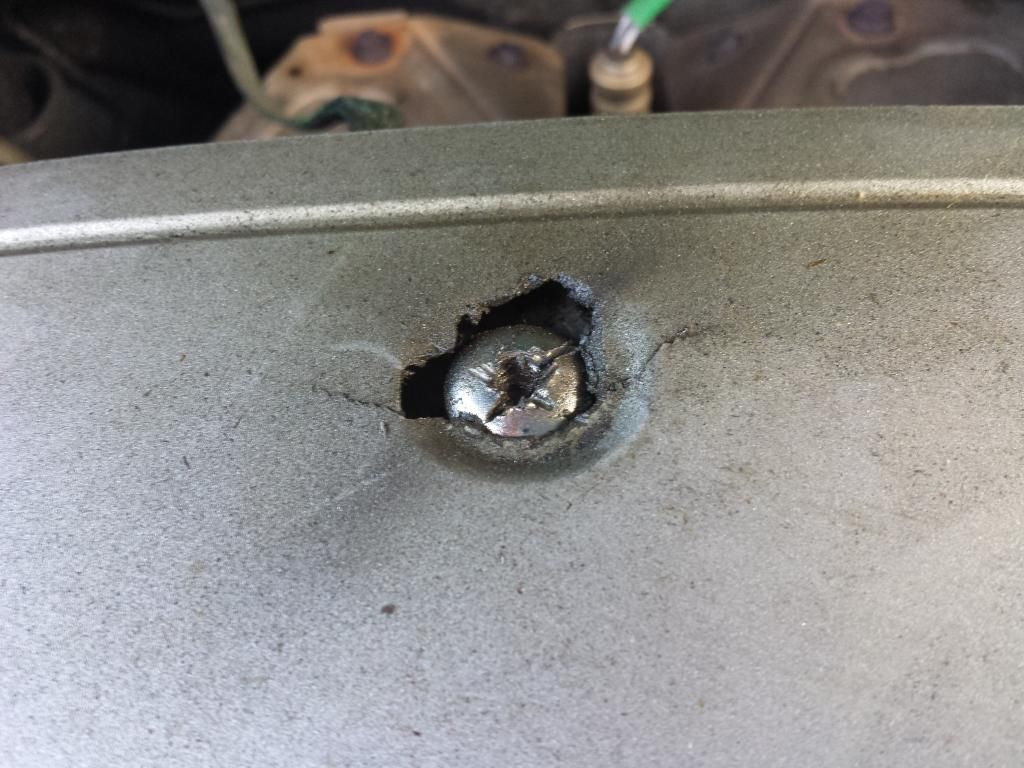
3. Replace the engine cover.
Already got the replacement off of Quest but the old one is stuck on as half of the bolts are rounded off and i keep putting off getting it sorted. Thinking is spraying the cover black with yellow lettering. Oddly I have no wide shots of the engine bay so will add these in due course.
4. New number plates.
Nice and simple, may do this one in the next week or so. Gonna velcro them on so I dont have any lovely rusty screws sticking out
5. Wheel arches.
We all know this one. They don't look to bad atm, just a bit of bubbling but it has deffo worsened in the last year. This is the expensive one so this wont be until summer 2014 now :|
6. Door Sills.
Got rust forming n the sills and in the corners. The sills I think is mostly surface as it feels solid (hit it with a screwdriver a few times so i think i may be able to get away with just grinding the rust away, treating and respraying.
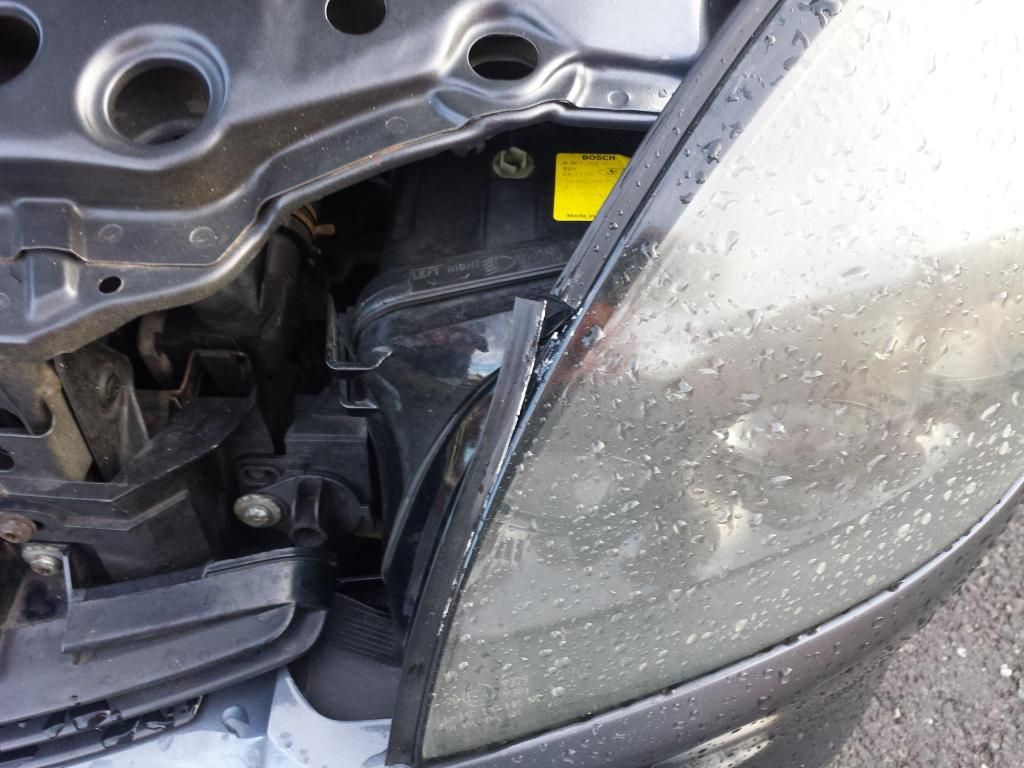
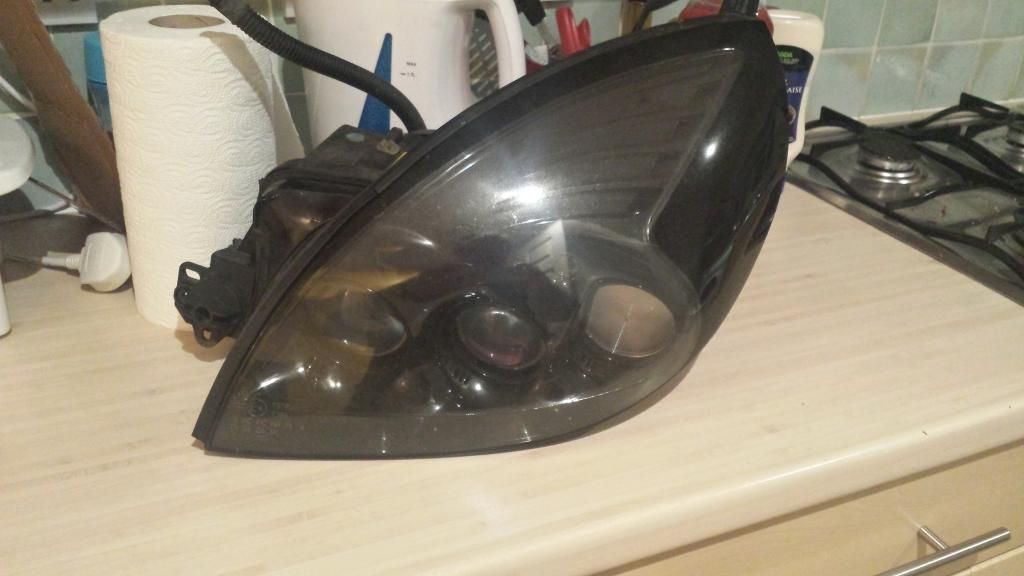
7. Headlights.
These have been my bane from day 1. I've finally sorted the drivers side one as it kept fogging up but the passenger side one has a loose seal on the curved edge of the lamp-cover and it sticks out a mile. I've had 2 replacements but one had a snapped clip and the other was just generally in a bad way and no amount of wet-sanding was going to bring it up.
8. Interior lights.
Hate the green. It needs to go. Will be happy with just white and while im sure doing the instruments isn't so bad I hear that the clock can be a pain as it involves soldering (This is over my head)
9. Remap.
Not sure if ill even bother doing this one yet. Unless I happen to stumble across a FRP at a breakers I can steal the ECU from :-D
Well I think this is it for now. Ill update as I go along of course but things will be slow for a while why I pay off the credit card i melted for the new exhaust
Chow for Now
Max
I dont plan on going mental with her, I have neither the funds of the brainpower to do such things so its mostly going to be restoration and personal tweaks.
So here she is looking all shiny and purdy
Inside
Ill get some better pics when its light (my phone sucks in the dark)
Ive managed to get most of the basics sorted. Gave her a full service which set me back over £600 once we realised just about everything detachable on the engine needed replacing :'(
Then there was the stuff I did myself (With some help from my mates)
God rid of the 6006 changer as it decided to swallow and never return my CDs on the first try of using it. Got myself a nice Sony head unit (above) but went through 3 infill panels trying to fit it as i kept breaking the side clip :crazy:
Painted the rear hubs
Before
Derust
Painted
If I had thought about it I would have taken the drum covers off and sprayed them rather then brush painting them while fitted but hay-ho.
Next was the Front bumper which had a nasty gash in the paintwork
We go from this
To this
Smoked repeaters
Decided at this stage to go for a yellow theme throughout the car so started with the callipers
From this
To this
While I was at it i fitted new Brembo disks and pads
Also stripped the doors and added sound deadening inside which has helped quieten her down a bit
Now that the weather has turned its mostly minor jobs now until next year (that and funding it)
For example got my knob buffed and markered. Not as shiny as CJ2013s but im not complaining
Replaced the 2 outside badges
Front
Back
Also have one for the steering wheel but waiting for a dry day so I can run an extension lead outside and hairdryer the old one off.
Also fitted a new RAMAIR filter a few days ago.
Ill put up a pic of it fitted this weekend
Last thing ive had done, which was today, was a brand new custom MIJ stainless exhaust. Dont have any pics of this yet but ill get some and a vid so you can hear it this weekend
Now then, the shopping list. (I dont know how to make a ticklist so just gonna do it this way)
1. Lowering springs (Yellow of course)
Currently eyeballing these on ebay but wont be until new year before I get any
http://www.ebay.co.uk/itm/180655562481?ssPageName=STRK:MEWAX:IT&_trksid=p3984.m1423.l2649" onclick="window.open(this.href);return false;
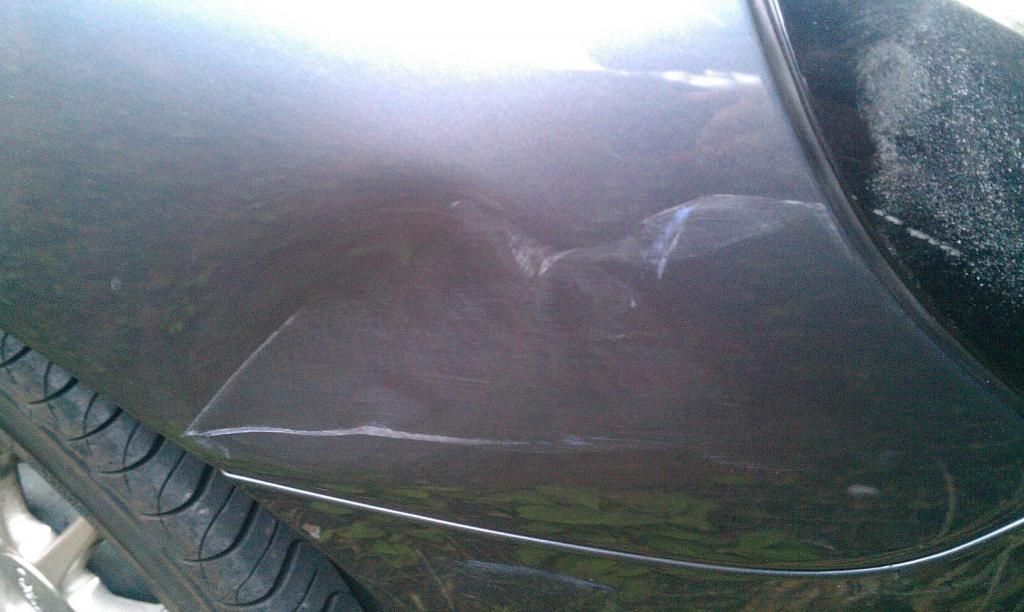
2. Getting my drivers side wing fixed/replaced.
Waiting on Reecey to get back to me with some pics of his Thunder he is breaking
Ive pushed the dent out but the metal has pinched so its probably only going to be sorted with a new one.
3. Replace the engine cover.
Already got the replacement off of Quest but the old one is stuck on as half of the bolts are rounded off and i keep putting off getting it sorted. Thinking is spraying the cover black with yellow lettering. Oddly I have no wide shots of the engine bay so will add these in due course.
4. New number plates.
Nice and simple, may do this one in the next week or so. Gonna velcro them on so I dont have any lovely rusty screws sticking out
5. Wheel arches.
We all know this one. They don't look to bad atm, just a bit of bubbling but it has deffo worsened in the last year. This is the expensive one so this wont be until summer 2014 now :|
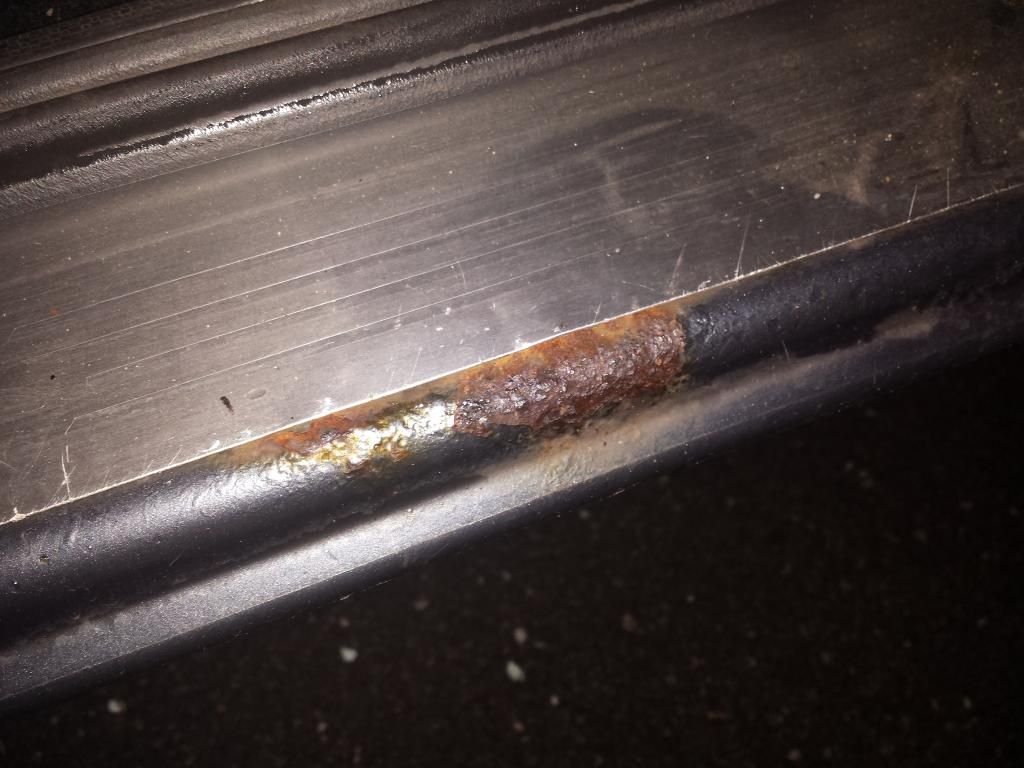
6. Door Sills.
Got rust forming n the sills and in the corners. The sills I think is mostly surface as it feels solid (hit it with a screwdriver a few times so i think i may be able to get away with just grinding the rust away, treating and respraying.
7. Headlights.
These have been my bane from day 1. I've finally sorted the drivers side one as it kept fogging up but the passenger side one has a loose seal on the curved edge of the lamp-cover and it sticks out a mile. I've had 2 replacements but one had a snapped clip and the other was just generally in a bad way and no amount of wet-sanding was going to bring it up.
8. Interior lights.
Hate the green. It needs to go. Will be happy with just white and while im sure doing the instruments isn't so bad I hear that the clock can be a pain as it involves soldering (This is over my head)
9. Remap.
Not sure if ill even bother doing this one yet. Unless I happen to stumble across a FRP at a breakers I can steal the ECU from :-D
Well I think this is it for now. Ill update as I go along of course but things will be slow for a while why I pay off the credit card i melted for the new exhaust
Chow for Now
Max