Puma 4x4 Cosworth

ProjectPuma

Help Support ProjectPuma:

This site may earn a commission from merchant affiliate links, including eBay, Amazon, and others.
No bother on the above discussion guys its all relevant in my eyes! I think realistically I need a negative offset number, these 1600 arches are very wide, its border line whether the wing mirrors are the widest point of the car!
 
What are the dimensions on the wheel and the current spacers?

With some quick number crunching i can tell you what offset you'll need, and if it's worth going to a wider wheel.
 
Irritatingly I can not find the et number on the current wheels. It simply doesn't have a stamping anywhere on the wheel (inside or out). All I do know is the current tyres fitted are 225/40/18 and the spacers on the back are 55mm and 25mm on the front.

The rear is standard cosworth track, and the front is anyone's guess.. 30mm wider each side than the back.

Thanks
 
I don't know if this is of any help regarding your et but I run et23 on my standard puma but running racing puma alcon's under 15s. They bring the wheel out to be almost flush with the arch. The wheels are team dynamics and they will make any of there wheels to your et specification.
 
Without the offset it's going to be more tricky, and you may just have to measure them by eye. Other than that finding out the track and then the body width and working out the difference will make it somewhat easier.

I guess they're around 8 inch wide, being on a 225?
 
To be fair I didn't think those details were going to be much help to you. I'll try and get some details on the wheels at some point. Next time one is off I'll get some accurate measurements which will give me the ET number.

Yeah that's my guess without measuring them. 8 inches would be about right.

Thanks
 
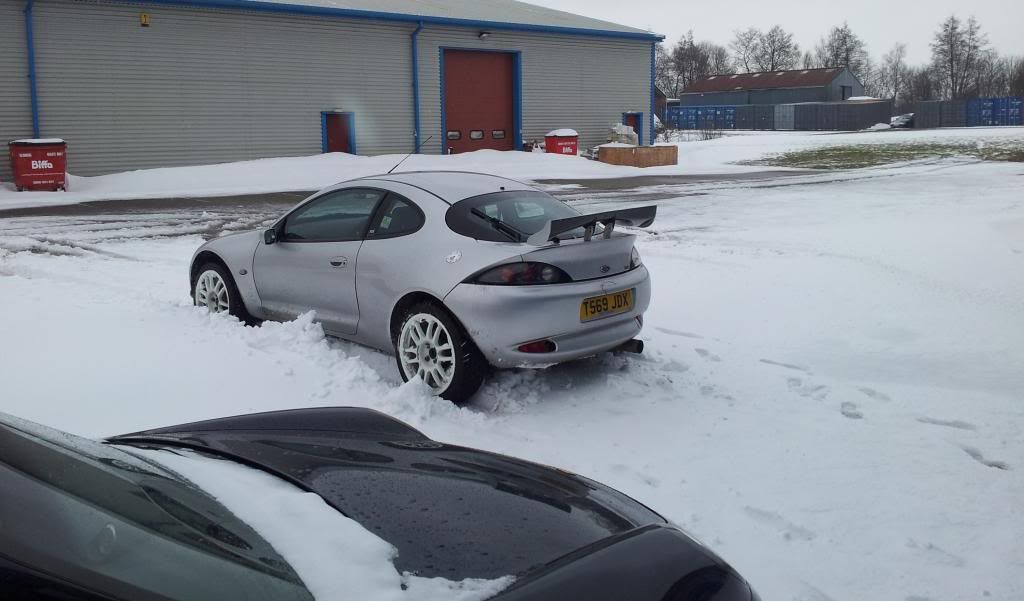
Right so update time, going to bring this up to date now finally! Not too much to report but a free minor changes.

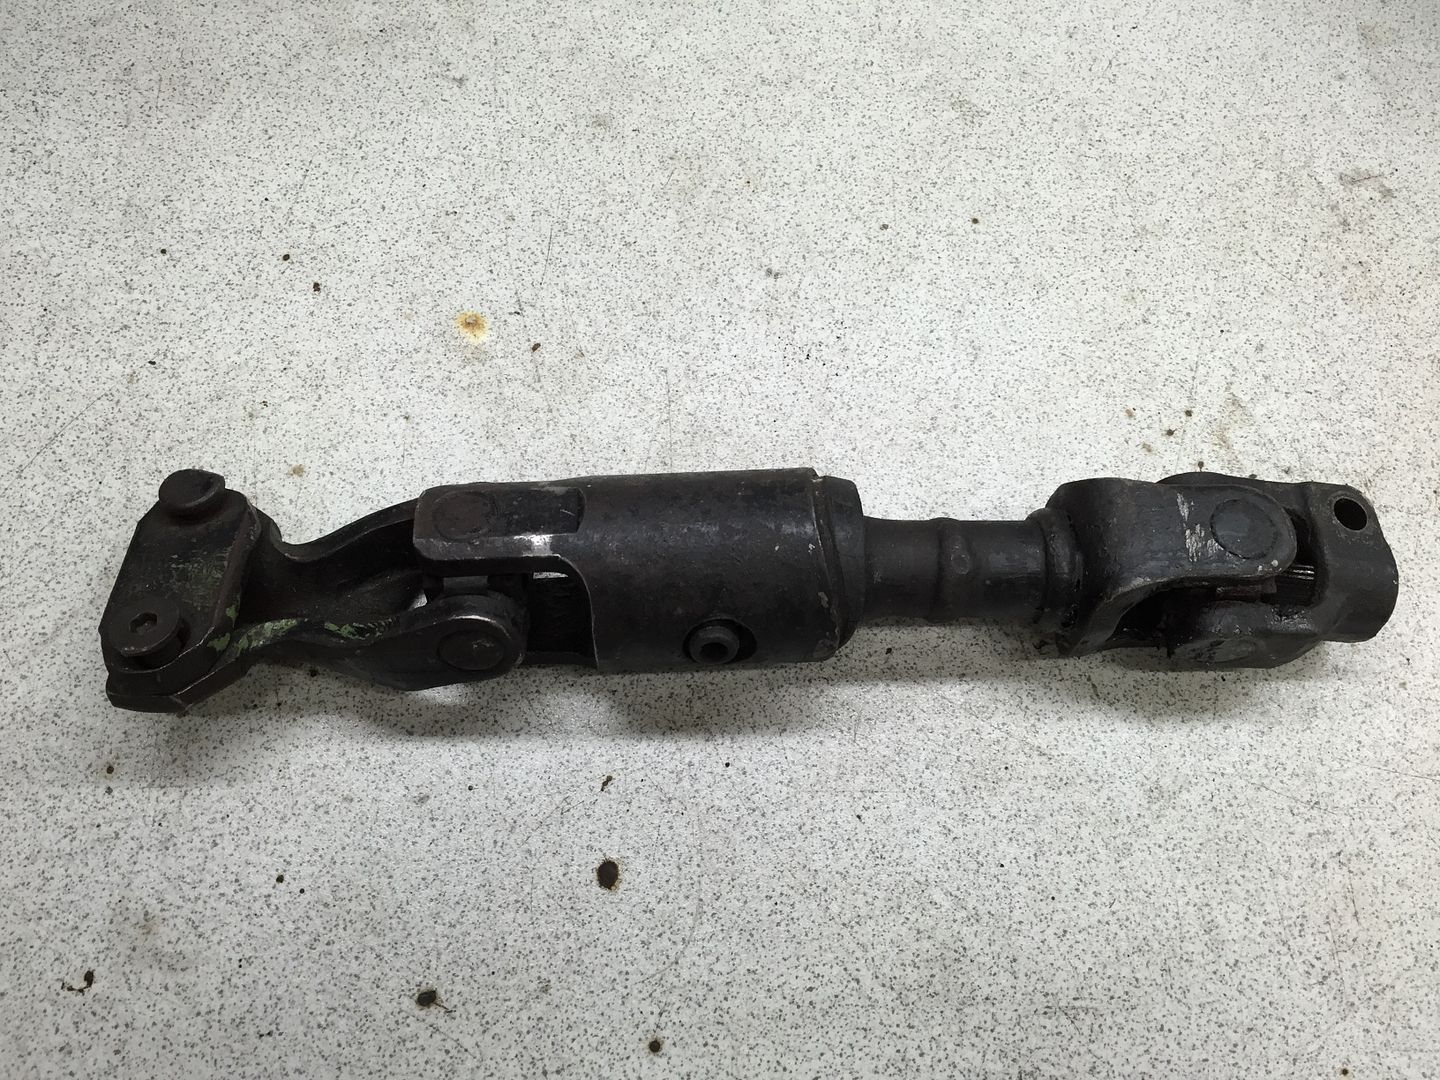
So have had play in the steering for a while now.. Got to the stage where it started to drift side to side down the motorway so time to get it sorted! Narrowed it down to the steering column coupling, but as usual this is a shortened cosworth part, which you can't buy anymore. So the search was on for the parts.

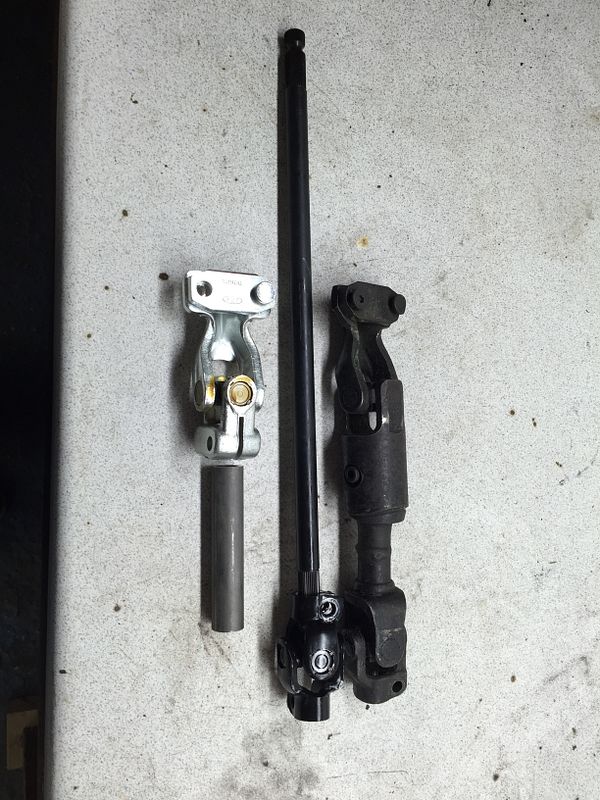
So sourced the parts from car builder solutions to make a new coupling
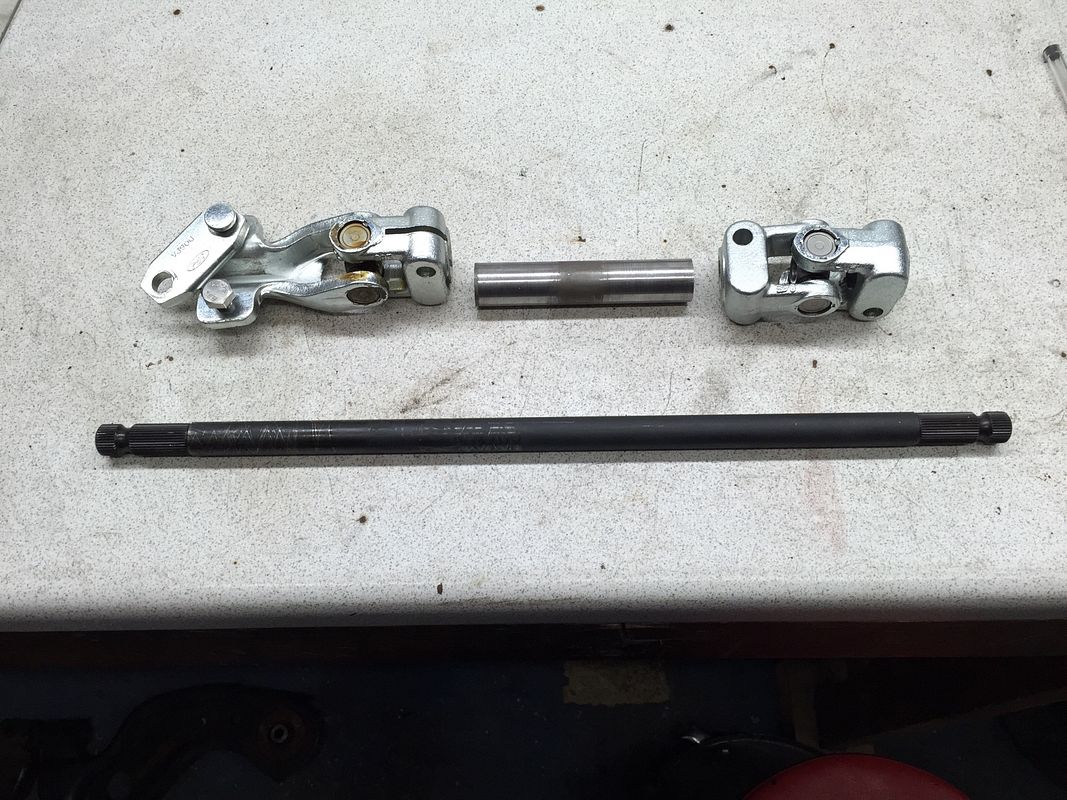
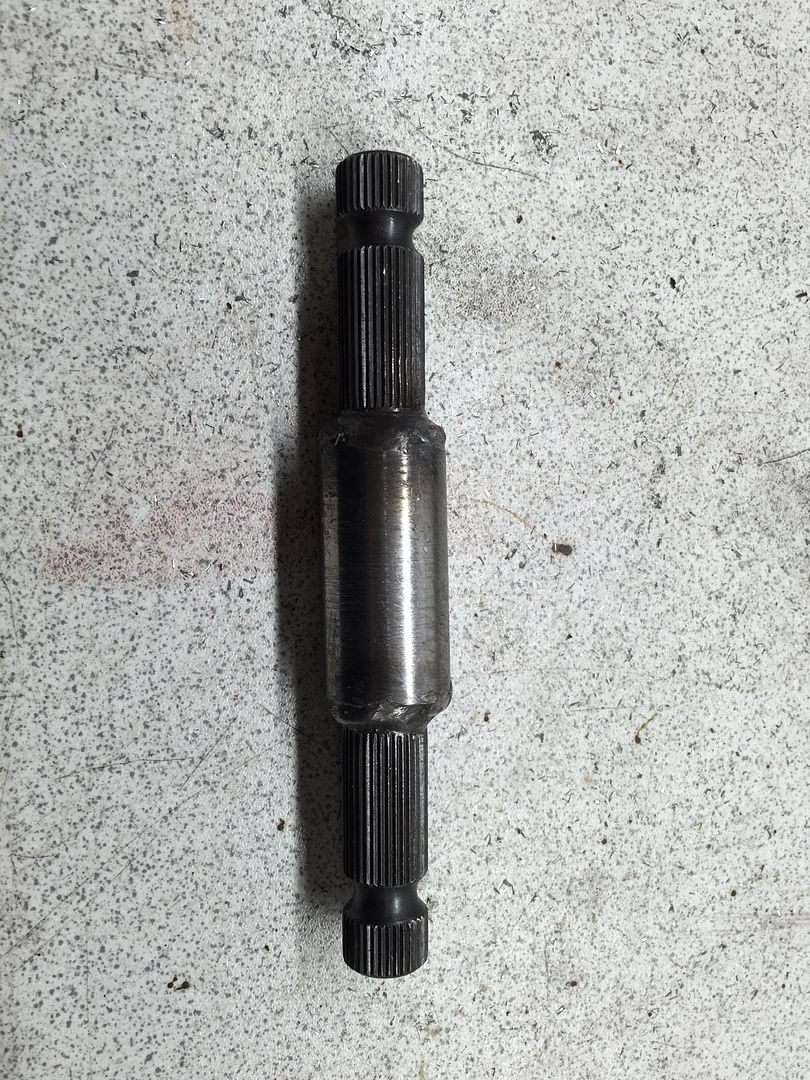
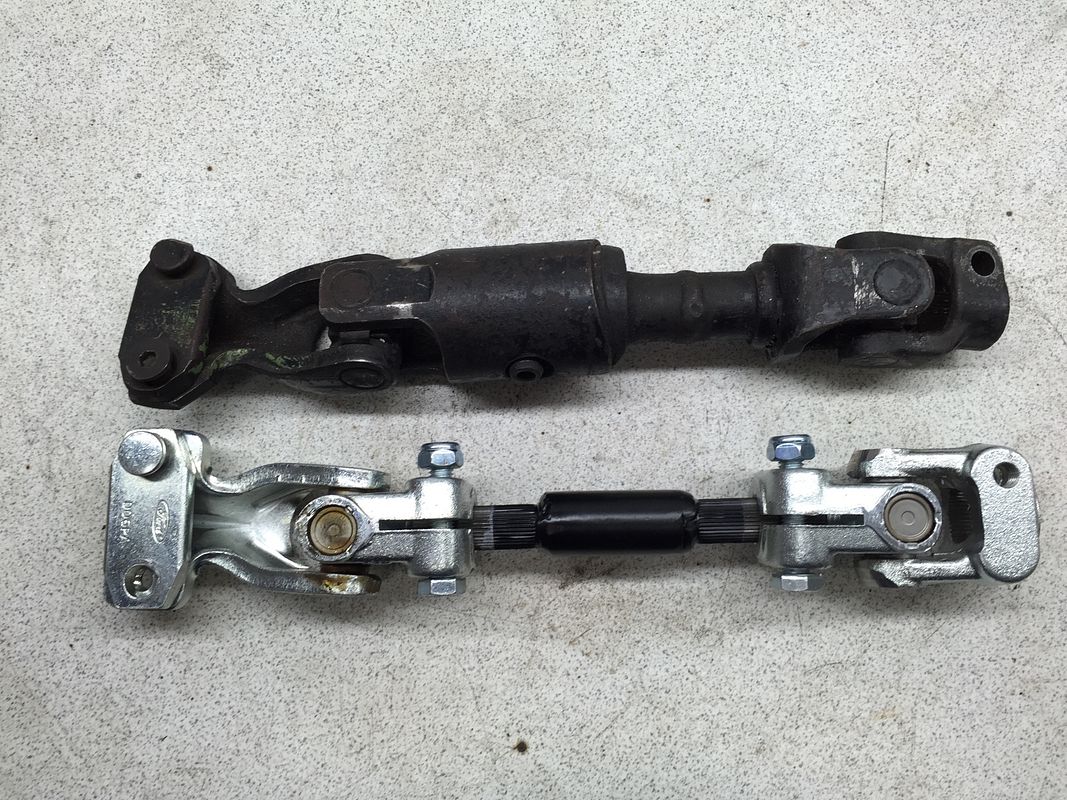
The old coupling


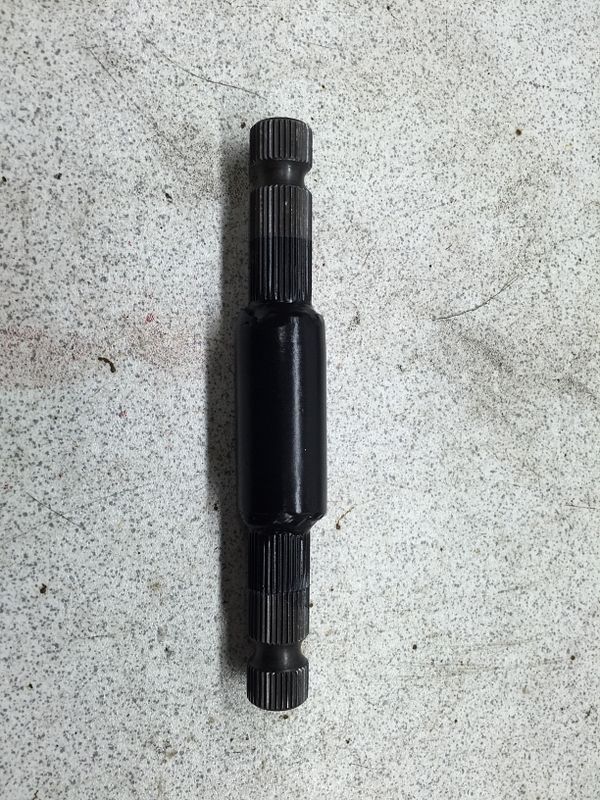
Old next to new parts


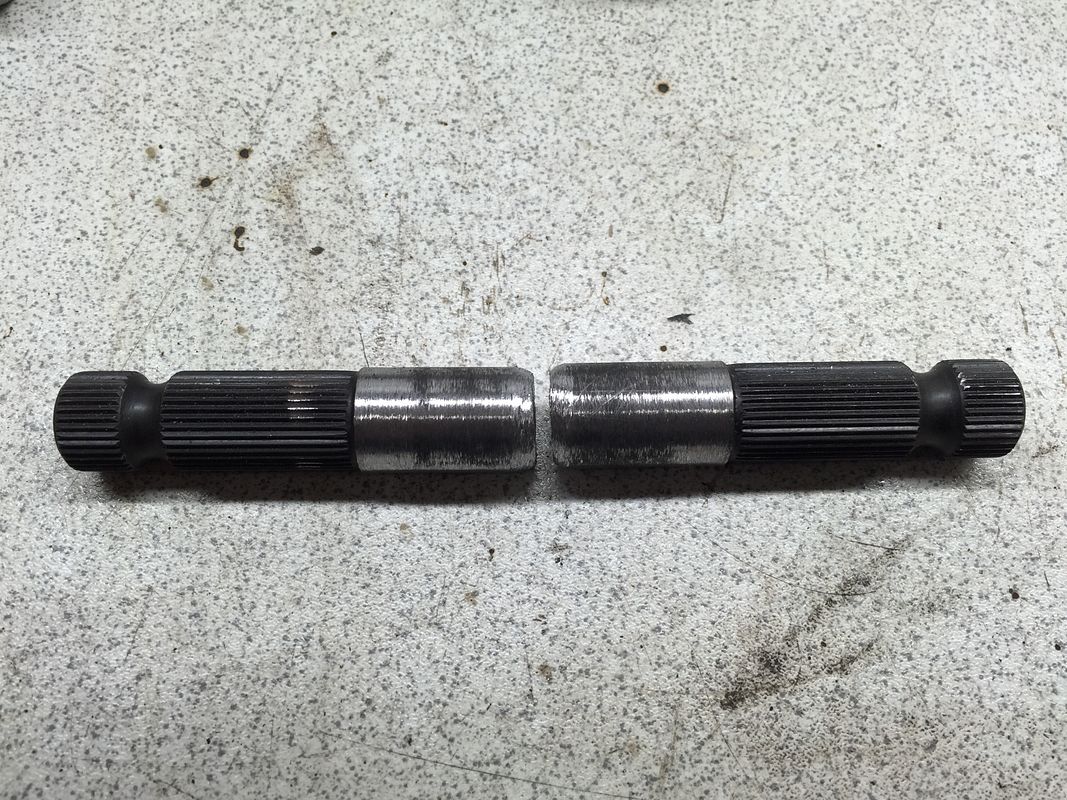
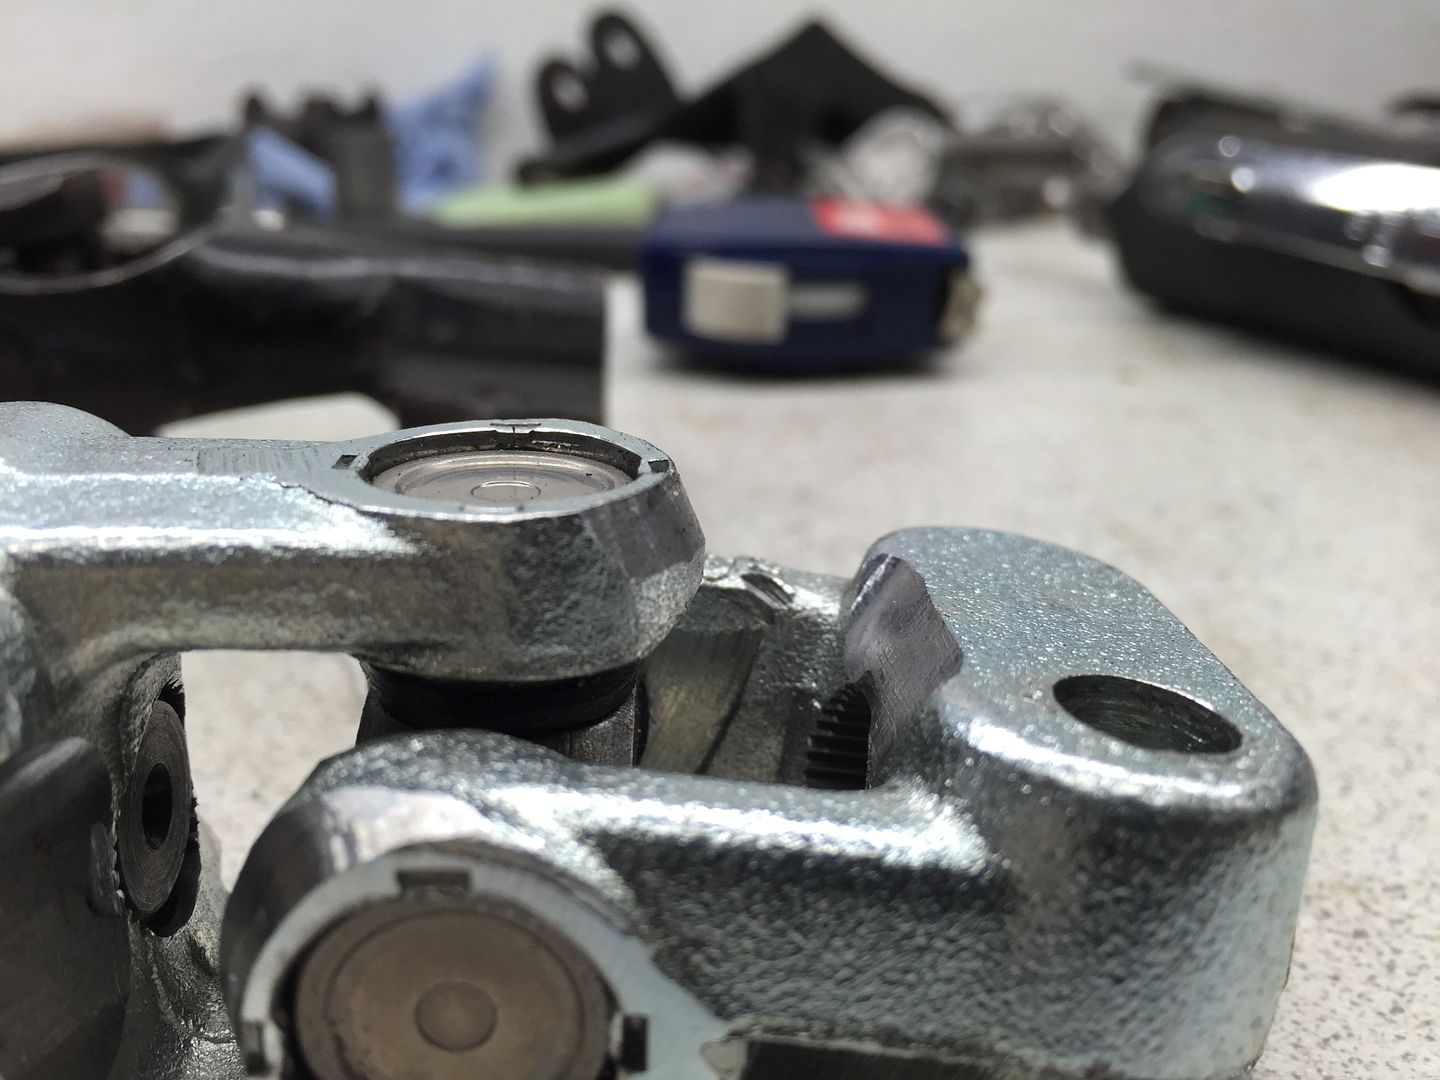
The splined bar needs to cut down in size so a collar was needed - needed drilling out to slide over the shaft - not the best way to do it at all but it worked for this instance


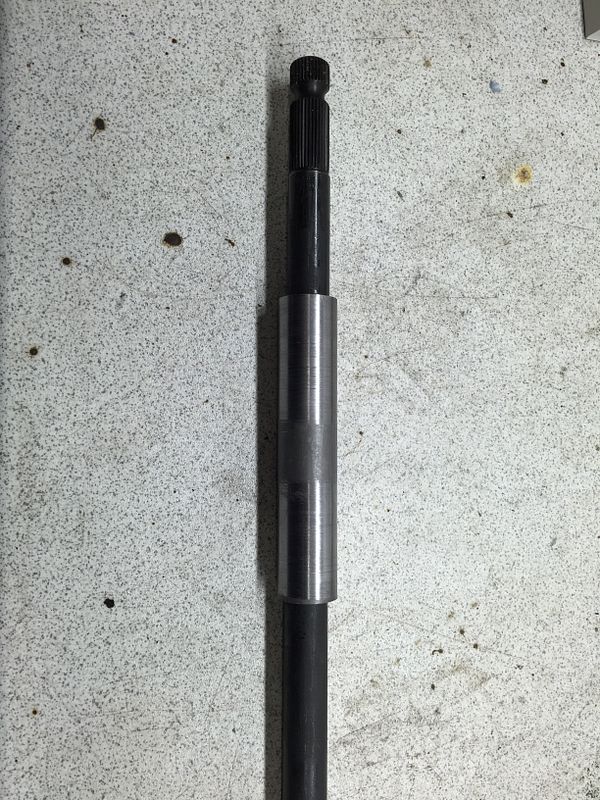
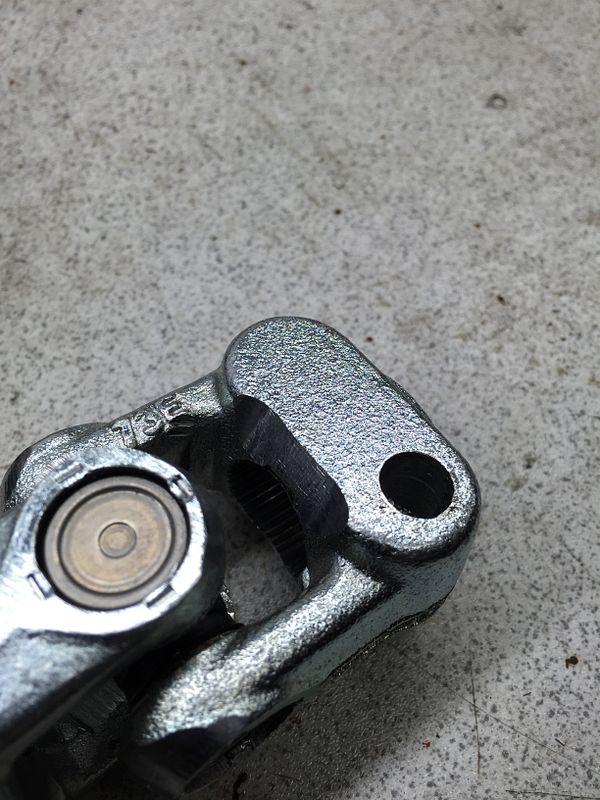
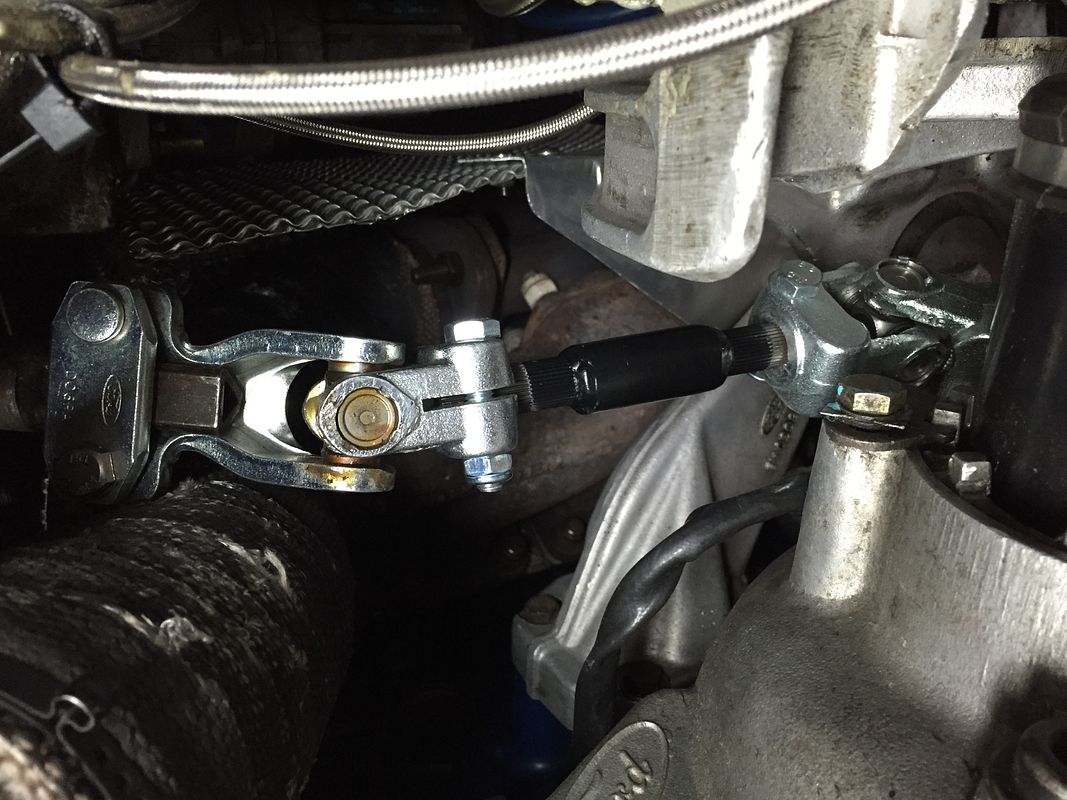
Found out the cosworth steering rack has an odd sized splined pinion - but after two weeks of searching I found a company that can make the union joint I needed - two different sized splines on either end, one for the shaft and one for the pinion
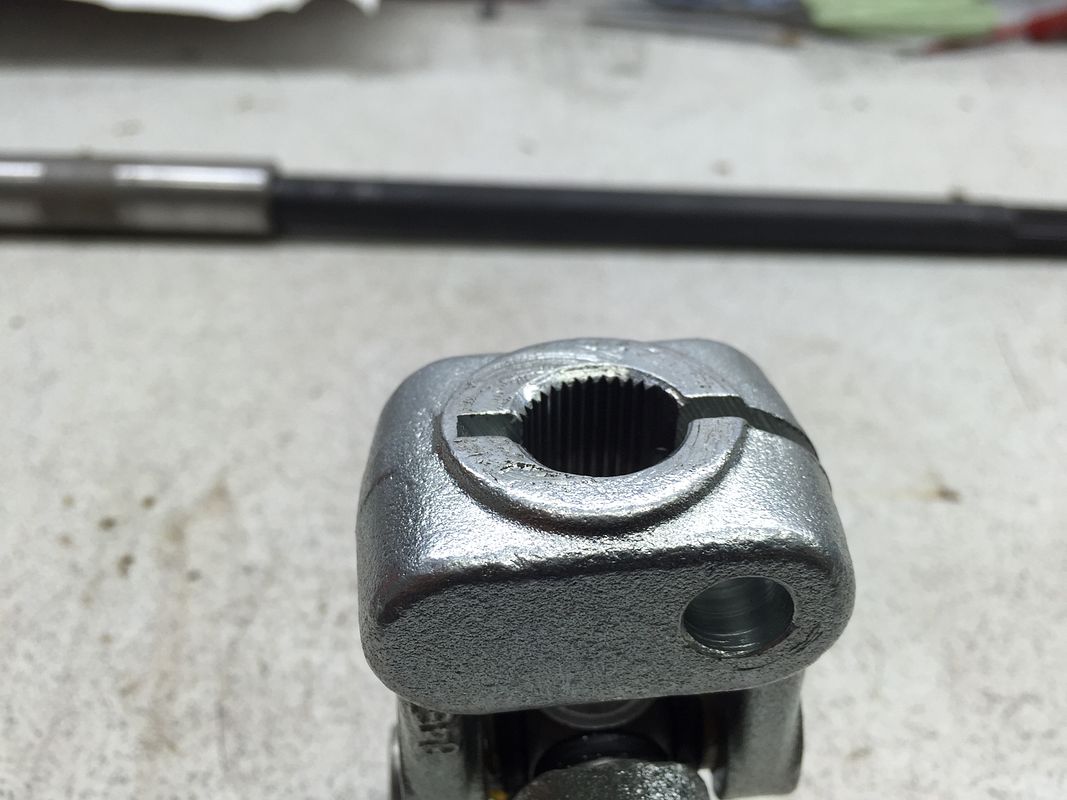


This shows my idea


Shaft cut down and prepared for welding


Welded


Collar on


Welded


Painted


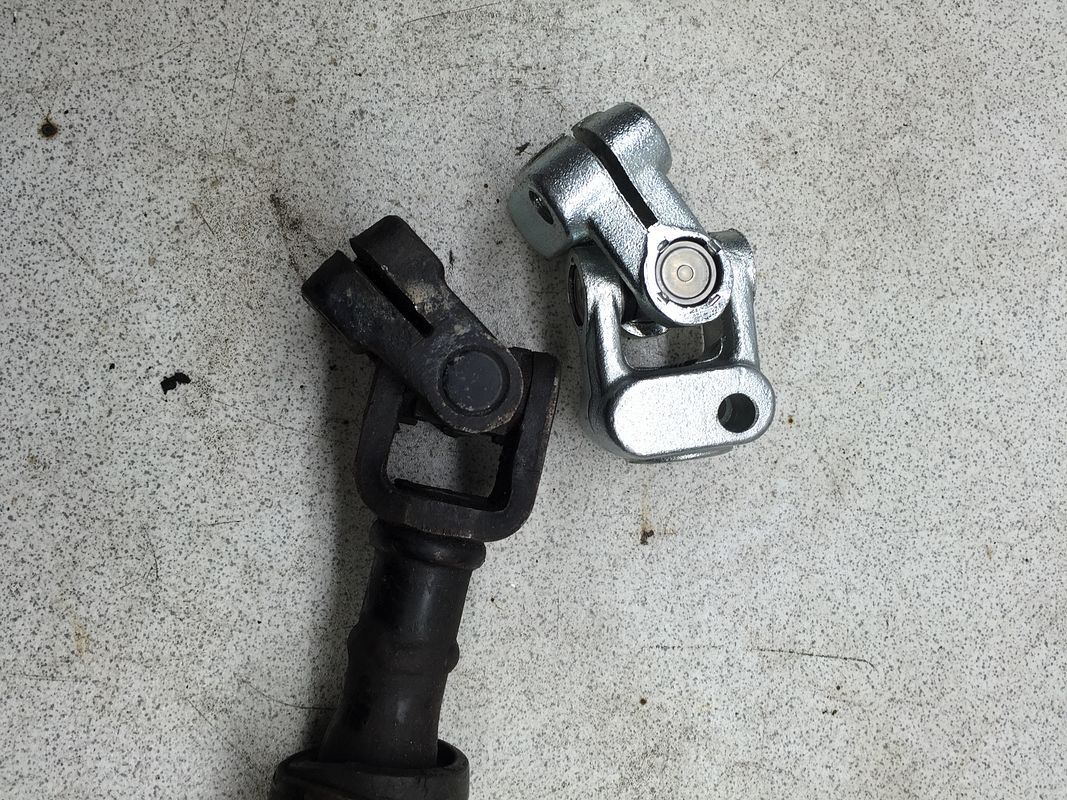
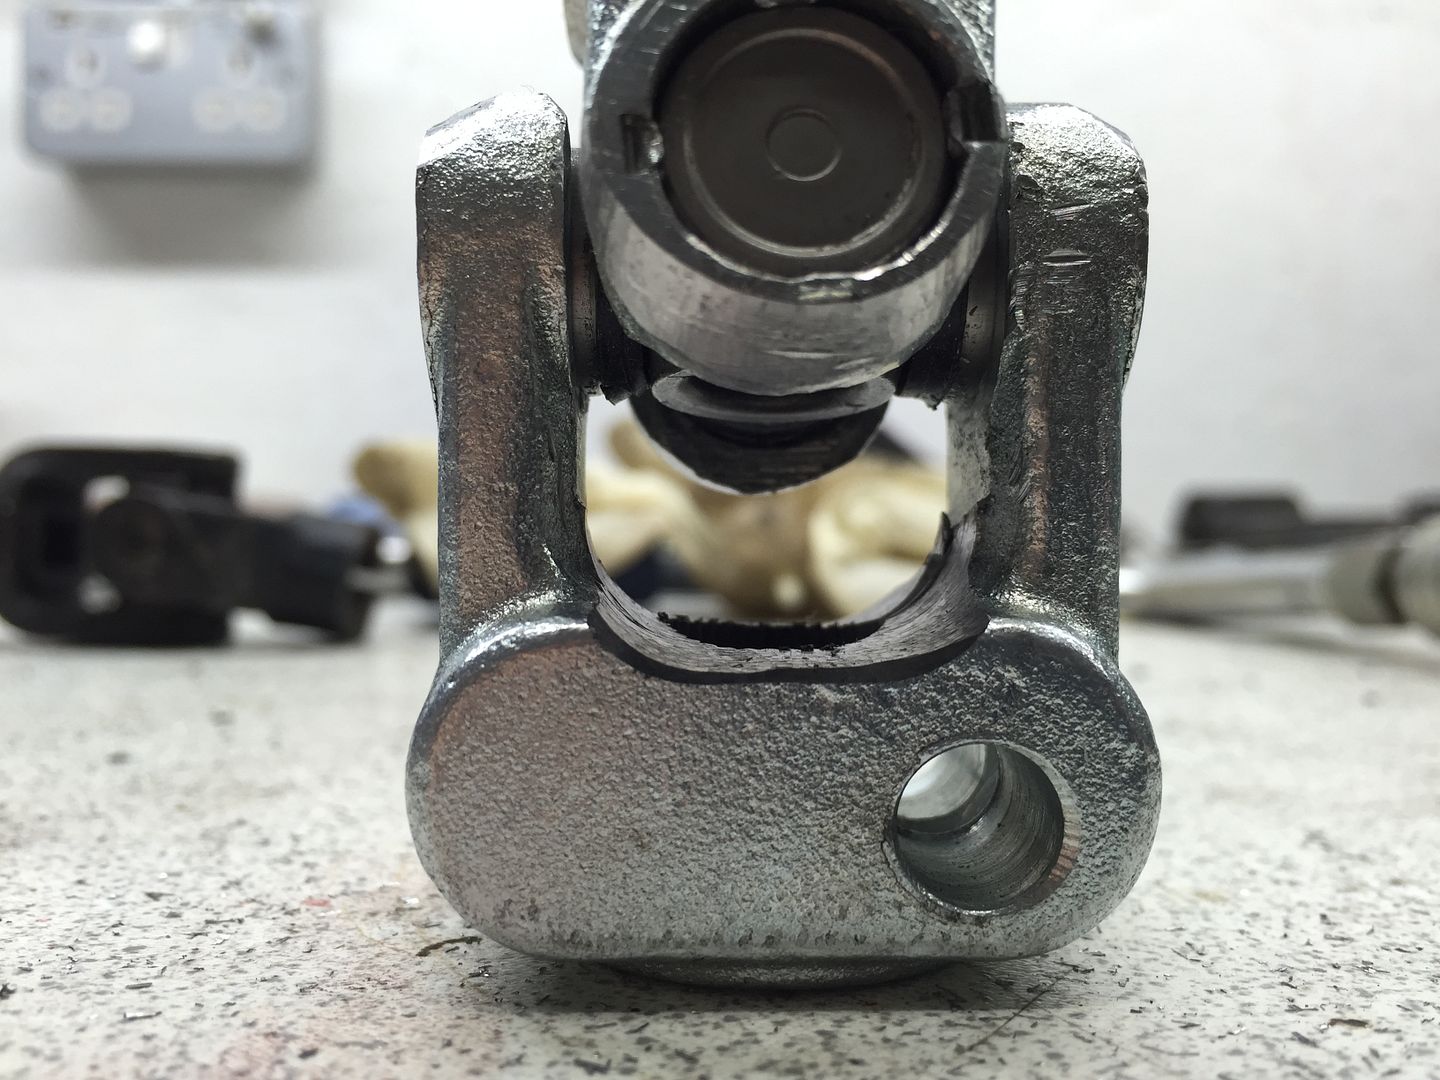
Quickly test fitted it back on the car and realised that the new UJ at the bottom did not have as much movement as the last and basically meant it wouldn't fit onto the car..

Two next to each other


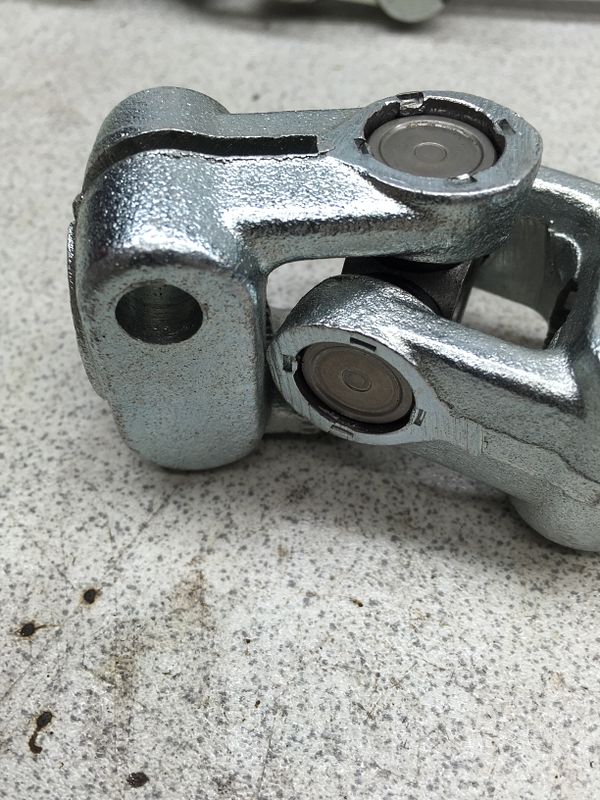
So a bit of careful trimming of some excess material and the joint had more movement


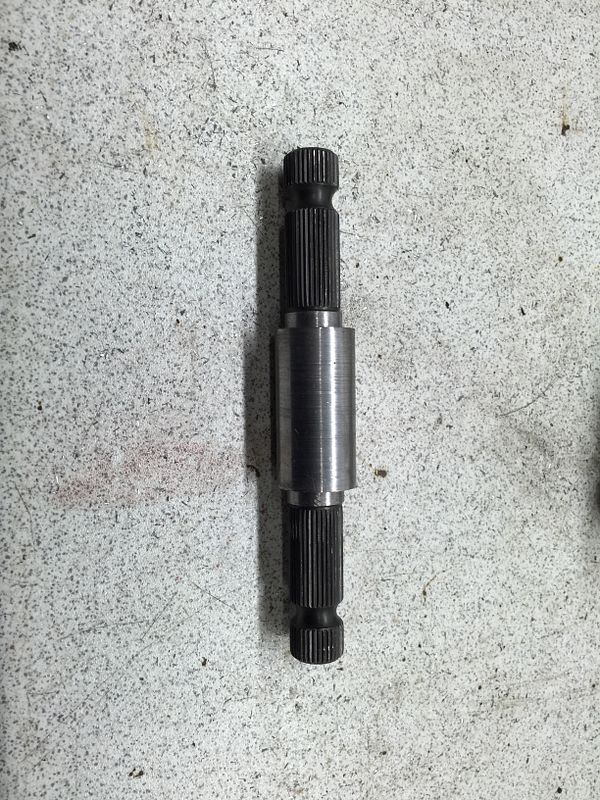
So the end result is below


And fitted to the car


With that done I went to get the car tracked as it was wobbling a bit on the steering wheel... Could not believe the results afterwards it was so positive again so a job worth doing!

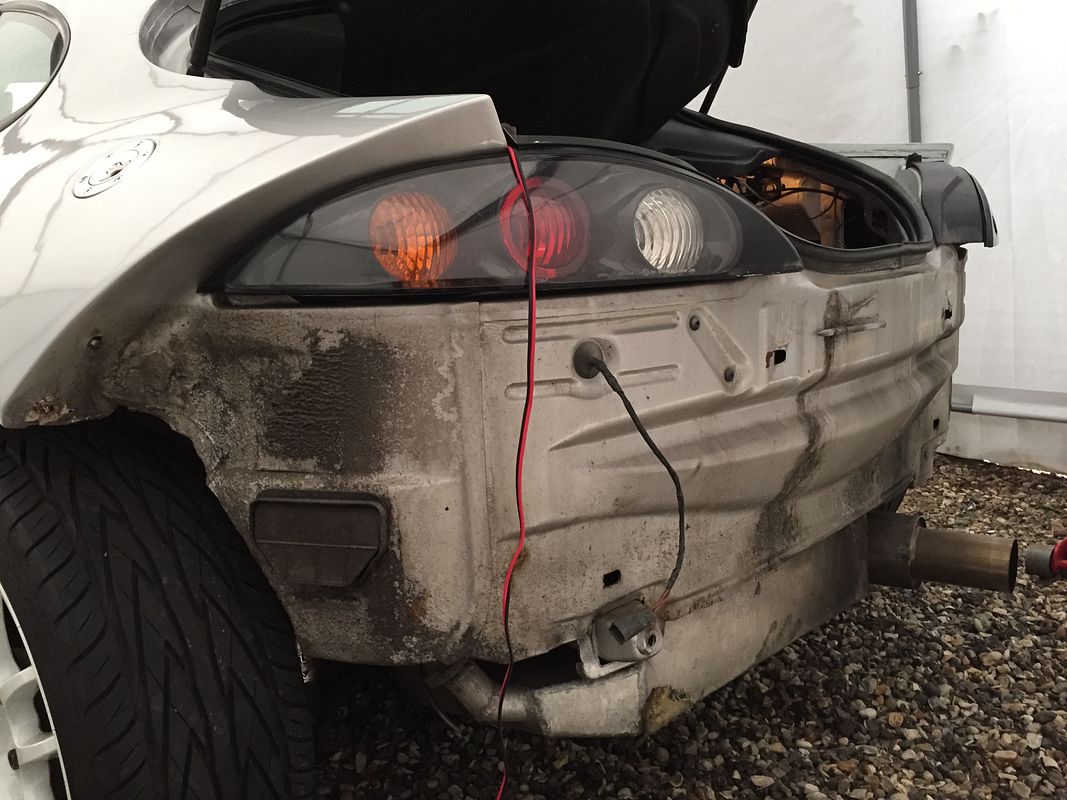
Moving on decided to get the rear bumper off, I needed to replace the boot solenoid as it was knackered and have been avoiding this job due to the bolts that held the bumper to the rear quarters. But persistence pays off..

Bumper off


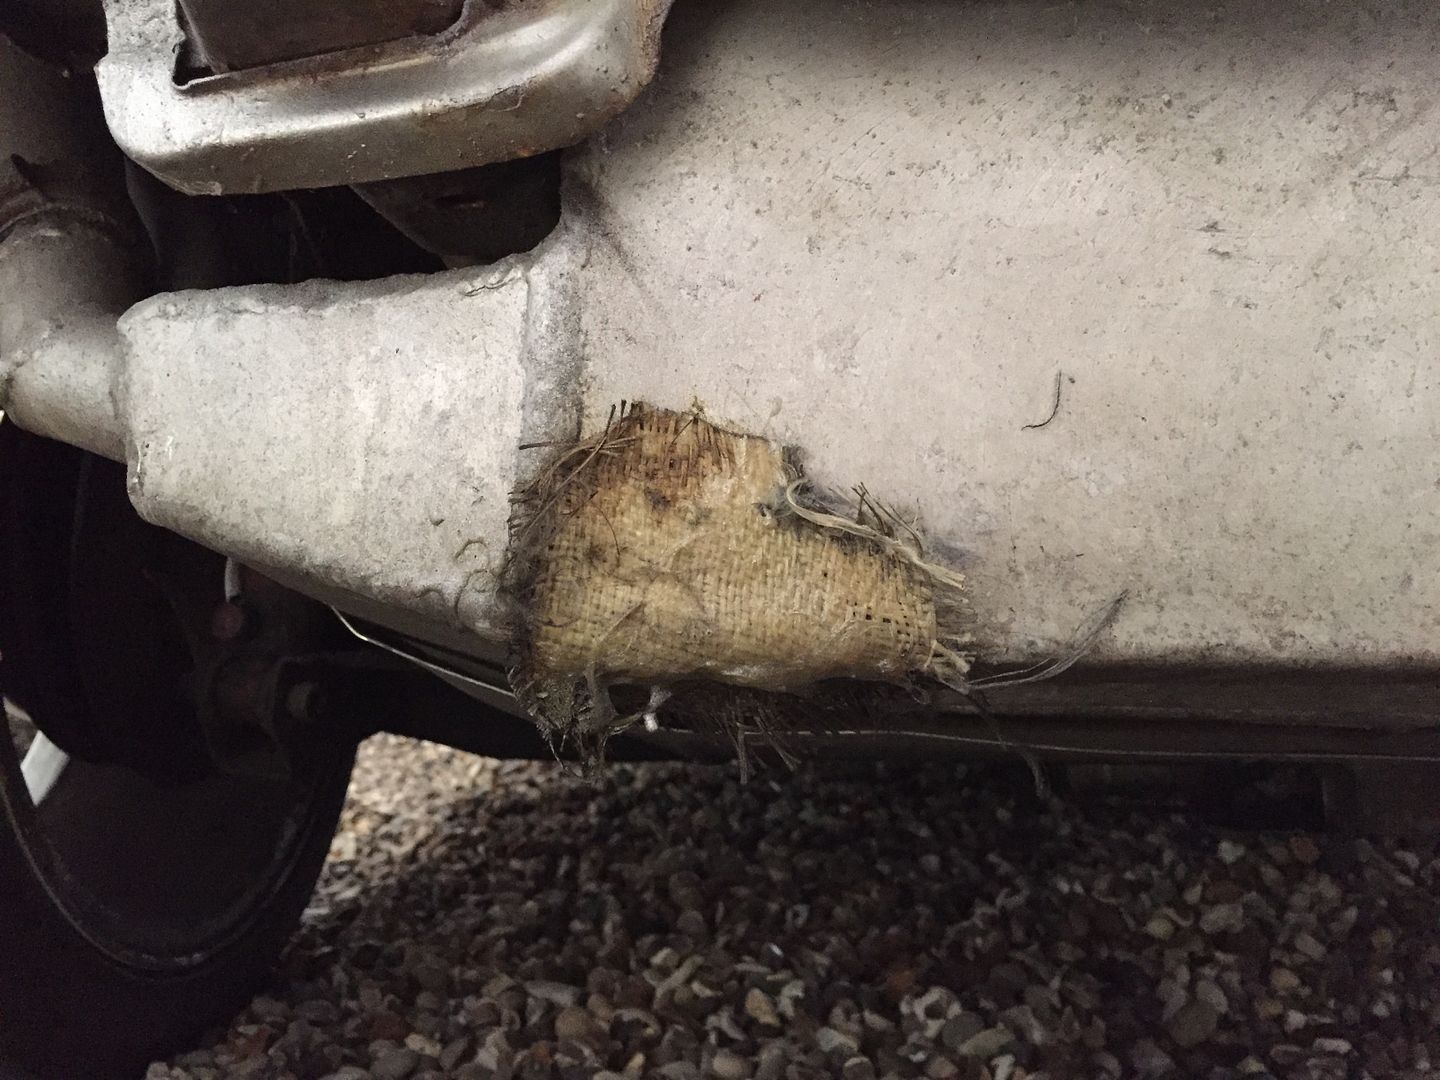
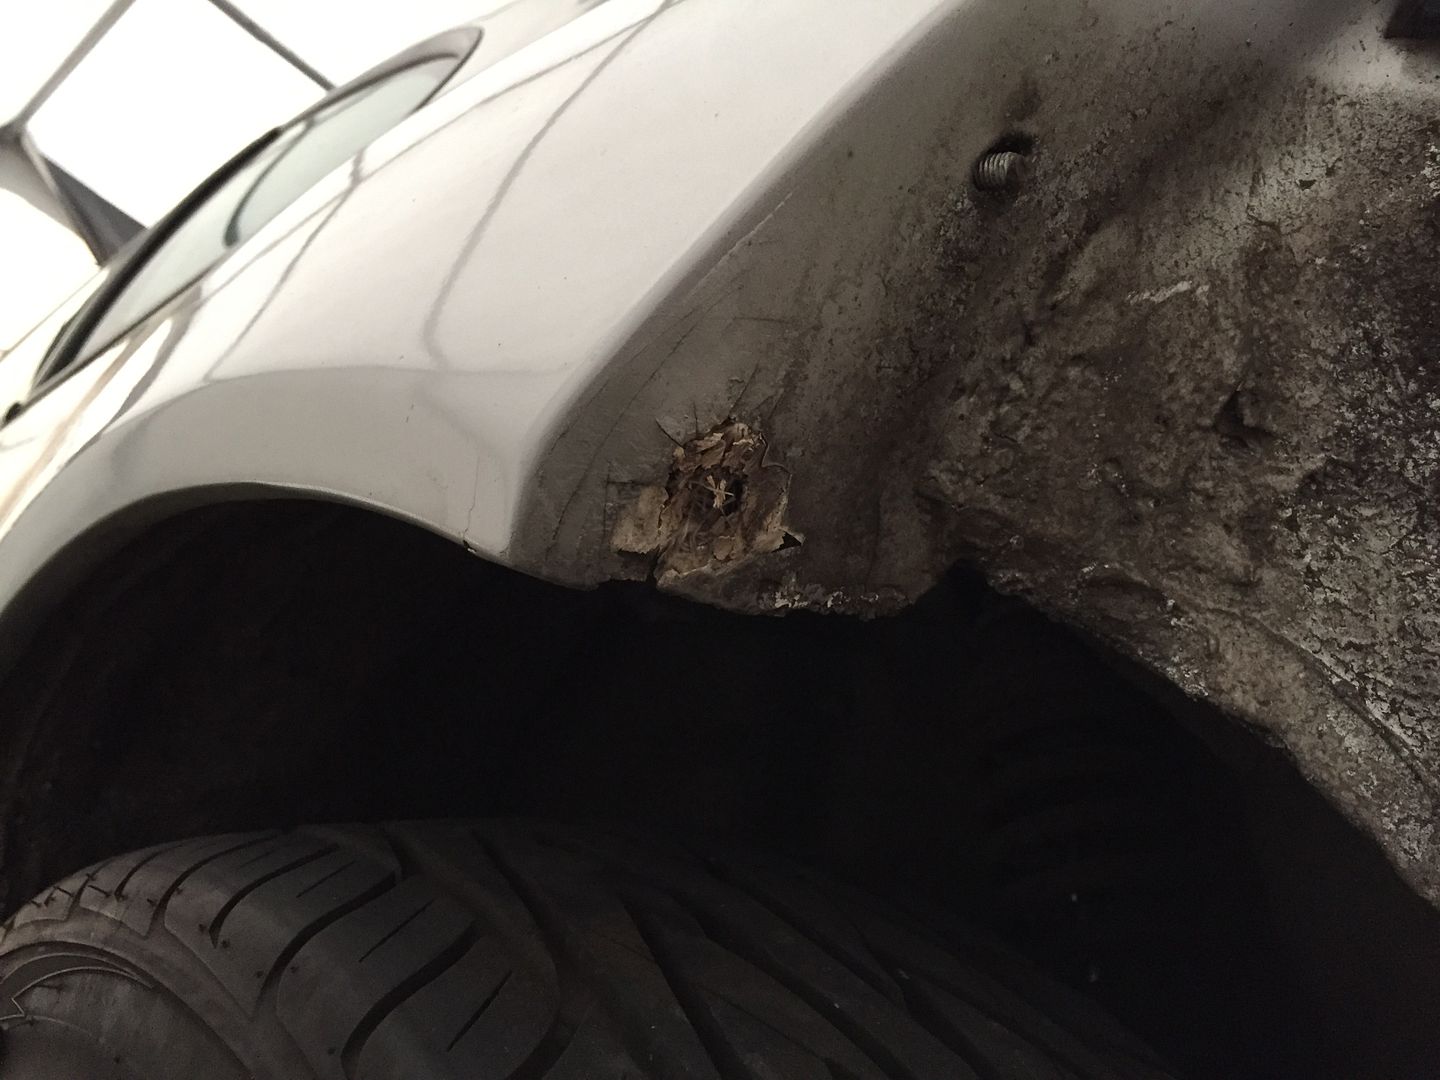
I knew this was here but a better look at a poor repair on the fuel makes me think I need to look at this sooner rather than later


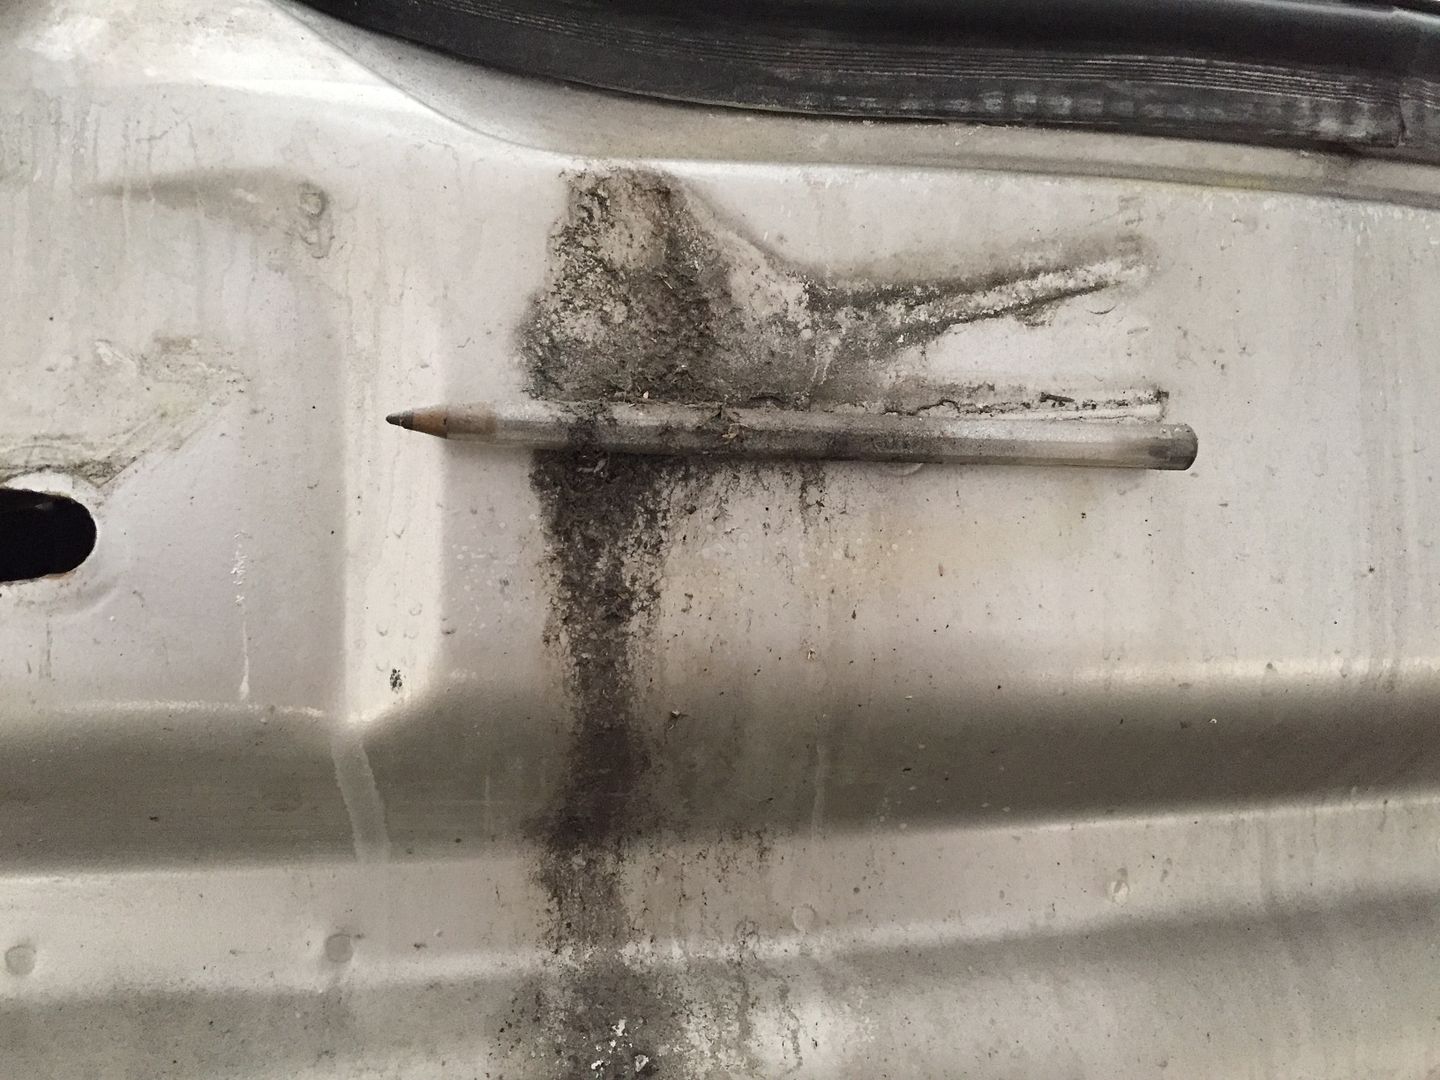
Biro anyone? Found this stuck behind the bumper!


Evidence of a slow effort with a die grinder to remove the old rusted bolts
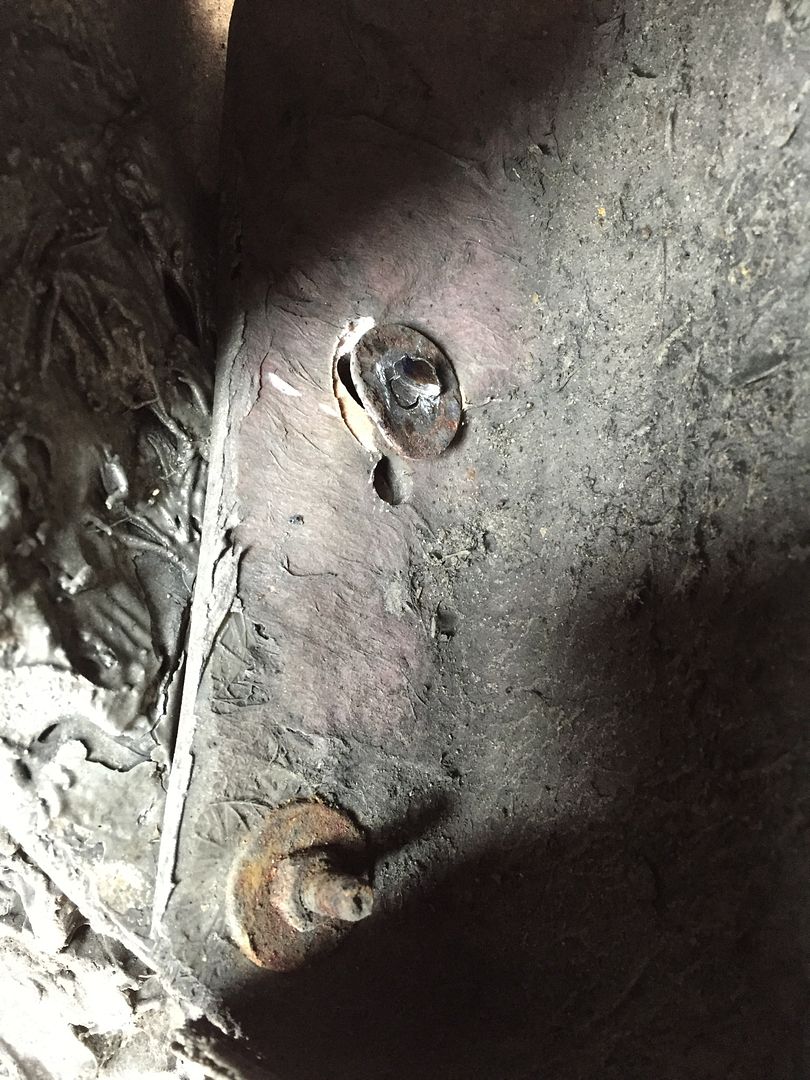
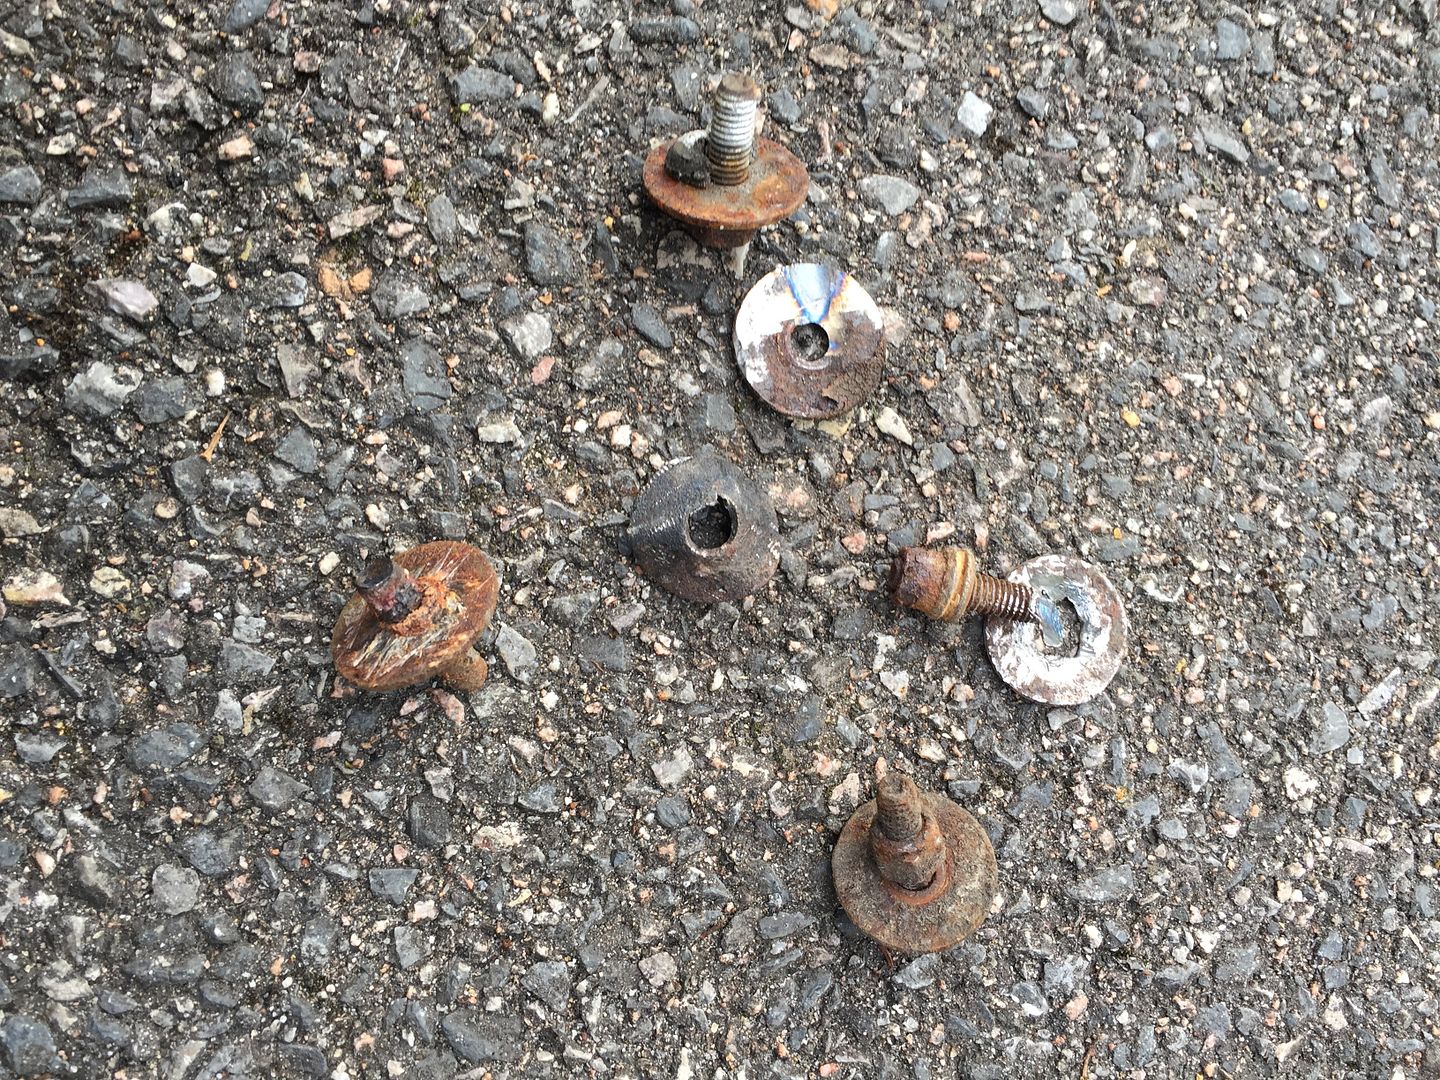


Old rusty bolts


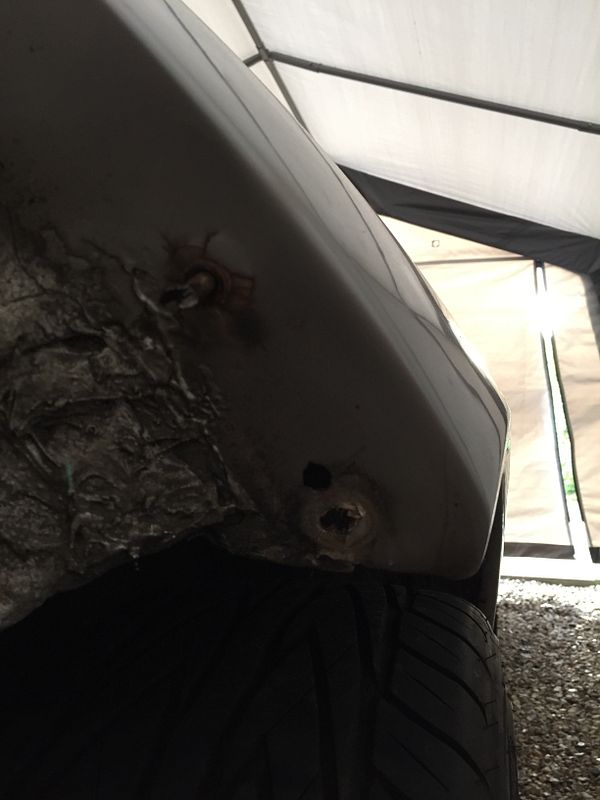
Wings needing some repair


So with the solenoid replaced, the bumper was fitted back. This time with all four of its nuts instead of just two and an experiment on fixing it to the quarters. The small areas where the bumper meets are a little weak and putting more bolts through are difficult to get to and make it weak. So I've used 1mm adhesive foam strips to secure the bumper and stop it flapping. I'm pleased to say at the moment t has worked far better than I thought and better than using the bolts! So time will tell if this is a permanent solution or not.

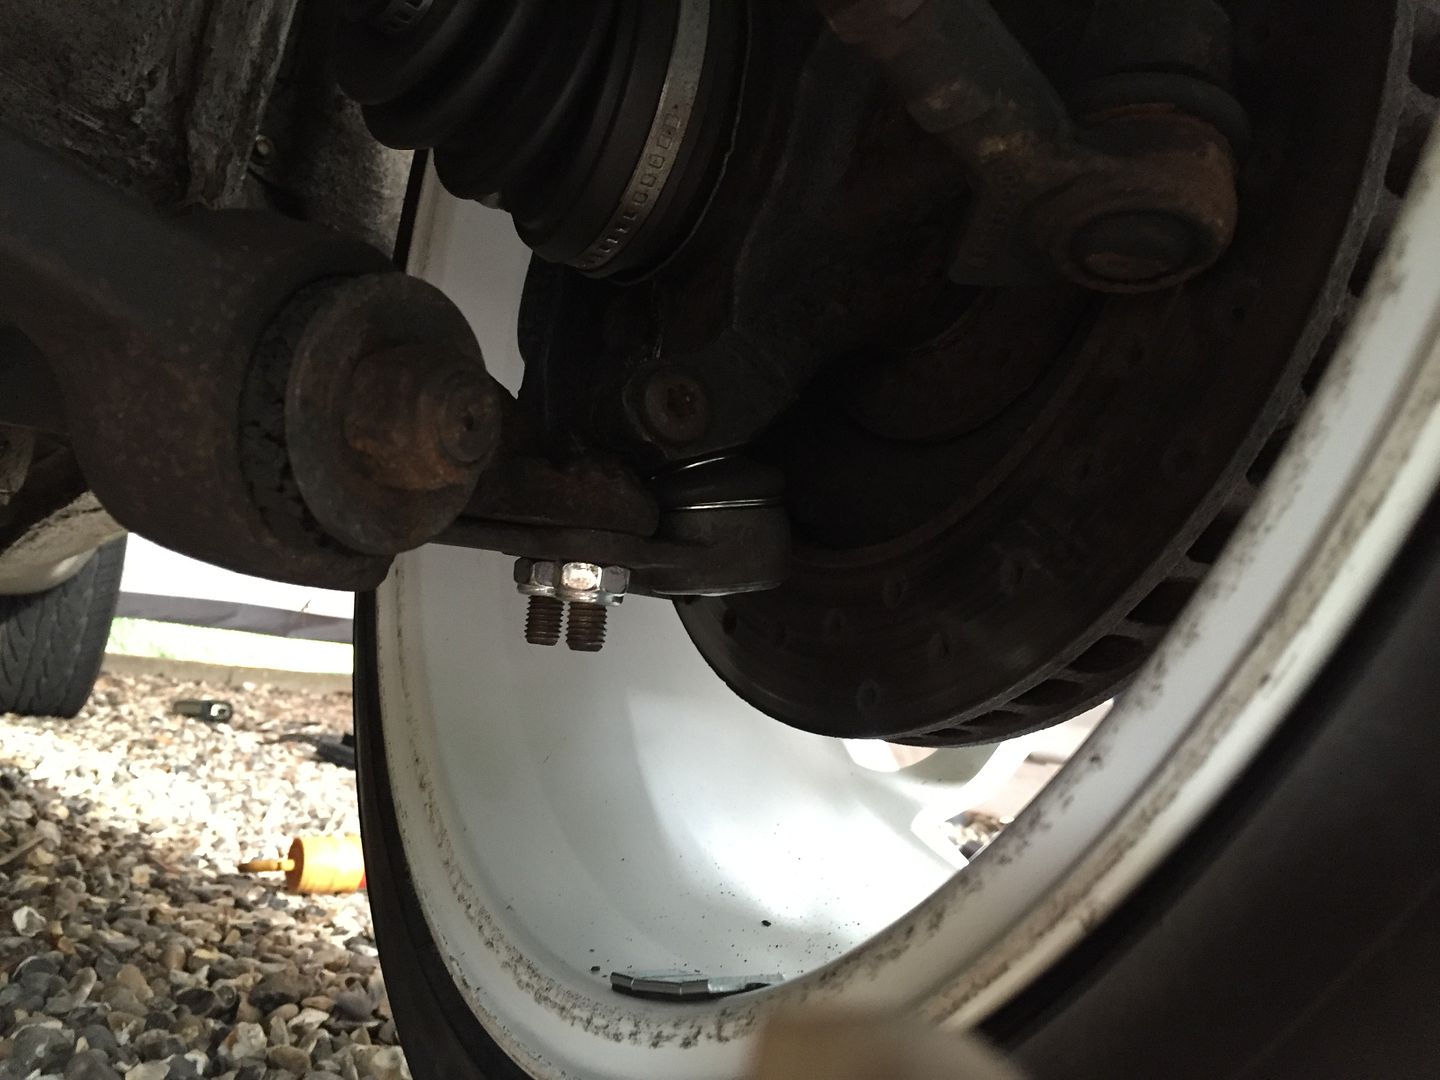
So with that done, a year since ownership had come around and another MOT was needed. Pleased to say went through without hiccups! Just an advisory on from ball joints.

So on the way home picked up two new ones and set about getting them fitted


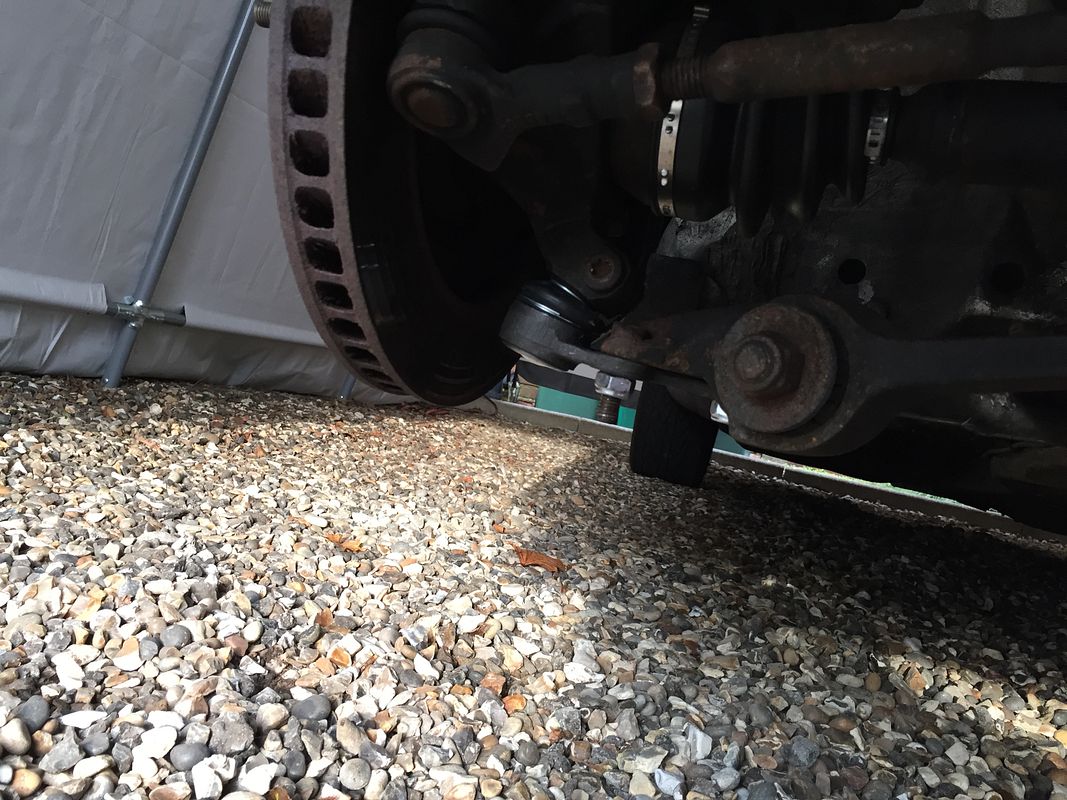
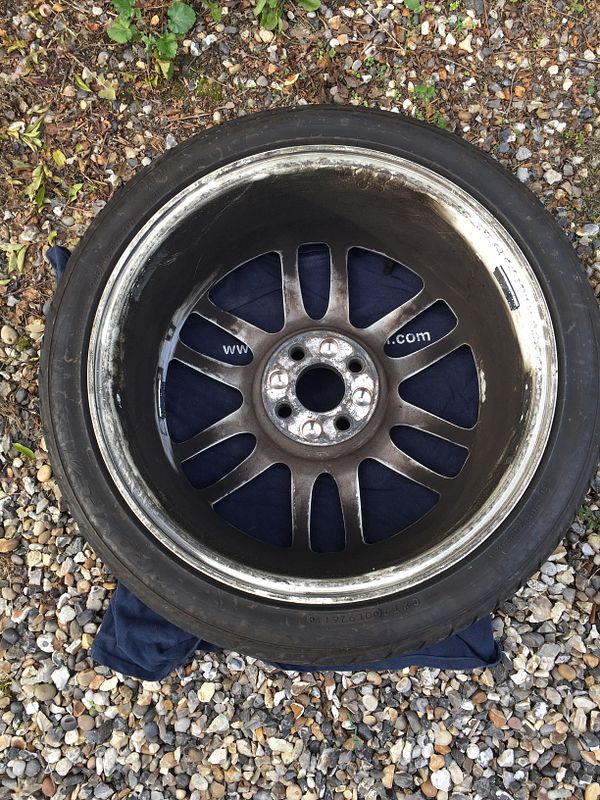
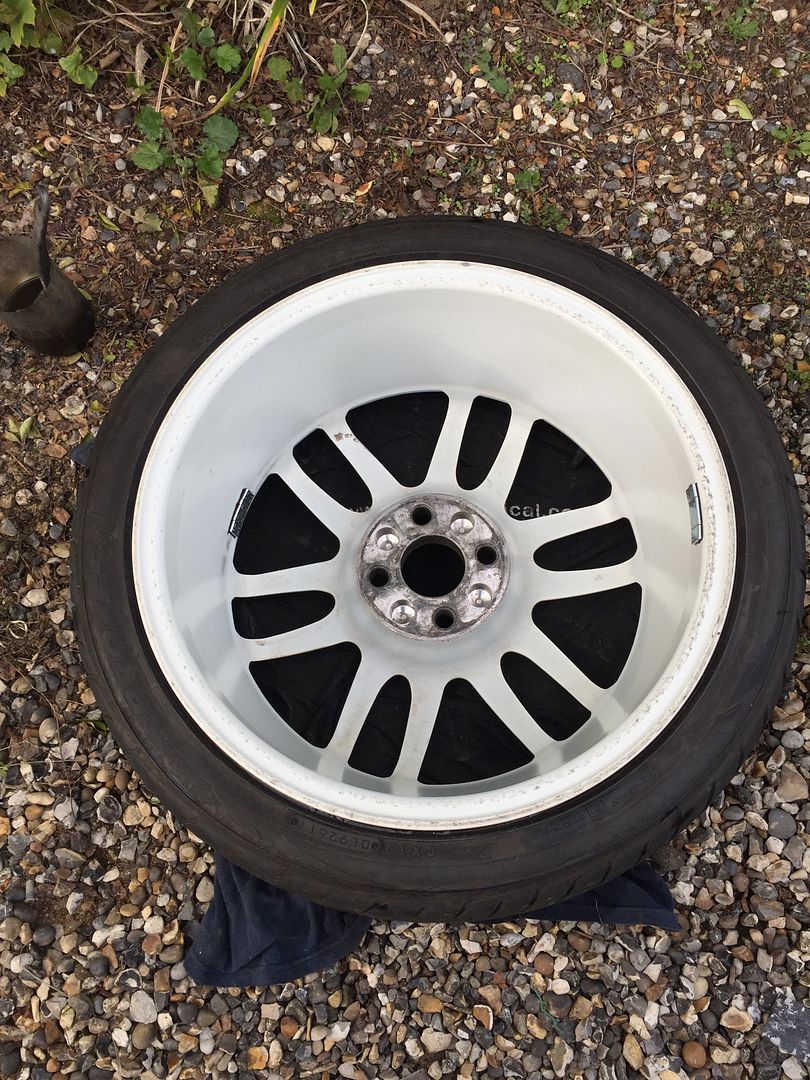
Whilst the front wheels were off I gave the insides a good clean


All back on and took the car for a drive, steering proved to be even better so pleased with that.

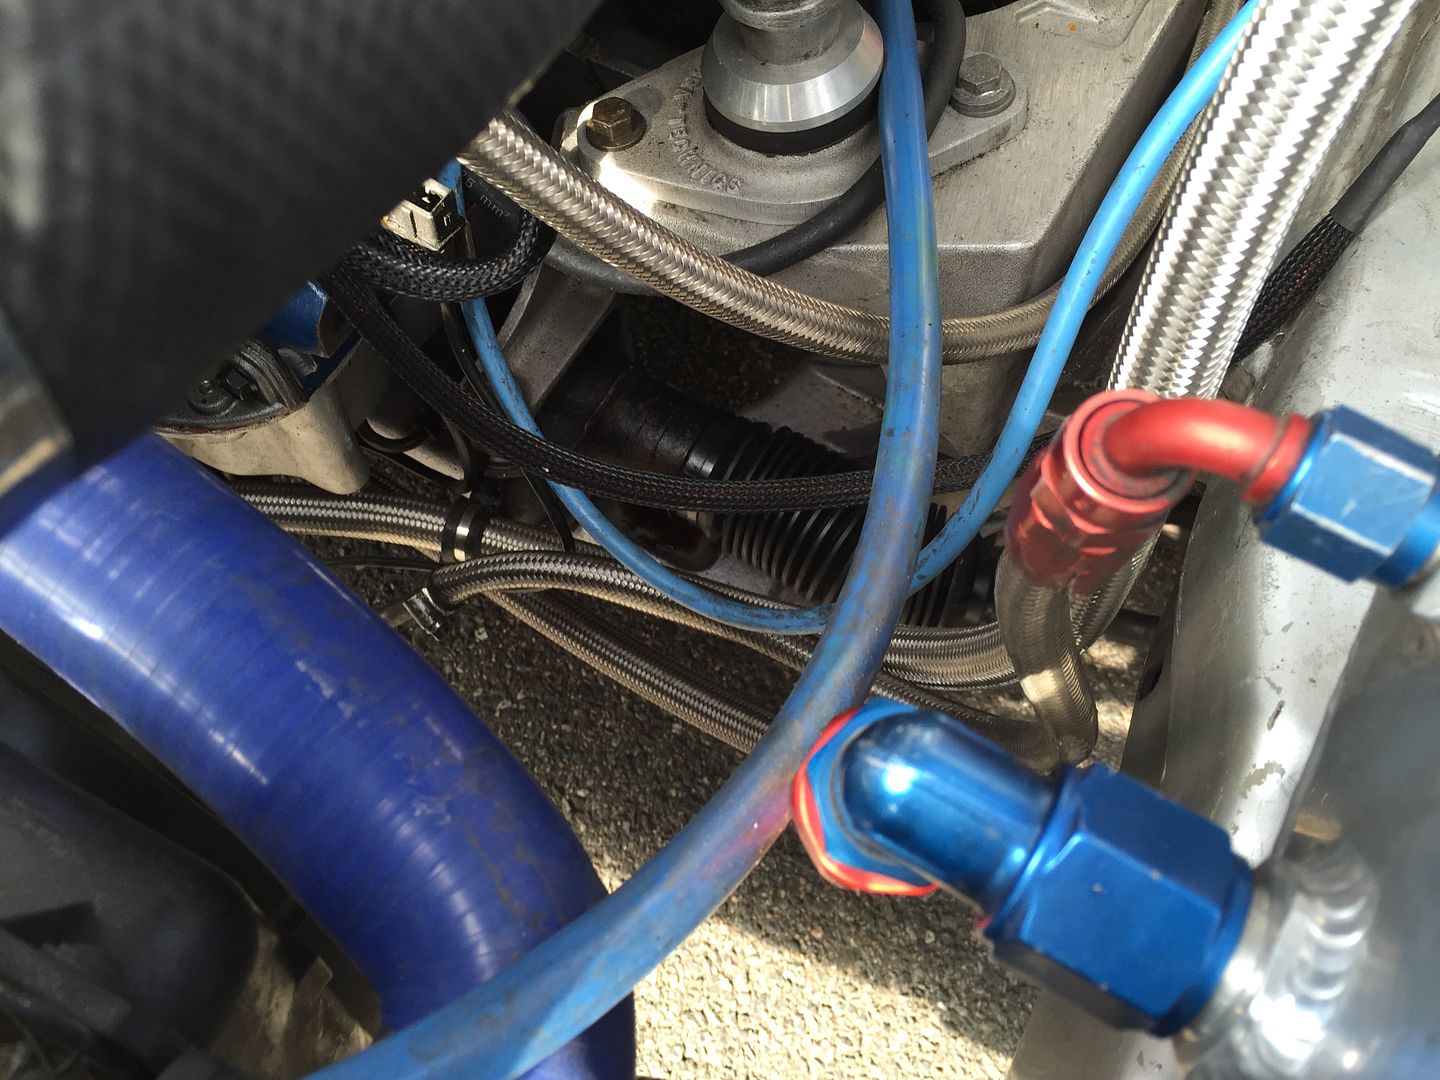
For those interested I took a couple of photos of areas that I forgot to in earlier posts..

New air filter


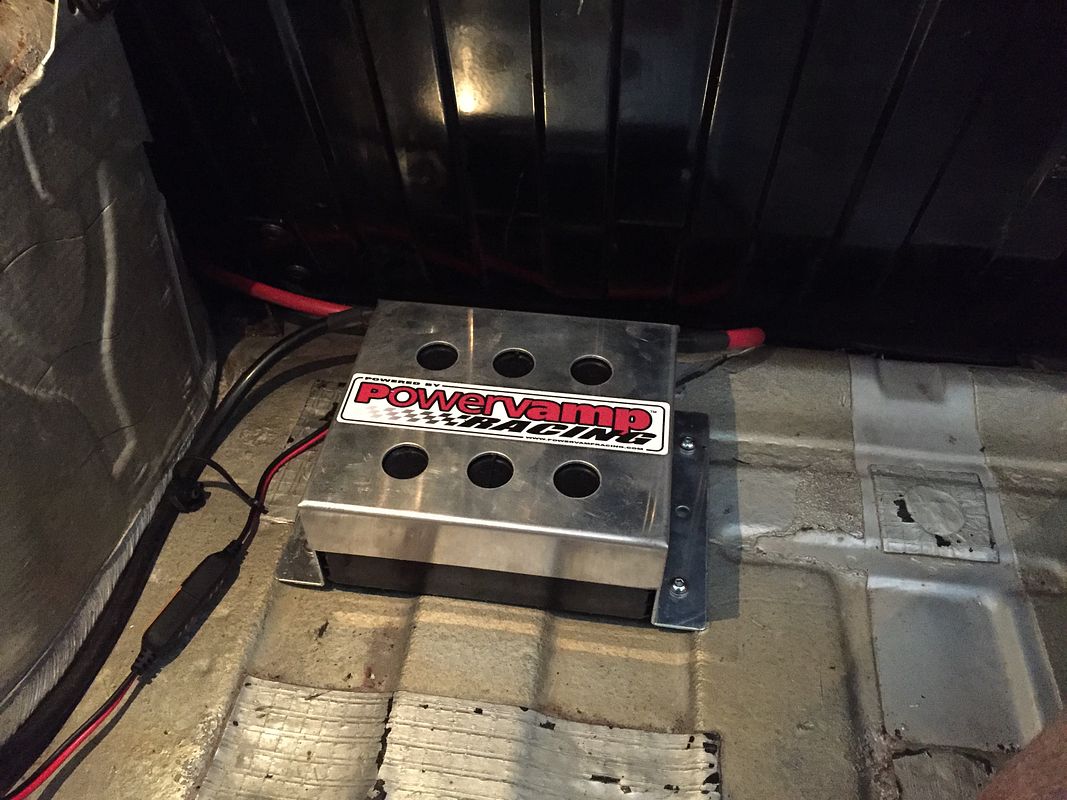
New battery in the boot


Also bought the magazine that featured the car back in 2003!


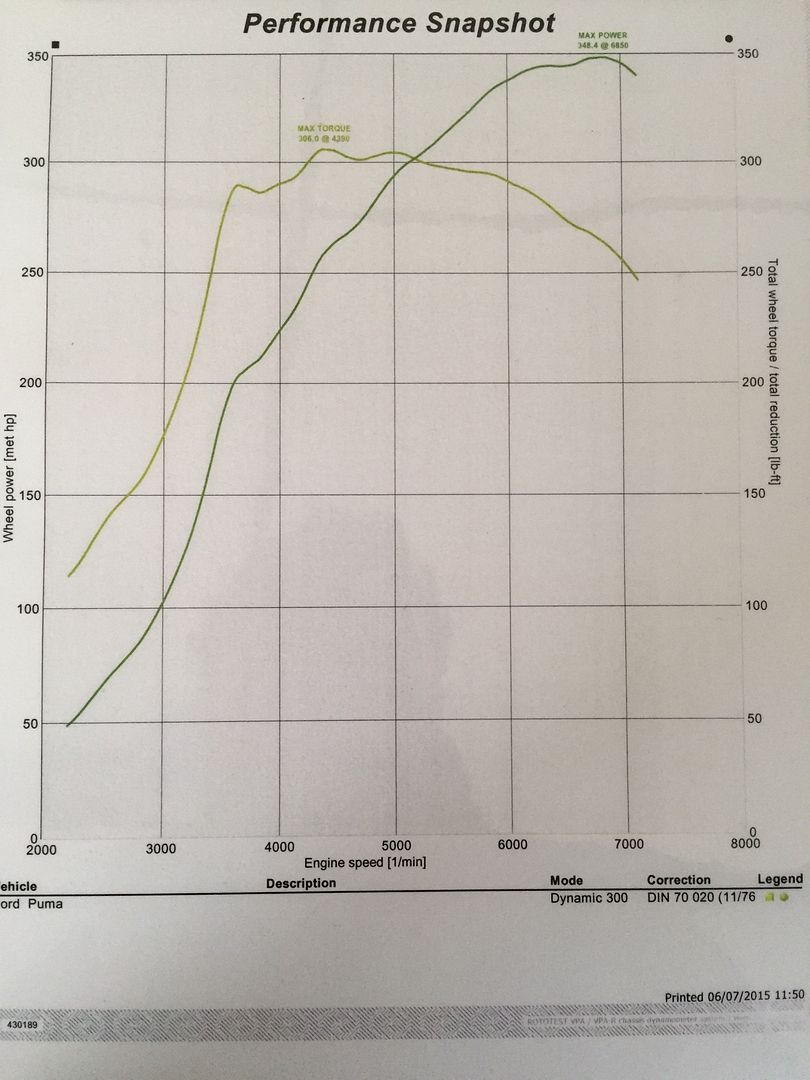
The all important dyno graph...


So that is how the car stands today, with one slight new addition.. A power steering fluid leak. Took the car out at the weekend and once home again had a look under the bonnet to check everything over.. And spotted this


Leaking out around the end of the rack on the passenger side is some fluid. Which says to mean the seals have gone! It's always the next problem with this car... Anyway, new seals are ordered and waiting for them to turn up!

Watch this space for the steering rack repair!

Thanks for looking!
 
You need to fix some of your picture links. I'd have fixed them for you, but your account is private so I can't find the correct ones. :(
 
Cherie said:
You need to fix some of your picture links. I'd have fixed them for you, but your account is private so I can't find the correct ones. :(

Thanks for letting me know, I had a doubt last night that a few may not work.. Didn't realise it would be so many!

I've fixed them now, except one that for some reason is giving me grief. Will have a better look at home on the computer.

Dan
 
Wild E. Coyote said:
What a car!

(I know, I am repeating myself, but just can't help it :wink: )

But I promise you wouldn't be saying that with the amount of money it drains!!

Thanks for the comment though!! :cool:
 
Have you got these 2 videos?:
https://www.youtube.com/watch?v=nM9C9CJPXmY" onclick="window.open(this.href);return false;
https://www.youtube.com/watch?v=umQxC42wMcM" onclick="window.open(this.href);return false;
 
yippeekiay said:
I can't imagine how much this is costing you, but I hope the huge pleasure it is giving many of us watching you do things right is some comfort.

I'm really enjoying reading the updates/progress your taking the time to write. :thumbs:

I do enjoy working on the car, and the results are quite rewarding especially as some areas were so bad. If it wasn't for the money side of things I'd love the thing! Though it does have a habit of giving you a taste of how great a car it can be.. Then something breaks!!

Thanks for your comments! I'll try and continue to keep the updates coming with as much detail as possible. It's a good way of documenting work on the car as its too easy to forget just how much I've been under the thing!
 
YOG said:
Have you got these 2 videos?:
https://www.youtube.com/watch?v=nM9C9CJPXmY" onclick="window.open(this.href);return false;
https://www.youtube.com/watch?v=umQxC42wMcM" onclick="window.open(this.href);return false;

Had seen the first but not the second, sometimes forget this car has been around for 11 years or so before I bought it!

Need to get copies of those.

Thanks very much!
 
Nice bit of fabrication on the steering coloumn.

Insane you have to take the bumper off to remove the boot release solenoid! I had though there might be a way of drilling it out and then using rivnuts or similar so it can be done from within the boot but never got round to it.

Im surprised the Ball joints are dead already. They were replaced back in 2012 with new and hadnt done many miles with the car standing for a while. I wonder if the extra load being wide track killed them or just sitting for a while??

Nice to see the engine is still pulling strong. What sort of boost level are you running? Still on greys? As you know when i had it mapped it was up at 380/380 until i turned the boost control valve down.

Do you have any plans power wise? I turned the boost down for daily use as i always felt the transmission was going to blow up as they are supposedly on thier limit above 350bhp.

The first video was the day I bought the car when tony wanted to show me what it can do lol. The second video was donuts by tony at a puma thrash for one of the car mags back in the mid 00's. Theres a couple of videos of me doing slow donuts in the snow out there too. Its an awesome car in the snow even on summer tyres and wide wheels!!
20130323_144035.jpg
 

Latest posts

Back
Top