FRP314 Under Shell Works

ProjectPuma

Help Support ProjectPuma:

This site may earn a commission from merchant affiliate links, including eBay, Amazon, and others.
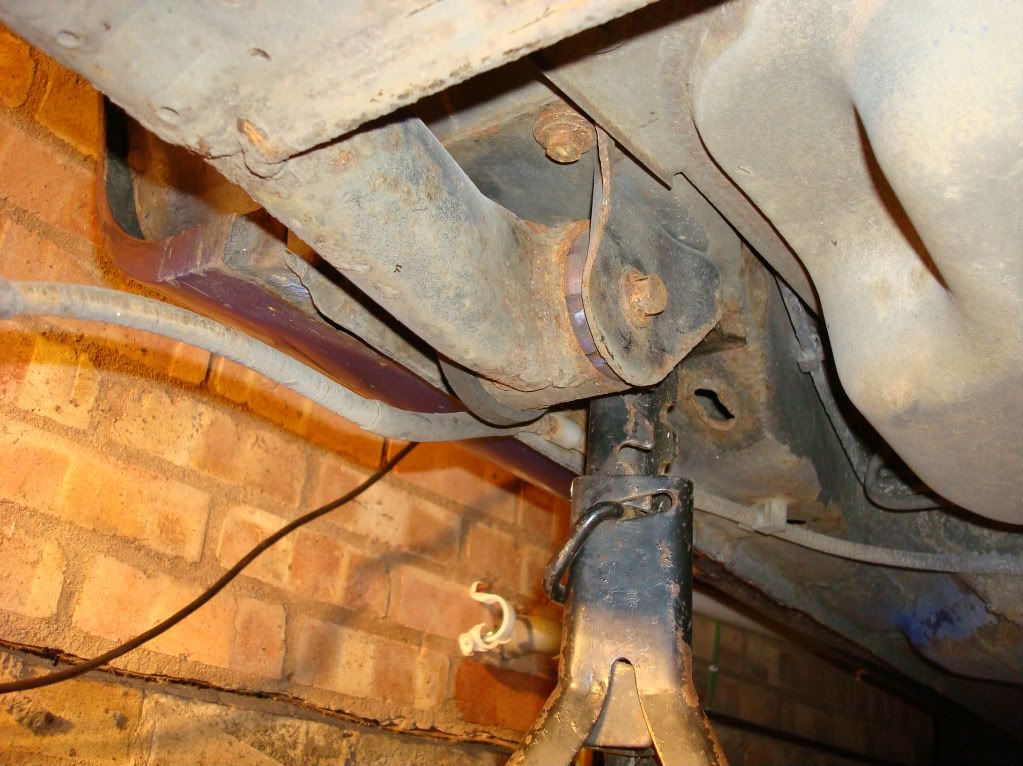
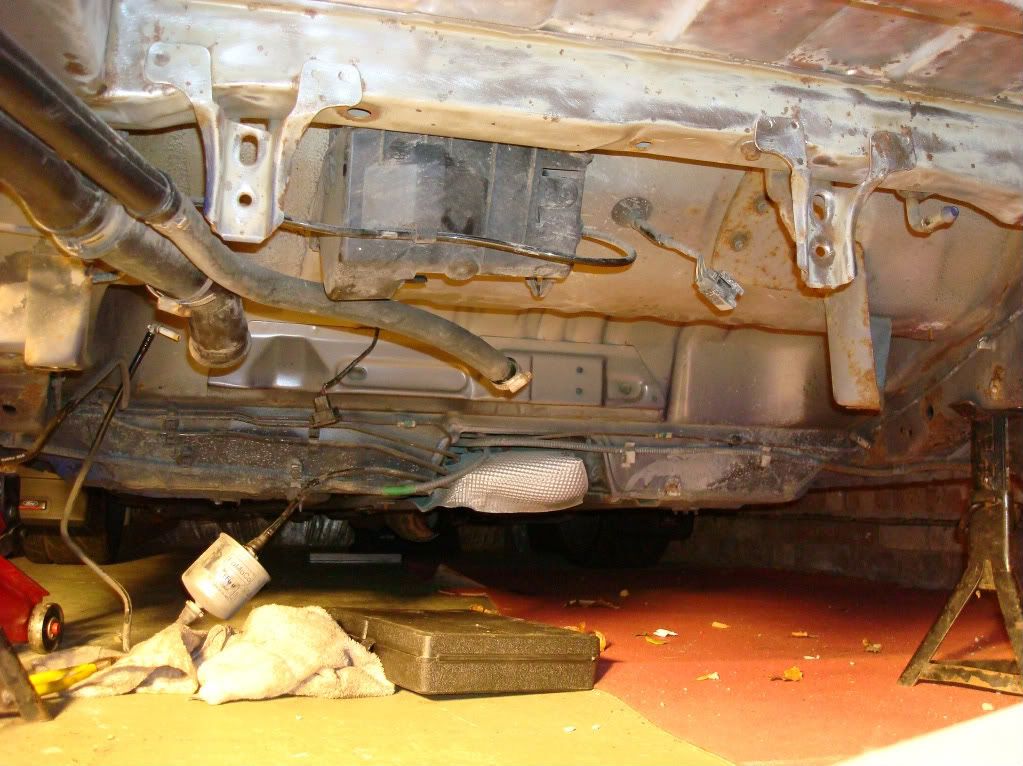
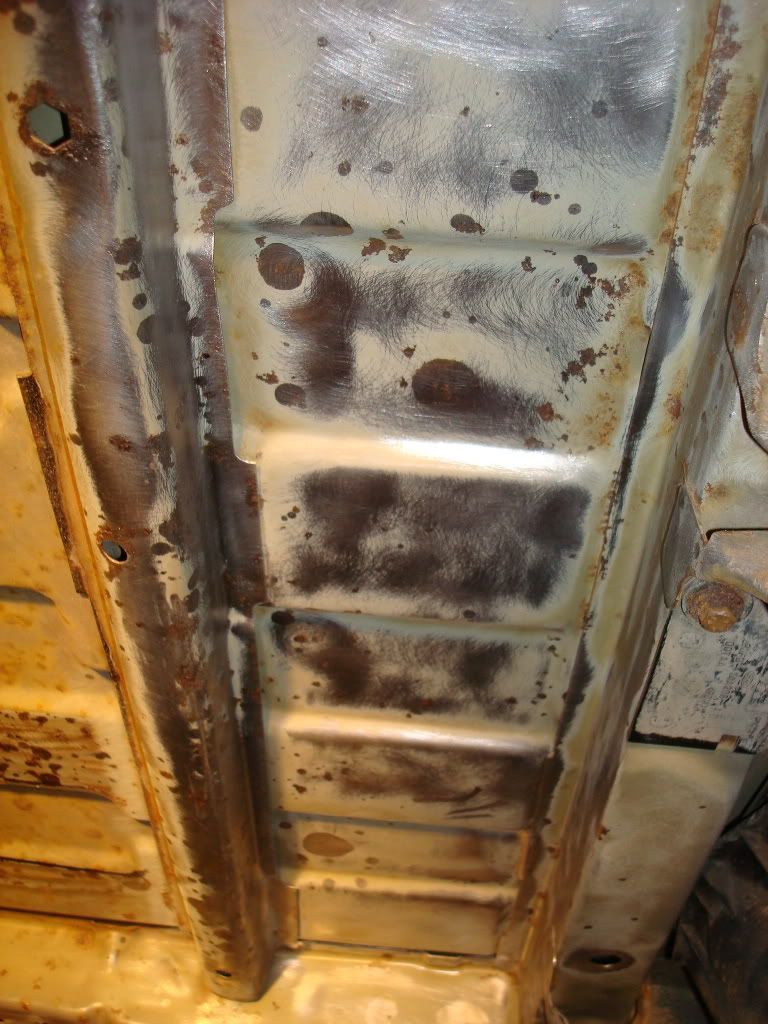
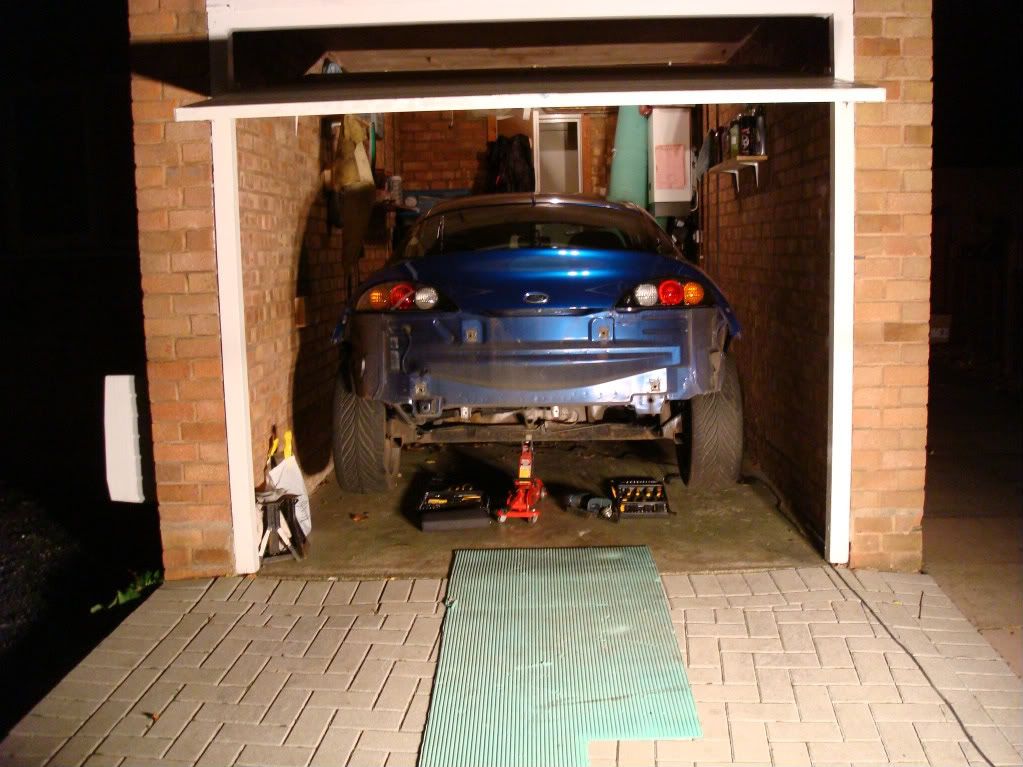
Was going to start on the underside today but once again i found a reason to work on the Panels lol

S73F1579.jpg


http://www.projectpuma.com/viewtopic.php?f=7&t=5858" onclick="window.open(this.href);return false;

Got to finish detailing a friends BMW tomorrow so depending on what time i finish will depend on if i get chance to do some more.

David
 
ok small update spent a couple of hours on the under side witha variety of wire brushes, preparing the surface for protection and paint only managed to do a smallish section so far.

Stage6.jpg


and i've had the exchaust in the lounge for the last couple of nights (to the misses delight), spent around 3 hours on it so far, slowly getting there.

So from this:

ExchaustBEFORE.jpg


to this (so far):

almost.jpg


Didnt realise my friend who owns the body shop has a sand blaster so will make life so much easier to prepare the hubs etc for painting once i get them removed.
David
 
i've found the following

http://cgi.ebay.co.uk/ws/eBayISAPI.dll?ViewItem&item=220474591420" onclick="window.open(this.href);return false;

its a slightly different colour blue to the FRP, belive its the colour used on the fiestas but thinking it might be just the finishing coat i'm after

Just found this one now

http://cgi.ebay.co.uk/Genuine-Ford-Performance-Blue-Touch-Up-Paint-Aerosol_W0QQitemZ350216232526QQcmdZViewItemQQptZUK_CarsParts_Vehicles_CarParts_SM?hash=item518a839e4e" onclick="window.open(this.href);return false;

Does anyone know which of the blue's is closest to the FRP colour

David
 
I'm a bit stuck at the moment as now not sure what protection to use under blue spray paint, :? :?

Had orginaly looked at BILT-HAMBER WINTER CARE KIT

http://www.bilthamber.com/bilthamber-special-offers.php" onclick="window.open(this.href);return false;

However now not sure if to just use something like underseal and spray over the top ?

http://cgi.ebay.co.uk/Tetra-Tetrosyl-Body-Shutz-Underseal-3X1L-Cans-TSH001_W0QQitemZ290367311427QQcmdZViewItemQQptZUK_Body_Shop_Supplies_Paint?hash=item439b3d8e43" onclick="window.open(this.href);return false;

Peoples thoughts and other options requried as dont want to spend all this time and money on something that wont look or last.

David
 
David : "Can you polish my end please darling"

:thumbs:
 
ok found a bit of time this evening to do some more on the car, so decided to remove the rear bumper and turn the car around in the garage as to give me more room to work.

carried on stripping the underside but wont update pictures untill a large section is complete and ready for primer etc

Been a busy week but hoping to get lots done over the weekend.

DSC02780.jpg


DSC02783-1.jpg


DSC02781.jpg


when I started the car to move it out the garage I forgot the back box wasn't on WOW loud noises ;)
Now I know all cars sound stupidly loud with the back box missing but Jesus what a noise the FRP makes.


David
 
Ok little update

Managed to clear the garage out today, there was a running machine, loads of old carpet, underlay and loads of boxes at the front of the garage, so found space in the shed for the boxes carpet etc and put the running machine in the spare bedroom.

By moving all of the above I managed to move the car another 2 foot further in to the garage so now I can leave it jacked up and not have to lower it to close the garage door. Result

DSC02787.jpg


So now the car can stay up on the jacks I took the wheels off and started to clean the wheels, which gave me a chance to final use my new power hose purchase and poor boys wheel sealant.

No before photos but they were pretty filthy on the inside but nothing the cherry wheel cleaner, Maguire’s brush couldn’t shift.

Hoping to finish off the other wheel tomorrow and may remove the rear beam etc (time permitting).

DSC02788.jpg


DSC02786.jpg


DSC02785.jpg


Got a replacement centre cap for this wheel as i sprayed TFL on the wheel a while back and didn't rinse it off properly and it stained the cap :(

Plus the dreaded xfactor was on again so was another chance to rope the misses in to another couple of hours on the back bax, half a tub of Meguires NXT metal gone

DSC02792.jpg


David
 
Sundays 22/11/2009

Finished off cleaning the second wheel and applied poor boys wheel sealant.

DSC02801.jpg

DSC02800.jpg


Put with other in the garage with some bubble wrap over them.
DSC02802.jpg


Started to remove the rear beam, managed to remove the two brake callipers, discs and the bolts holding the suspension arms on, but due to my limited tools I couldn't undo the following rear beam bolts, :(

DSC02797.jpg


very frustrating as would have been nice to taken it fully off this evening, hopefully friend popping over tomorrow night with the extra sockets etc that I need.

Spent another 20 mins with the wire wheel brush attached to the drill.

Few random shots

DSC02798.jpg


DSC02796.jpg


DSC02794.jpg


I’m slowly realising quite how much is involved with this project but as I have a year ahead of me to do it I’m no rush and enjoying each time I have some time to work on it.

Right almost time for another hour on the back box

David
 
Good progress thread so far - keep up the good work :eek:k:

The underside of my FRP is pretty much in the same condition, even probably slightly worse. I'm looking at getting it all treated next year.
 
Monday 23/11/09

OK managed to have a good giggle with a few mates tonight whilst trying to remove the rear beam and fuel tank, it was the first time for all of us so was quite a learning curve :shock:

had one of the rear beam bolts rounded on us :evil: however after some action with the hammer we eventually got the rear beam off.

So first off the centre section removed and another heat shield.

DSC02806.jpg


DSC02804.jpg


Rear beam removed after a good half an hour fighting the bolt

DSC02814.jpg


OK ready for the fuel tank removal

DSC02807.jpg


Would like to note there was only an 1/8 of a tank of fuel left however just so you know that’s still quite a lot lol

So after some fiddling we got it off whilst the two pipes that go in to the top were dripping on the floor.

DSC02809.jpg


DSC02810.jpg


Think the fuel got to us a bit as we found the name of the pump highly amusing

DSC02816.jpg


And finally just a random shot of the arch, think I’ll be starting on this tomorrow evening.

DSC02805.jpg

David
 
Me and the other half couldn't help but exchange a xmas present early :)

IMG_1096.jpg


IMG_1097.jpg


She though I was going to hate it, but I think its fantastic.

David
 
Tuesday 24/11/09

Took rear beam to shot blasters and powder coaters as friends shot blaster only suitable for smaller items.

Just asked for a quote and these are the prices:

Rear beam and brackets = £30
splash guards = £10
suspenion springs = £10
rear hubs = £10
all above finished in black
Fuel tank = £40 in silver.

Do the prices sound reasonible?

David
 
Prices look pretty good to me.

Excellent work with excellent B&W 601s BTW :eek:k:
 
Tuesday 24/11/09

OK just spent another 45 mins with the wire brushes :roll: getting a bit boring all the this wire brushing and I've got sooooooooooooooo much to do :evil:

Decided that I would remove the rear suspension arms to take to friends garage in the next few days, however after pulling back the carpet I cannot gain access to the top nut that holds them in place. I attempted to remove the rear seats but cannot for the life of me see how they come out, :lol: so with the fear of sounding like a tit how the hell do remove the rear seat? Take it the bench part has to come out first? Does the top part fold down on the Puma? I fear that the plastic 1/4 card in the rear might need to be removed to gain access to this one bloody bolt, I really hope that's not the case.

Please can someone help me out on my blonde moment as I intend to try and get them removed again tomorrow.

David
 
Dal said:
Prices look pretty good to me.

Excellent work with excellent B&W 601s BTW :eek:k:

Thanks Dal

Will be taking the stuff to him sometime next week with any luck.

yeah cracking speakers couldn't afford them at the £250-£300 mark so got a pair of ebay for £100 there in perfect condition and in perfect working order, they can take everything my amp can give them. Highly recommended

David
 

Latest posts

Back
Top