FRP314 Under Shell Works

ProjectPuma

Help Support ProjectPuma:

This site may earn a commission from merchant affiliate links, including eBay, Amazon, and others.
Fold down the backrest (two release levers under the inside of the tail lamps.

You will notice the two torx bolts at the bottom on each side, remove these and the backrest just comes out.

Next, the base, sharp tug at each side, and perhaps in the middle at the front? and then lift it out. Job Done.

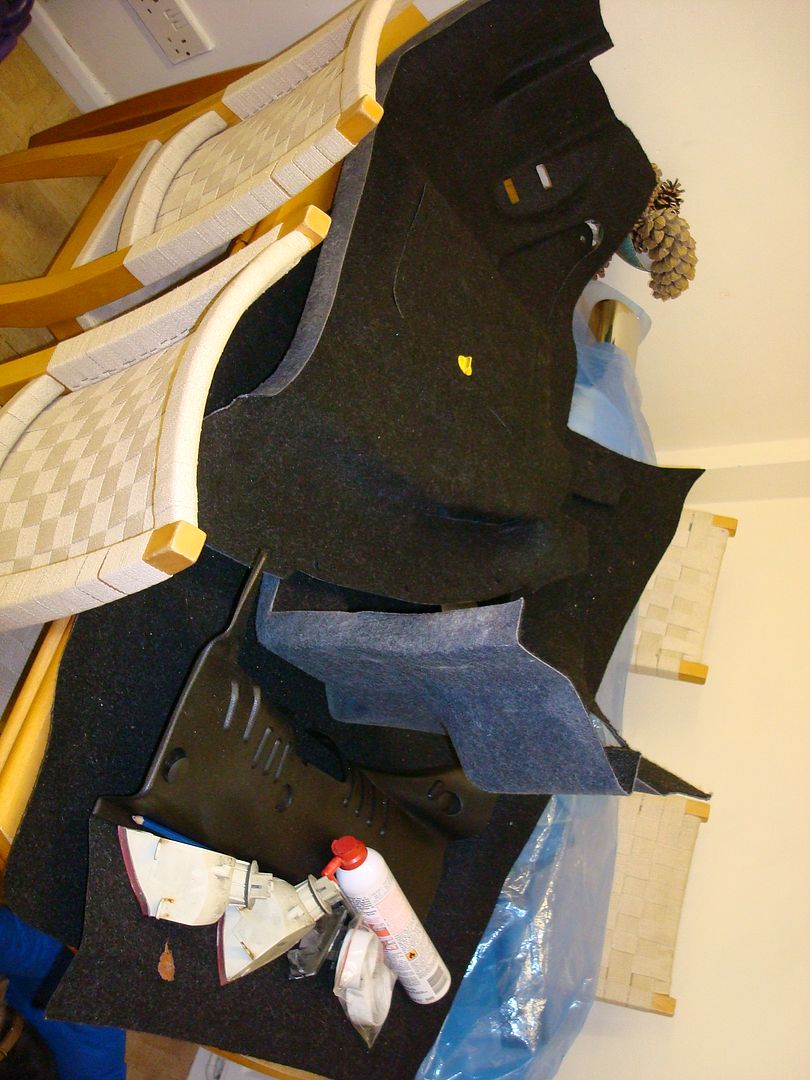
If you need to remove the quarter panels, first remove the luggage compartment trim, parcel shelf, etc.

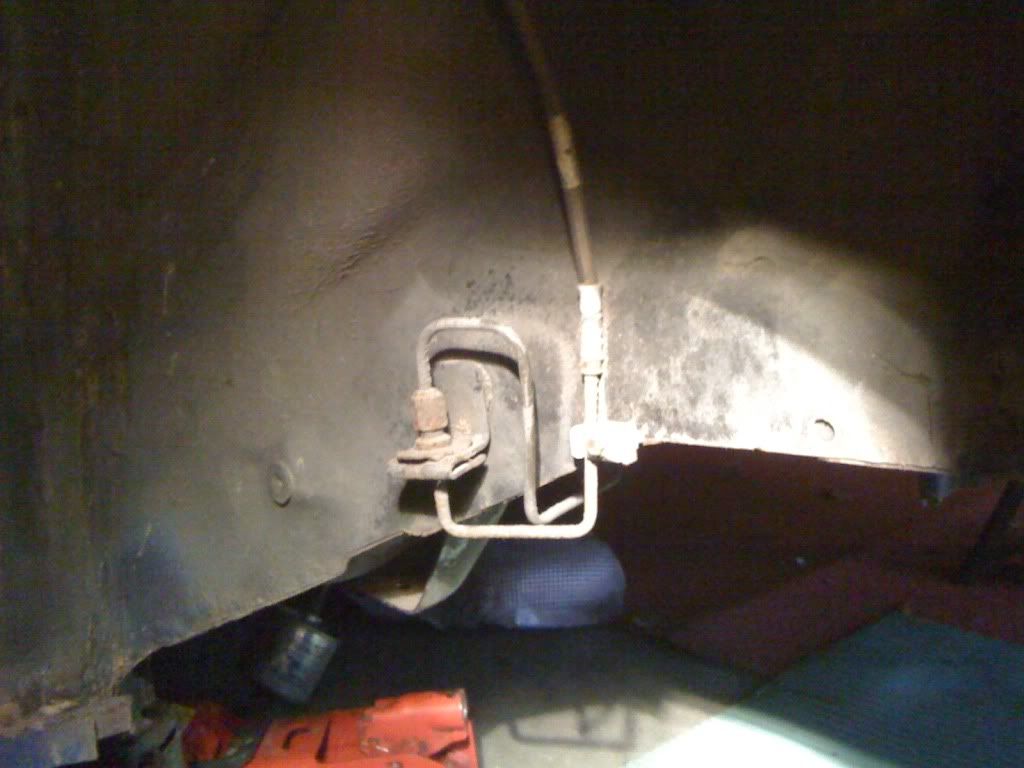
Two bolts accessed from the luggage compartment, and a bolt revealed from where the luggage compartment trim meets the quarter trim.
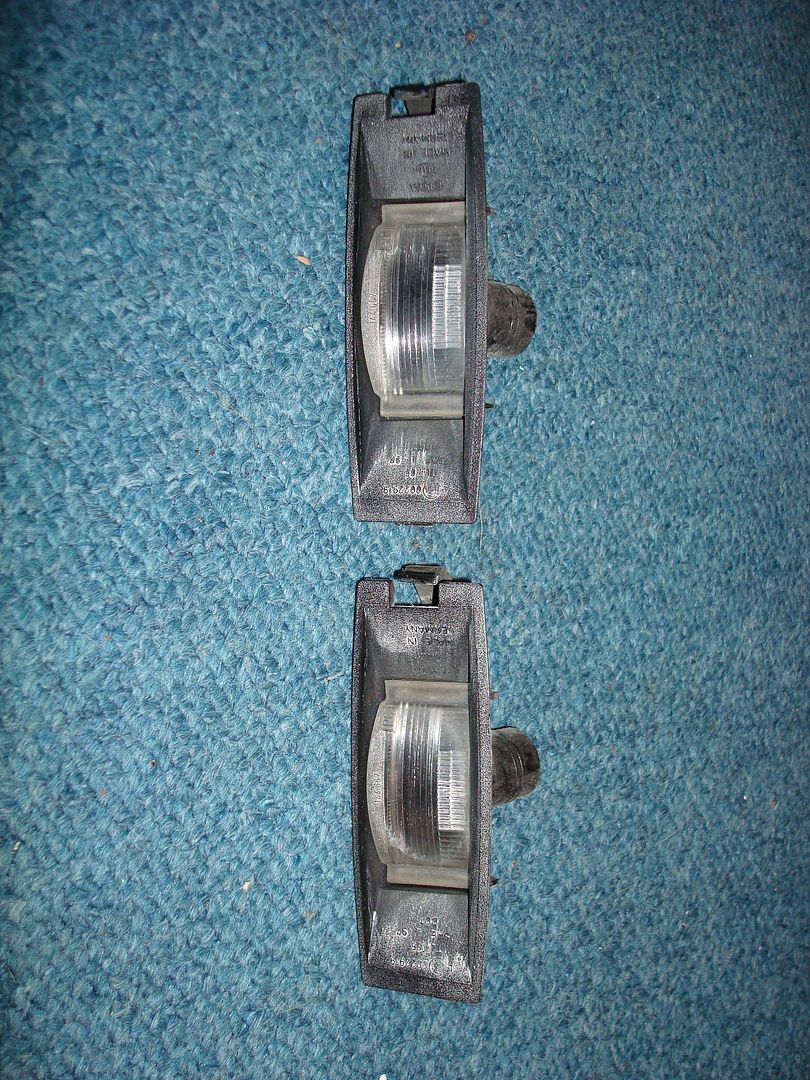
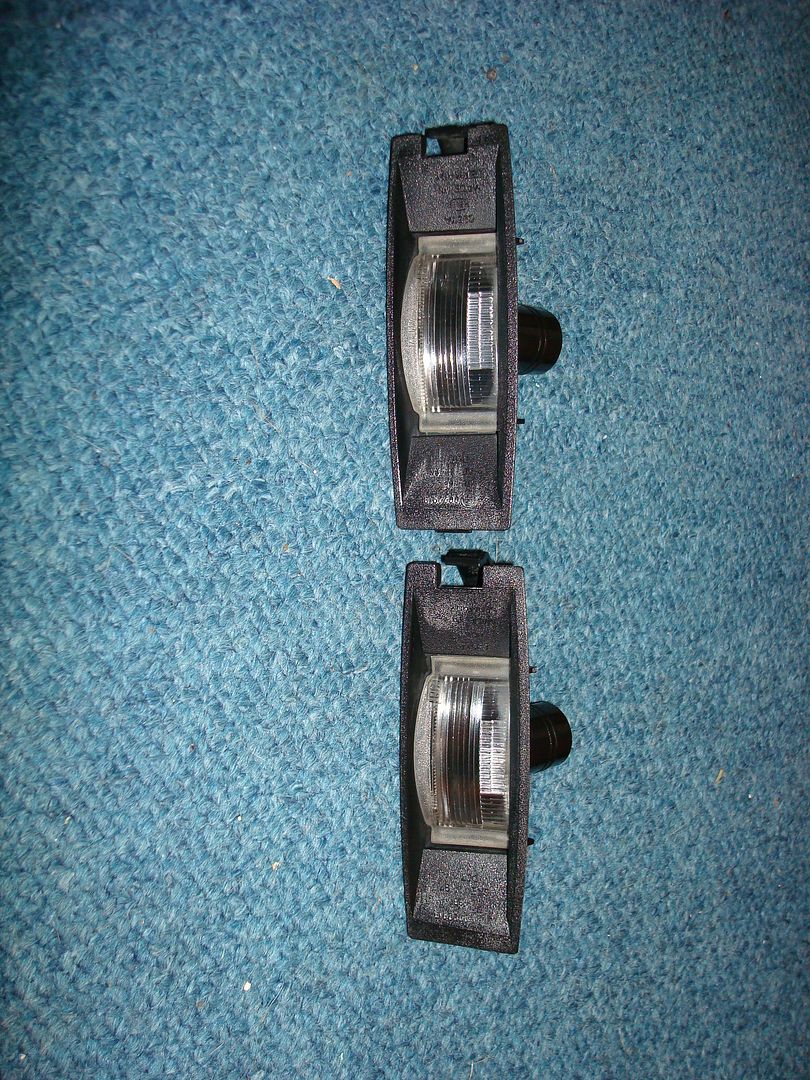
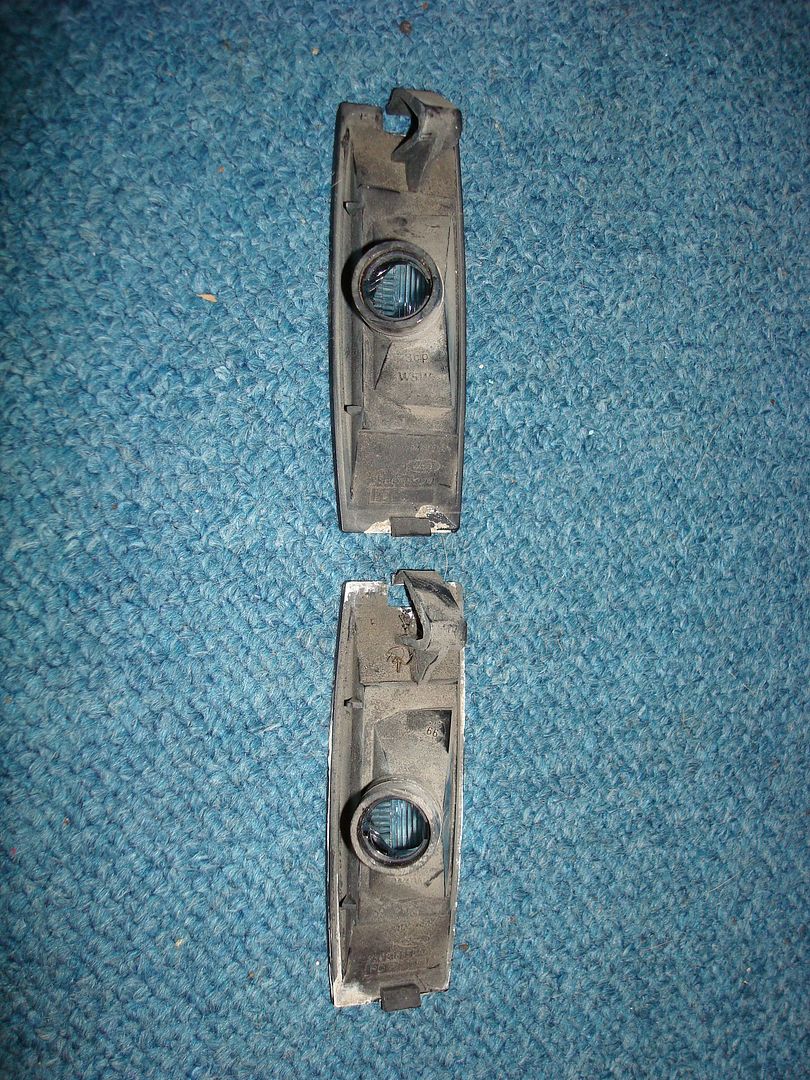
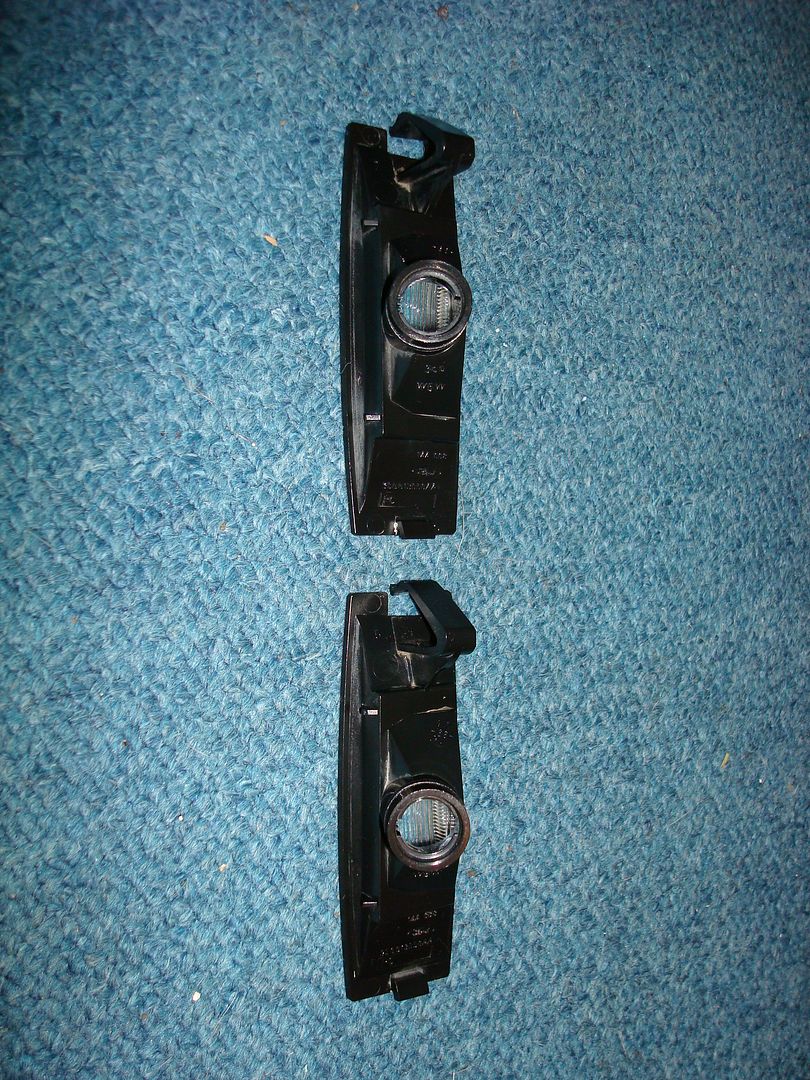
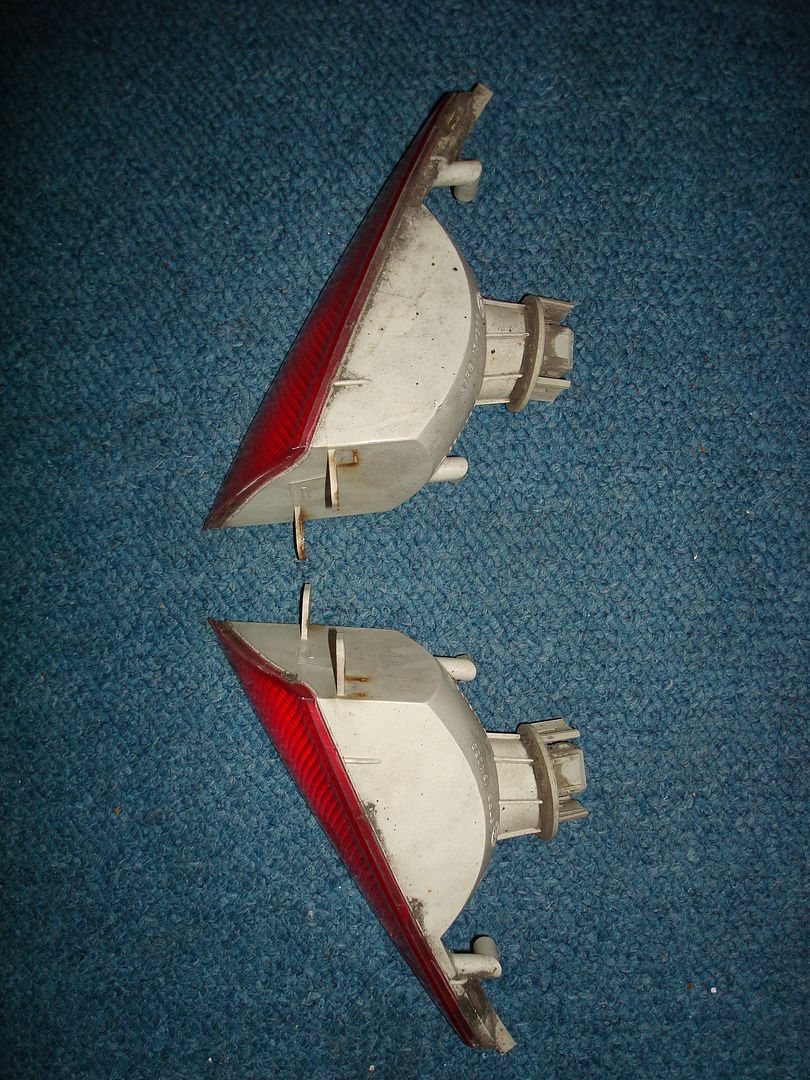
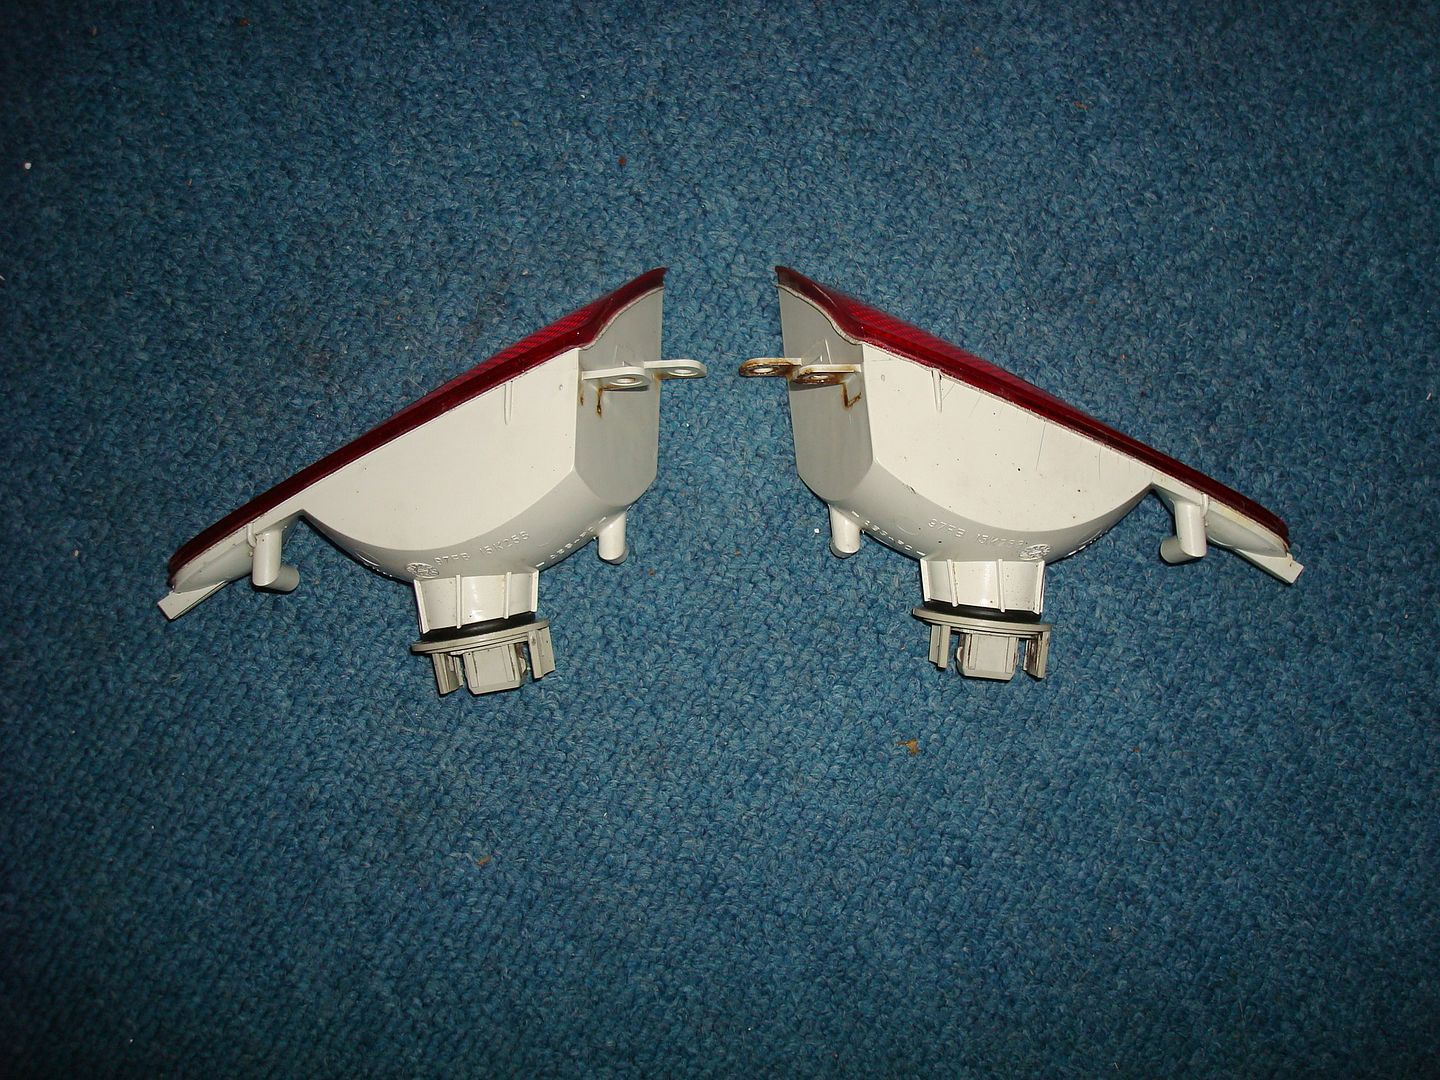
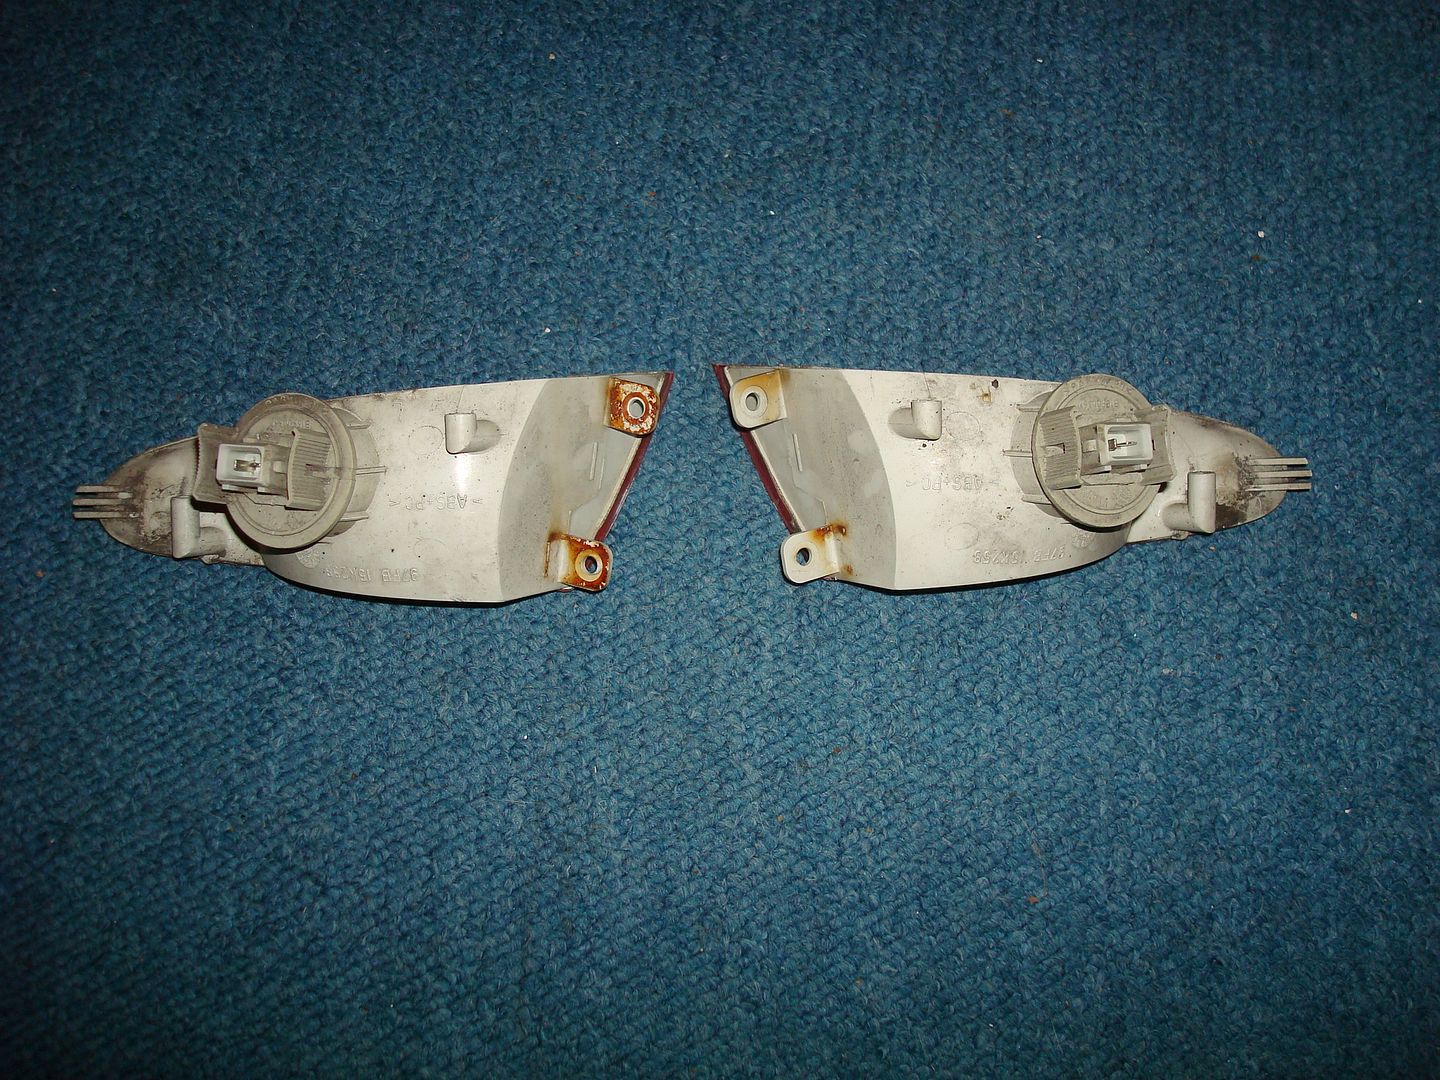
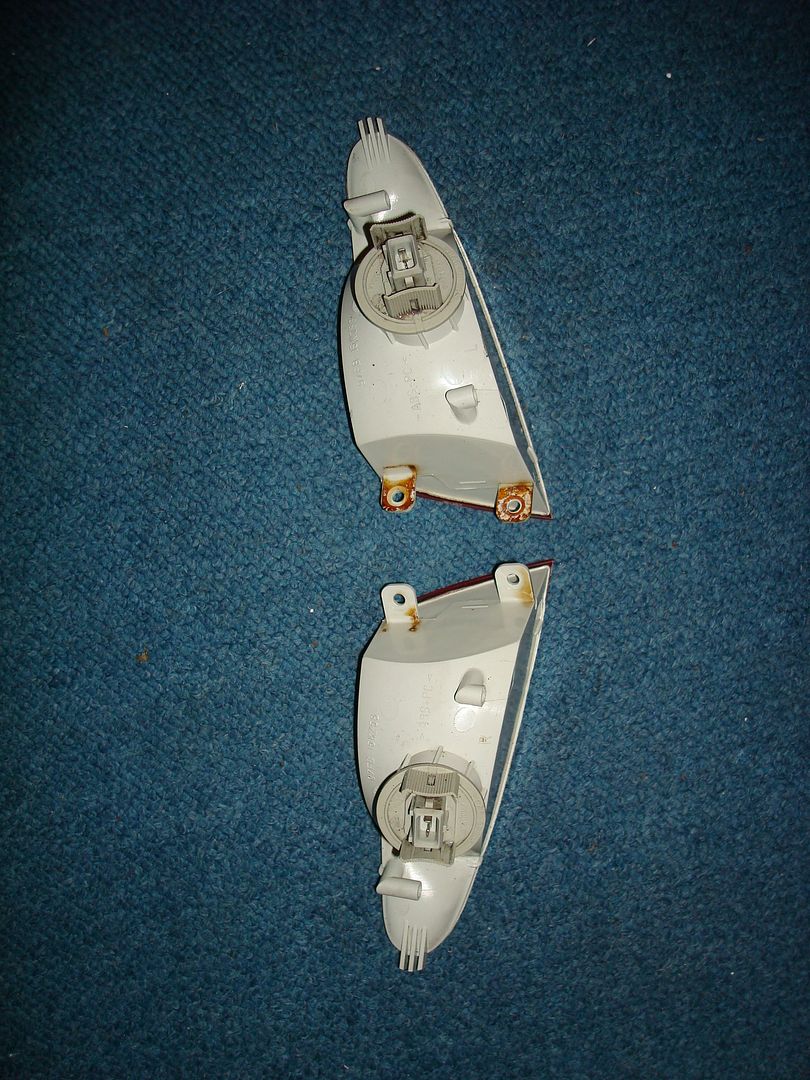
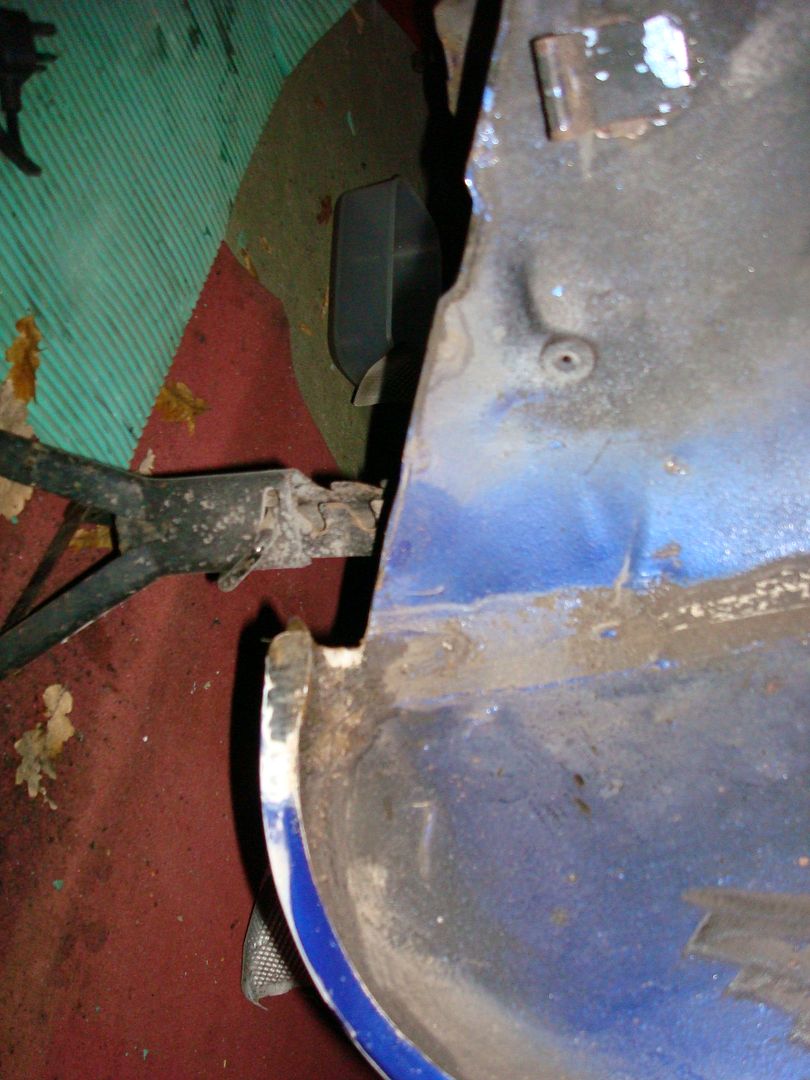
Remove boot lamp(s)

Tug lower part of trim toward middle of vehicle, and unhook under the window.

Think that is about it!
 
Flash strikes again thanks alot mate, nice and straight forward description.

Just what I was after, bring on tomorrow evening.

David
 
You might want to get new clips for the quarter trims, where they hook onto the windows, also it might be a good time to change your rear speakers? See my thread for what I did to mine.
 
You won't be able to fully remove the quarters unless you remove the rear belts, but you should still be able to get access to whatever you need to.

If you are removing the rear struts then you may need to remove the rear seatbelt reels anyway. Three bolts per side. That just leaves you with the bolt holding the seatbelt to the floor.

Top tip, try to avoid letting the seatbelt reel retract too much, they can be a bugger to get back out.
 
Thanks Flash, will see how i get on this evening.

As for the speakers i've looked at your previous installed, a nice job done there, i have two sets of 6" x 9"s in the garage one set worth a couple of hundred quid, however iirc arent the rear pods 6" x 8"s ??? Do you think there is a chance of getting a 6" x 9" set in or is that a no no withour butchery?

David
 
If it were me, I would get some spare speaker pods from another Puma to hack up. You should be able to fit 6x9's, with some work. I think Chris (Eldood) fitted some in his, I don't think he has a project thread on here, but I recall seeing the details on Pumapeople.
 
Just found some posts on the other forum with regard to the speakers, looks as tho will go with a bit of modifying so will make sure i fit them before replacing the panels.

Cheers

David
 
Thursday 26/11/09

Final removed the rest of the rear end, callipers, suspension, fuel black box and the fuel pipe the whole area now ready for stripping.

DSC02821.jpg


DSC02825.jpg


You can see that the rear brake lines are still attached as I’m waiting for the brake fluid to empty before removing.

To remove the suspension I had to gain access to the top nut in the boot so decided to remove the carpets etc (something else to tweak indoors)

DSC02820.jpg


Now everything has been removed I can assess the rust, it appears a little worse than I was hoping but nothing to major, I should hopefully be able to rectify without to much hassle.

DSC02824.jpg


DSC02823.jpg


As I haven’t taken on a task to this scale before I thought it would be worth taking note of were everything came from

DSC02817.jpg


After some web searching today I’ve found a local electro plating company

http://www.trentonelectroplating.co.uk/why-use-trenton-electroplating.php" onclick="window.open(this.href);return false;

and after a quick call to the owner he has told me it will cost in the region of £25 to have all my bolts, nuts etc plating in zinc.

David
 
Saturday 28/11/09:

Went out last night and had a few drinks so didn’t manage to get a lot done today, had planned on getting the suspension taken apart and the rear beam but didn’t get to mates garage before he closed.

Got the power hose out and spent half an hour cleaning up some replacement second hand inner front arch liners I bought a month ago. Come up really well. Will compare to the front two once removed and then replace with the best ones.

Unfortunately the camera wasn’t charged so poo photos as taken with the iPhone

IMG_1156.jpg


Also jet washed the fuel tube.

IMG_1152.jpg


IMG_1151.jpg


Used some cheap plastic cleaner and has come up like new.

DSC02827.jpg


DSC02826.jpg


Removed the metal bit from the top of the fuel pipe as will send this away for zinc plating with the rest of the bolts.

DSC02828.jpg


(RPOC & PROJECT PUMA)

Does anyone know the Ford order code for the rear brake lines?

IMG_1159.jpg


David
 
RE: the rear brake lines, PumaBuild have them, quite expensive though.

Being as your car is in bits, you should contact HEL, there was a post somewhere else on here. They may already have the pattern for FRP rear brakes, otherwise you are in a good position to be able to send them one of yours as a template. You could also do the fronts at the same time.
 
This was the last info I had:

Contact Ben Viner at HEL, he says he can make up anything, if you can supply a sample.

http://www.helcarkits.co.uk/" onclick="window.open(this.href);return false;

Tel: +44 (0) 1392 811601
Fax: +44 (0) 1392 811681
Email: [email protected]

HEL Performance Products
Lower Trelake Business Park
Tedburn Road
Whitestone
Exeter
Devon
EX4 2HF
United Kingdom

You can have different coloured sleeves, at no extra cost.
 
Sunday 29/11/09

Not really done alot today. To much football

DSC02834.jpg


DSC02835.jpg


DSC02833.jpg


DSC02836.jpg


Looking forward to Tuesday as taking rear beam etc to powder coaters

David
 
Monday 30/11/09

Ok brake lines removed, however my lack of experience showing again here,

Please can someone tell me how to remove the hose section to the brake calliper?

DSC02837.jpg


Trying to get it removed to give it a tidy up, as had original planned on replacing but new ones £70+ and I think I can get these looking pretty much new.

Lines in the lounge ready for a clean up, getting some Jenolite rust remover for the nuts on the ends as they have seen better days.

DSC02840.jpg


Also taking the rear beam and tank etc to powder coaters tomorrow and I would like to get the rear callipers shot blasted and powder coated in silver.

First of all is this something that anyone has had done before and if so should I strip them down? (ie ever nut and bolt?)

DSC02838.jpg


DSC02841.jpg


Also should I cover the holes up, advice required please.

And should I be looking to remove this? If so how as cant get it to budge.
DSC02842.jpg

David
 
Use a thin spanner, needle nose pliers, etc. on the inner bolt section, and a (13mm?) socket on the outer nut.
 
Had tried that combination but just can't get it to move, perhaps I'll have another go and stop being so weak :oops:

Any ideas for removing the pipe section of the car? Not a normal nut :evil:

David
 
Williamsclio1 said:
Any ideas for removing the pipe section of the car? Not a normal nut :evil:
David

If you mean this one:

http://i10.photobucket.com/albums/a109/Williamsclio1/DSC02837.jpg" onclick="window.open(this.href);return false;

Above the bracket you can see a spring "clip" which slides into a groove below the threaded section of the fitting. Pull it towards you with a pair of pliers (will be quite tight), it will come off and then the fitting can be removed downwards through the bracket.
 
Thanks once again Flash, going to have to give you some money at this rate for all your help.

Will get them removed tomorrow morning before going to mates garage to take beam apart and prepare for the coaters.

Got some rust killer on order as really want to get the underside nice and clean now ready for the bilthamber products and them the imperial blue Ford spray cans from eBay.

David
 
Tuesday 01/12/09 (some pictures with iPhone again so poo)

Ok managed to achieve a lot today, got up early (ish) and removed the last part of the brake line (thanks to Flash for instruction)

DSC02843.jpg


Also decided to power hose the rear arches in preparation for stripping back:

Placed large plastic sheet on the garage floor to stop the floor getting covered in water sprayed the arches with engine bay cleaner and left for 5 mins before attacking with the power hose.

IMG_1163.jpg


A lot of dirt still left tucked away in the upper arches as can be seen on the sheet after the wash.

IMG_1164.jpg


Took pump out of fuel tank and tipped the rest of the remaining fuel in to friend’s car.

DSC02865.jpg


Spent some time on the rear arches with the angle grinder to try and remove the rusted areas, not finished as yet but made a good start.

Before:
IMG_1165-1.jpg


After:
DSC02860.jpg


Random Arch:
DSC02857.jpg


DSC02856.jpg


Took rear beam down to friends garage so he could take them apart.

DSC02844.jpg


DSC02845.jpg


However he told me that there is no way he could remove the rear ABS sensors without braking them  so before he did, he told me it would be worth getting a price on a replacement one wait for it ………………………… £118 plus the VAT 

So for now he has taken it apart but hasn’t taken out the ABS sensor (therefore all the parts linked together), until I decided what to do about it. Rang Puma Build spoke to a very helpful employ who explained to me in all the years he has worked on the Racing Puma he has only ever got one off without it breaking.

So the options:

1. Remove the old one so all the parts can be taken to shot blasters and powder coaters and replace the ABS sensor even though the one on the beam works (at a cost of £118+) :evil:

2. See if the shot blasters and powder coaters can work round the problem with leaving the sensor attached. (Unlikely but worth asking)

Whilst there he took the springs off the suspension so now there ready for powder coaters. As for the damper I’ll have to clean this up by hand as been told cannot be shot blasted.

DSC02863.jpg


Whilst there I got his other half to order me some seam sealer in.

Decided to go to Halfrauds for some bits and bobs.

Got back and attacked the rear callipers with some paint stripper, worked pretty well but still took some good old elbow grease to get them ready for painting.

DSC02851.jpg


DSC02855.jpg


Only painted part of the calliper so far, but adding layers to the main part over the course of the evening. 

DSC02854.jpg


Whilst at Halfrauds I bought some

DSC02848.jpg


I have put all my bolts, rear discs etc in the bucket for the night hoping to remove the majority of the rust in preparation for the zinc plating.

DSC02850.jpg


David
 
Rear ABS loom is actually from a 95on Escort estate. Eurocarparts £65 inc shipping. Or try your local motor factor, but make sure it is an ATE part, they made the original one for Ford.
 

Latest posts

Back
Top