Tuesday 08/12/2009
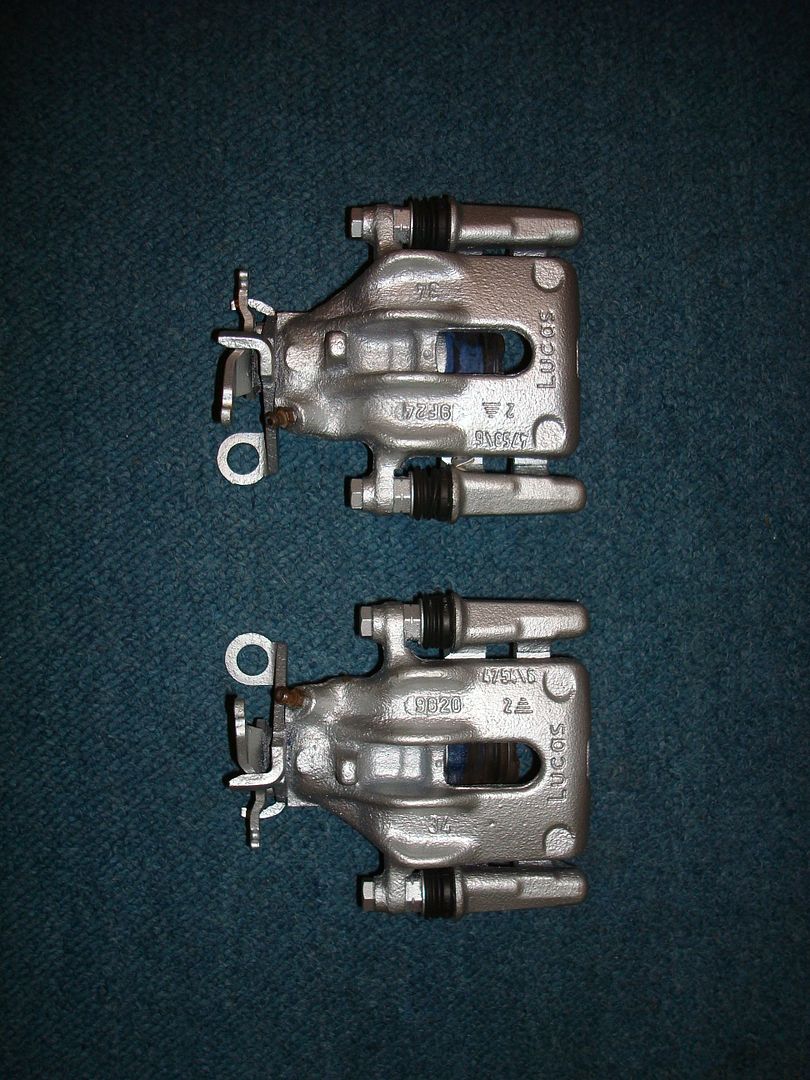
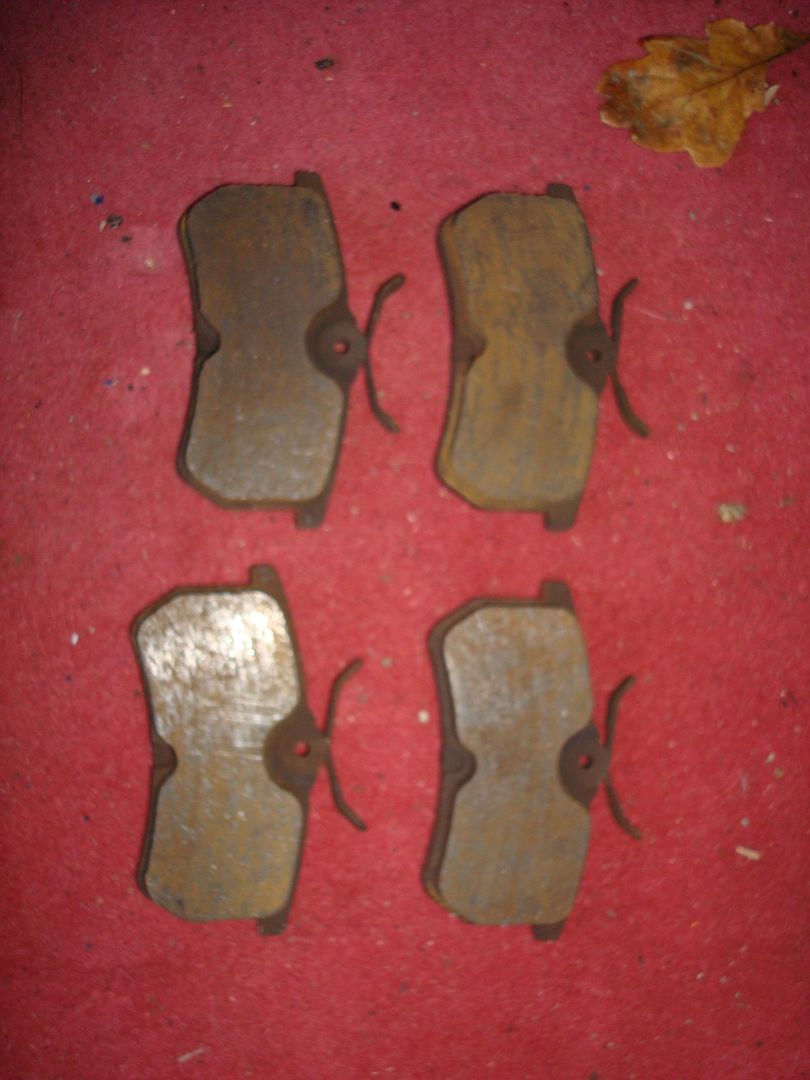
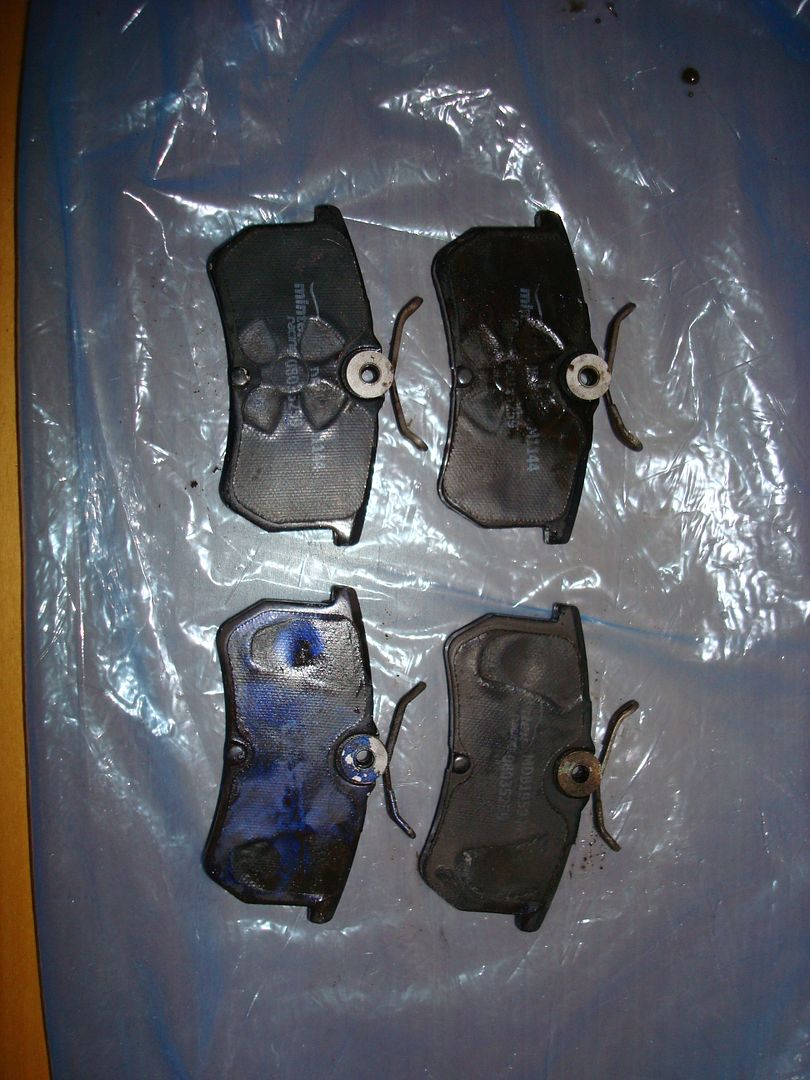
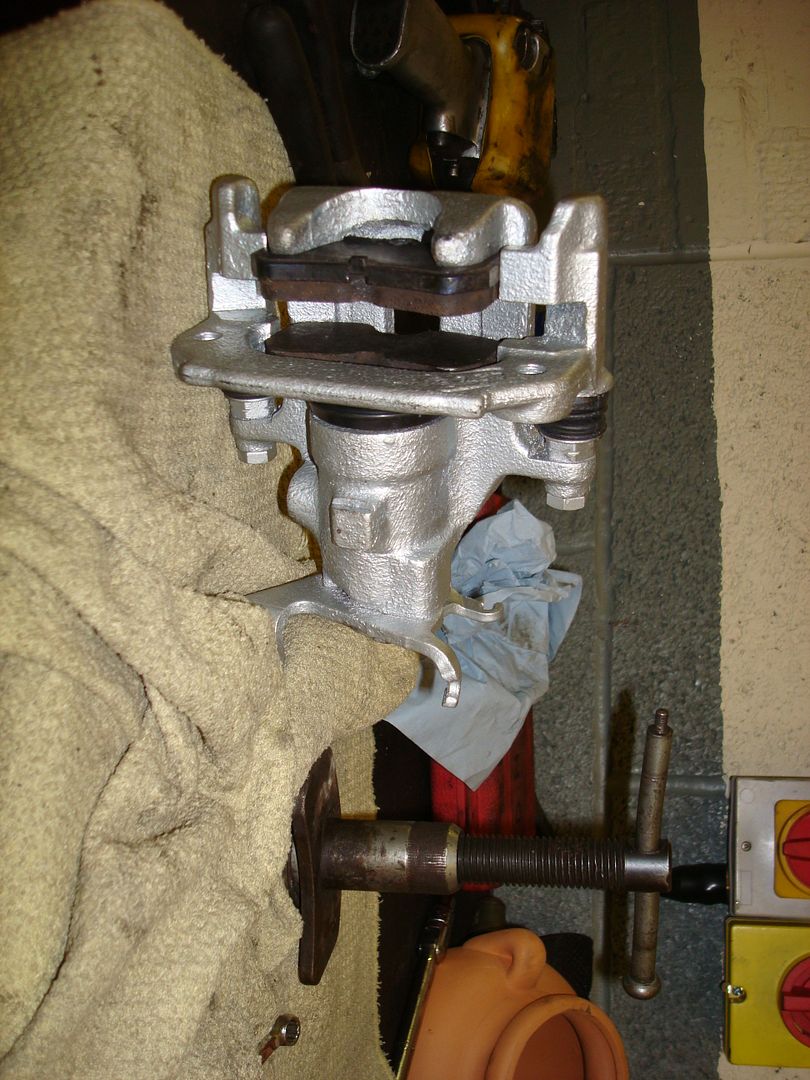
Busy ish day today, removed the rear brake pads from the Hammerite Rust remover bucket
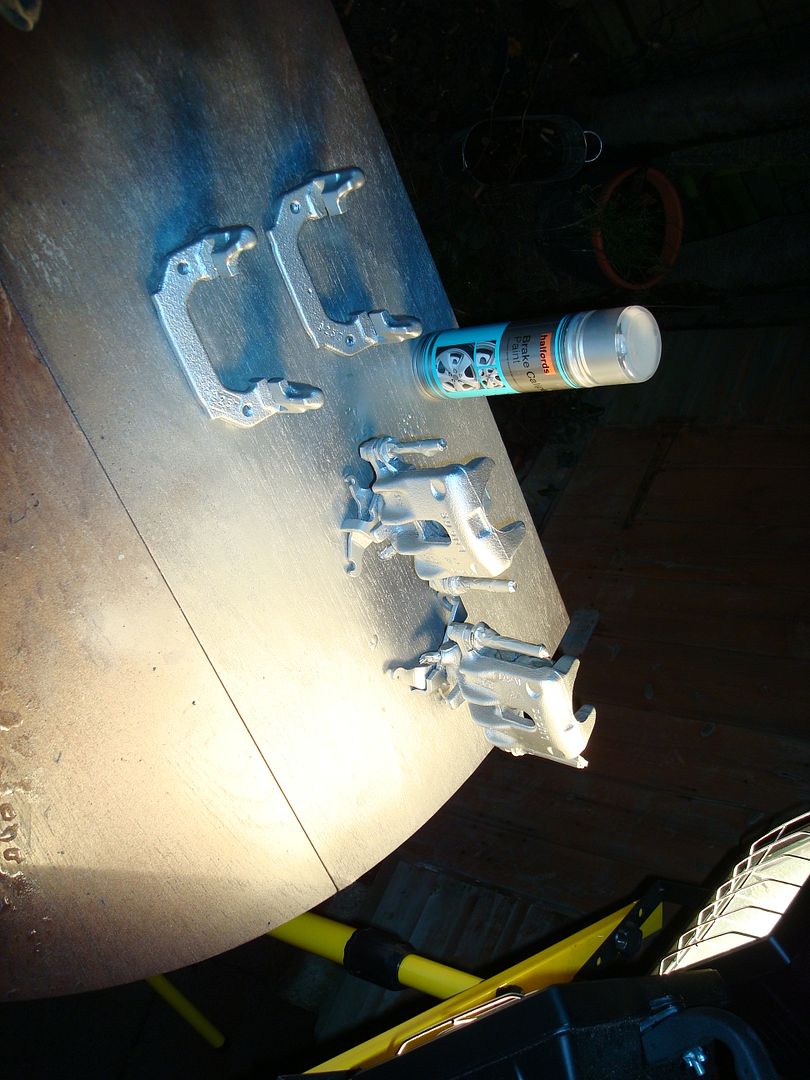
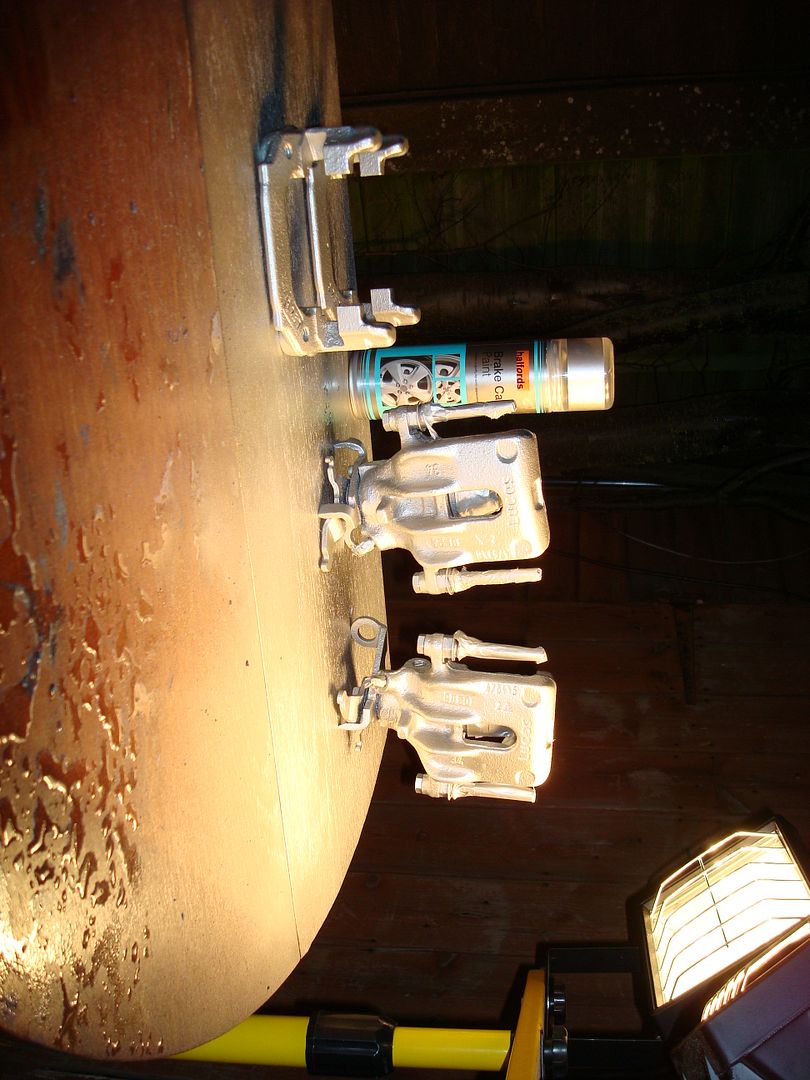
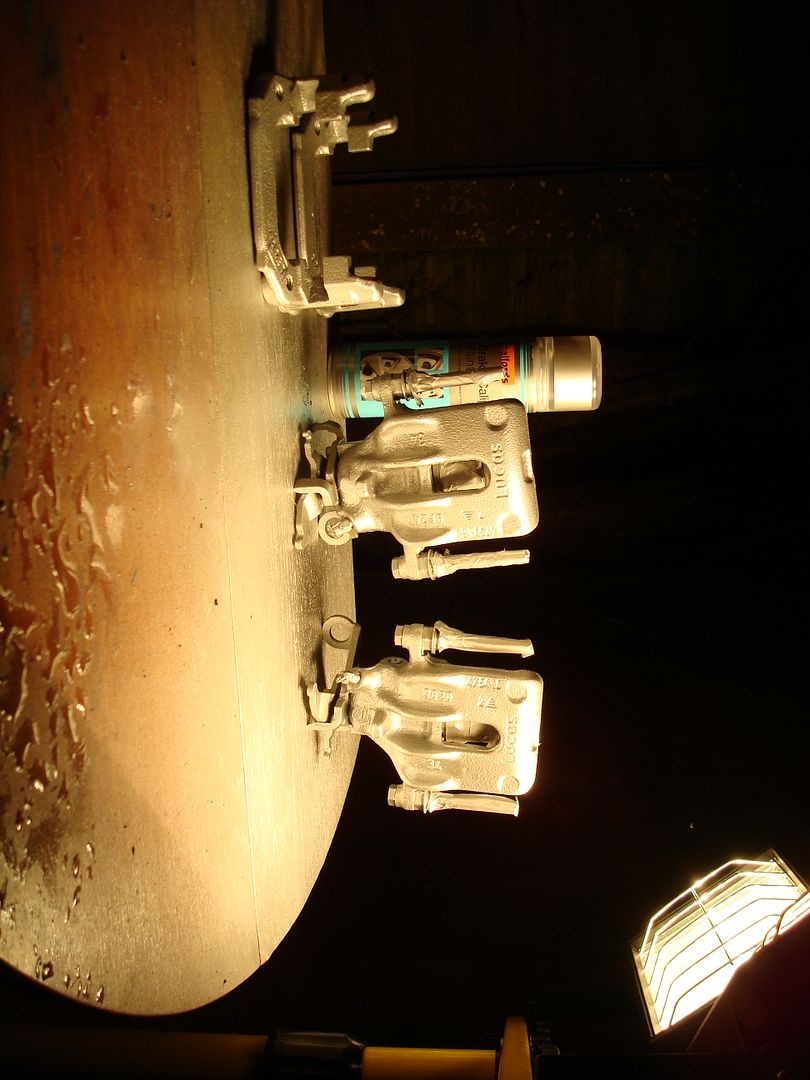
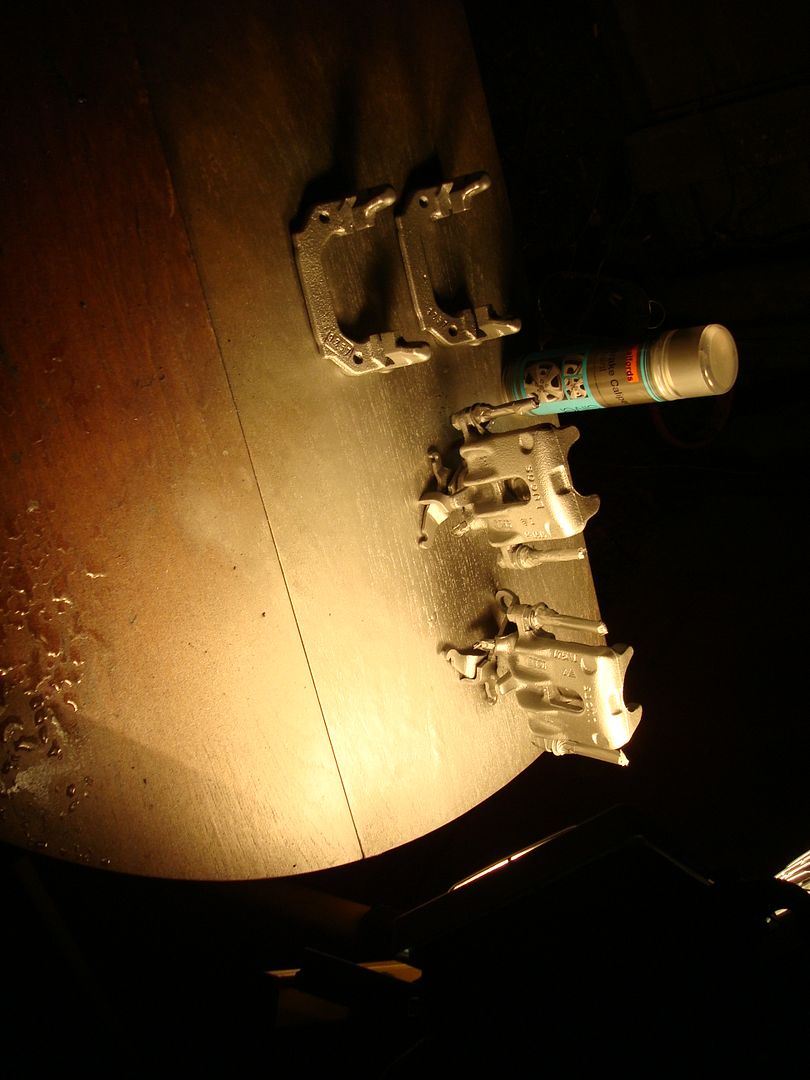
Before:
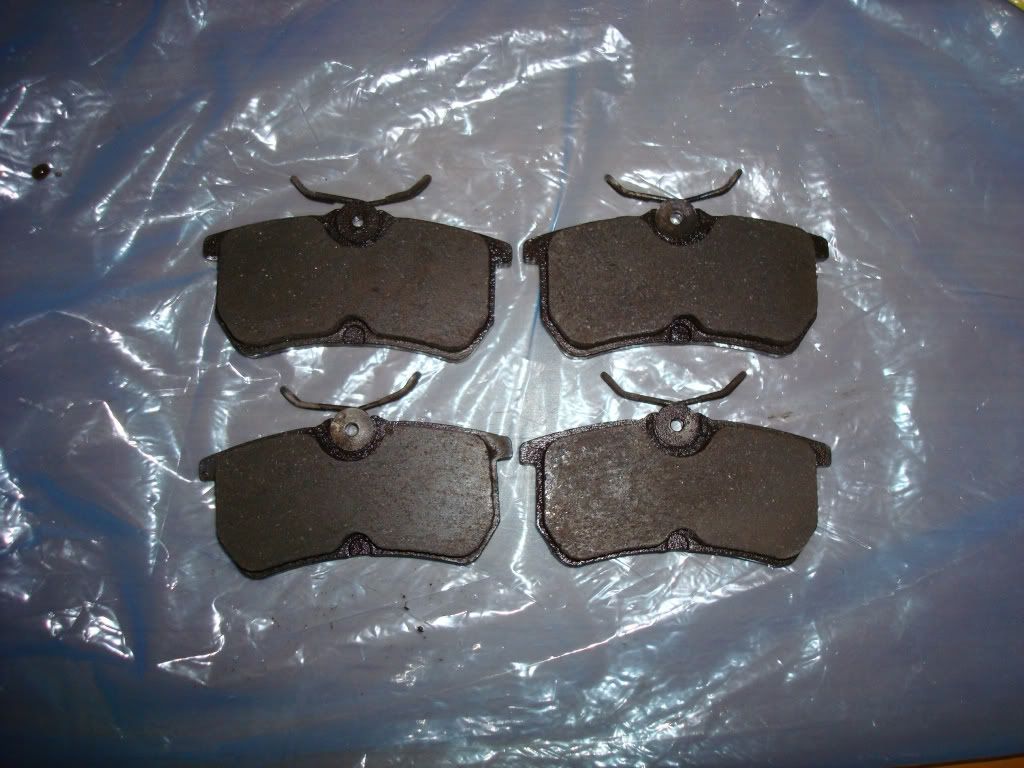
After:
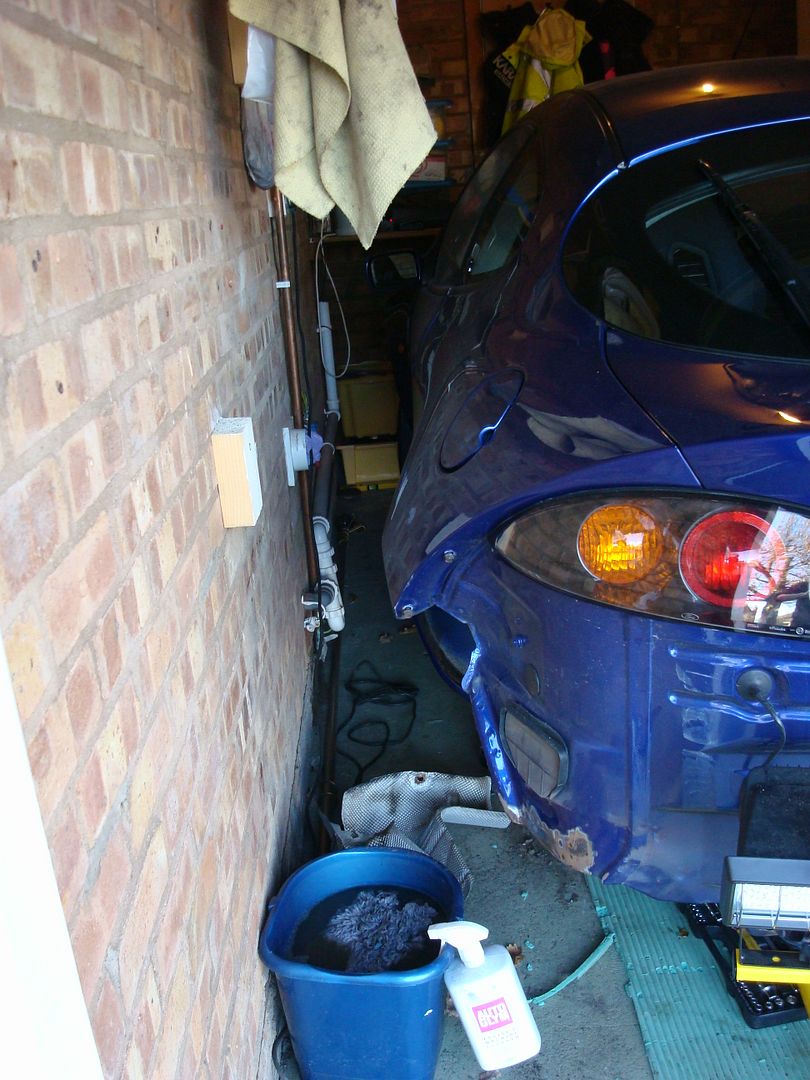
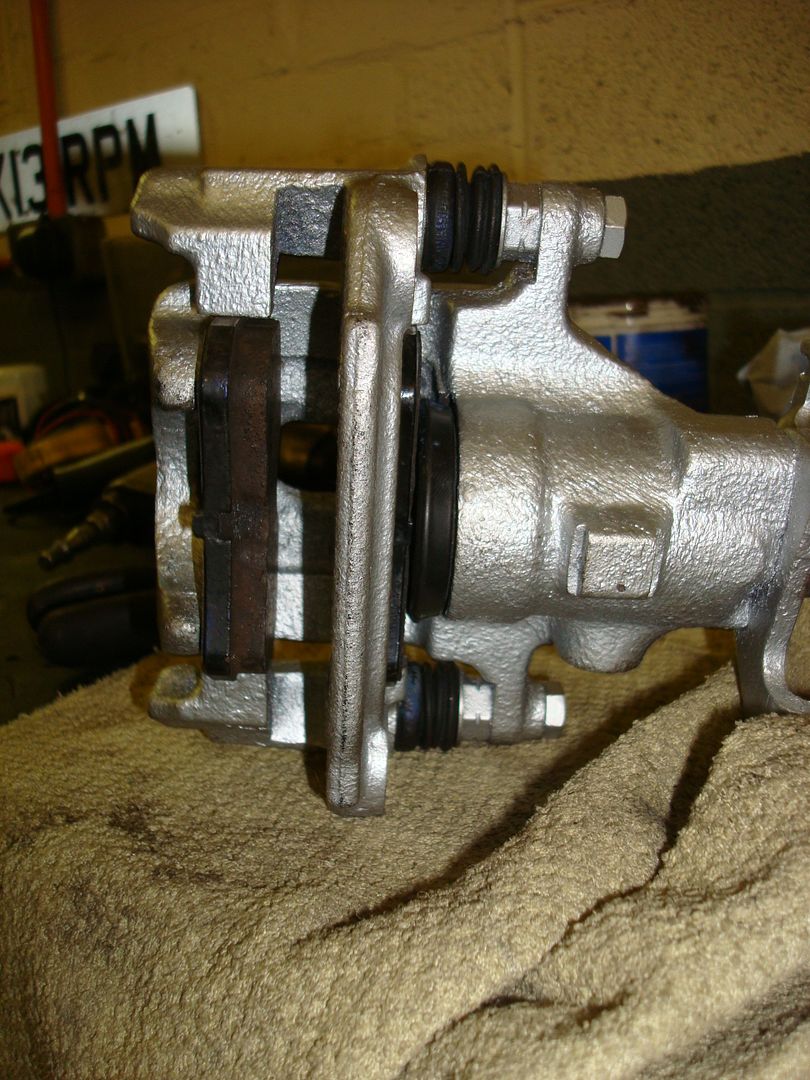
Loaded the freshly painted callipers and pads in to the ruck sack and walked down to friend’s garage. Used the correct calliper piston tool to push the piston back in.
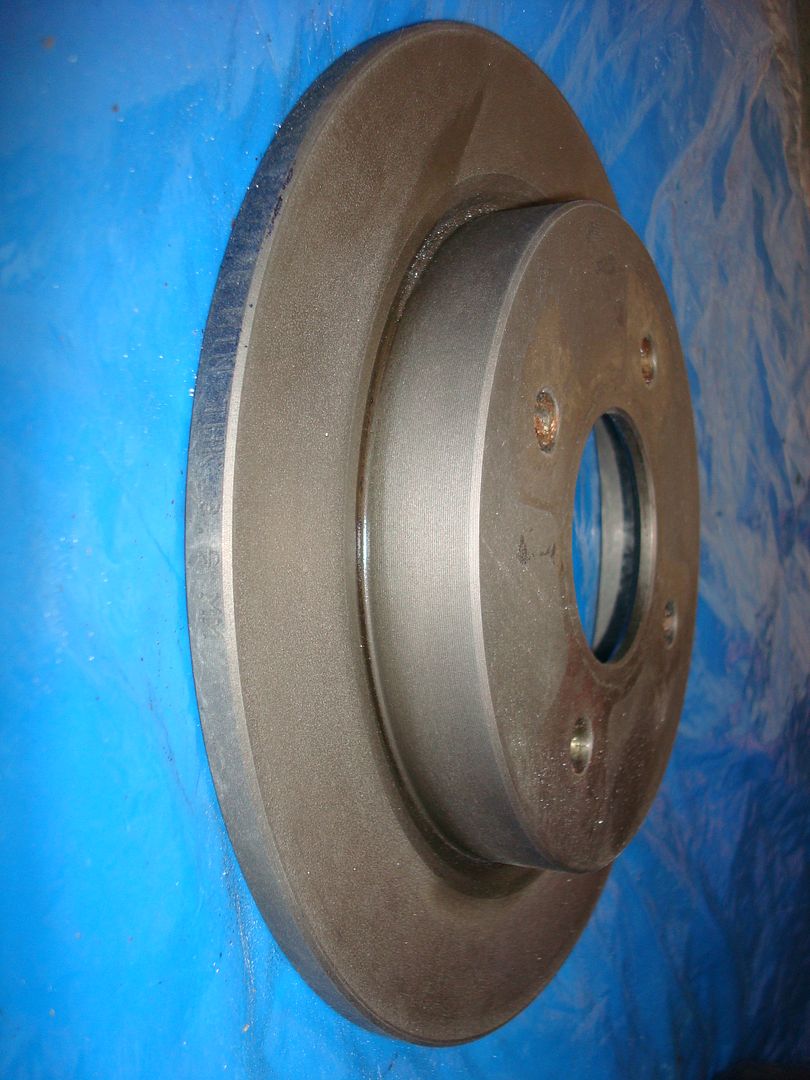
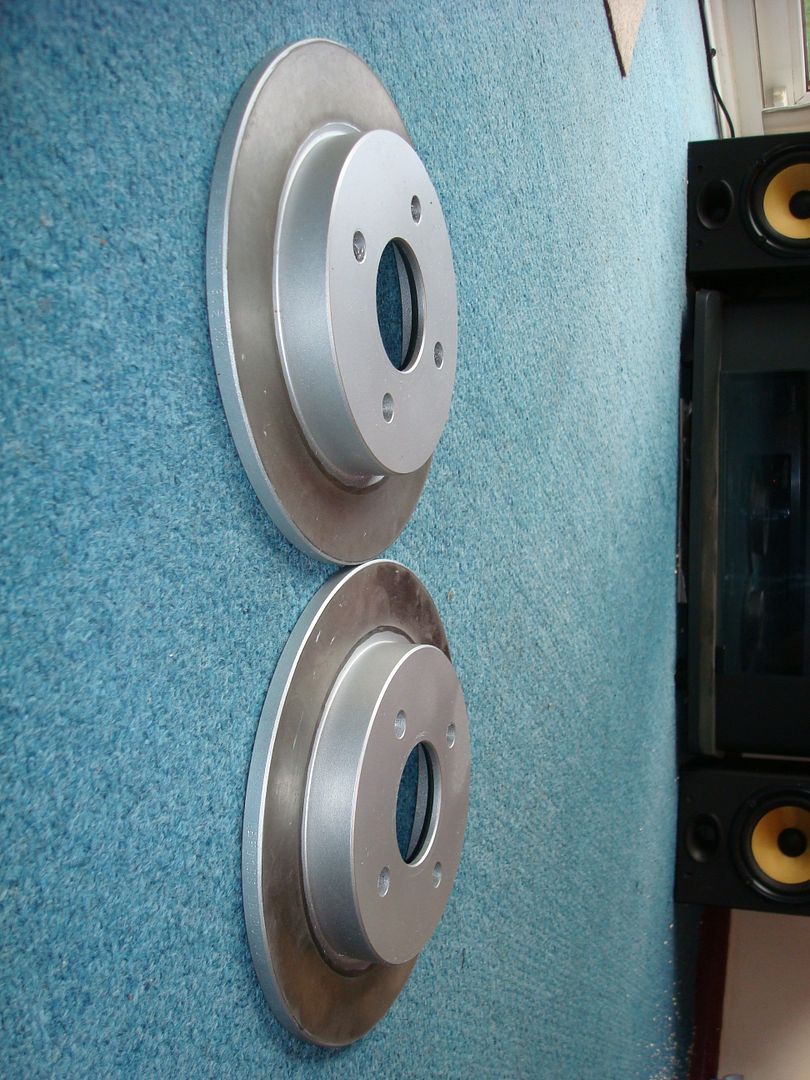
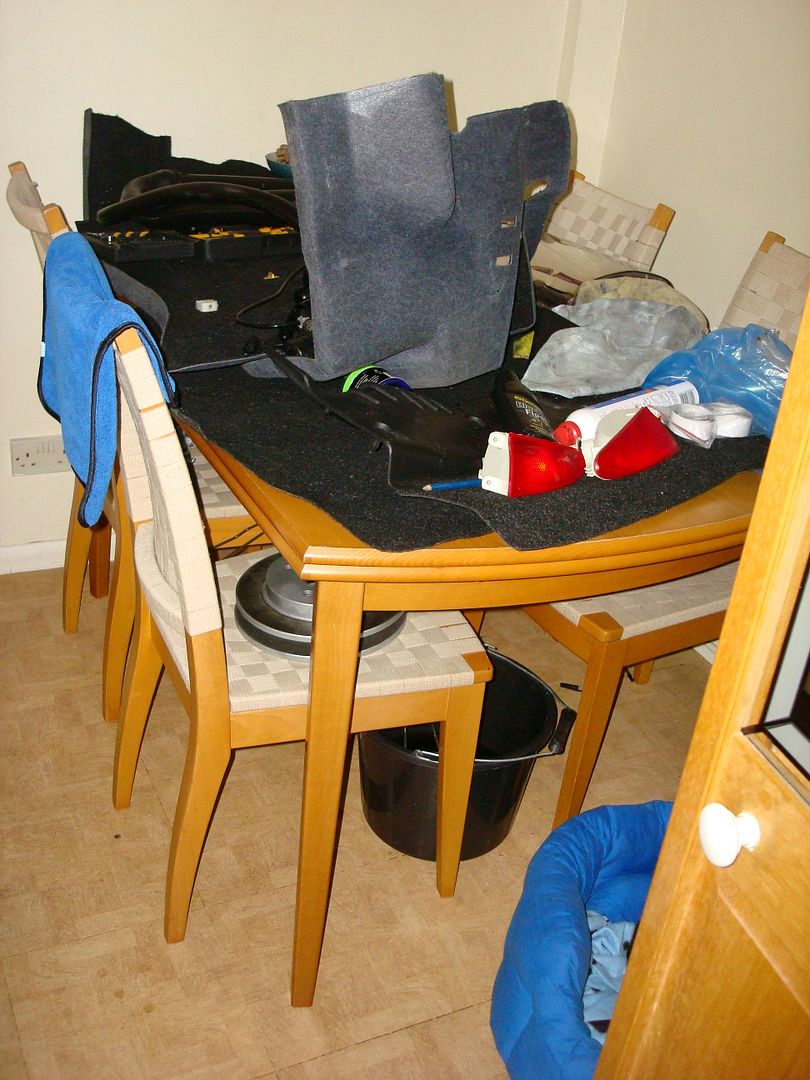
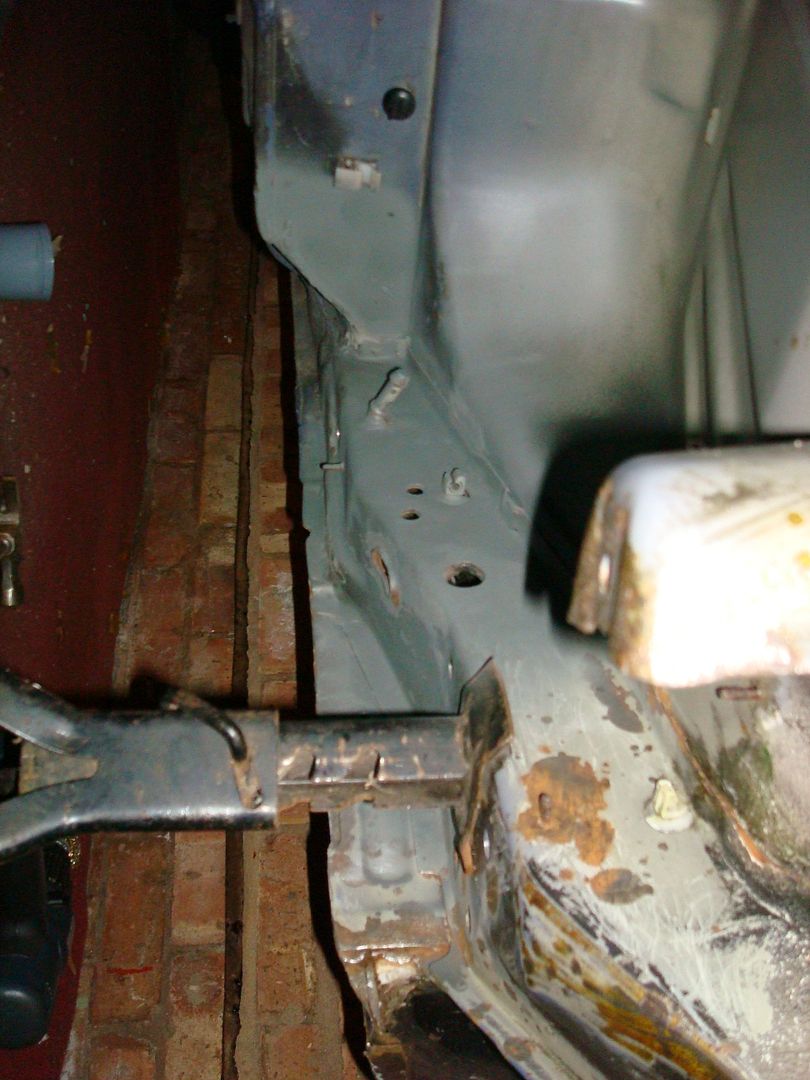
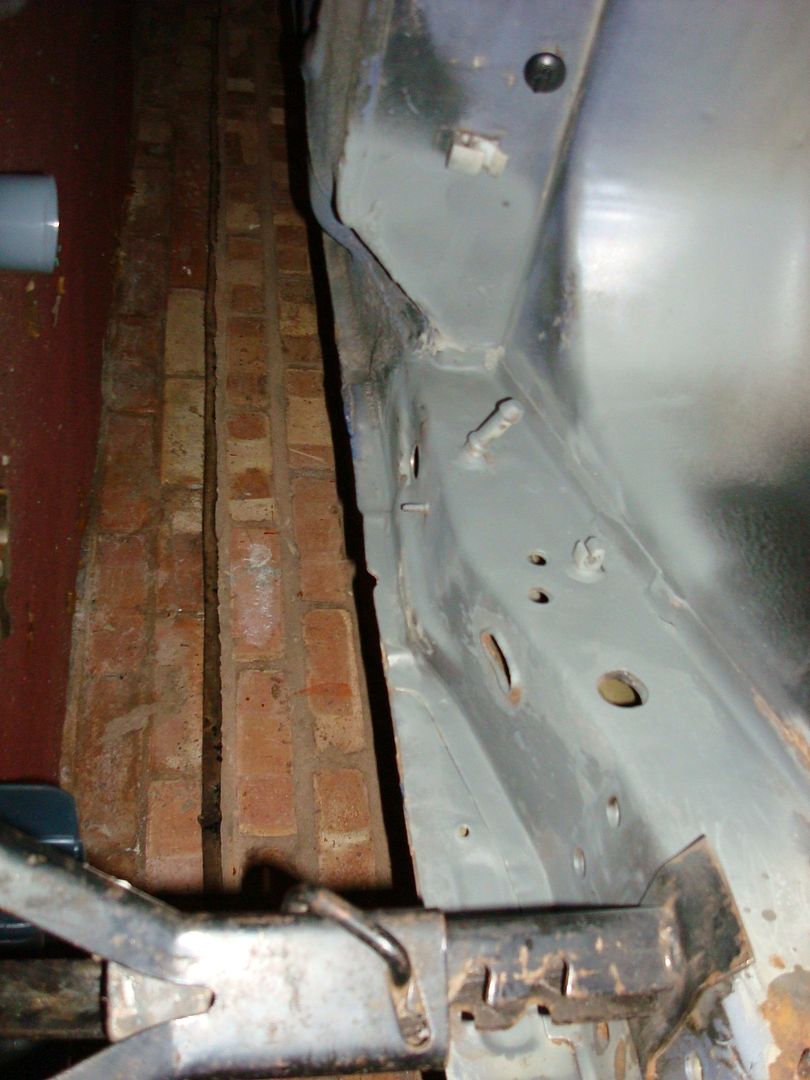
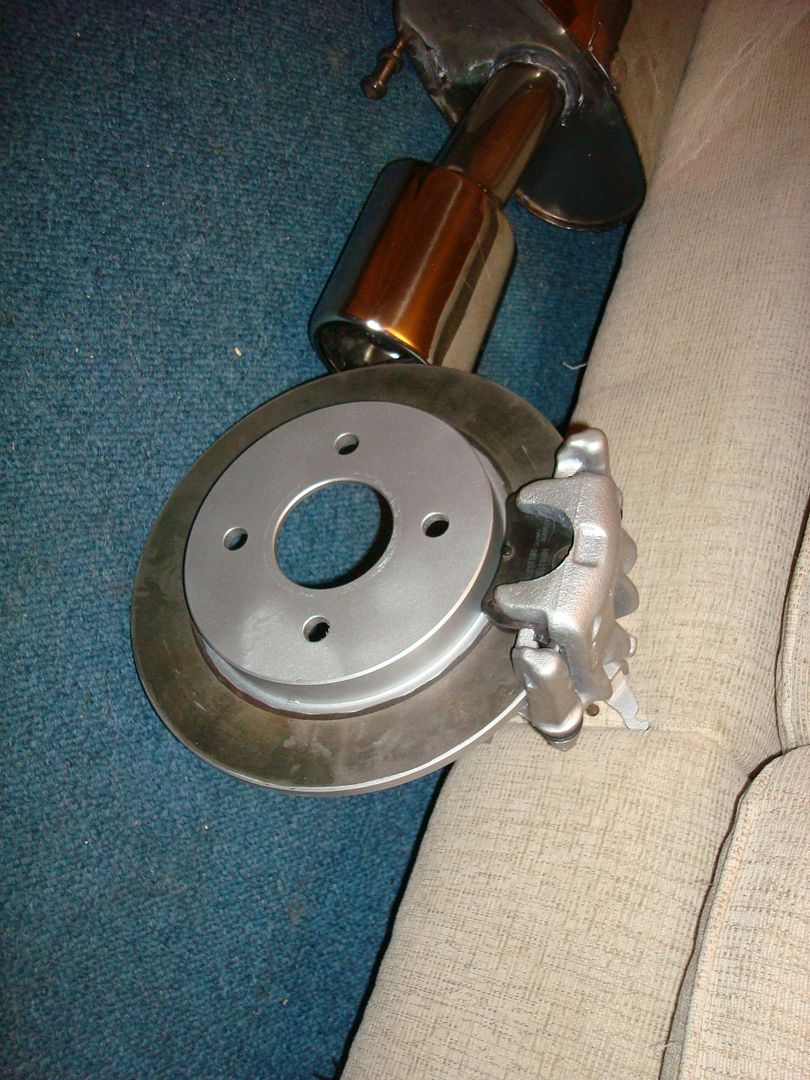
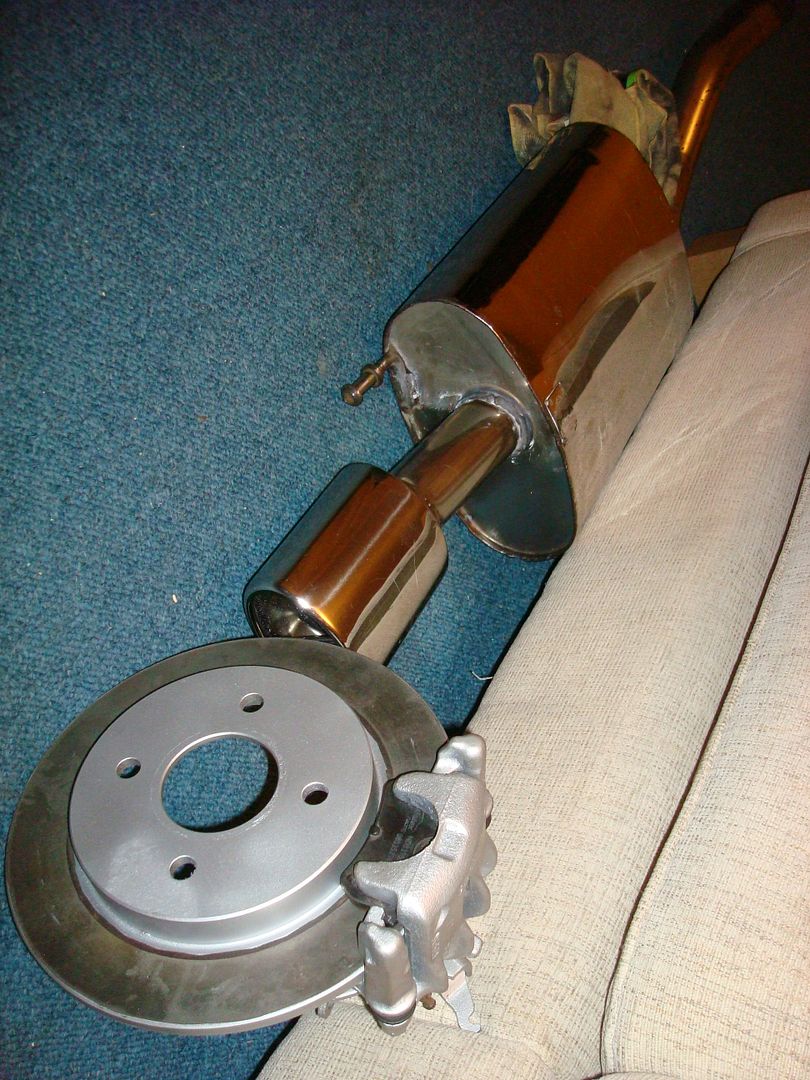
Calliper back home situated on the disc, looking pretty good if I say so myself. You can see few more hours done on the exhaust, finally getting there however as you can see still some bits to finish off and the centre section to make a start on.
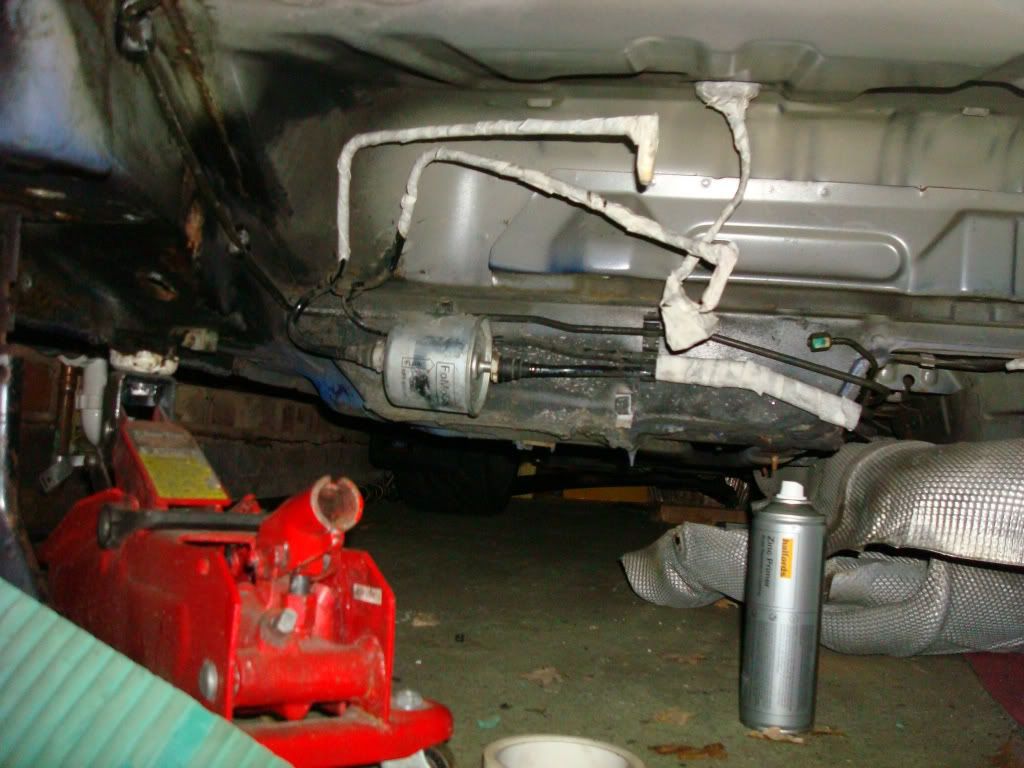
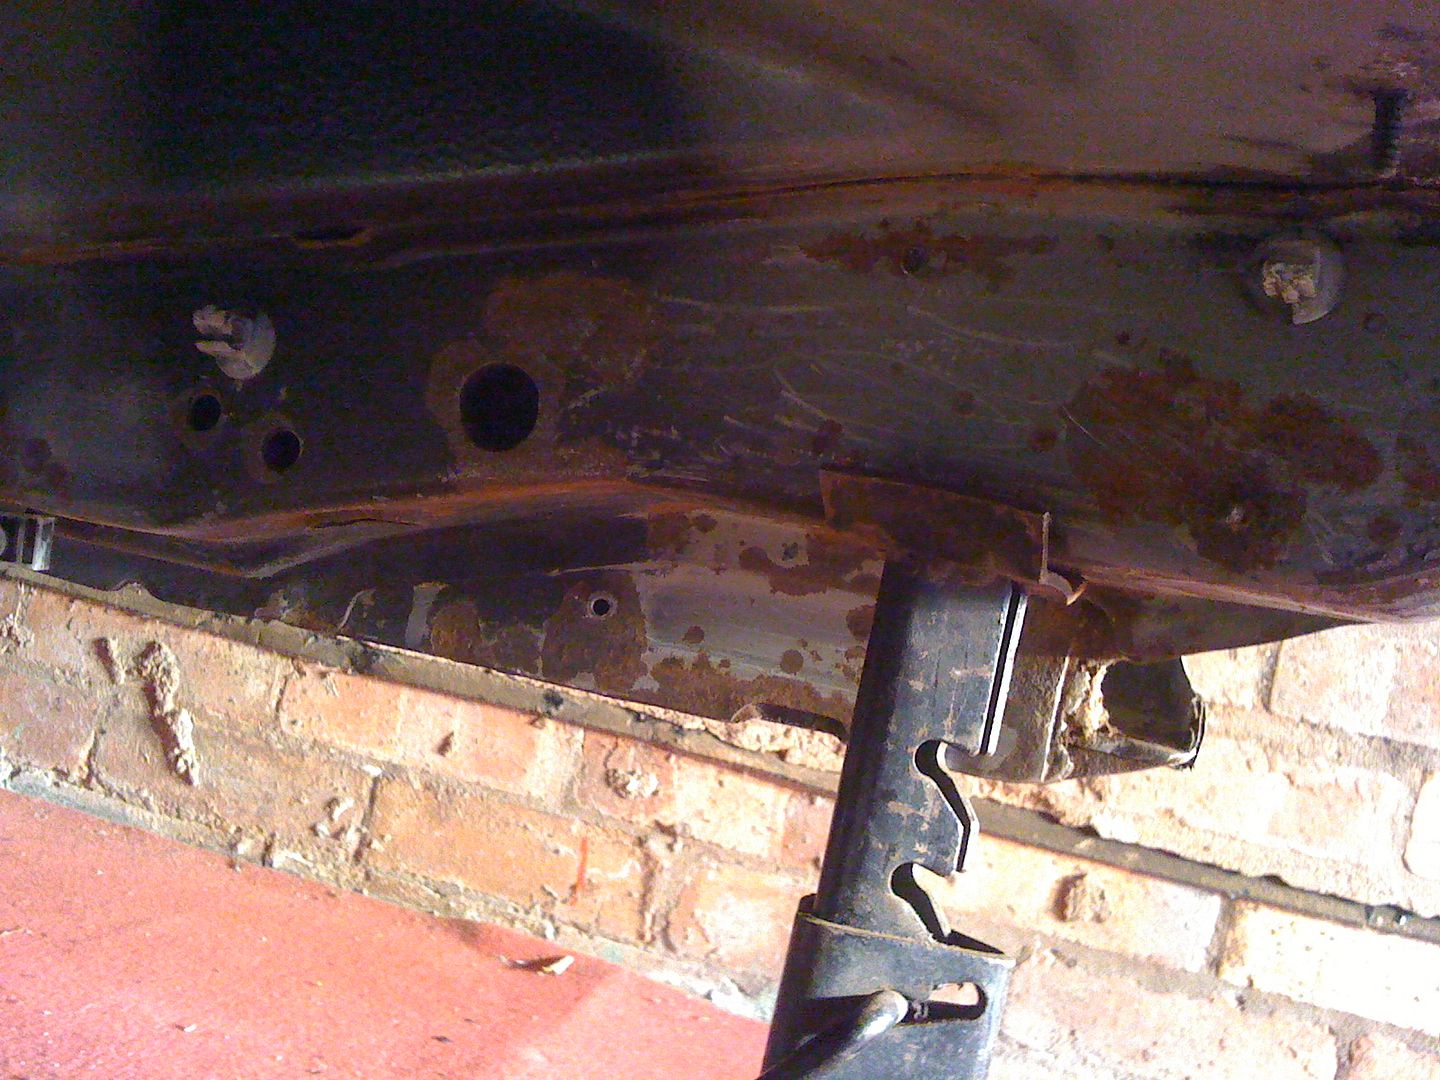
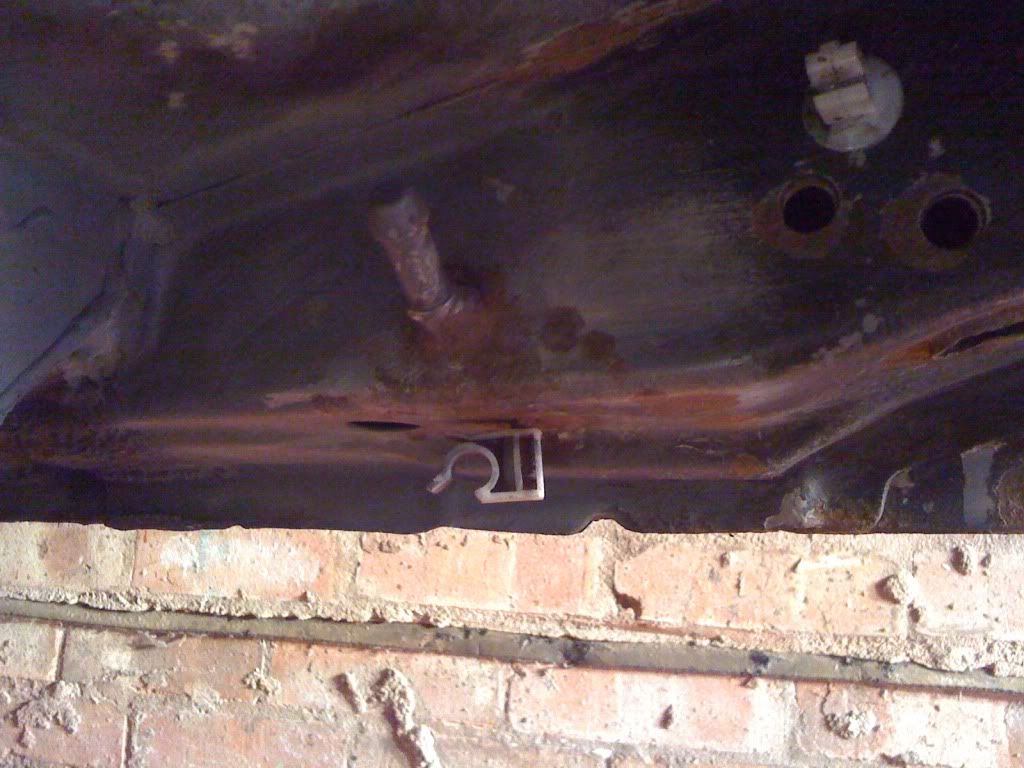
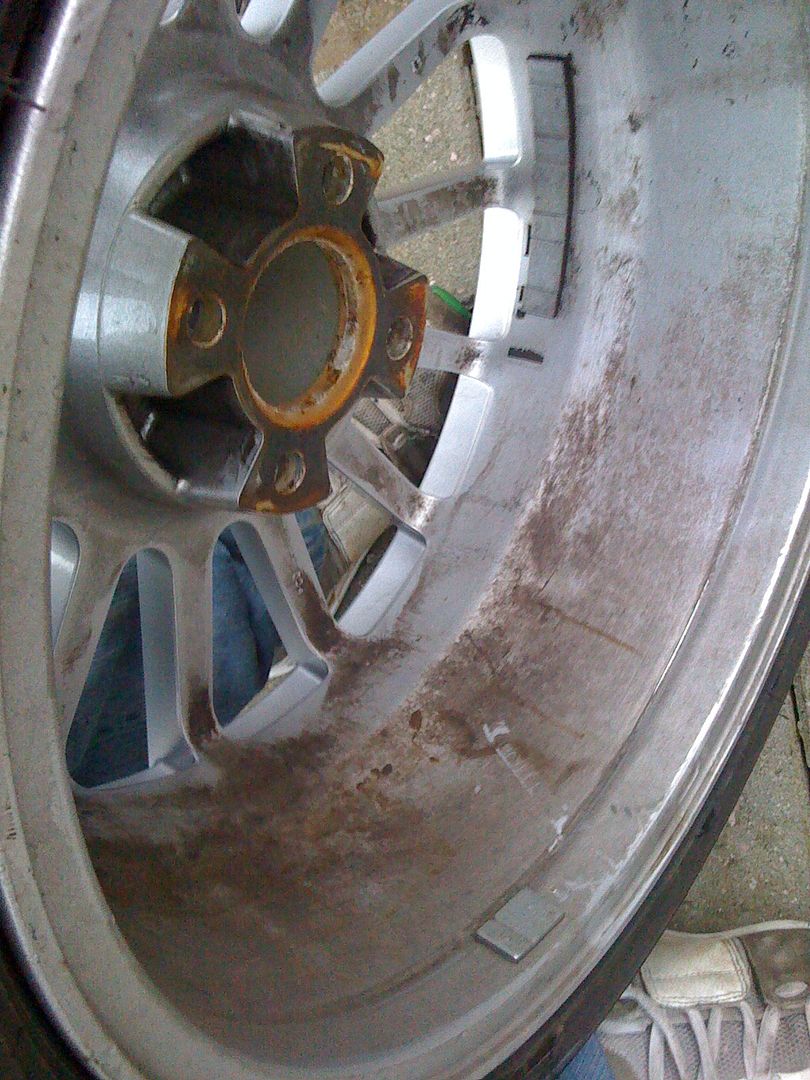
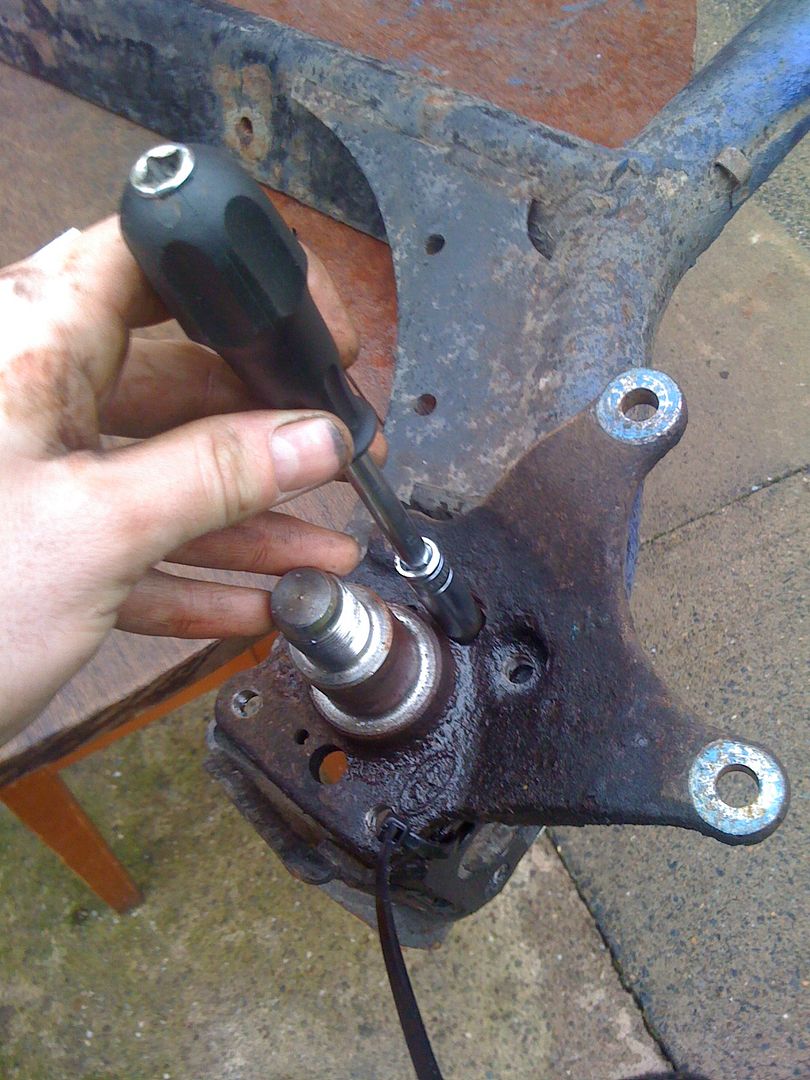
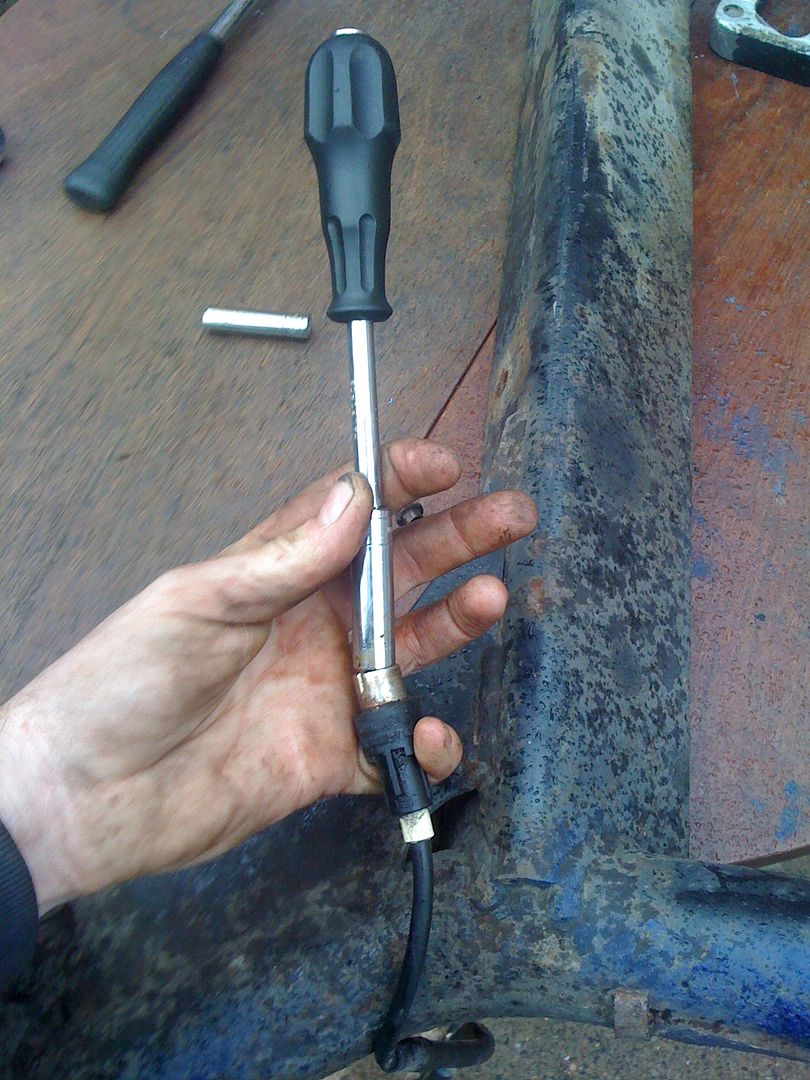
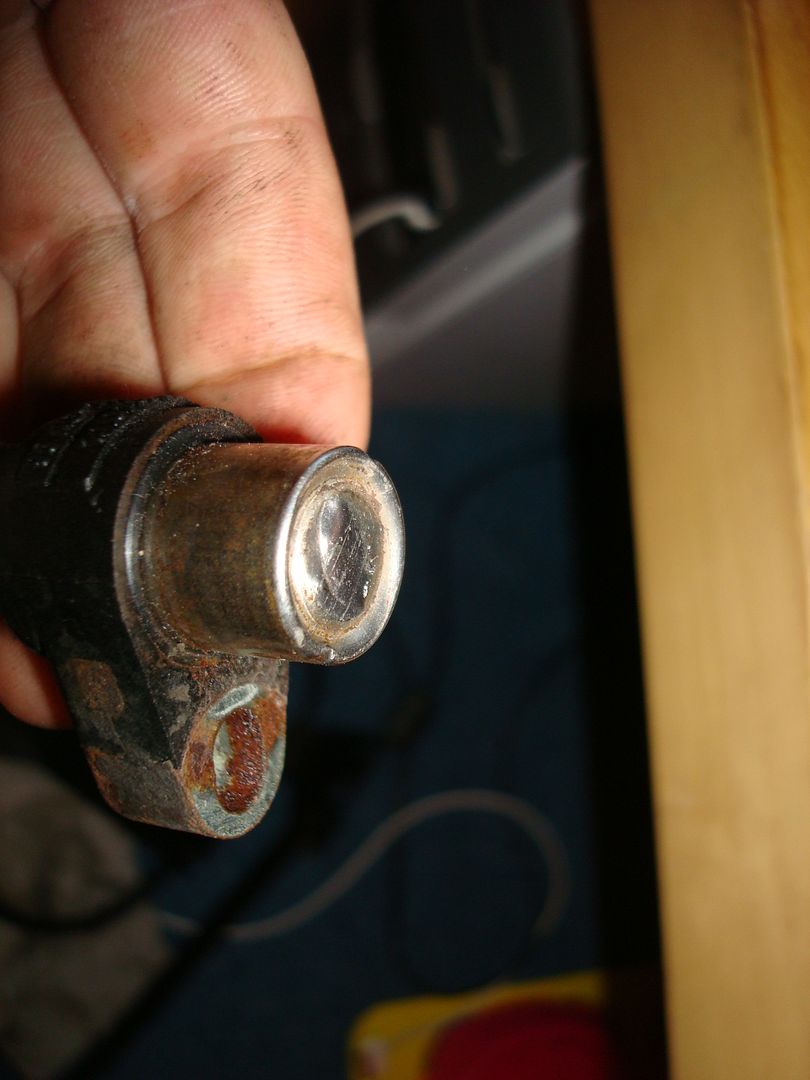
Decided to see if I could remove the ABS sensor on the rear beam without it breaking as a replacement one is £118 + vat. As mentioned before they usually brake when removing so a gently gently approach was used.
Sprayed plenty of WD40 on to the sensor and bolts. Bolts were on tight but managed to get them off after plenty of elbow, as for the sensor they were in tight, used a 8mm and 10mm socket and lined it up on the edges of the sensor and gently tapped away with a hammer. Sensor finally came loose
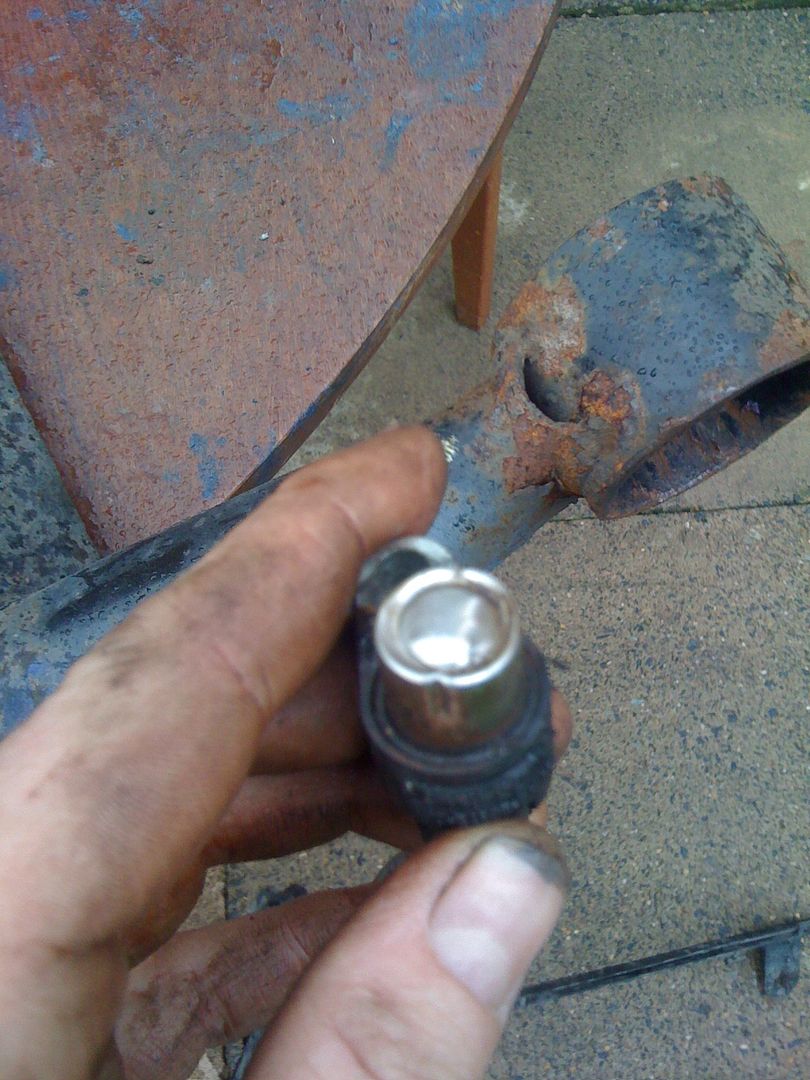
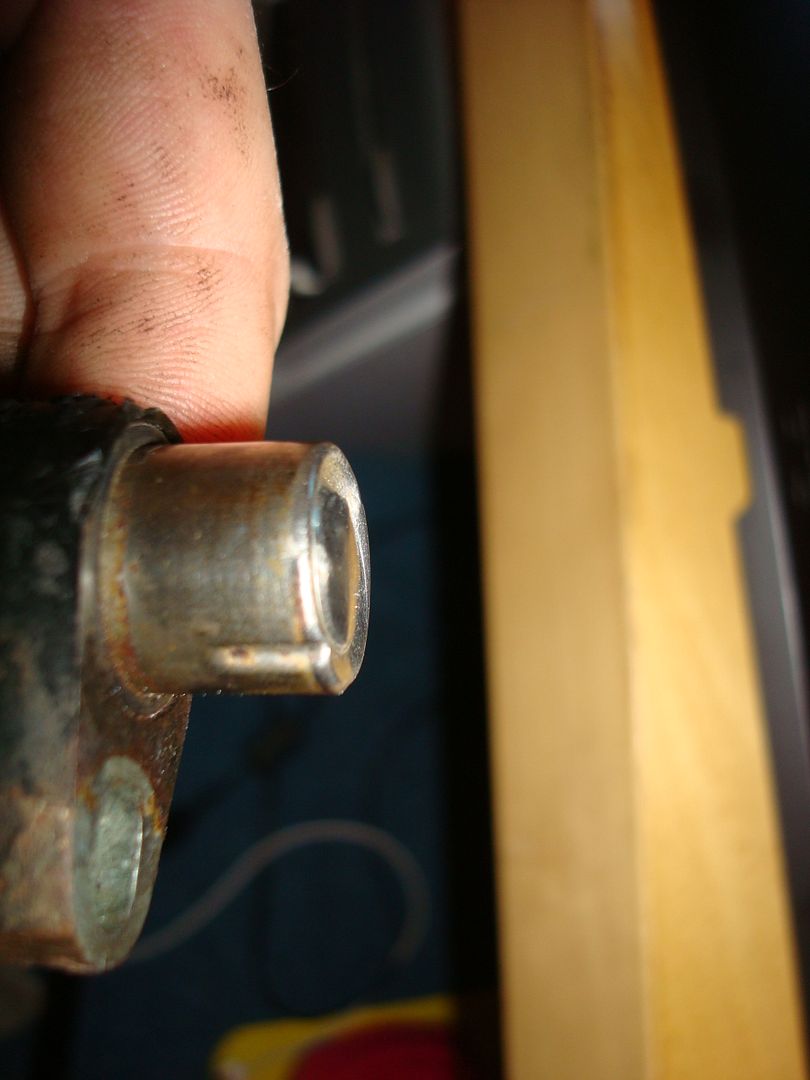
Unfortunately there has been some minor dents on the tops of the sensors, only minor but after speaking to my mate (mechanic) he reckons there pretty sensitive so may not work, says once its back on the car I’ll be able to tell straight away as the warning light will show on the dash if its faulty.
Is there anyone else here that has any knowledge on this, does this look as though it might be to damage to be ok still, obviously hoping it’ll be ok as £118 is a lot of money for something that was original ok
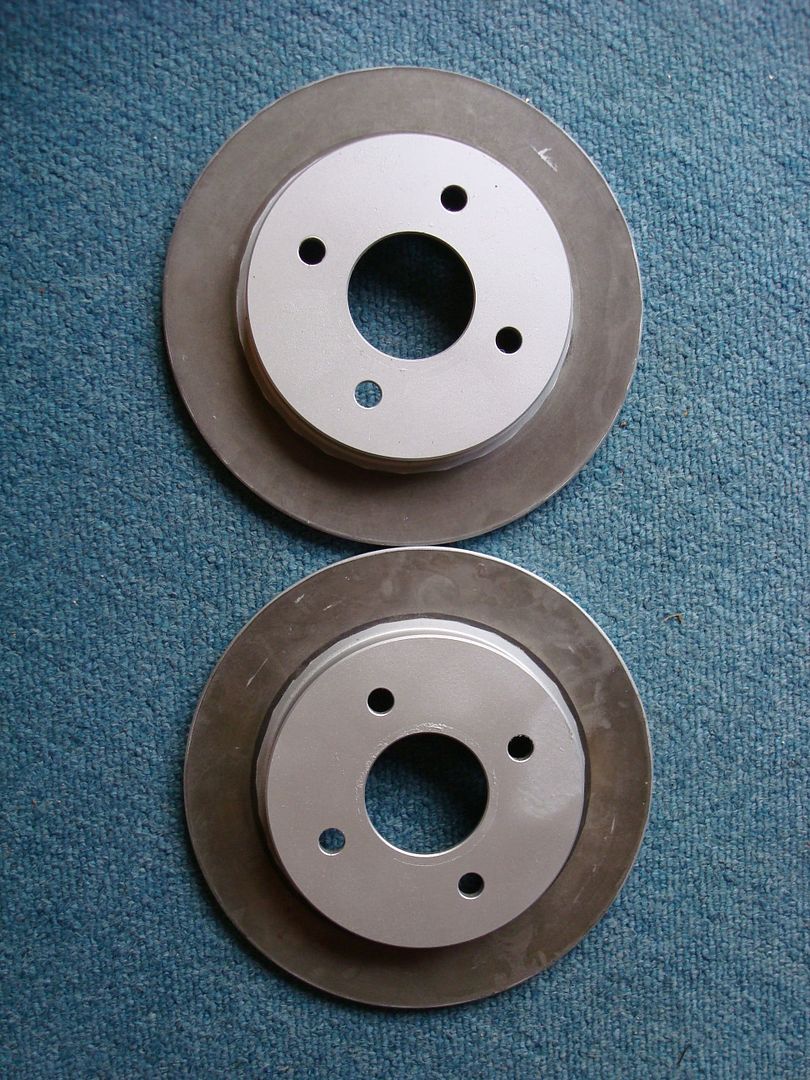
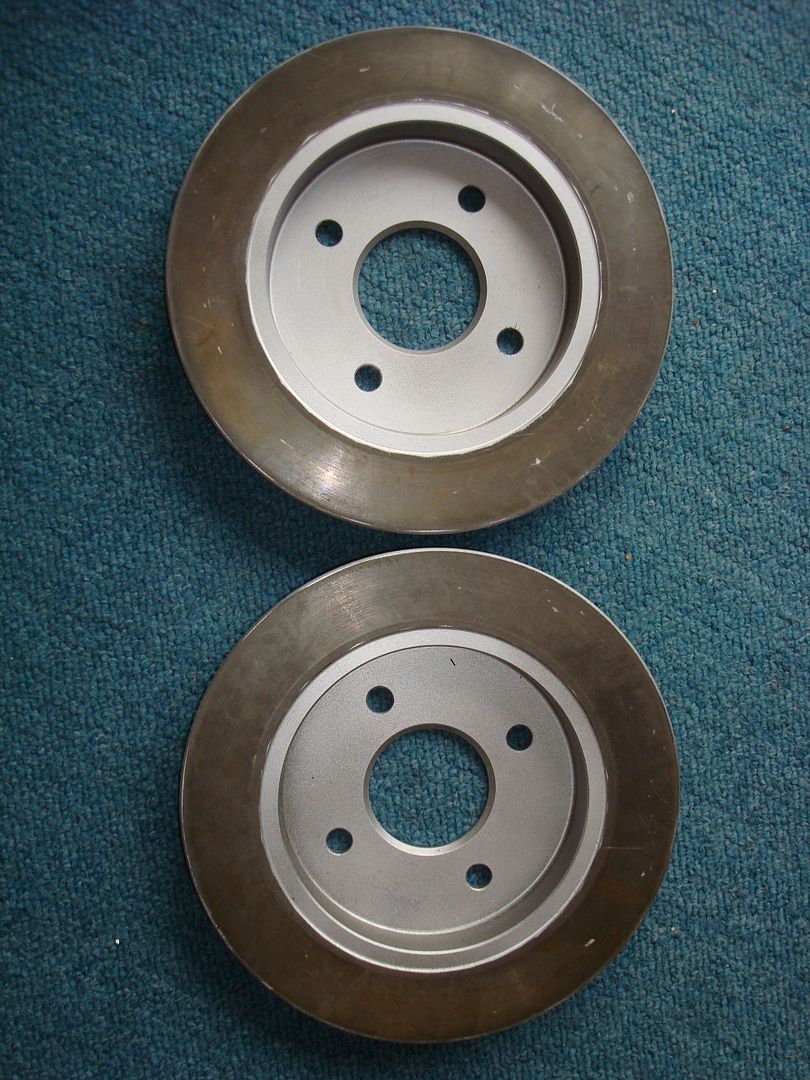
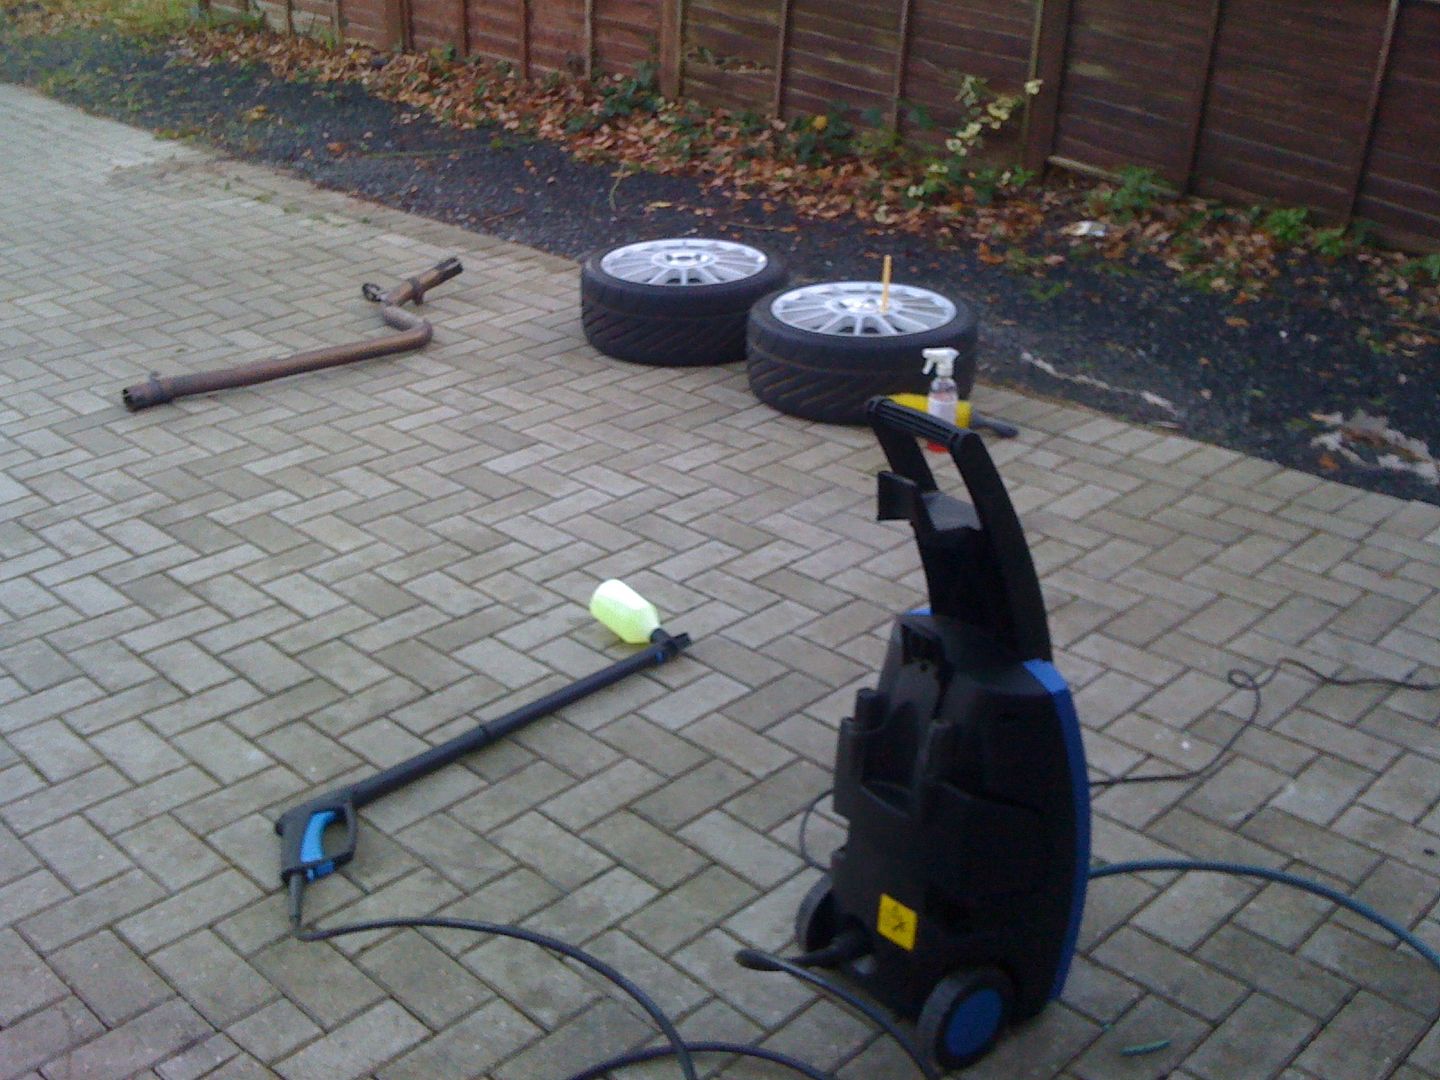
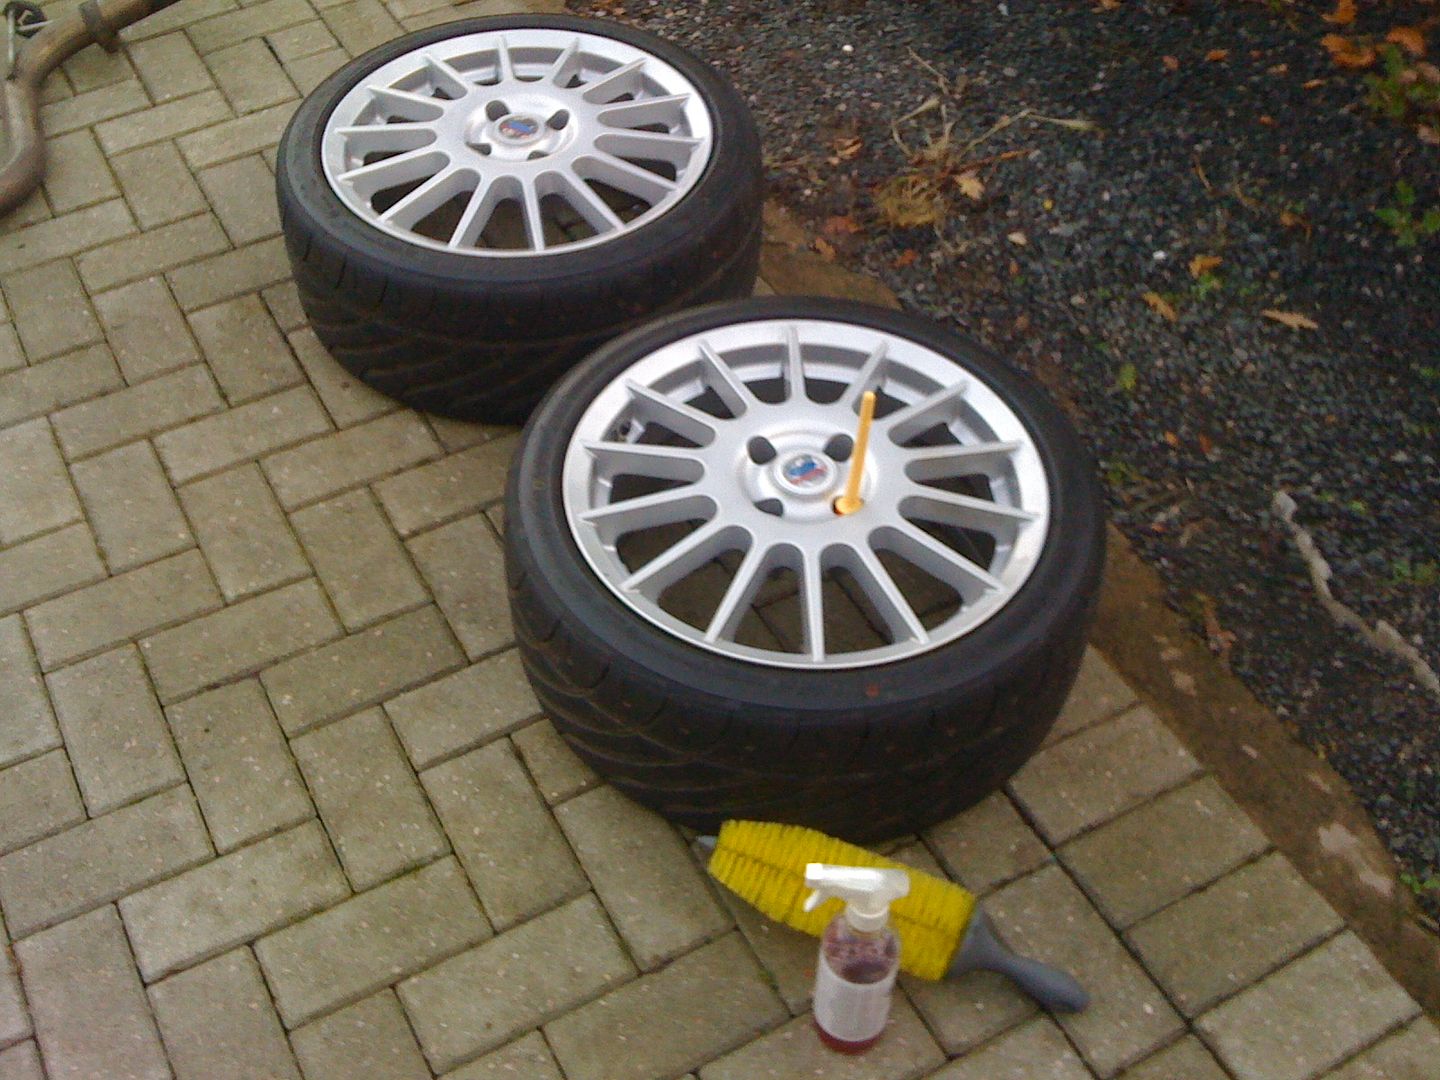
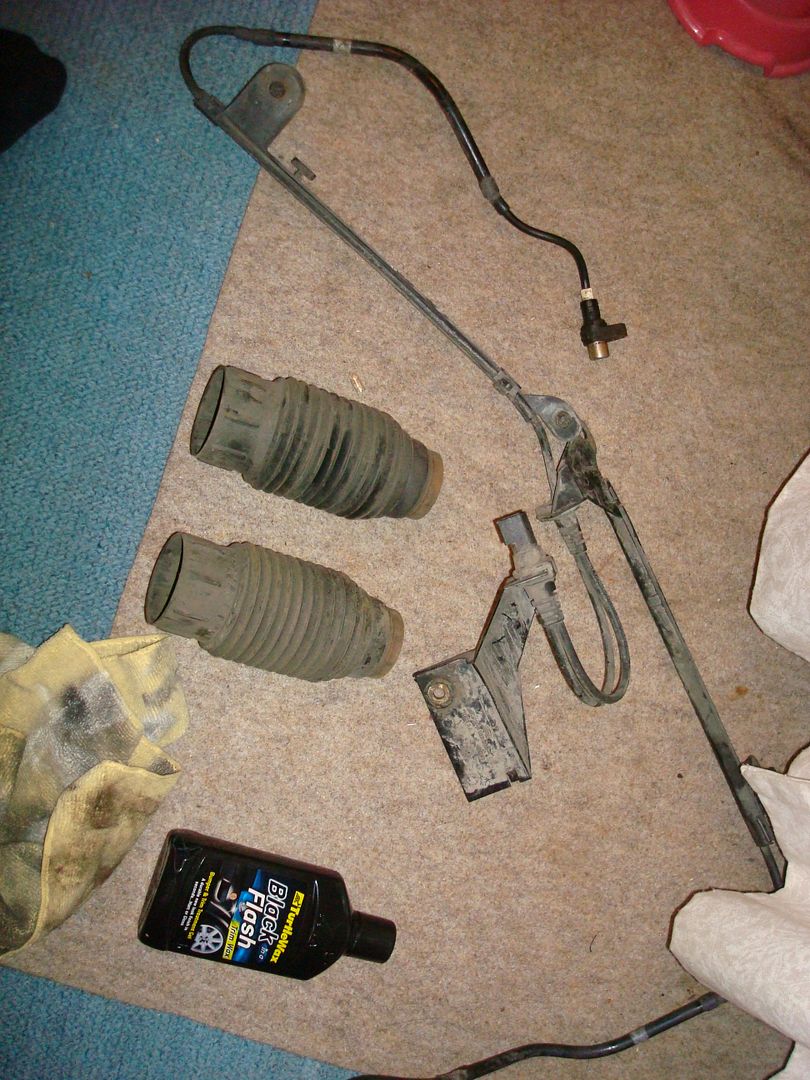
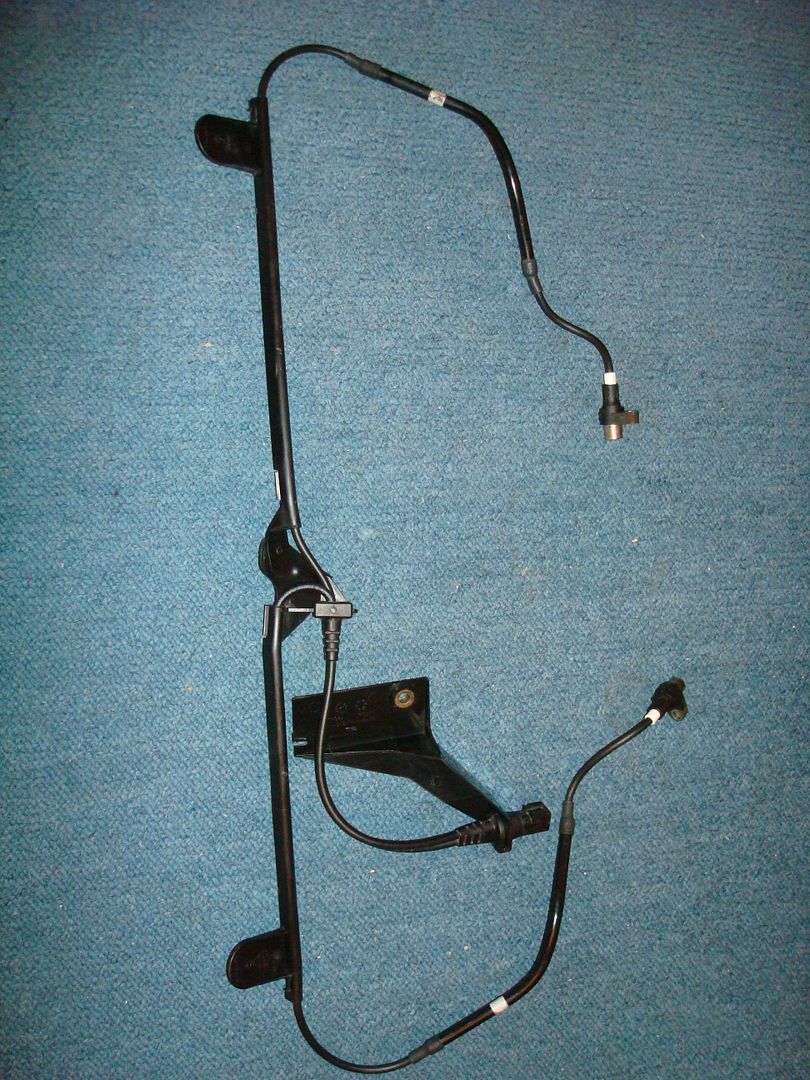
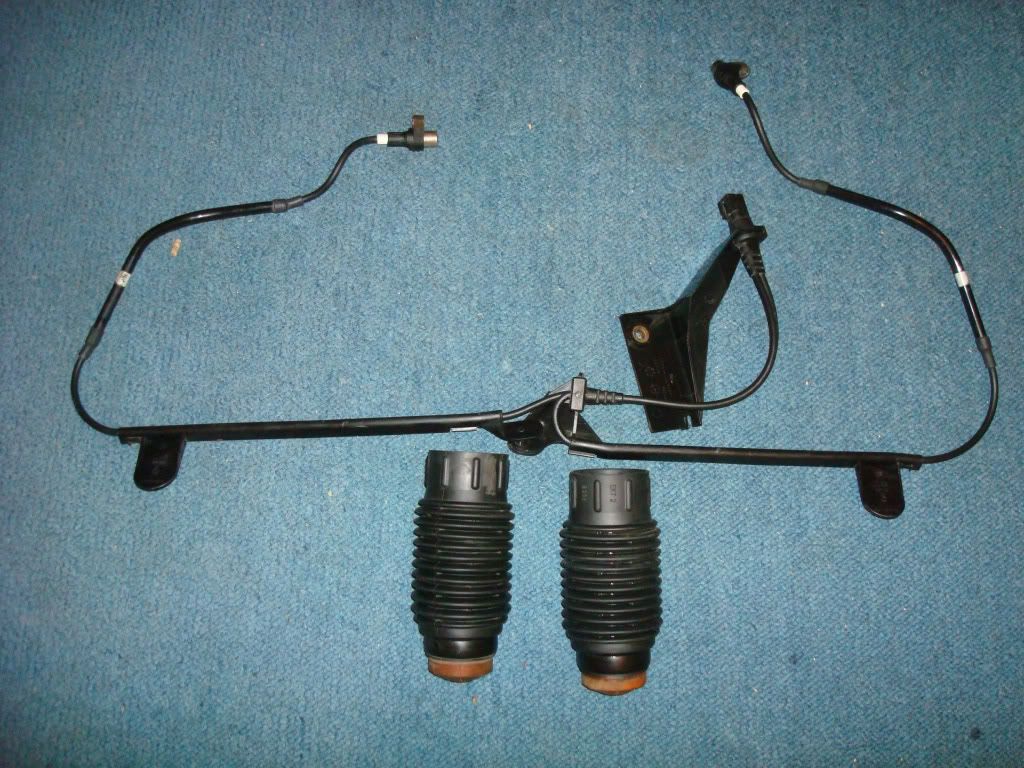
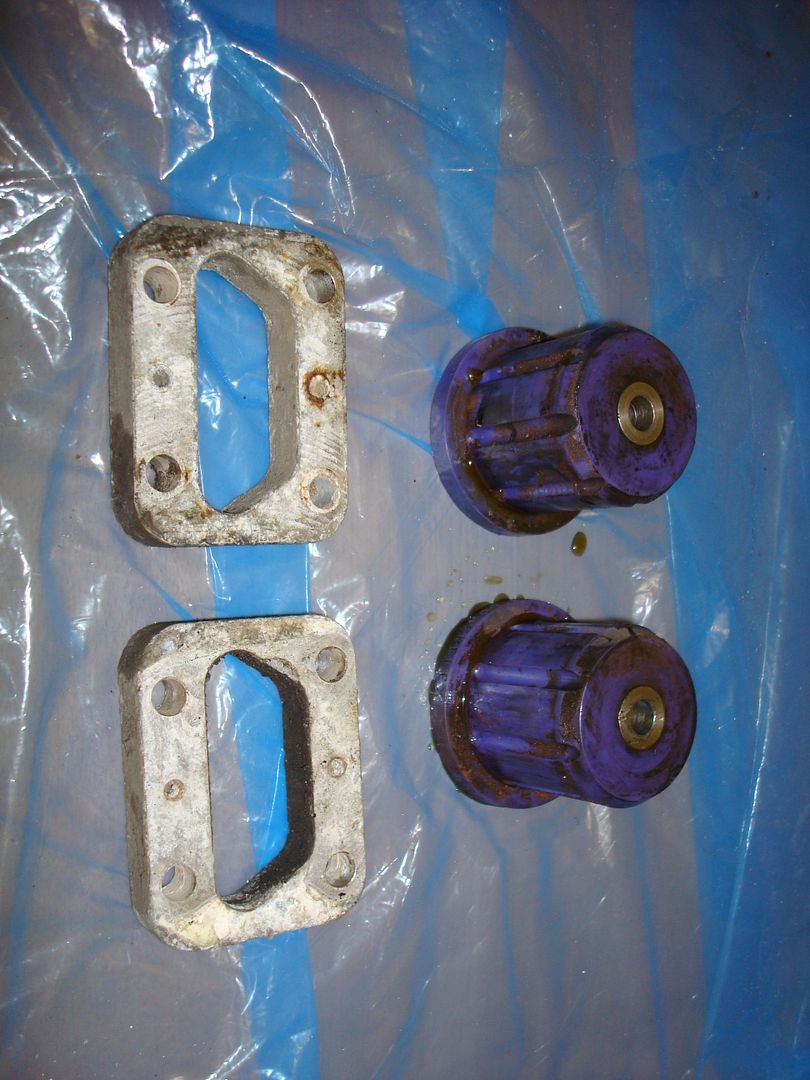
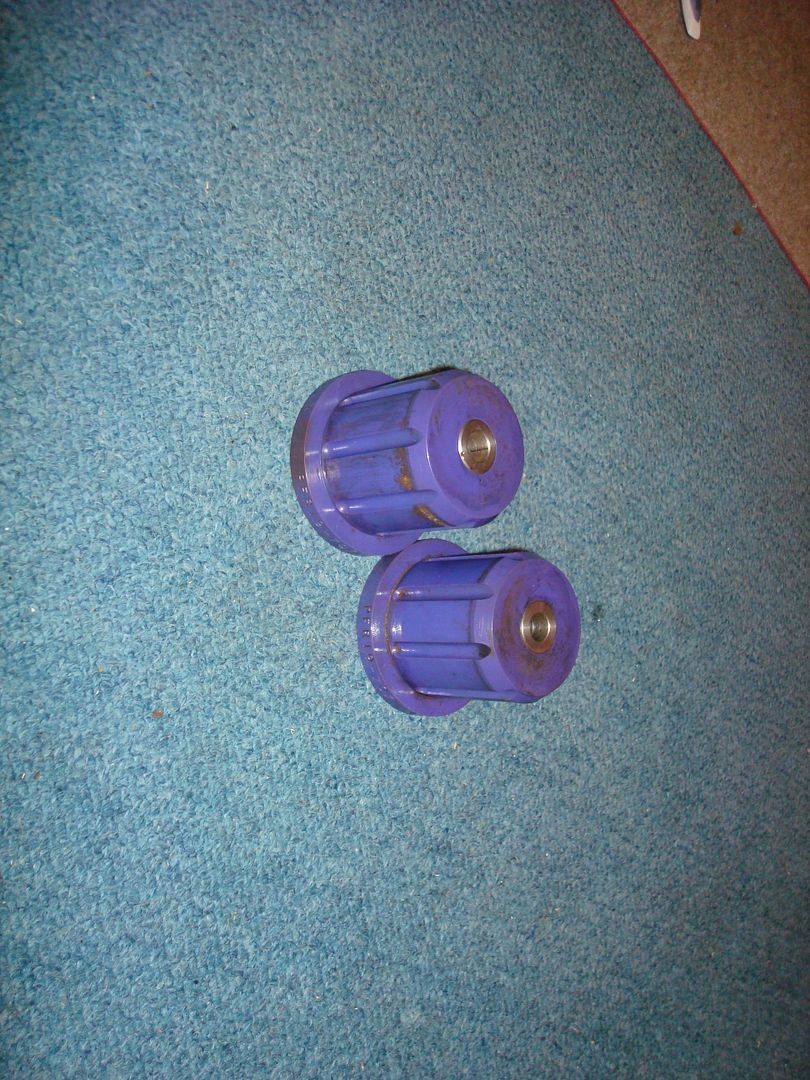
This evening I’ve cleaned up the rear ABS loop, suspension piston covers and rear bushes.
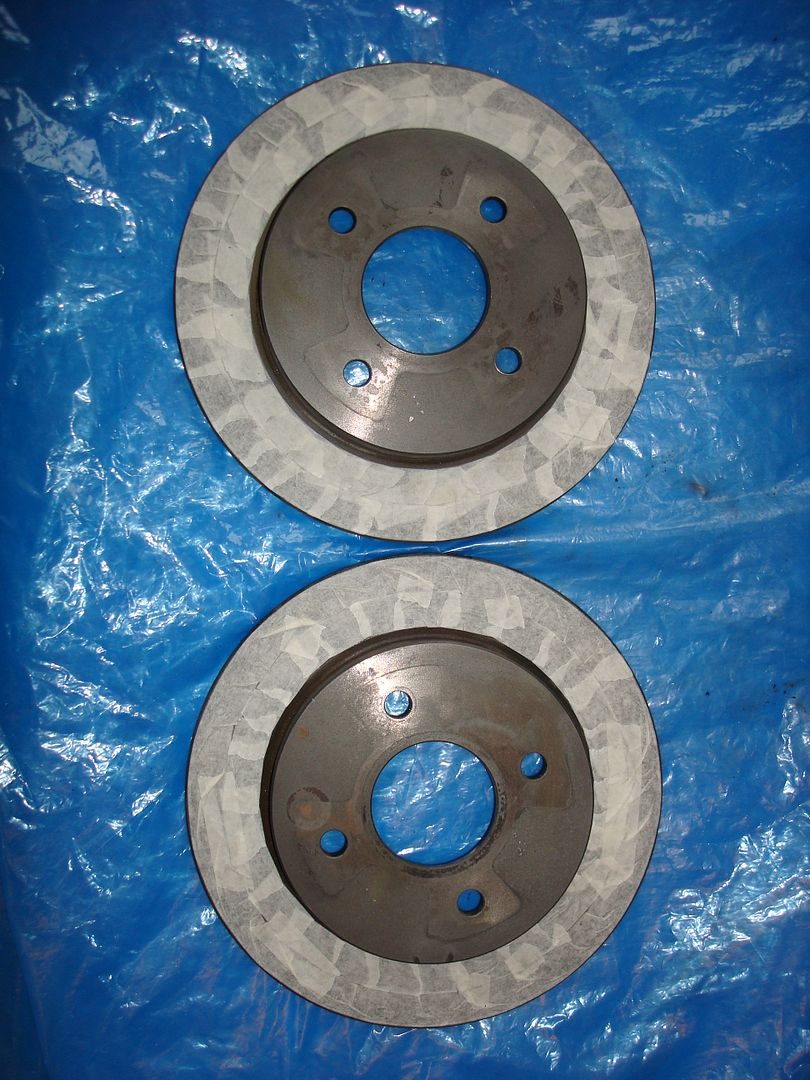
Before:
After:
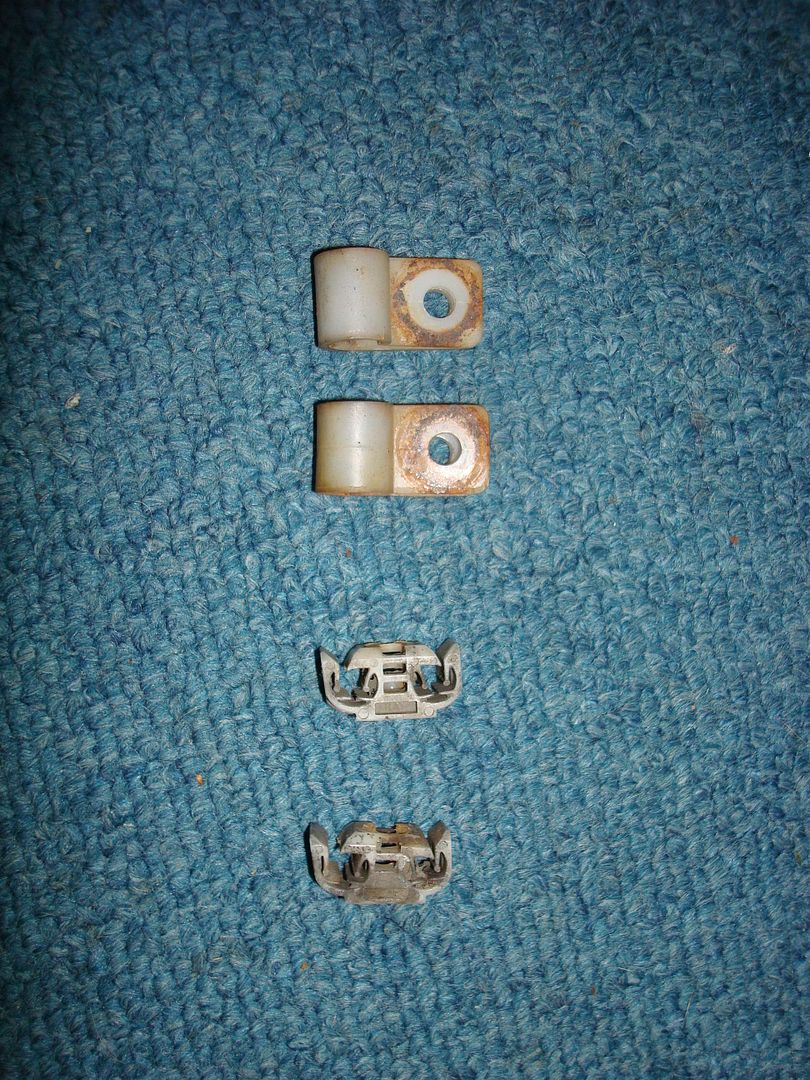
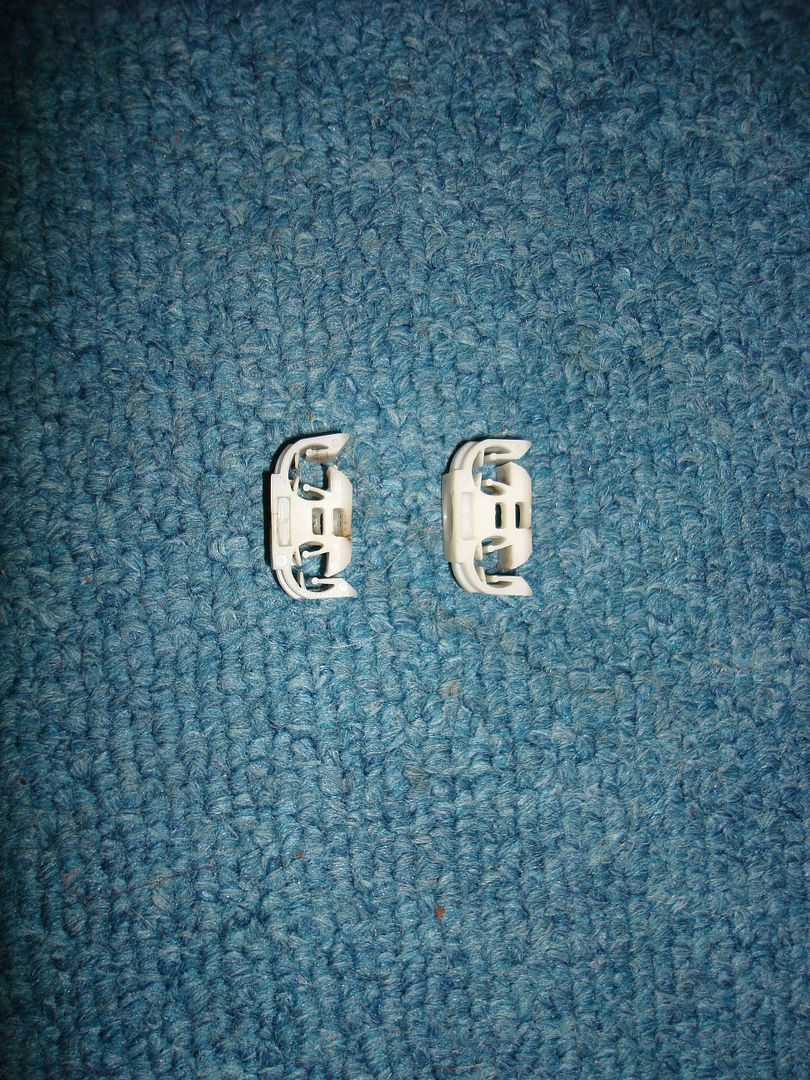
Before:
After:
Keep them comments coming
")
David