Mk1 Focus RS powered Puma, now going RWD, JWRC

ProjectPuma

Help Support ProjectPuma:

This site may earn a commission from merchant affiliate links, including eBay, Amazon, and others.
I think you might be right.. i don't really understand dual mass flywheels - I will probably go for a 2.0 flywheel and I'll buy brand new to void any problems. I bought new for my current clutch and all was well.
 
The dual mass shouldn't be fitted to a performance engine, it struggles to perform well in it natural habitat, standard Diesel engines.

It was designed for comfort and while it does that we'll when it's working they soon break and start to cause starter motor failure, cause the vibrations to worsen and an audible noise from the engine which sounds like something more serious is going wrong
 
We're almost a year on and some would say I should have had the car on the road 6 months ago, but for one reason or another, it's not not there! Life just seems to get in the way these days.. anyway progress has been made, albeit a bit slow!

So, this gearbox was rather a lot more work than a thought.

Let's start with the IB5 gearbox failure..


Clutch was/is as good as new! Still, had to get a new one.


What a mess...


Focus RS 'box:


So I started to clean it up with degreaser and then with a wire brush on an air die grinder


Err, I think some cutting is required...


So I eventually got the gearbox in with some cutting (which I will come to later) and so started on the top mount. I had in my head what I wanted to do and went for it, so there aren't many photos of it during.


Fantastic work! The fabricating work and converting a piece of the Puma's rear beam to be used as a gearbox mount is simply genius.
 
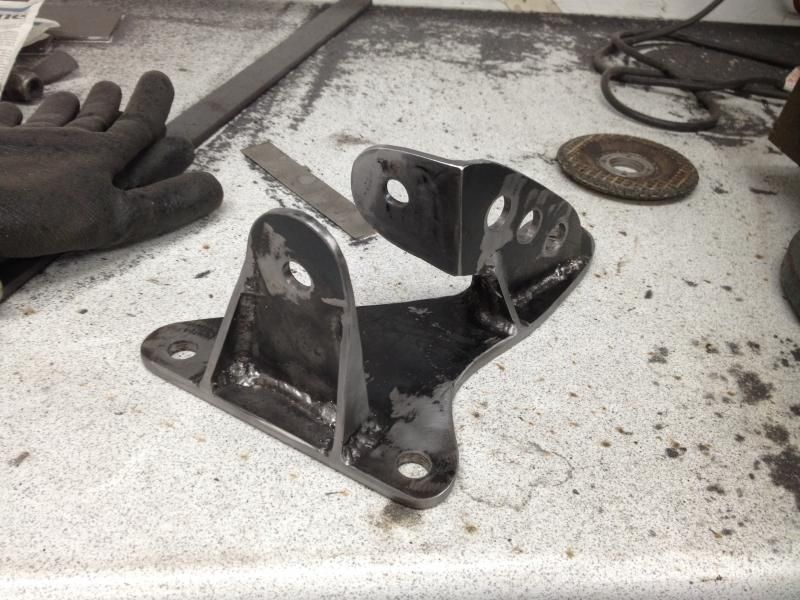
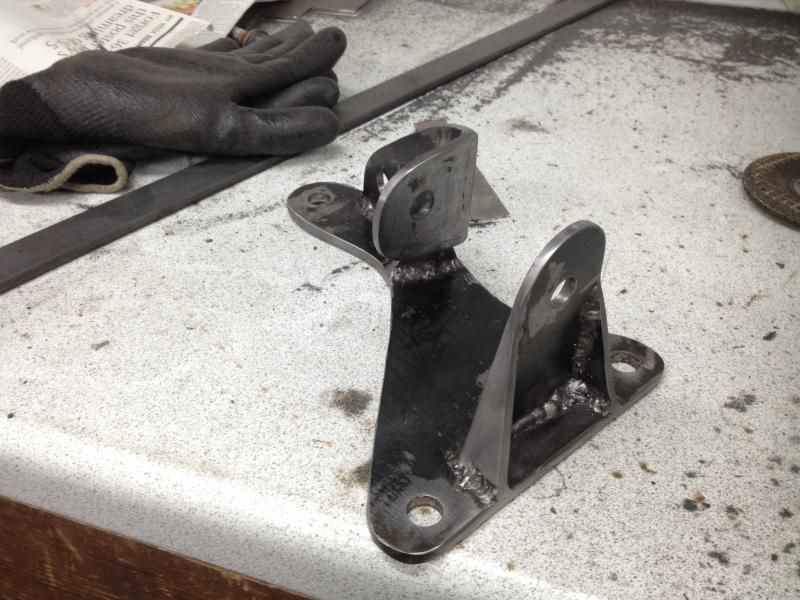
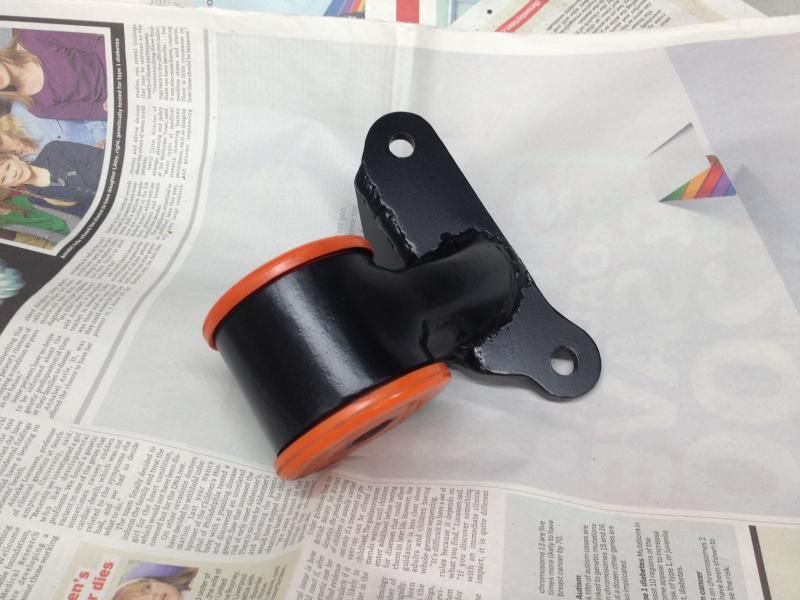
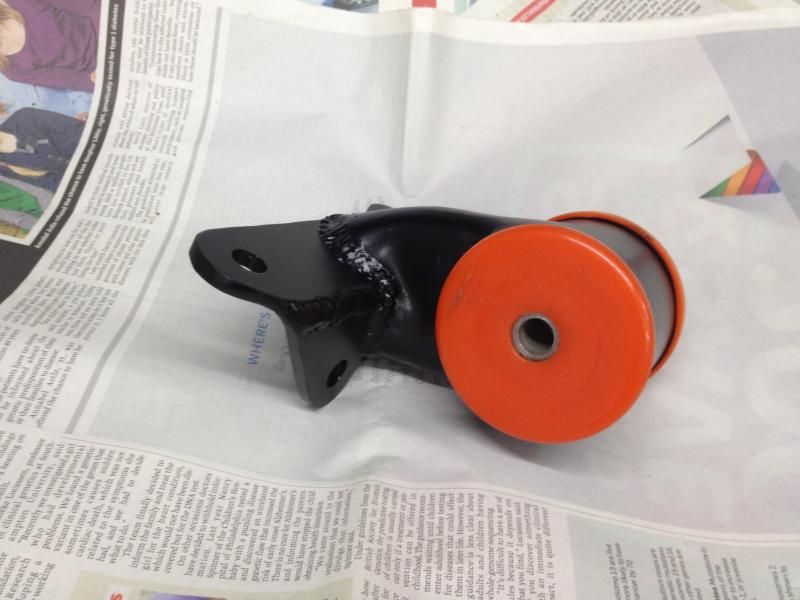
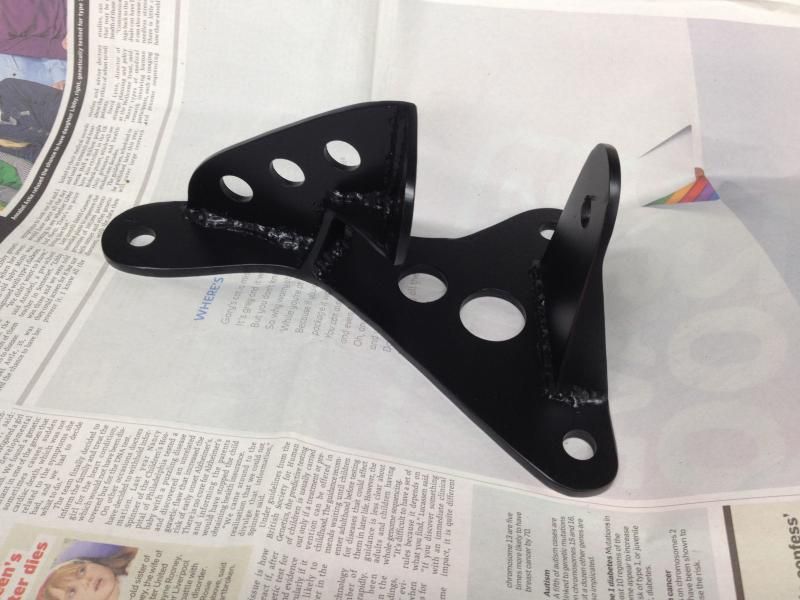
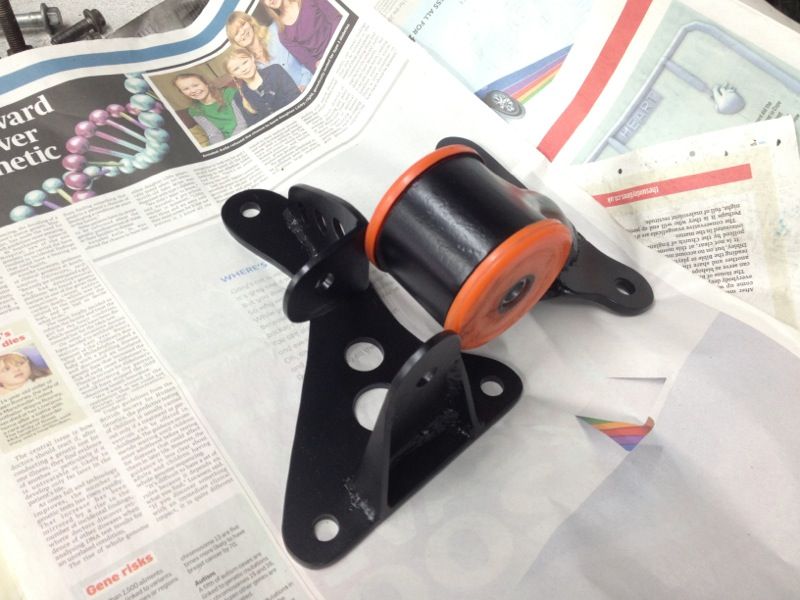
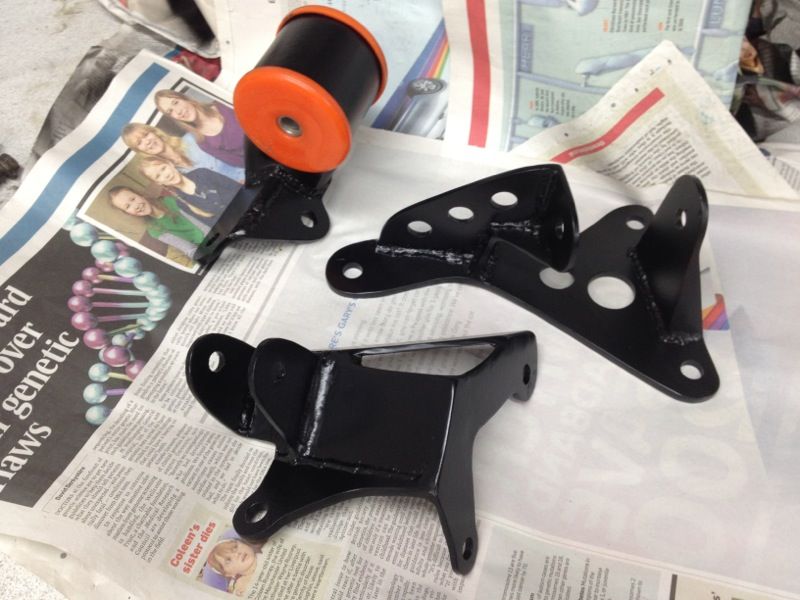
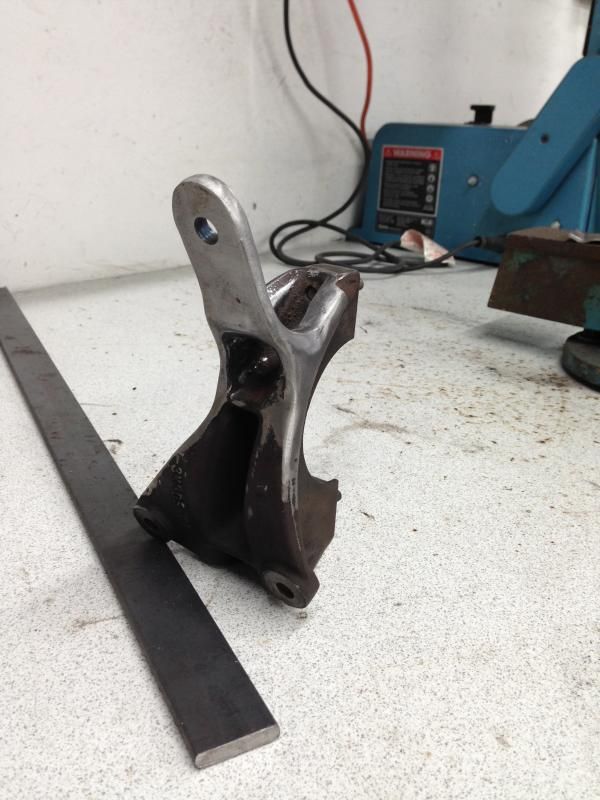
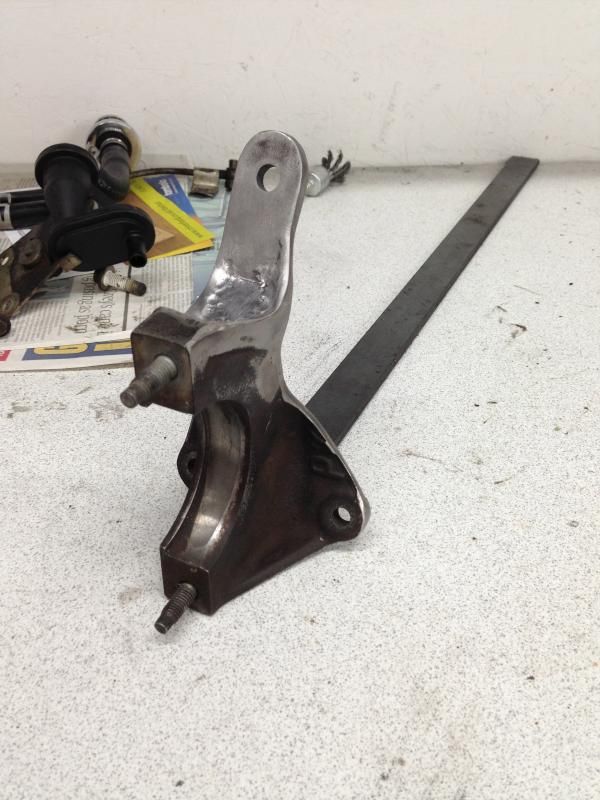
Then onto the rear stabilising mount. I wanted to use the standard puma mounting on the car, so I set about making something work from the gearbox to bring it to the right place as the focus one is further over towards the centre of the car.


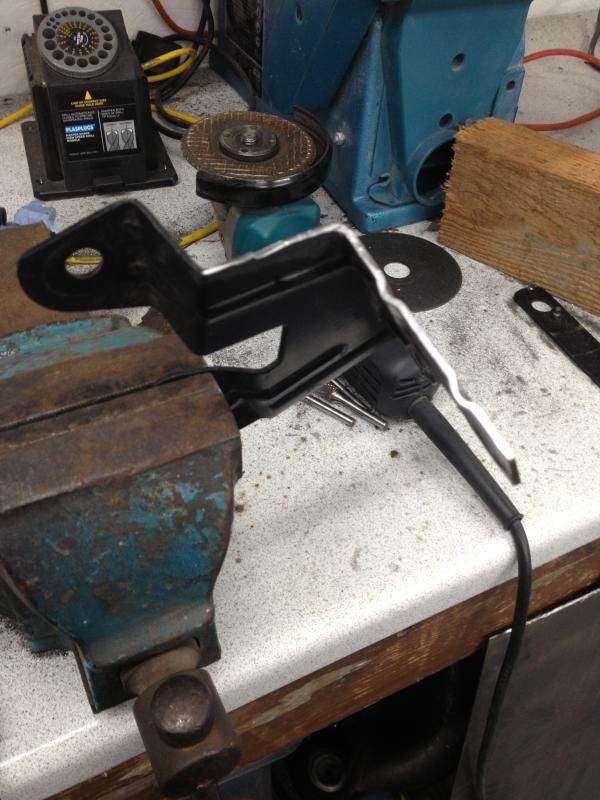
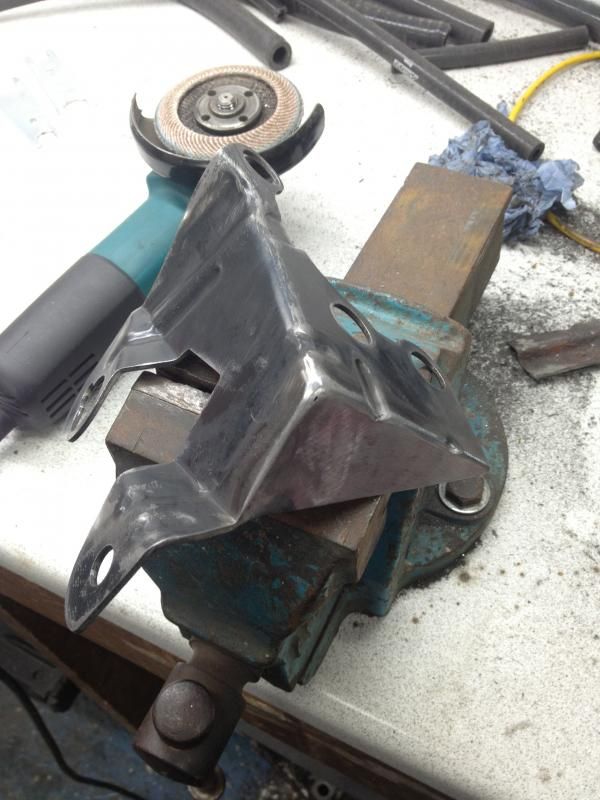
After some manipulation with the grinder and flap disc!


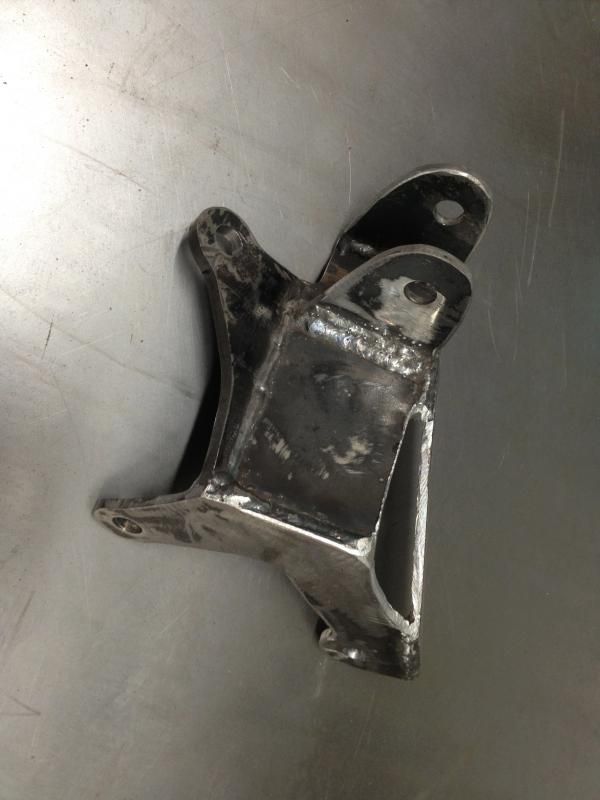
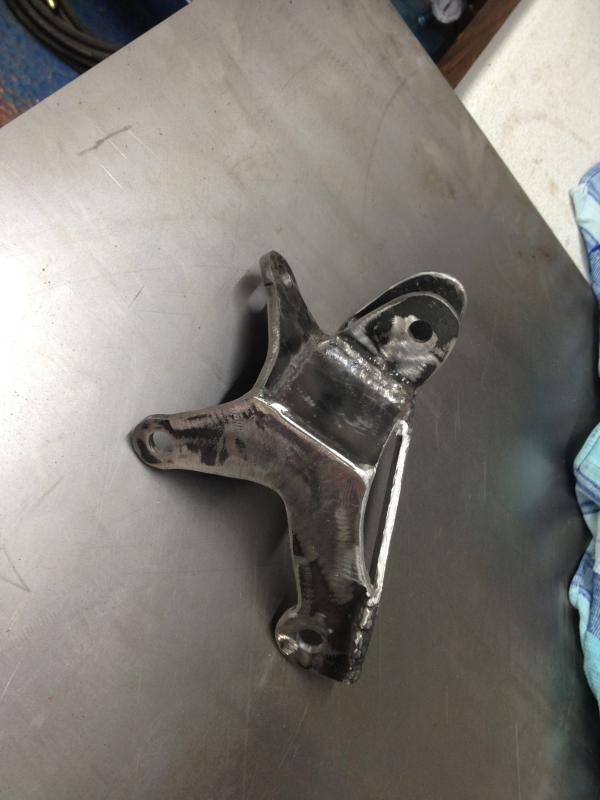
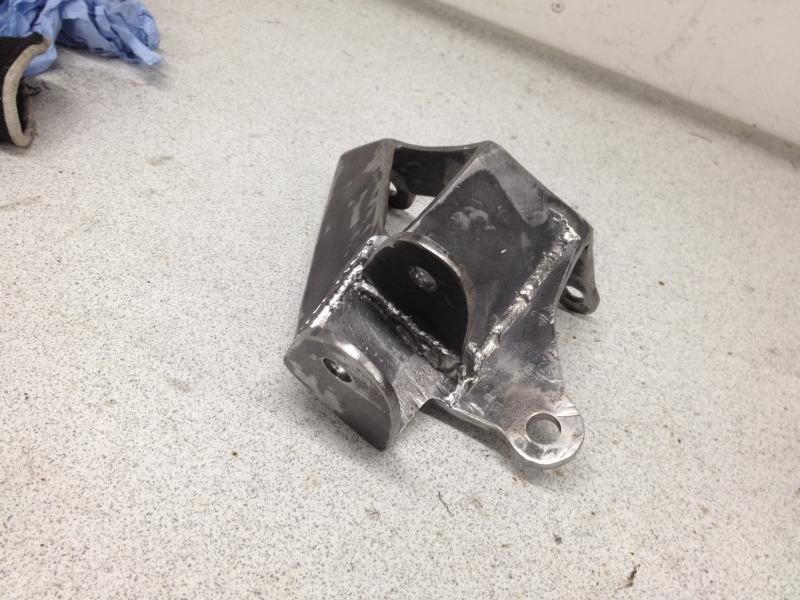
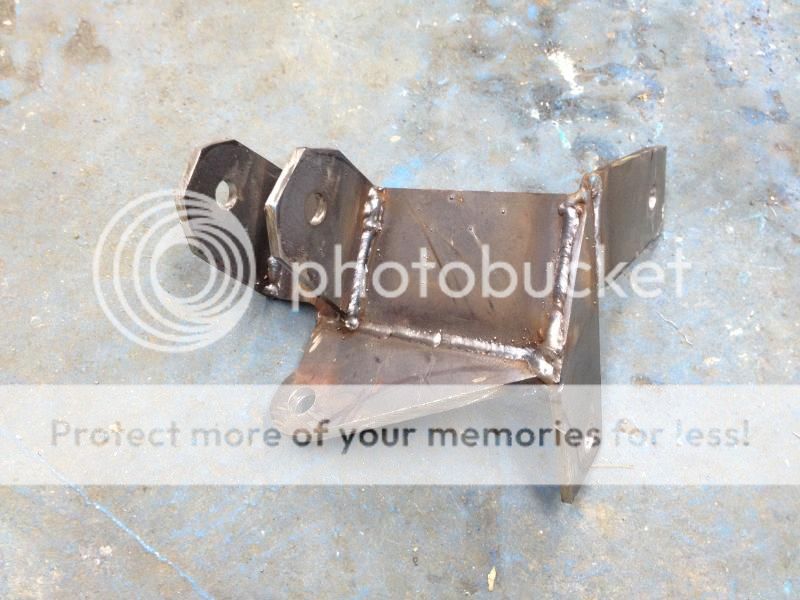
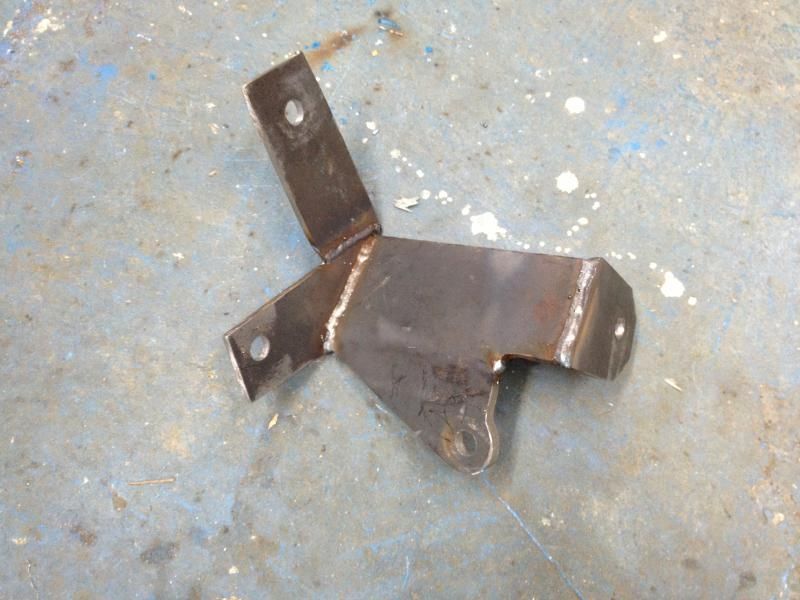
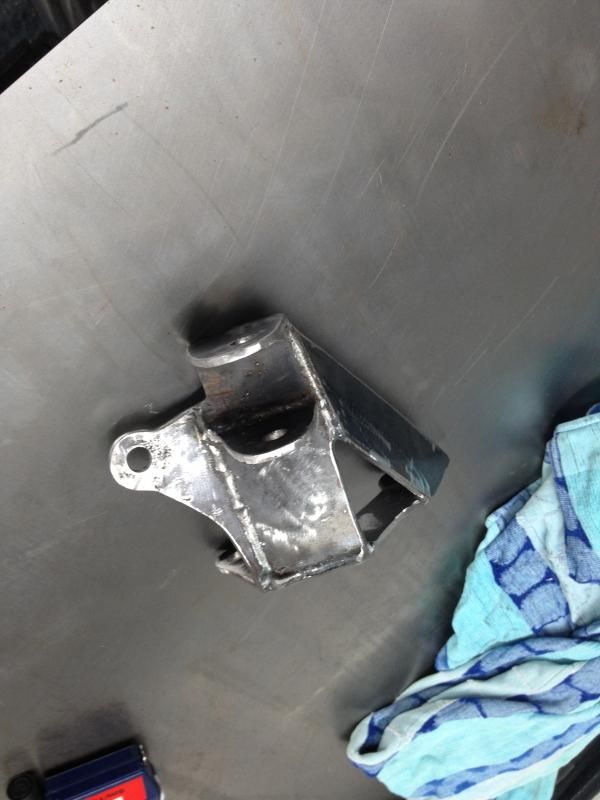
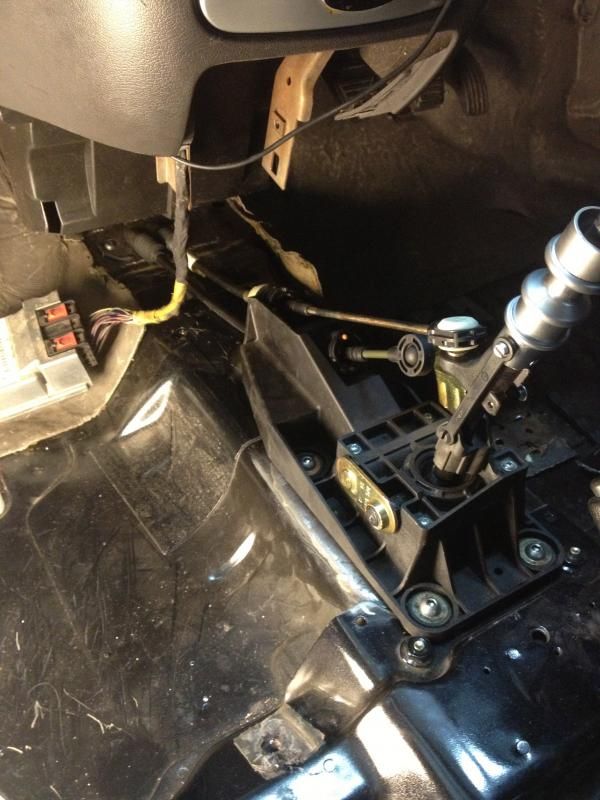
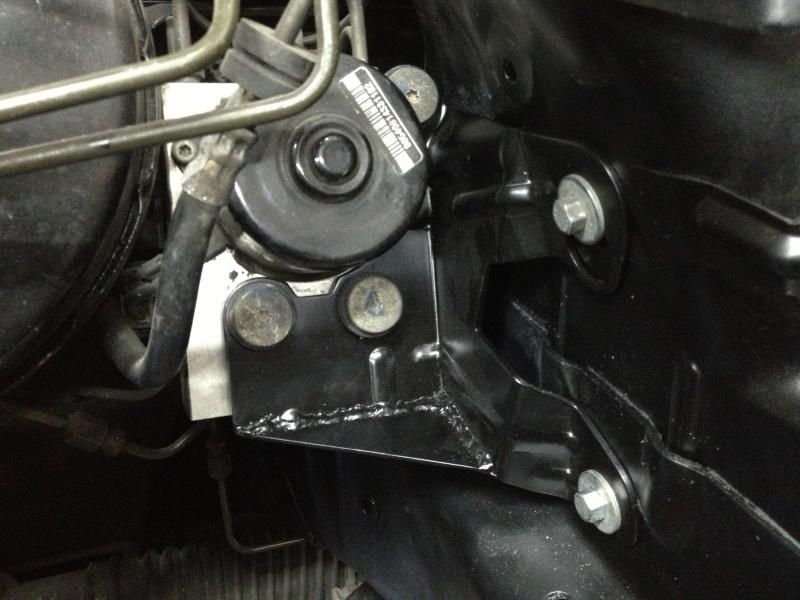
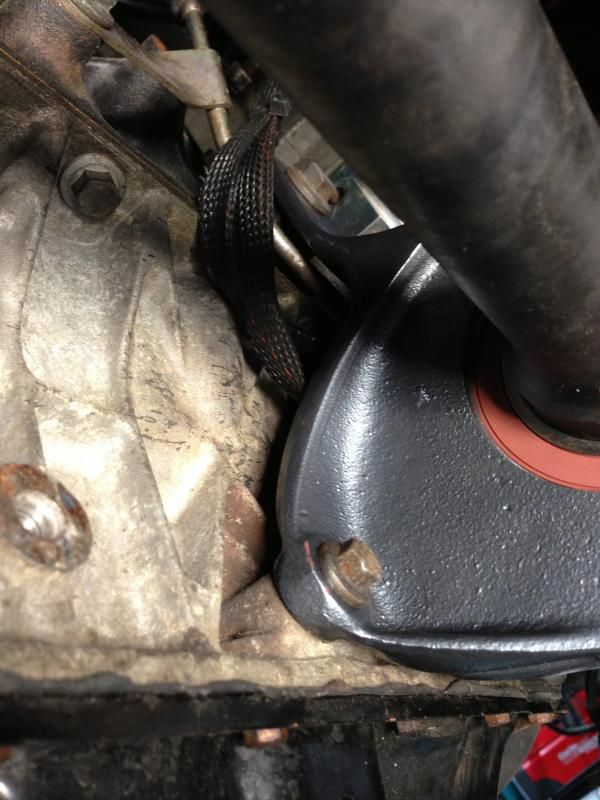
Once the gearbox was in and mounted, I found that my ABS pump bracket needed to be modified to allow the weighted arm on the shift mechanism to swing round.


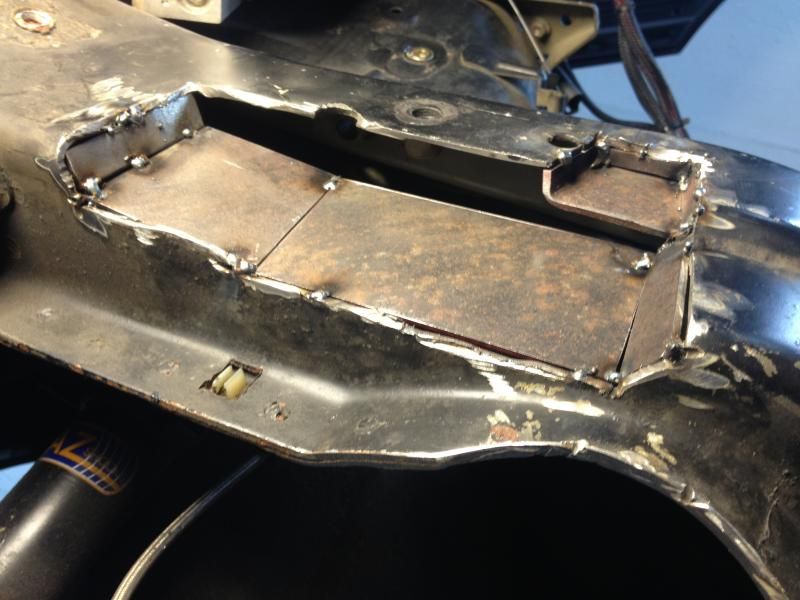
I then started on the cable shift and getting a route through. I should have removed the dashboard to do this really, but I managed without as to be quite frank I couldn't face taking it out, what with the loom attached and my gauge wiring fed through. Also cut out and plated the old rod shift hole, then put rivnuts in for the new gearstick.

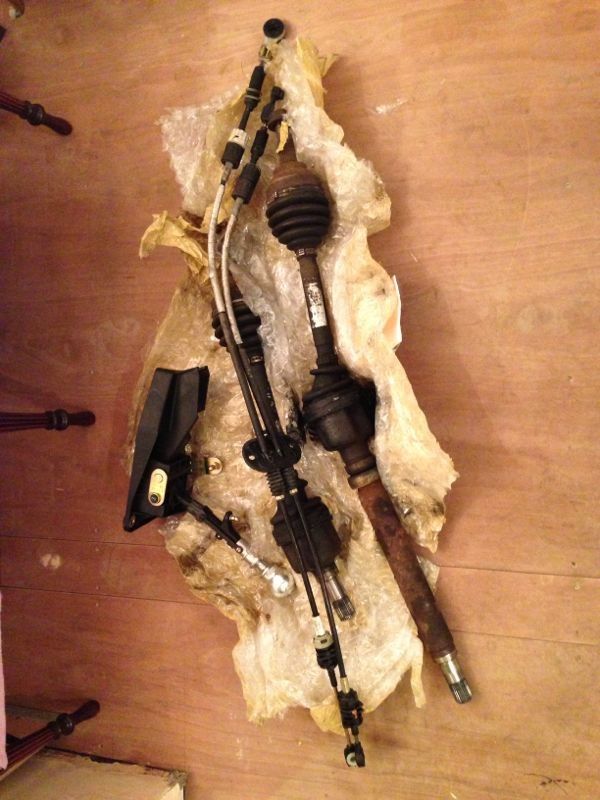
FRS driveshafts, gearstick and cables


Then preparation..


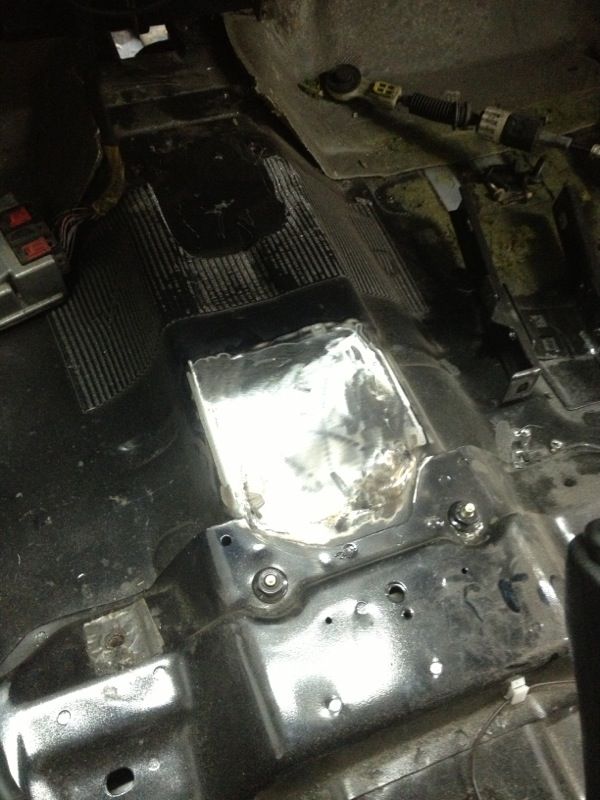
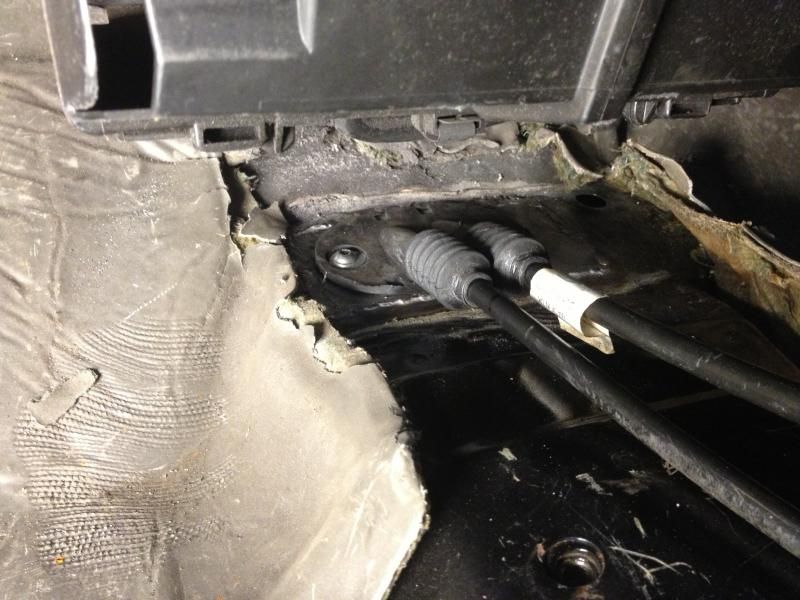
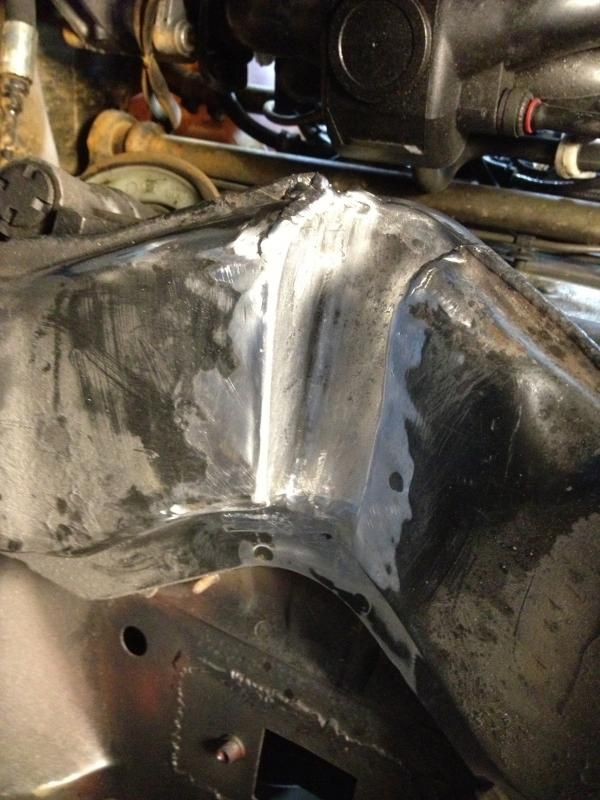
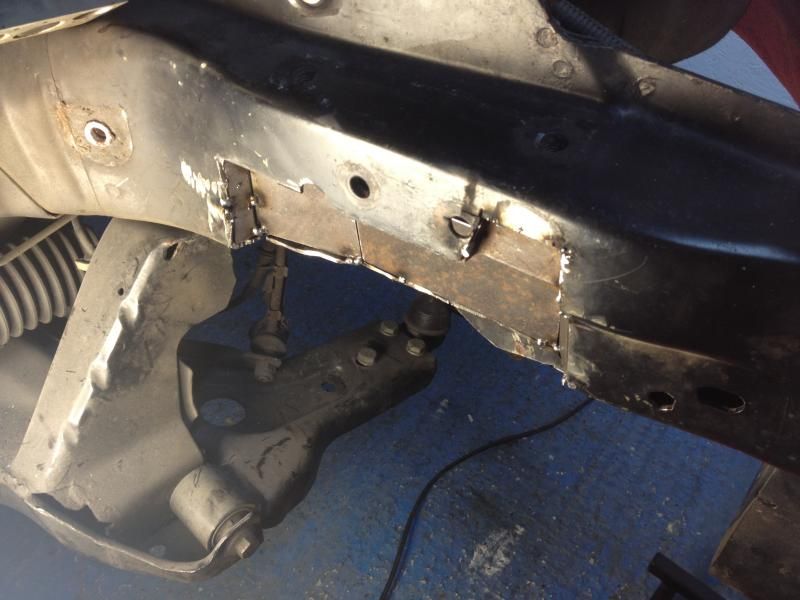
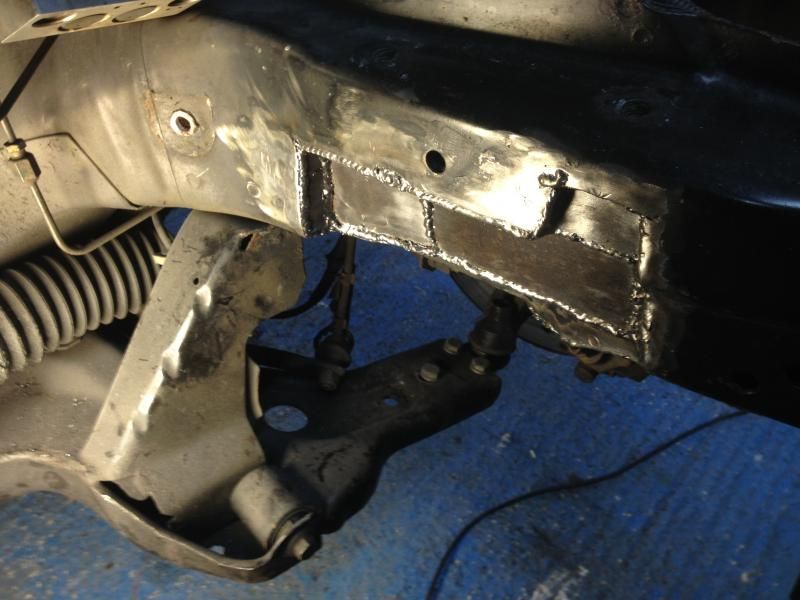
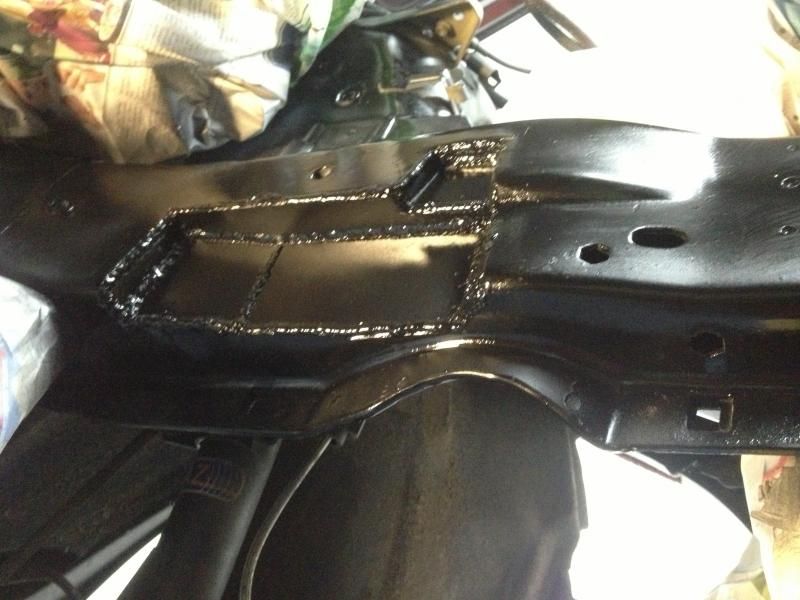
Also, had to take a section from the subframe to allow cables through without too much stress and allow for a smooth gear change.. I think I might put a further plate in to add some strength.


This was painted on the reverse side before the section was welded in. I also managed to cut slots and tie together the thinner plate inside when I welded.


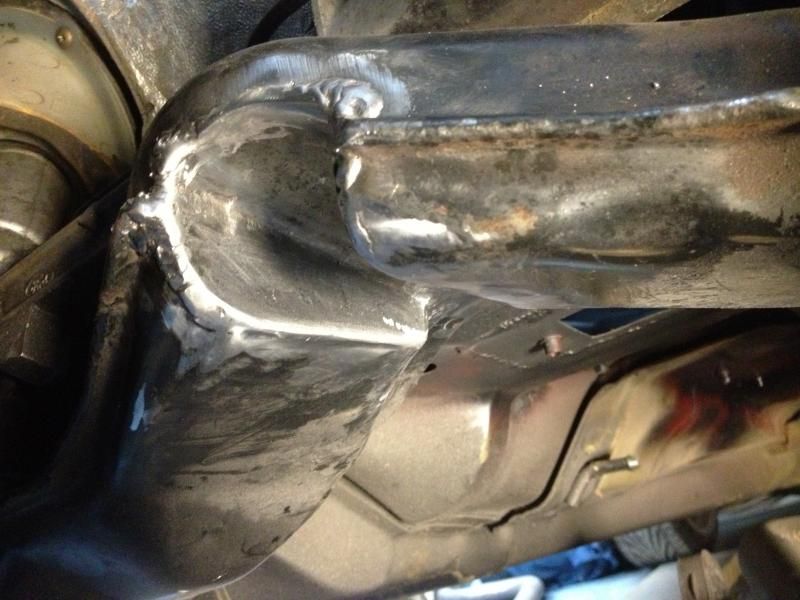
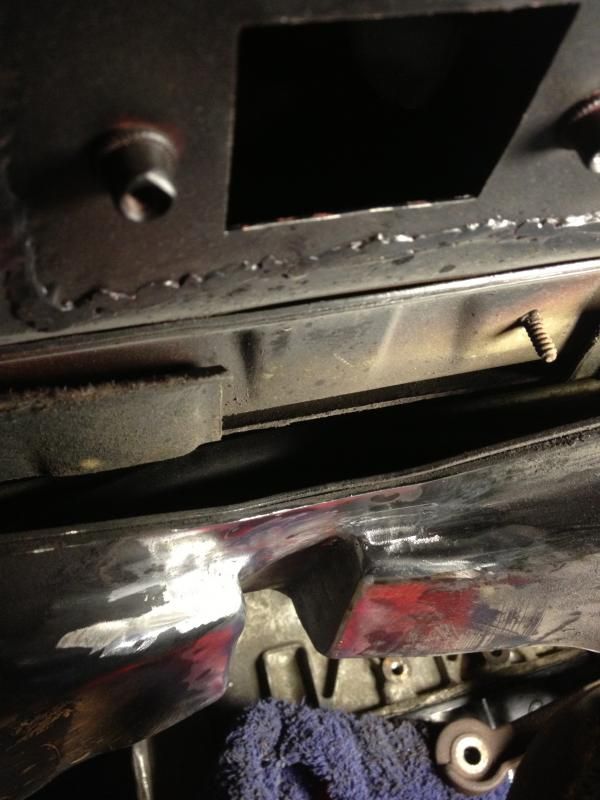
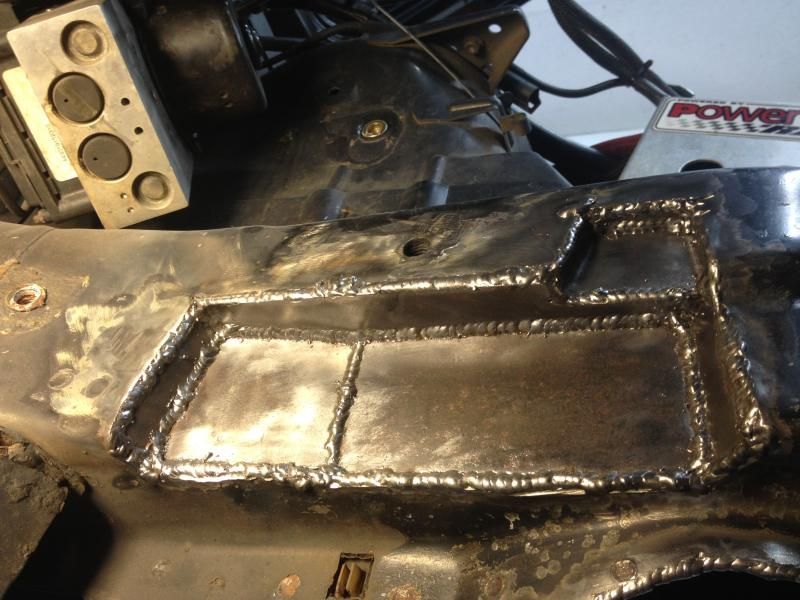
When the gearbox came out again I could trim and box back in the chassis leg:


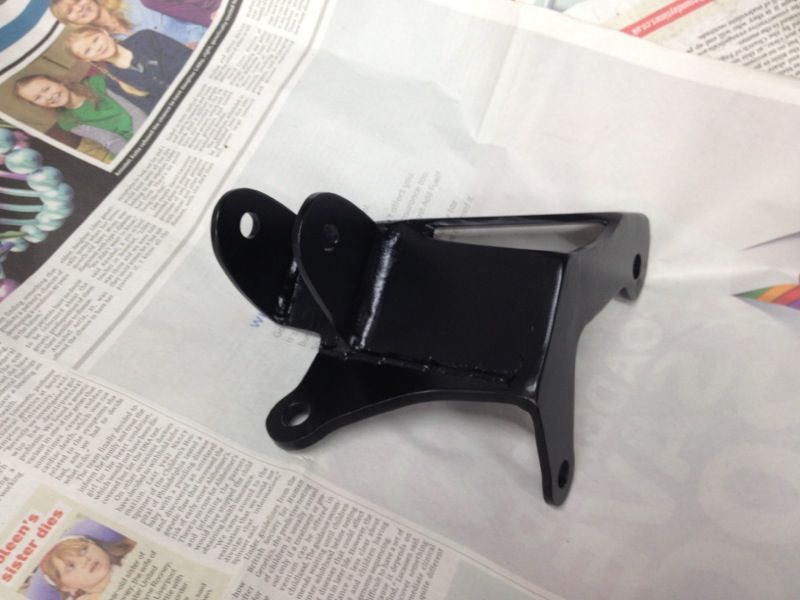
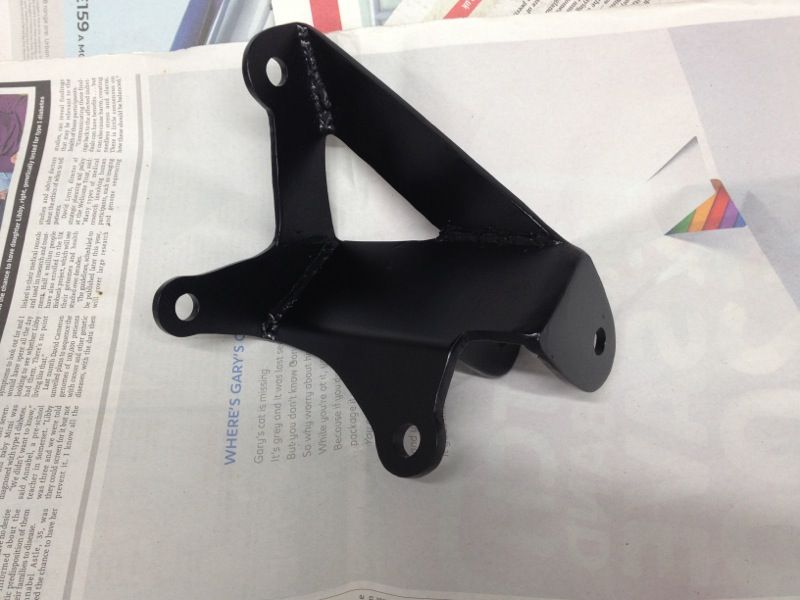
Then the 'box came out and lots of tidying up and painting took place!


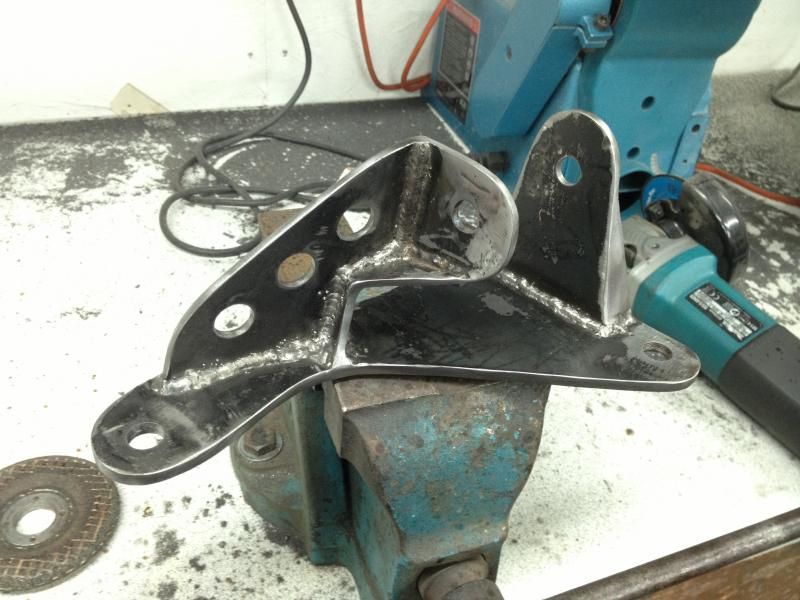
ABS pump bracket fitted back in


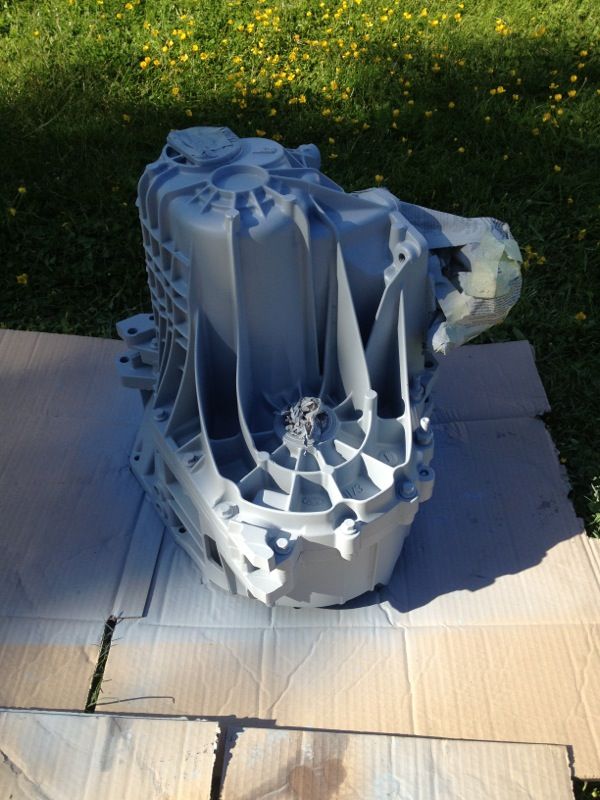
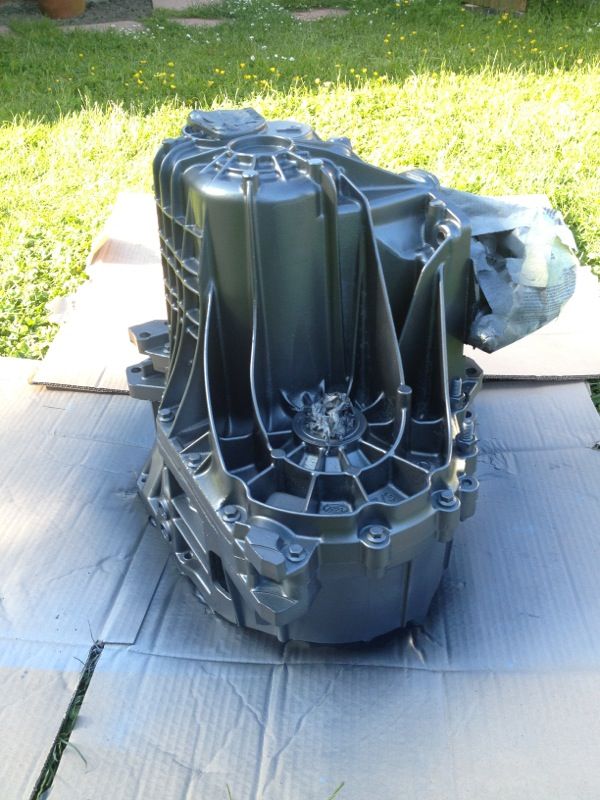
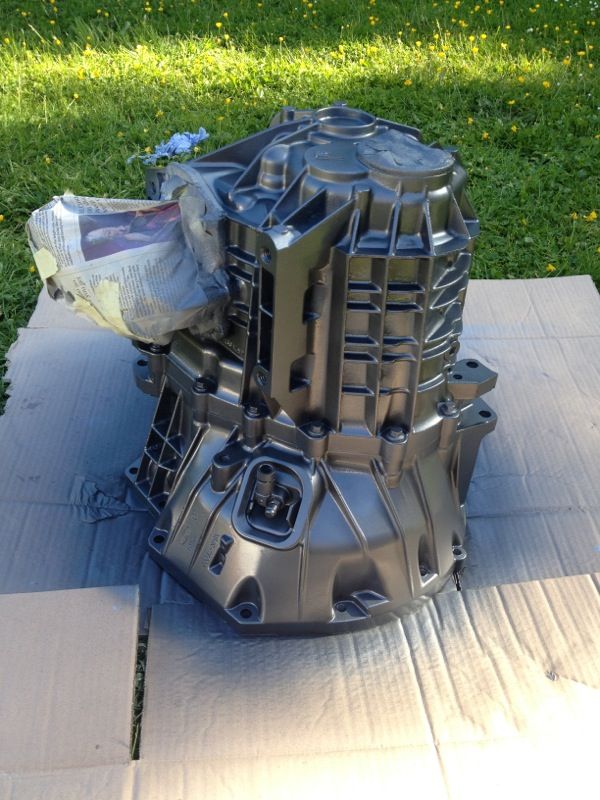
After a long thought I decided to paint the gearbox.. in a Ford colour of course :)


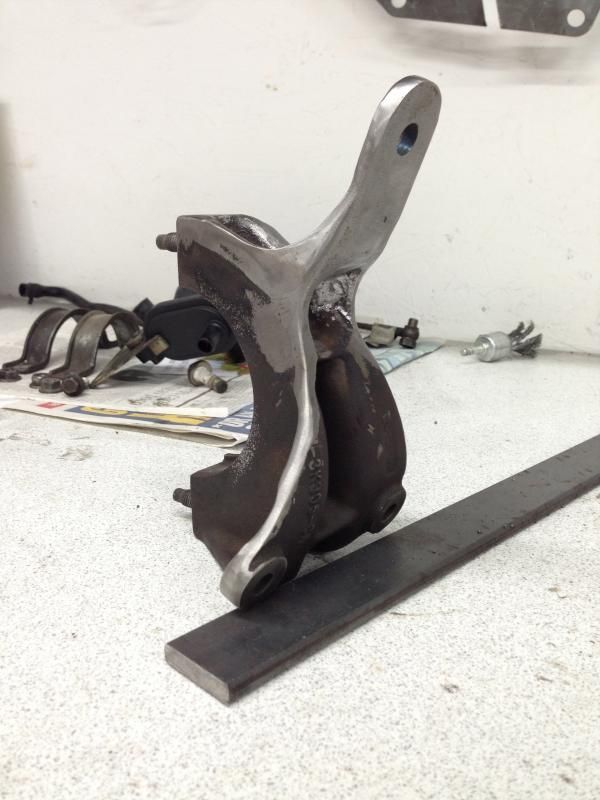
Also started work on my driveshafts.. thanks to Errol, I saved a lot of time and got some focus 2.0 shafts as I couldn't get the FRS ones to fit, the CV joints are huge! I managed to work out (after a long time!) that the nearside shaft was actually the exact length I needed for my offside shaft once the half shaft was in place. Spot of luck that saved me having one made! However, I did have to measure and get the nearside one made, which I got back this week, after some great expense - glad I only had to get one!

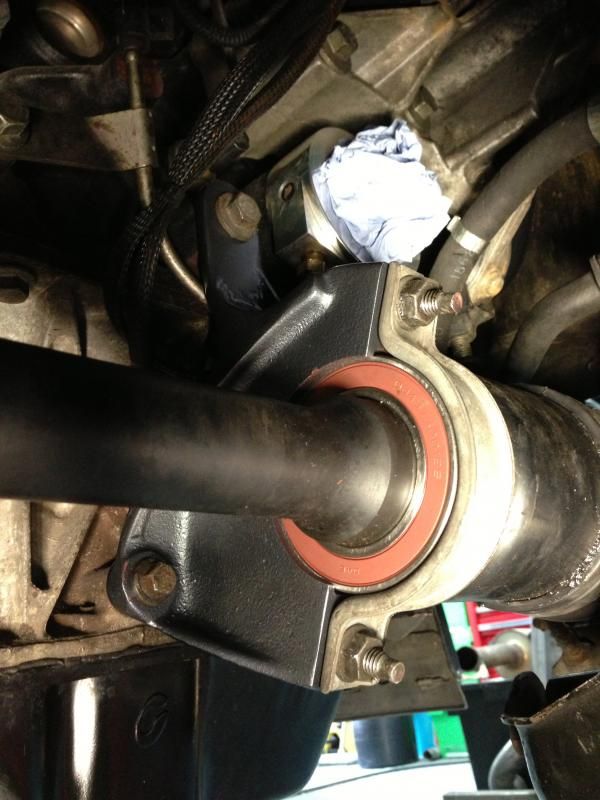
I also needed to modify the bracket to hold the half shaft. The FRS bracket is different to the 2.0 one as the FRS intermediate bearing is smaller as the oil drain from the breather ducks behind it. With some modification I could get the 2.0 one to work well..


Painted:


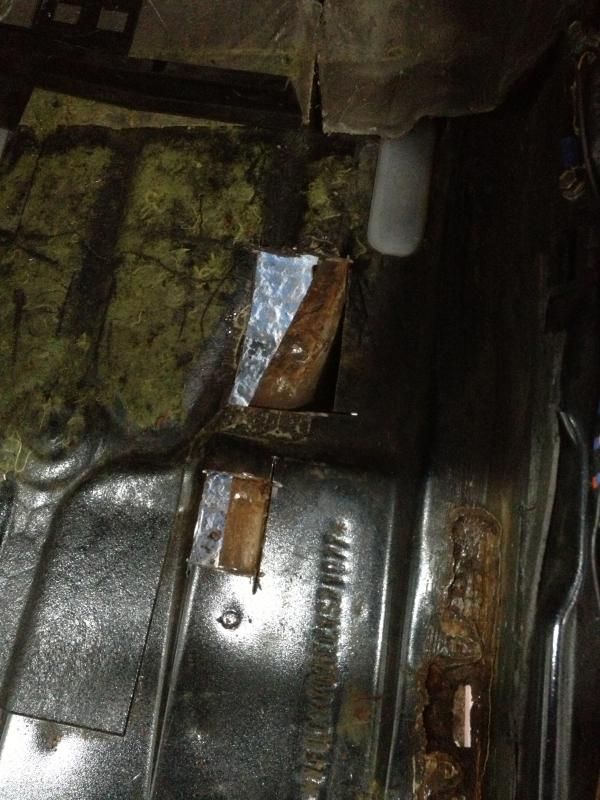
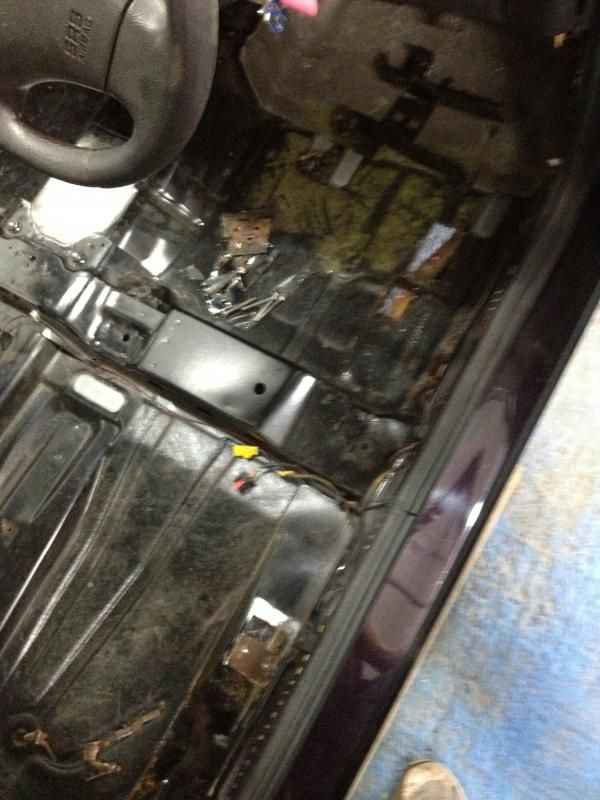
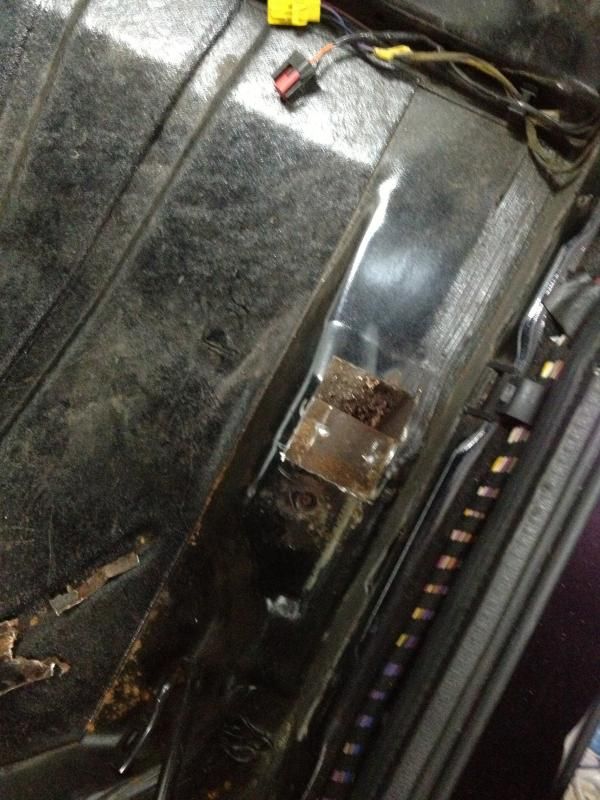
Along all these works I found some holes in my floor :( same places each side too. Will and have cut most of them out and then Ill be welding in some good new metal.


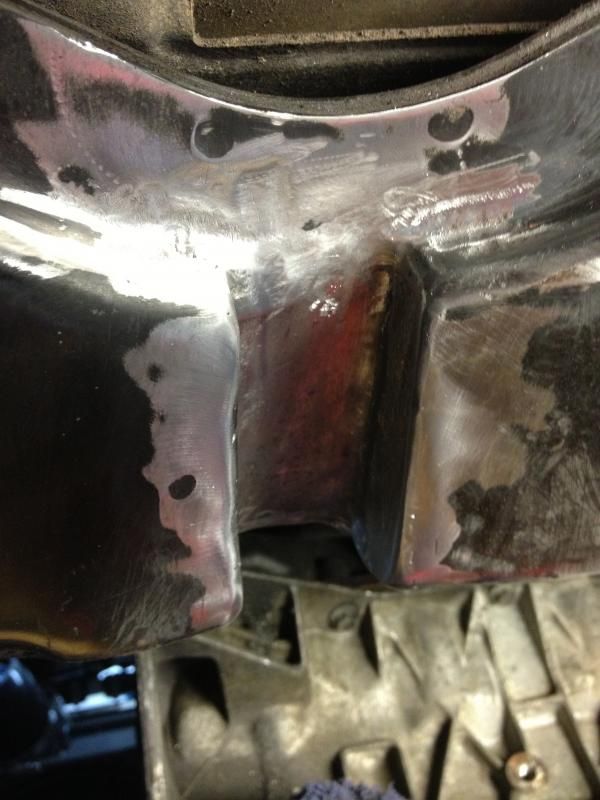
Undersealed where I did the modifications for cable shift with 3m sealer to get the factory finish (although I sprayed a bit thick on this section). Thought I had a pic, but seems to have gone missing.

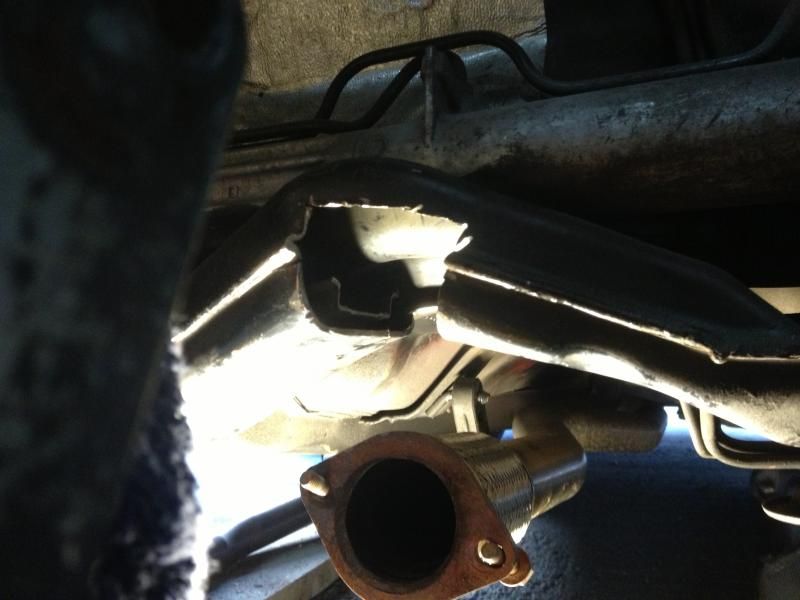
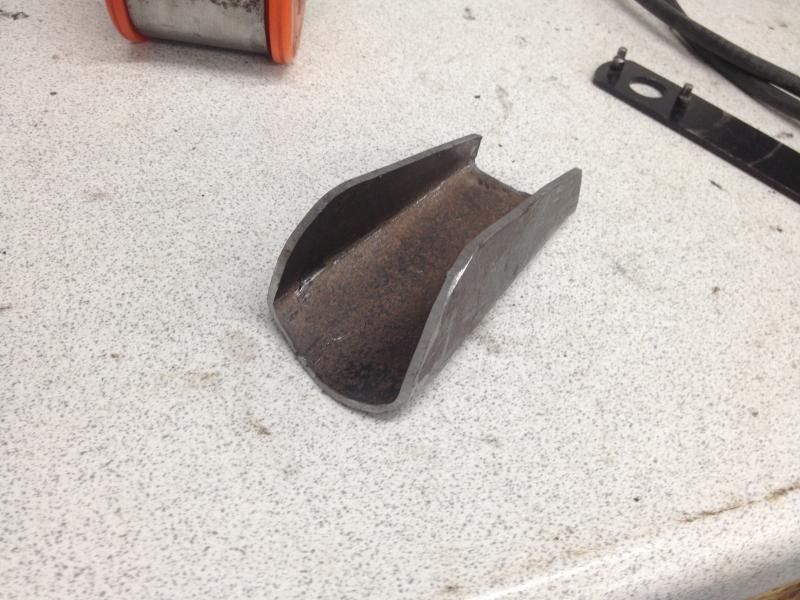
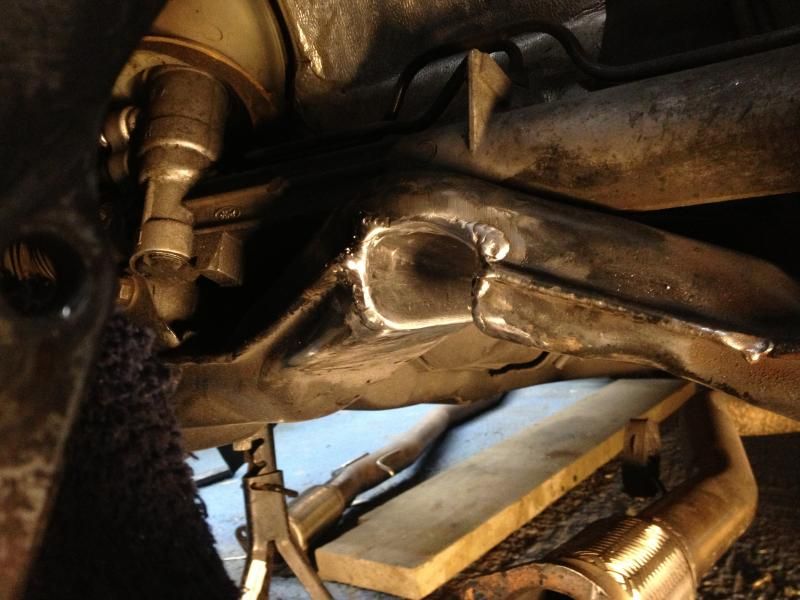
I have also moved my oil cooler and made mountings for this, but no pics yet. Will get some pics of gearbox fitted also. Nearly time to bolt all back together and weld up downpipe as I don't think my current one will fit..

Hopefully more pics and progress to follow!
 
Bentleya said:
Fantastic work! The fabricating work and converting a piece of the Puma's rear beam to be used as a gearbox mount is simply genius.

You guessed it then :grin: and thanks
 
Awesome thread!

A lot of hard work gone into this. Well done. Looking forward to seeing it finished
 
PumaNoob said:
Does anyone know if the focus RS internals are stronger then a standard MTX 75 box from 2.0 focus or mondeo??? Another option would be the ST220 internals, very strong box and 6 speed. Not sure on bell housing though!


Speaking from experience the MMT6 box is not as strong as the MTX75 . Selector fork paddles wear and drop off, the synchros on 2nd and 3rd also suffer, and the diff bearings can also fail.
 
Thanks for the comments. Some more photos, mainly progress this weekend.


Go to fit a down pipe down there.. there is more than 3" believe it or not


Moved oil cooler (and got a 10 row instead of my 13 to fit it):


New custom length driveshaft (at some great expense!)


Had this problem with my manifold before..


Caused by this I think, the tiny crack:


So welded it over and smoothed out after.


Also re-directed a water hose and had this ally Y piece made


Started on my down pipe, got it tacked together all the way to the bottom at the back of the engine to find when I put on the last bit I now cant slide it down the back! So got some re-jigging to do I think. Going to try and find room for the v-band to sit further up the pipe so I can separate it so I'm able to fit and remove it easily.
 
Fantastic work and a fantastic thread. As previously said the fabrication work is stunning!
 
Love this :-D

I'm attempting the same thing myself over the next few weekends! Don't suppose you've got the dimensions of the o/s mount you fabricated have you? Would save me a load of time hoiking the motor in and out!
 
A few weekends!!?

If you manage that, I must be doing something wrong.. :lol: I've had to customise so many parts and brackets etc.

I don't have the measurements for it but I can measure the mount I've got?

I made the mount with the engine hanging in situ with the old gearbox dictating that end of the engine, so only had to line it up and get the height right which wasn't too bad. It was harder when I put this gearbox in and had to fabricate the N/S mounts.

Thanks for comments
 
Wow, Ben you've done an absolutely awesome job on that mount. Your chassis leg looks the same as mine now!!
 
Thanks dude.

I'm glad we ended up with the same then, because I had no idea what I was cutting out :lol:

..well I took an educated guess :)
 
Any measurements or drawings will help! I'm going MTX as well but I've got a weld in mount sorted for that (sort of!)

My engine and box were destined for a mk3 escort but it was dying of tinworm so its all going in the Puma!
 
I'll see what I can do. Not near the car until the weekend unfortunately.

I was always toying with the idea of getting my mount cast so it could be replicated after a mould was taken.
 

Latest posts

Back
Top