Project Puma 'Black'

ProjectPuma

Help Support ProjectPuma:

This site may earn a commission from merchant affiliate links, including eBay, Amazon, and others.
Hi Flash,

Really like your clock/temp mod something I've always felt the Puma should have had from the start. Is it difficult to do, I don't suppose you can do a brief step by step guide?
How do you go about selecting the temp reading over the time? is it the button on the right. And lastly the amber and red ice flakes, like on my mondeo does the amber come on from 4 degrees C and red comes on from 0?
 
coloured snowflakes as per Mondeo, change with button on right, I did a how-to on ppl, I will find it and copy it over later.

Sorry, in a bit of a rush!
 
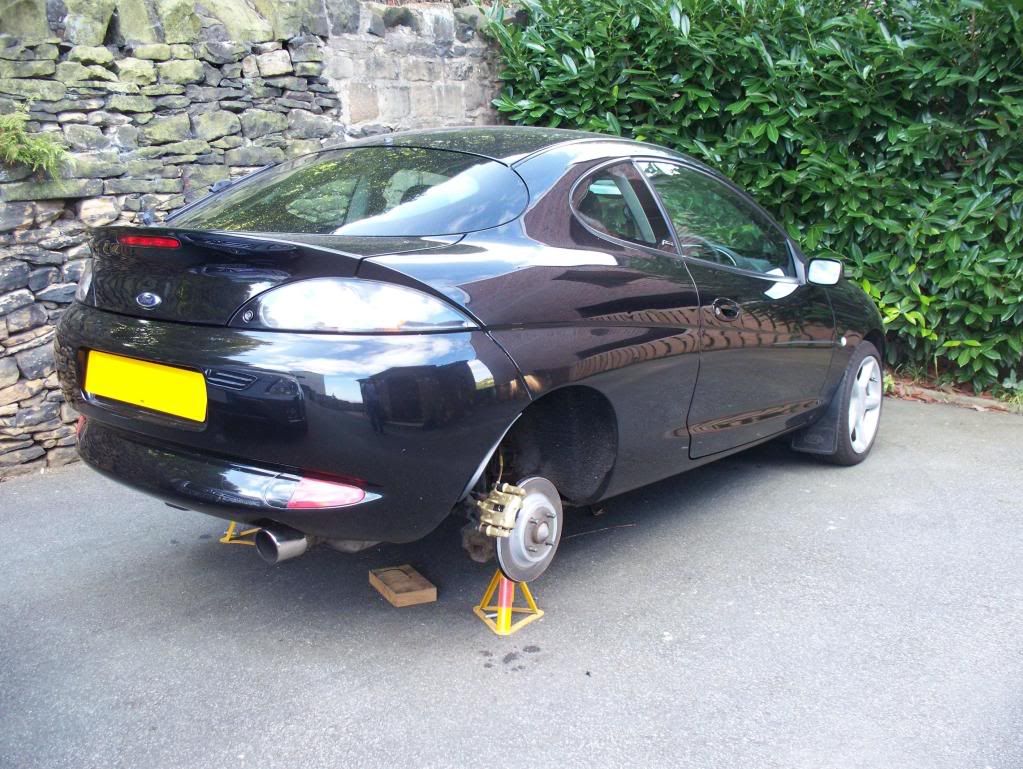
So the car has been sat on the drive with it's bottom in the air for the past week. I have been off, and have been using the Honda instead. The Puma is going in next week for some minor remedial works to sort a couple of rust spots, on a rear arch, and again on the drivers door tread area.

26-09-09002a.jpg


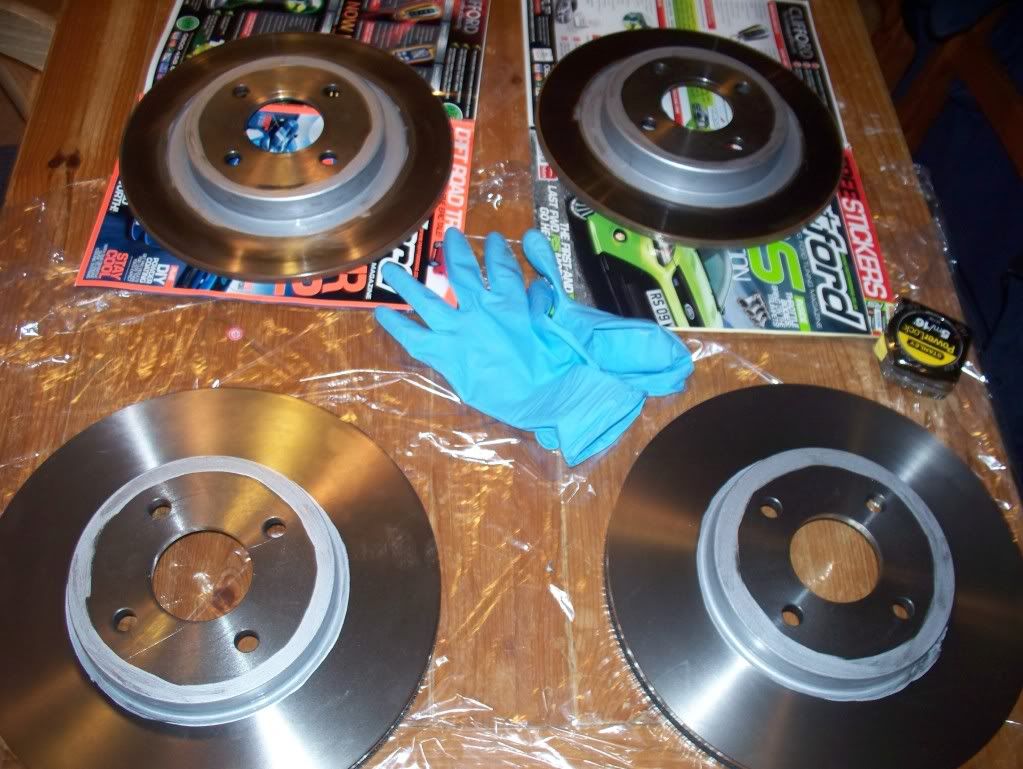
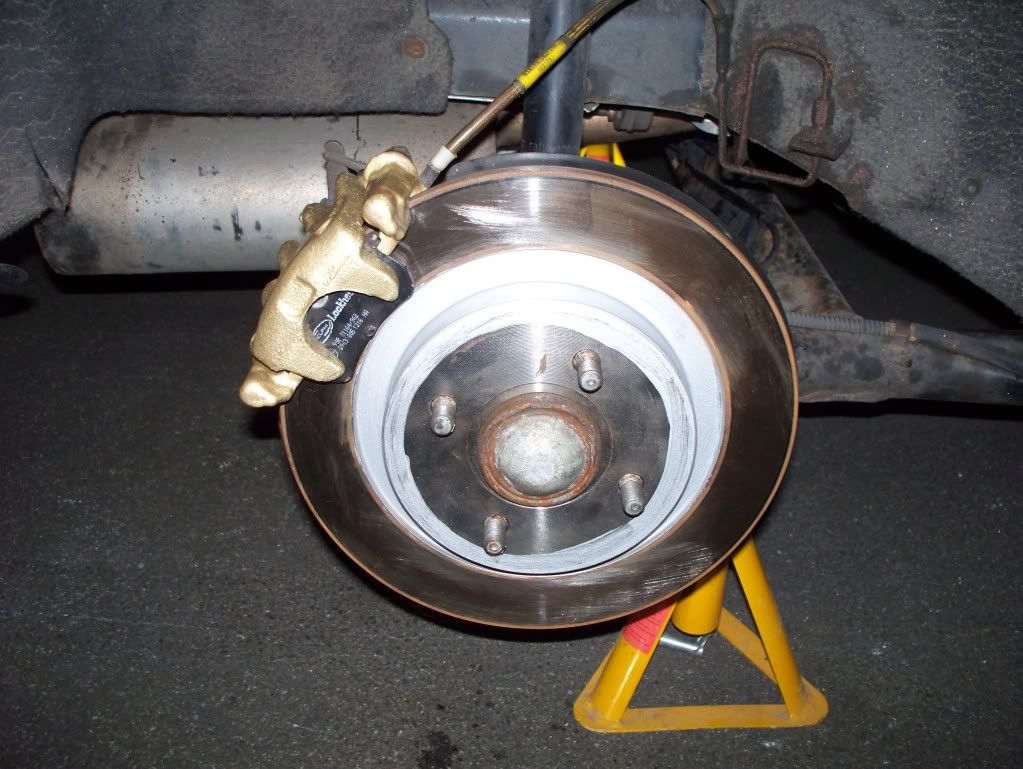
Anyhow, I have taken the time to paint up the rear calipers in gold, and also to apply a coat of silver hammerite to the discs (current rear, and new fronts, waiting for ST170 calipers); the rear discs in particular very quickly looked shabby due to very light (but very orange) surface corrosion; hopefully this will keep them looking smarter for a bit longer

RearBrakes001.jpg

Current rear, and new front brake discs, with light coat of silver hammerite to non-contact areas

RearBrakes005.jpg

Off-side rear brake disc & caliper

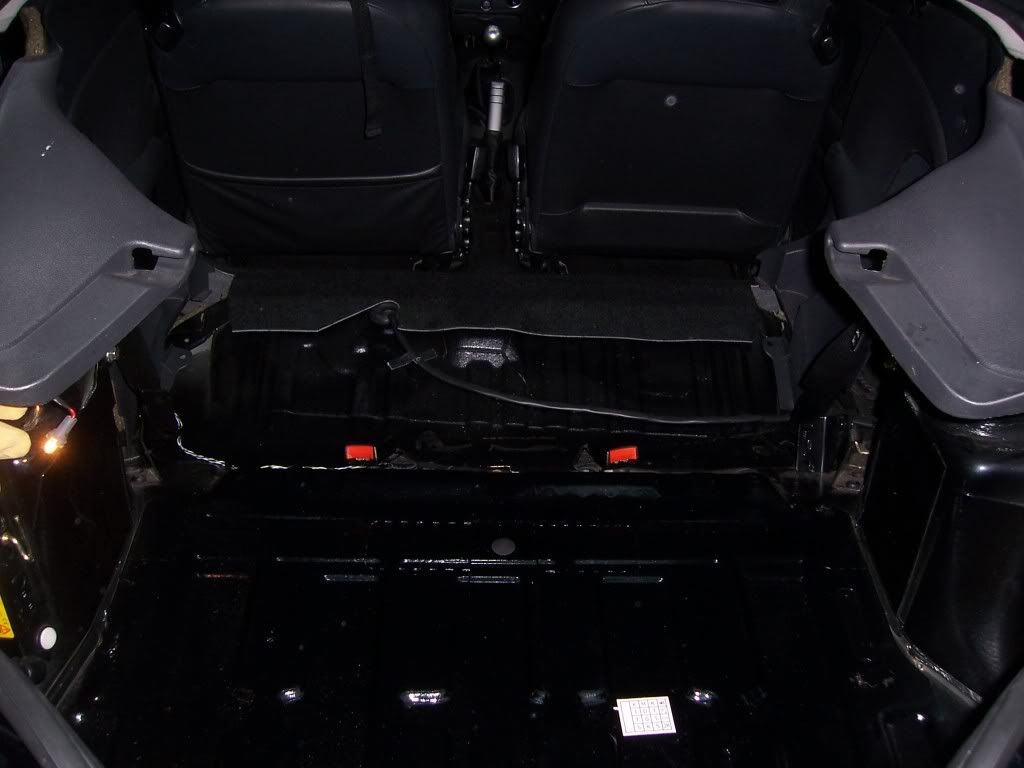
I have also stripped out most of the rear trim, in preparation for some rust proofing and sound deadening, though both will wait until after the bodywork has been rectified. I was amazed at how easy it is to remove the rear seats, and the quarter panels weren't too tricky either, however I have bought a bundle of new trim clips, and both rear quarters are currently laying in the back of the car, restrained by the seatbelts.

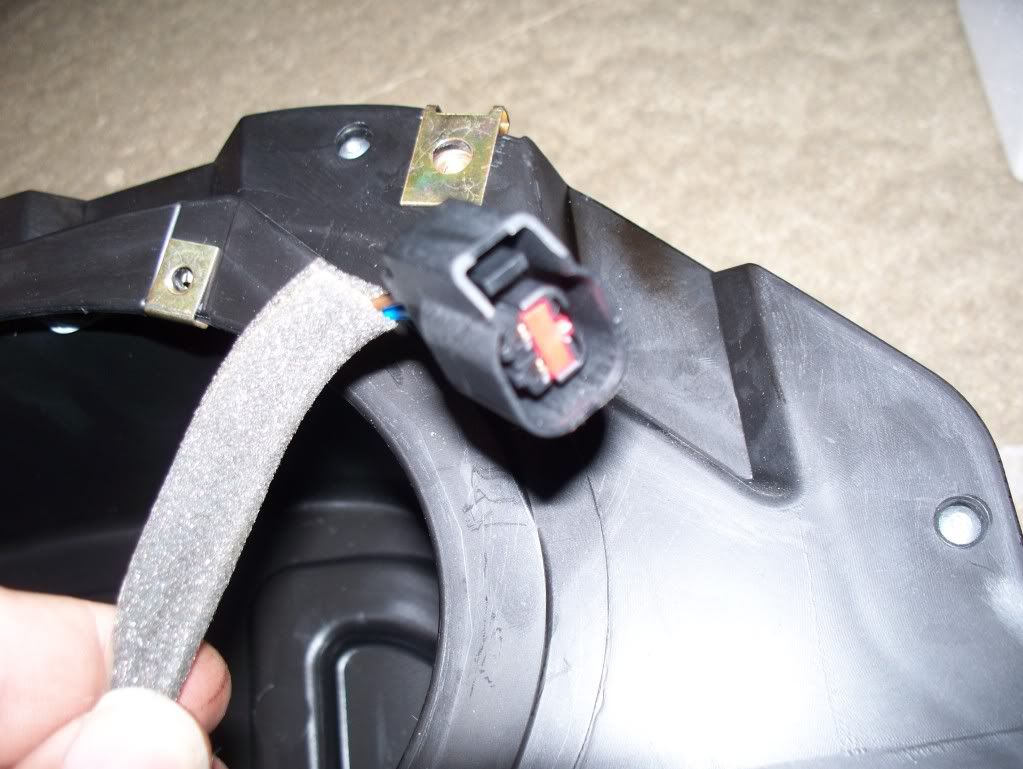
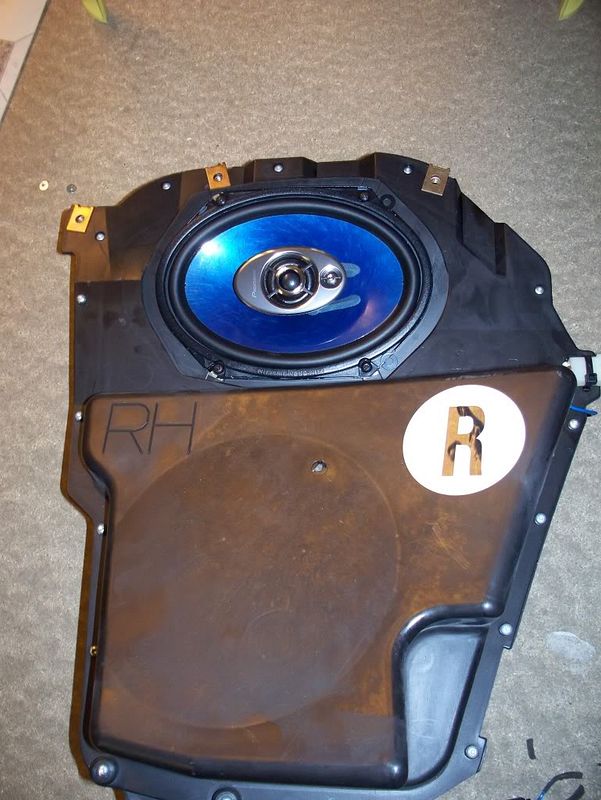
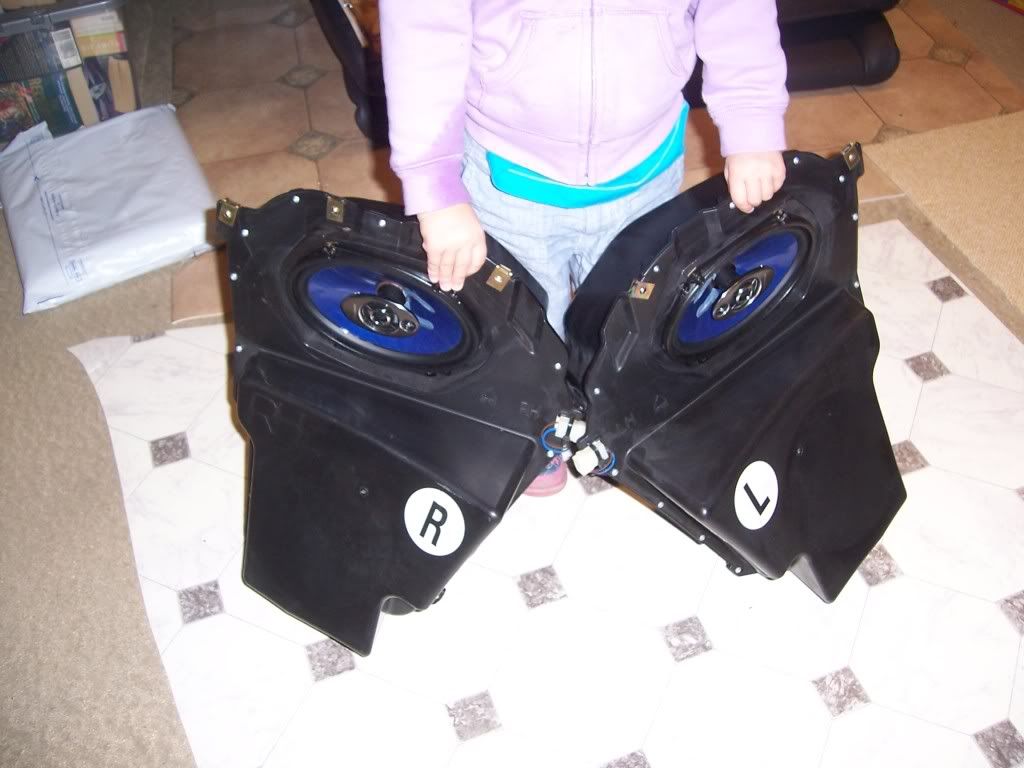
Having stripped out the rear quarters, I removed the speaker boxes to fit some Pioneer TS-H687 6x8 custom fit speakers. The fit could not have been easier or better, but I hadn't realised that while the plug onto the speaker box is a standard Ford speaker plug, the one from the inside of the box to the speaker is not;

RearSpeakers003.jpg

Standard Ford speaker connection from rear box to speaker

This unfortunately meant cutting the wiring and fitting new connectors, not really a problem, just that I don't like cutting original wiring.

RearSpeakers006.jpg

Pioneer TS-H687 6x8 Custom Fit rear speaker

The new speakers look quite nice, the pods need a wipe down and a layer of Second Skin Damplifier, then they will be ready to go back in when I get the car back.

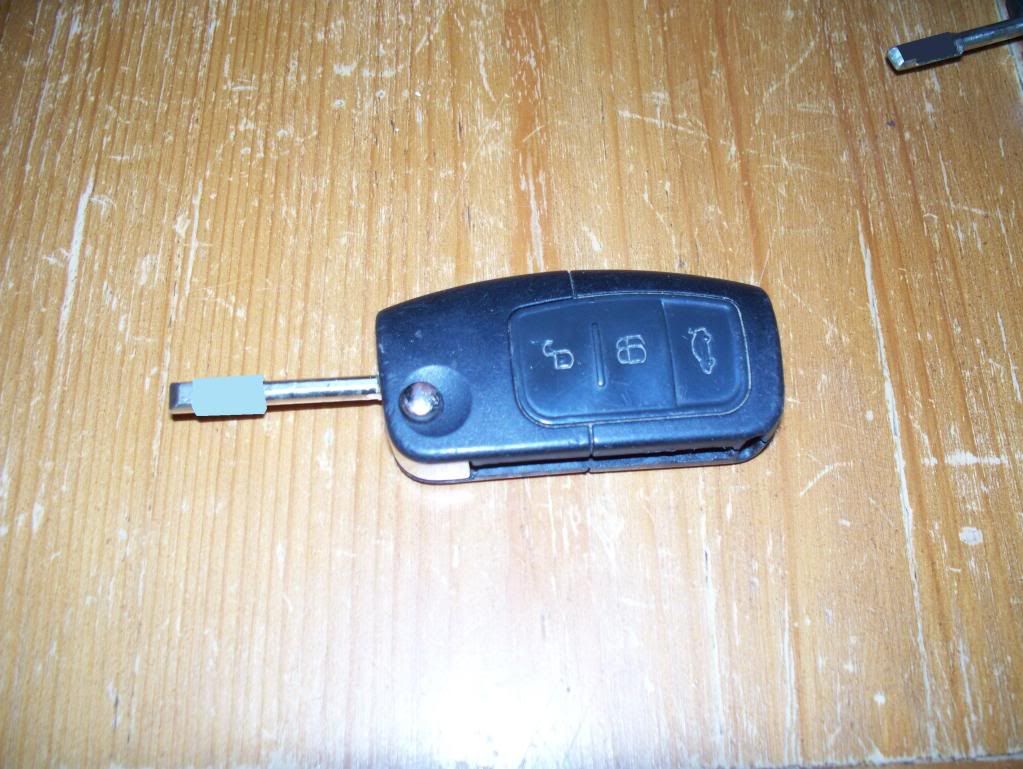
Also made up a new key, which is really nice to use, but not quite as slick as the Jag key;

FordFoldingKey006a.jpg

Ford Focus II key, modified with Tibbe blade and "RED" PATS transponder

Hoping to get the rear wheels waxed before they go back on, and will probably send the car to the bodyshop with a 15" steelie on the affected side.

Looking forward to getting the inside rust proofed with some Bilt Hamber Dynax S50, then soon get it on a ramp and do the bottom with more Bilt Hamber goodies.
 
Couple more pics before it goes in for paint;

26-09-09006.jpg


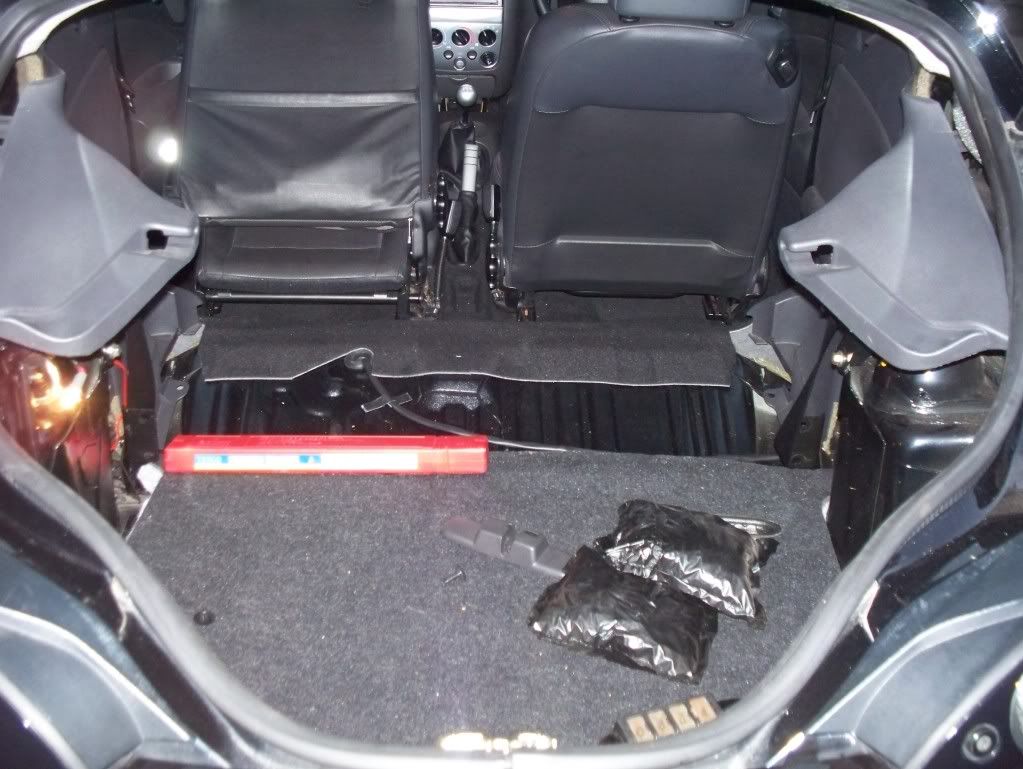
Rear interior stripped, the side panels are just sitting roughly in place to avoid them damaging each other, I was amazed at how easy it was to take it all out.

26-09-09006.jpg


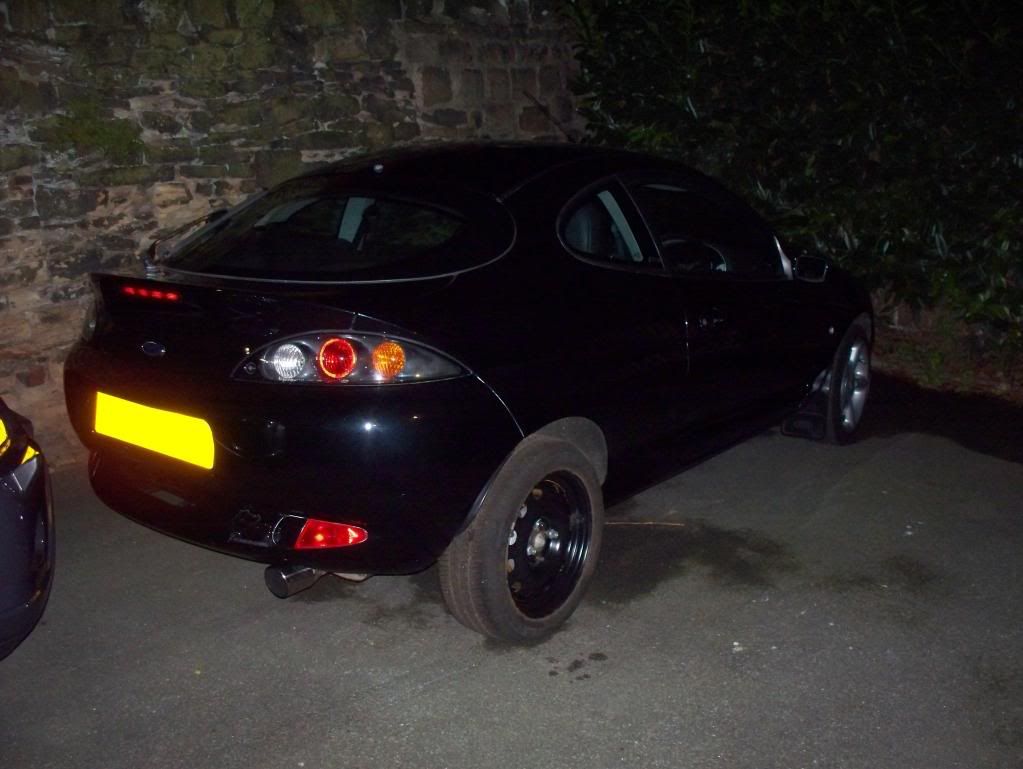
Standard 15" spare just about clears the 270mm rear brakes, quite like the sleeper look of the plain black steelie, shame they wouldn't fit over the front though.

26-09-09004a.jpg


26-09-09007a.jpg


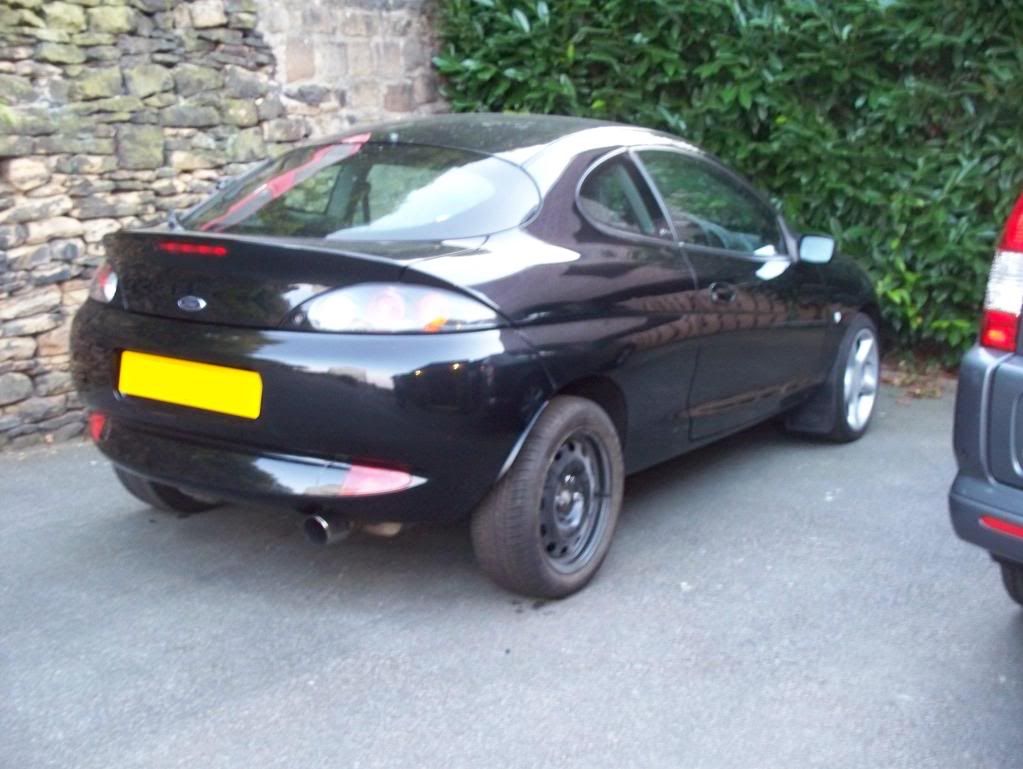
Finally cleaned and ready for the bodyshop. I was going to remove the rear quarter window, but I really can't be bothered with the hassle, so will just get it painted up to the bodyline.

Of course I should really have taken a pic of the other side where you can actually see my freshly painted caliper behind the alloy wheel, maybe if I get time in the morning.

Comments welcome, as always!
 
Having applied the Dymax S-50 quite generously, I was suprised at how it had crept through some of the seams, notably in the sills, puddling on the drive. Still, should be better now!

Gave the speaker pods a wipe down, with the help of my small assistant;

03-10-2009004.jpg


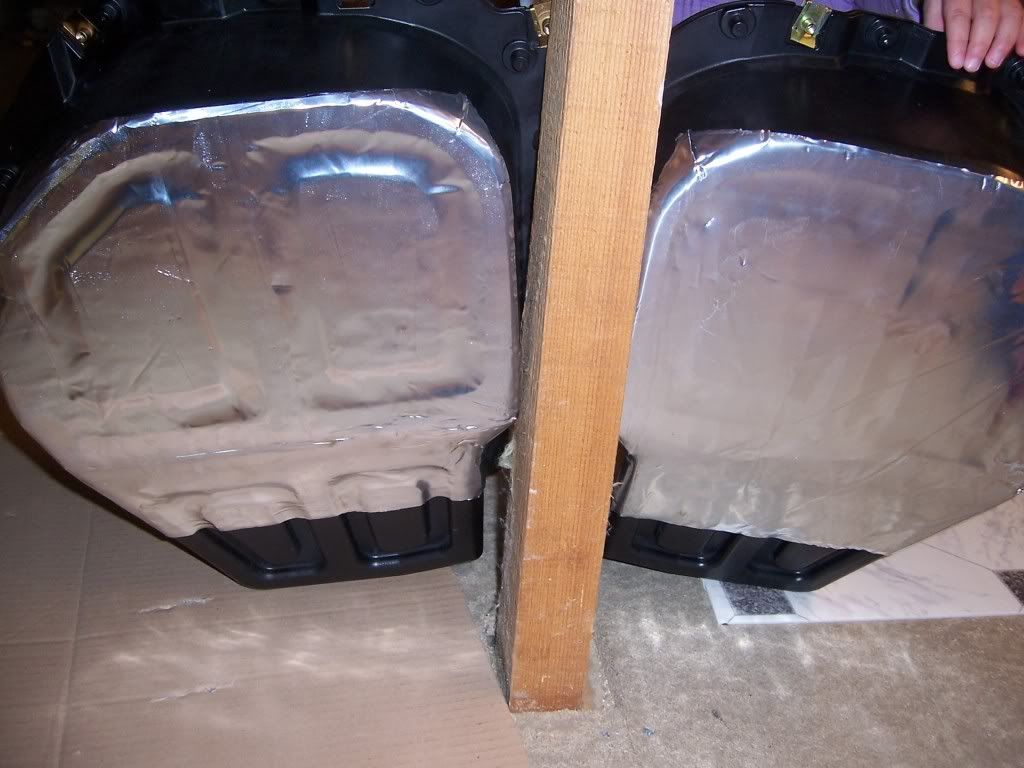
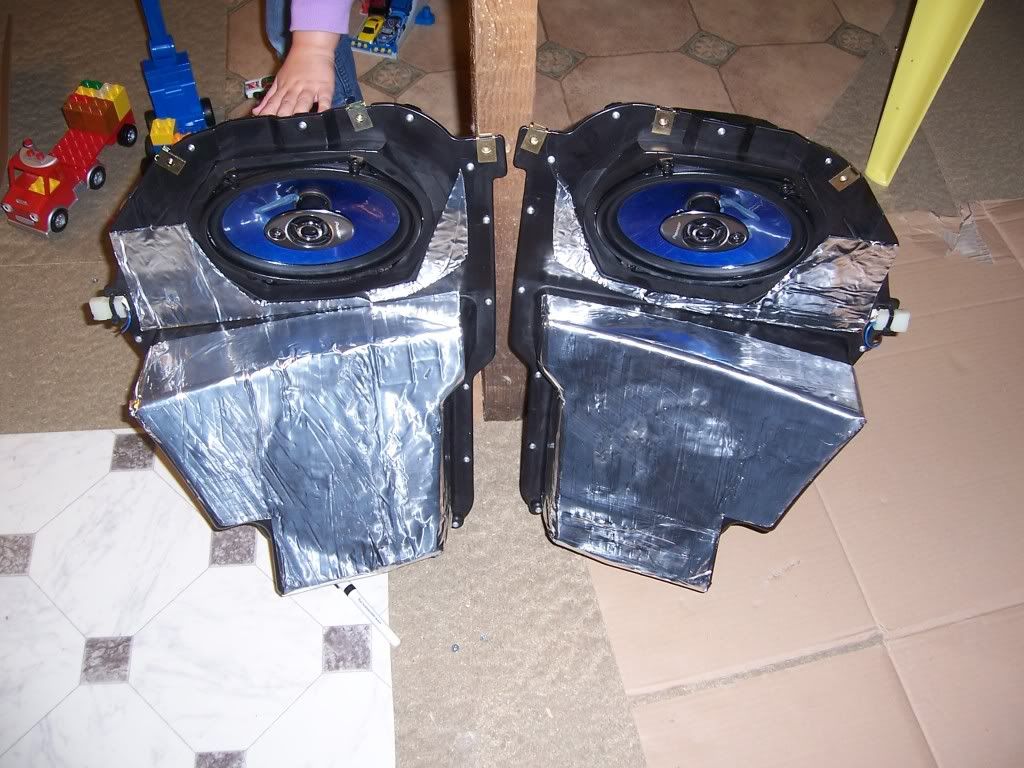
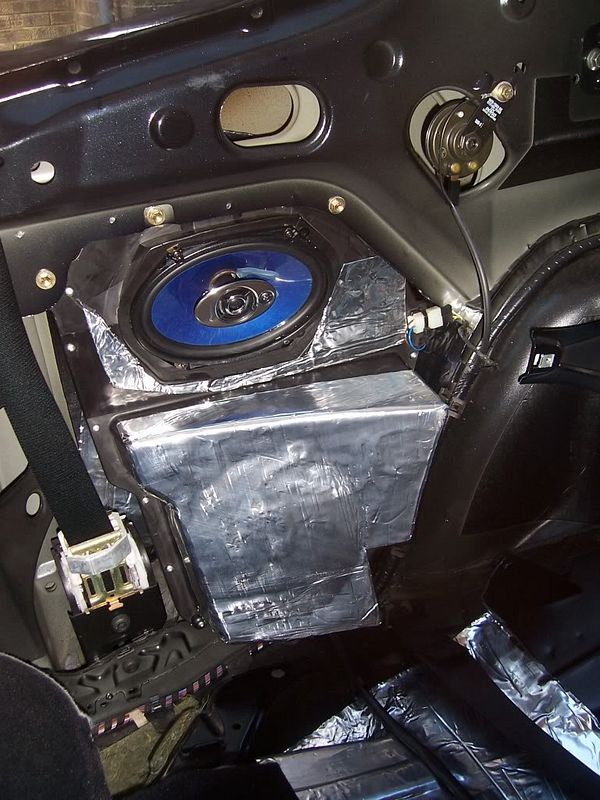
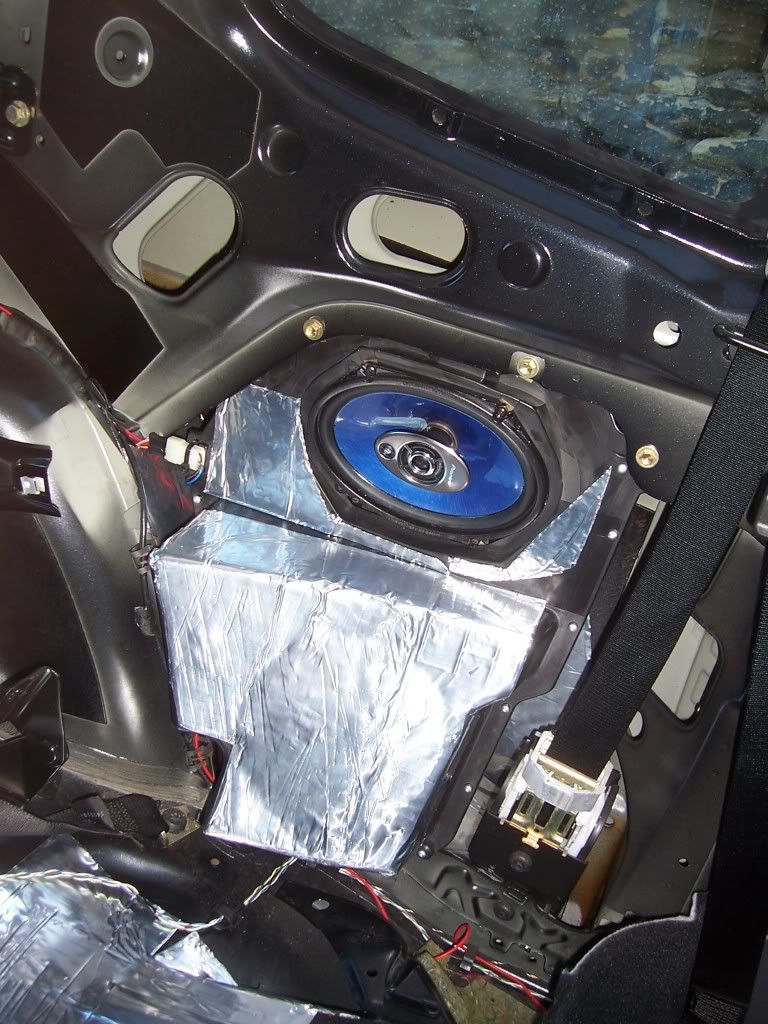
Then applied some Damplifier Second Skin to each pod;

03-10-2009006.jpg


03-10-2009005.jpg


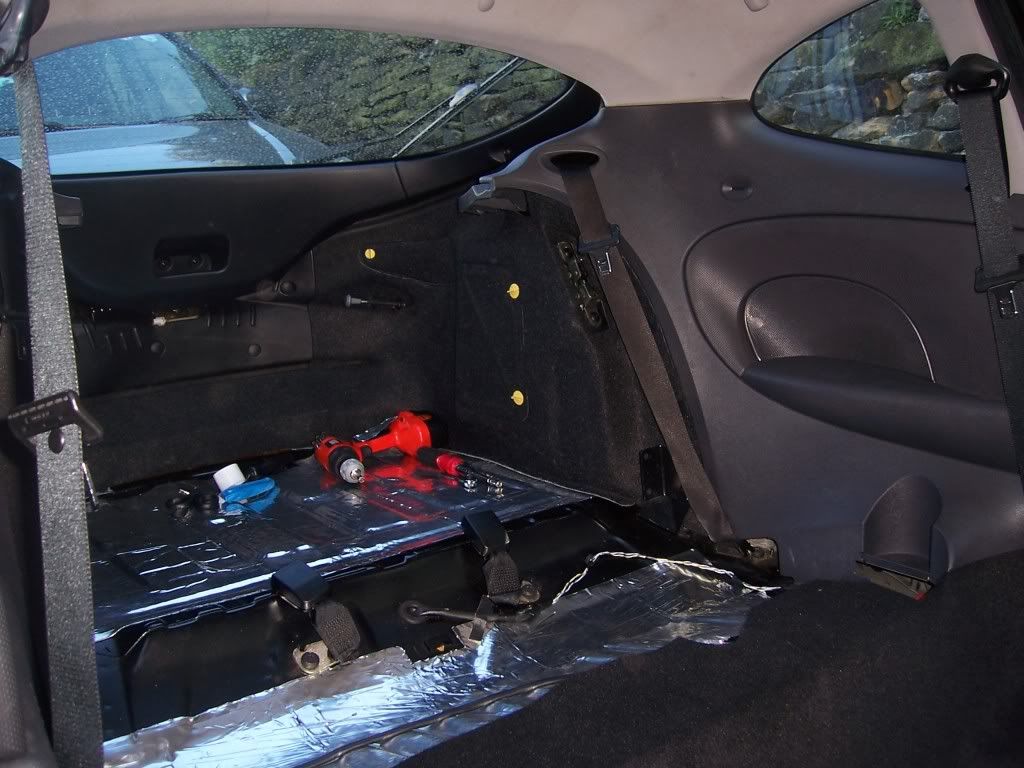
Rear interior trim stripped for rust proofing and sound deadening;

03-10-2009001.jpg


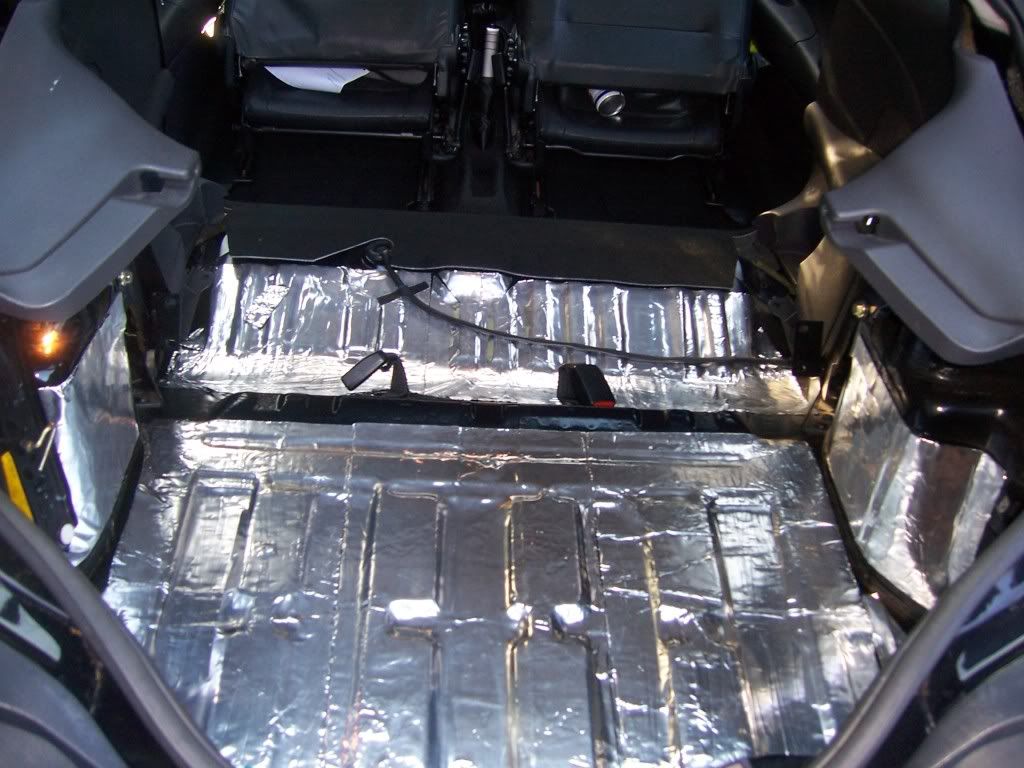
Damplifier Second Skin to the floor and under seat area;

03-10-2009009.jpg


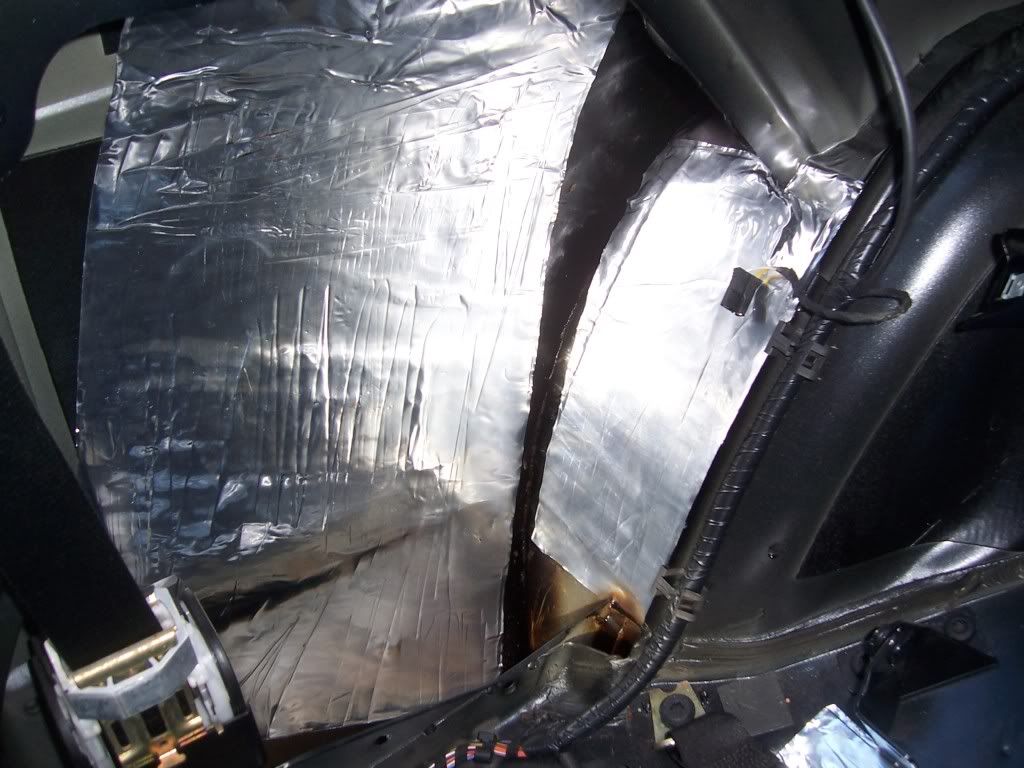
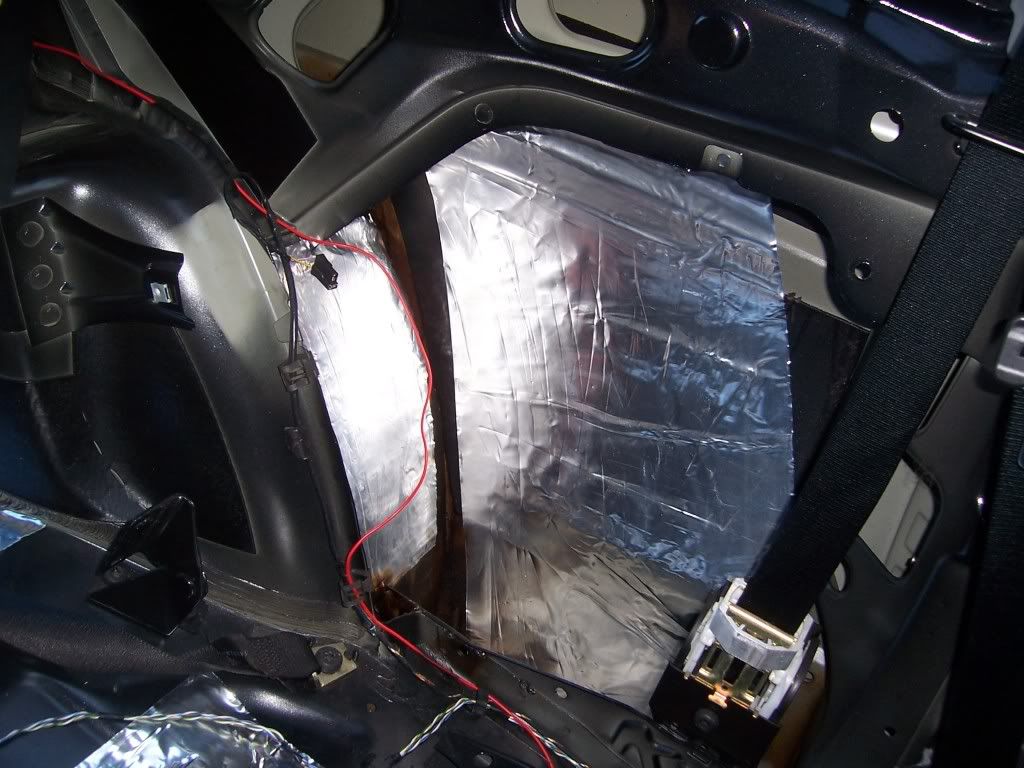
And to the rear quarters;

03-10-2009012.jpg


03-10-2009016.jpg


Speaker Pods in;

03-10-2009015.jpg


03-10-2009017.jpg


Replaced the drivers side door rubber as the original one had split, not really worthy of a photo though.

Quarters and luggage compartment trims refitted;

03-10-2009021.jpg


I also got the rear seats refitted, shelf in, etc. this afternoon, and got the inside of the windows cleaned.

Not actually driven it yet, so I don't know what the noise or sound quality is like yet, but everything seemed to go back together without a hitch.

Jobs remaining;

1. Clay and polish the exterior
2. Clean interior windows
3. Swap back to alloy on the o/s/r
4. Touch up small scuff on the freshly painted caliper. Should be able to do this through the spokes of the wheel though, so going to wait until it is swapped.
5. Another quick vac out
6. Refix remote stereo control - this always seems to fall off when the car is in for repair, yet I never have a problem with it?
 
Windows cleaned, interior vac'd, wheel refitted, caliper touched up, mudflaps refitted, audio remote refitted.

Still needs a clay and polish, but I need weather and time for that.

I have a few bits that I need to get fitted;

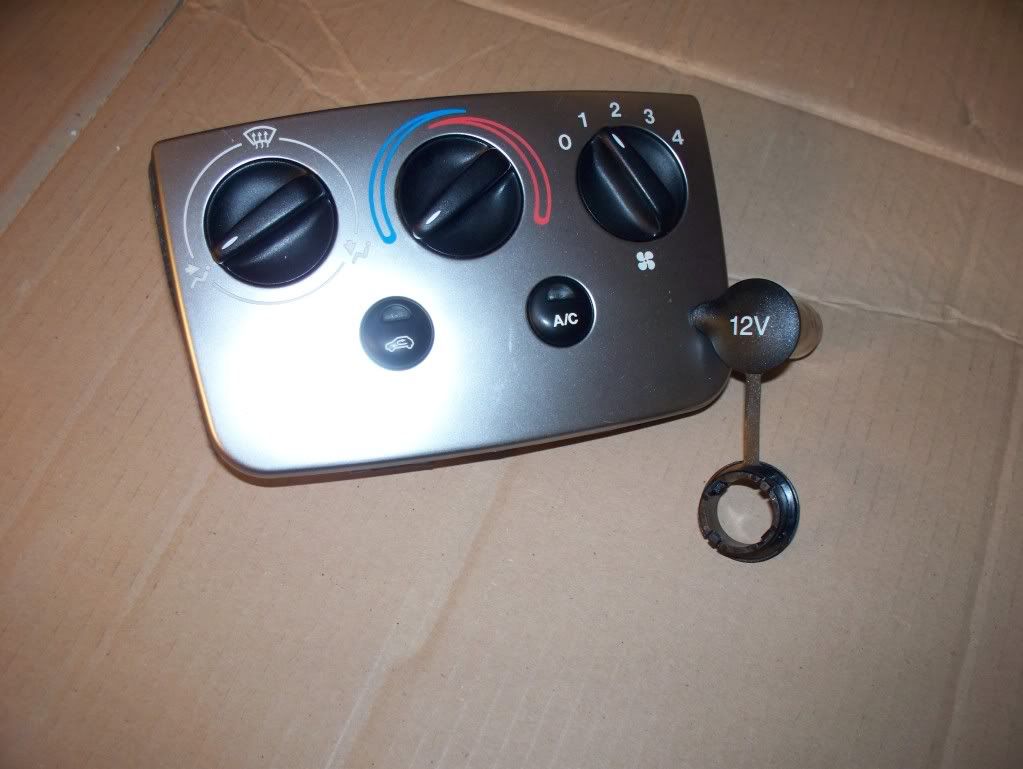
1. replacement heater control panel, without cigar lighter, and a 12v accessory socket to fit in the glove compartment;

PartstoFitOct09002.jpg


At the same time I am going to replace the pop-port cable to my carkit with a new one as I have been having a few probs with it. Also need to check the wiring to the laser diffuser.

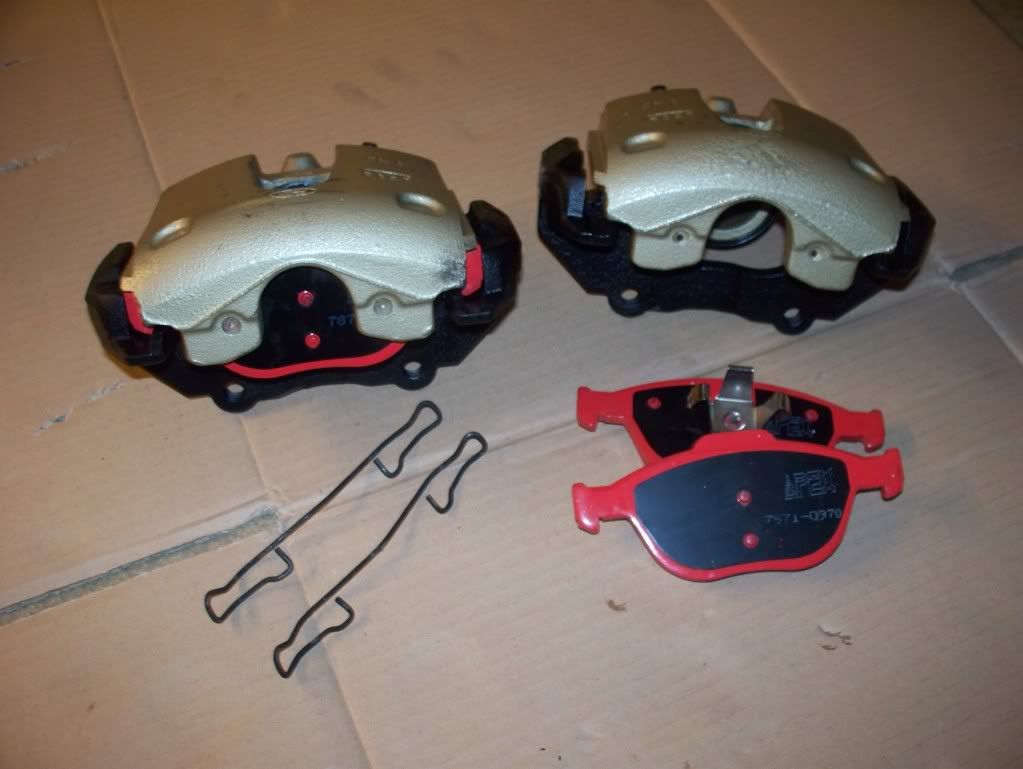
2. ST170 calipers, I finally have some pads that fit, the Mintex ones were the wrong shape, and there was no way they were going to fit these calipers and carriers without serious modification. Just need to touch up the gold paint and also paint the carriers;

PartstoFitOct09001.jpg


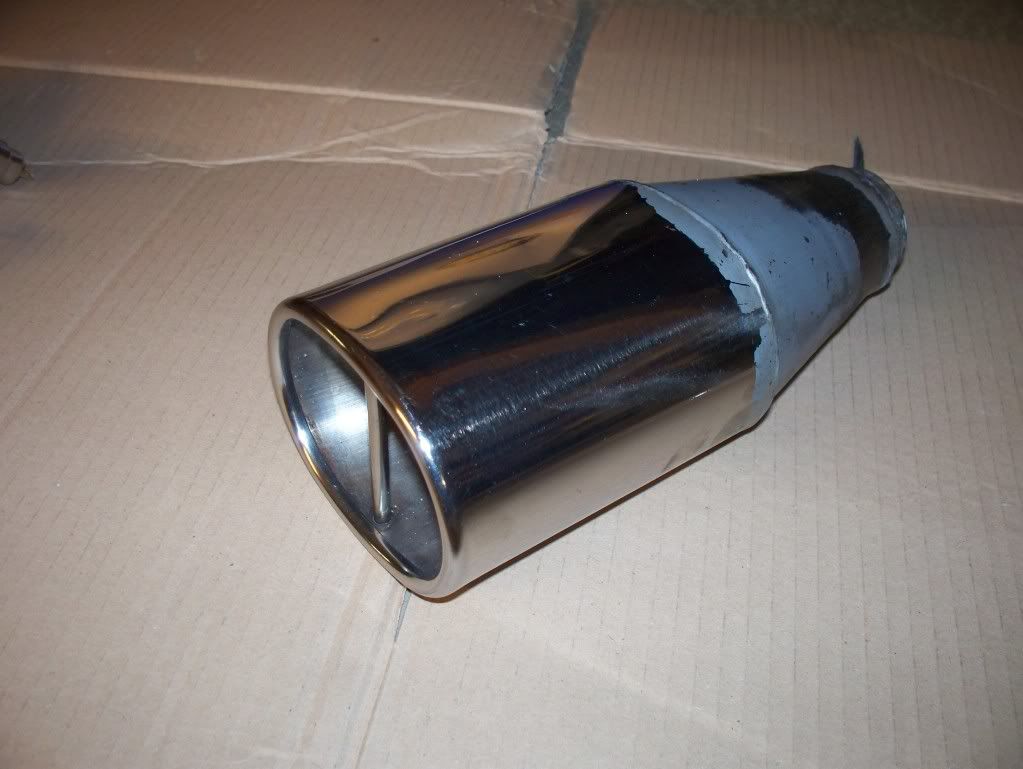
3. FRP tailpipe, really like the look of these, and also miss my old Piper FRP tail. Hopefully with this I can have Milltek noise but FRP looks;

PartstoFitOct09003.jpg


The above should all be pretty straightforward, certainly brakes and heater panel will be done in the next couple of weeks. I am hoping the tailpipe won't take much longer.

When I get time, I also want to rustproof and sound deaden the front doors, and fit some Pioneer 13cm components.

Will try and take more pics along that way!
 
I haven't done anything I said I was going to, but have still been busy today.

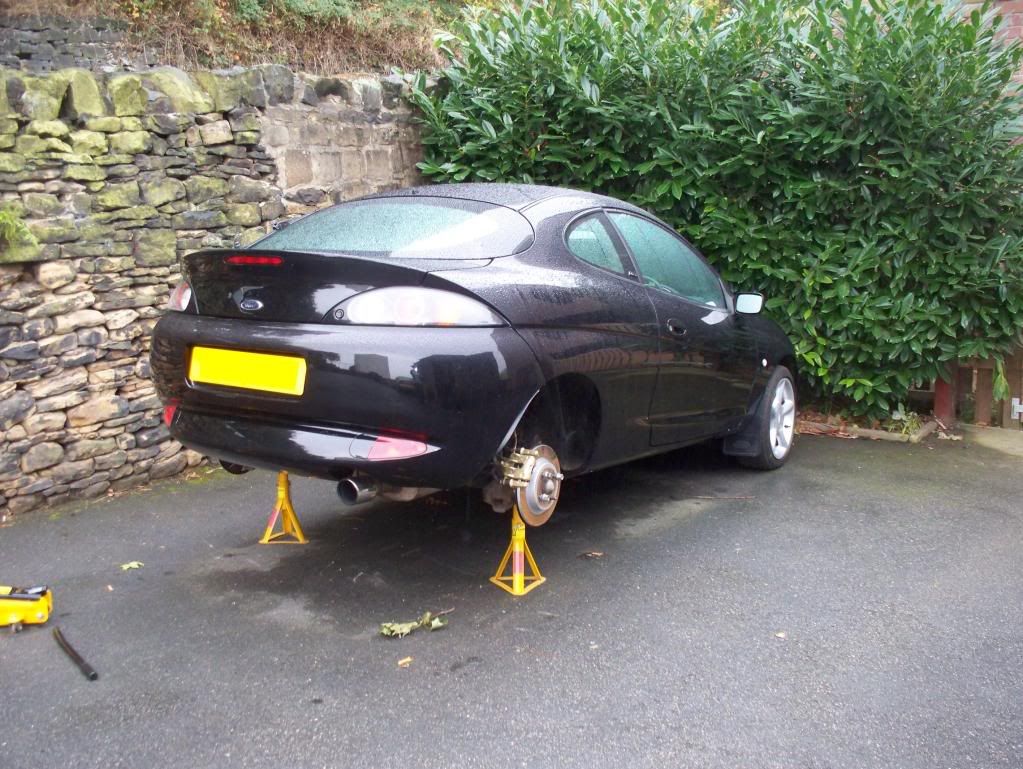
Another weekend, another opportunity to lift up the back end of the car and take bits off, before laying on some wet tarmac in the rain.

So, this morning I jacked it up as high as the trolley jack would allow, popped in some stands, whipped off the back wheels, removed the spare and carrier, then set to removing both of the rear wheel arch liners;

Hydrate80001a.jpg


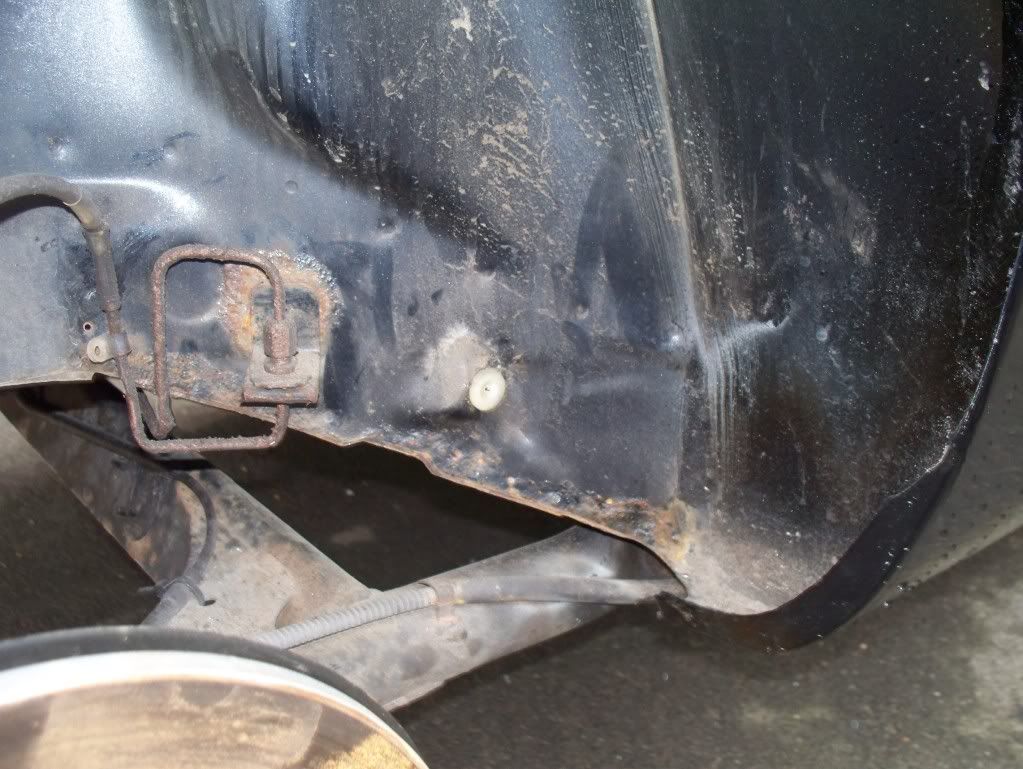
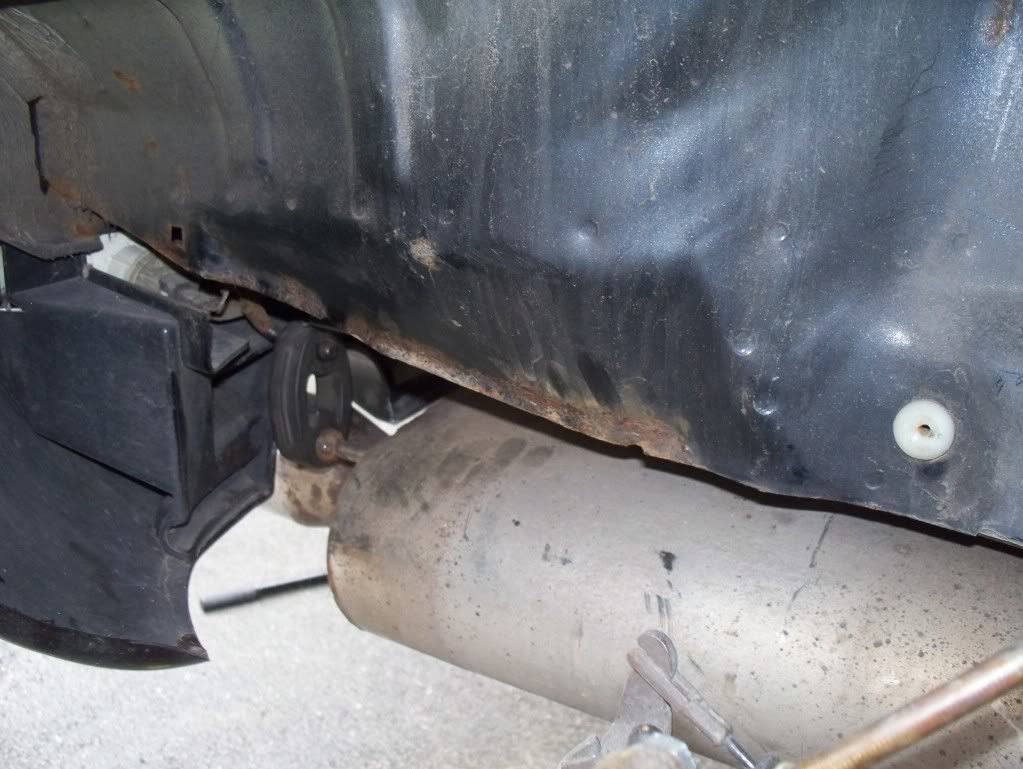
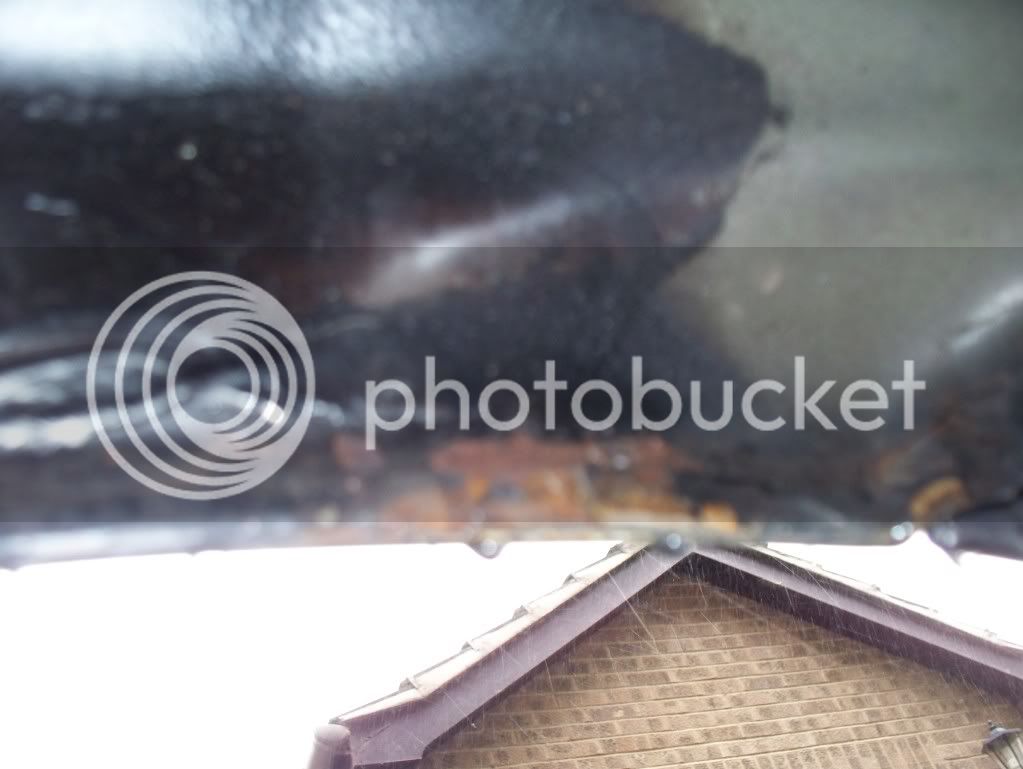
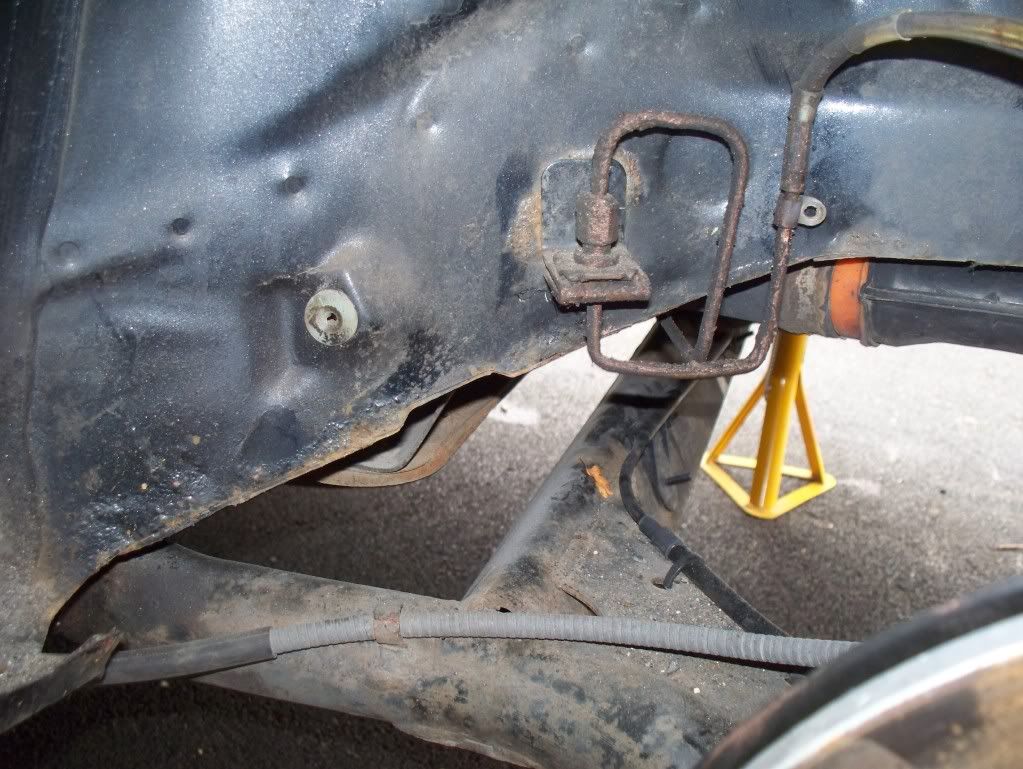
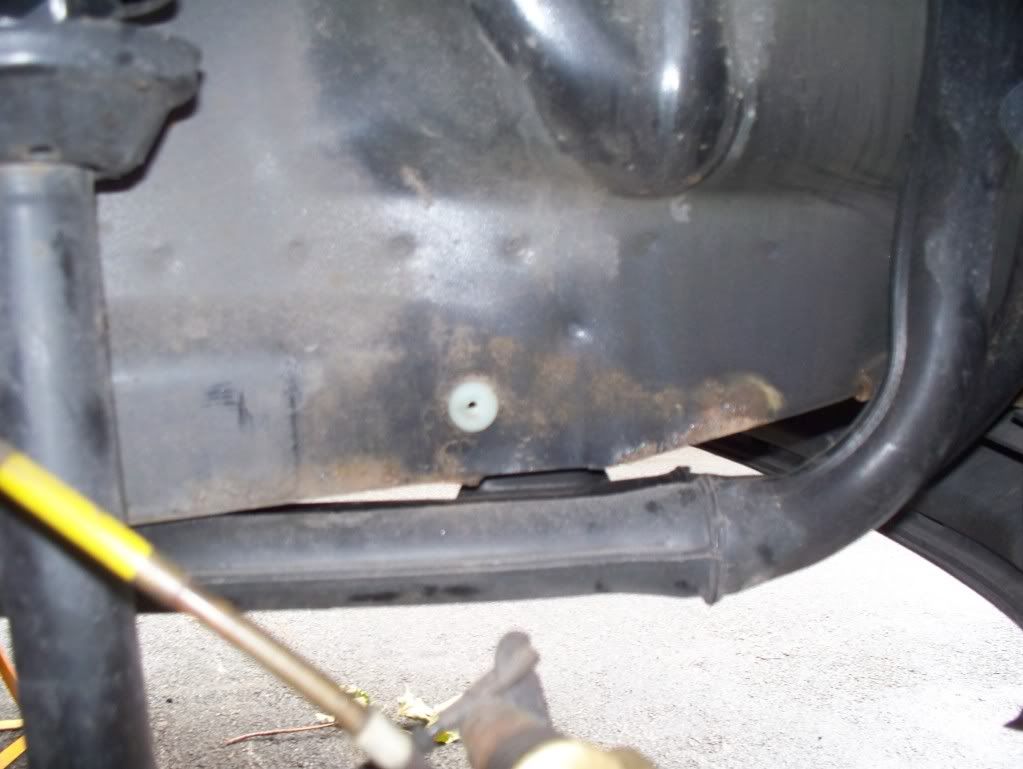
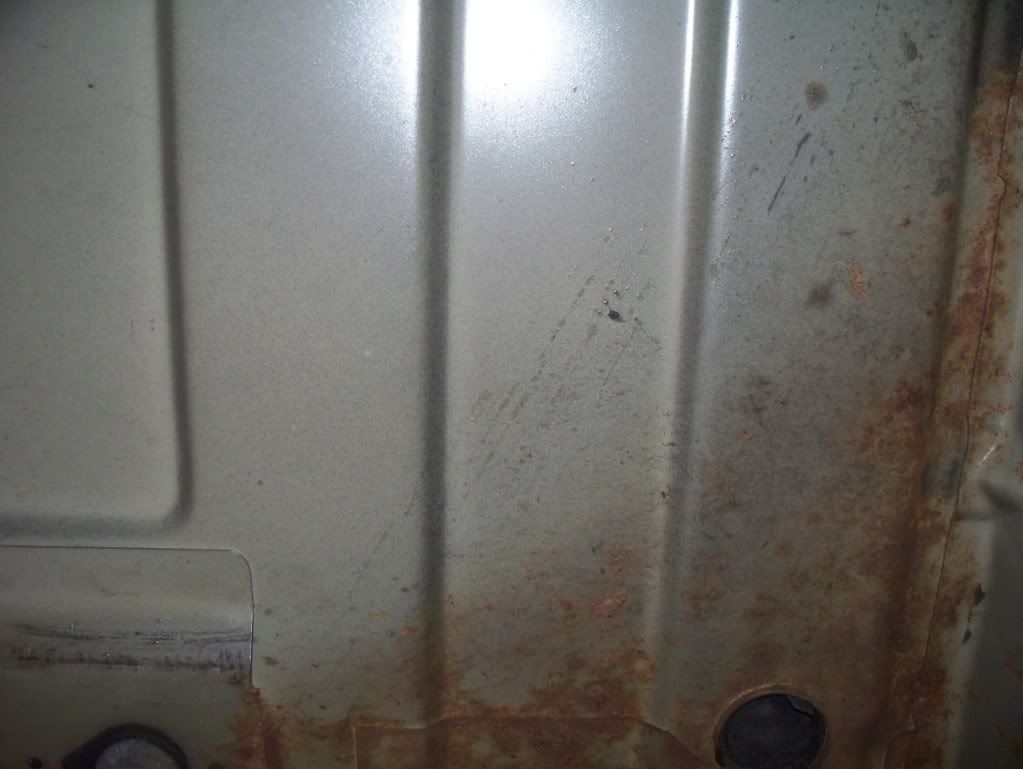
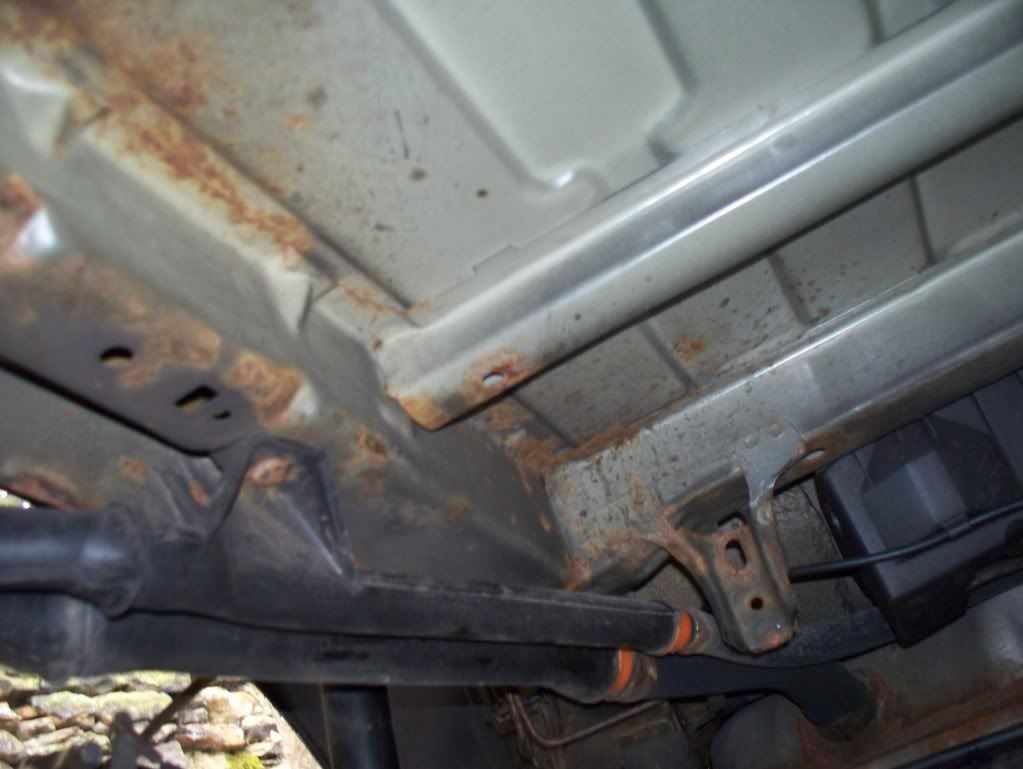
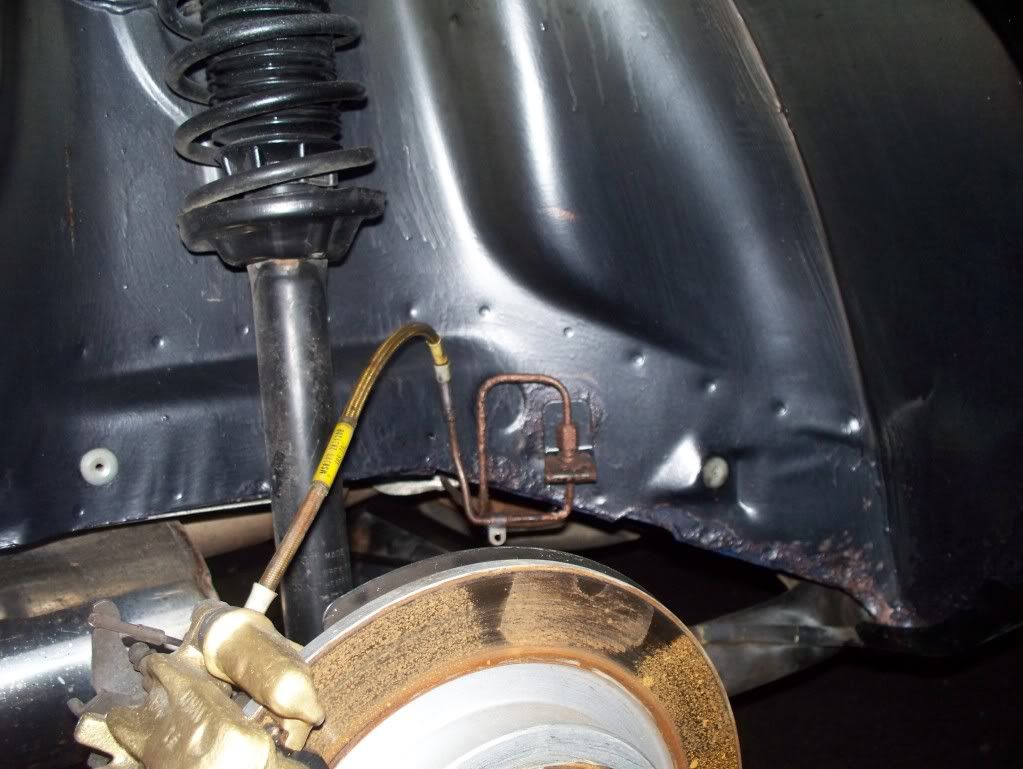
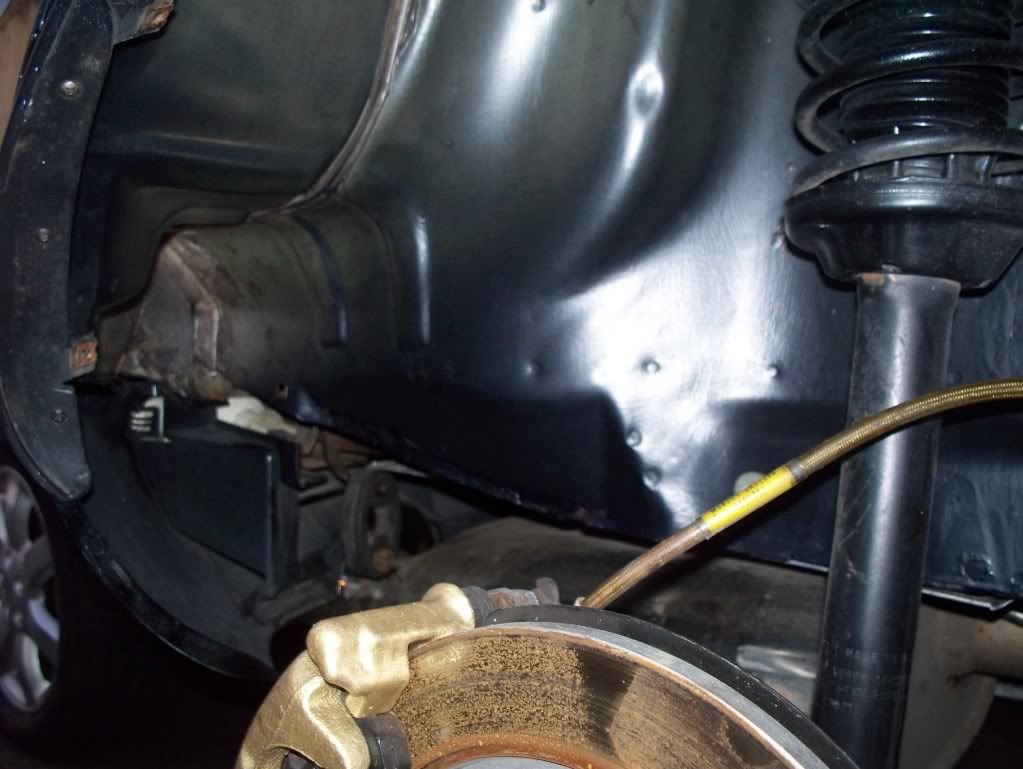
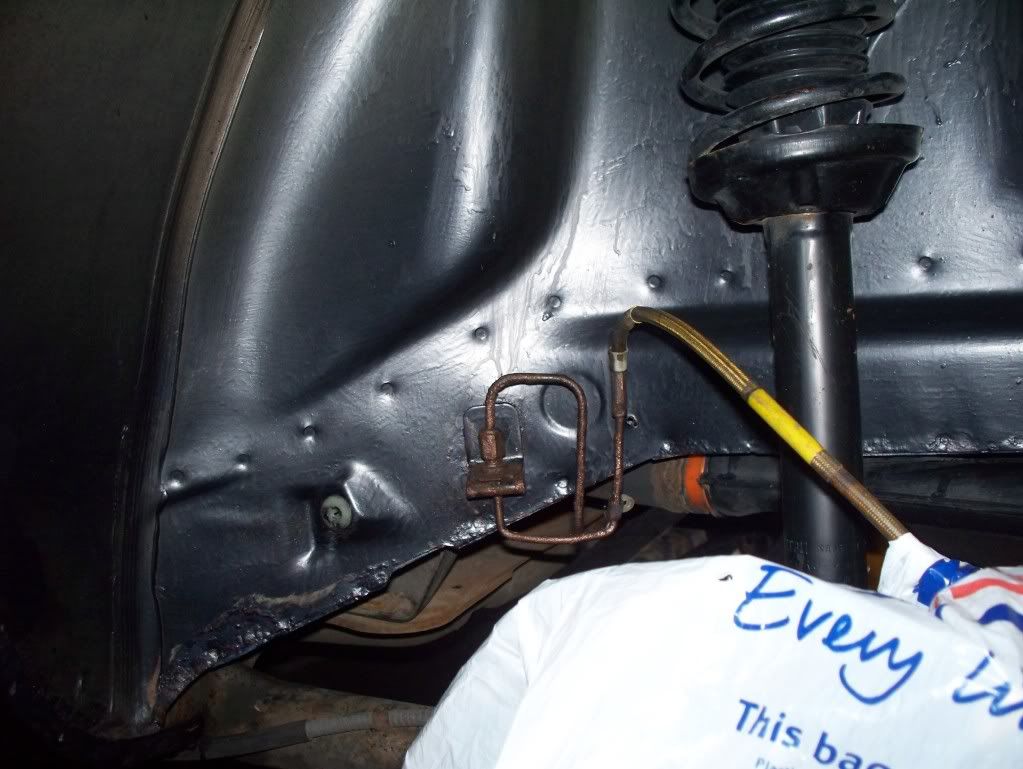
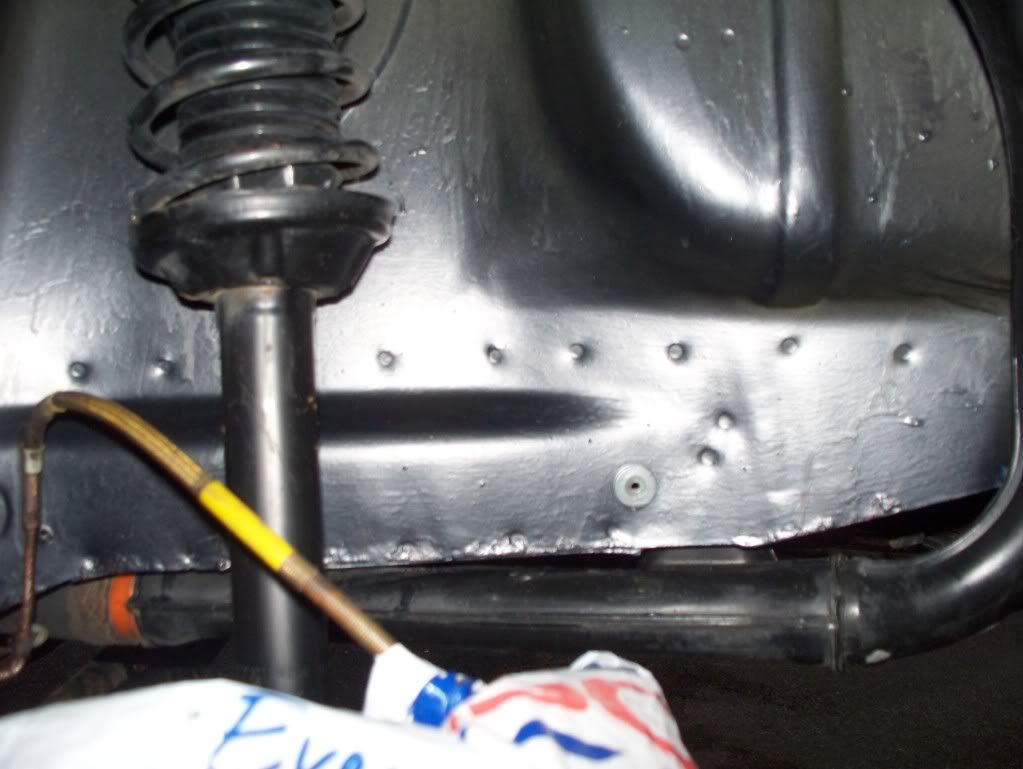
This meant I could get a good look at the hidden rust;

Drivers side

Hydrate80002.jpg


Hydrate80003.jpg


and the arch that has just been repaired;

Hydrate80004.jpg


Passengers side

Hydrate80005.jpg


Hydrate80006.jpg


Both sides were suffering along the bottom of the inside edge, I couldn't get the access to this that I wanted on the drivers side because of the rear box and heat shield. I will attend to this area when I can get the car to the garage, at which point I will do the rest of the underside.

Boot floor

Hydrate80009.jpg


Hydrate80011.jpg


Wasn't so bad, but was a bit tatty on the chassis rail, I think the other side won't be quite as bad, I expect it will have had some protection due to the exhaust and heat shield. Could be wrong though.

Spare wheel carrier was also very tatty.

So, using a drill with a wire brush attachment, I cleaned up the rusty bits, then washed / degreased with Auto Glym Engine & Machine Cleaner, before rinsing and drying with paper towel. While that was drying a bit more, I washed off the wheel arch liners, using the same stuff. What really surprised me was how quickly they dried - granted, it was quite breezy, but within 2 hrs they were pretty much dry.

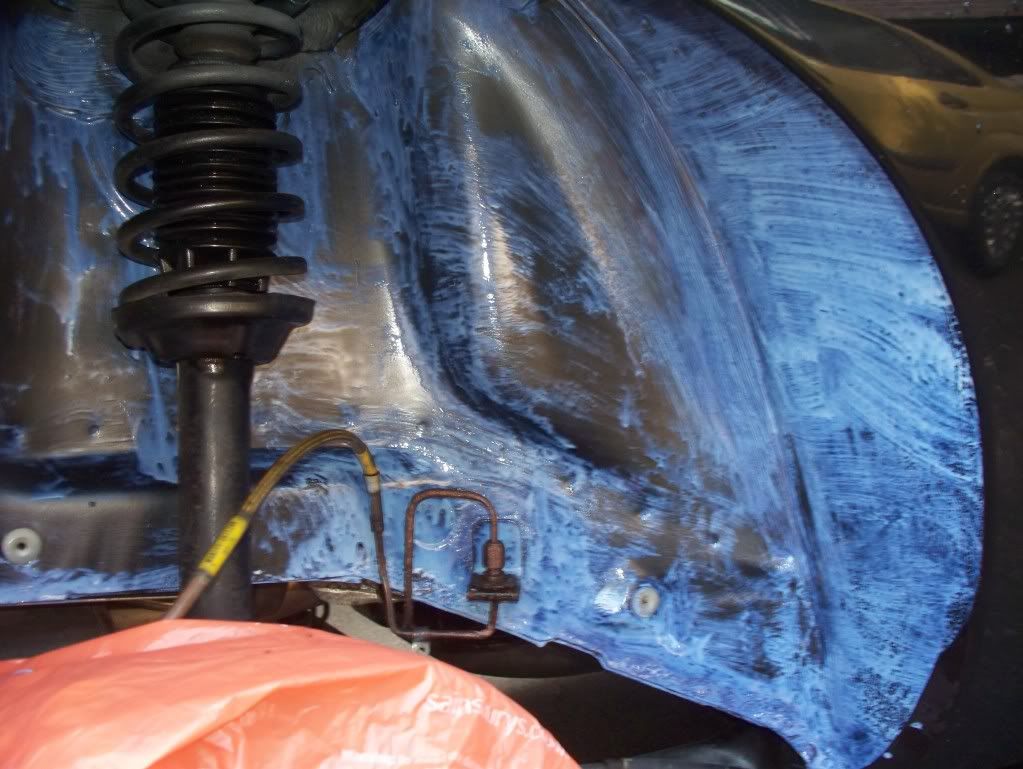
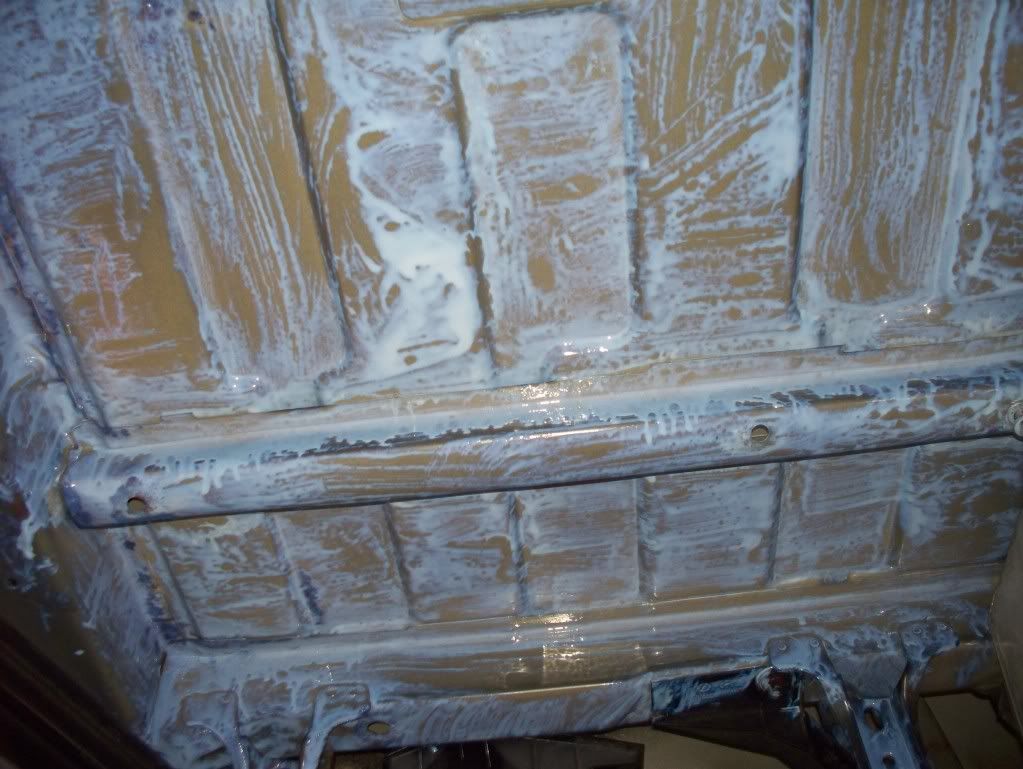
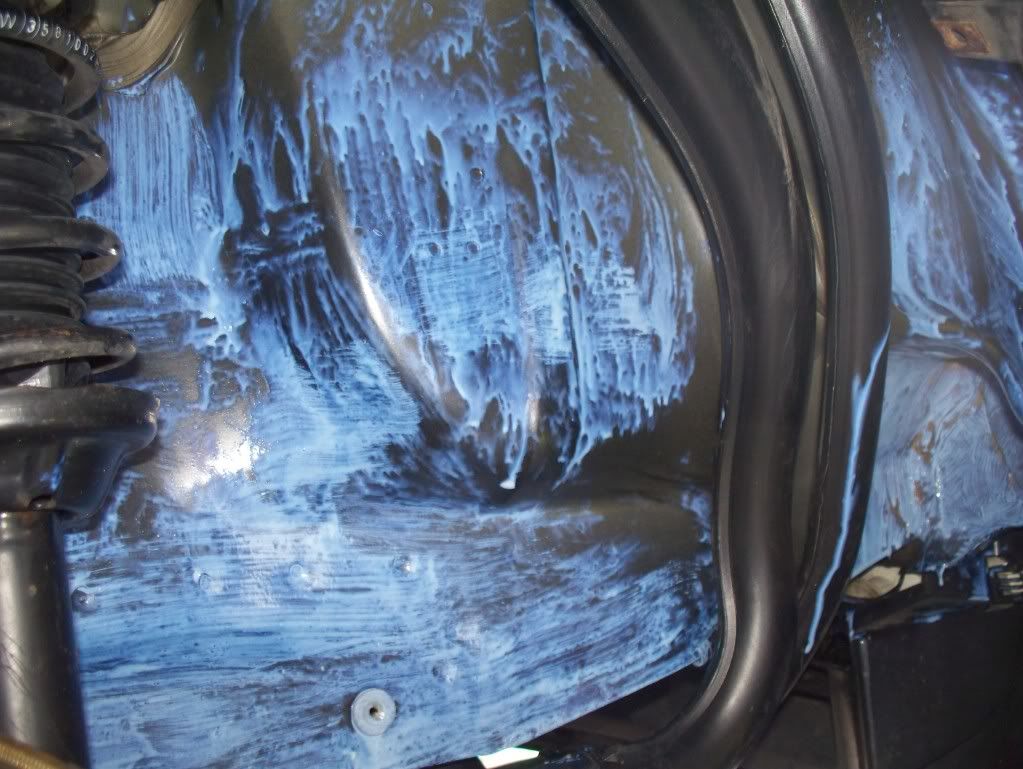
Next step was to treat the arches and boot floor with some Hydrate 80, this stuff is pretty thin, my daughter thought the car needed some milk!

The fuel filler pipe makes things a touch awkward on the near side, but I am pretty sure I got reasonable coverage. Also tried to get up to the filler neck as much as possible.

Hydrate80012.jpg


Hydrate80017.jpg


Hydrate80015.jpg


When applying it was a very light blue colour, which was initially concerning, but it soon dried to a translucent grey colour.

Hydrate80018.jpg


Hydrate80019.jpg


Hydrate80021.jpg


Hydrate80023.jpg


I applied two coats of the Hydrate 80, left it for a while, sprayed some Dynax S-80 in the cavities that were accessible, then had a crack at the spare wheel carrier. No pics of this yet, but I gave it a quick buzz over with the drill & wire brush, and have since given both sides a single coat of Hydrate.

All being well, I won't need the car until later this week, currently, and subject to weather, the plan is to give the boot floor / arches a coat of Dynax UB tomorrow evening, followed by a second on Tuesday evening. Spare wheel tray should get a second coat of Hydrate tomorrow evening, then maybe just one coat of Dynax.

Comments welcome, as always.
 
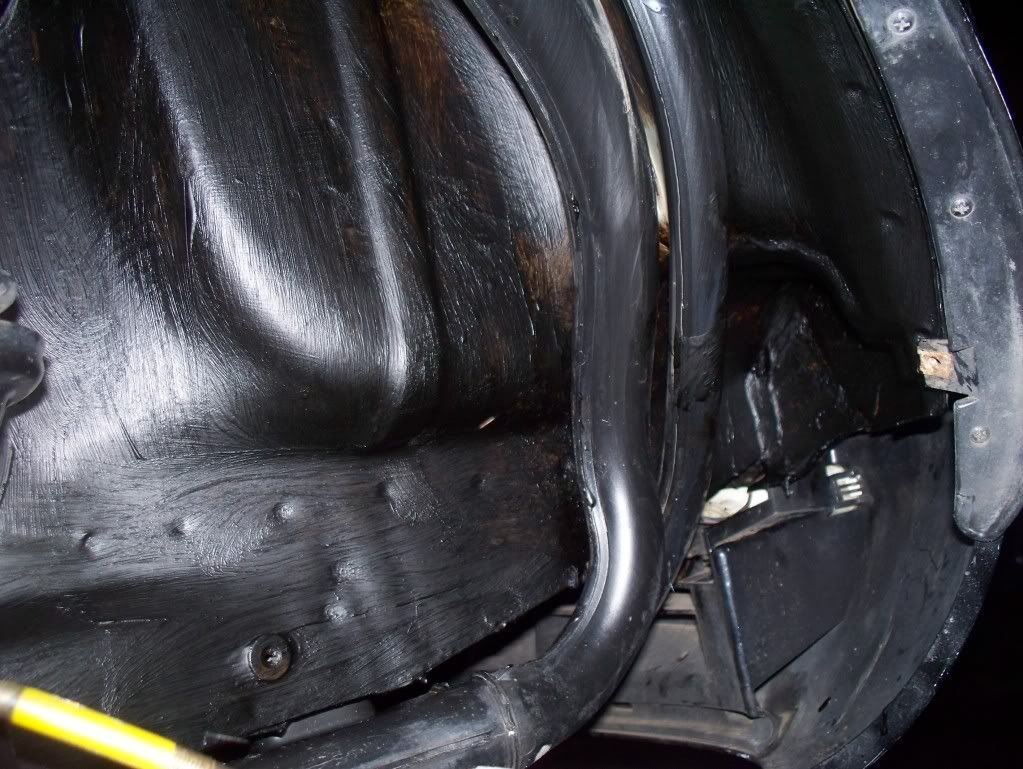
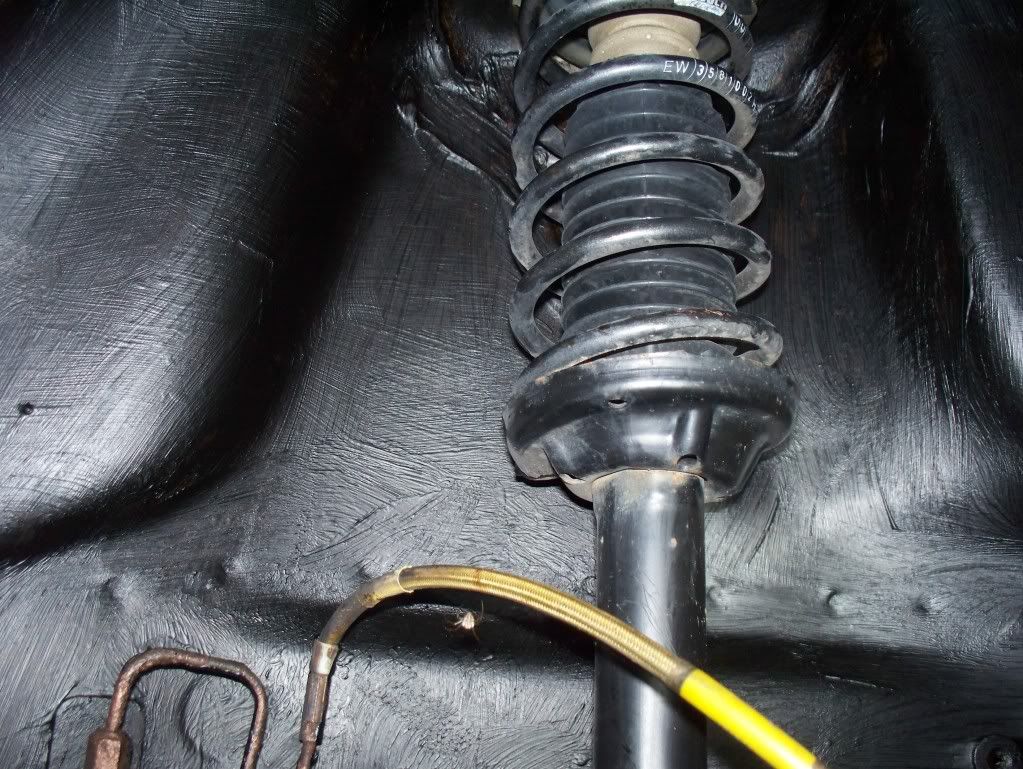
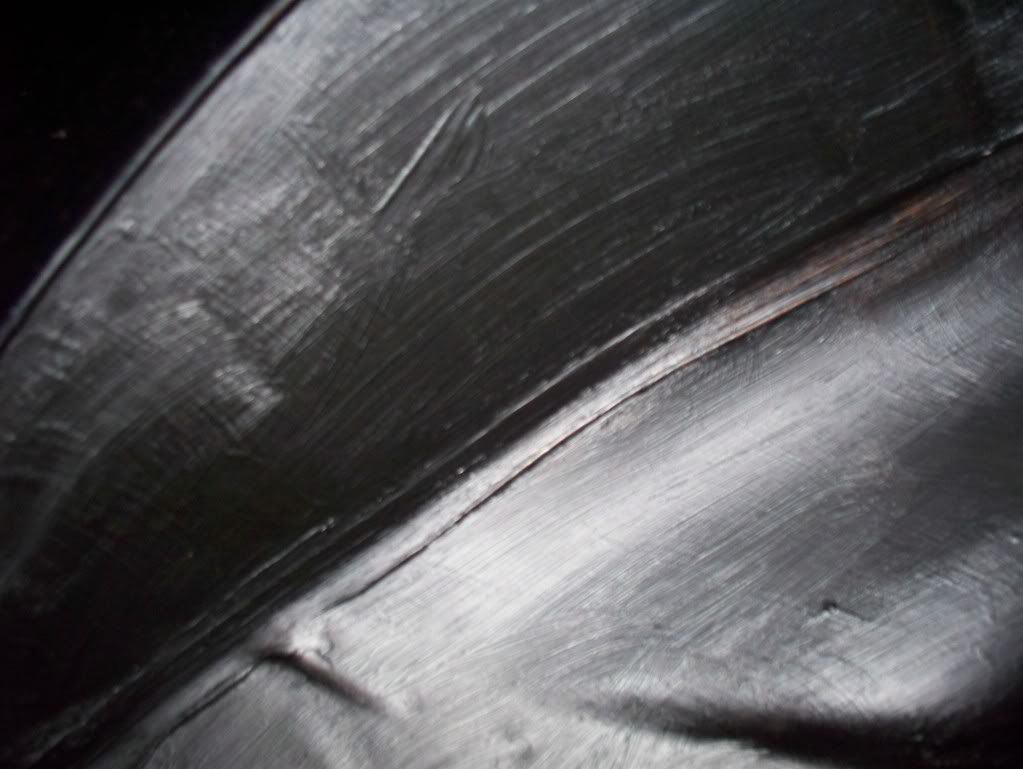
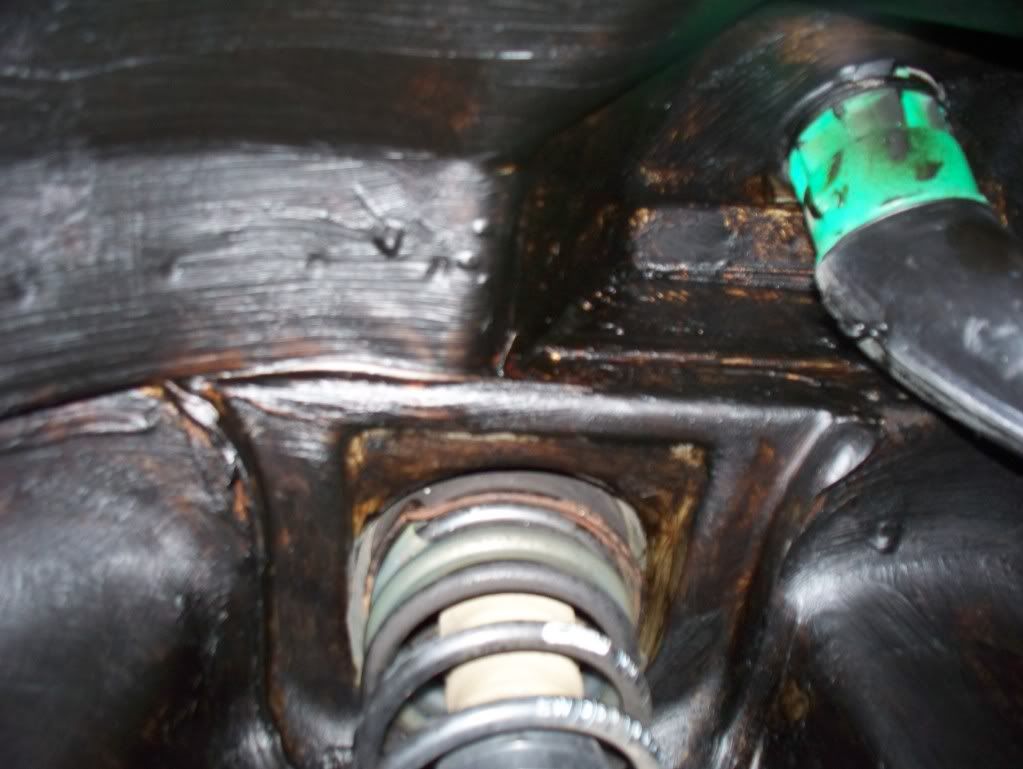
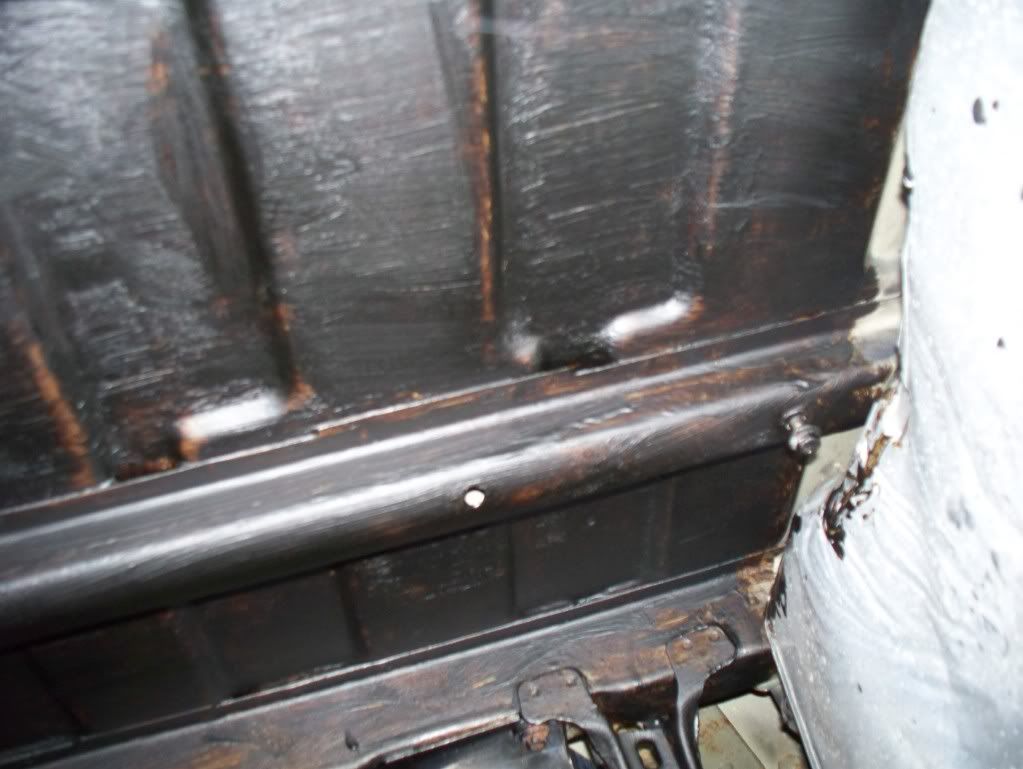
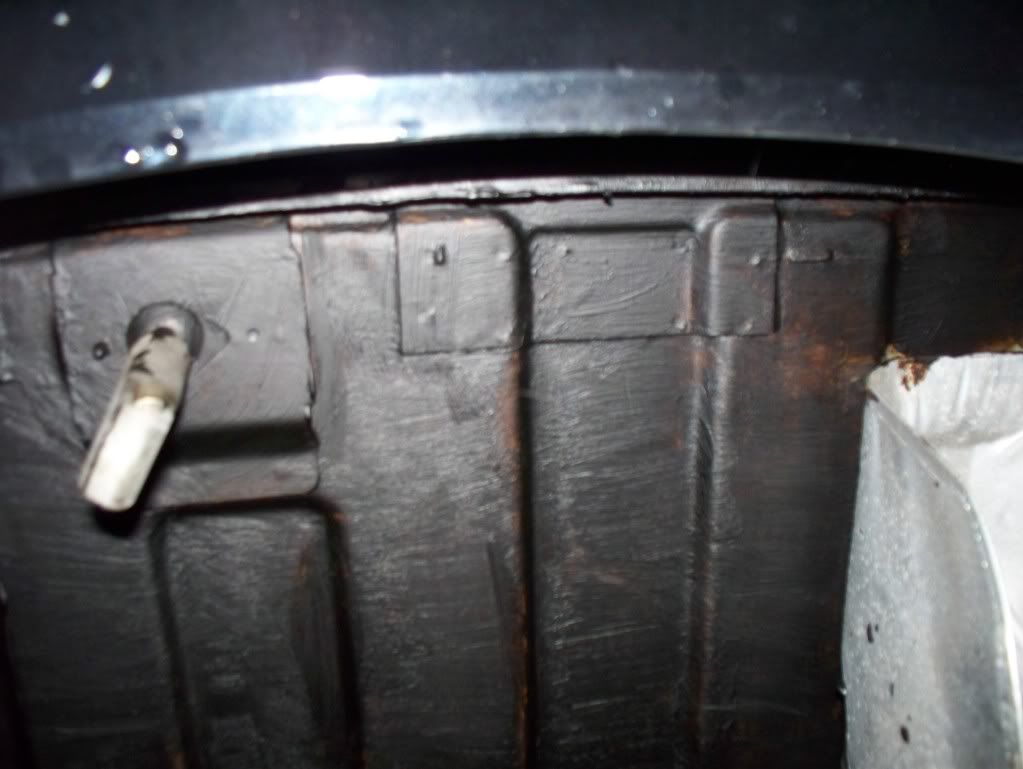
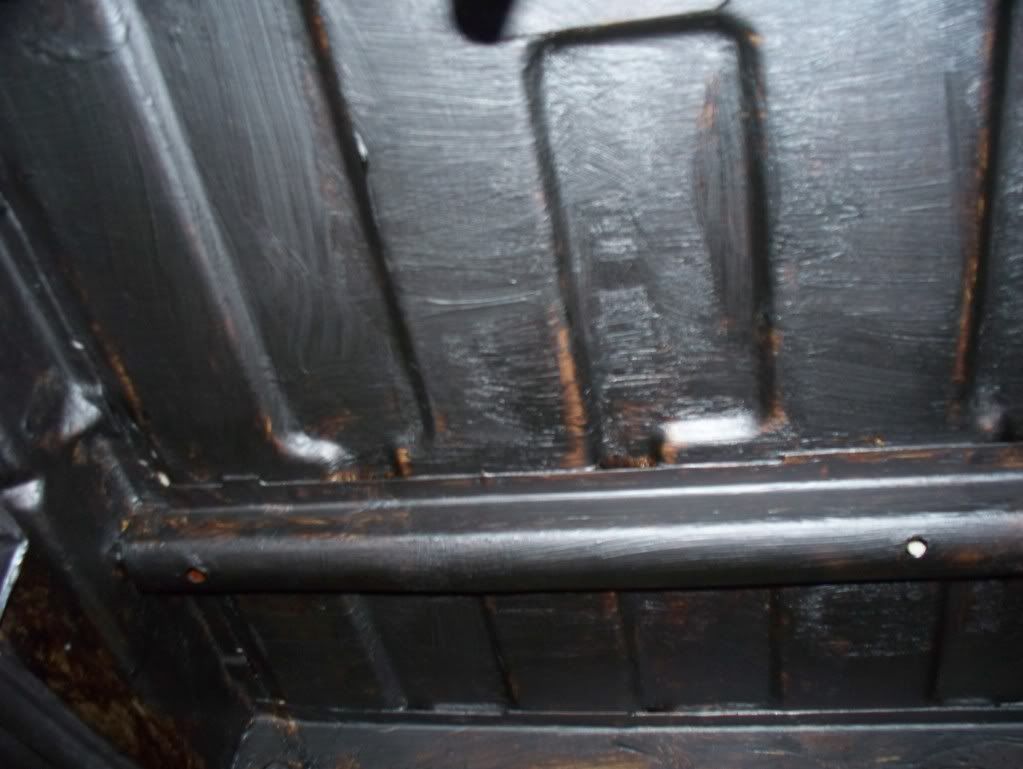
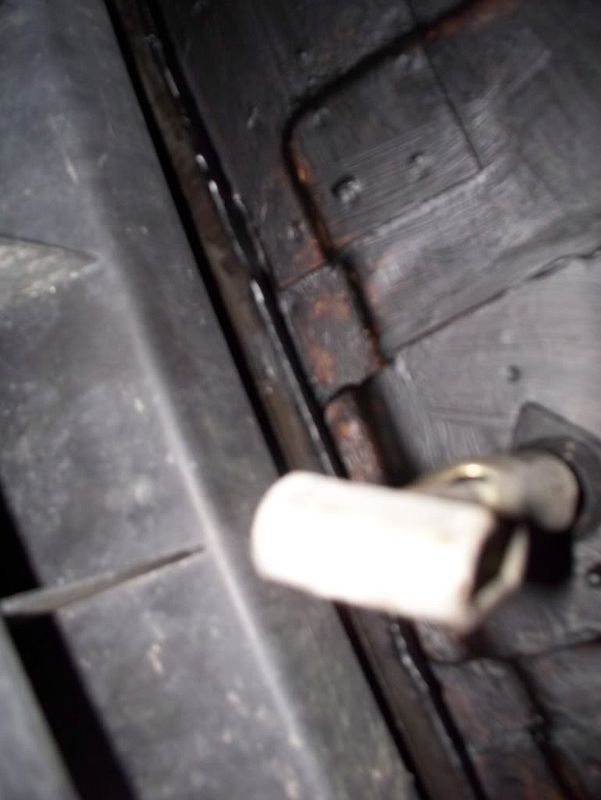
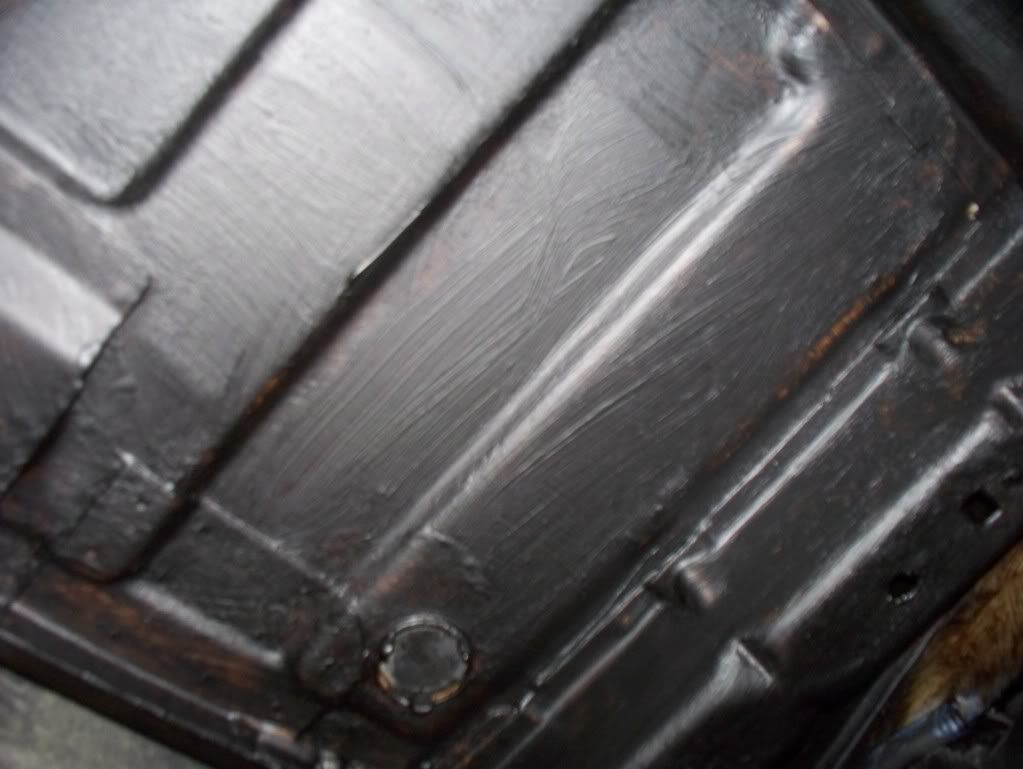
Having given the Dynax UB 24hrs to dry (cure?), last night I refitted the wheel arch liners, got the drivers one in before it occurred to me that I should take some pics, so below are pics of the passenger side rear arch and the boot floor;

Passenger side rear wheel house

DynaxUB001.jpg


DynaxUB002.jpg


DynaxUB003.jpg


DynaxUB004.jpg


Underside of the boot floor

DynaxUB005.jpg


DynaxUB006.jpg


DynaxUB007.jpg


DynaxUB008.jpg


DynaxUB009.jpg


Haven't refitted the spare wheel carrier yet, it has had 2 coats of UB, I plan to give the underside a third coat before refitting.

With the liners refitted, I could drop the car from the axle stands and park it a bit more tidily, 3 cars at home at the moment and because the Puma was preventing access to part of the driveway, it was a bit snug.

With it off the stands I gave it a quick wash and clayed the windows, it could do with a polish, especially on the repaired rear quarter, but it was too damp by the time I had finished at circa 10pm last night.

Jobs planned in the short term;

Front doors
Replace front speakers
Possibly replace drivers mirror for another in better condition
Sound deadening
Dynax S50

Dash
Swap heater control panel for one without power outlet
Replace Nokia pop-port cable
Fit accessory power socket to glove compartment

Front suspension
Fit Zetec-S anti-roll bar, with new bushes and drop links
Fit ST170 calipers, new discs, Apex pads
Possibly replace one of the wheel hubs. There is a vibration under braking which feels like a warped disc, but could be a slightly damaged hub.
Underbody
Repair / straighten seams between floor pan and side panels
Remove exhaust, heat shields, fuel tank and rustproof underside with Hydrate and Dynax. If I'm lucky, I might get the FRP tailpipe welded on at the same time.

Bodywork
Needs a damn good polish

As ever, comments welcome!
 
Awesome work mate! How much did all that sound deadening cost you as ive found it to be very expensive and has it made a difference?
 
It was about £100 for a large pack, unfortunately no clue yet as to the benefit, as I haven't really driven the car for about a month!
 
Didn't get much done today, received a nearly new coil pack from a chap on ZSOC, and got that fitted. There wasn't anything wrong with my old one, but these things are known to cause probs, and mine is 77k miles / 8yrs old.

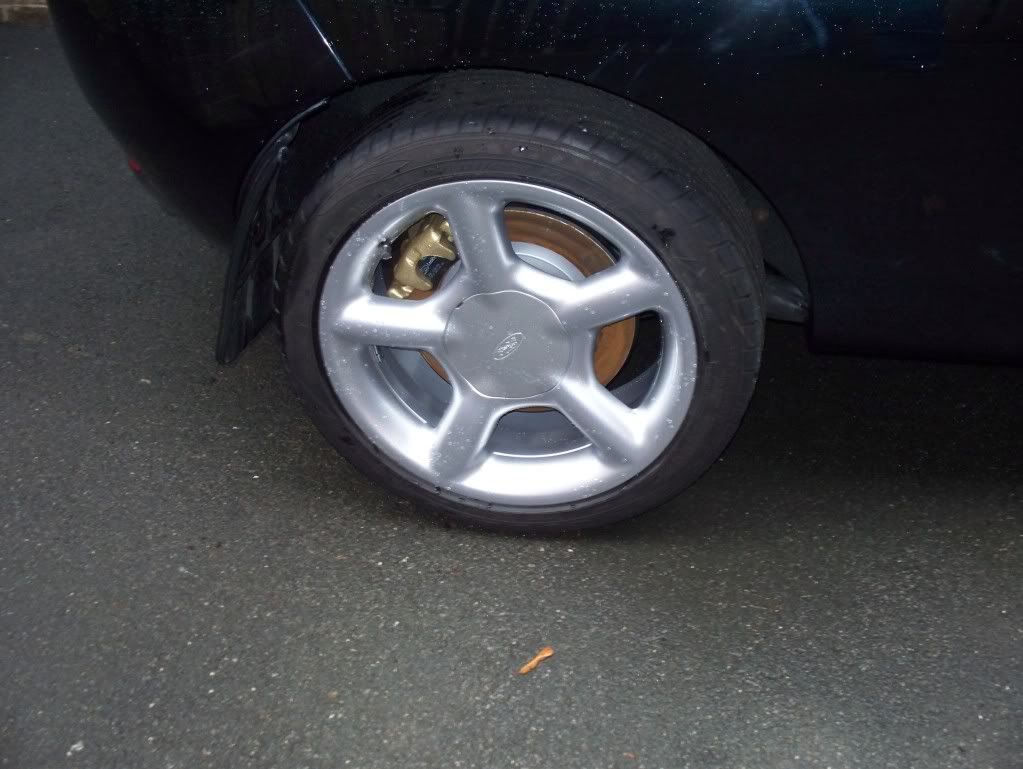
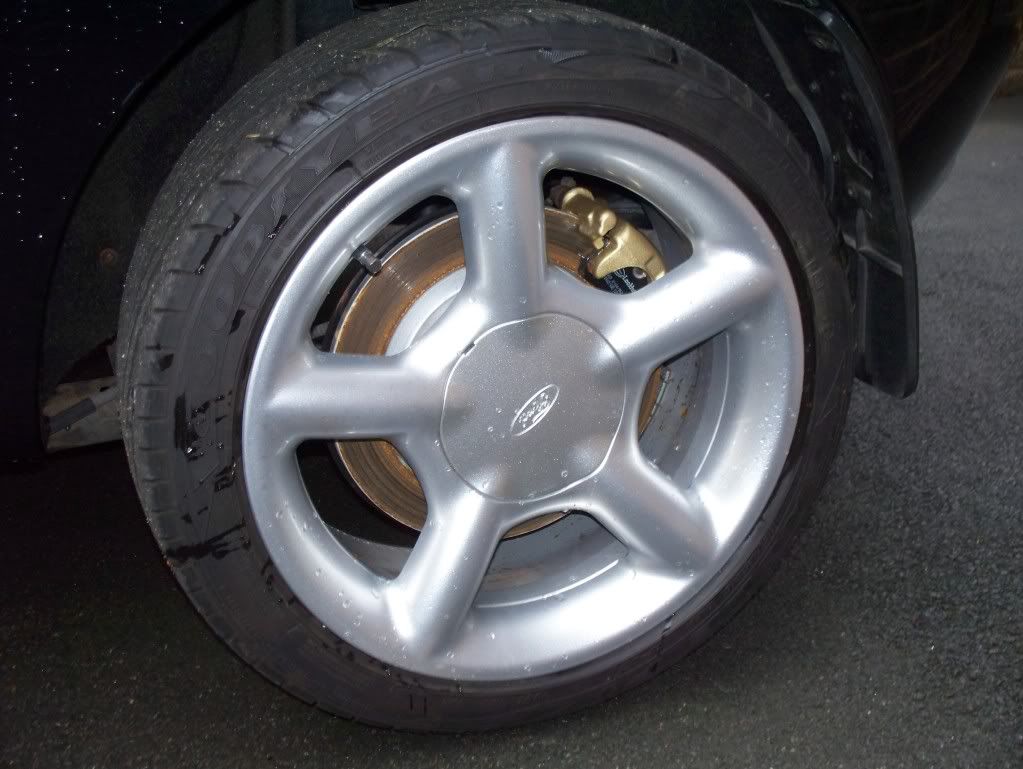
Couple of pics of my painted rear calipers, seems like ages ago that I did this;

GoldPaintedRearCalipers002.jpg


GoldPaintedRearCalipers001.jpg


Granted, they would look better had I actually driven it to remove the surface corrosion on the contact parts.

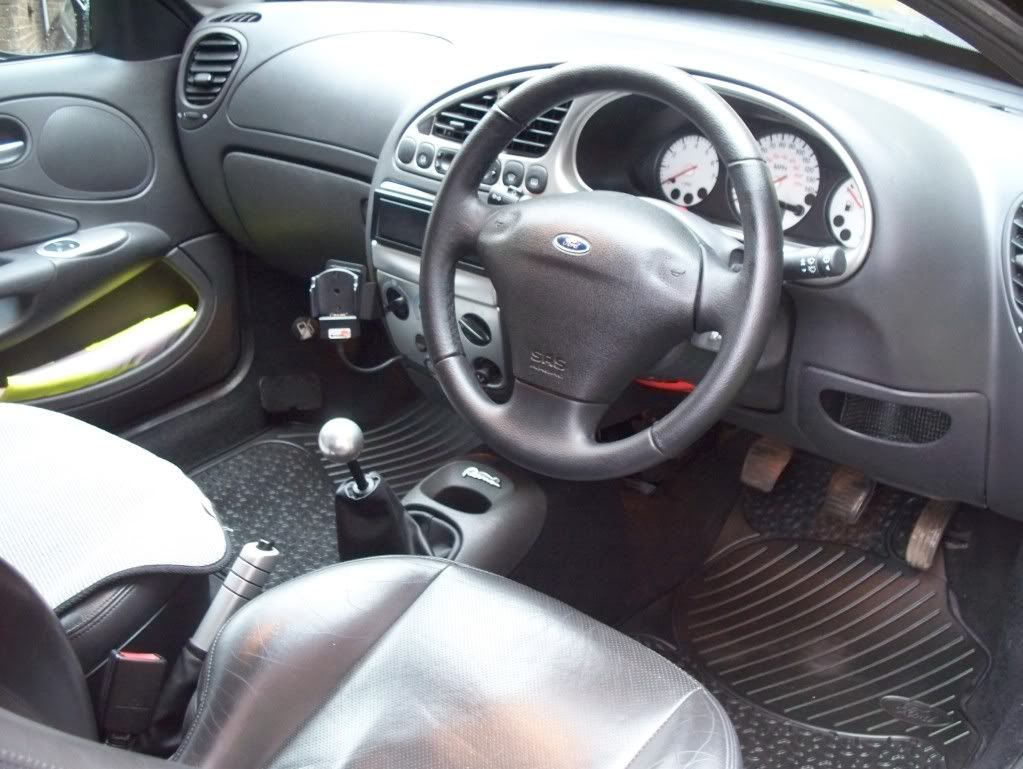
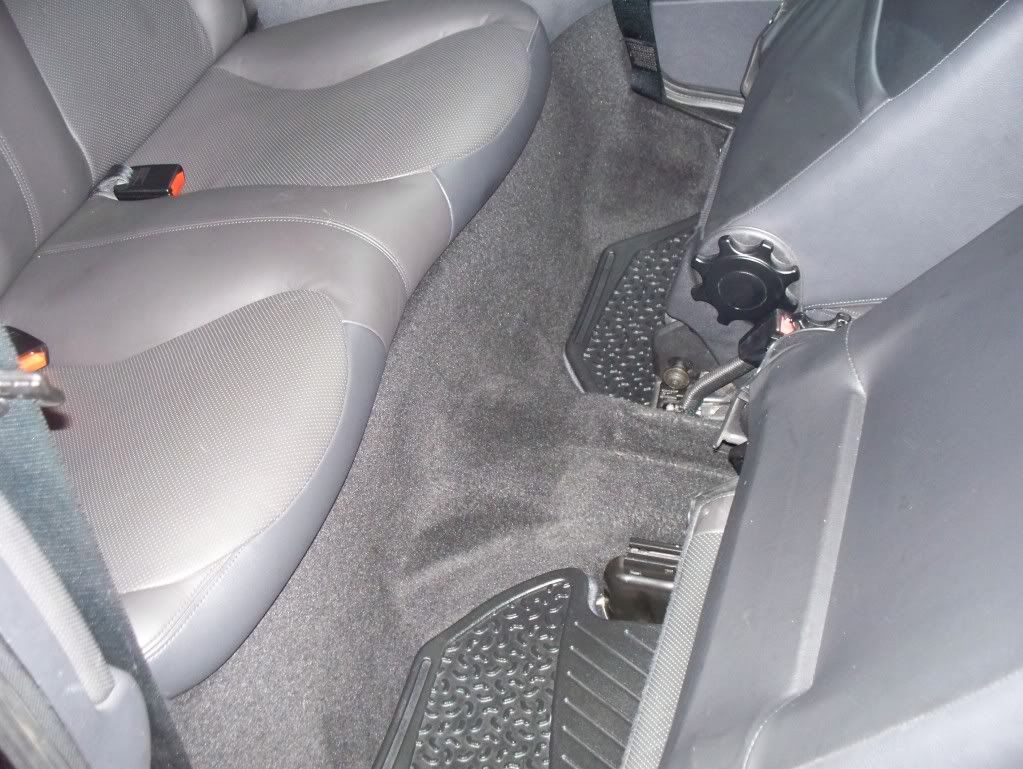
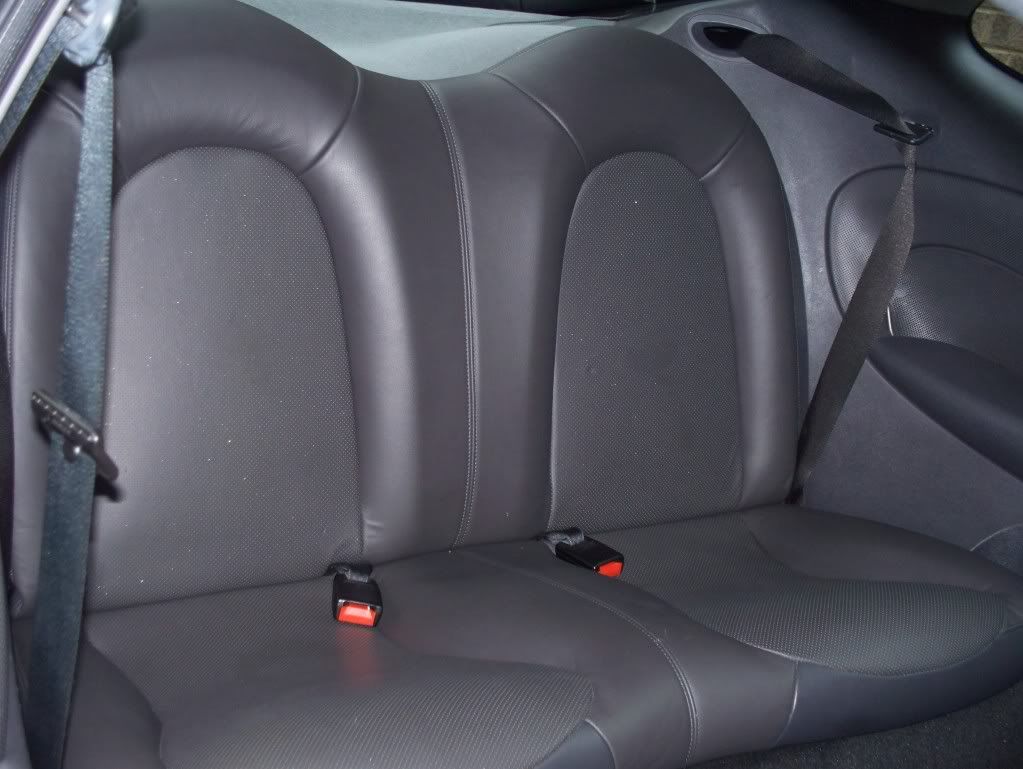
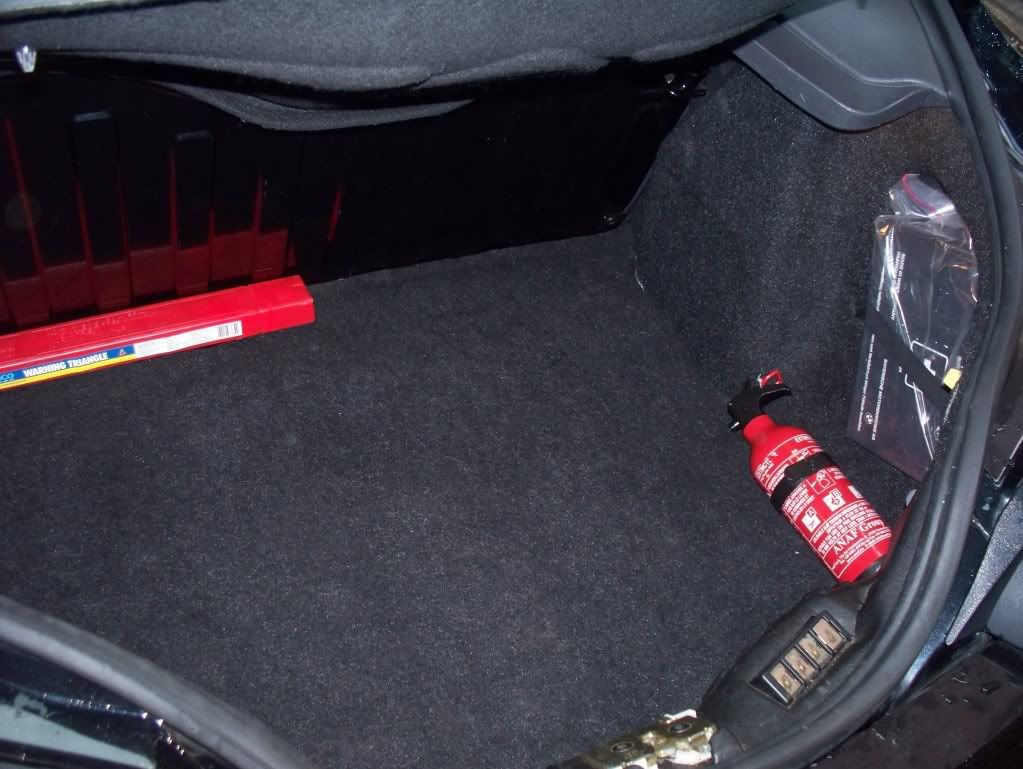
Also, being as my interior is currently looking very clean, here are some pics of the inside;

Interior15-10-09005.jpg


Interior15-10-09002.jpg


Interior15-10-09001.jpg


Interior15-10-09006.jpg


I had intended on getting a third coat on the spare wheel carrier, to make it ready to refit, but didn't actually get around to it just yet.
 
Back
Top