You are using an out of date browser. It may not display this or other websites correctly.
You should upgrade or use an alternative browser.
You should upgrade or use an alternative browser.
Project Puma 'Black'
- Thread starter FlashBastd
- Start date
Help Support ProjectPuma:
This site may earn a commission from merchant affiliate
links, including eBay, Amazon, and others.
FlashBastd
New member
Ok, as of about 11.15 this evening, the FRP inlet is on.
Dipstick tube modified - used a spring type drain cleaner as a pipe bender, fitted a treat.
Inlet supports on
Inlet on
Dipstick mounted to inlet
Inlet supports bolted to inlet
Fuel rail on
Alternator on
Aux drive belt on
TB on
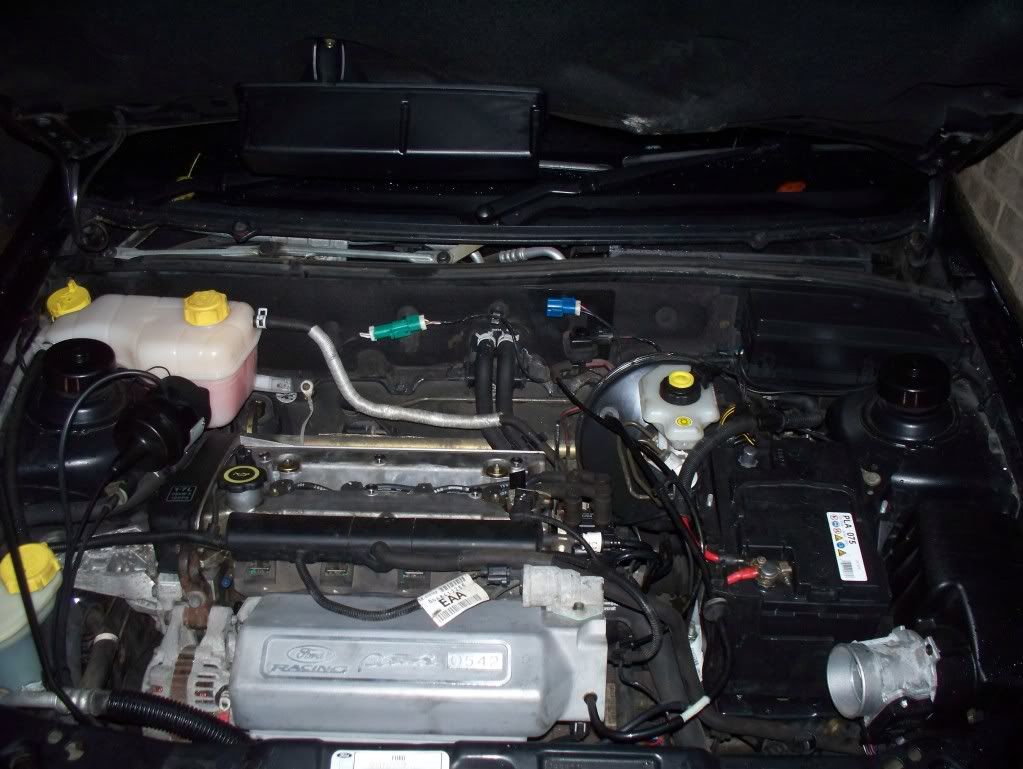
Pic was taken before I refitted the TB.
Jobs for the morning;
Alter lengths of vacuum pipes
Trim engine cover
Reconnect throttle cable & cruise control
Fit inlet hose
Then it should just be a case of reconnect the battery and away we go!
To fit the FRP supports you do need a few nuts and bolts. I used two of the same bolts as the dipstick (1663888) to mount the supports to the bottom of the inlet, albeit with a washer on each, and two M8x13mm bolts (1012255) to mount the brackets to the block, using the alternator side, and middle mounting points. The outer mounting point at the TB end is not used.
What was very odd, is that the bolts fixing the inlet to the head, were different on my car to what is shown on Ford's parts software. The bolts on my car were M8x30mm, with a domed head, but according to Ford, these should be an M8x45mm, with a long unthreaded section, which seemed odd. This wouldn't have been a problem, had I not managed to loose one of the three original bolts. What followed was something akin to panic. Fortunately with a bit of help from BurfyBoy, I came across a 1372612, which was very similar to the bolts on my car. Except it wouldn't fit in the recess for the bottom mounting, but a quick swap with another and the job was done.
I might write a slightly more detailed "how-to" later, but in the meantime, wish me luck for the morning!
Dipstick tube modified - used a spring type drain cleaner as a pipe bender, fitted a treat.
Inlet supports on
Inlet on
Dipstick mounted to inlet
Inlet supports bolted to inlet
Fuel rail on
Alternator on
Aux drive belt on
TB on
Pic was taken before I refitted the TB.
Jobs for the morning;
Alter lengths of vacuum pipes
Trim engine cover
Reconnect throttle cable & cruise control
Fit inlet hose
Then it should just be a case of reconnect the battery and away we go!
To fit the FRP supports you do need a few nuts and bolts. I used two of the same bolts as the dipstick (1663888) to mount the supports to the bottom of the inlet, albeit with a washer on each, and two M8x13mm bolts (1012255) to mount the brackets to the block, using the alternator side, and middle mounting points. The outer mounting point at the TB end is not used.
What was very odd, is that the bolts fixing the inlet to the head, were different on my car to what is shown on Ford's parts software. The bolts on my car were M8x30mm, with a domed head, but according to Ford, these should be an M8x45mm, with a long unthreaded section, which seemed odd. This wouldn't have been a problem, had I not managed to loose one of the three original bolts. What followed was something akin to panic. Fortunately with a bit of help from BurfyBoy, I came across a 1372612, which was very similar to the bolts on my car. Except it wouldn't fit in the recess for the bottom mounting, but a quick swap with another and the job was done.
I might write a slightly more detailed "how-to" later, but in the meantime, wish me luck for the morning!
FlashBastd
New member
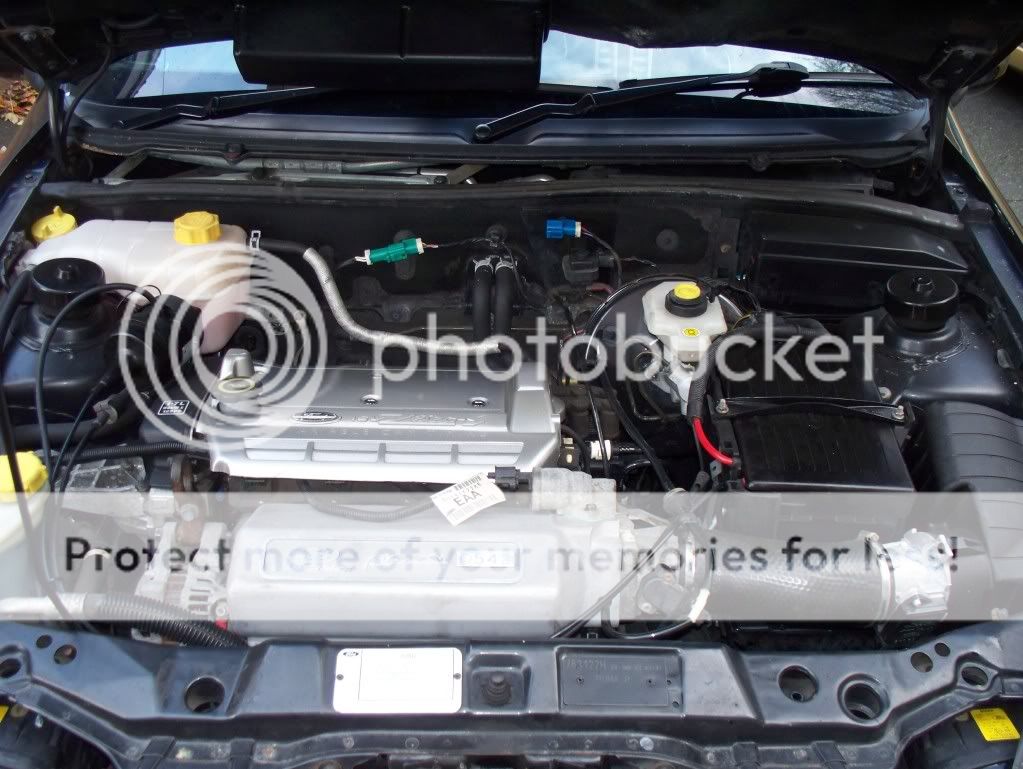
It runs!
Still have the engine cover to do, but everything else is fitted. By a cruel twist of fate, my wife has actually taken it out this morning, so she has driven it with the new inlet before me!
Hope to get the engine cover sorted later today, off to B&Q shortly to get some suitable jigsaw blades for cutting plastic. Wish me luck as I am generally absolutely rubbish at anything that needs to look good, paint, etc.
FlashBastd
New member
I remain rubbish, saw blades were no good, so chose to use the Dremmel instead, doesn't look too bad from a distance, and will do for now, but I am not especially happy with it.
And I have now driven it. I can't honestly say that I can notice a difference, but given that I haven't left a built up area, that is probably a good thing!
Also bought some Halfords Extreme Brilliance HB3 bulbs for the dip beam, hoping to get those fitted before too long. Nice and easy job, so expect to have them fitted soon.
Hoping to get the car down to the garage for the front axle project, more Mintex 1144's have now arrived, which will hopefully fit in the ST170 calipers (unlike the last set that I had).
Still need to do my front speaker project, and dash panel project, but neither is quite as exciting as (and hopefully both will be less taxing than) this inlet project.
FlashBastd
New member
As promised, parts list and how to for fitting the inlet.
Recommended parts for fitting FRP inlet manifold, I have provided prices where they were readily available, no clue on the supports, but if you work off £0.50 each on the bolts you should be ok. You might get away without replacing the ISCV and manifold gaskets, but do you really want to get stuck with the engine in bits when you find out that the old ones are no good? My TB gasket was definately goosed, but the others looked ok, though the inlet gasket did have a split.
Puma, (+)"GB", Zetec 1.7 EFI, 3 Door Coupe, RHD
-TB Gasket
Part Number: 1031077
Retail Price: £7.59
Puma, (+)"GB", Zetec 1.7 EFI, 3 Door Coupe, RHD
-ISCV Gasket
Part Number: 7165249
Retail Price: £2.10
Puma, (+)"GB", Zetec 1.7 EFI, 3 Door Coupe, RHD
-Inlet Manifold Gasket
Part Number: 1031019
Retail Price: £46.17
2 x 1663888 – M6 bolts for support brackets to manifold
2 x 1012255 – M8 bolts for support brackets to block
9097886 – support bracket
9097885 – support bracket
9097900 – inlet pipe
And here is how I did it;
Disconnect negative terminal connection to battery
Remove oil filler cap
Remove hex bolts retaining engine cover
Remove engine cover
Replace bolts in rocker so you don’t loose them
Undo jubilee clips at each end of air intake
Remove air intake hose
Remove aux drive belt from alternator (jack up and support car, 13mm socket on tensioner, reach up and remove belt from alternator)
Remove front grille (2 x torx)
Remove o/s headlamp (2 x torx, twist clip, pull forward, undo electrical connector, undo vent hose)
Disconnect alternator (elec connector, single power cable (10mm nut))
Remove alternator (two 15mm bolts to end of engine, one on the front (13mm?), it is partly for access to the lower end bolt, that you remove the headlamp)
Disconnect VCT actuator (gearbox end of rocker cover)
Disconnect TPS
Disconnect IAT
Disconnect ISCV
Disconnect 3 x vacuum pipes from inlet
Disconnect throttle cable (remove circlip, pull off, including rubber section, twist and remove from bracket)
Remove four bolts retaining TB
Remove TB (mine did not want to come off, it took some taps with a hammer to remove)
Remove bolt from dipstick tube
Remove crank case breather pipe
Remove fuel rail, unclip each of the four injectors, then undo two bolts
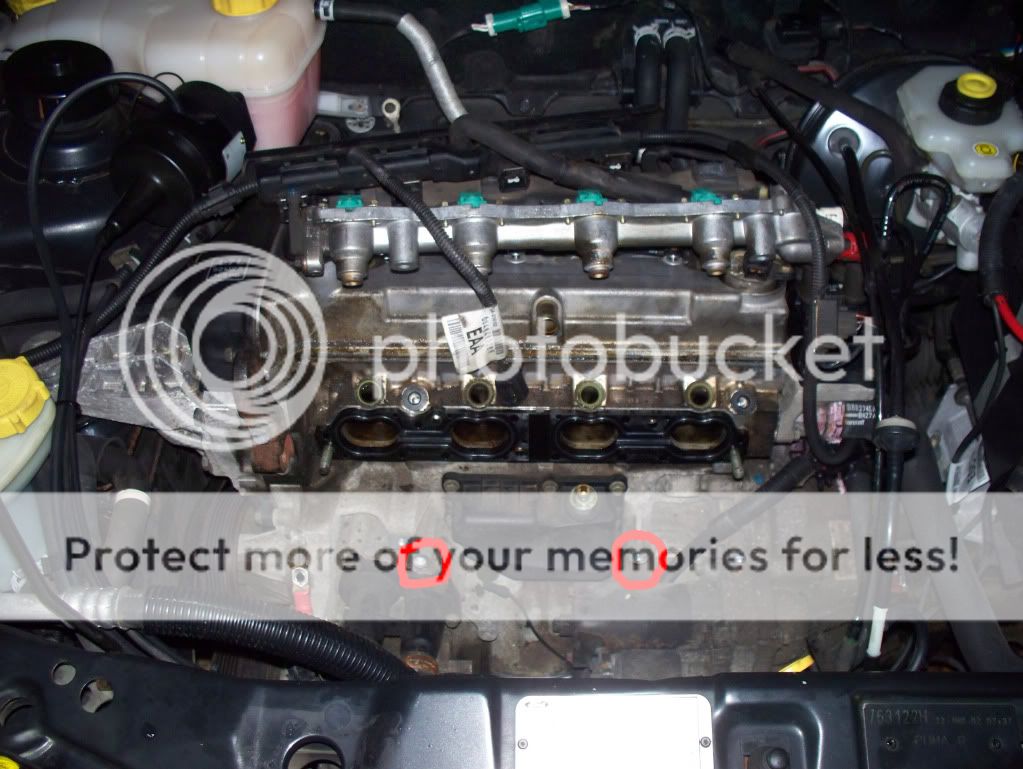
Remove three retaining bolts from inlet
Remove two retaining nuts from inlet
Remove inlet
Remove inlet gasket
Clean up face on head
Fit new inlet gasket
Remove rubber tubes from old inlet
Test mount FRP inlet so you can see how much the dipstick needs to be bent
Bend dipstick tube, I used a spring type drain cleaner to strengthen the tube and stop it from kinking
Fit rubber tubes to FRP inlet

Fit supports to engine block, using M8x13mm bolts
Fit FRP inlet, connecting rubber hoses before mounting on studs
Fit dipstick to FRP inlet, I removed the plastic trim next to the bonnet latch to give better access
Tighten nuts and bolts in a diagonal type formation, the bottom middle bolt is a nightmare, I only managed to get to it with a thin ring spanner
Join support brackets to the bottom of the inlet, using the same bolts as for the dipstick, but with a washer. A ratchet spanner is very useful for these
Refit alternator, access through headlamp aperture is helpful in fitting the front mounting bolt, access is very tight
Refit aux drive belt, bit awkward, but you can do it on your own, easier with two though I would expect
Refit fuel rail
Connect VCT actuator
Clean up mating face of TB, refit with new gasket, tightening bolts diagonally
Clean up mating face of ISCV, refit with new gasket
Connect IAT, I had to go under the car to adjust the routing of the cable slightly
Connect alternator & power cable
Connect ISCV
Connect TPS (run cable under TB)
Test fit vacuum pipes, rubber pipe to fuel rail will need shortening, as will the stiff one going to the back of the inlet, this one is easiest to trim at the far end, near the bulkhead where it enters a rubber elbow. I just used some good scissors for both.
Check everything is tight.
Fit inlet hose, using original jubilee clips, do this last as once in place access under the plenum is much more difficult
Reconnect battery
Cross your fingers, touch wood, pray to your God, etc.
Good luck, anything I have got wrong, or any queries, please feel free to ask.
Recommended parts for fitting FRP inlet manifold, I have provided prices where they were readily available, no clue on the supports, but if you work off £0.50 each on the bolts you should be ok. You might get away without replacing the ISCV and manifold gaskets, but do you really want to get stuck with the engine in bits when you find out that the old ones are no good? My TB gasket was definately goosed, but the others looked ok, though the inlet gasket did have a split.
Puma, (+)"GB", Zetec 1.7 EFI, 3 Door Coupe, RHD
-TB Gasket
Part Number: 1031077
Retail Price: £7.59
Puma, (+)"GB", Zetec 1.7 EFI, 3 Door Coupe, RHD
-ISCV Gasket
Part Number: 7165249
Retail Price: £2.10
Puma, (+)"GB", Zetec 1.7 EFI, 3 Door Coupe, RHD
-Inlet Manifold Gasket
Part Number: 1031019
Retail Price: £46.17
2 x 1663888 – M6 bolts for support brackets to manifold
2 x 1012255 – M8 bolts for support brackets to block
9097886 – support bracket
9097885 – support bracket
9097900 – inlet pipe
And here is how I did it;
Disconnect negative terminal connection to battery
Remove oil filler cap
Remove hex bolts retaining engine cover
Remove engine cover
Replace bolts in rocker so you don’t loose them
Undo jubilee clips at each end of air intake
Remove air intake hose
Remove aux drive belt from alternator (jack up and support car, 13mm socket on tensioner, reach up and remove belt from alternator)
Remove front grille (2 x torx)
Remove o/s headlamp (2 x torx, twist clip, pull forward, undo electrical connector, undo vent hose)
Disconnect alternator (elec connector, single power cable (10mm nut))
Remove alternator (two 15mm bolts to end of engine, one on the front (13mm?), it is partly for access to the lower end bolt, that you remove the headlamp)
Disconnect VCT actuator (gearbox end of rocker cover)
Disconnect TPS
Disconnect IAT
Disconnect ISCV
Disconnect 3 x vacuum pipes from inlet
Disconnect throttle cable (remove circlip, pull off, including rubber section, twist and remove from bracket)
Remove four bolts retaining TB
Remove TB (mine did not want to come off, it took some taps with a hammer to remove)
Remove bolt from dipstick tube
Remove crank case breather pipe
Remove fuel rail, unclip each of the four injectors, then undo two bolts
Remove three retaining bolts from inlet
Remove two retaining nuts from inlet
Remove inlet
Remove inlet gasket
Clean up face on head
Fit new inlet gasket
Remove rubber tubes from old inlet
Test mount FRP inlet so you can see how much the dipstick needs to be bent
Bend dipstick tube, I used a spring type drain cleaner to strengthen the tube and stop it from kinking
Fit rubber tubes to FRP inlet
Fit supports to engine block, using M8x13mm bolts
Fit FRP inlet, connecting rubber hoses before mounting on studs
Fit dipstick to FRP inlet, I removed the plastic trim next to the bonnet latch to give better access
Tighten nuts and bolts in a diagonal type formation, the bottom middle bolt is a nightmare, I only managed to get to it with a thin ring spanner
Join support brackets to the bottom of the inlet, using the same bolts as for the dipstick, but with a washer. A ratchet spanner is very useful for these
Refit alternator, access through headlamp aperture is helpful in fitting the front mounting bolt, access is very tight
Refit aux drive belt, bit awkward, but you can do it on your own, easier with two though I would expect
Refit fuel rail
Connect VCT actuator
Clean up mating face of TB, refit with new gasket, tightening bolts diagonally
Clean up mating face of ISCV, refit with new gasket
Connect IAT, I had to go under the car to adjust the routing of the cable slightly
Connect alternator & power cable
Connect ISCV
Connect TPS (run cable under TB)
Test fit vacuum pipes, rubber pipe to fuel rail will need shortening, as will the stiff one going to the back of the inlet, this one is easiest to trim at the far end, near the bulkhead where it enters a rubber elbow. I just used some good scissors for both.
Check everything is tight.
Fit inlet hose, using original jubilee clips, do this last as once in place access under the plenum is much more difficult
Reconnect battery
Cross your fingers, touch wood, pray to your God, etc.
Good luck, anything I have got wrong, or any queries, please feel free to ask.
FlashBastd
New member
So I used the car a bit over the weekend, was feeling quite pleased, though looking forward to getting rid of the minor vibration under braking.
Of course things never go too well - I spotted that at some point over the weekend I have managed to lightly scuff one of my front wheels, which is really annoying. I expect to need some new front tyres before too long, so I will probably leave it until then, but in any case I am really cross about it.
Of course things never go too well - I spotted that at some point over the weekend I have managed to lightly scuff one of my front wheels, which is really annoying. I expect to need some new front tyres before too long, so I will probably leave it until then, but in any case I am really cross about it.
FlashBastd
New member
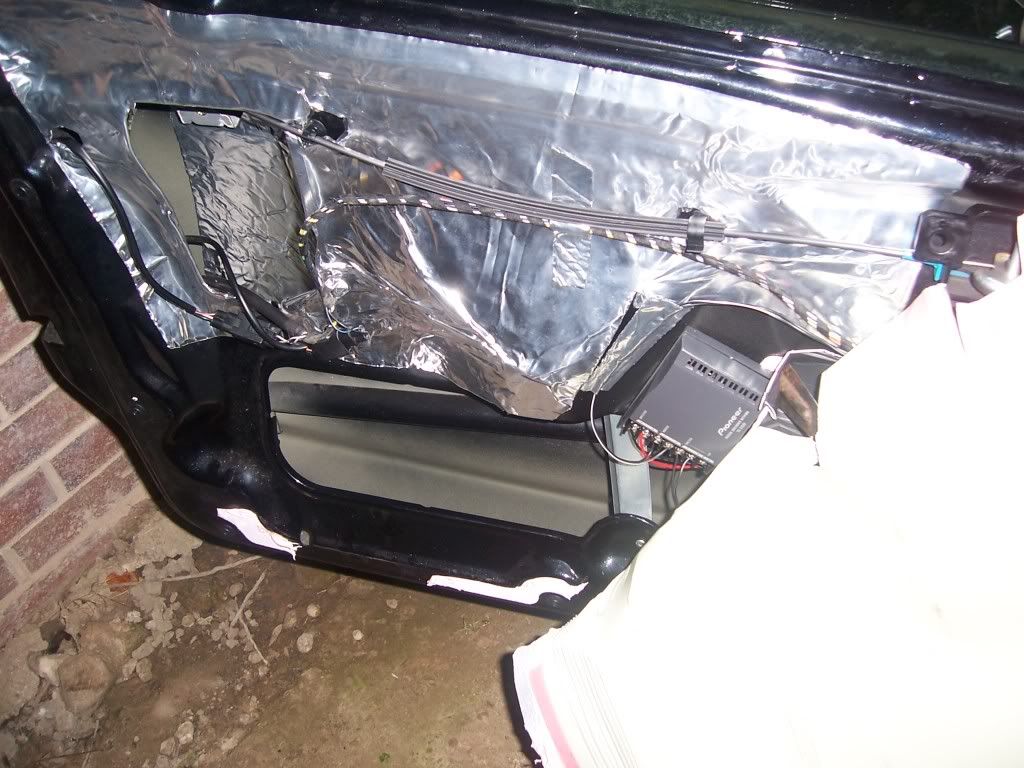
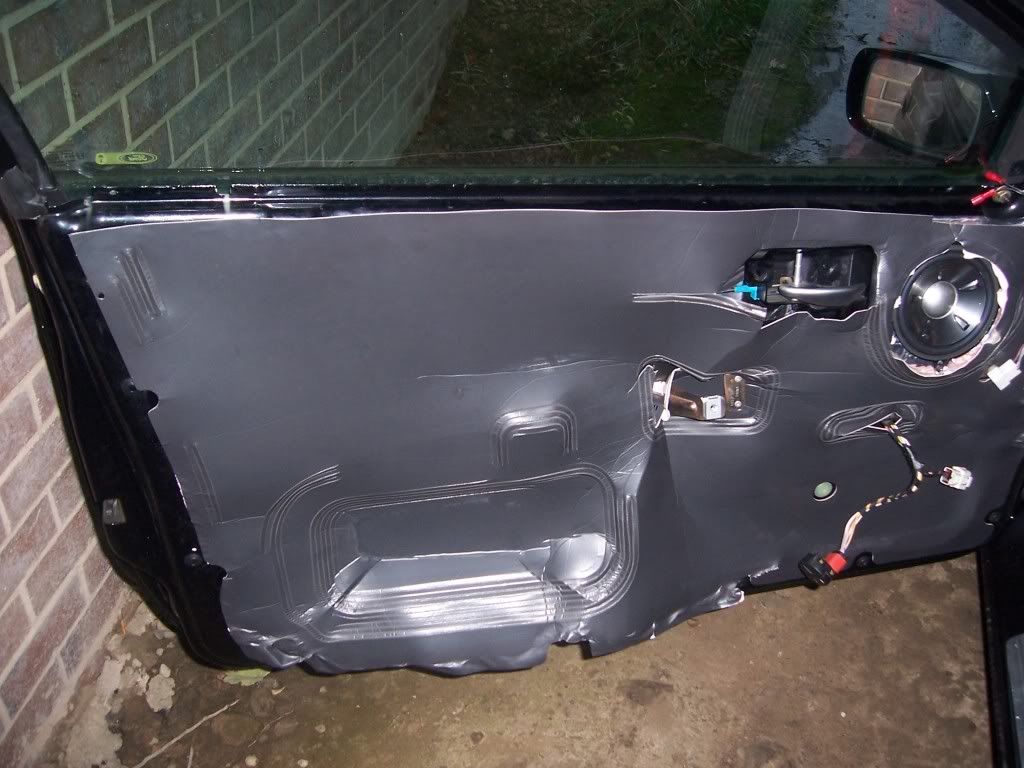
Been busy this weekend, stripped down both front doors, applied some Second Skin sound deadening to the upper section and a sheet to the inside of the door skin. Also fitted some Pioneer component speakers, with the tweeter mounted in the inner mirror trim.
While I had the doors stripped, I sprayed some Bilt Hamber Dynax S80 into the lower parts of the doors, so that is another area I can tick off the list.
Still have a few more bits to treat, but my in-laws are in the process of buying a house nearby, with a 3 car garage and pit, so that will probably leave it until that has gone through. Easier than going to my mum's garage which is further away.
Also took the opportunity to fit some Halford's Extreme Brilliance bulbs to my dip beam, so look forward to seeing how those work out.
And finally a few pics;
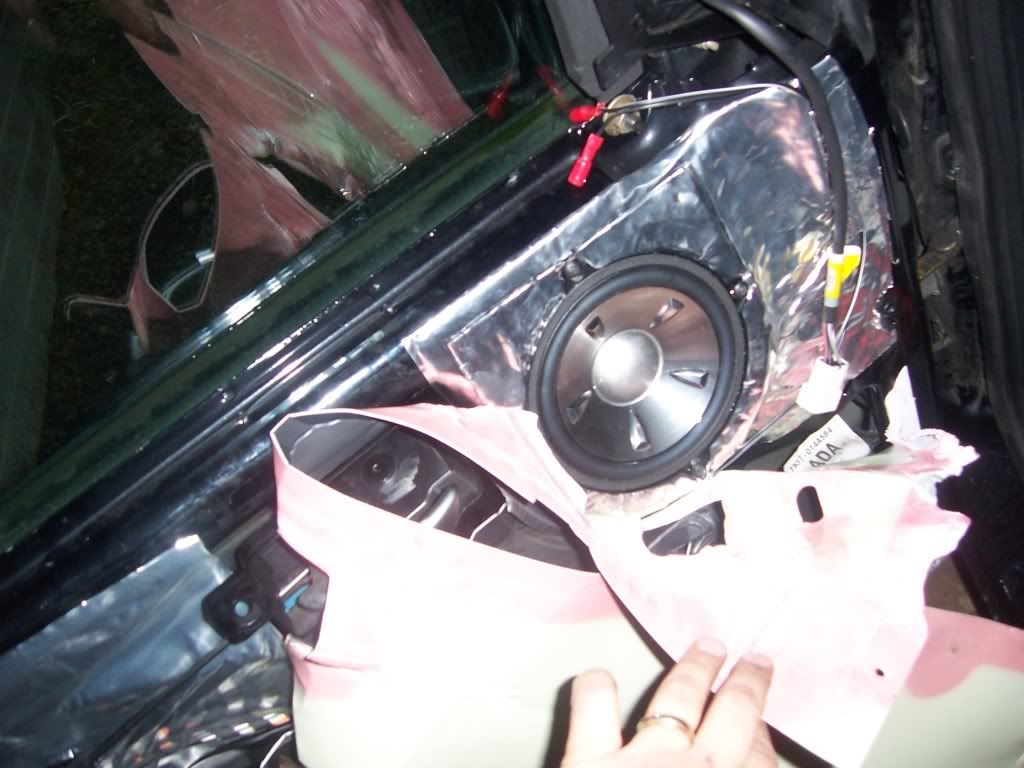
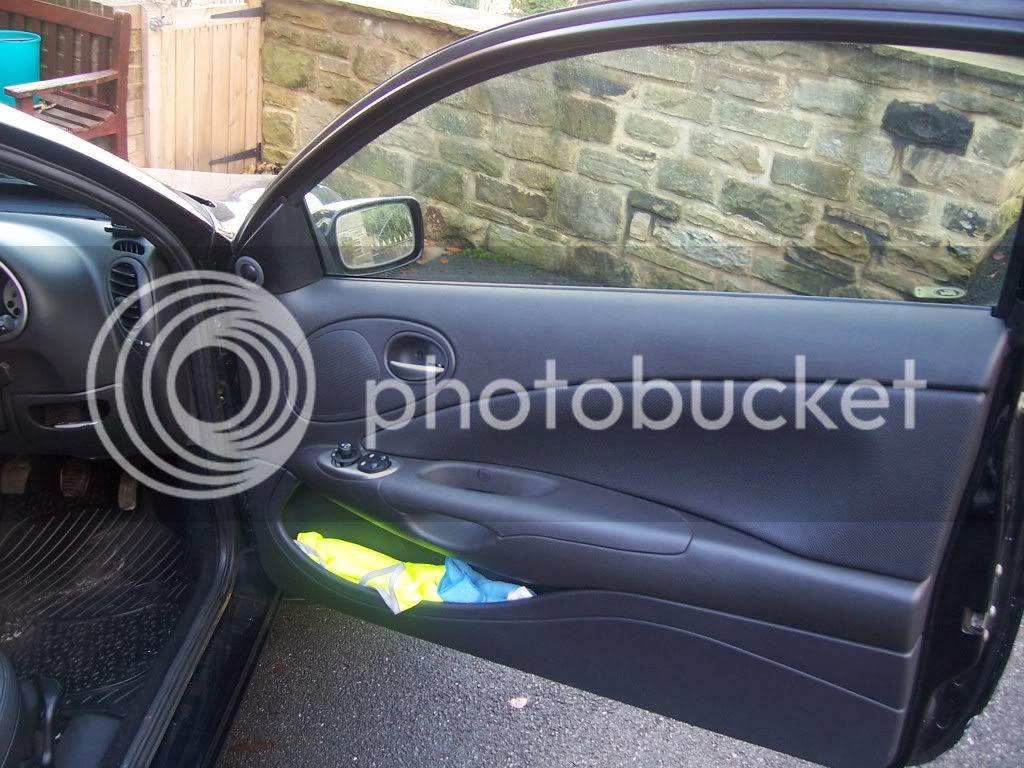
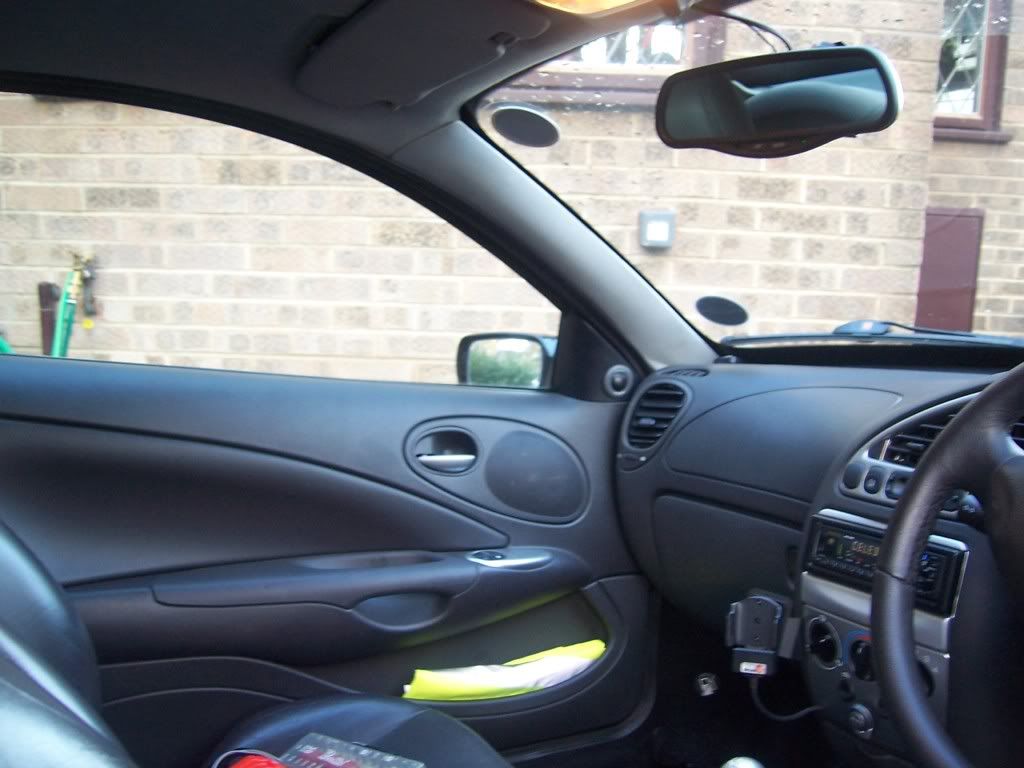
Bit miffed as I managed to loose a screw cover, so I will have to get a new one ordered tomorrow.
While I had the doors stripped, I sprayed some Bilt Hamber Dynax S80 into the lower parts of the doors, so that is another area I can tick off the list.
Still have a few more bits to treat, but my in-laws are in the process of buying a house nearby, with a 3 car garage and pit, so that will probably leave it until that has gone through. Easier than going to my mum's garage which is further away.
Also took the opportunity to fit some Halford's Extreme Brilliance bulbs to my dip beam, so look forward to seeing how those work out.
And finally a few pics;
Bit miffed as I managed to loose a screw cover, so I will have to get a new one ordered tomorrow.
FlashBastd
New member
Just collected the car, refurbished ST170 front calipers, along with new Bosch discs and Mintex 1144 pads, new drop links, ABS sensor cable mounts, Fiesta Zetec-S front ARB, with new bushes and a new ATE o/s/f ABS sensor.
New brakes seem a bit better than the Mk3 Mondeo ones, but then I was never that impressed with them, could just be the new pads though.
In any case, it is another job done!
New brakes seem a bit better than the Mk3 Mondeo ones, but then I was never that impressed with them, could just be the new pads though.
In any case, it is another job done!
FlashBastd
New member
I have an annoying clunking noise under braking from the o/s/f, but haven't yet worked out what it is. I have had most of that corner stripped down and have inspected and tighted everything I can with a torque wrench, so back to the garage I think.
Did around 600 miles between 7am Monday and 2pm yesterday, including a jaunt into Central London. The little car behaved perfectly (save for being a bit loud on the motorway), and returned around 38MPG overall. I was running a bit late on Monday morning, due to the M1 being awful, and congestion on the M42 leading me to take the M69 instead. As I was running late, I decided to press on a bit more than usual, where it was safe to do so. I can confidently say that with the new inlet, once you get the car beyond 4000rpm in top, it really flies! I was rather pleased, to say the least. Given that most of my driving is sub-4k, with the occasional spurt in the lower gears, I hadn't really noticed the benefit of the new mani that much, but at the top of the rev range, and in a high gear, the benefit is very noticable!
Given the fairly grim weather, I should also mention just how good the GSD3's are. At no point did I feel anything less than 100% confident in the level of grip and feedback that they provided, regardless of the weather conditions. They are bloody awful in snow though.
Also just received some silver indicator bulbs for the front and side repeaters on both the Puma and Rhonda the Honda, hoping to get those fitted over the next few days.
No other changes with the car though, as of last week I was thoroughly bored with it and ready to buy something more expensive, but I don't think there is so much about that can match the economy, performance and handling, without resorting to diesel, which I really don't want to do. In the meantime though I am going to back off on spending on the car, with any spare cash going towards my "996 fund", current balance £45 + whatever I could get for the Puma and it's various goodies. I think that means I will have plenty of time to wear out all of the replaced bushes, etc. before I have enough cash to actually buy a Porsche.
FlashBastd
New member
Lol@ Jimmer^
Couple of pics of the car looking a bit grubby. These pics were taken on Tuesday afternoon, you wouldn't think that at 8pm Sunday it looked great, but I guess that is the problem with this time of year;
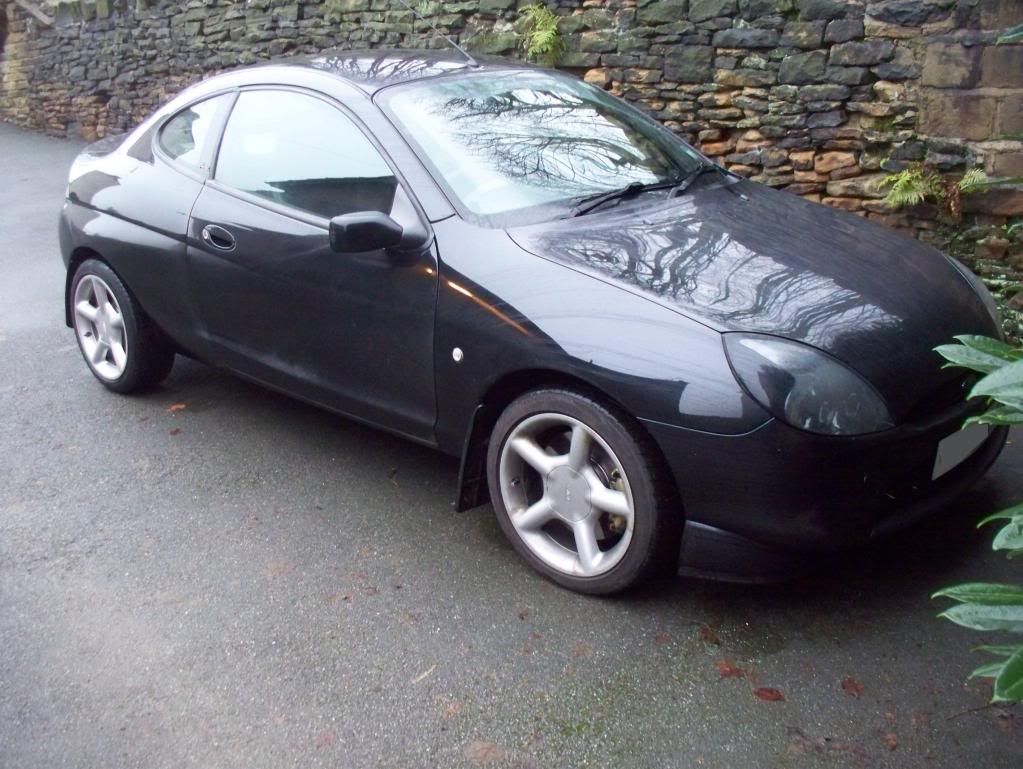
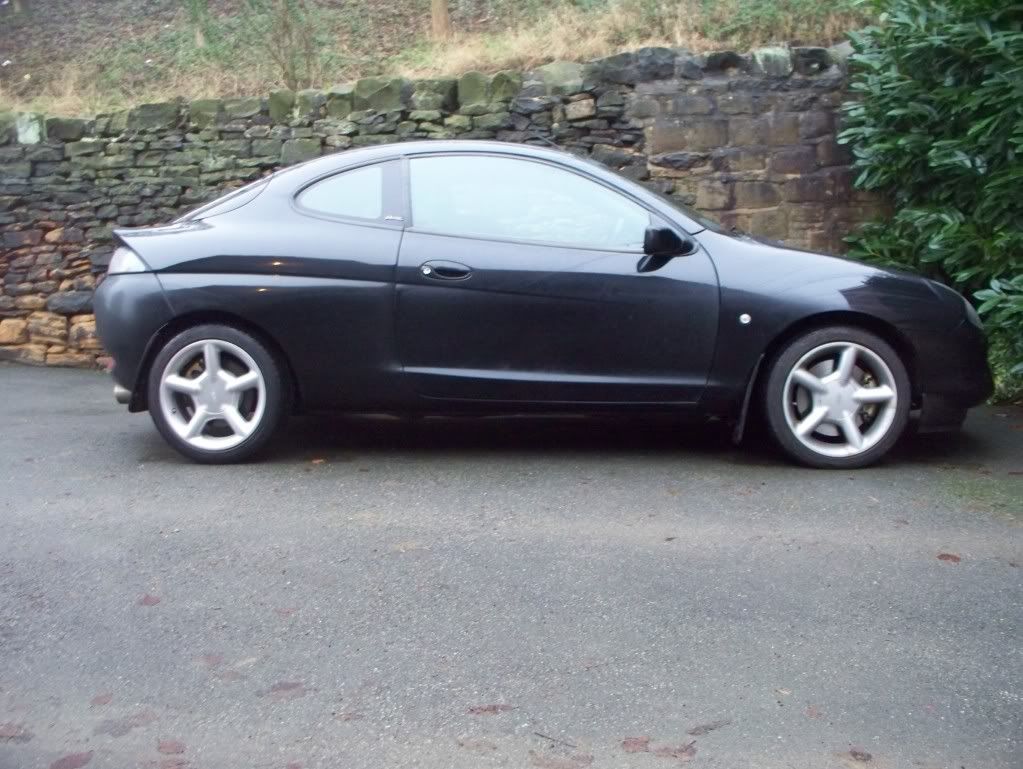
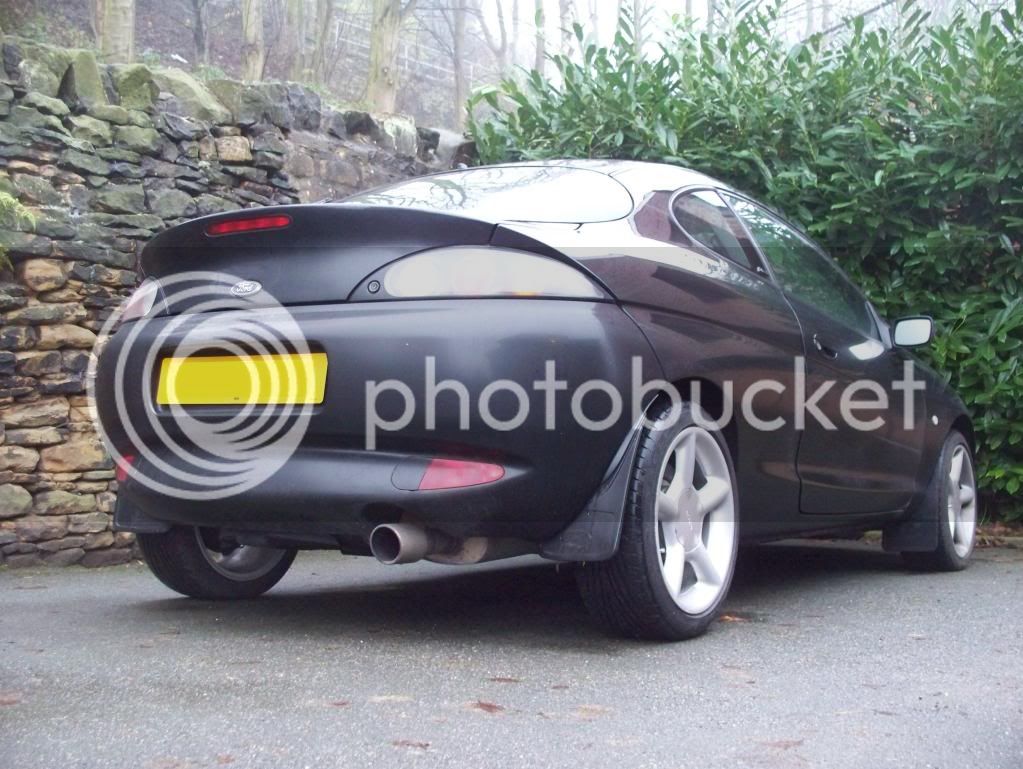
Quite like the last pic, would obviously be nicer if the car was clean! Still hoping to get my FRP tail pipe fitted at some point.
The 1144's seem to give off loads of dust, which is annoying. Almost nothing from the rears, but I guess that is what you would expect.
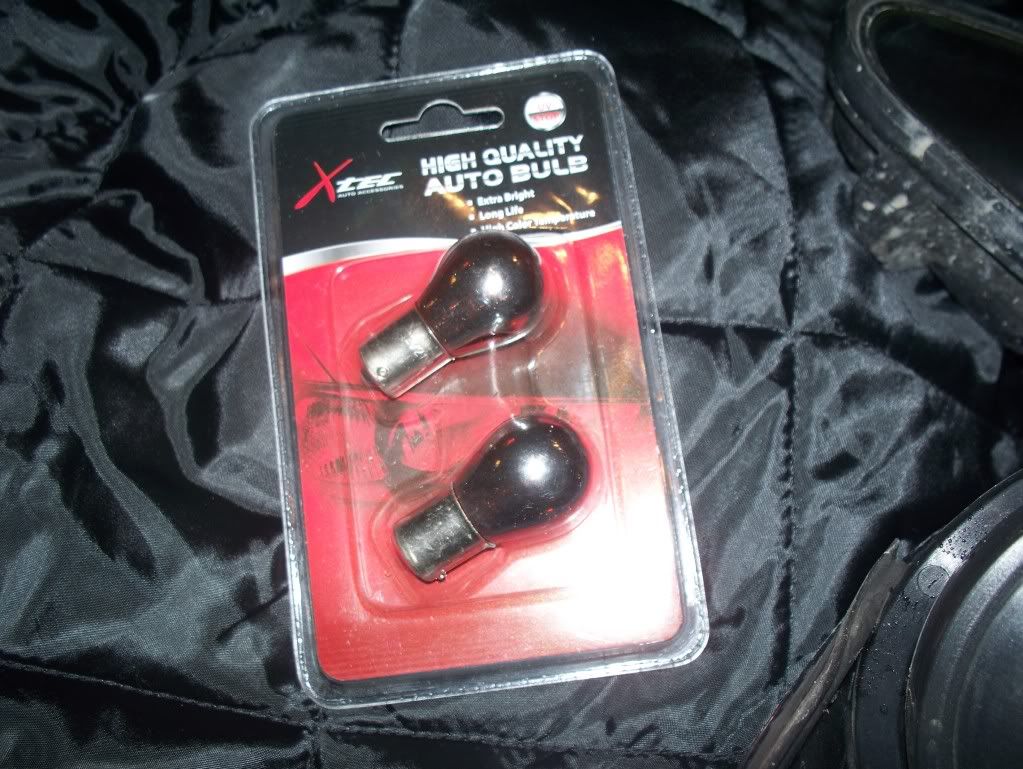
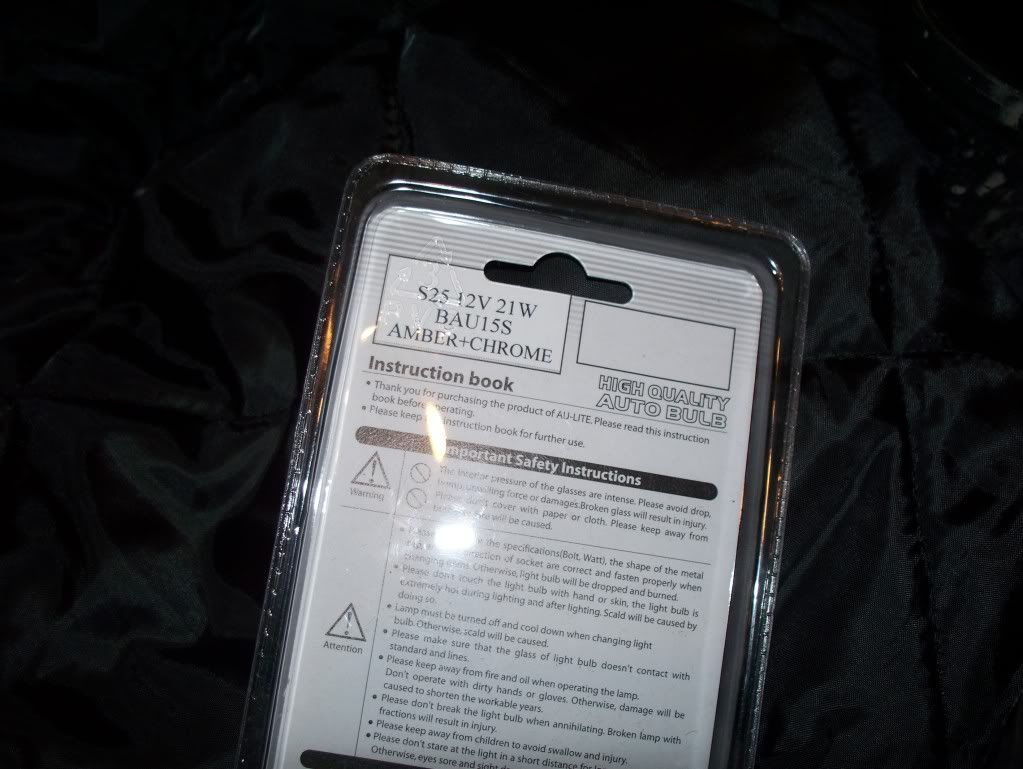
Also got these in the post today, a set for the Puma and a set for our grey CR-V. Want to get them both wash and get some daytime pics of both with the current amber indicators before I change them over. One set is "diadem" type, the other the cheaper "Amber+Chrome"
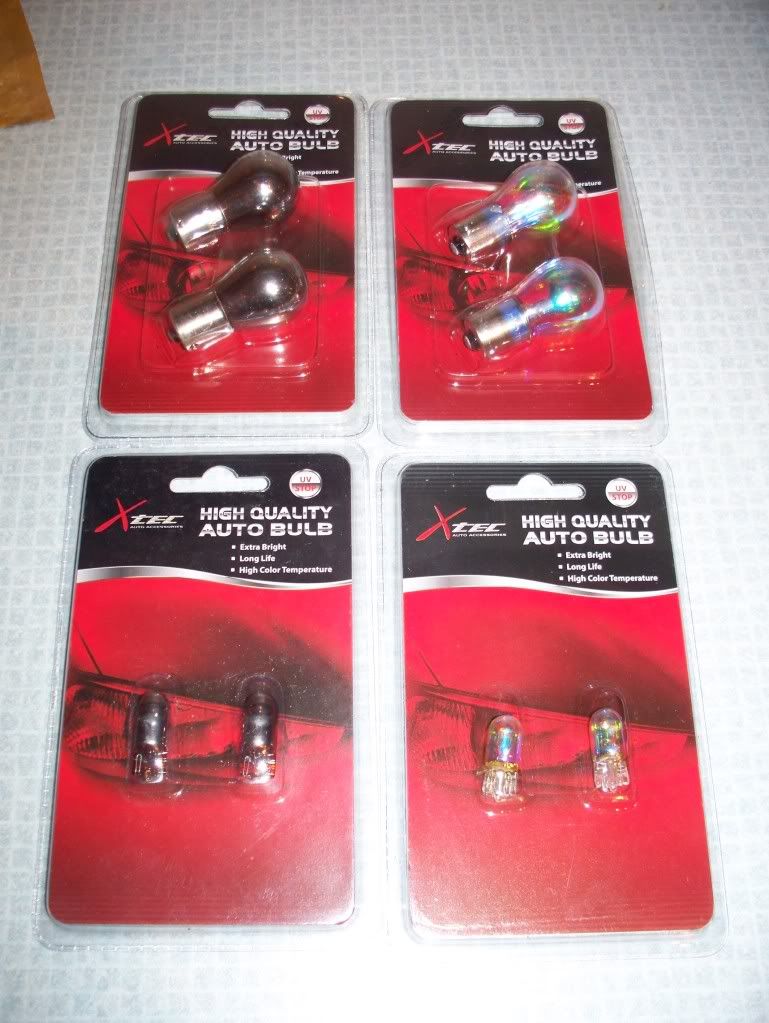
Thanks for Rick (YOG) for the link. If only I knew why I ordered an extra lot of "Amber+Chrome" 501's. I think I had in mind that they would do for the side lights, which are currently looking a bit too blue, but given that these are orange, I was clearly being a bit dim.
Couple of pics of the car looking a bit grubby. These pics were taken on Tuesday afternoon, you wouldn't think that at 8pm Sunday it looked great, but I guess that is the problem with this time of year;
Quite like the last pic, would obviously be nicer if the car was clean! Still hoping to get my FRP tail pipe fitted at some point.
The 1144's seem to give off loads of dust, which is annoying. Almost nothing from the rears, but I guess that is what you would expect.
Also got these in the post today, a set for the Puma and a set for our grey CR-V. Want to get them both wash and get some daytime pics of both with the current amber indicators before I change them over. One set is "diadem" type, the other the cheaper "Amber+Chrome"
Thanks for Rick (YOG) for the link. If only I knew why I ordered an extra lot of "Amber+Chrome" 501's. I think I had in mind that they would do for the side lights, which are currently looking a bit too blue, but given that these are orange, I was clearly being a bit dim.
FlashBastd
New member
Took the car to the garage today, it is the outer brake pad on the right hand side that is making the clunking noise, so when I have some time I will swap it with the one on the other side to confirm if it is the pad that is too small, or if the caliper is too large, perhaps ground back a touch too far when it was refurbished.
Also noticed some inner edge wear on the front tyres, so will be ordering some new ones in the New Year and getting the alignment checked again. Shame as there is still 4mm in the middle, but there is enough meat left on them for me to stick them on some of my spare wheels and keep them for track days.
So I have some spare wheels, which will become track day wheels, they are a bit tatty so would benefit from a repaint, any suggestions as to what colour to paint them?
Gold 
FlashBastd
New member
I was actually considering painting them bright red... would certainly be different!
PumaJay
Active member
bright orange... dyno rod style colour!!
FlashBastd
New member
First trip into the office for about a week, so I collected some wind deflectors from PnthrBlkZS, got those fitted this evening and removed my headlamps and brought them inside to fit amber / chrome indicator; also gave them a good wash after taking the pics - outer lenses were clean, but the rears were rather grubby, probably due to road muck making it's way into the engine bay.
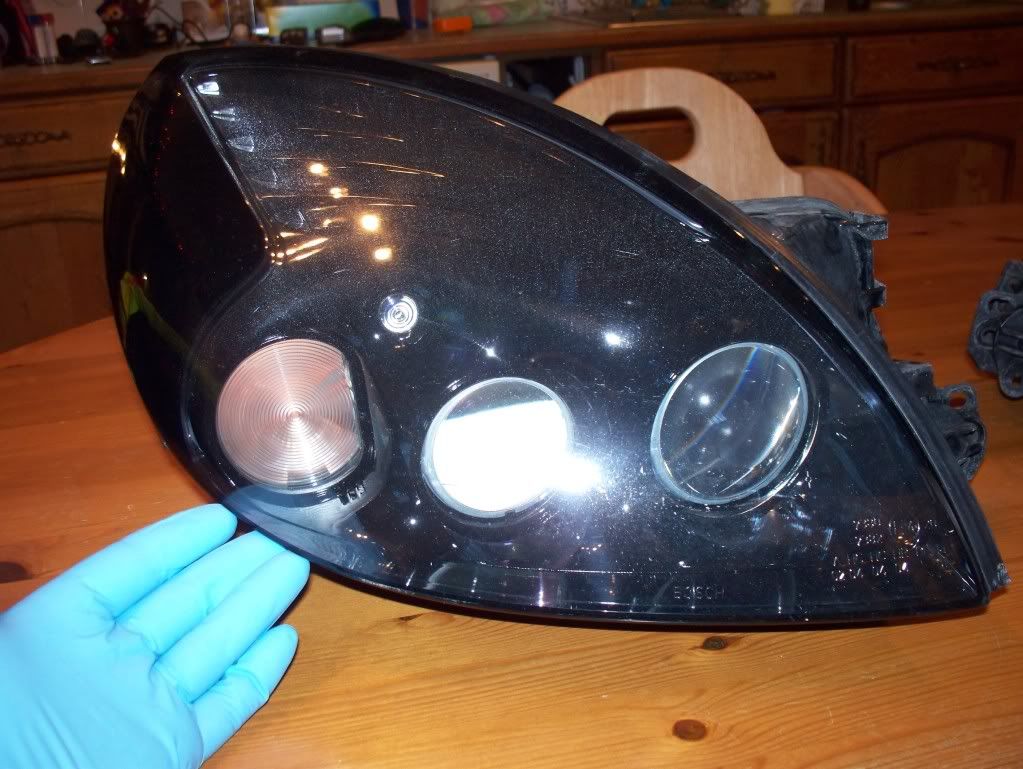
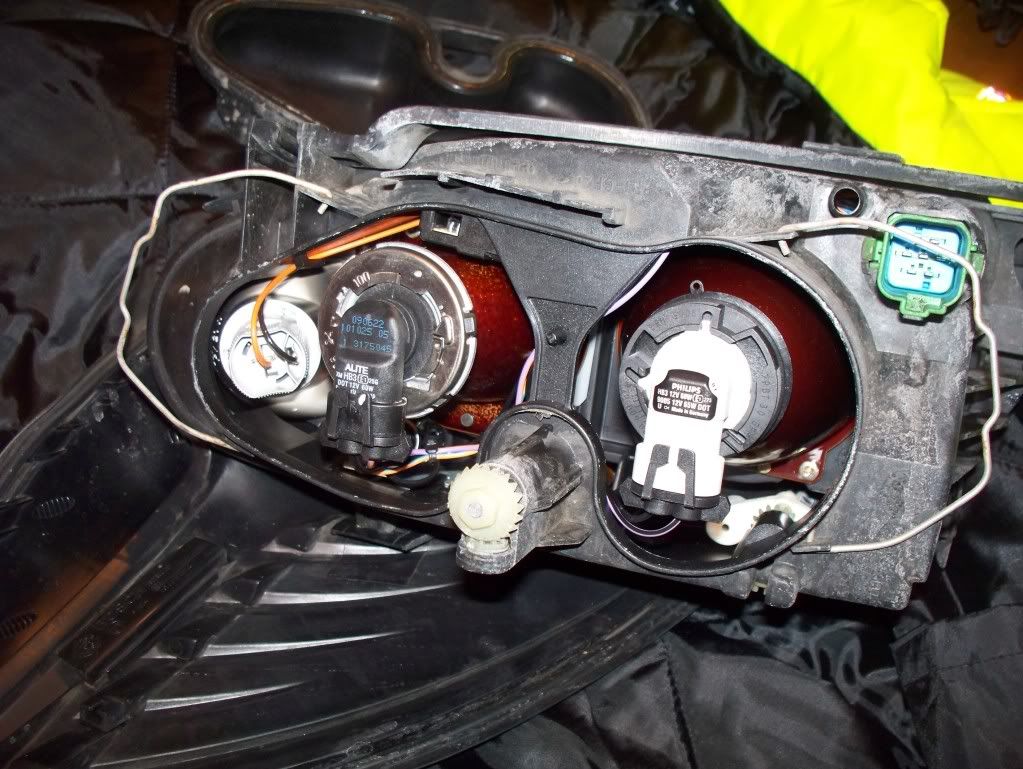
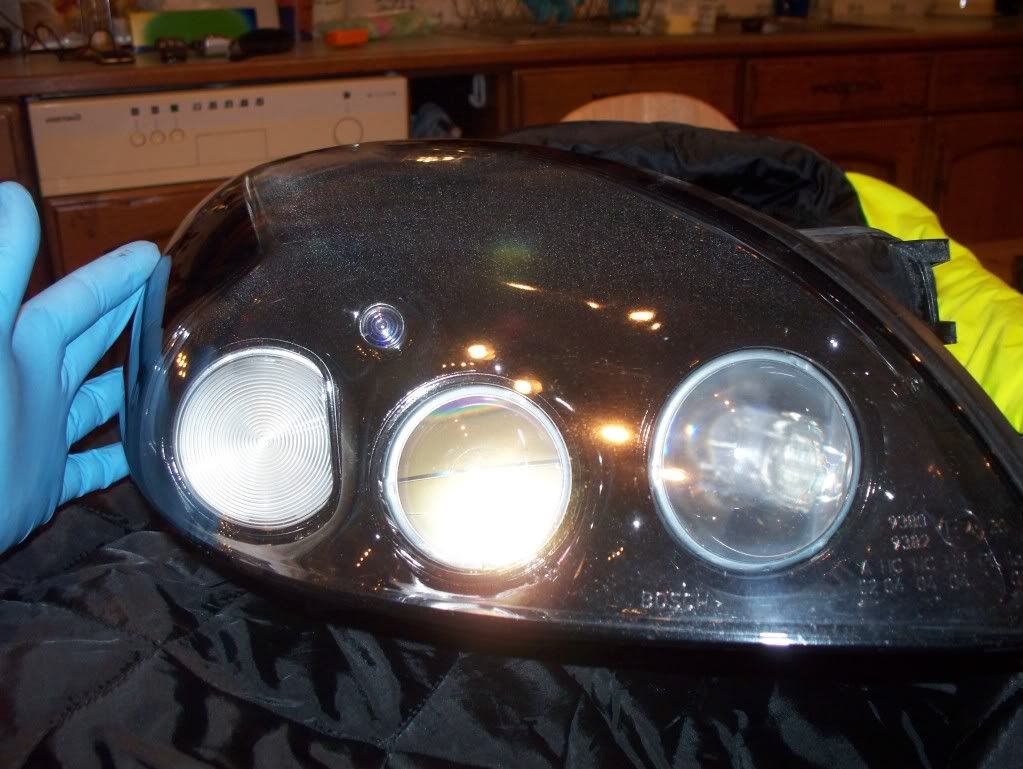
Not got around to my side repeaters yet, think I am going to need to remove the wheel arch liners to get to them.
Also a bit miffed with bulbs that I got for the Honda; the info I found online suggested they were the same bulbs as the Puma, turns out that as ours is a facelift CR-V, it has different, push-fit bulbs. And I broke a clip on one of the side repeaters when fitting diadems to it. Bloody cars and bloody cold weather!
FlashBastd
New member
Should also have mentioned, I braved the elements yesterday and gave the little car a wash, before tucking it away for Christmas. It was really mucky having done around 1250 miles on gritted / slushy / wet roads, just over the past 10 days. I noticed that the drivers side front brake is chucking out LOADS more dust that the other side, which I think is a consequence of the loose pad. Changing these has now become more of a priority, I just need to hope that it is a faulty pad and not a worn carrier.
FlashBastd
New member
Just trial fitted my spare Apex pads in the drivers side carrier, pleased to say there was some play with the Mintex, which seems to have disappeared with the new Apex pads. Need to get some copper grease and rebuild, assuming that sorts it, I will do the other side too.
While the drivers side was jacked up, I removed the front mudflap and wheelhouse liner, to provide access to remove the side repeater and also hopefully I will get some Dynax UB in there at the same time.
While the drivers side was jacked up, I removed the front mudflap and wheelhouse liner, to provide access to remove the side repeater and also hopefully I will get some Dynax UB in there at the same time.
Similar threads
- Replies
- 1
- Views
- 339