Project Puma 'Black'

ProjectPuma

Help Support ProjectPuma:

This site may earn a commission from merchant affiliate links, including eBay, Amazon, and others.
Have refitted the spare wheel carrier (2 coats of UB on top, 3 coats under), noticed how dirty the tyre was on the spare, so gave that a quick scrub before refitting.

I have now completed the rust treatment on the passenger side, got rid of the surface rust, degreased and two coats of Hydrate, two coats of Dynax.

Tried straightening some minor bending of the seam, and could not achive anything, so it will stay slightly bent where the car has been jacked / lifted in the past.

Hoping to start on the drivers side this weekend, weather permitting.

The underside has been pretty good, aside from some corrosion on the seam, towards the rear, on both sides, and a small amount on the N/S/F where the seam had become damaged from jacking. Tried straightening this up, but that seemed impossible, but I have still treated and protected these areas.

My plan is to get that done, and also hopefully treat under the front arches, then the "driveway" element of the treatment will be complete.

Next phase will be to get the car to the garage, remove the exhaust, heat shield and fuel tank, and treat the exposed parts. On the plus side, most of those areas should be in pretty good shape, having hopefully been protected from the elements.

In preparation for the car's next visit to the garage, I have been collecting some bits, including;

HEL braided brake lines (very minor kink in one of my front Goodridge's, rears will be staying as they are)
New bolts for ST170 calipers
New bushes, drop links and ABS sensor mounts for the Fiesta Zetec-S anti-roll bar
New door tread plates, though these won't be fitted until I am sure the rust isn't coming back.

So, when it does go in next, I will be hoping to sort out the remaining rust treatment, and I am hoping that I will also be able to get the ARB changed, new brake calipers fitted, FRP tail pipe welded on, and possibly also getting an FRP inlet manifold fitted... very exciting!
 
Over the weekend I managed to get the drivers side treated with hydrate and dynax, so in terms of rust protection there are just the front doors, front wheel houses, and underside currently covered by heat shields and fuel tank to do. I am hoping to take a Friday off work soon to take the car to the garage and get this done on a ramp on the Friday and Saturday morning.

I also need to paint the outer face of the bottom seams, I had hoped to get this done at the weekend, but the weather wasn't playing ball.

When I take the car to the garage, I will be hoping to get the arb, etc. and front discs & calipers changed, along with the FRP tailpipe.

I am also getting the consumables together in order to get the FRP inlet fitted with minimal hassle.
 
Very excited, look what arrived today, and at last a pic of something more interesting than rust!

Just received FRP inlet no. 542, also received a brand new o/s/r lamp, to go with the new n/s/r that I still have to fit.

FRPinlettaillamp002.jpg


FRPinlettaillamp001.jpg


Very excited, I identified the FRP inlet as being a must-have accessory even before I bought my car!
 
Excellent :D

You must be well chuffed to have it in your possession then! Hope it wasn't too ridiculously priced :?

Getting it fitted soon?
 
Hopefully getting it fitted within the next two weeks. Either this Sunday if I get chance, or a week on Friday if I take the car to the garage to sort out the underbody.

Very, very excited though!
 
red said:
Excellent :D
Hope it wasn't too ridiculously priced :?

Very true, I seem to remember a polished one being advertised at £1K plus! And some idiot paid it!
 
Received a Ka boot net today, fits nicely on the hooks for the Puma rear seat;

BootNet.jpg


Should be good for keeping things in place in the boot.

Actually drove the car this evening, very pleased with the new rear speakers.
 
Looking good, i rustproofed and undersealed all four of my under arches, inner arches & the the boot floor its the only way to go! as ford puma's have fcuk protection from the bad weather!!!
 
Not a very exciting update, but everyone likes pics of new parts awaiting fitment, with the exception of the first pic, I have tried to break them down into projects

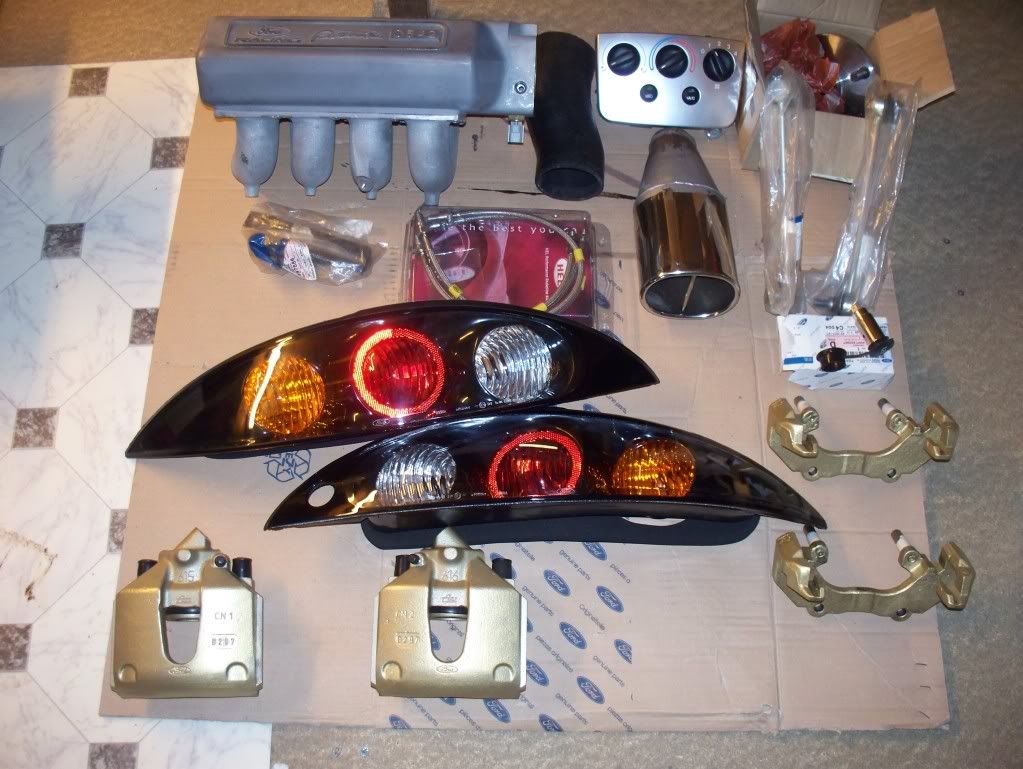
First off a shot of most of the important bits;

VariousParts.jpg


Pair of brand new tail lamps, FRP tail pipe, think everything else is details below.

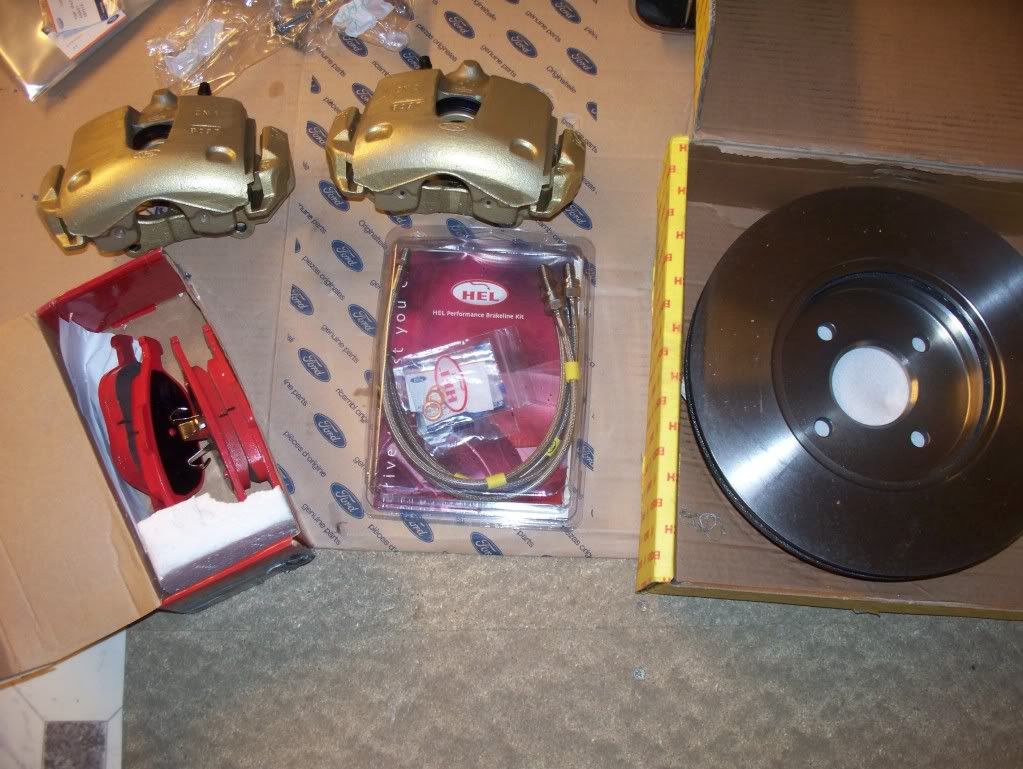
Front brake / suspension project;

FrontBrakeSuspensionProjectParts002.jpg


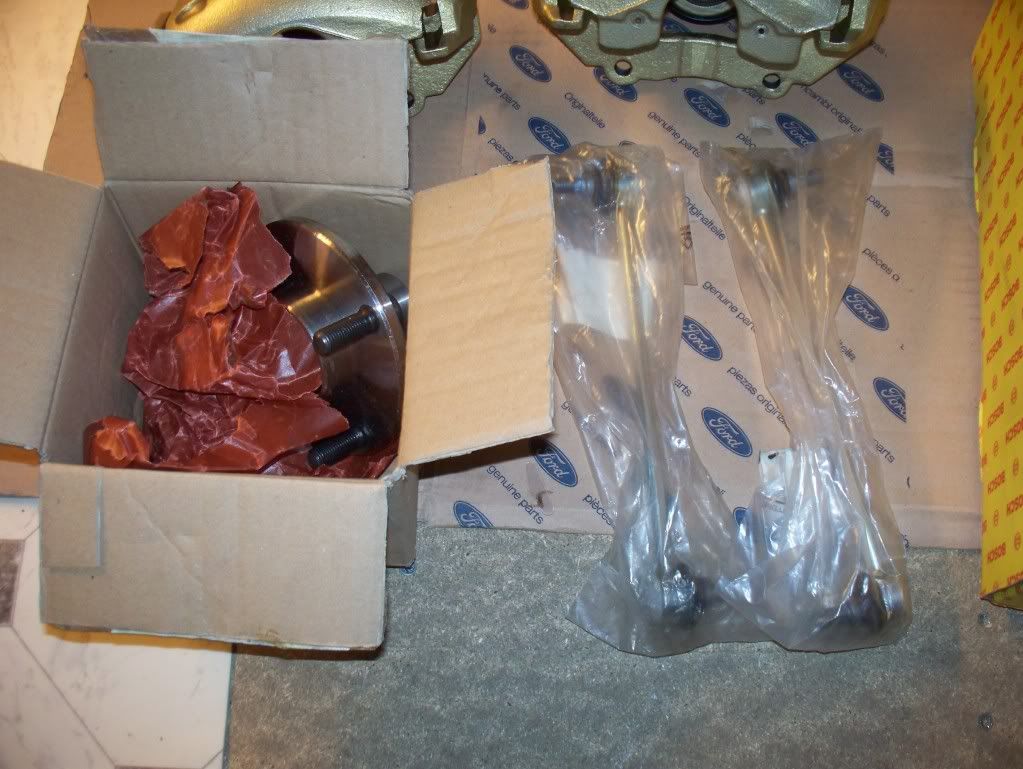
Remanufactured ST170 front calipers, HEL braided lines, new clips, new Bosch front discs, new Apex brake pads, though hopefully the new (hopefully correctly shaped) 1144's will have arrived by the time I am ready to fit them.

FrontBrakeSuspensionProjectParts003.jpg


New wheel hub, pair of new drop links. I also have new clips for the ABS sensors.

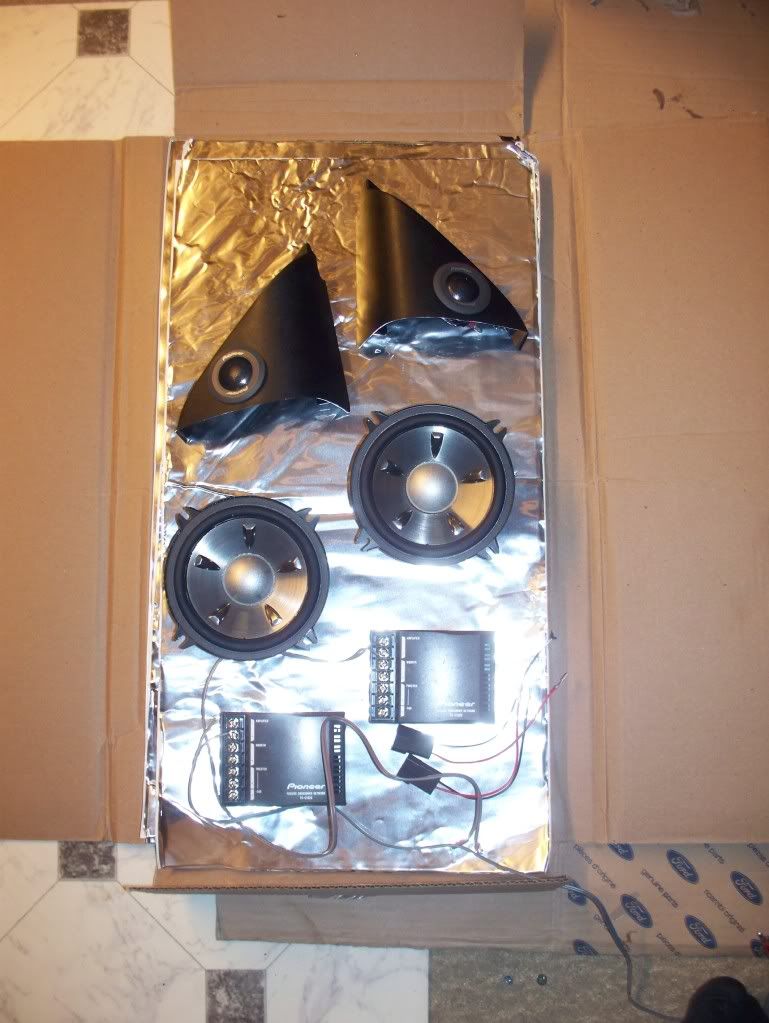
Front door audio project

FrontDoorAudioProjectComponents004.jpg


Pioneer components, sound deadening, and will also be rustproofing at the same time
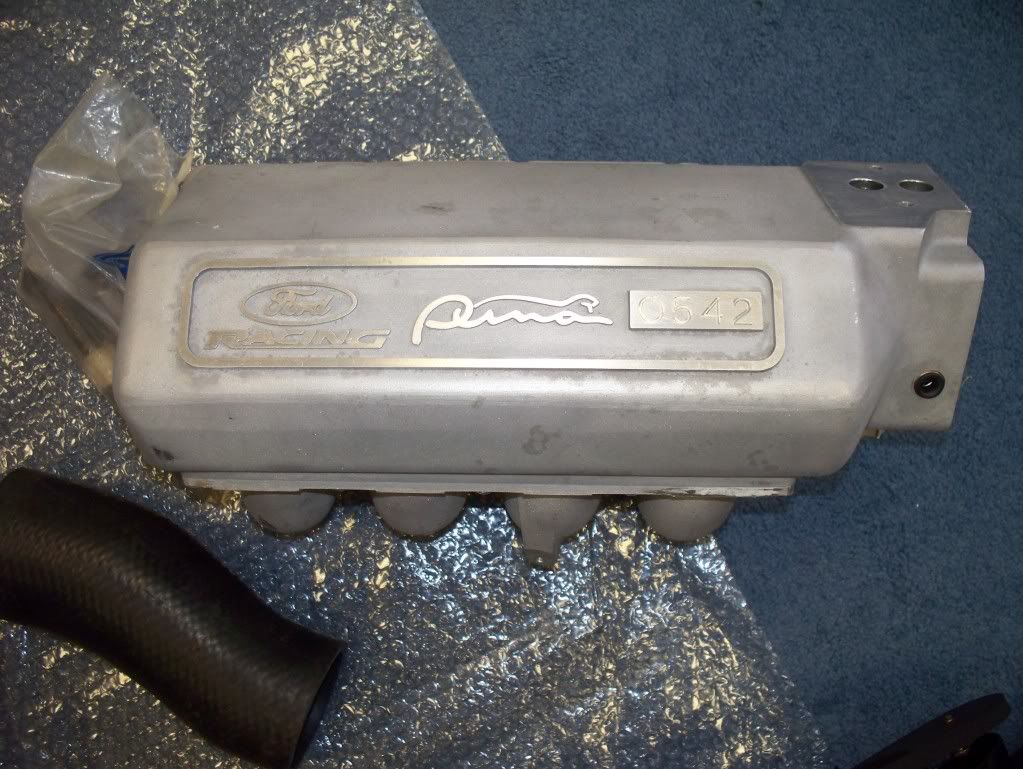
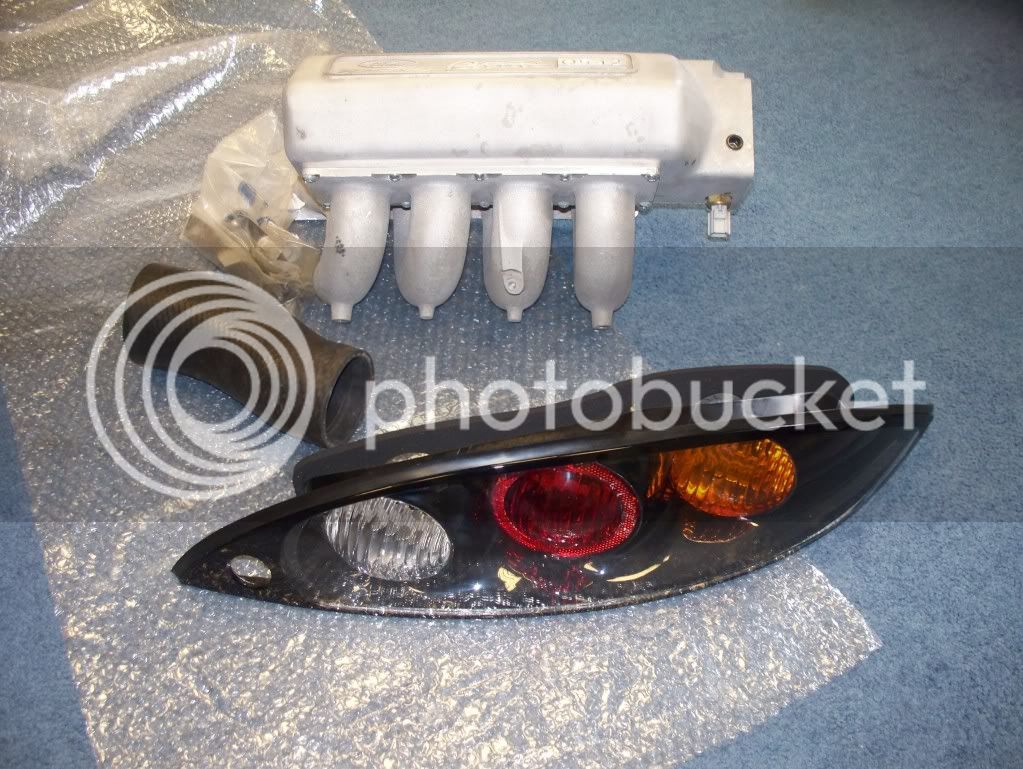
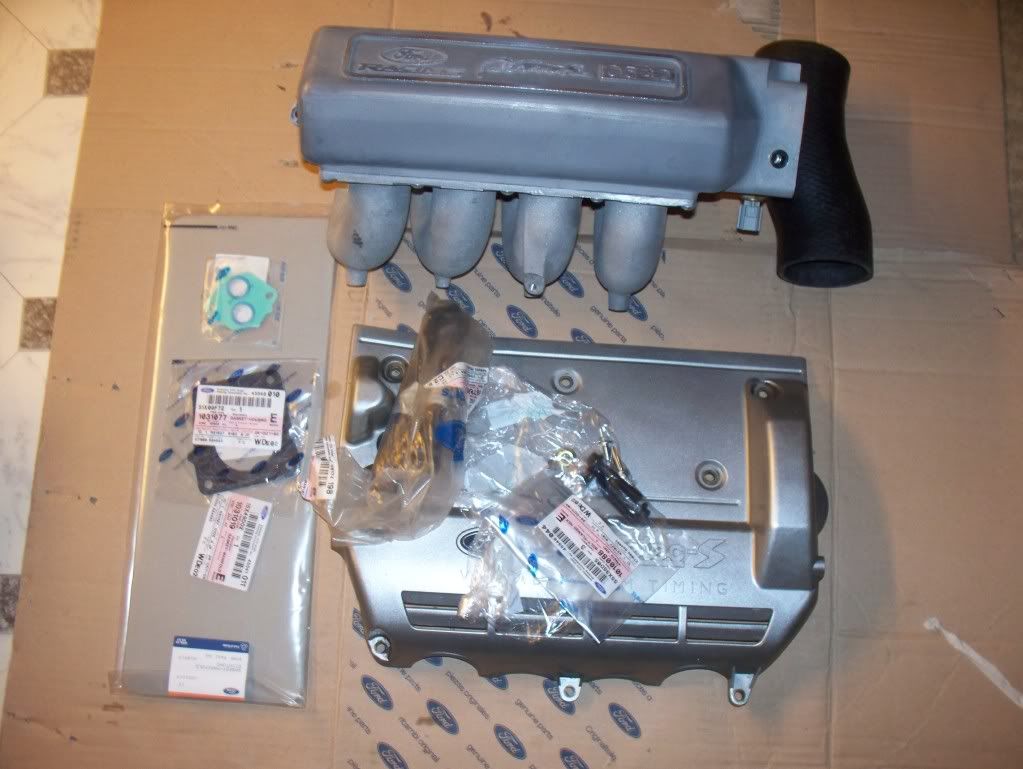
FRP Inlet Project

FRPinletmanifoldcomponents002.jpg


Inlet 542 (thanks Poder), new inlet, ICV and TB gaskets, nuts and bolts, and a spare engine cover to chop down (thanks to Karl.V, awsomely quick!).

Heater Control Panel Project

Not got a pic of this, but replacement heater control panel without cigar lighter socket, accessory socket for glove compartment, new pop-port cable for Nokia CK-7W, new cable to try out laser diffuser.

Just need to get this stuff fitted now!
 
looking good with all the bits!!

can you explain the advantages of all the dynax, hydrate stuff for the OAPs like me!!!

Im used to removing all the rust with wire brushes, then the traditional kurust, anti rust primer, two layers top coat then a thick layer of waxoil underbody wax!!!
 
Thanks!

The Bilt Hamber stuff is just a more advanced solution I think. Bilt Hamber appear to have a great reputation on the detailing forums, Happy-Kat and Yog were both using it, so I did a bit of digging and thought it seemed like a better solution than Waxoyl.

It isn't that different, still a case of wire brushing off the surface rust, the Hydrate does a similar job to Kurust, but also leaves a barrier, and the Dynax is essentially similar to an anti-rust coating.

Check out http://www.bilthamber.com" onclick="window.open(this.href);return false;
 
So my engine is currently missing an inlet manifold and alternator, with the TB and fuel rail just floating around the engine bay somewhere.

One of the downsides of trying to do this outside, on a cold, windy day, was that I seem to have managed to loose one of the inlet manifold bolts, along with the bolt for the dipstick. Not huge prob as I can take the opportunity to get the more appropriate hardware for securing the mounting brackets, both to the manifold and to the engine block.

Hoping to get it all back together later this week, just hoping I can get the aux drive belt back on after I refit the alternator.

Any suggestions as to the best thing to get the old gasket off the TB?
 
Hi! Love your project, must be great to be able to fix all that :) thats so awesam nice work.

The mud flaps of yours look awseam where did you get does ?
Partnumber?

Will it fitt the original wholes of my car ?


Thanks
 
Thanks.

Mudflaps are from mid 80's Escort and Sierra, no longer available unfortunately, best bet it to keep an eye out on eBay. Fitting is with the mudflap clamps that come with them, not 100% perfect, but with a bit of modification they fit quite securely.
 

Latest posts

Back
Top