The rebuild of no 219

ProjectPuma

Help Support ProjectPuma:

This site may earn a commission from merchant affiliate links, including eBay, Amazon, and others.
Hi, I'm very pleased to see 219 has found a home with someone who'll look after it with the level of care I gave it. Unfortunately it fell on hard times a few years after I sold it.

I eas very tempted to buy it back when I saw it on EBay, but the wife said no :lol:

Tom Kirkland
 
I also have a few pictures of when I owned it. And it's amazing to see that Tickford badge is still on the data plate, I really didn't think that's stick lol
 
I've been a little busy over the last few weeks with my running/tri training so the FRP has taken a bit of a back seat, I have managed to get the head and blocked skimmed though. I've never done this before so if anyone see something wrong please feel free to comment. As I've mentioned previously I'm a precision engineer by trade so applied my knowledge from that here.

The head
First job was to get the main mating face laying as flat as possible to the cutting head of the machine, I wanted to try and take as even amount from around all of it as possible. I used a 3D probe and zerod it one corner and kept checking the opposite corners.
037F470C-EE1F-4791-AD97-D8E79C8F1E18_zpslnaoznf7.jpg

Using shim and feeler gauges I got the head within 0.024mm corner to corner.
640C0C8B-02BF-4F0F-9C41-32084B9884D3_zpsmg5e8zva.jpg

A5DBB15C-F282-4438-9039-00749E3E813C_zpsabj4u4y0.jpg


Once clamped I doubled checked it hadn't moved at all (it hadn't) and started cutting
C164017E-57C8-449A-B32E-78746C5A8B61_zpstkmvfyla.jpg

Start with the high corner and work down from there
45B39FB5-AC39-4161-A872-03553FB3E007_zpsqoinxzsa.jpg

It's a little tricky to make out, but the really shiny bits are the high spots, it's not a lot but the head was definitely dished with the low point towards the coolant channels
0831530A-3ABB-4229-B0C5-75F4B03CA28F_zpsym8imgta.jpg

Just before the final 0.02mm came off
590FCE4C-60A3-4C64-B2B9-B64032924173_zpsrfcdl3j2.jpg


I total I had to take 0.1mm to get everything flat and right again, the main problem was around the coolant and oil channels.
A bit flatter afterwards
[youtube]https://www.youtube.com/watch?v=-OTuSw2cGpE[/youtube]
 
The block
So I followed the same process as I did with the head, it was a little trickier though as the bottom of the block wasn't very parallel to the top and the top mating face wasn't flat.

Zerod
9FFC77B1-721B-44CE-975F-8E42C22BC916_zpsxbvlseib.jpg

The best I could get it was within 0.07mm. When I ran the clock down the length of the head it stayed on zero until about half way then starting to run off.
86C68EAD-FEB9-4CAA-A6C2-32F7D9582FE0_zpslh1rooc3.jpg

After machining a very good clean
082C3402-6860-4BB2-8C00-3B3292BF0903_zpsdkkamvyw.jpg
 
Looks good!

I've heard a few people say you don't need to skim alloy heads, but from what you've experienced and measured, it looks like you do. I did when mine was apart!

How did you make sure no swarf got anywhere you didn't intend it to?
 
I think when you take the head off, it should be cleaned like this to prevent the problems Richard experienced. It sure thing costs money to have the head skimmed, but comparing it to the waste of a head gasket, head bolts and time it is really is recommended to do it. I did both the head and the block to have a nice flat surface for the head gasket.
 
XAF said:
[post]361943[/post] Looks good!

I've heard a few people say you don't need to skim alloy heads, but from what you've experienced and measured, it looks like you do. I did when mine was apart!

How did you make sure no swarf got anywhere you didn't intend it to?

I certainly recommend given the figure I got, and the cost of new bolts/gasket etc.
Oh and I use an air gun with a long thin hose on it to get the swarf out, that and a lot of brake cleaner :)
 
Wild E. Coyote said:
So, how is the engine now? All good?
Not much has happened over the last month. I've been training and racing (ran the London marathon for example) and work has been busy so the car has taken a back seat. I've rebuilt the block, I've got to order the new head bolts and gasket this weekend :)
 
Bit of an update. I injured myself on a monkey bike the other week so my fitness activities have taken a hit, on the plus side it's allowed me to sort the FRP.

The engine is back together, and back in the car. I initially had a problem with it running and feared the worse but it turns out I'd missed a washer out the seals the injector haha. It seems to be running well on the driveway and I'm hoping to get a proper road test later once I've fitted the new drive shaft seal :grin:
 
The engine before it went back in, new head gasket, head bolts and timing kit. Followed the timing instructions to the letter (pulled the pin out 2mm to start etc) and I've rechecked it after the initial run. All's perfect still

AA910A69-5608-4F24-911F-ACAAED26B479_zpsy4exafie.jpg
 
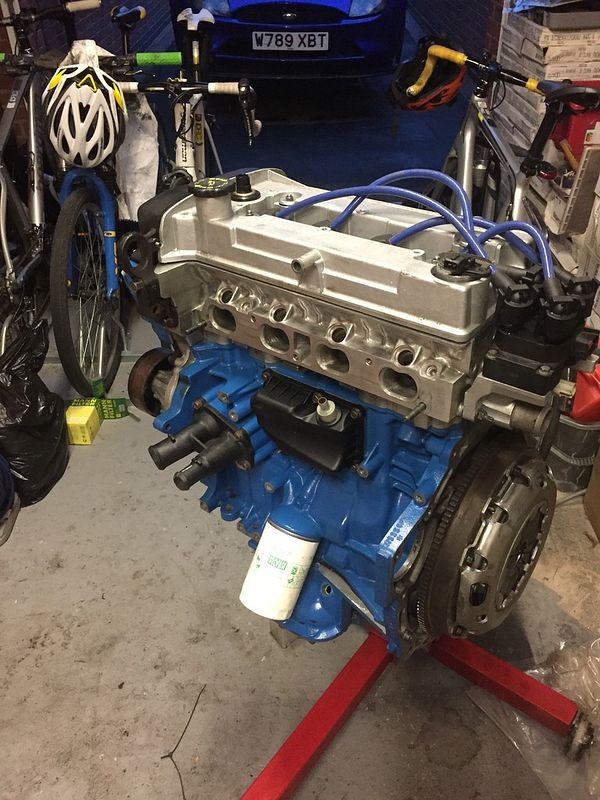
It's been a while since I posted but plenty has happened to the car. The engine's back in and has done 500 miles, I did have a bit of an oil leak which I tracked down to the rocker cover but a new gasket and some sealant fixed that. Apart from that it's been running really well.
The old girls had new boot struts, CD player (old one went pop), dash clock (old one went pop).
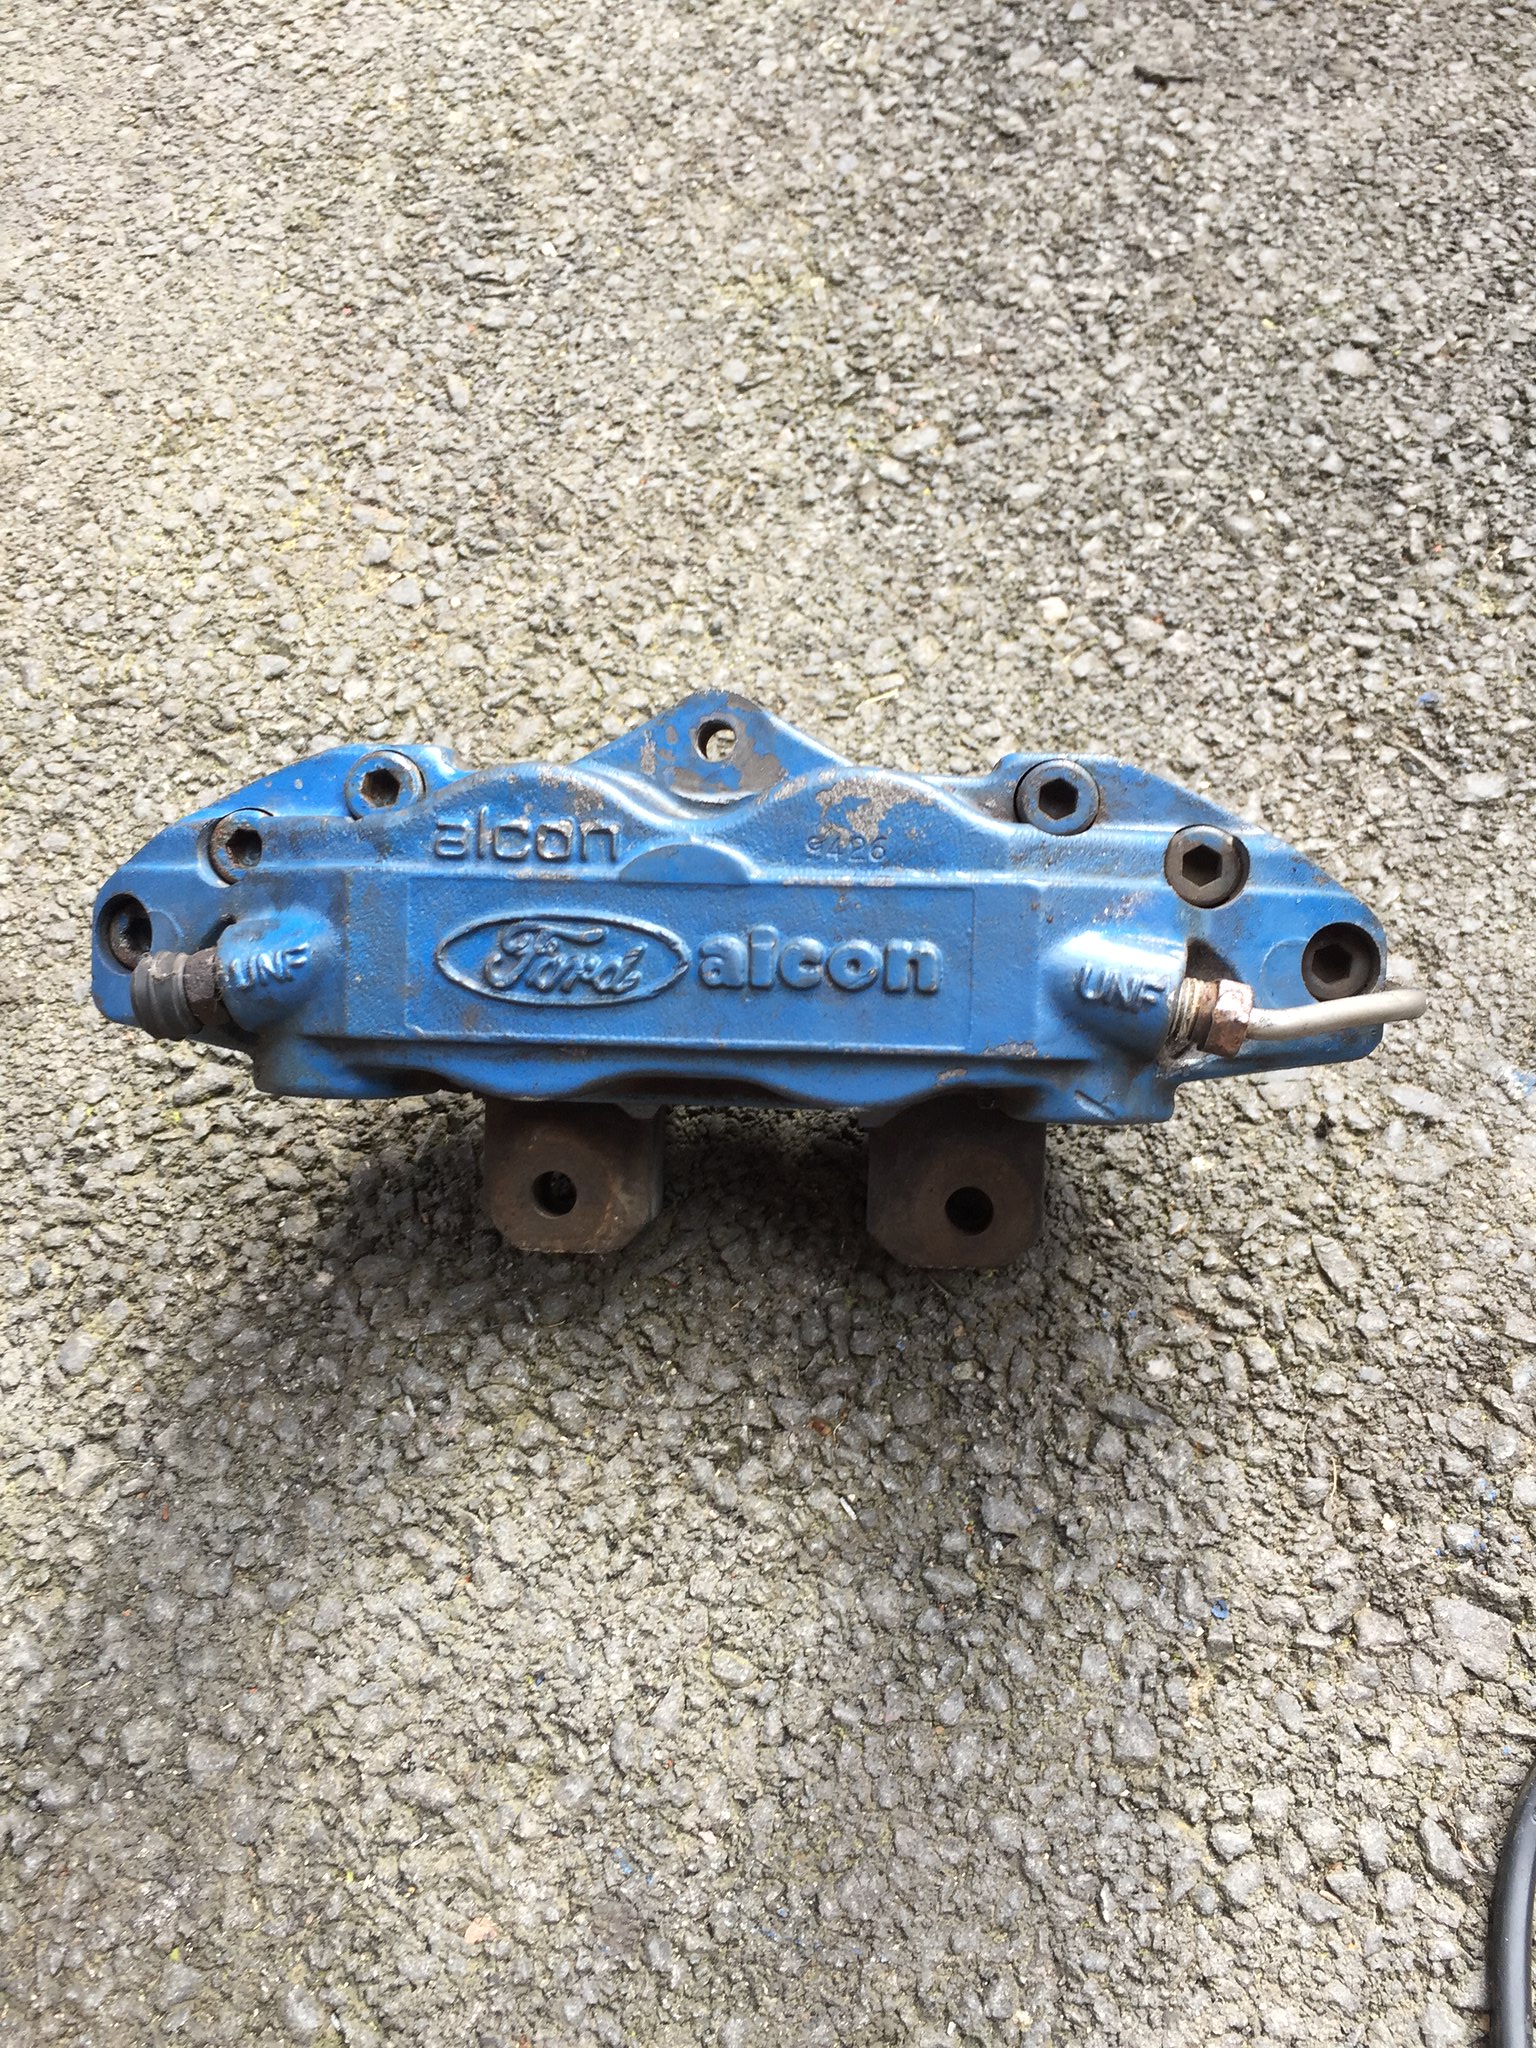
After doing some digging regarding new front brake discs and pads I got a little concerned about the calipers, these Alcon 4 pots seem prone to corroding so I thought I'd strip them and see how they were.

Got them off the car
39352071805_7d55903ae2_k.jpg

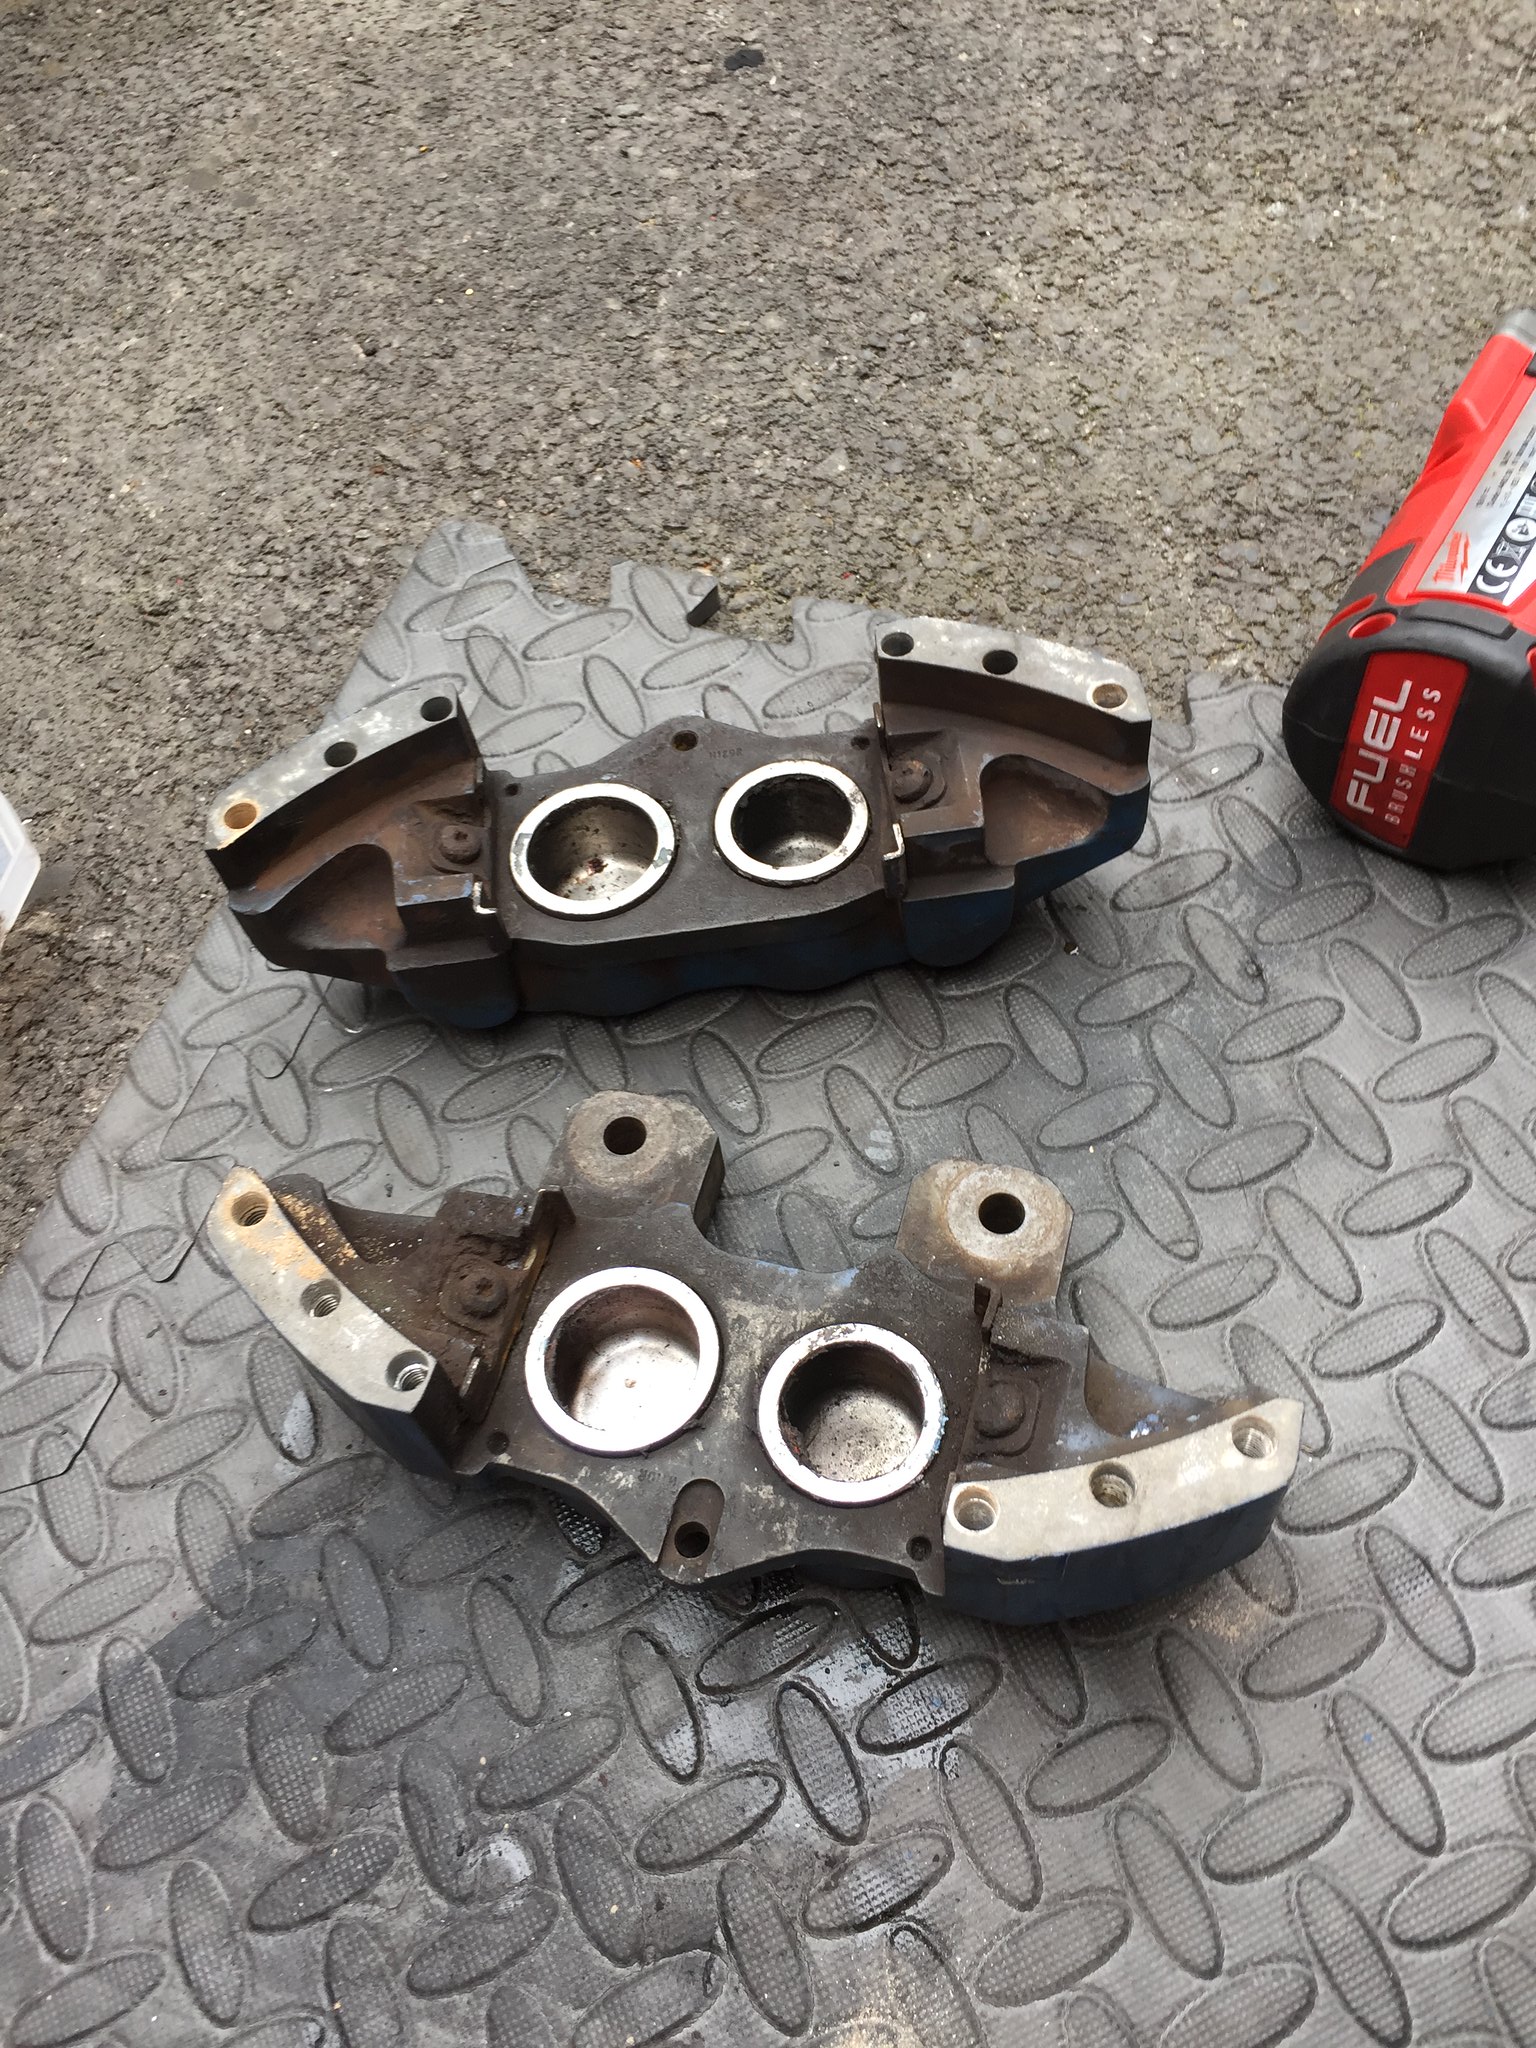
Getting the pipes off was a bit of an arse, and one of the calipers was tricky to split as a bolt had seized in
26377655128_8eec3fea61_k.jpg

3 of the stainless plates came off well o one of the calipers, one had to be drill out at work
25378775617_a0bc6df712_k.jpg

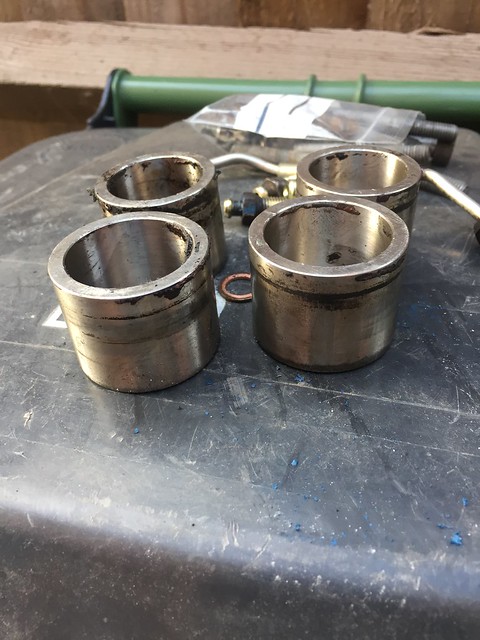
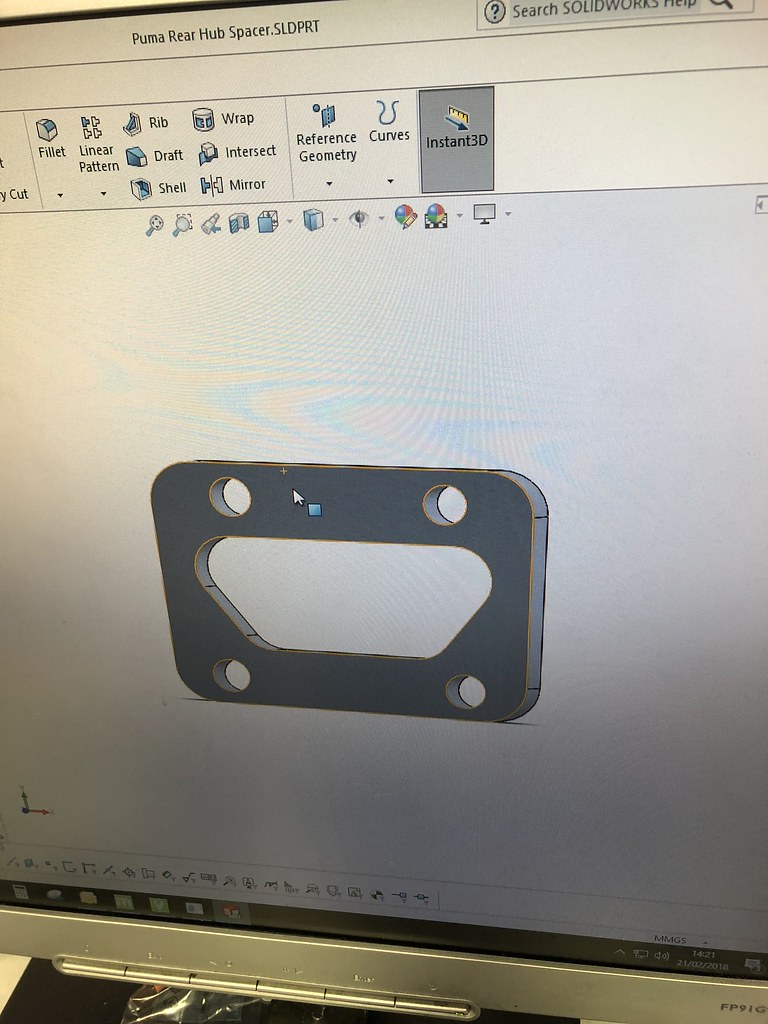
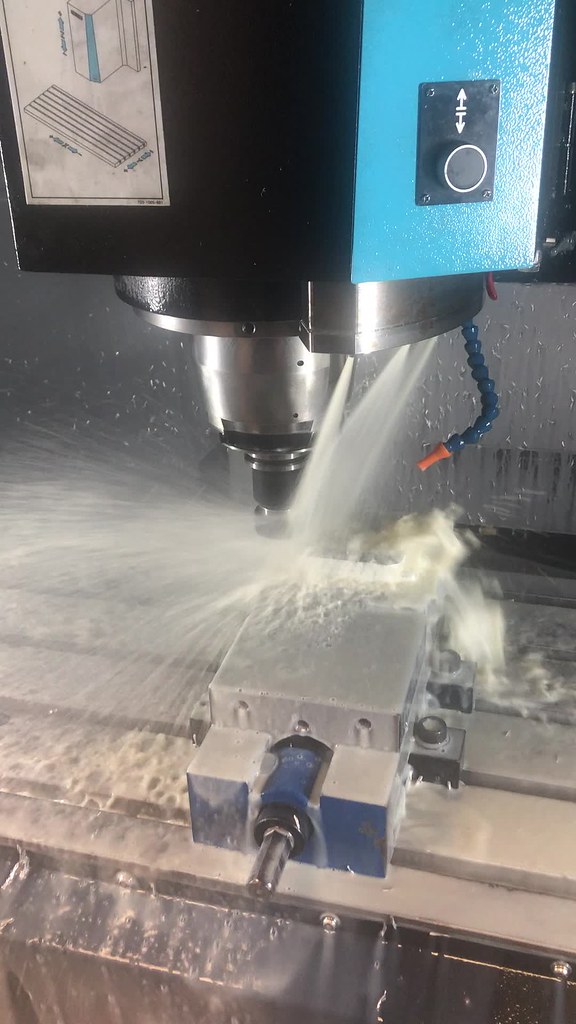
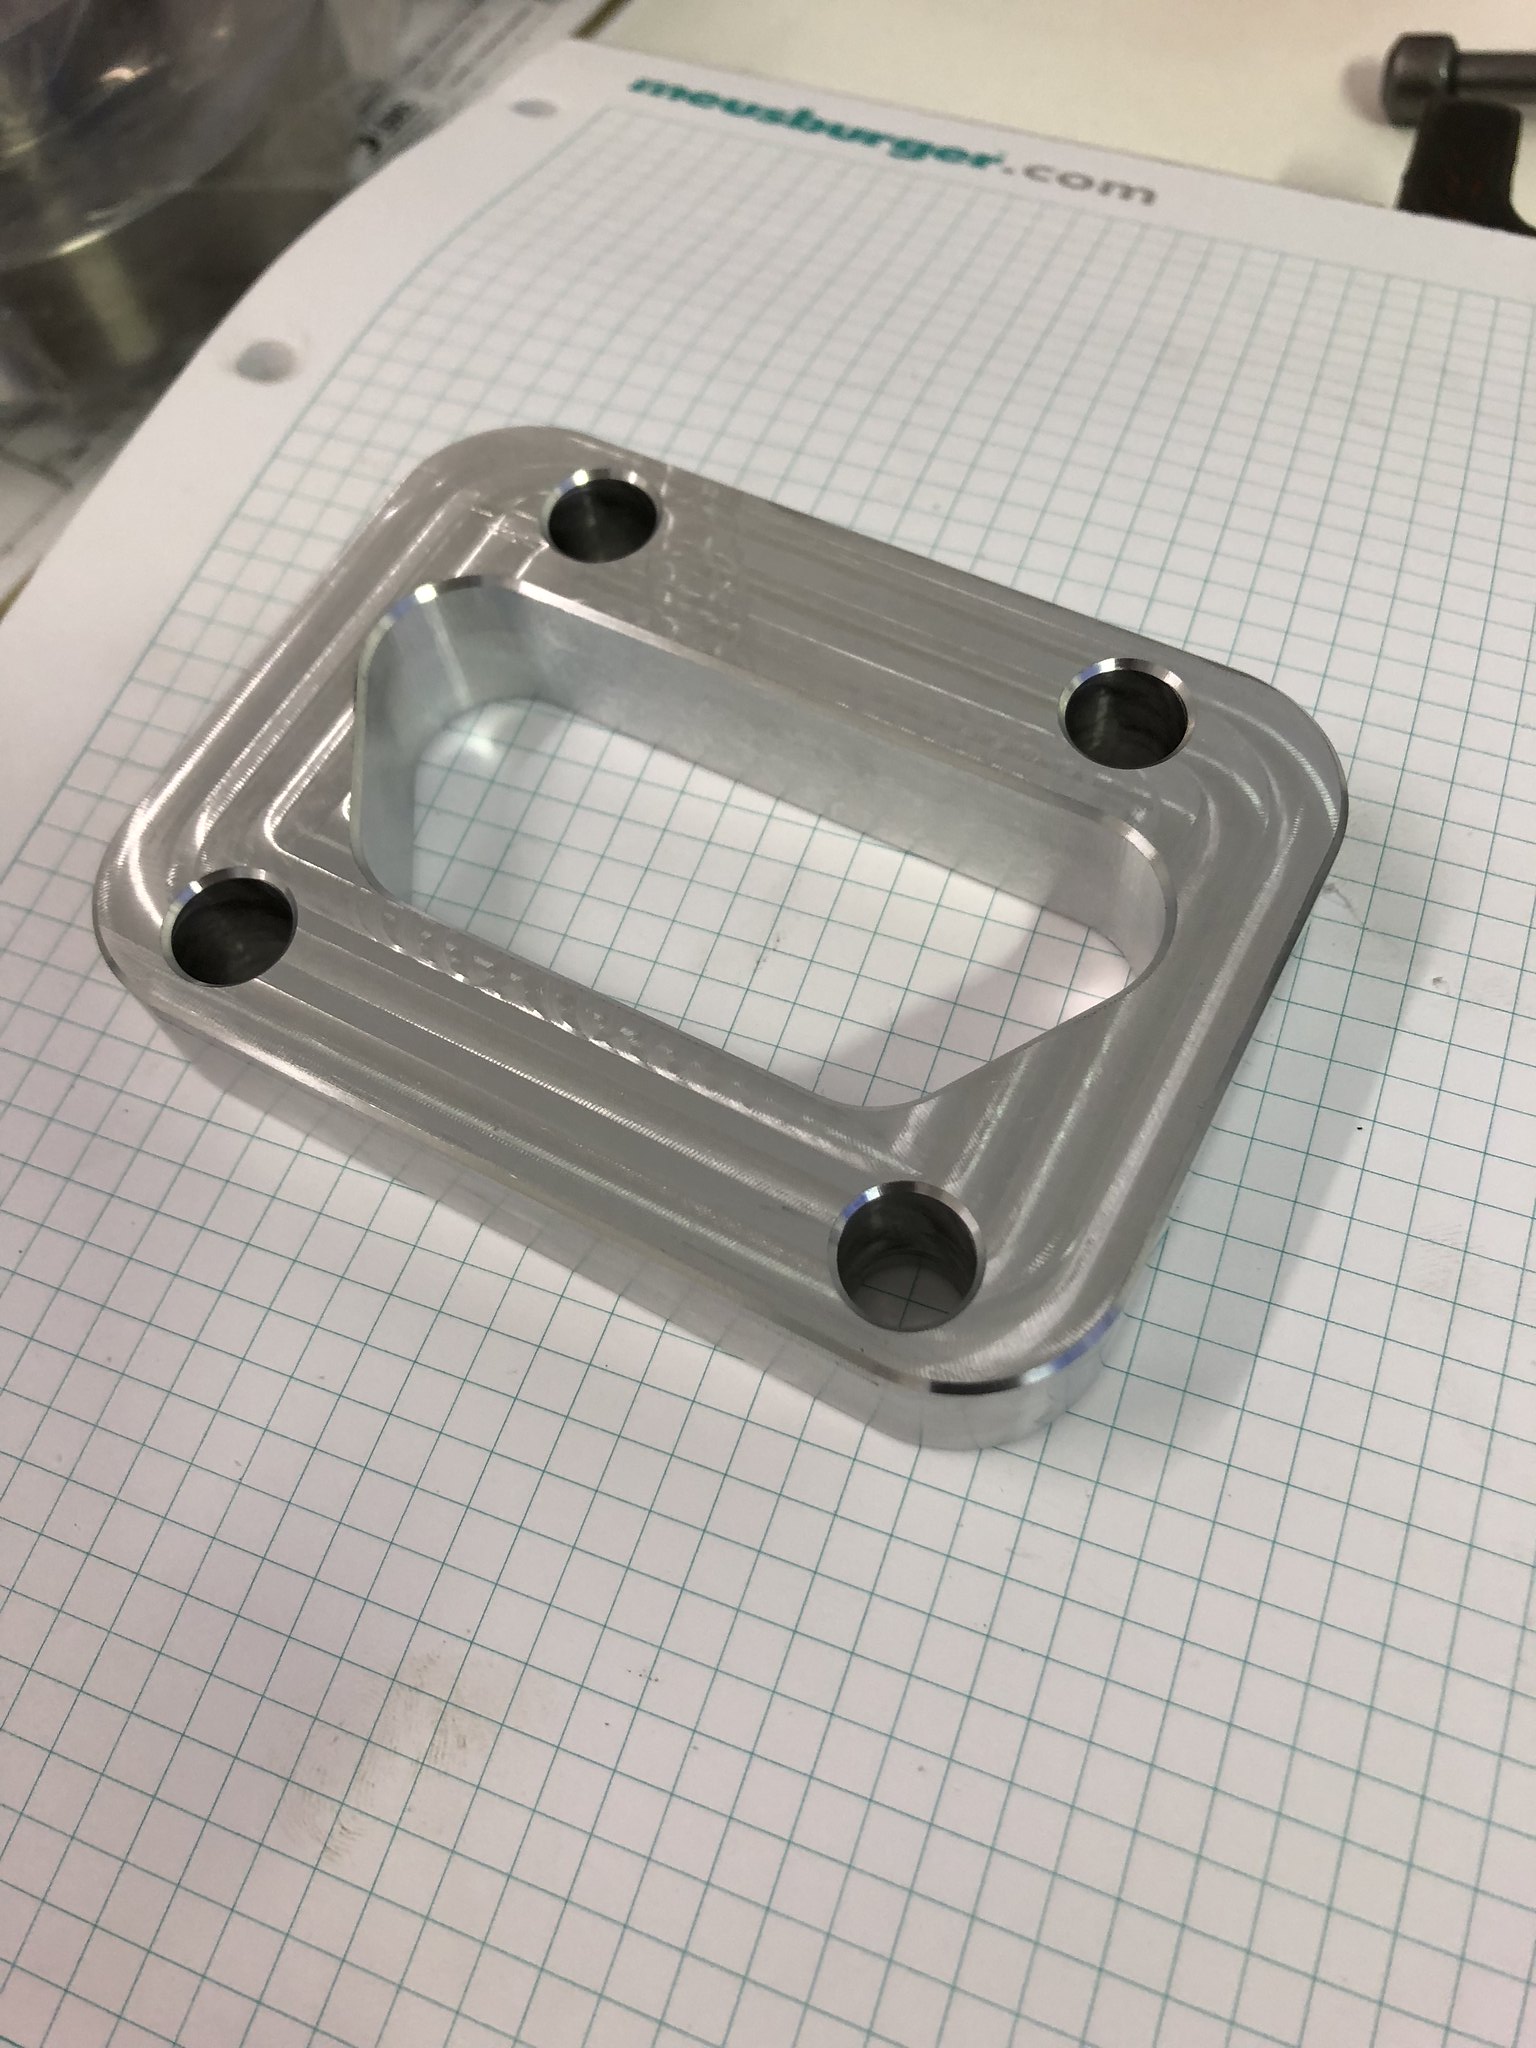
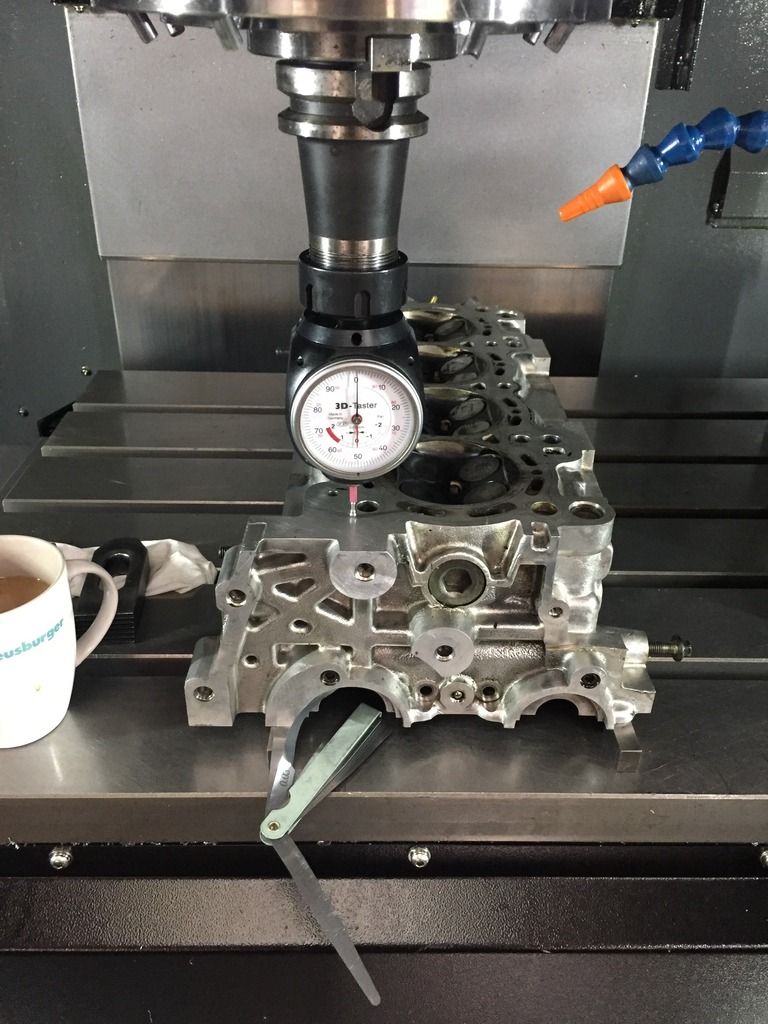
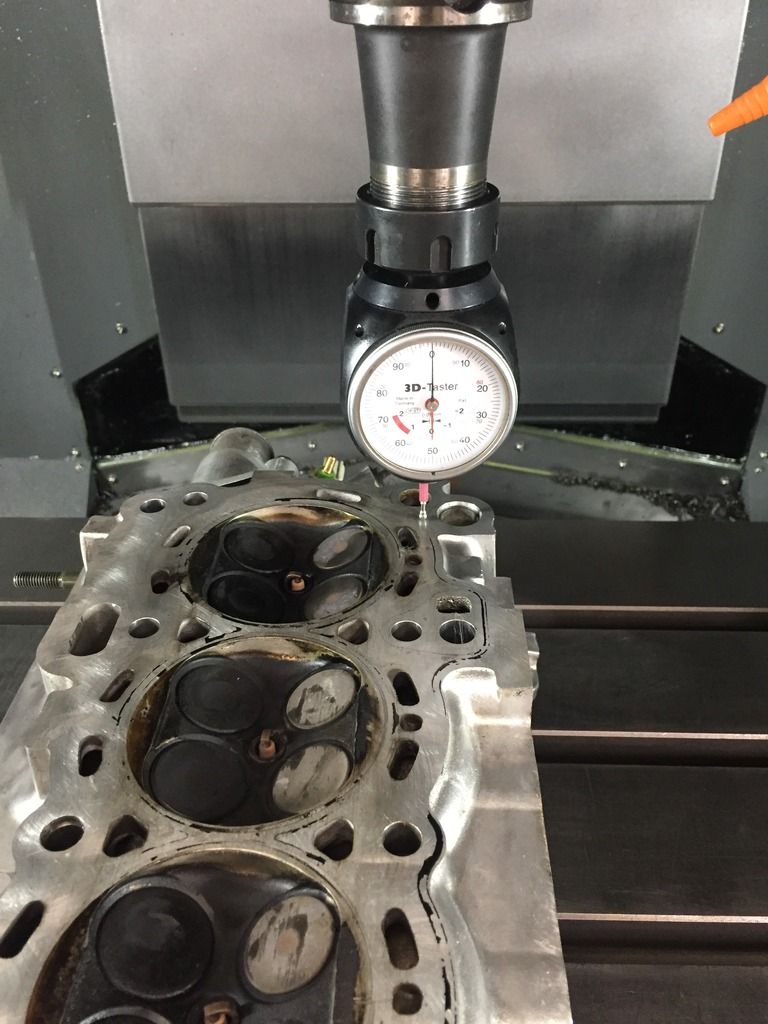
5 of the pistons were actually in really good condition, 3 were not so I ordered a length of 316 stainless through work and turned them on our CNC lathe
40249779311_7fed76590e_z.jpg

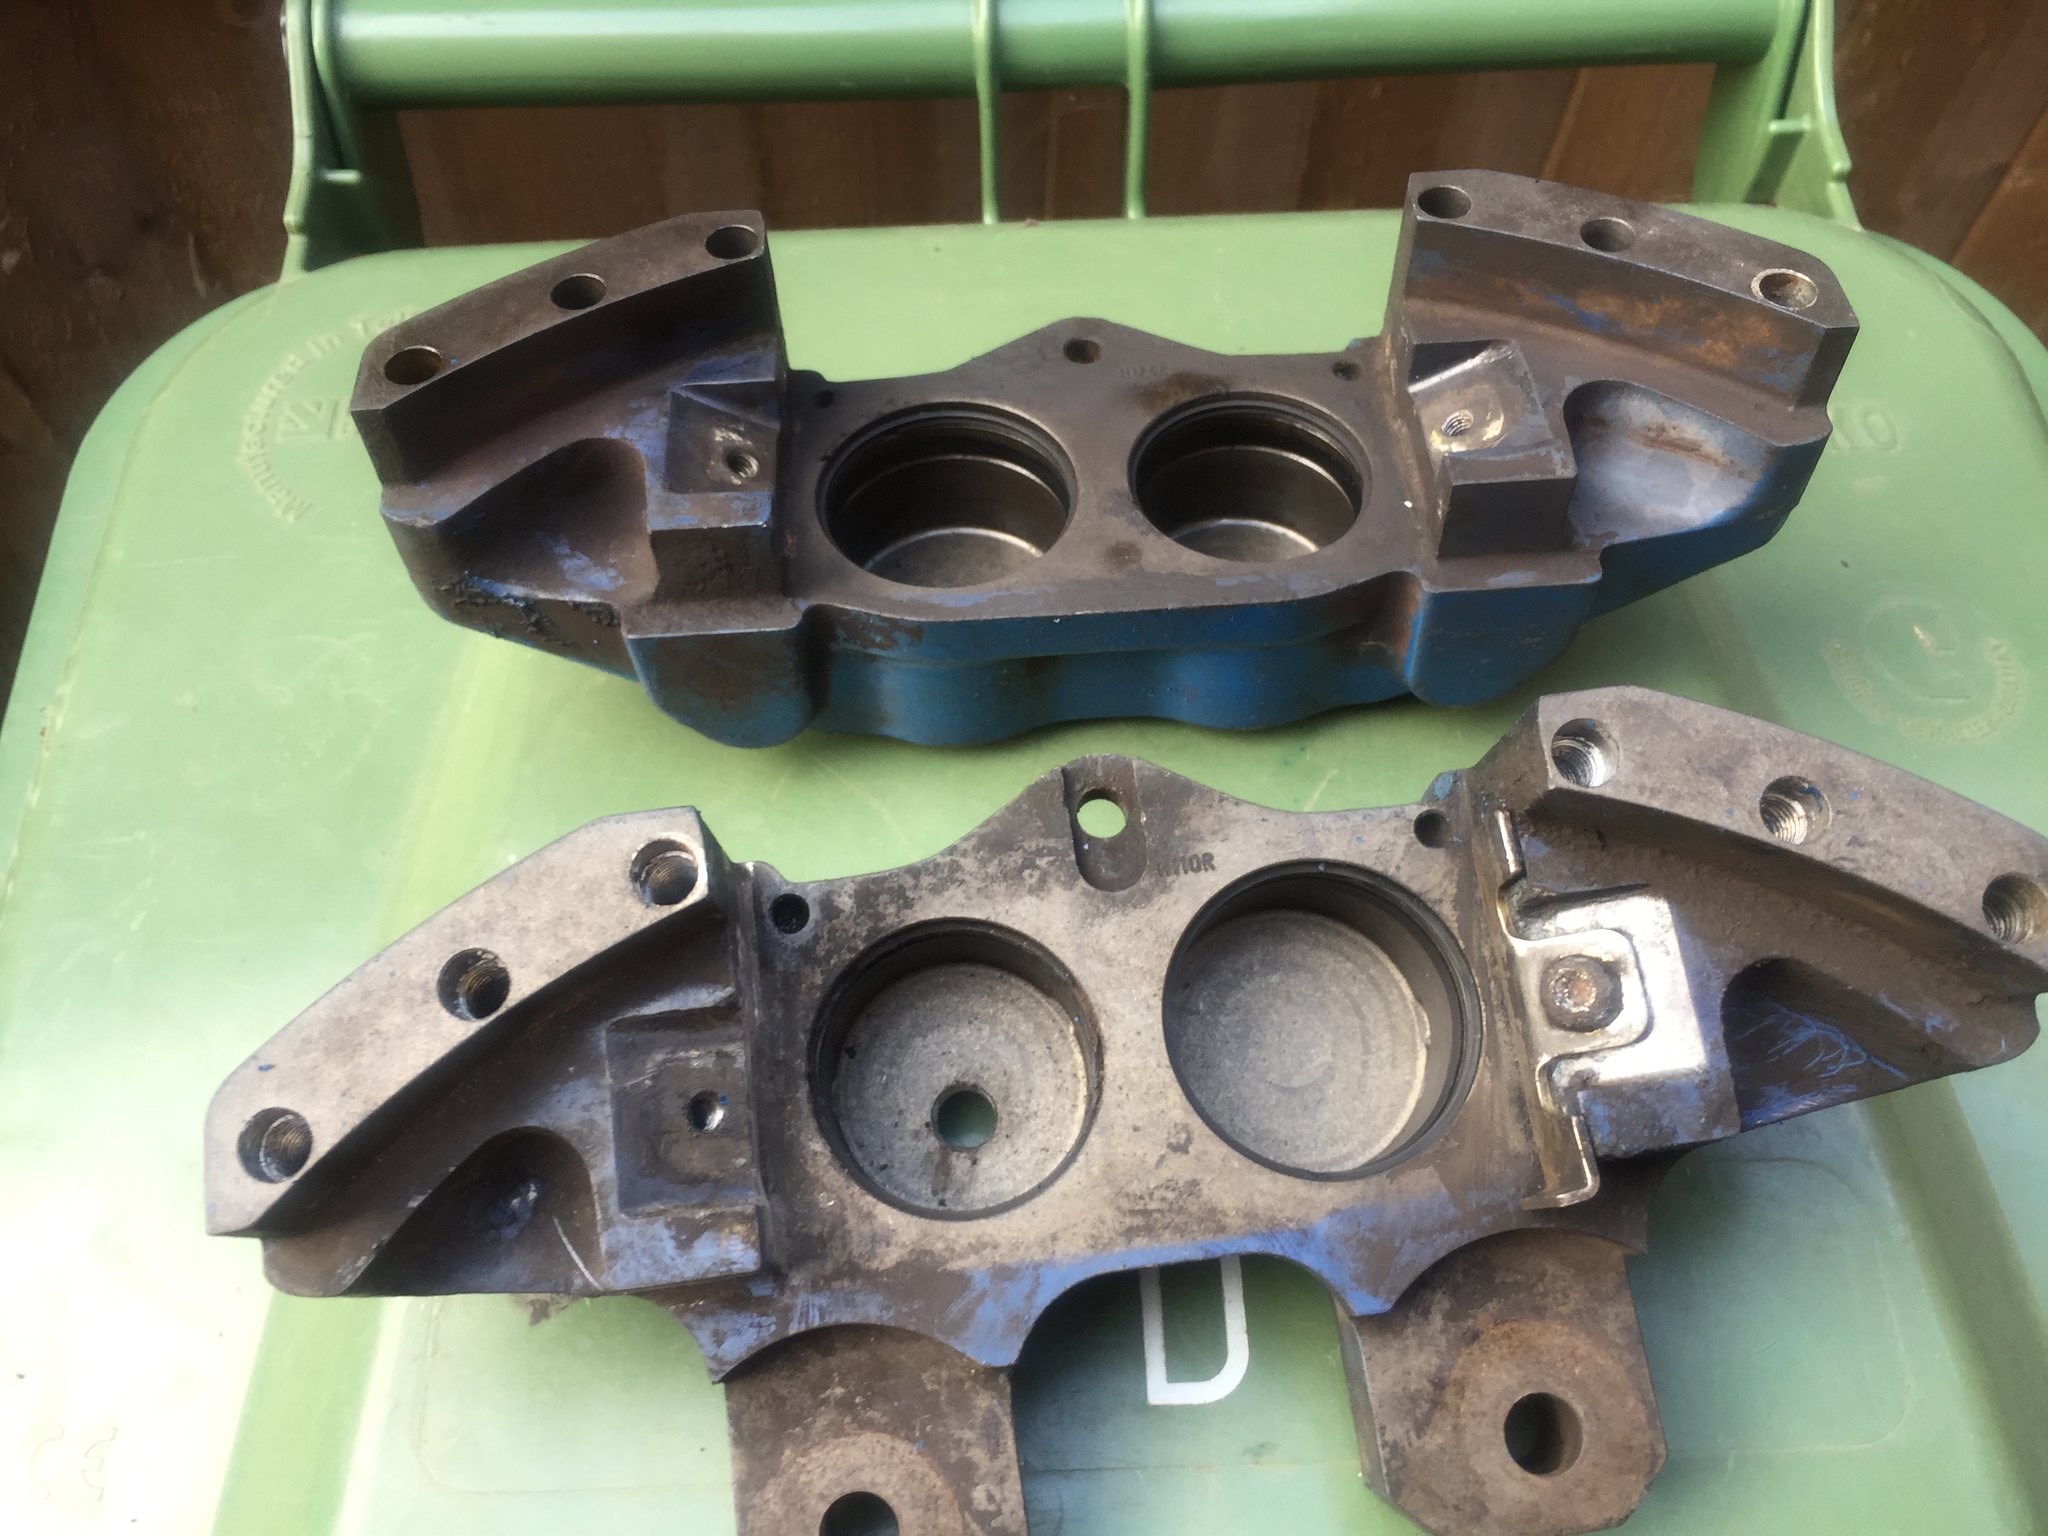
Once the plates were off I could see if there was any corrosion under them, I think I've been pretty fortunate as there wasn't much.
26377654898_22e00d4168_k.jpg

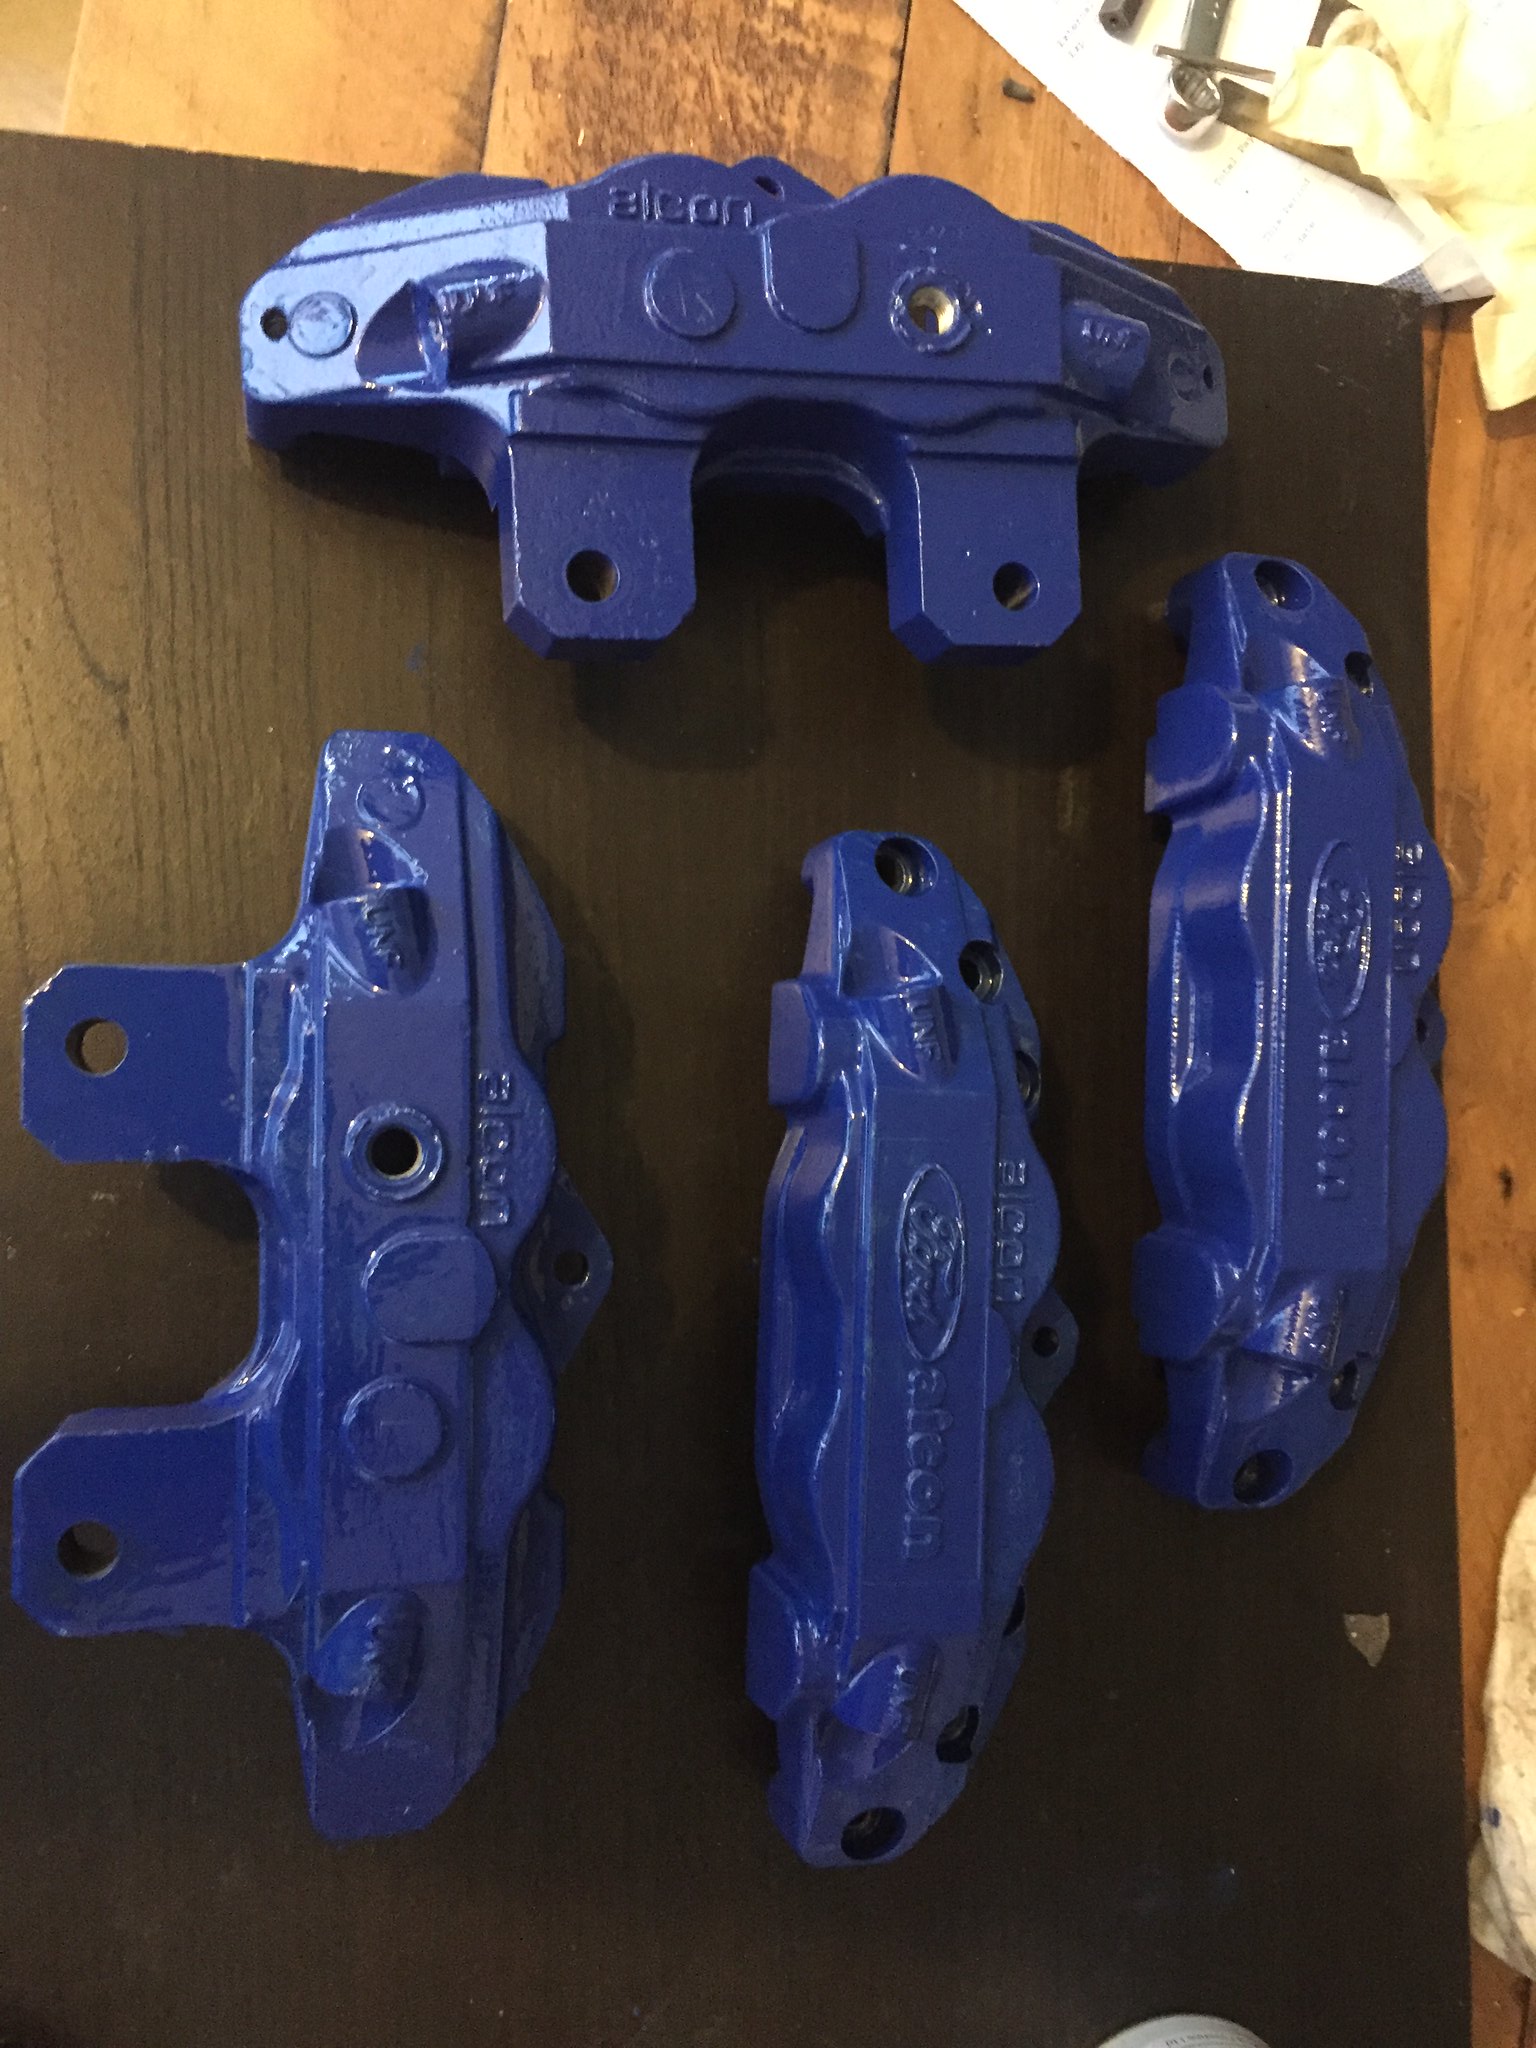
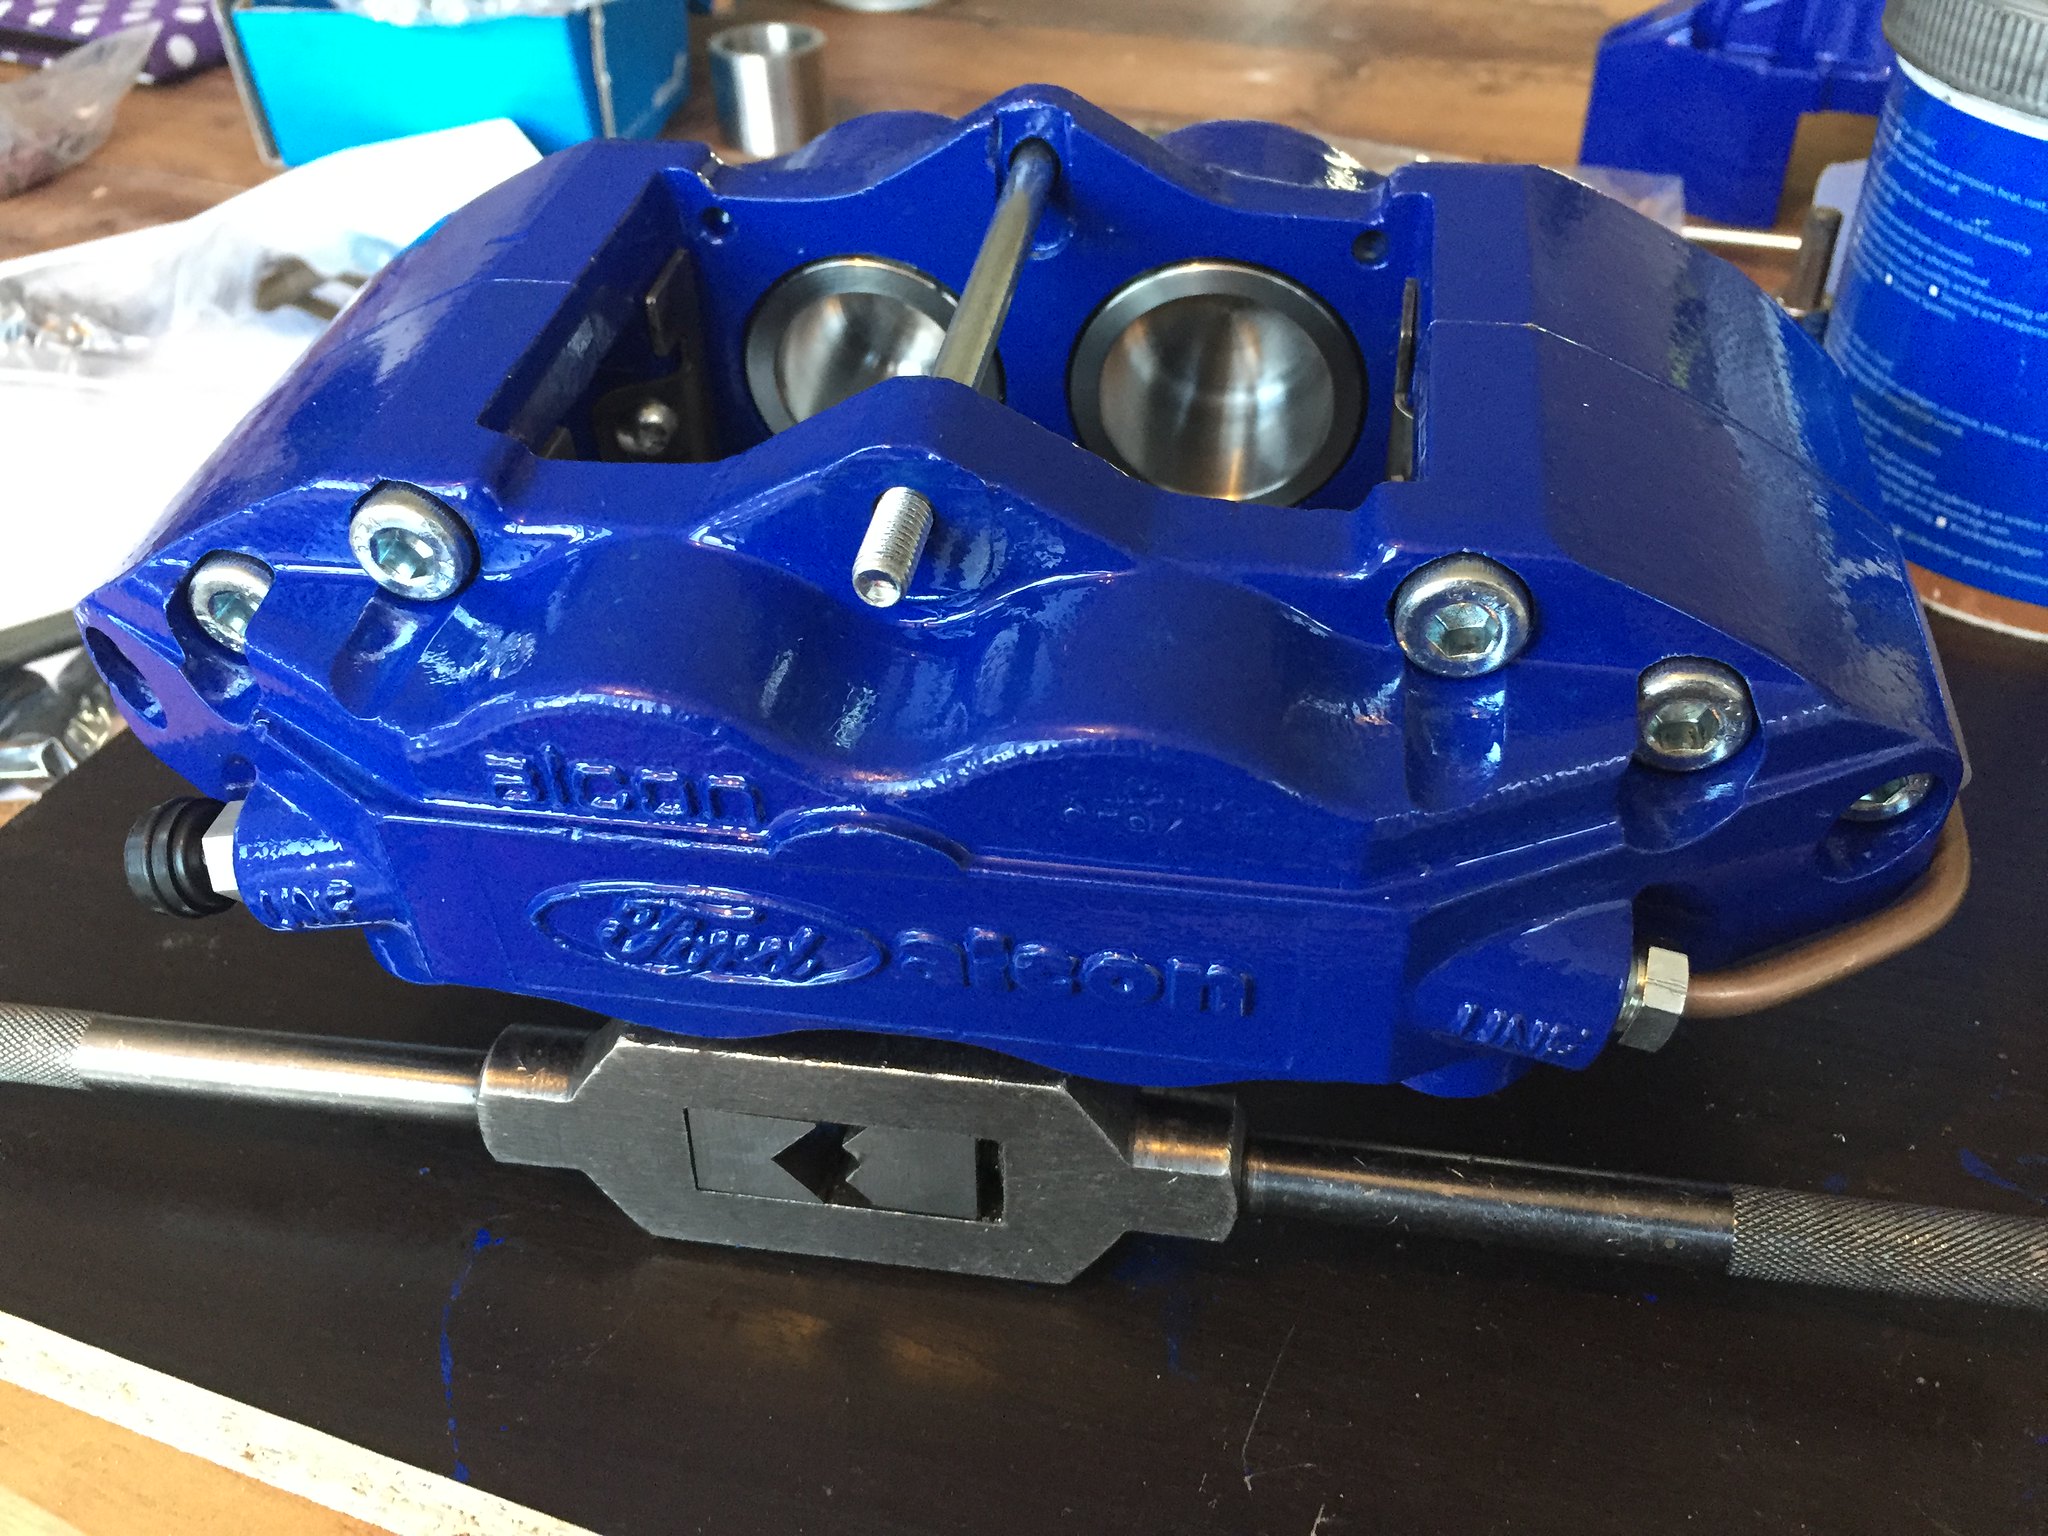
Next job was to remove the piston seals and get them sand blasted using a super light grit. Once that was done I got a few coats of caliper paint on them, the colour is slightly different to standard but I thought it's better than nothing
40249781091_1d31c65f8b_k.jpg

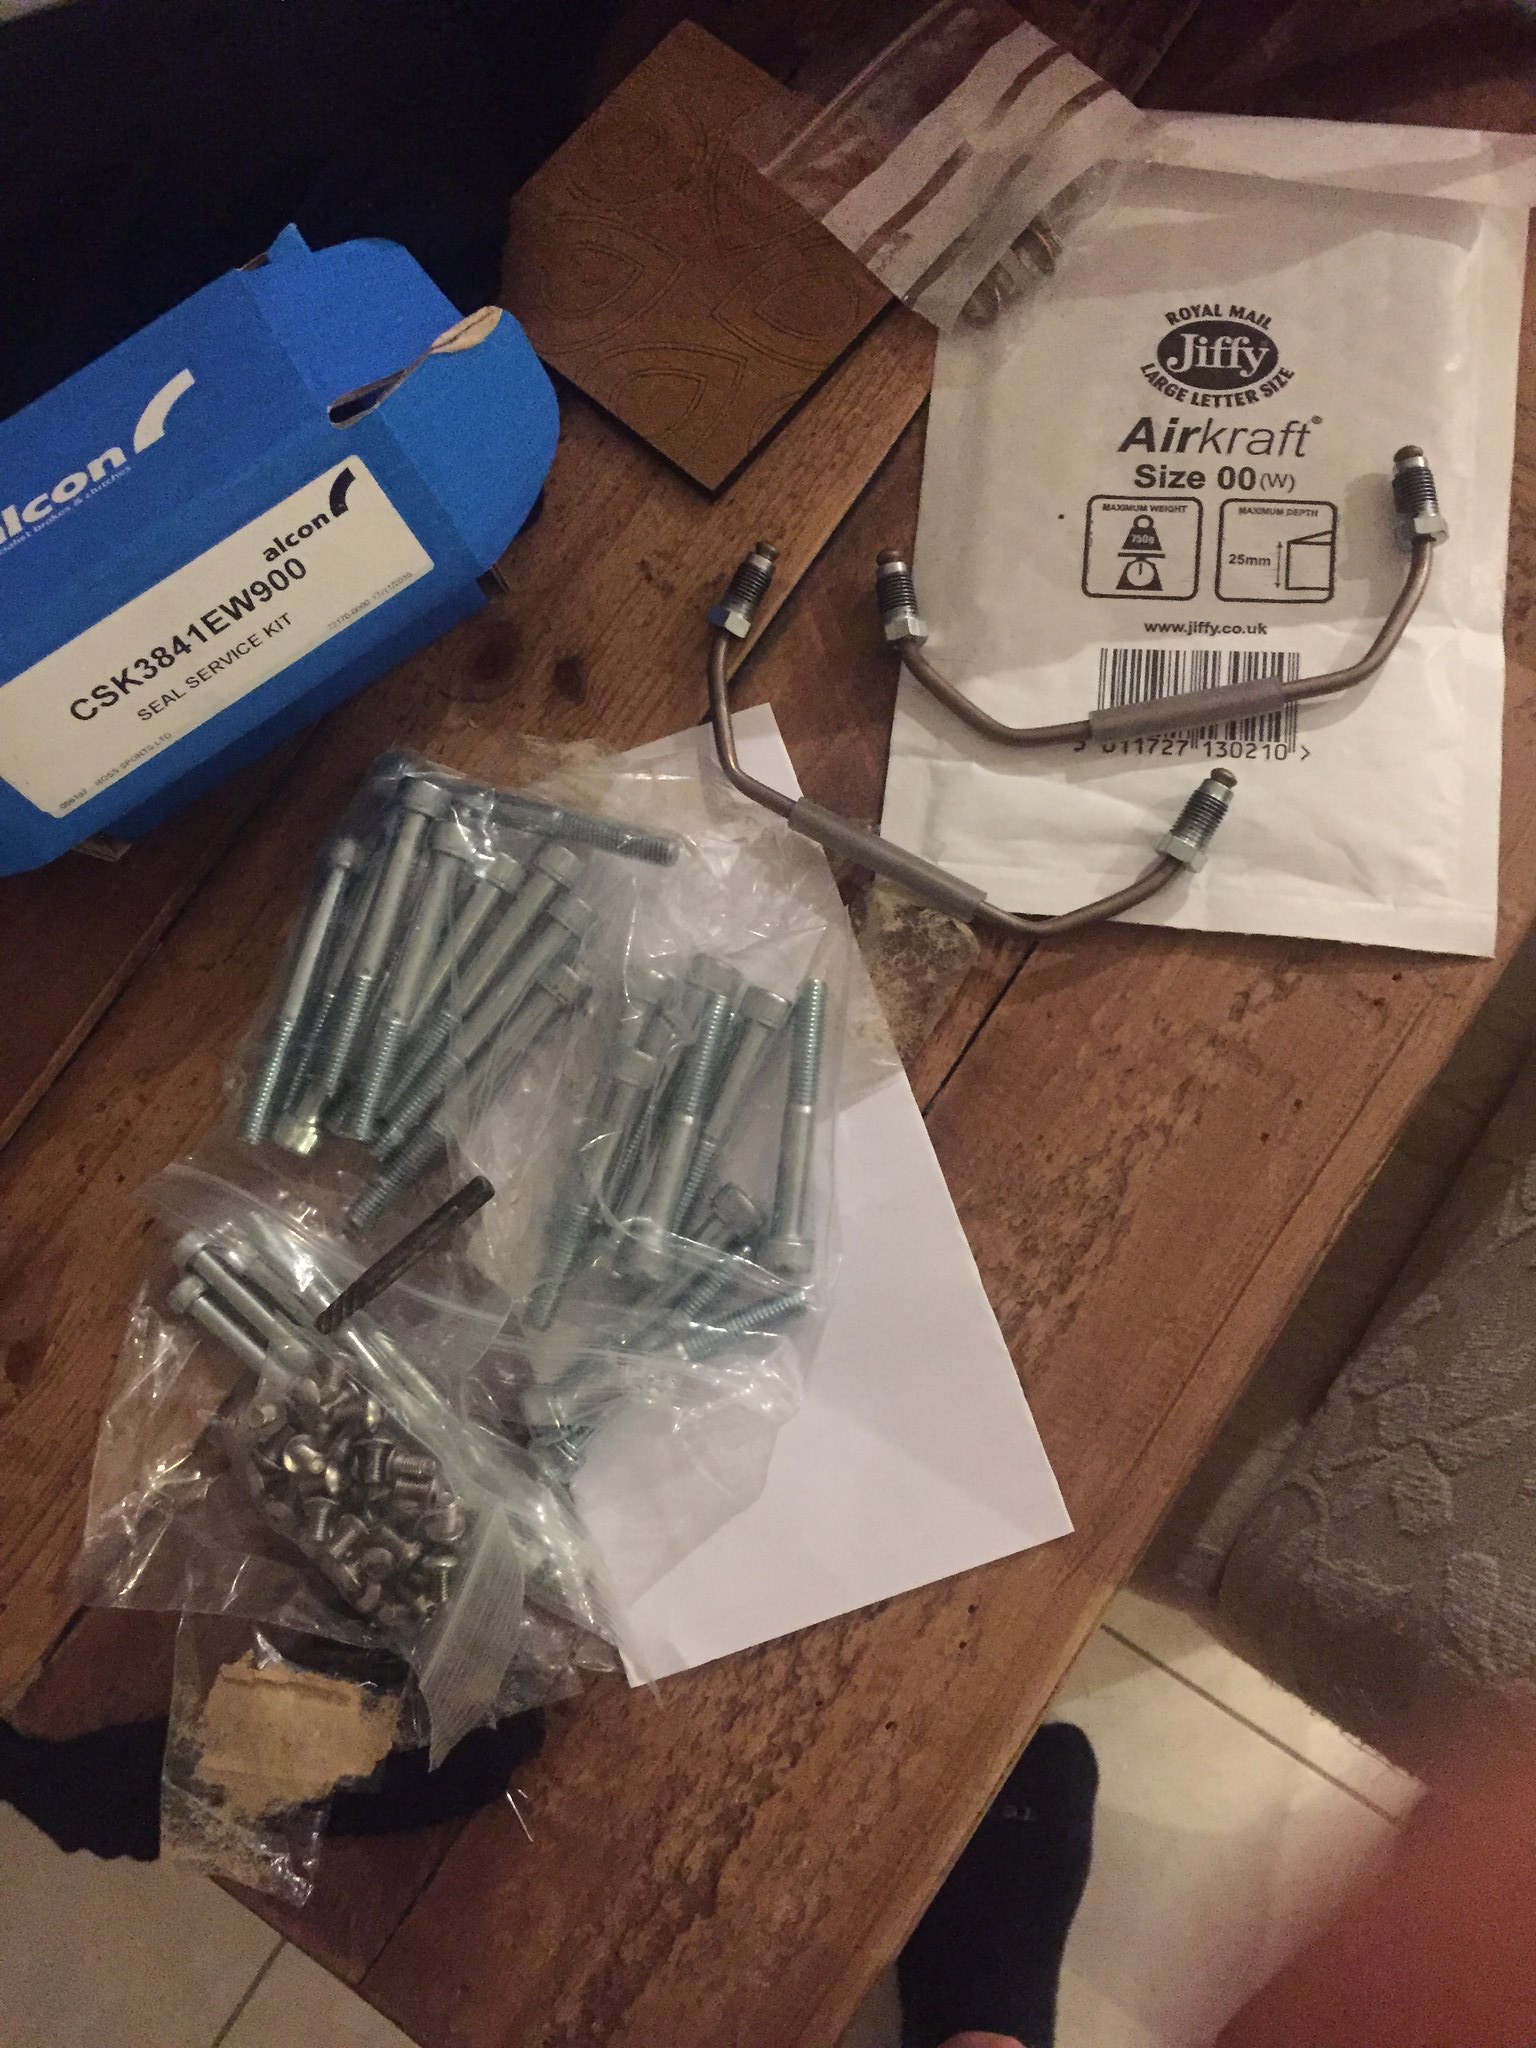
I spoke to Chris at Allison automotive and ordered new seals, bridge pipes and connectors. I also ordered new stainless bleed nipples and some zinc plated 12.9 high tensile bolts through work.
39538500234_28c68f2784_k.jpg

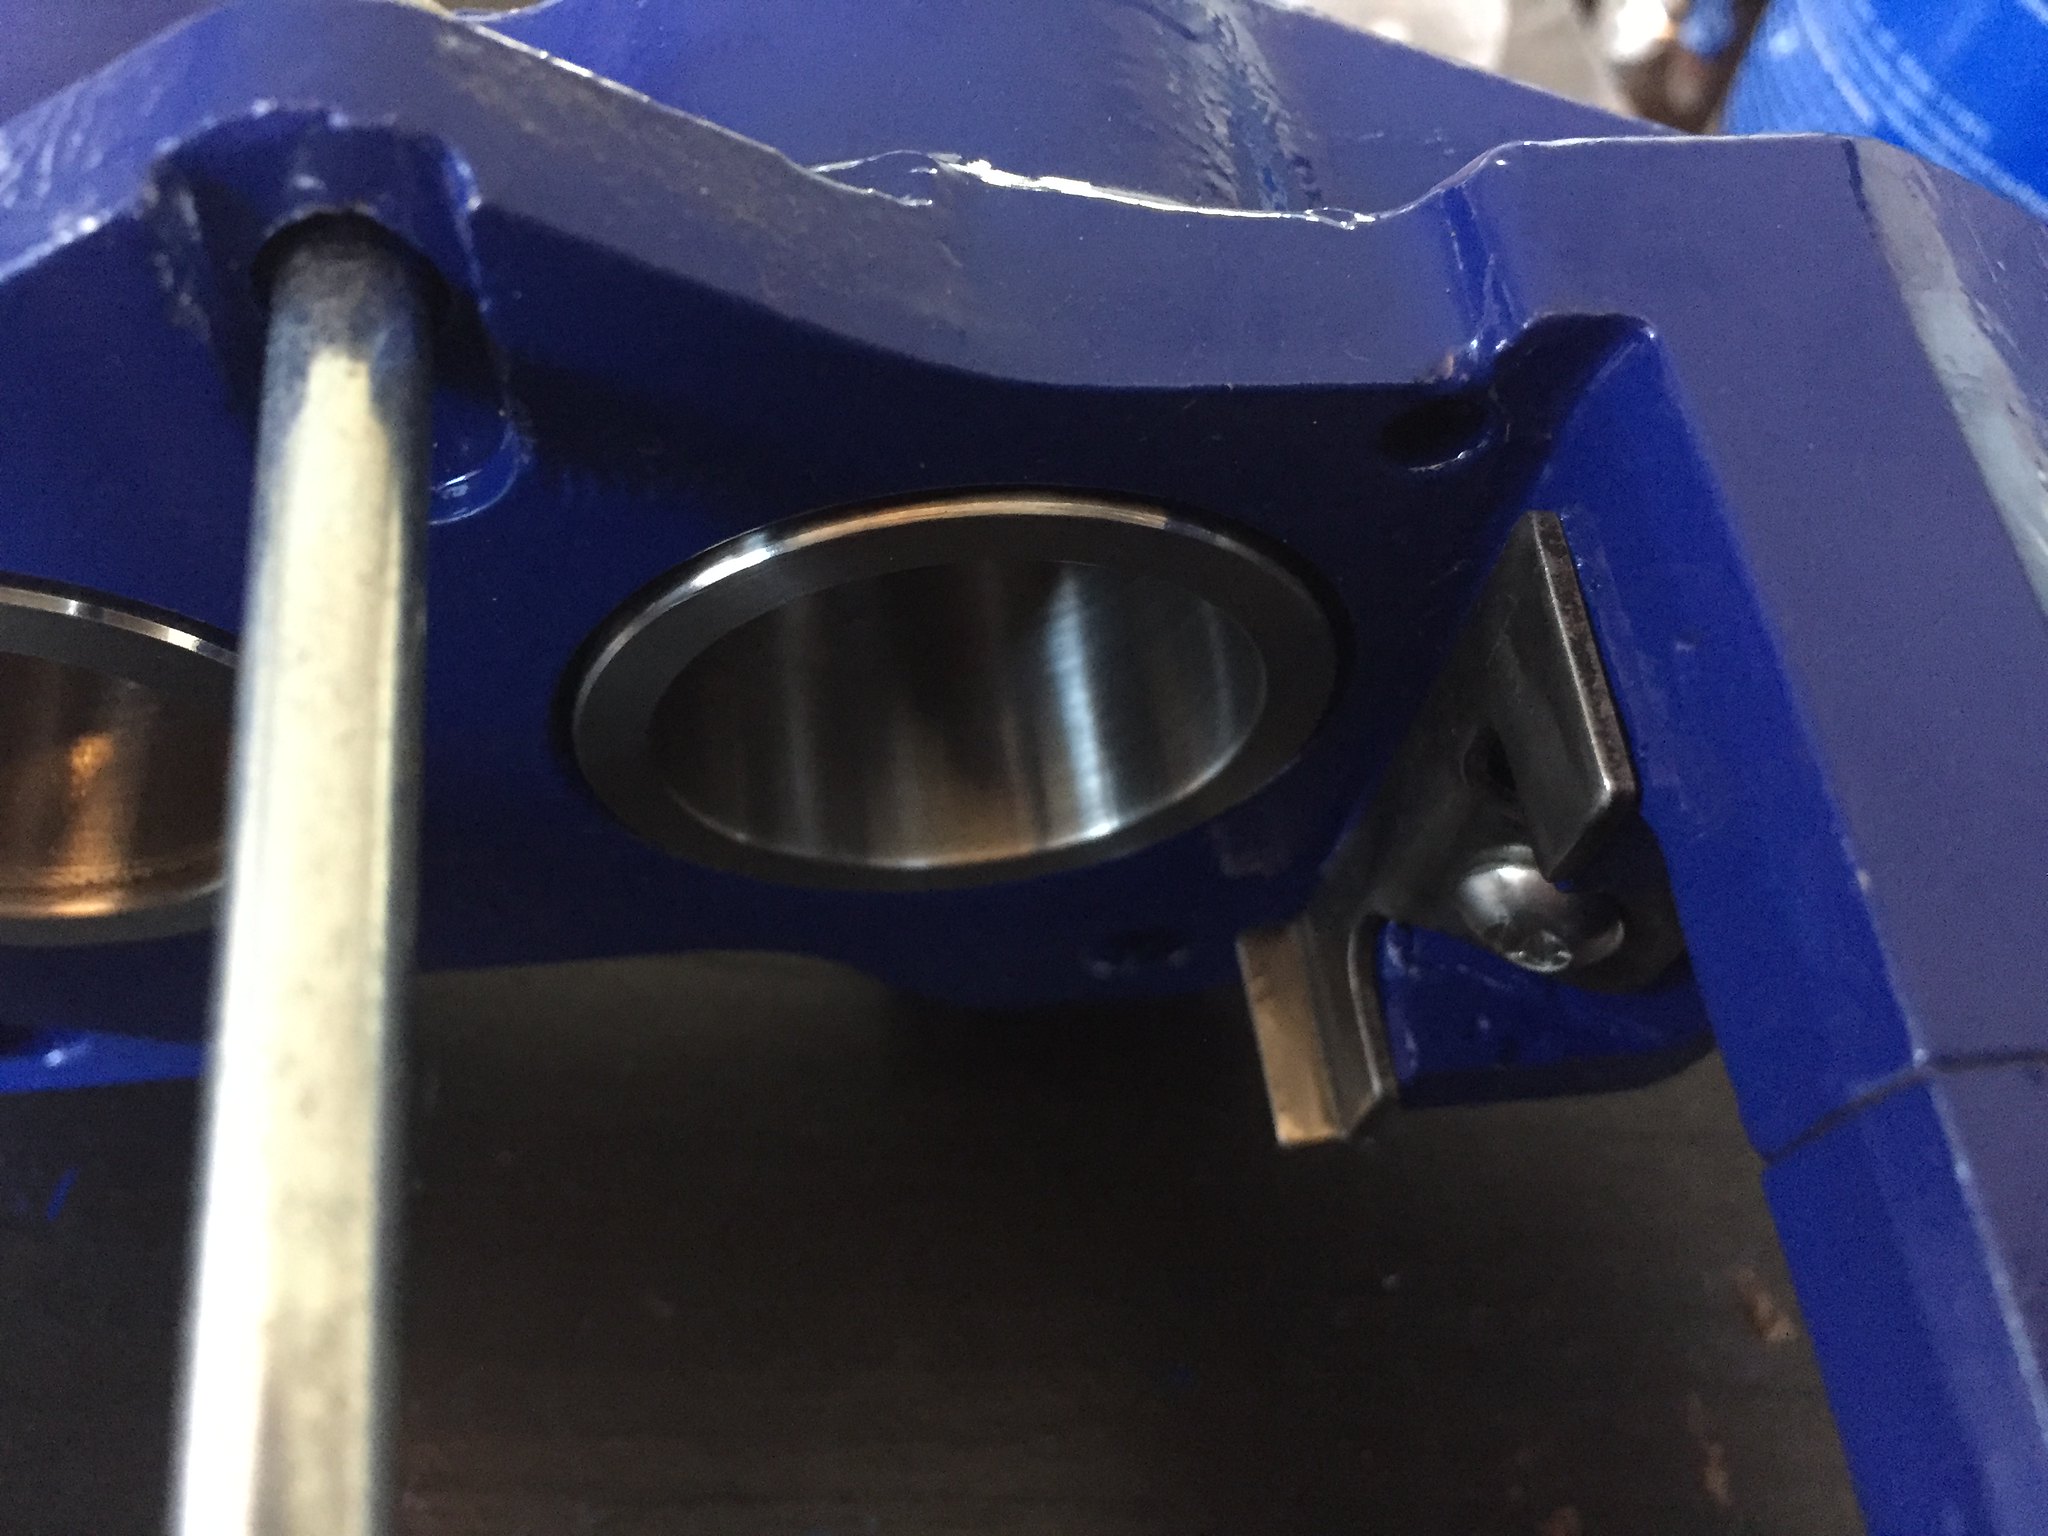
Everything that was sensible to salvage was, otherwise it was replaced, this is what they looked like rebuilt
25378775057_8cd1bd4ed0_k.jpg

38439242310_e279ec1f13_k.jpg


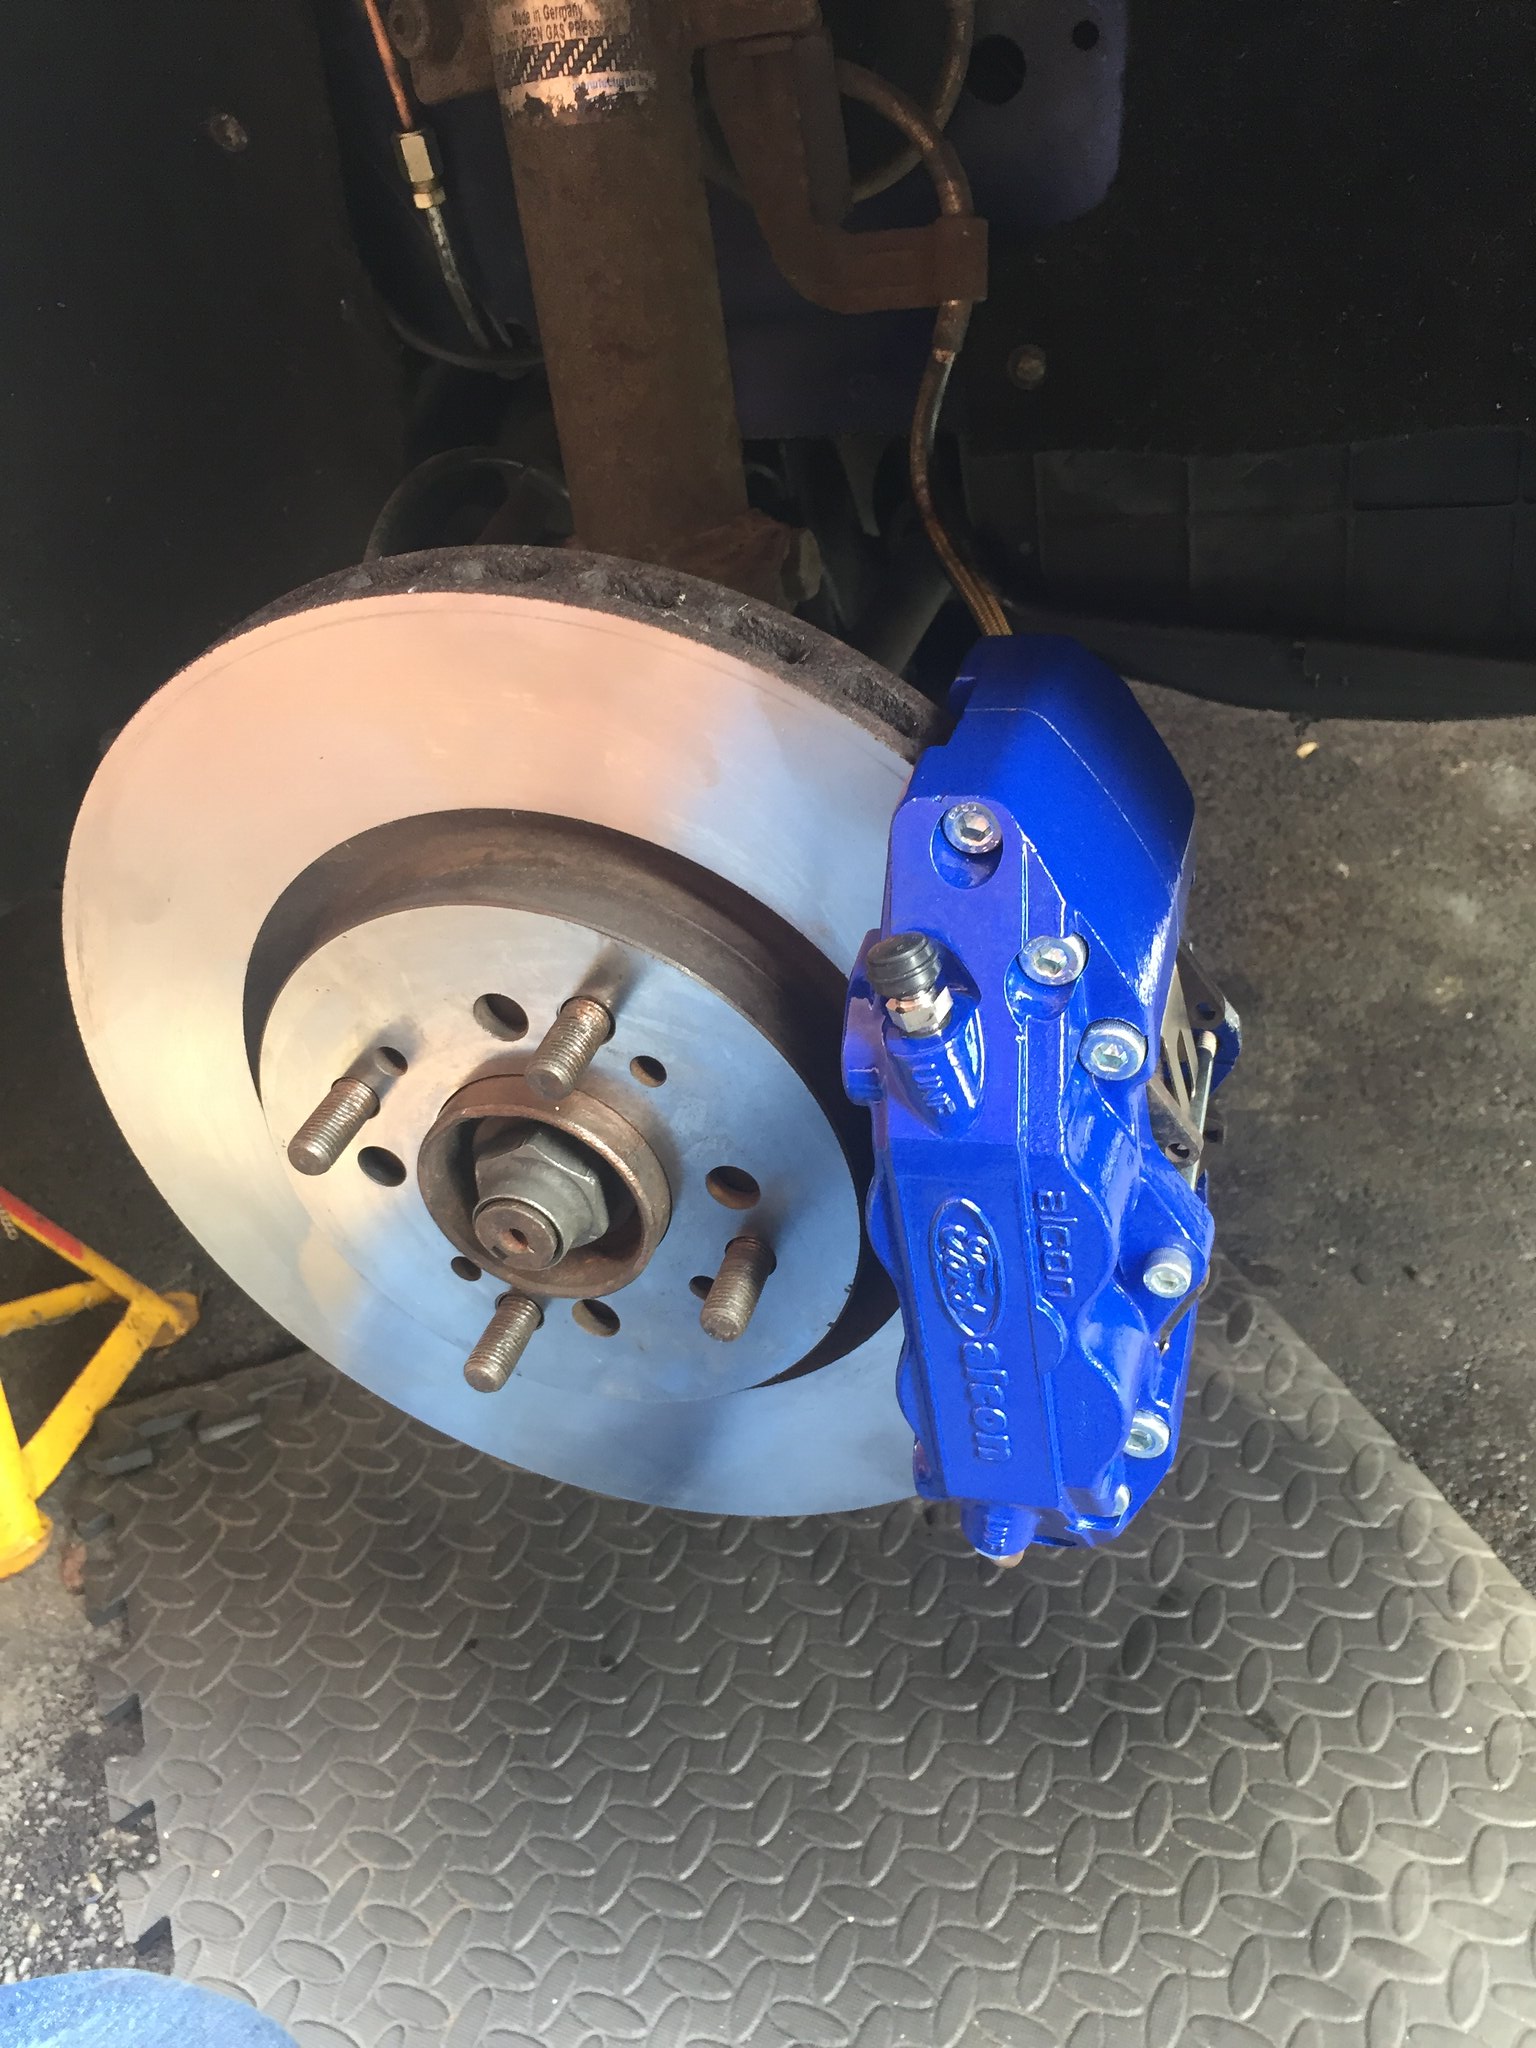
And finally back on the car
25378775487_4b5eefdf63_k.jpg
 
XAF said:
[post]367560[/post] Awesome job. Original discs skimmed too?
Thanks

Yeah, for now until I get them replaced with some 2 piece bells and rotors. I surface ground them at work so they're flat and parallel within 0.005 now :grin:
 
So, the FRP developed a "little" grumble at the back of the car


The wheel bearing was more than a little worn but when I started to change it one thing lead to another. The splash guard was being held together by paint, the hub was in a bit of a state and the stub axle was only being held on by 3 bolts. Oh and the aluminium spacer looked a bit corroded after I'd blasted the muck off.

40439832021_188d2396e0_b.jpg"


Time to break the CAD/CNC's out
26568663998_21220d9676_b.jpg


Finished Part

39568135805_e00a46d106_k.jpg
 
CherryVimto said:
[post]367845[/post] Looks like you're just showing off! :lol: :p

That spacer looks lush!
Normally people look at me in disgust when I say I'm an engineer, so it's nice to be able to show off every now and then :lol:

Thanks though, I'm tempted to make a set with a 2 degree taper on them for a bit of camber
 
richard_rip said:
[post]367854[/post]
CherryVimto said:
[post]367845[/post] Looks like you're just showing off! :lol: :p

That spacer looks lush!
Normally people look at me in disgust when I say I'm an engineer, so it's nice to be able to show off every now and then :lol:

Thanks though, I'm tempted to make a set with a 2 degree taper on them for a bit of camber

That’s just showing off! :p
 

Latest posts

Back
Top