FRP #246

ProjectPuma

Help Support ProjectPuma:

This site may earn a commission from merchant affiliate links, including eBay, Amazon, and others.
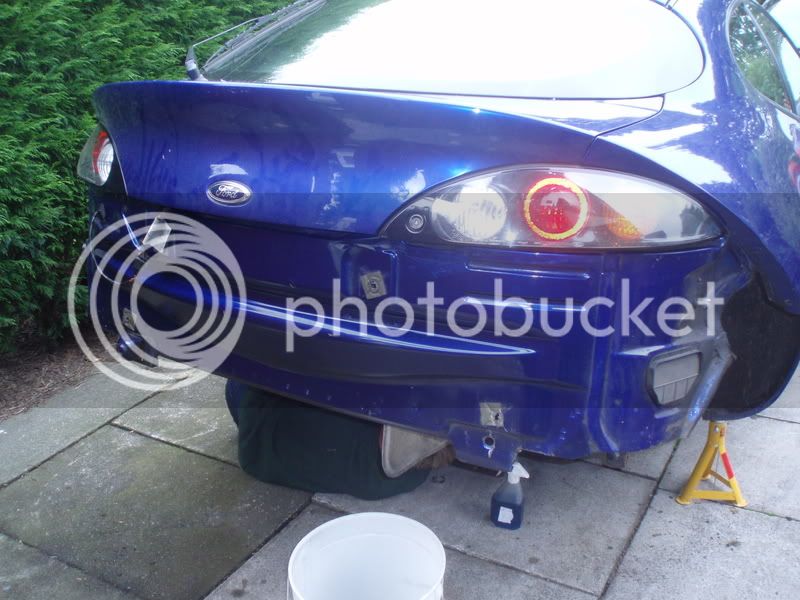
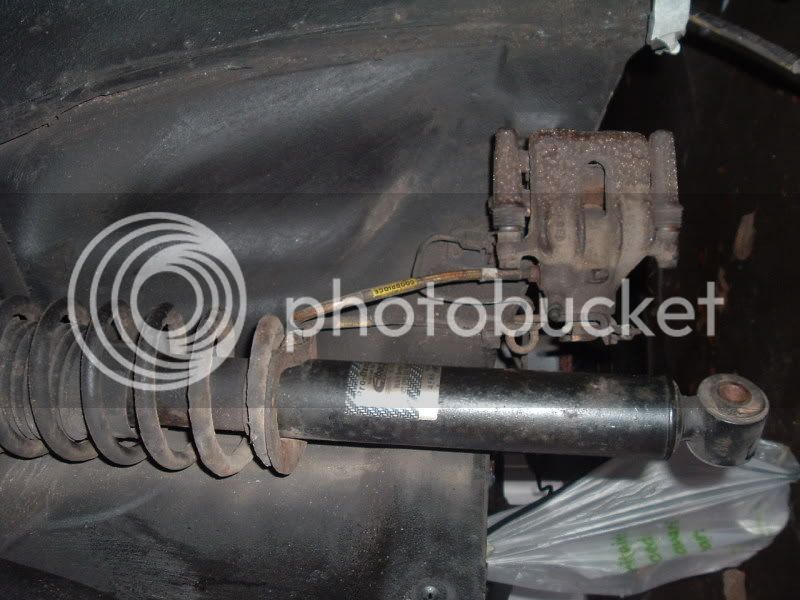
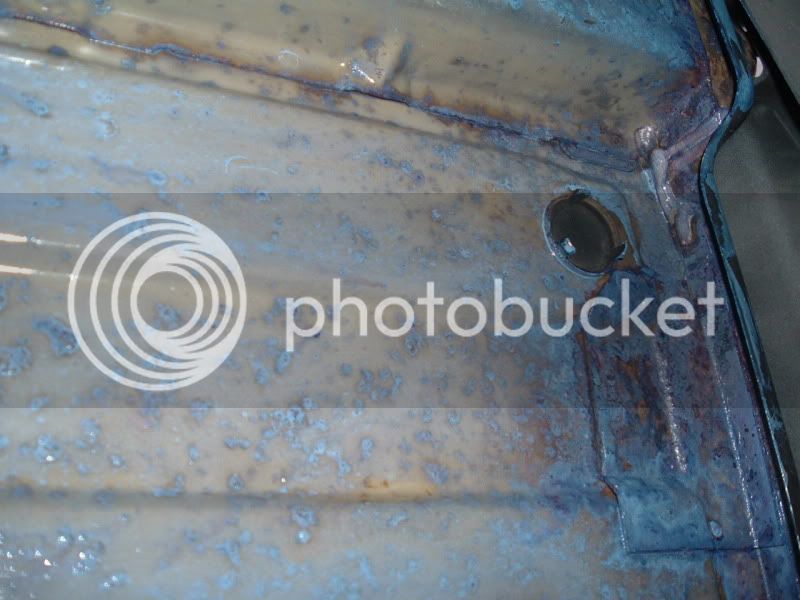
well here is the first few pics i have recieved. As you can see still early stages but can definately see that it needed a good clean and that rust has taken a liking to the underside ;p

Summer2008229.jpg


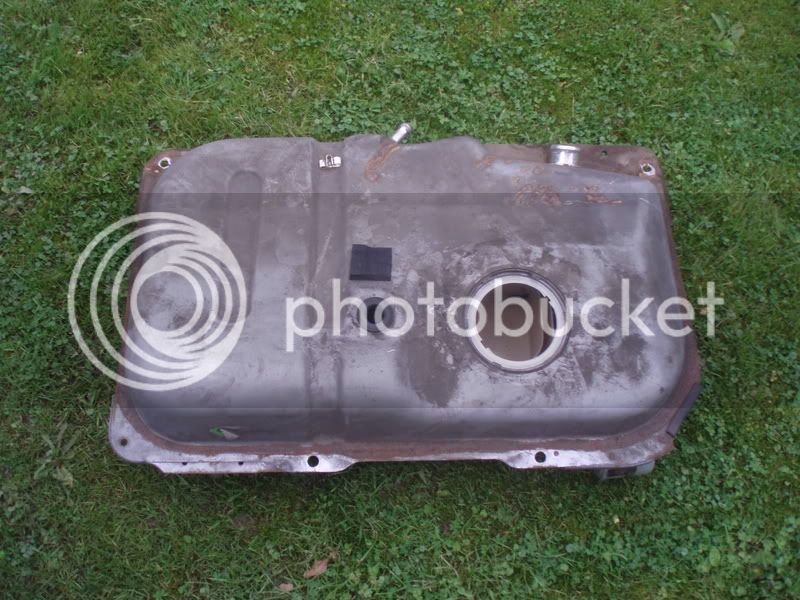
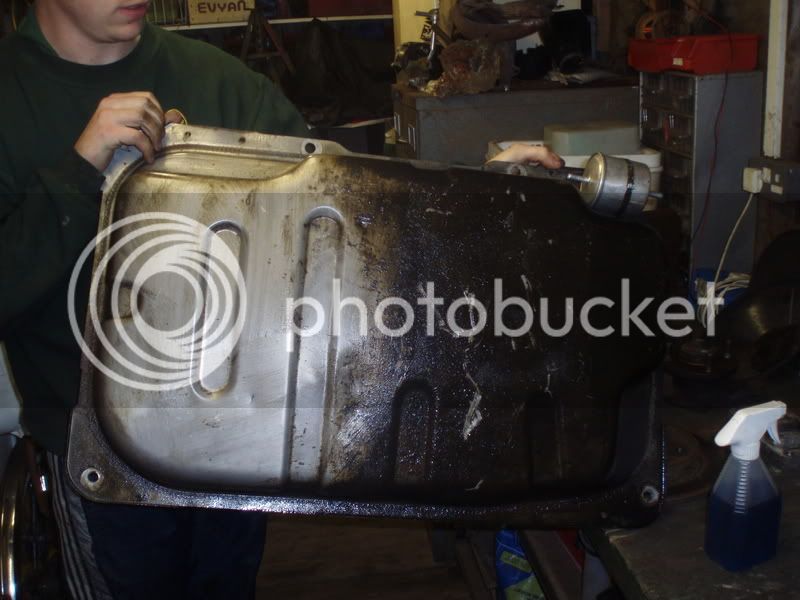
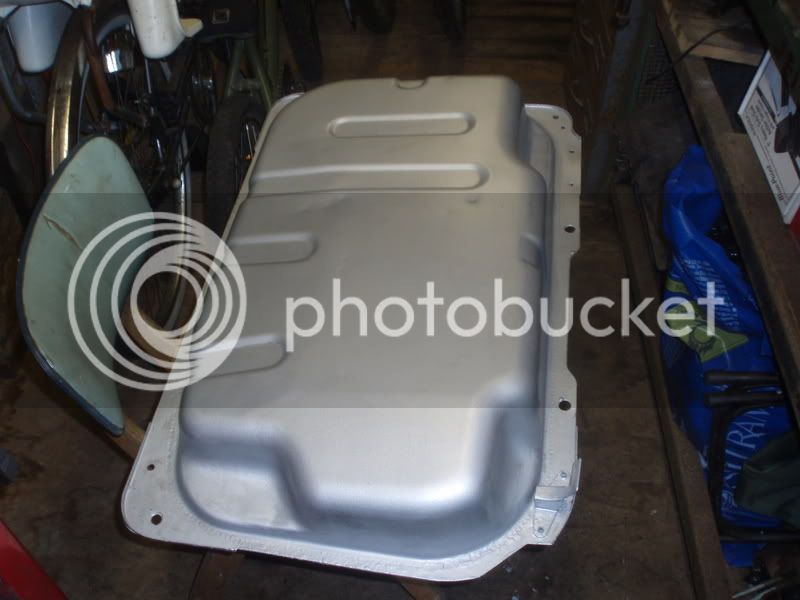
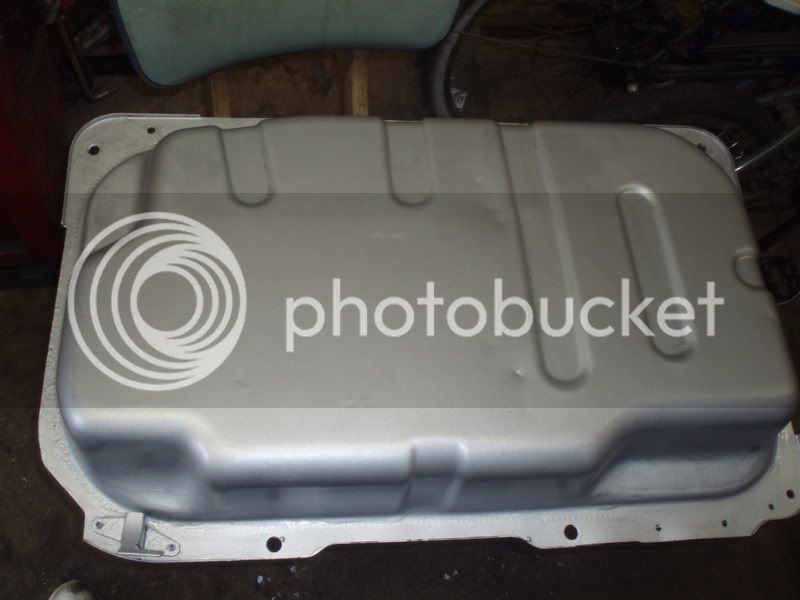
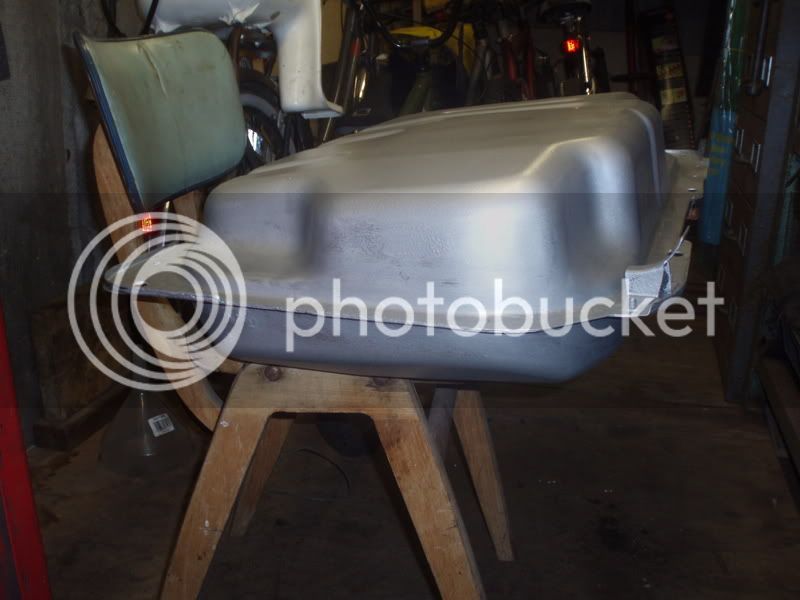
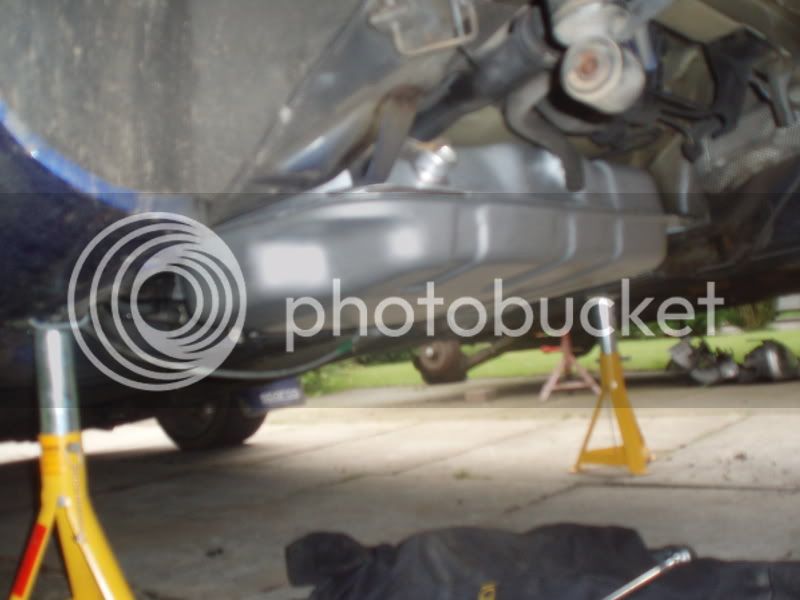
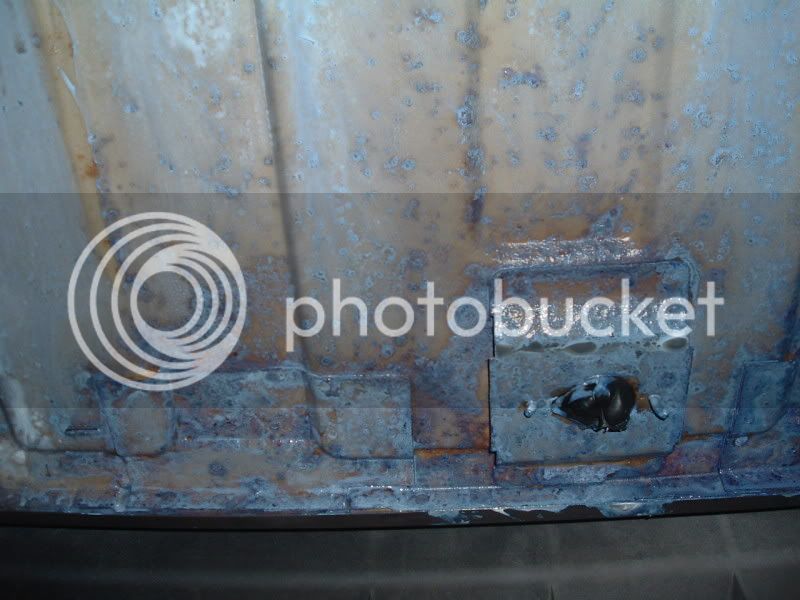
very dirty and horribe fuel tank

Summer2008235.jpg


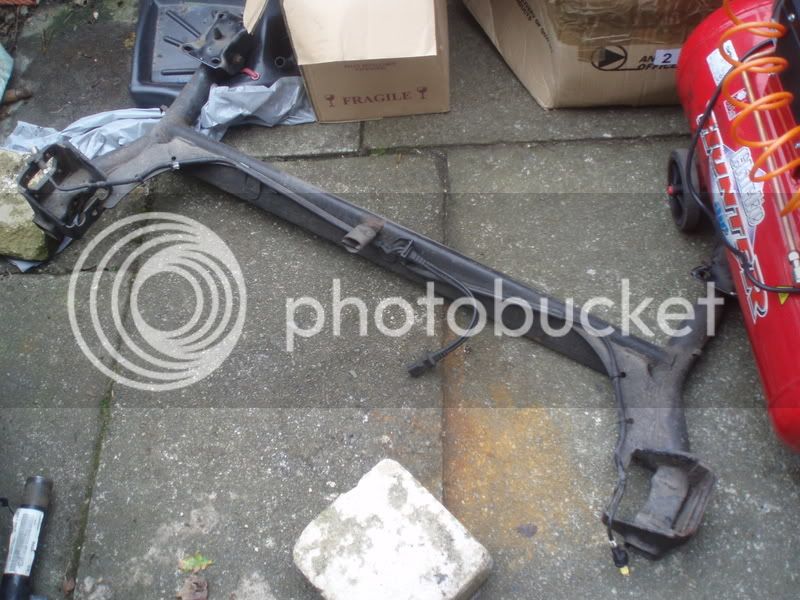
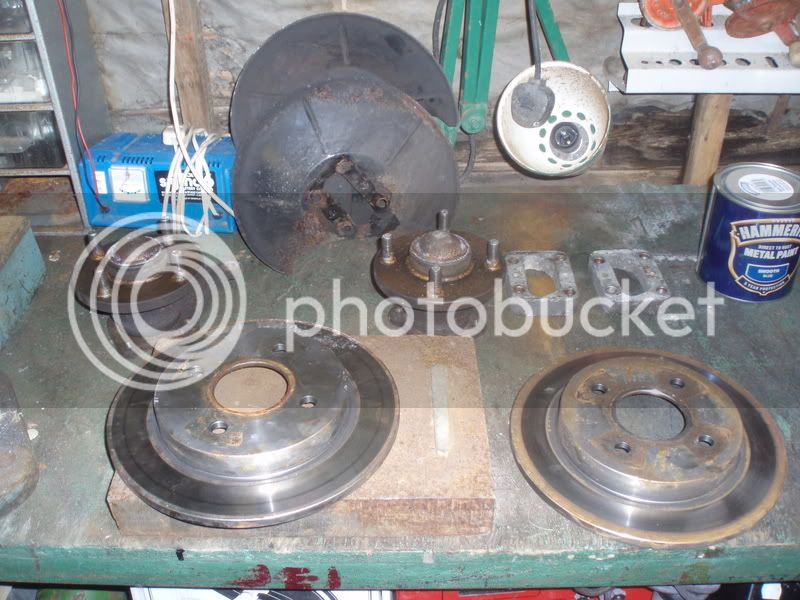
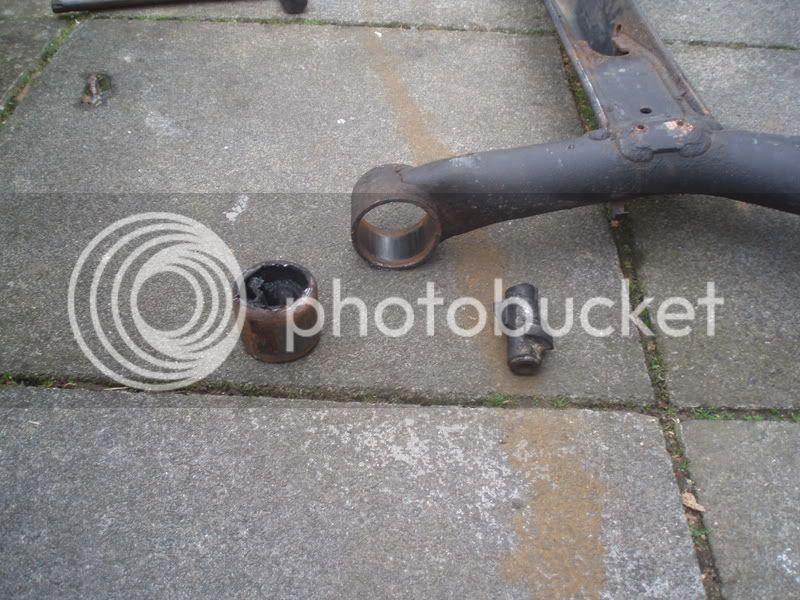
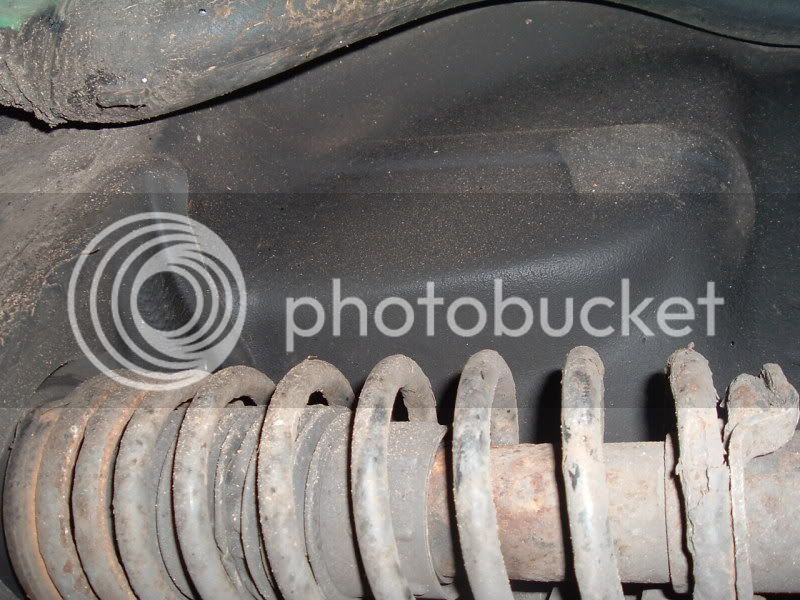
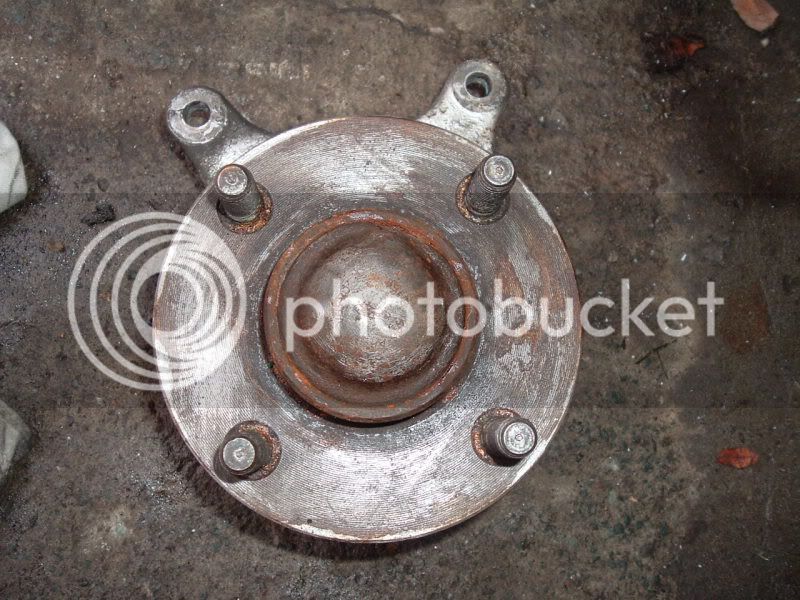
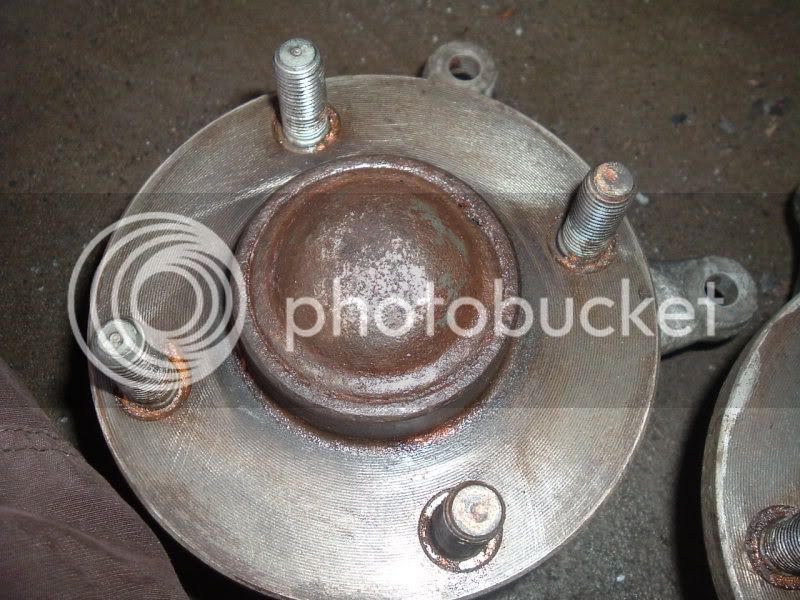
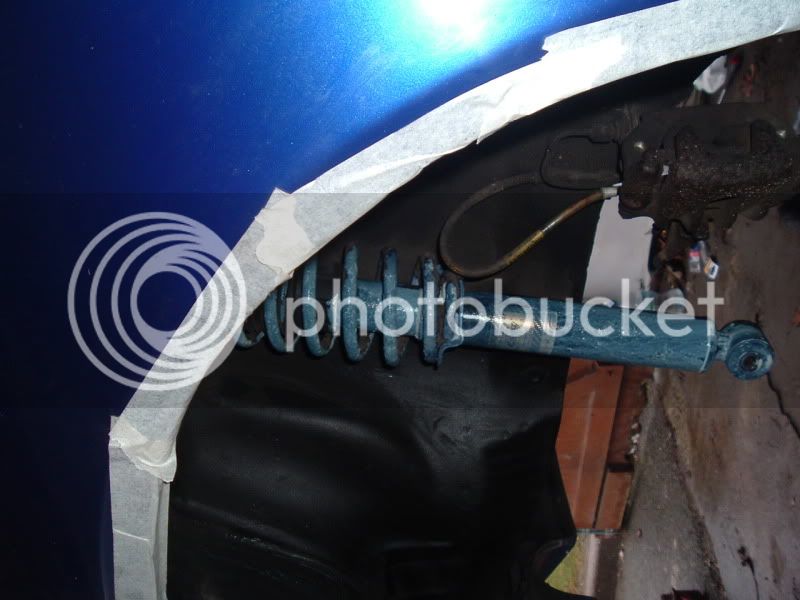
the rear beam before painting, (this is the better side, lol)

Summer2008233.jpg


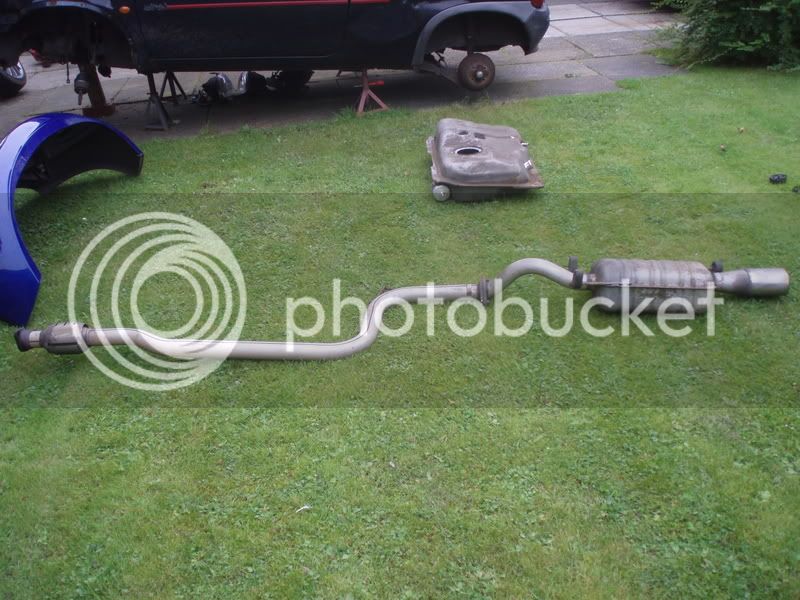
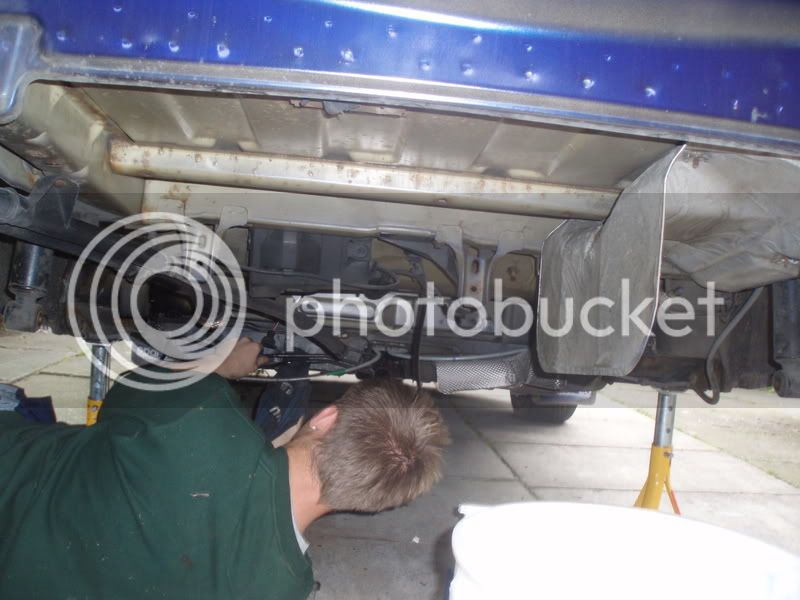
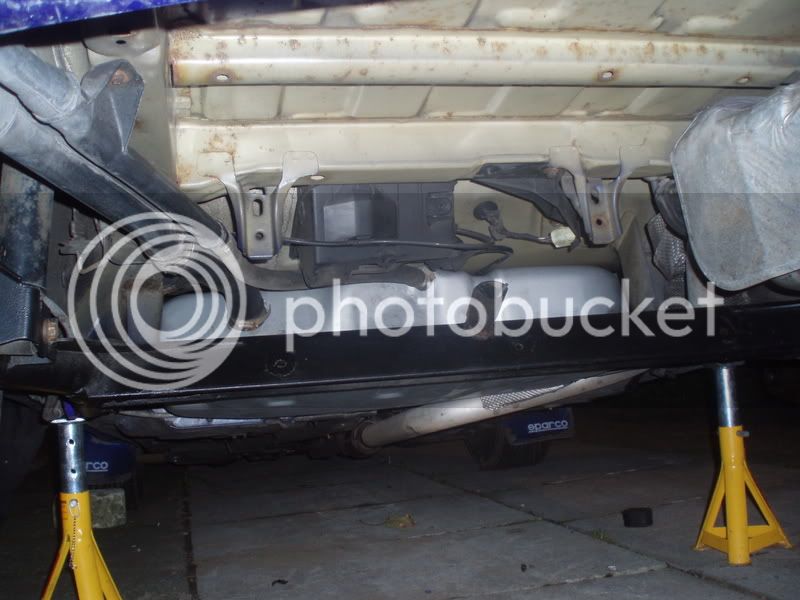
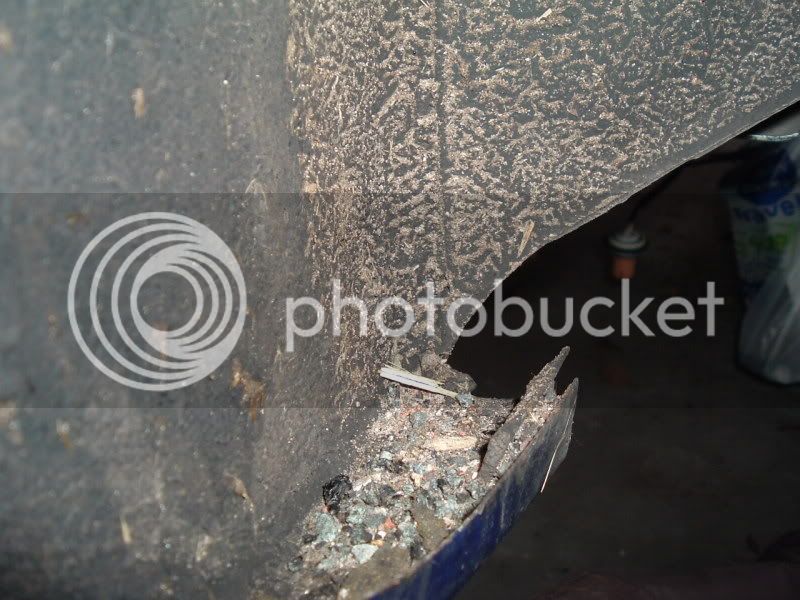
exhaust is in pretty good condition, its the original mild steel one.

Summer2008232.jpg


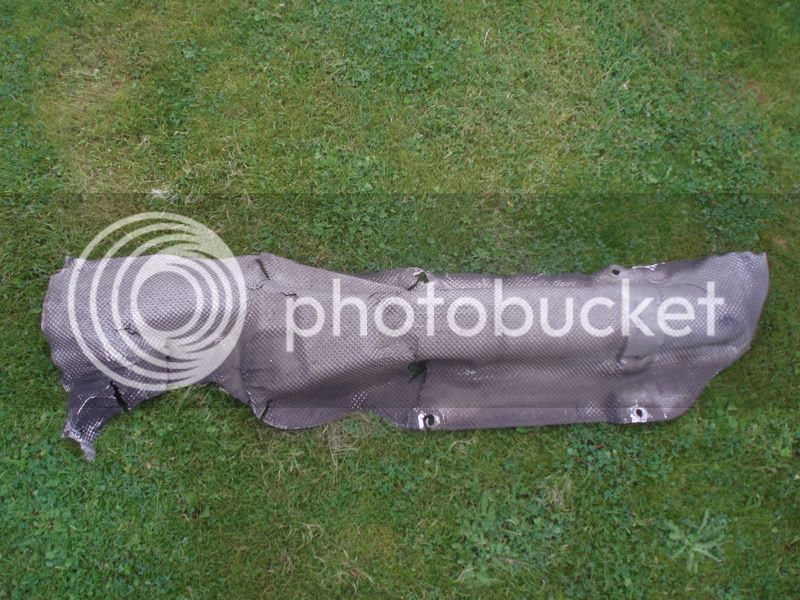
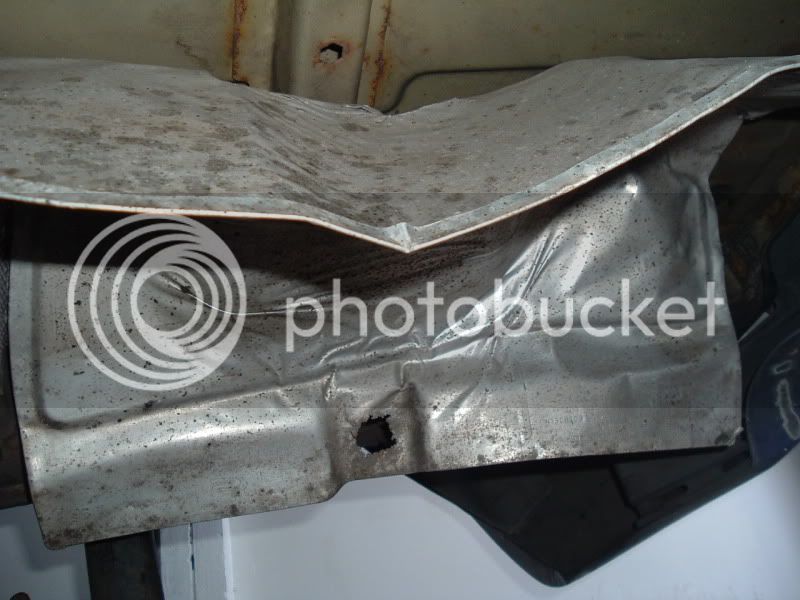
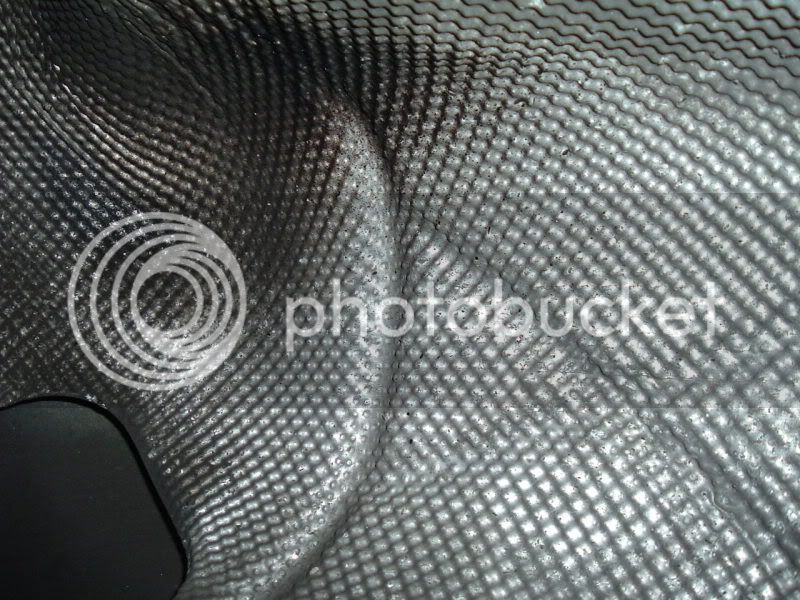
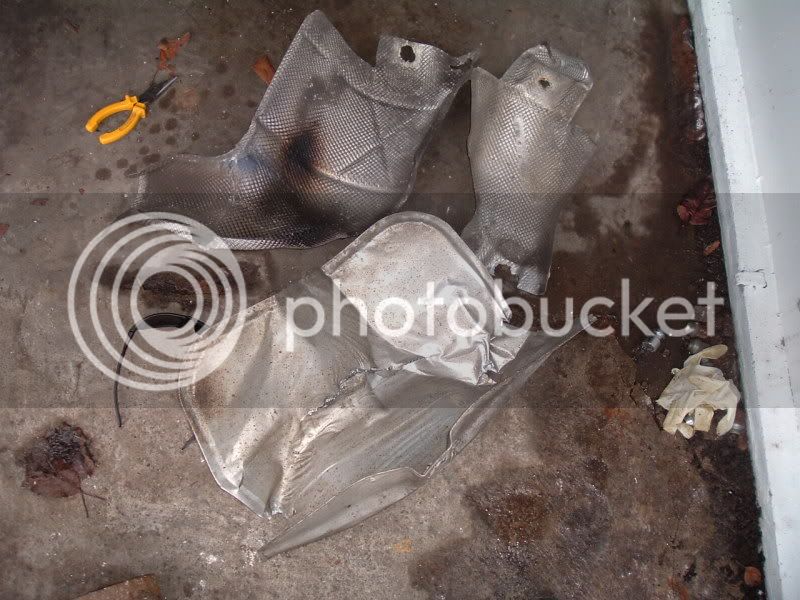
think the cat had my heat shield so new ones will be on soon

Summer2008234.jpg


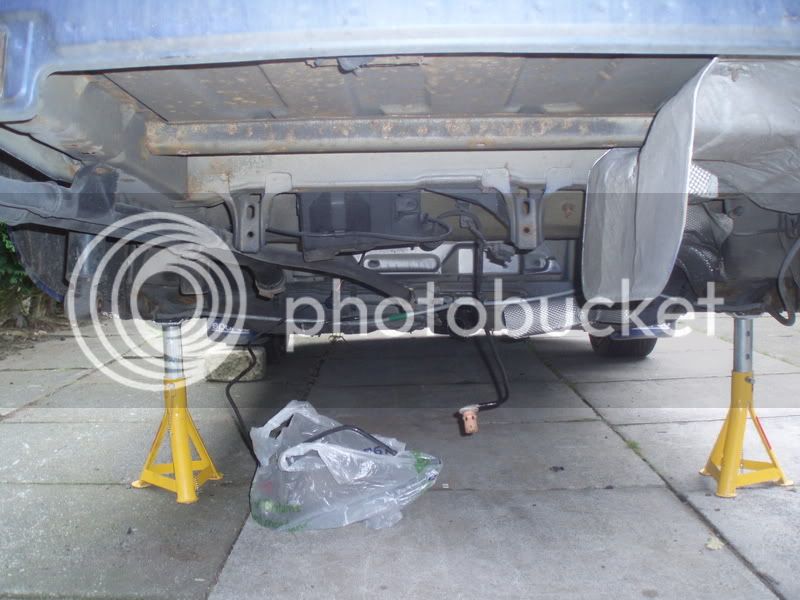
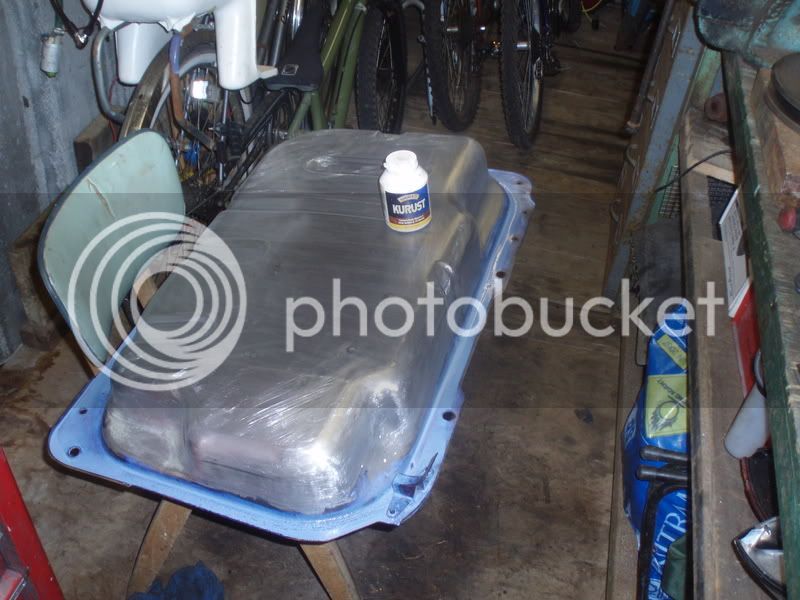
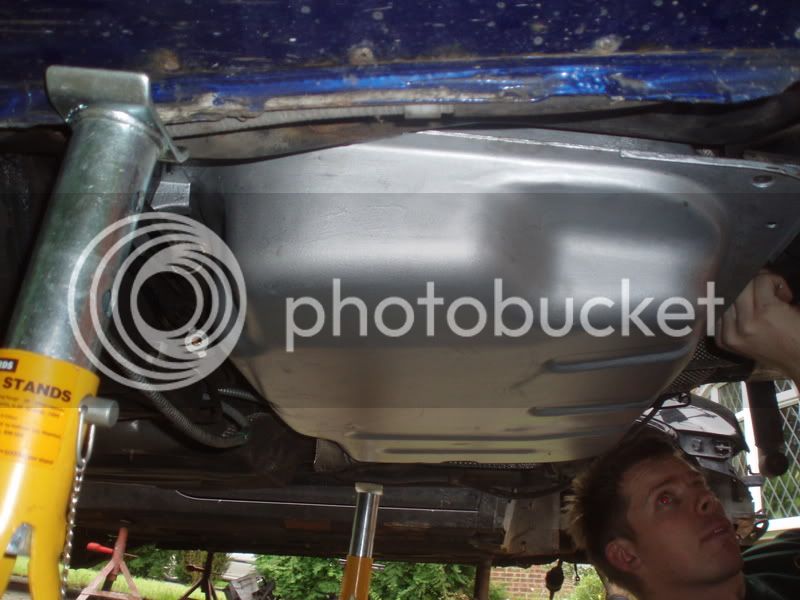
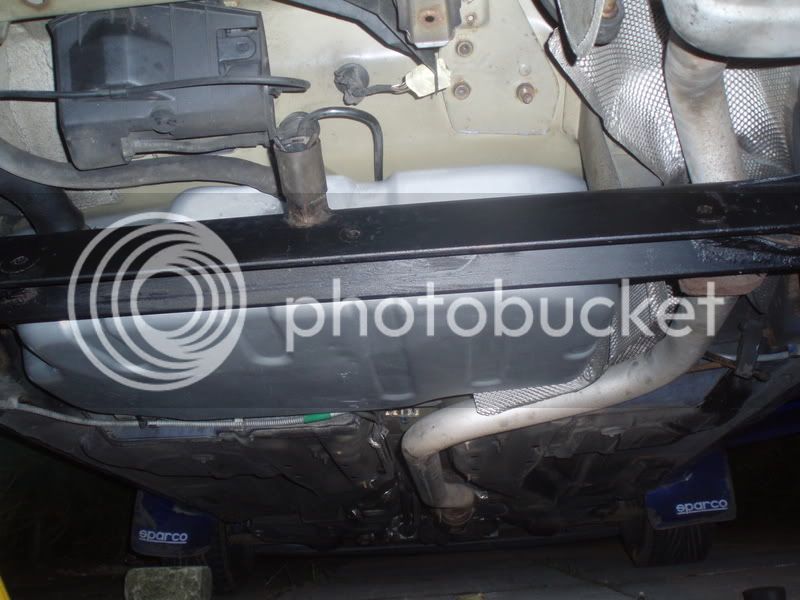
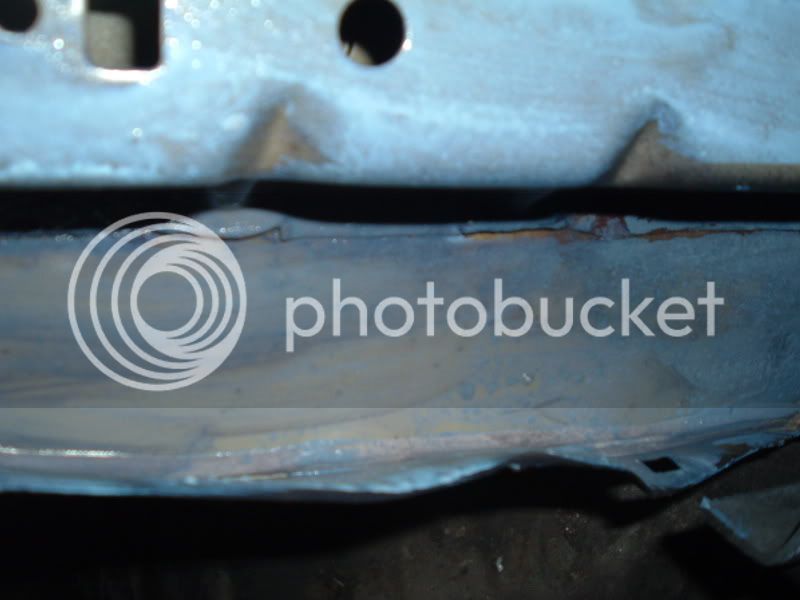
underside cleaned ready to be tackled 8)


Wer going to give it another go on sunday and looks like its going to be alot of busy weekends to come this month, but looking forward to the end result :yay:
 
That's dedication..

Good luck with it mate - looks like 246 is one pampered Kat

:thumbs:
 
thanks yeah wer trying mate.

Want it all done for the first week in december as its MOT time and il be able to get some pics of the finished article on ramps instead of little axle stands, lol.
 
heres afew more pics of the first weekends attempt

Summer2008236.jpg


Summer2008237.jpg

Summer2008238.jpg


now you can see how bad the fuel tank was

Summer2008239.jpg


after clean and kurust

Summer2008242.jpg


Summer2008243.jpg


Summer2008244.jpg


after paint
Summer2008245.jpg


Summer2008246.jpg


Summer2008240.jpg


old bushes out

Summer2008249.jpg


rear beam painted and new bushes in

Summer2008248.jpg


Summer2008247.jpg


Summer2008252.jpg


Summer2008251.jpg
 
Wow - now that is dedication for you! (you don't fancy having a go at #013 whilst you're at it do you? lol)
 
lol. its not me doing it mate. Its afew friends and im just helping out wer and if i can.

alot more days are going to be going ahead on this, as its nowhere near finished.
 
iv had a new delivery of titanium (finally!)

still want to be the first person (other than my prototype) to have titanium meshes?

dont mind if your staying oem tho after all the work youv put in....

pic on mine....

[albumimg]554[/albumimg]

this is the natural titanium finish; unpainted. doesnt need protecting and will look exactly like that forever. lifetime warrantee as well in case you hit a bird etc & they need rebonding. (titanium doesnt need a warrantee; brake that & id hate to see how the rest of the car looked!!!!!!!!!)
 
Craig, from memory they were done as a one off group by organised over at the FRPOC.

I'm sure Mike will let you know any other details though!
 
hi Graig.

there was a group buy fot the badges awile back on pumapeople. Pusscat of here kindly organised it. If you would like some pm pusscat to ask her who the supplier was as i cant remember sorry.

Mike
 
well ive been busy this morning, :) I managed to take the filthy cracked heat shields off and clean all underneath the back half of the car again. Behind the heat shields was just pure grime. :pinkeye:

DSCF0842.jpg


DSCF0844.jpg


DSCF0846.jpg


new heat shields will be going on eventually!

After the underside i tackled the rear arches. The amount of crap that was on them was crazy, took me a good hour to clean each one but looks so much better now :)

DSCF0837.jpg


DSCF0839.jpg


DSCF0841.jpg


Next job is too Kurust all the bits ive cleaned (when i can find wer i put the brush) and remove the rear suspension.

thanks for reading, progress continues on wednesday 8)
 
yeah all clean now, so kurust, wax oiled, paint underside imp blue, back arches black and powder coat afew bits and back is done. O and strip and sort the rear calipers and paint discs.

then onto the front :pinkeye:

My mate is fitting an rs turbo dif to his zetec s at the mo, so if all goes well with his, wen im doing the front hes going to fit one to mine.
 
rite well today ive cleaned up the hubs again, masked off the rear arches and then kurusted back section of the underside and given my suspension a little go with it. (suspension will be coming off soon for a proper going over)

heres the pics. It still drying yet so will get finished pics up when its done. Kurust goes blue when fighting rust then black when it drys.


safety first . Some goggles i robbed from work, lol

DSCF0865.jpg


the hubs before a clean and then after, Tim already painted these so they went that bad tbh

DSCF0855.jpg


DSCF0858.jpg


DSCF0856.jpg


Then i started kurusting the rear suspension and back section of the underside.

DSCF0859.jpg


DSCF0862.jpg


DSCF0852.jpg


DSCF0849.jpg


DSCF0848.jpg


Il get after pics and crack on with the rest soon. Just wanted to do little sections as ive never used kurust before so have no idea how it will turn out, lol.
 

Latest posts

Back
Top