project XTC

ProjectPuma

Help Support ProjectPuma:

This site may earn a commission from merchant affiliate links, including eBay, Amazon, and others.
Shanosburgess said:
hi top man are those hid's or zennon's either way they look schweet, did you do the running lights yourself? any chance of a guide? i'm looking to upgrade my bulbs shortly and do the running light mod.
The headlights are HIDs.

I made the 'running lights' myself but didn't realize 'scopo_scopo_xa' had already done them!
But I will point out they are not actually running lights. There are my side lights connected to the side light circuit. I use them instead of the standard side lights.

Starting about a third way down the page is how I made them...:

http://www.projectpuma.com/viewtopic.php?f=64&t=7908&start=25
 
My leds arrived yesterday for the dials, i made a bit of a skool boy error trying to instal them after dark with a torch lol
I could not get one of the screws holding the dials in to release fully so i tried to take bulbs out to fit whilst in situe, &
Dropped one holder down the back of the dash! Decided at that point it was time to come in and have another go in the morning.

I also took my stereo facia in to halfords(i know a bit cheecky as i did not buy it from them lol) one of the lugs was broken off at the bottom, leaving it popped out at the bottom left, they gave me another silver grey one, but the tab on that was no good either, so they replaced it with a black one and gave me a can of silver spray paint to match the dash trim etc, result!

I gave the trim and also the sony stereo trim a quick spray, will see if they need another coat later, if i can find the other bulb i may be able to get dash finished today.
20120808_211402.jpg

Topman i read your complete thread the other night, and ordered resistors,leds and a glue gun that night, hopefully here early next week.
 
On sunday I expected to have no time to work on the car as it was my wifes birthday, unfortunately for her she had her first ever Migraine and spent the entire day in bed (cue time for me to play with the car) I attacked the dash lights again, the guide I had was for the digital dash, why ohhh why could I not get my dials out! I managed to remove the clear shroud with a bit too much brute force and ignorance! and managed to break the 2nd lamp holding circuit off as I did!
With the green plastic removed and the led installed it all went back together ok, it looks ok in the dark but I will most likely buy a new speedo cowl from my friends scrap yard.

20120808_211642.jpg

20120808_211439.jpg

I also did a bit more wet/colour sanding on the car, its not perfect yet but getting there, I started with 2500 grit and then went to t-cut as that was what I had available, then polished it up, my neighbours think i am obsessed with cleaning the car ;)
The glue gun leds and resistors arrived yesterday,

20120807_101813.jpg


so it will be a case of seeing when I can make the time to fit them to my head lights, any suggestions where to wire them in to have them as day light running lights would be appreciated (if not I will do as topmansparkle has done and wire them off the side lights.

I will try and take photos of the lights as I go and post a how to (or how not too if it goes wrong lol)
 
Hopefully this simple circuit with a five pin relay should be enough for some DRLs:

5PinRelay_DRLWiring.jpg

Basically, ignition turns on and you get 12v to pin 30, through the relay and out of 87a to LEDs/DRLs.
Turn lights on and you get 12v to pin 85, relay switches and cuts off pin 87a. LEDs/DRLs turn off.

That is very basic. There is more information on here about the different modes of DRLs... when I find it, I'll post it...

Ah, here we are:

warrenpenalver said:
Just make sure when you fit the DRL's that you comply with construction and use as VOSA are being c__ts about things like this nowadays and if it looks wrong you will get pulled.

If you comply with IVA rules (based on construction and use) then you will be fine plus when eventually modified cars fall under IVA (which they likely will eventually) then you are already safe and compliant.

Rules are:
TYPE Daytime Running Lamp
NUMBER Min 2 Max 2
COLOUR White
MAX DISTANCE
FROM SIDE (mm) 400mm
MAX HEIGHT (mm) 1500mm
MIN HEIGHT (mm) 250mm
ANGLES OF VISIBILITY a. Horizontal. 20° Outwards and inwards b. Vertical. 10° Upwards and downwards

If you fit them in the bumper slots right at the bottom then you might be close to the 250mm hieght limit depending on the ride hieght of your car.

YOG said:
As I understand it, DRL's should be wired so that they switch off when the side/head lights are switched on.
They can also be used as positioning lights that stay on when the side/head lights are switched on, but, in this case, the DRL's should dim.

There are lots of products to carry out the different methods of switching. GenLabs can give you ideas, are not that expensive, and you can see the wiring diagrams:
DRLR1
The DRLR1 offers the minimum requirement – turning off the DRLs as the headlights (or, optionally the sidelights) are turned on.

DRLR2
The DRLR2 also adds an optional Dim On Beam functionality, selectable either permanently or when desired through an in-cockpit switch. Dim On Beam allows the DRLs to dim instead of going off, when the side or headlights are turned on.

DRLR3
The DRLR3 provides a Dim On Indicator function, giving you the ultimate premium look. The left or right DRL will dim in time with the indicator, in a manner similar to many luxury cars.

http://www.genlabs.co.uk/products/drlr/index.html" onclick="window.open(this.href);return false;

Available on Ebay:
http://www.ebay.co.uk/sch/gl-automotion/m.html?_nkw=&_armrs=1&_from=&_ipg=" onclick="window.open(this.href);return false;

I have the DRLR3, when I get around to fitting it!
I'm part way there, as I'm trying to incorporate the DRL's within the indicators. I have modified the front bulb holders to use these switchback bulbs (scroll down the link to see them operate):
http://www.ebay.co.uk/itm/White-Amber-Switchback-1157-60-SMD-LED-Parking-Signal-Lights-ACURA-RL-TL-TSX-66-/180902715434?pt=Motors_Car_Truck_Parts_Accessories&hash=item2a1ea4602a" onclick="window.open(this.href);return false;
 
I just had a look at the switch back led's, what was involved with modifying holders to fit them?
just had a quick search on ebay and found these
http://www.ebay.co.uk/itm/2-1157-60-SMD-LED-Turn-Signal-Switchback-Light-Bulbs-/120939326799?pt=UK_CarsParts_Vehicles_CarParts_SM&hash=item1c288bad4f#ht_4043wt_1188" onclick="window.open(this.href);return false;
look to be the same but a lot cheaper @ £5.28 coming direct from china

Thanks for the info above, would this relay be the type I would need to use (total noob when it comes to electrics lol)
http://www.ebay.co.uk/itm/SRA-12VDC-CL-DC-12V-Coil-20A-5-Pin-SPDT-PCB-Type-General-Relay-/400310577317?pt=UK_BOI_Electrical_Components_Supplies_ET&hash=item5d345ea8a5#ht_1206wt_955" onclick="window.open(this.href);return false;
Would I need to try and make a circuit board up or just solder wires to the legs?

Would I be correct in assuming with the drlr3 you would be able to have the 5 x 5mm leds running and then auto dimable at night, will the switchbacks be installed behind the standard indicator lens or in the current side light holder?
I want to start on mine but I'm gonna have to get a spare set to work on as I know my luck will leave me unable to drive the car cos the lights will be on my dining room table lol
 
Trying to make her look pretty after 2500 sanding and t-cut I applied Diamond bright stage 1 with a microfiber cloth
20120807_162016.jpg

I left it on for about an hour, once it had dried to a hazed finish I applied the stage 2 with another clean microfiber cloth
20120807_164116.jpg

I let this dry for about 2 hours and then polished it off with a microfiber glove.
20120807_170517.jpg

I think it looks good, but will look better once I borrow a mop from my good friend timmy magic
20120807_170544.jpg


I know the rear arch needs to be done but I feel I should make her as nice as I can whilst I try to get some money together for the expensive jobs.
 
I had a quick chat with timmy magic and we walked about scoops in body work to force air in to the air box, had a few nice ideas that hopefully should be able to mock up once I get a bit of time.
I also had an idea that the puma might look nice/a bit more modern with the rear quarter and door swages taken out, and then with bumper smoothed over.

I took this image from google, if its yours thanks in advance ;)
Ford_Puma_Black.jpg


and had a quick play with it (keep in mind i'm crap with photo editing)
Ford_Puma_Blacknoswage.jpg


Ford_Puma_Blacknoswageorbumperline.jpg


I think it would need to have the arches flared a bit more, but its got potential,
let me know what you think, I wont be offended if you don't like it lol
 
Shanosburgess said:
Another quick idea that i knocked up (yes I Know the splitter is wonky and not lined up perfectly lol)
focusrssplitter.jpg

too much time on my hands today lol
I think that's a bit 'marmite'.......
 
I know what you are saying its proper marmite it was one of those 11pm getting tired/bored whilst wife was watching the olympics.
I dont think it looks rite perhaps with a fiesta st diffuser in so not as ott
but for the sheer barryness of it I had to have a go lol.

did you check out about the led's and relay? don't want to order more bits that I cant use lol
 
Managed to get some time to play on car in between clearing the overgrown mess that is my back garden(no innuendoes there please)
First job was to read up on the removal of the heater control valve, as mine is jammed on hot and I have been melting this week, the plan was to check how easy it is to get off and to refit ready for when I buy a new one, but whilst I had it off the car I thought I would give it a clean up and see if it helped.
first I stripped it down and then sprayed inside the motor housing with some card cleaner as it was full of grimy rusty crud.
I then cleaned down the plunger assembly (not sure what the correct name for it is but if you take yours apart it will make sense), then used some penetrating oil on all the perts for a bit of lubrication.
I put it back on the car and it works properly again for now, not sure how long for but i am just so relieved its not as hot as mars in the car.
the next job that I tackled was to remove the MAF and clean it with carb cleaner, the wires coated in black crud now they are all shinny!
Once refitted I fired up the car and the revs sat at 1000rpm, none of the usual flutter that I had become used to on idle.
I also tried to track down the cause of the water in the passenger footwell, I am buggered if I can find the aircon overflow pipe!
If any one can take a photo with a nice red arrow pointing to the bit I need to clean I would be very great full.

Last job of the day was to check my cabin filter (will be ordering complete service kit shortly), it was full of dust, fluff and general crud, so I got out the hover and gave it a good clean and replaced it.
 
For the relay... I was thinking something more like this...:

12V 40A 5-pin-relay
Or
Hella 12v change over relay

As for the LED bulbs, I would assume the base of that is larger than the standard one on the headlight. With that in mind, it wouldn't fit through the hole that the standard base 'clips' in.
I can't say how to 'mod' it to fit unless I could physically see everything in front of me....
You'd need to find a base for it then go from there.
Wiring it up would be easy... join the indicator wire to it, then the side light and a ground.
 
I had a bit of a result last friday night, I went over to my mate tims and his friend that runs a body shop in Gosfield came over, we had a few shandies and got chatting, it turned out he had formatted the sd card in his mobile by mistake and lost years of photos and music, he laughingly asked if I could get them back and said if I could he would do my rear arch for the cost of the paint (£23)
suffice to say over the next two days the memory card was run through several recovery programs and I got 90% of his files back, he was well pleased and my arch should be done over the bank holiday weekend! i'm hoping that he will give the rest of the car a bloody good mopping over and make it shine like new (i will try and see if I can get him to re clear coat the whole car)
He should have some spare panther black paint left so if anyone wants their arches doing let me know I can pass on dave's number.
 
I will take some beers up for him as he is doing it on the bank holiday weekend, I spoke with him today £23 buys 1/3 of a litre of panther black, he said for £36 I can get a whole litre, need to get up and see him for an idea of cost to respray complete car.
 
The car is having the arches done (went up yesterday for surgery, should be back today), hopefully looking all shinny and nice!
had a bit of a crud week myself, I went to hospital thursday to have a growth on my tongue looked at, and they booked me in friday for a biopsy, with mri and xray for next thursday, they don't thing it looks good (pretty sure its cancer) and will most likely have to cut just under half my tongue off to fix it, now I know how my car must be feeling!
Fingers crossed that they are wrong and the biopsy comes back clear, if not the car will be on hold for a while whilst I get my self sorted out, well maybe a bit of tinkering if I feel up for it (may get chance to mess with the rear speaker boxes and separate the top and bottom chambers with some fibre glass so I can fit one of the 6" subs as well as the 6x9's), and you never know I may win the bodykit on ebay and get a chance to fit it and get a respray, the decision then will be change colour to imperial or performance blue?
I'm thinking imperial but could be swayed lol
pictures to follow when I get her back
 
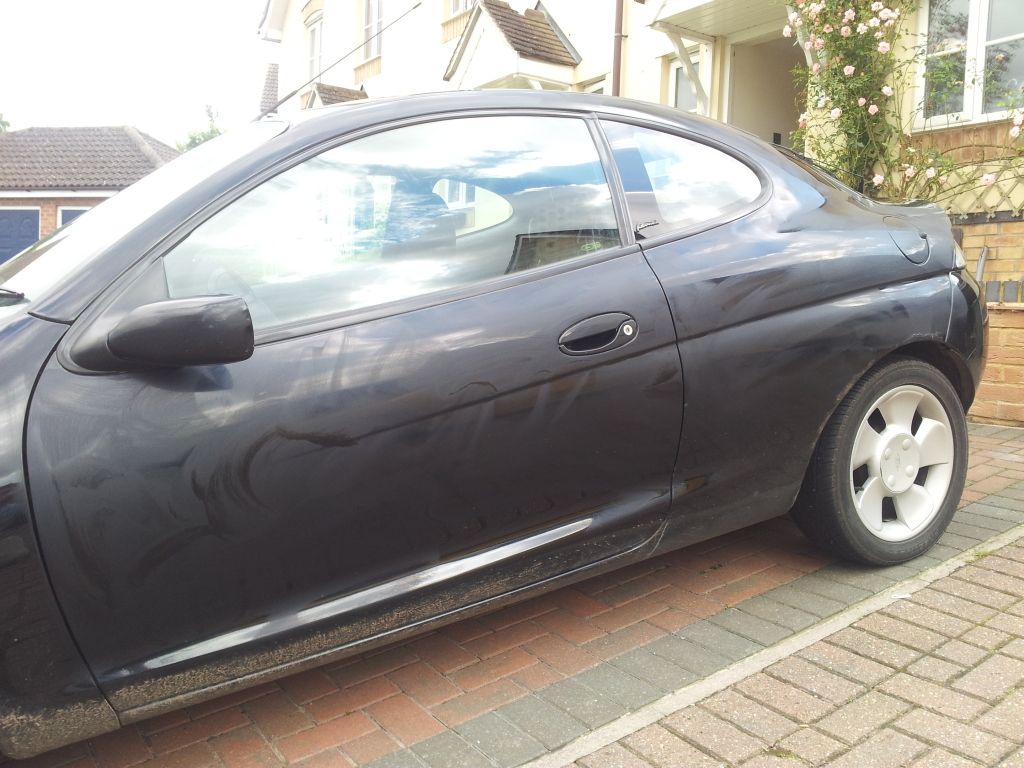
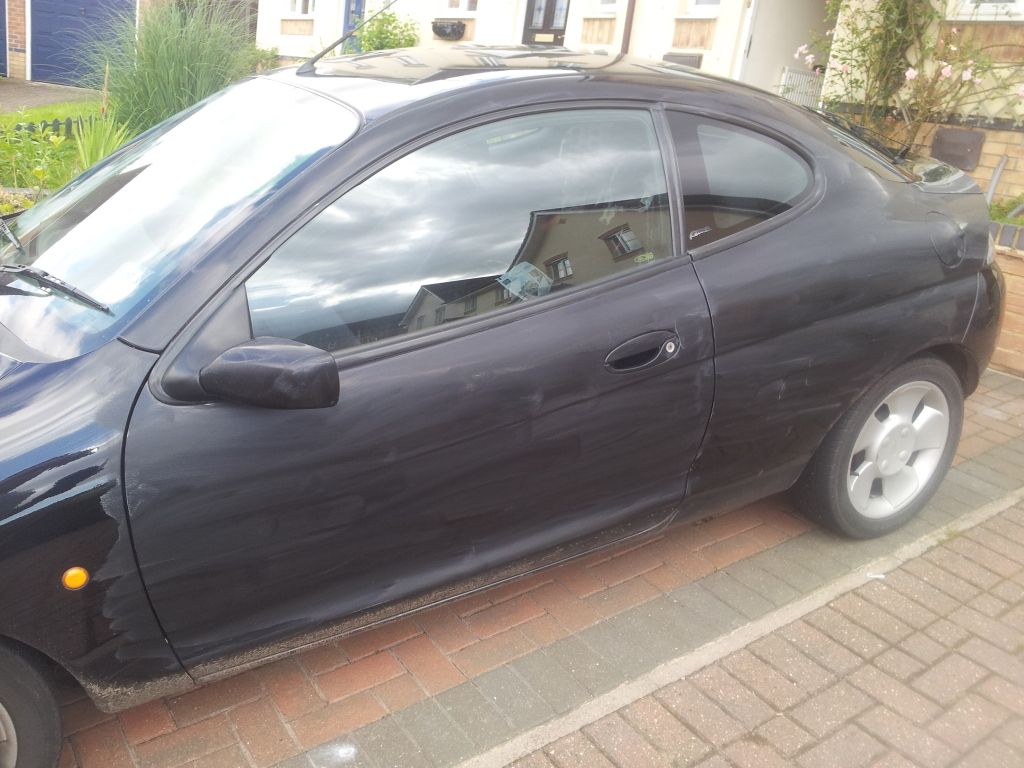
got a bit of work done on the car today
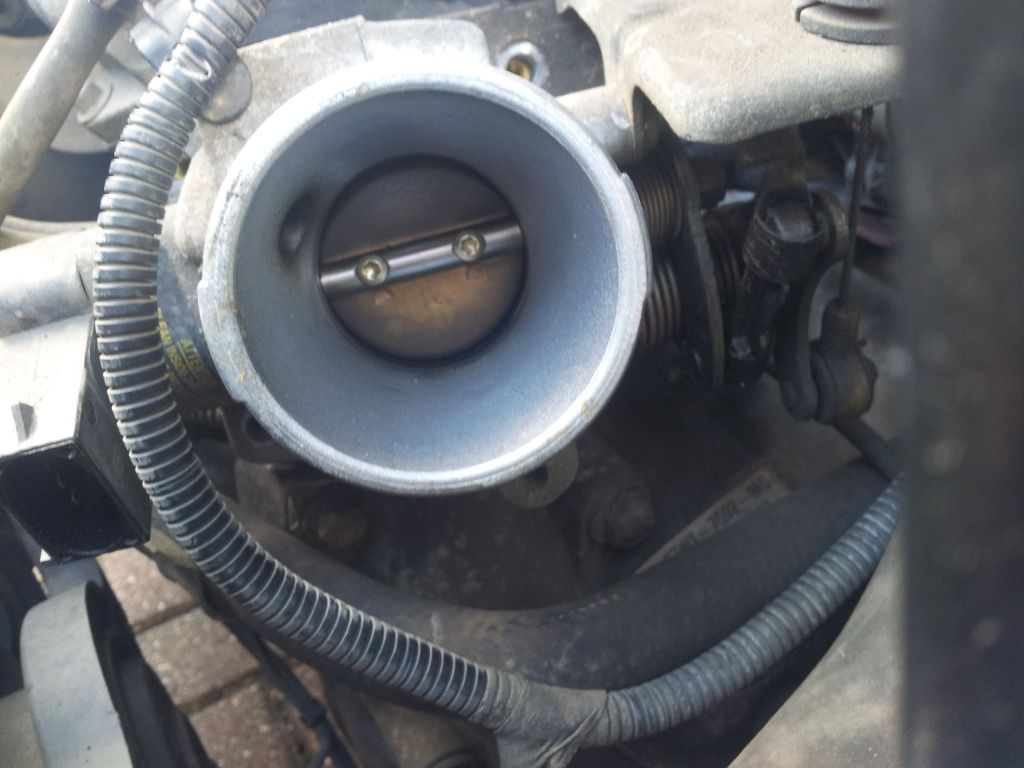
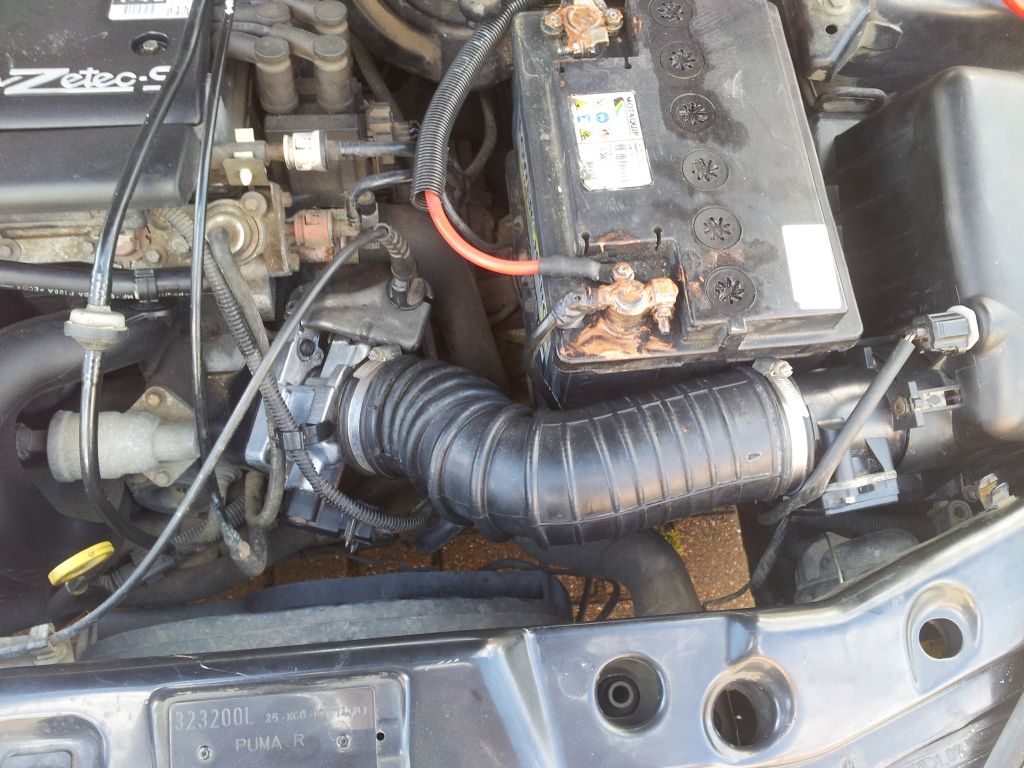
I finally got round to swapping the 1.4 throttle body to a 1.7
I had to borrow some torx sockets from my mate steve (and a socket wrench from uncle Damo across the road)
I started by removing the hose from the MAF to the throttle body to give me better access to the throttle body and then removed the 4 x Torq bolts holding the throttle body on

IMG_20120828_120155.jpg


I then removed the throttle body and checked the seal (all good), then removed the wiring plug and the cir-clip holding on the throttle cable and transferred this to the new throttle body.
I applied a little Vaseline to the seal and then bolted on the new 1.7

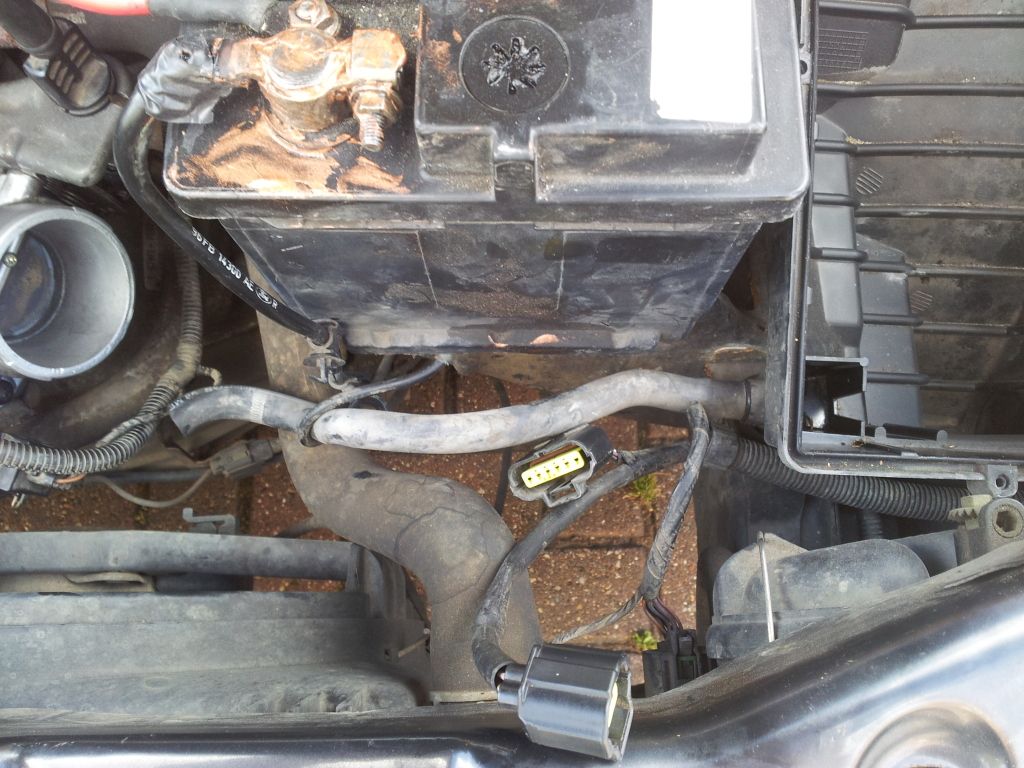
Whilst I was messing around in that corner of the car I decided to have a look in the 1.4 air box to see if the frp mod could be done,
to my surprise the airbox is almost identical, the main differences being no square baffle like the 1.7 the 1.4 has this piece instead (removed it to hopefully give improved airflow)
IMG_20120828_153359.jpg

and the small sensor that is mounted top left of the air box, and a smaller hole for the MAF on the 1.4
as far as I can tell the rest of the airbox is the same so should be modable.

Something that I also noticed was that my engine breather hose had one end attached to the airbox, the other end attached to the top of the engine... unfortunately the two ends do not meet in the middle (not sure why but someone has cut about a foot out of it), the 1.7 breather hose that I had spare from the airbox I purchased was unfortunately the wrong diameter.
Anyone know the ford pat number for it?
IMG_20120828_124815.jpg


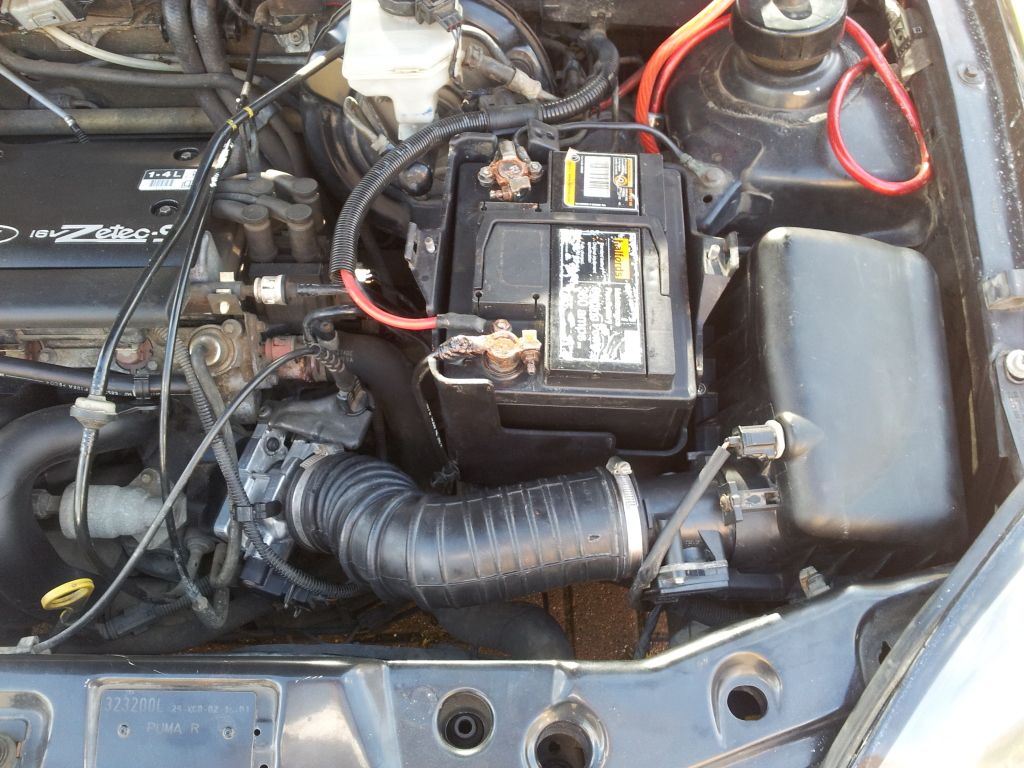
I figured the next job would kill two birds with one stone, I wanted to reset the ECU as I have replaced a part, and also wanted to fit the replacement battery that has been sat in my boot for about 2 weeks (like I said needed to get a few jobs done lol), I disconnected the battery I had been using (it was about 2" to big and had been sitting lose in the bay),
IMG_20120828_125657.jpg

refitted the puma battery tray
IMG_20120828_133038.jpg

and then left the car for just over half an hour, keeping fingers crossed everything would work once I put it back together.
Whilst waiting I cleaned up a few bits in the bay and put it all in.

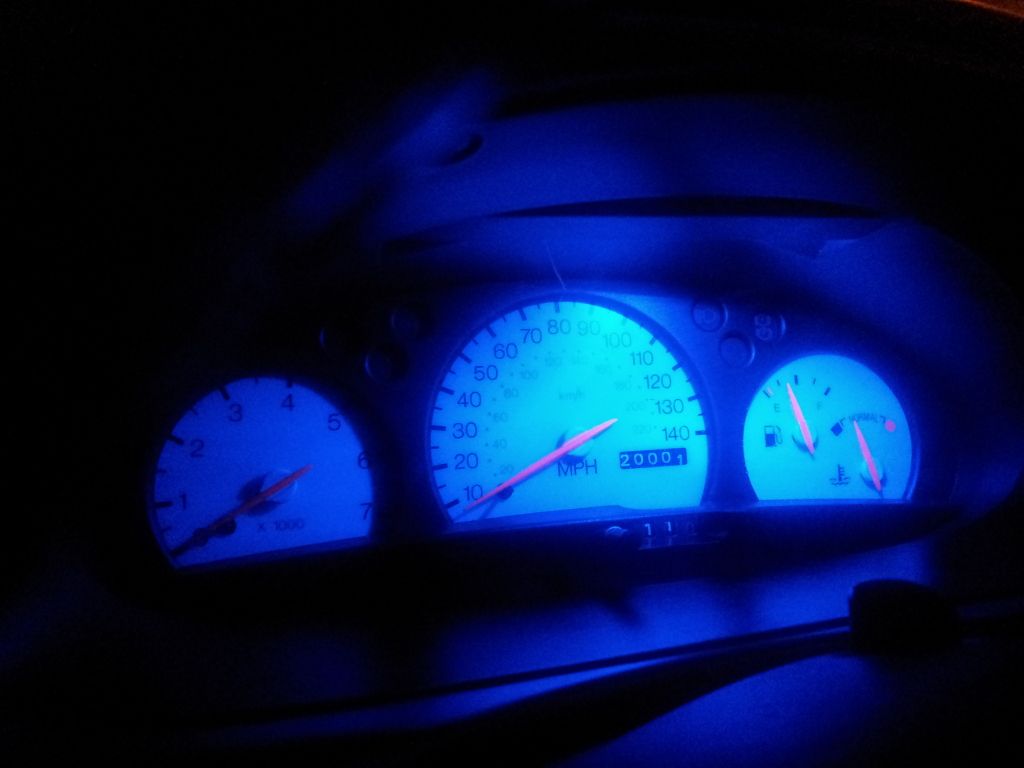
I turned the key and.... it lives!

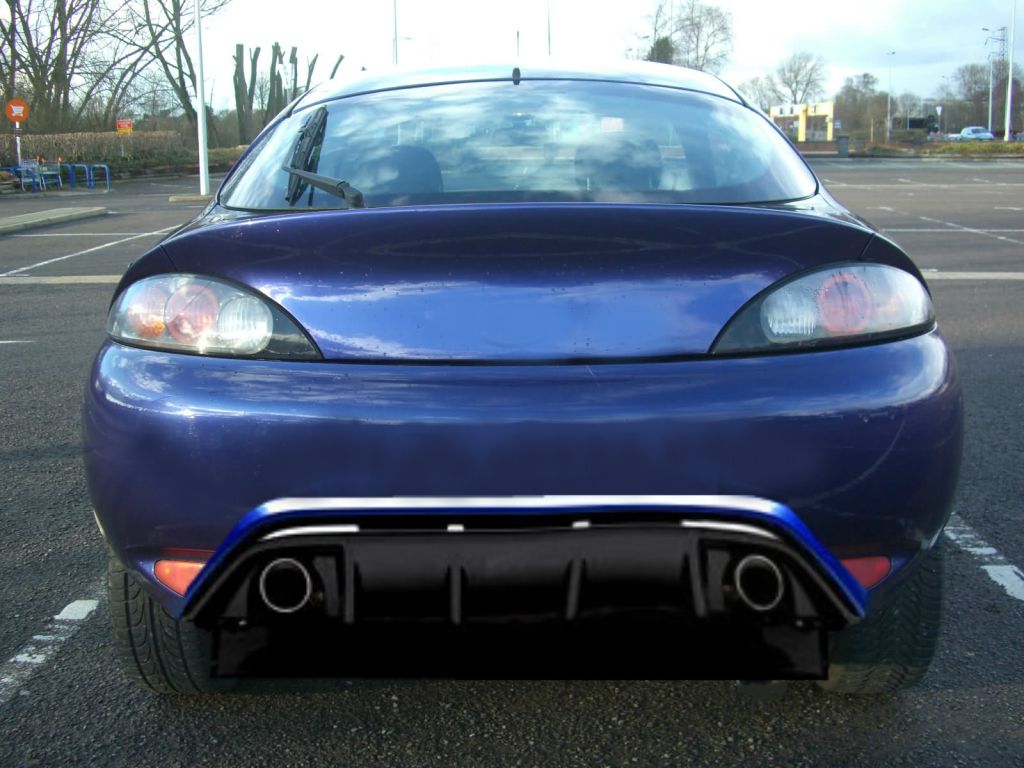
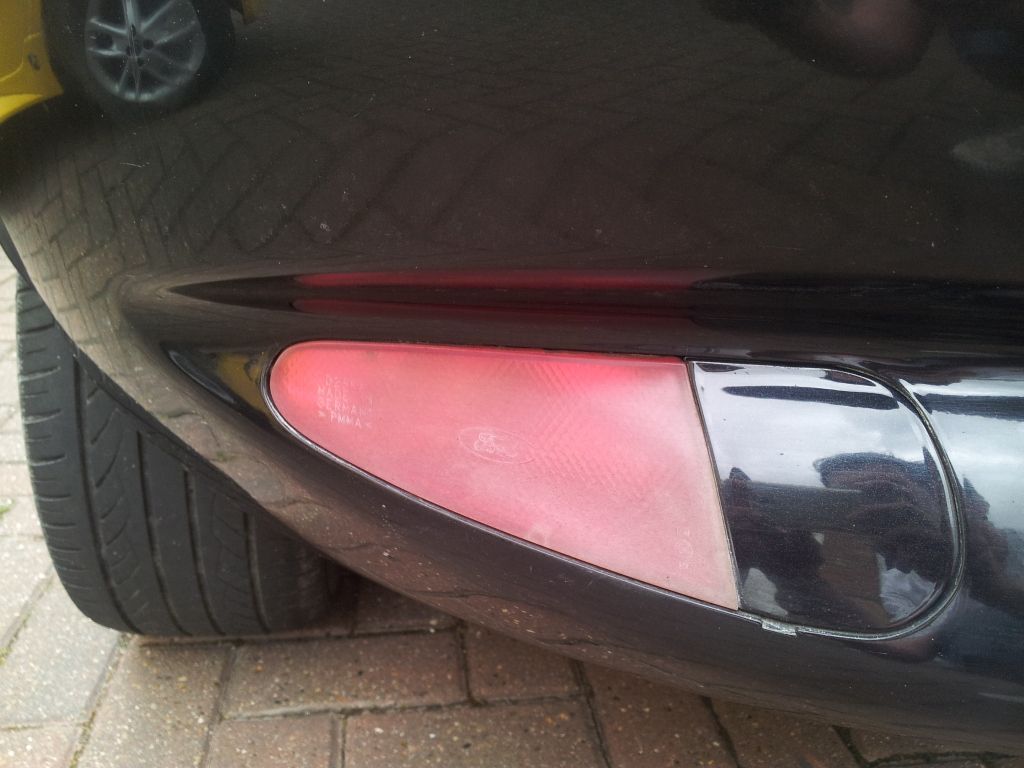
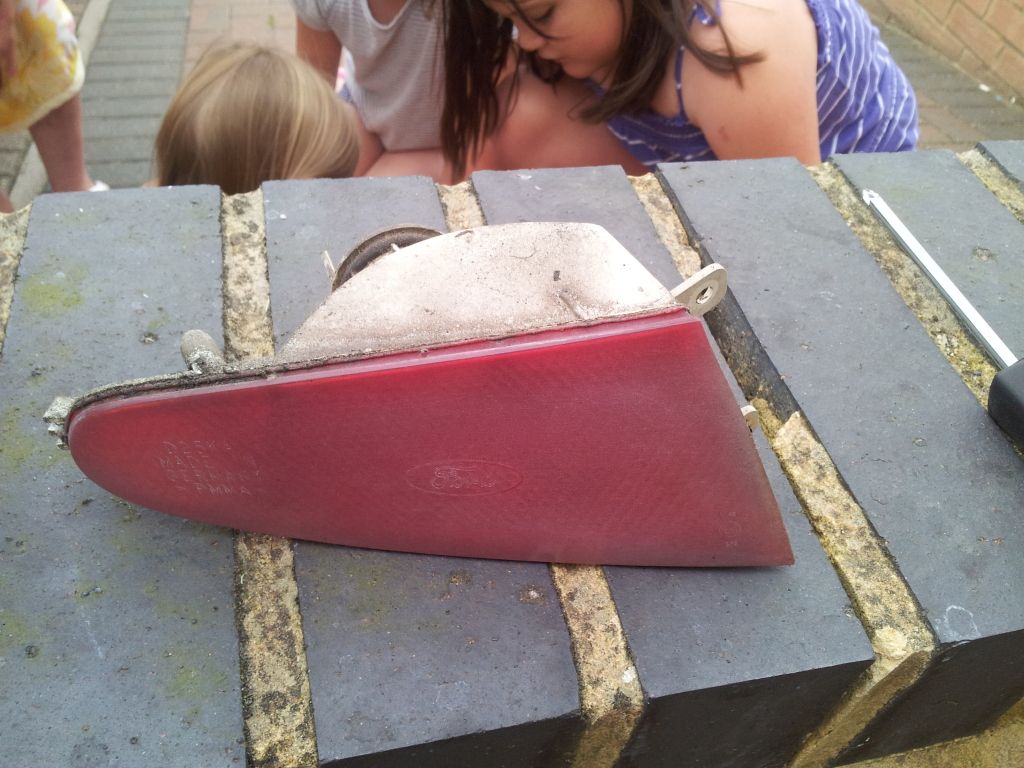
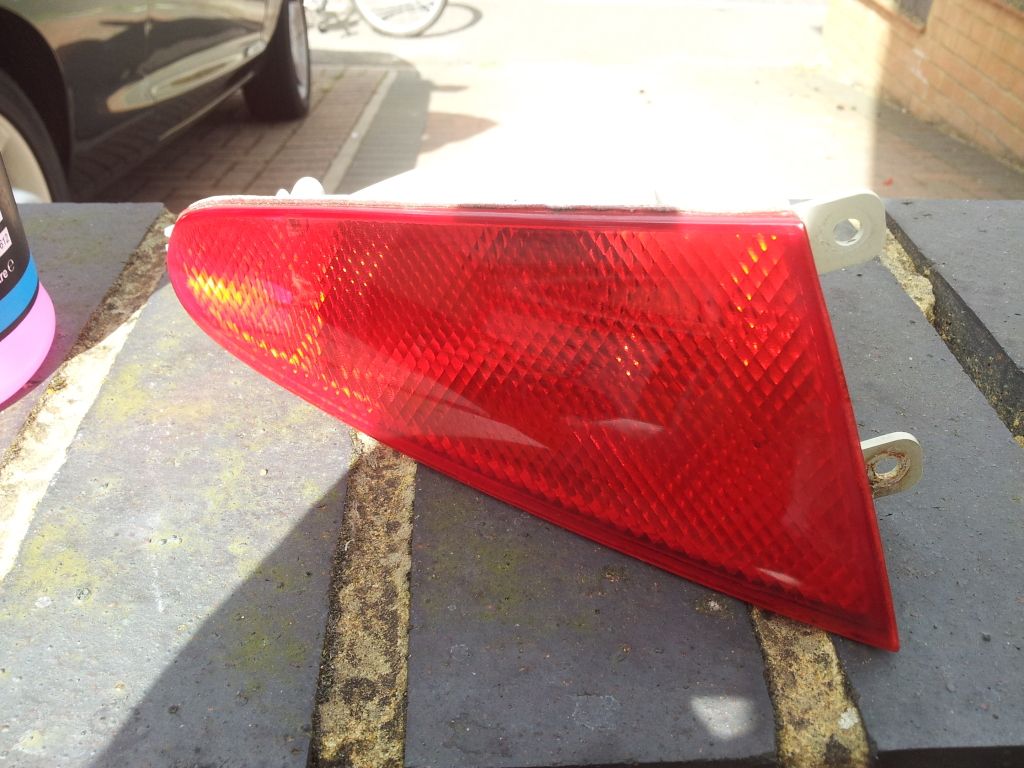
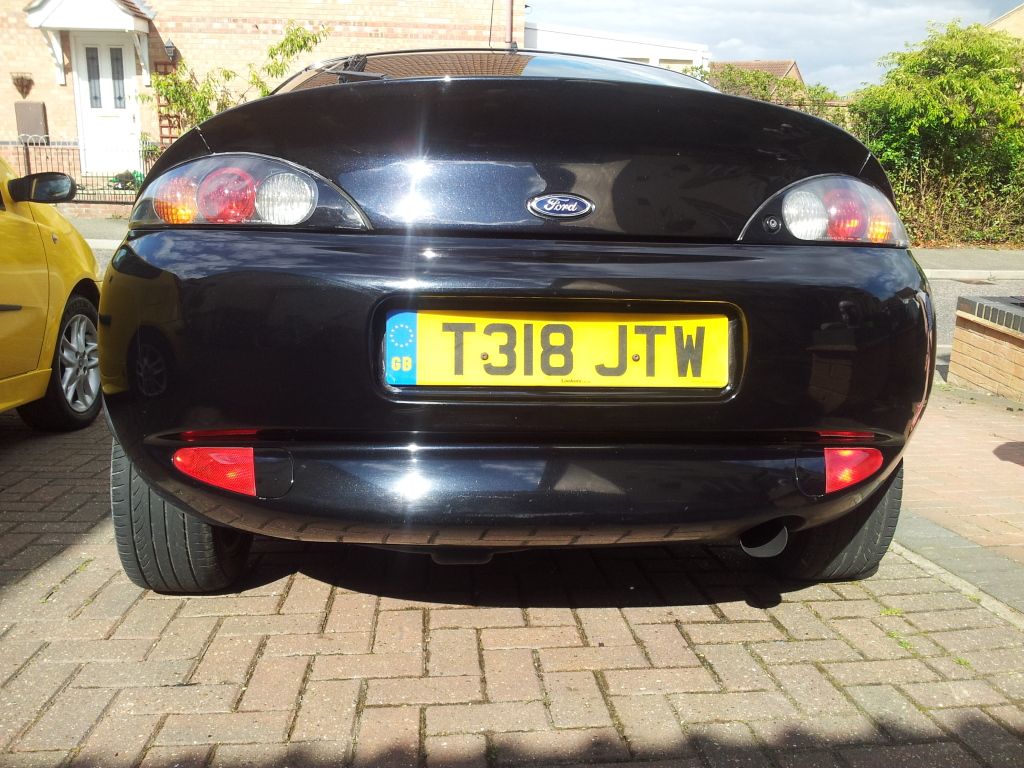
I then thought I would have a go at sorting my rear fog lamps, they looked awful so anything I did could not make them worse!
IMG_20120828_145730.jpg

IMG_20120828_145852.jpg

I started with 400 wet and dry and then 2500 wet and dry, followed by a healthy dose of elbow grease and t-cut
IMG_20120828_151106.jpg

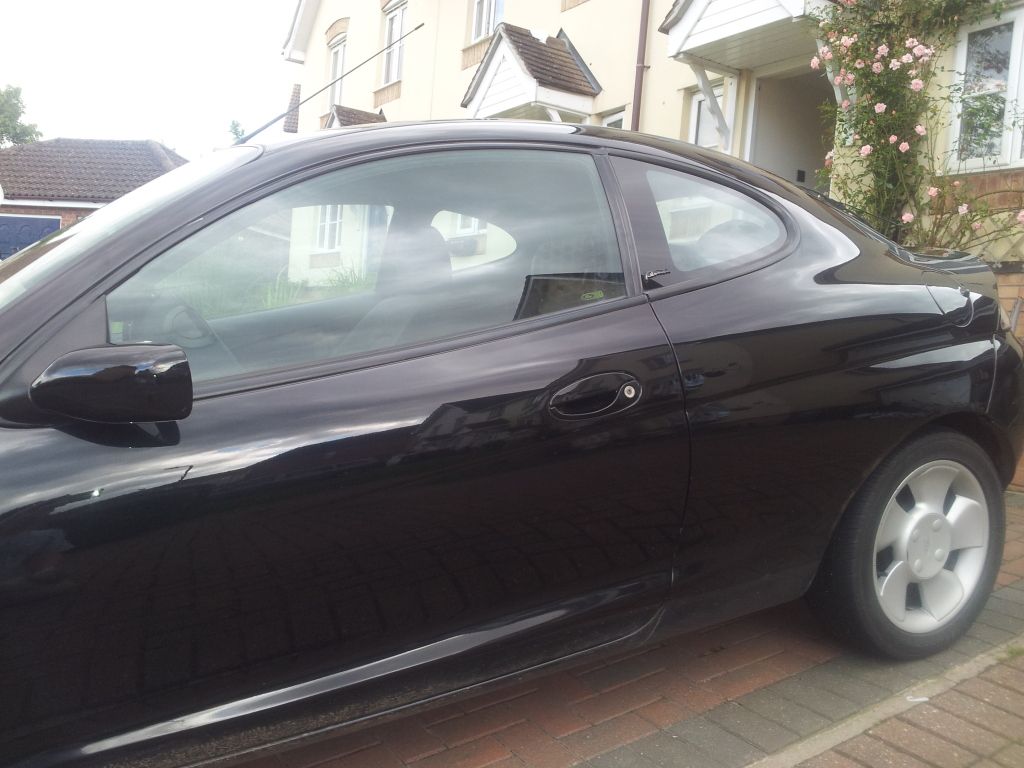
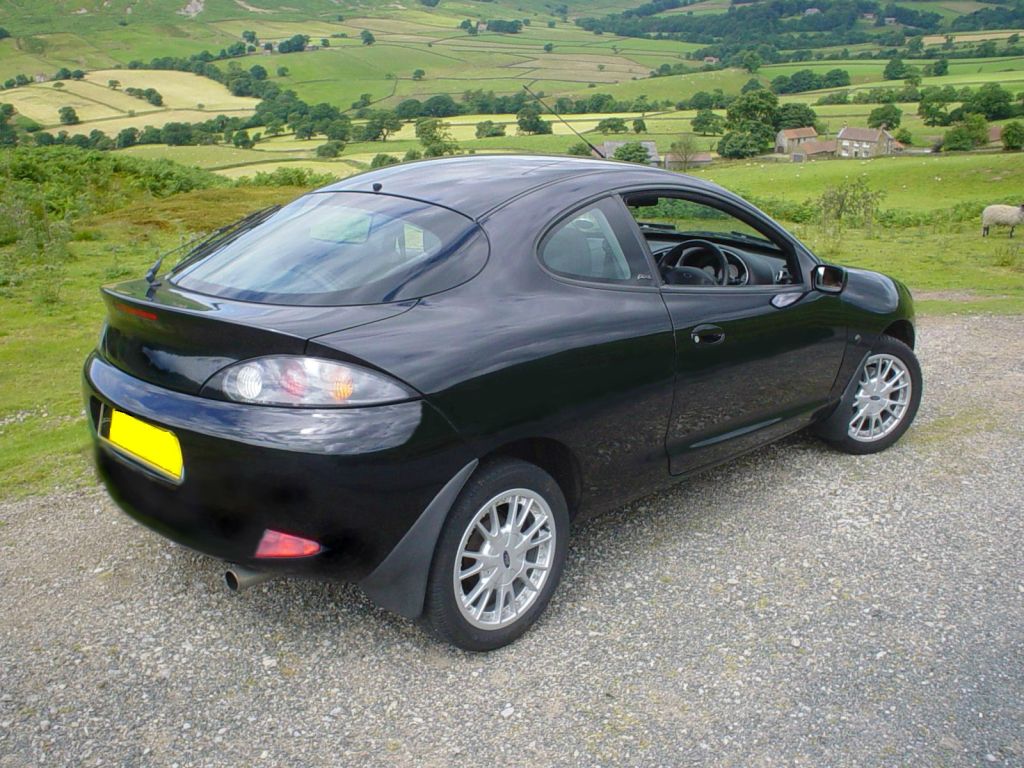
not bad In my opinion, this is how she looks with both done.
IMG_20120828_151510.jpg

I need to wait until my wife gets back later to take the car out for a blat and will report back later.
 
Wife just got home and I used the fact I was in her space on the drive as an excuse to blat it down the road, for a quick test I would say it has made a real difference.
happy with my days work and particularly proud of myself :thumbs:
 

Latest posts

Back
Top