Project Silver, PIC HEAVY

ProjectPuma

Help Support ProjectPuma:

This site may earn a commission from merchant affiliate links, including eBay, Amazon, and others.
STEAVIE said:
cars looking great mate

just wanted to ask about the servo swap, was is it worth doin? is it an expensive mod to do??!!
im gonna fit the 300mm on mine next couple of weeks might do the servo at the same time?!

about 40 quid for parts, pretty easy to do tbh little bit fiddly
 
Front and rear brake lines replaced

Front brake lines replacement now complete

Rears

P1050397.JPG

P1050398.JPG

P1050393.JPG


Bent on the car

P1050394.JPG

P1050395.JPG

02082010741.jpg


All in

03082010742.jpg

P1050391.JPG


Fronts

P1050447.JPG

P1050453.JPG

P1050448.JPG

11082010956.jpg


Also new battery fitted

11082010957.jpg


And picked up from powdercoaters

P1050401.JPG


Up to date Jobs list

Cambelt (done)
New Clutch (done)
Coilovers (done)
New wheels (done)
Rear axle Spacers (done)
300mm brakes (done)
Early brake servo/mc setup swap (done)
Replace rear shoes (done)
Better seats(done)
Induction Kit (done)
New Battery (done)
Custom front wishbones (in progress)
Replace brake lines, rear and poss front (done)
Rear beam bushes
Fuel tank
New steering wheel
Rear arches resprayed and 100% rust free
New droplinks
 
TJ Wheels in Birmingham

http://www.tjwheels.co.uk/" onclick="window.open(this.href);return false;
 
charged me 35quid a wheel, that included spraying the center caps to match

dont know if they take tyres off as i gave them mine without tyres
 
Loving the recaro's...they look alot better in a Silver puma than any other colour in my opinion.

Alloys look mint too! I presume you live close to the TJ Wheels in Brum then?

You have basically done alot of what i have done already except my car is past rust salvage! haha

Also when i took my rera bumper off it looked nothing like your car?!??!
 
FRP bushes pressed in, balljoints and powerflex poly front bushes on order

P1050519.JPG


P1050523.JPG


also ordered these

1130273.jpg
 
Slightly annoyed, only managed to fit one side as the bloody passengar side lower arm was slightly bent so wouldnt line up, car it come off must have been accident damaged, or hit a pot hole or something, so got to get yet another lower arm, get it powdercoated and fitted grr, to save any fucking about im just going to get a new one from ford then i know it will be ok, otherside went on fine and dandy, replaced my droplinks aswell

Here they are all made up pre fitting

P1050542.JPG

P1050545.JPG

P1050547.JPG

P1050548.JPG

P1050549.JPG

P1050551.JPG

P1050554.JPG

P1050556.JPG

P1050555.JPG

P1050559.JPG

P1050560.JPG

P1050561.JPG

P1050562.JPG

P1050567.JPG

P1050564.JPG

P1050565.JPG
 
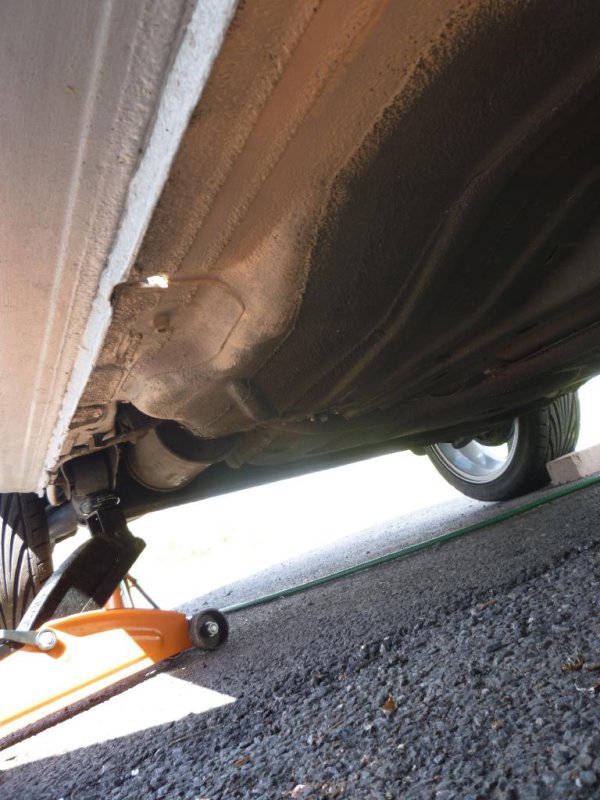
My rust quest continues this weekend,

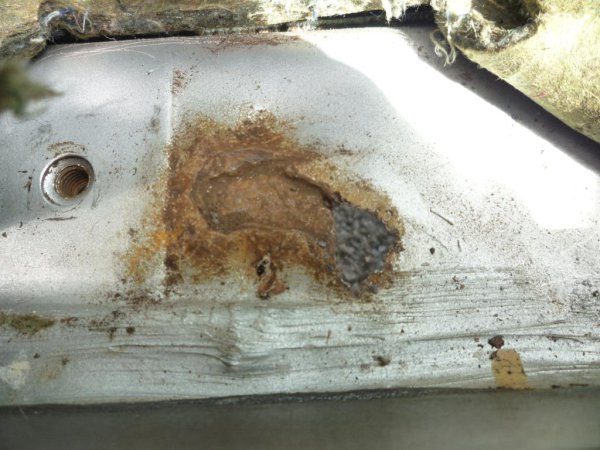
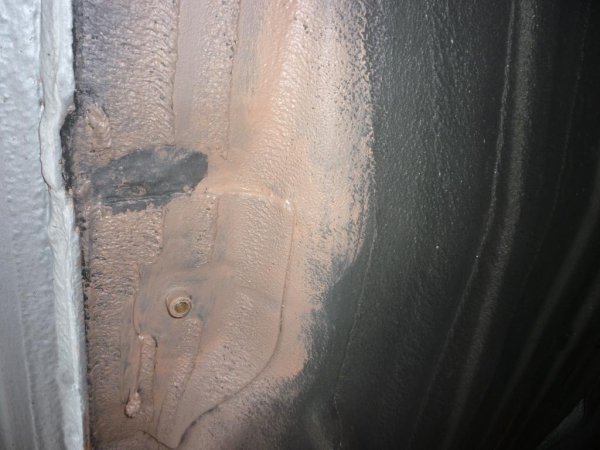
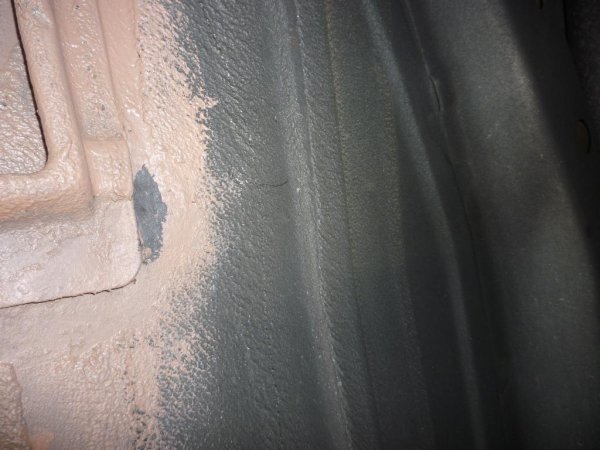
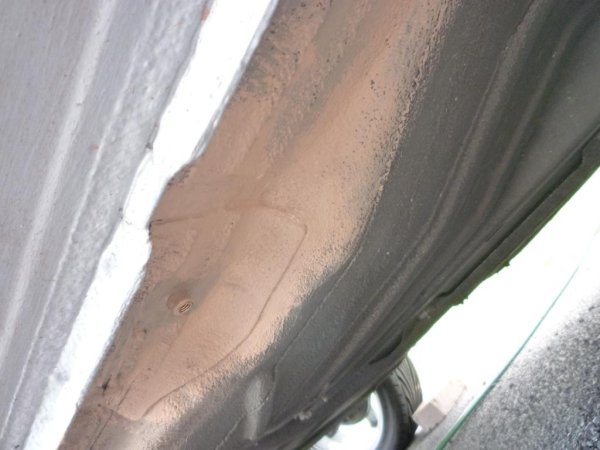
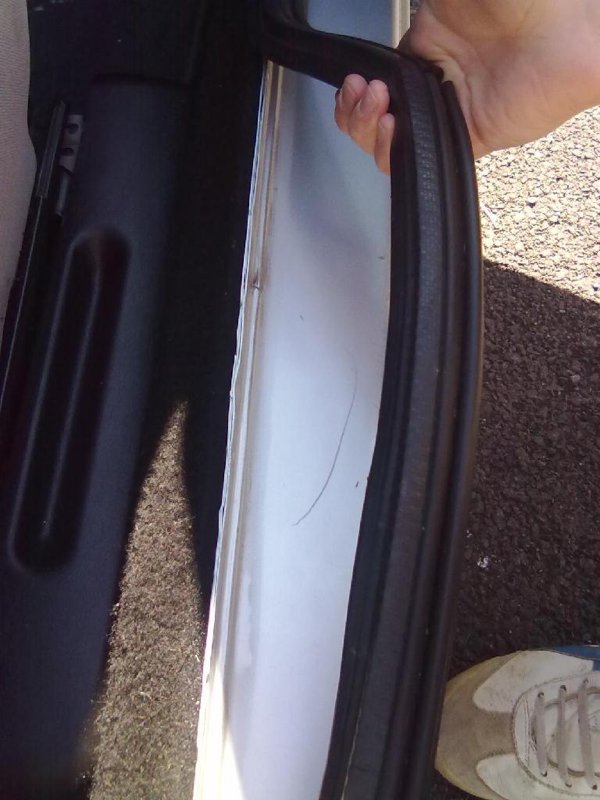
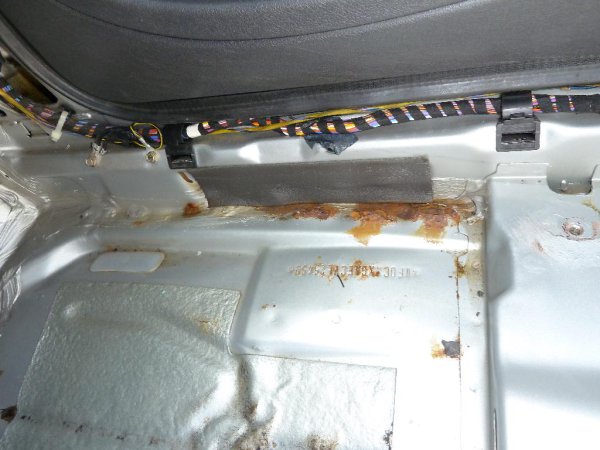
Started poking around the sills to find rust, most of it was solid with surface rust, chipped away at the stone chip protection to find fresh metal around the rust

P1050617.JPG


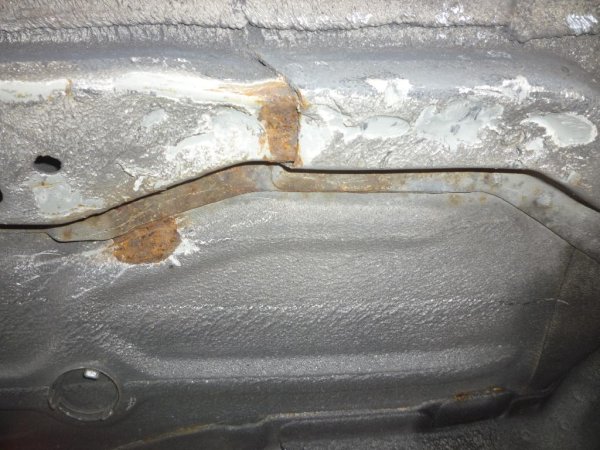
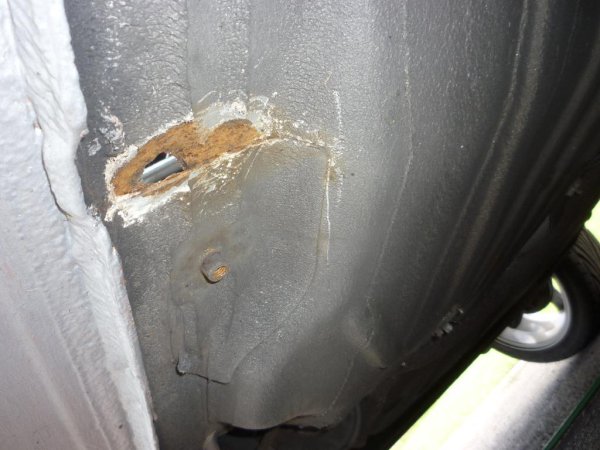
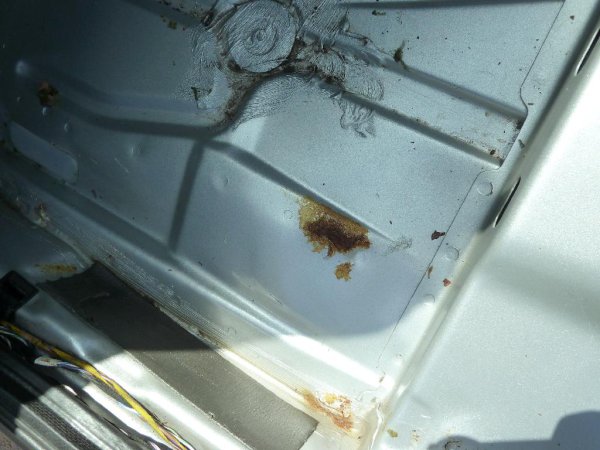
however a couple of places had rusted through forming little holes.

P1050618.JPG


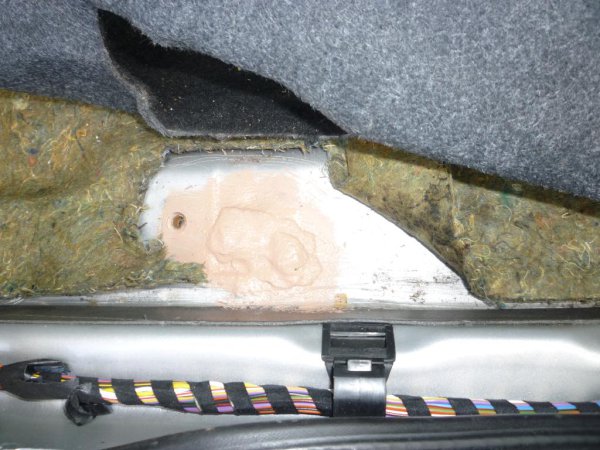
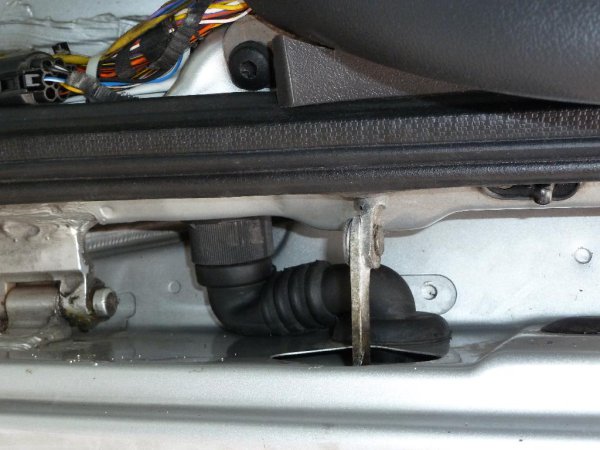
The most concerning being near a seat mount plate point, luckily the plate itself was solid, but the rust and hole definatlely needed attention

P1050616.JPG


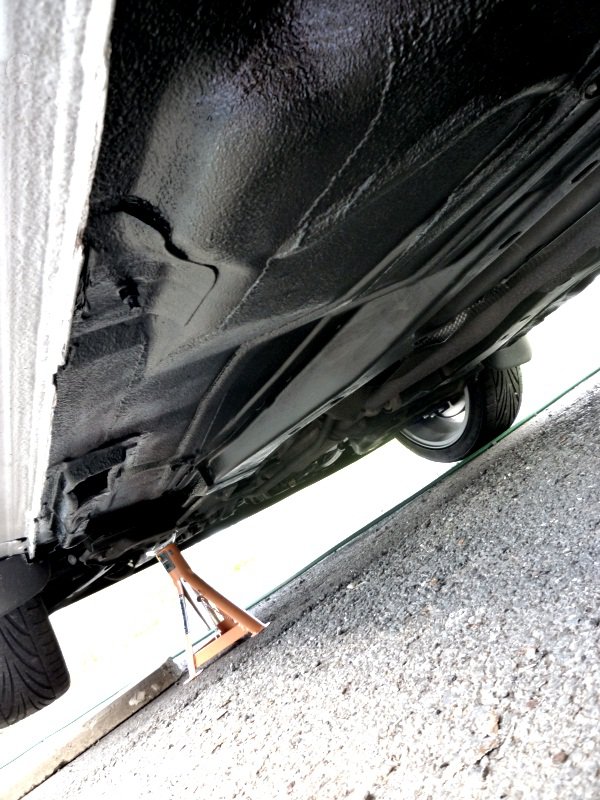
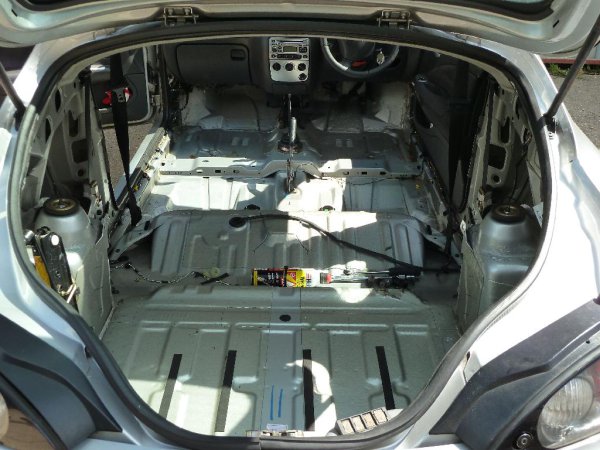
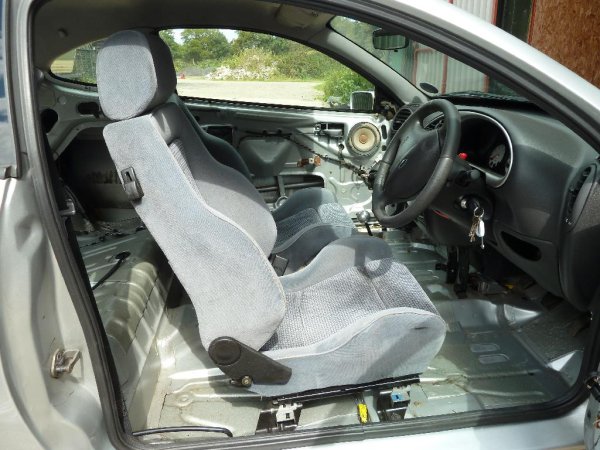
Had to remove the seat to get to the other side of it

[img]http://www.corsasport.co.uk/carimages/9307/P1050615.JPG
P1050614.JPG


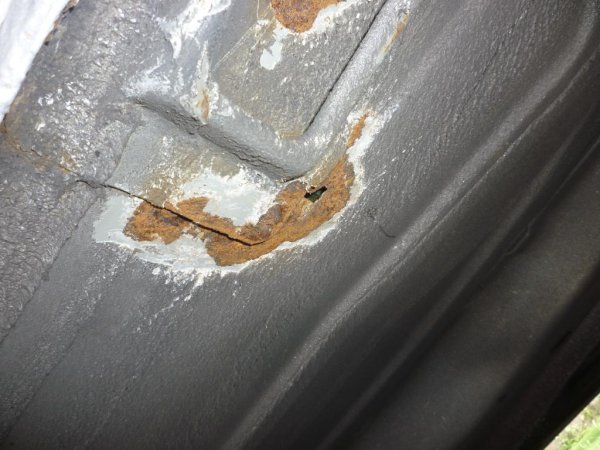
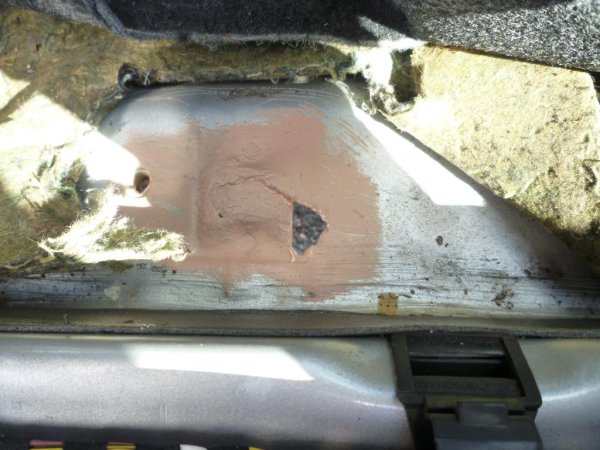
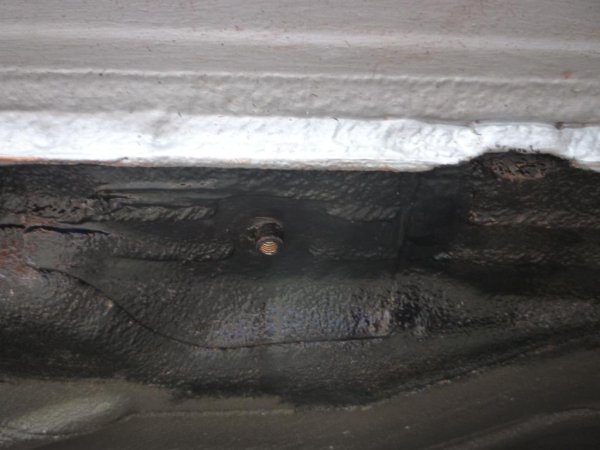
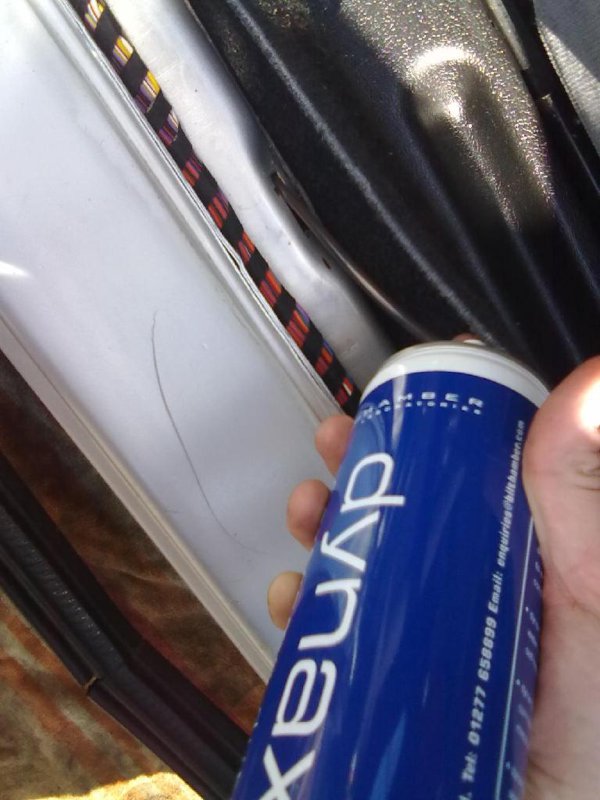
So guaged all the loose rust out and surrounding edges until i found clean metal, then i applied rust kill paint to all point that were rusty

P1050619.JPG

P1050622.JPG


Then applied epoxy metal putty to the holes, probably not the best method but should at least hold it off from getting worse

P1050623.JPG

P1050624.JPG


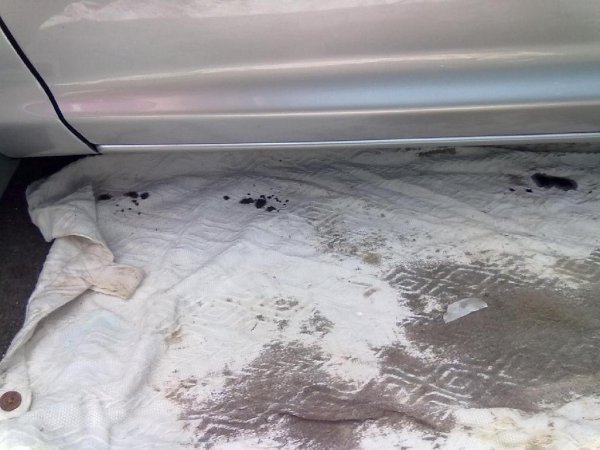
Sanded the putty nice and smooth so it blends in and painted over the repairs

P1050626.JPG

P1050627.JPG

P1050629.JPG


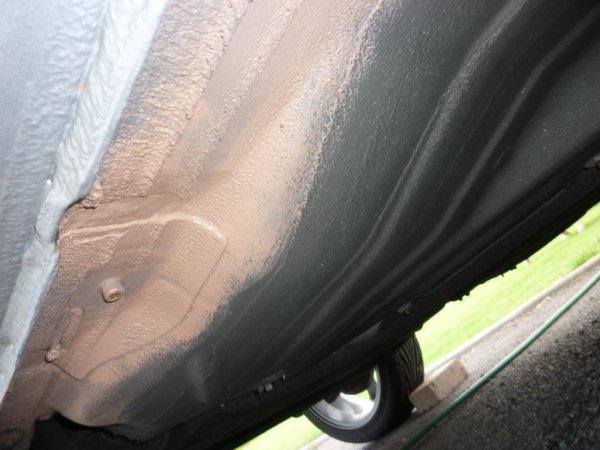
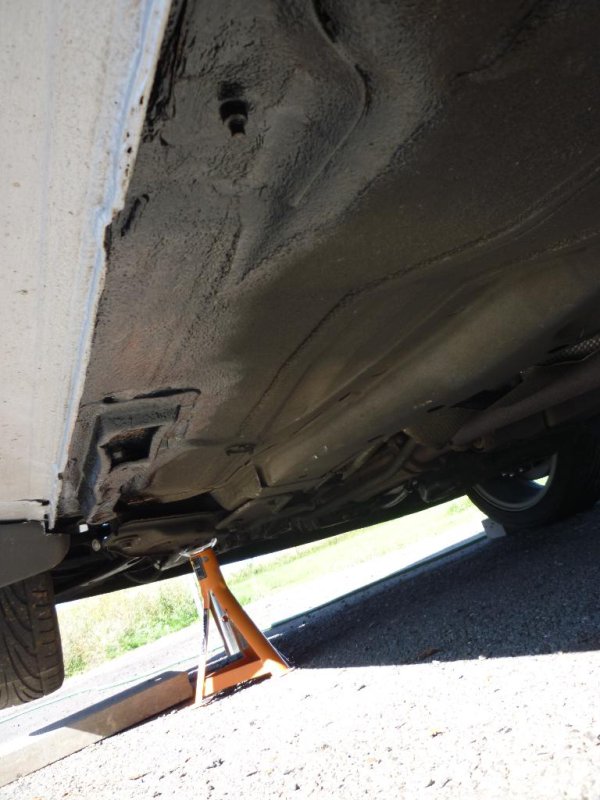
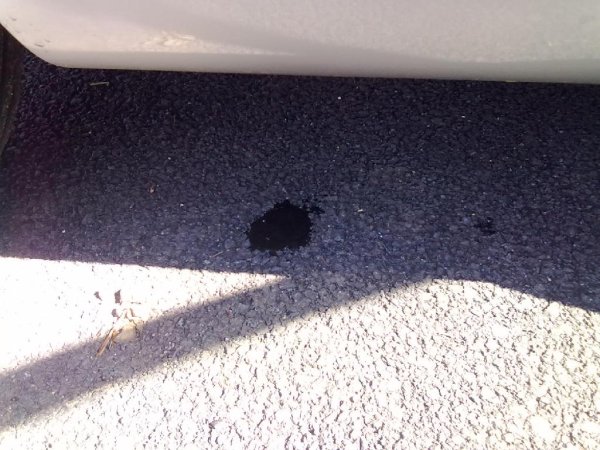
Once all that had dried, then went over with underseal paint

P1050642.JPG


Area which has been repaired

P1050639.JPG
 
done other side today, not quite as bad as drivers side just one small hole

P1050648.JPG


as car was off the ground decided to freshen up my drums

P1050652.JPG
 
finished off today by applying stonechip/sealant paint up to and including the chassis rails

P1050653.jpg
 
Lower arm saga over! fitted the newly built up one this evening, old one that came off this side was shagged.

Ball joint gaiter split and leaking, and ball joint loose a fcuk

P1050693.JPG


glad i got this sorted in time for combe this weekend
 
todays quick job was to spray insde the sills and chassis legs with rust killer/protection stuff.

this bilt hamber dynax s-50 comes highly recommended and comes with a length of penetratation hose and 360 degree spraying nozzle.

P1050888.JPG

P1050889.JPG


Pull back the rubber door seal

120920101108.jpg


Remove the loom clips and in the hole revealed the tube goes

120920101109.jpg


And spray

120920101112.jpg


Oops forgot to put a towel under the sill drain holes

120920101110.jpg


Drips out in a number of places down the sill

120920101113.jpg


didnt get any pics of doing the chassis legs but done them aswell
 

Latest posts

Back
Top