ScubaSteve
Active member
- Joined
- May 8, 2010
- Messages
- 3,749
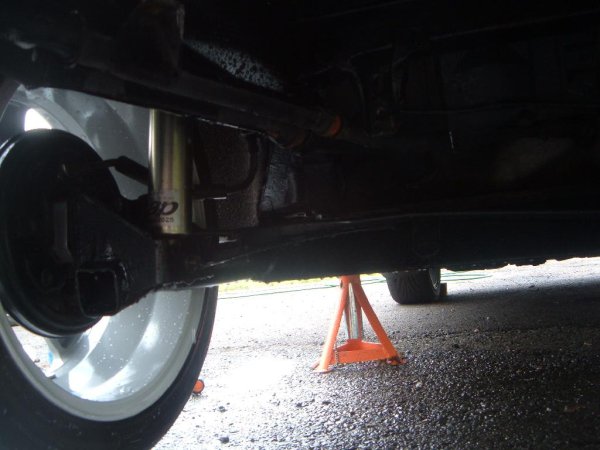
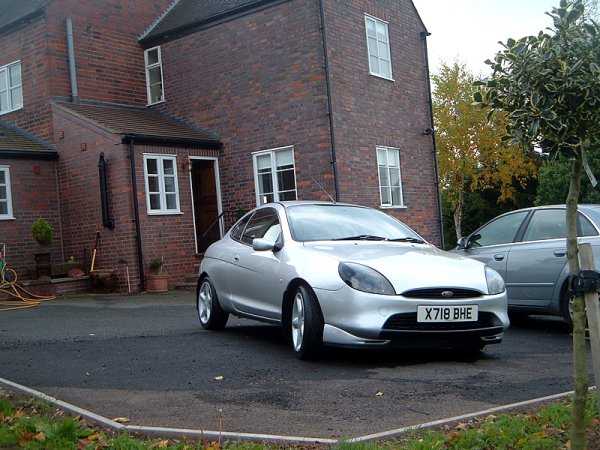
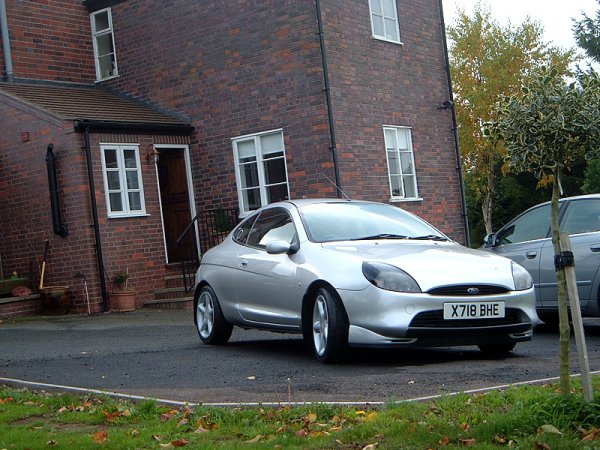
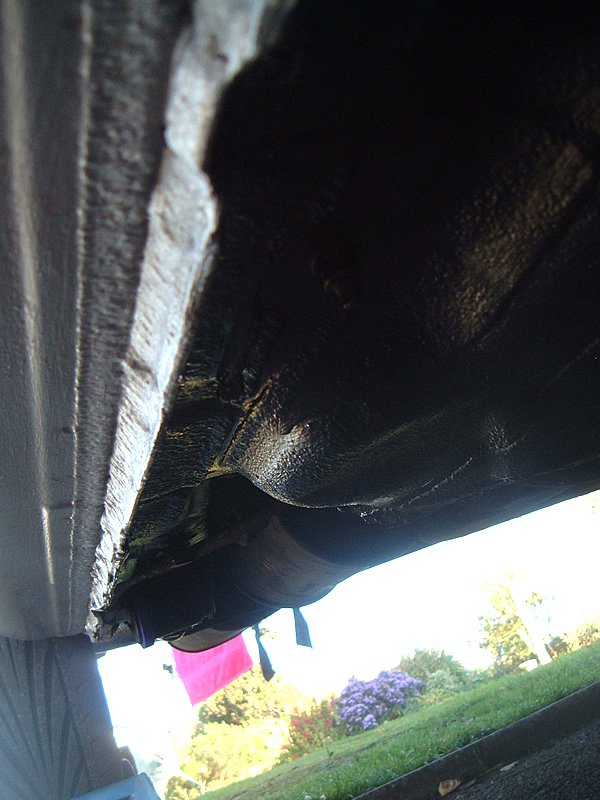
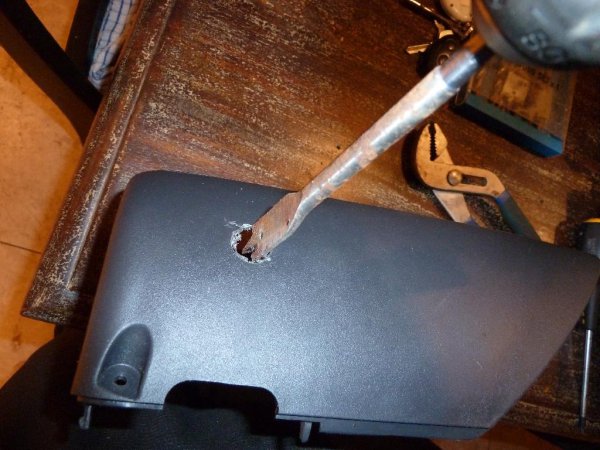
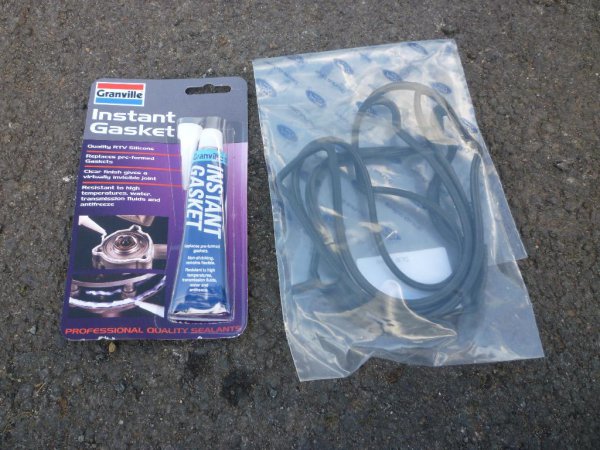
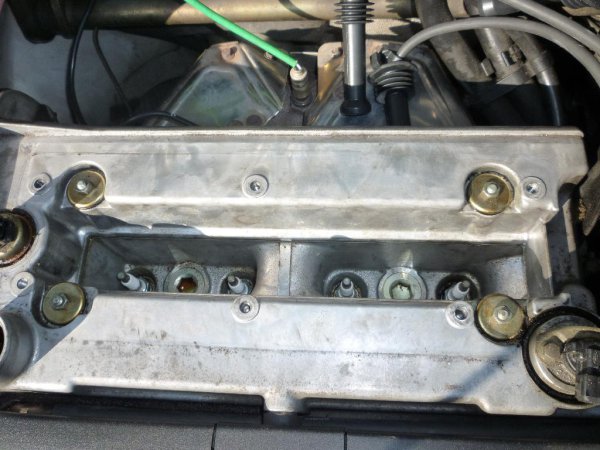
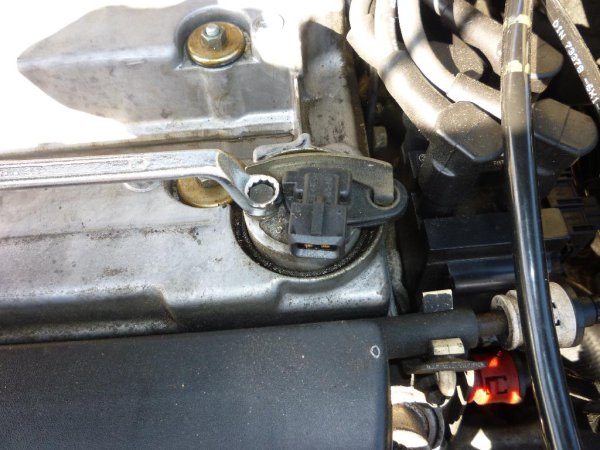
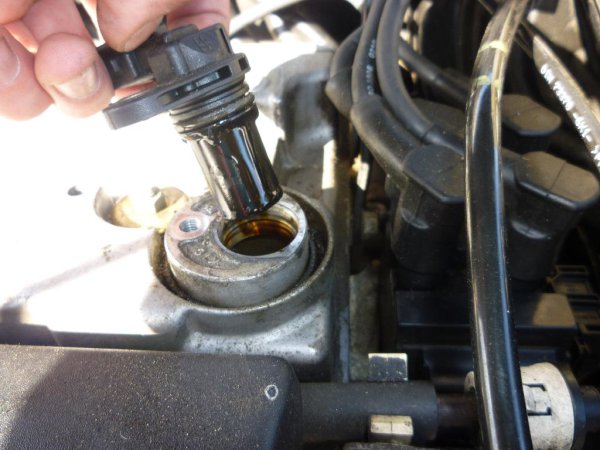
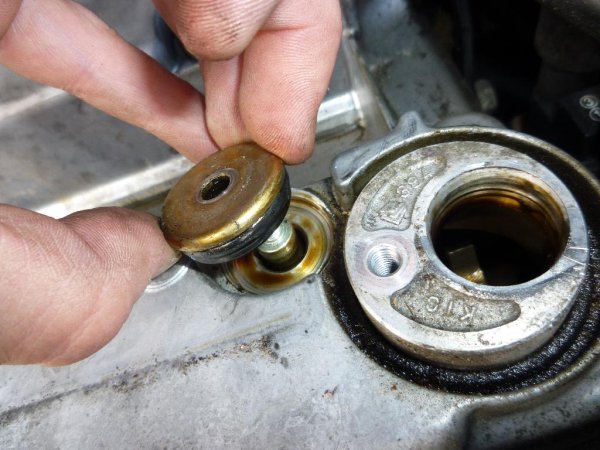
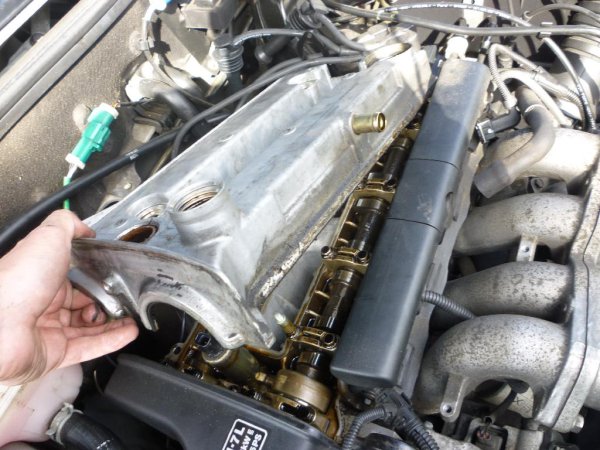
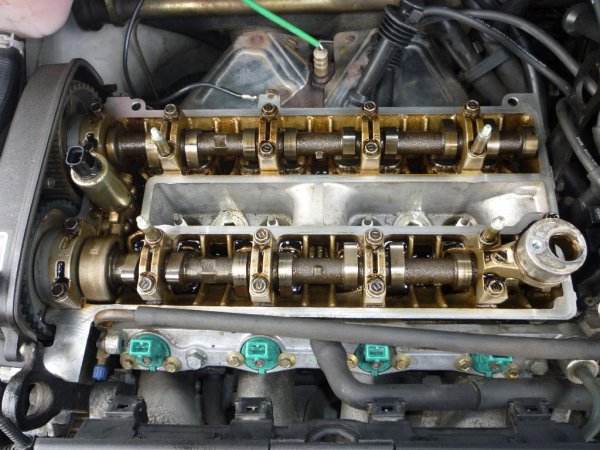
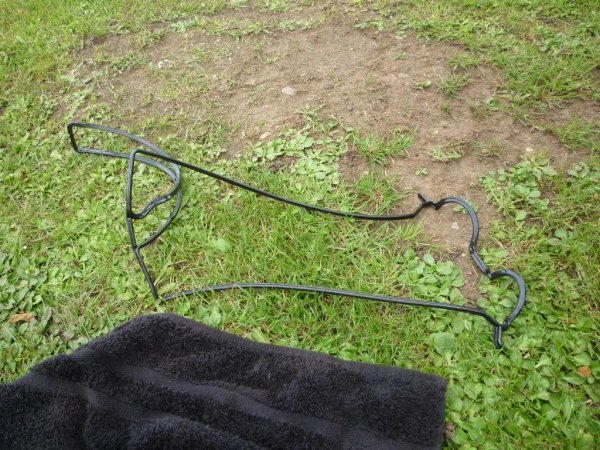
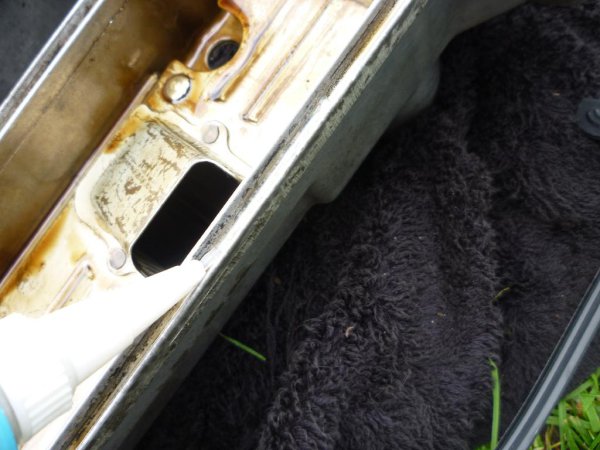
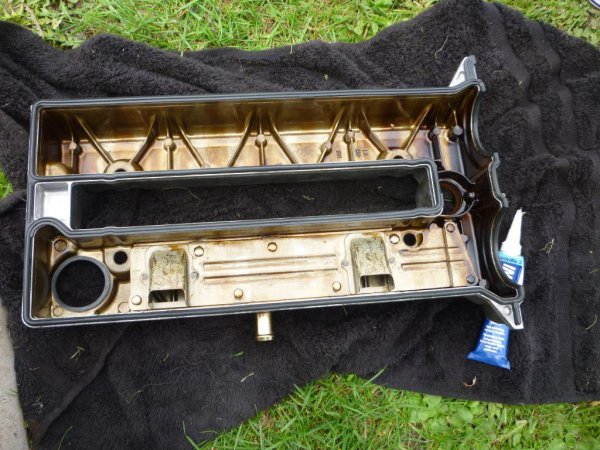
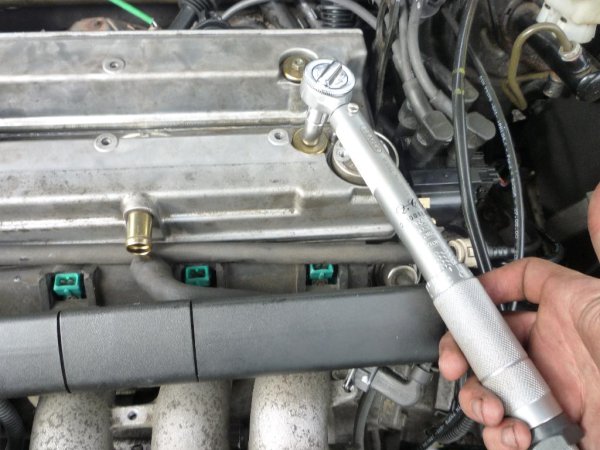
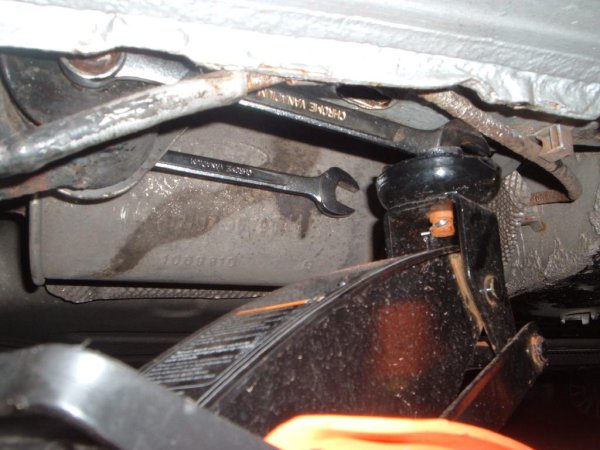
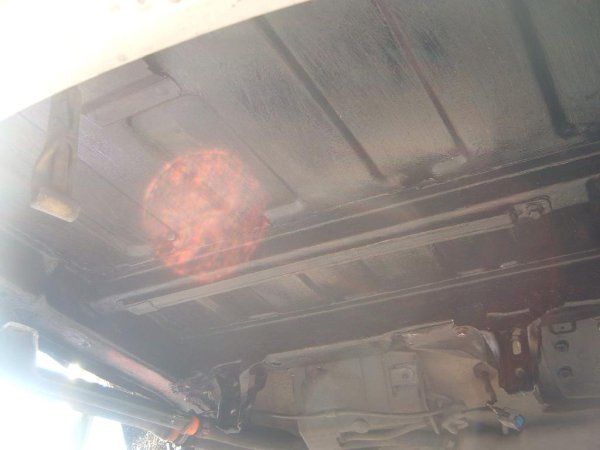
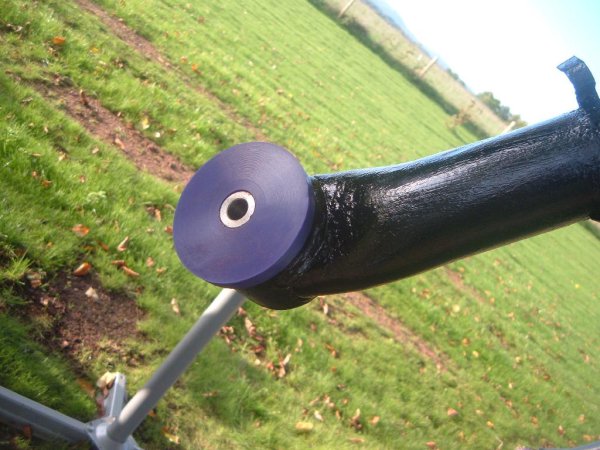
Time to fix leaky rocker cover gasket!
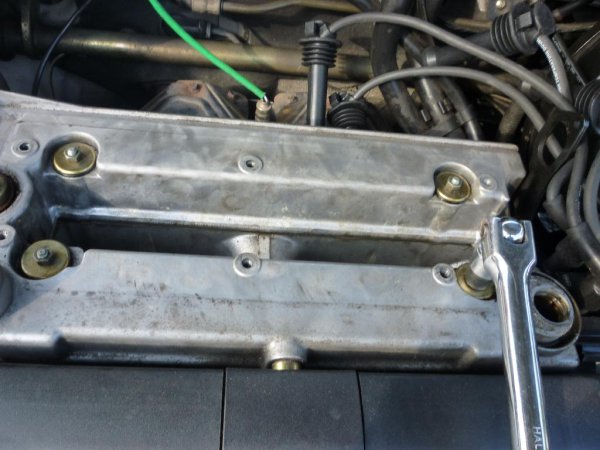
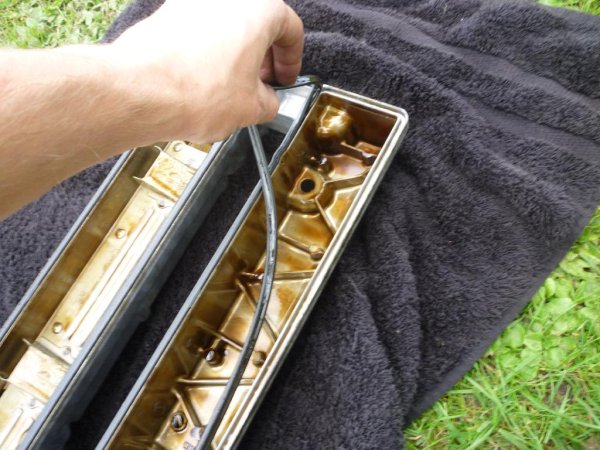
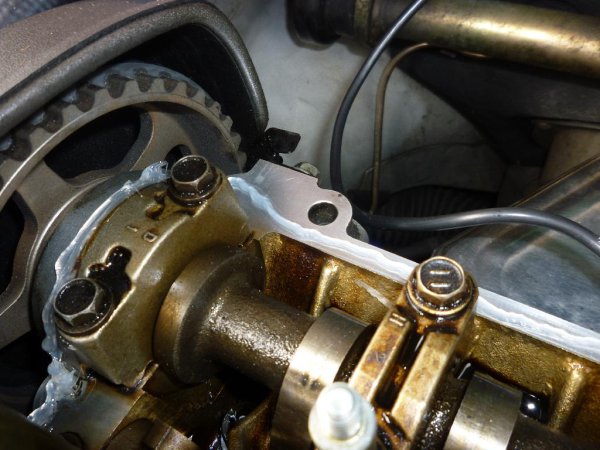
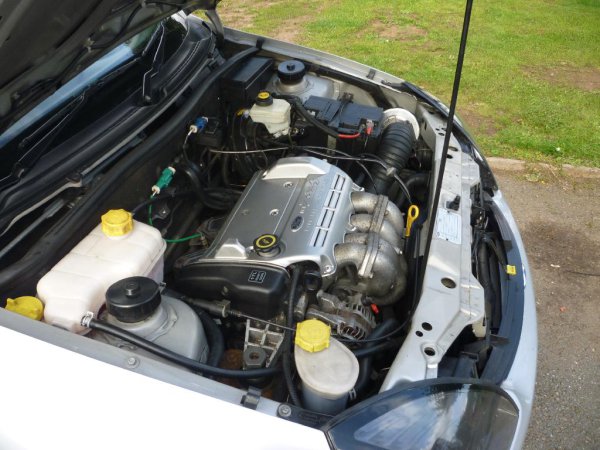
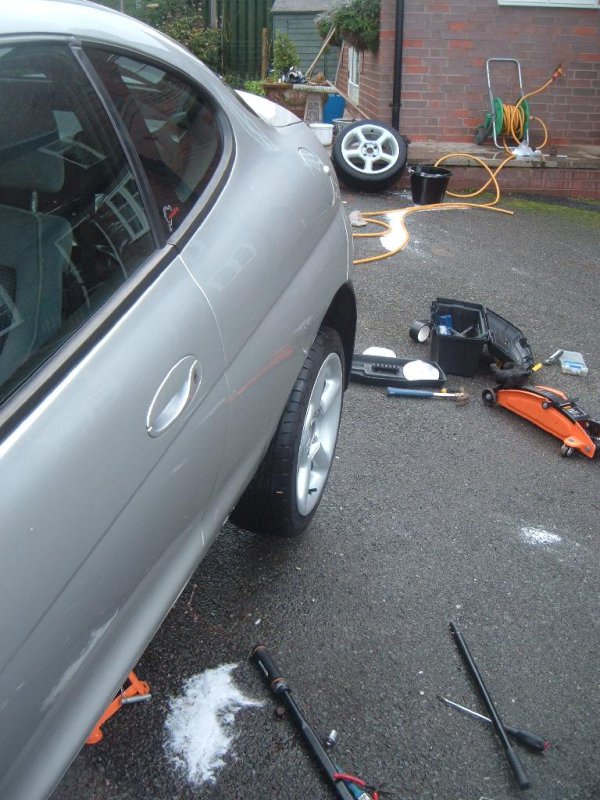
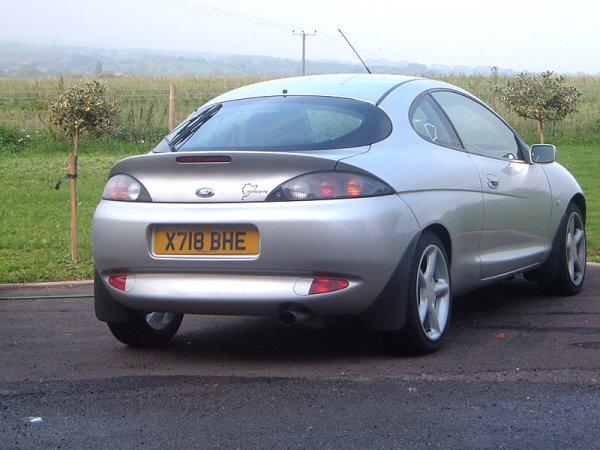
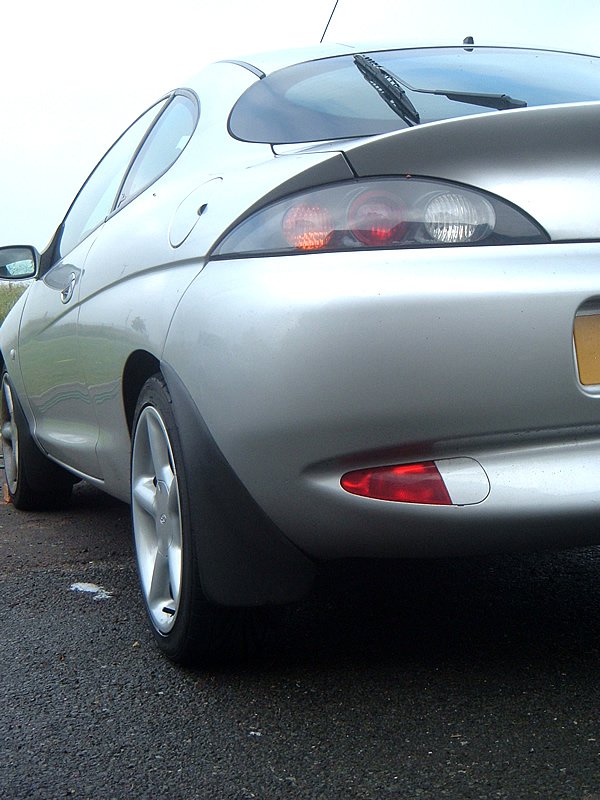
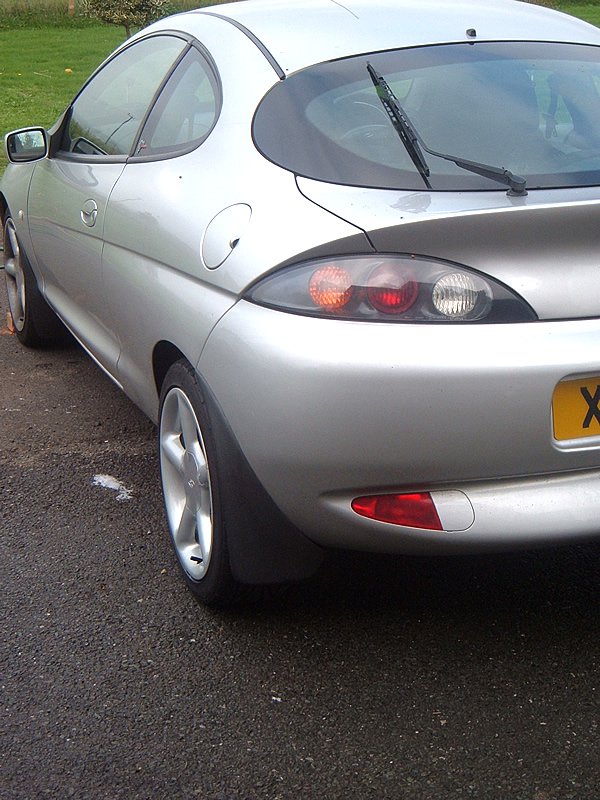
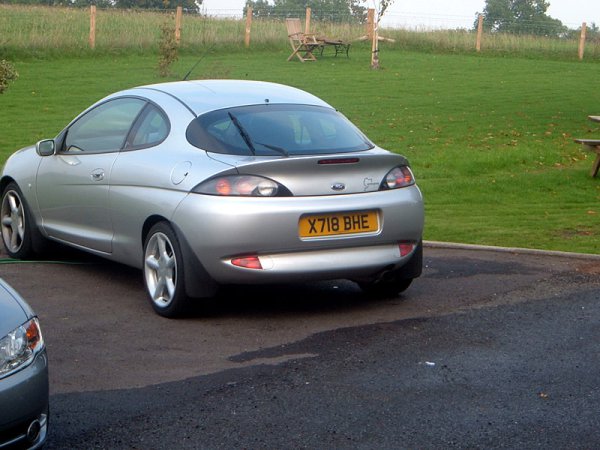
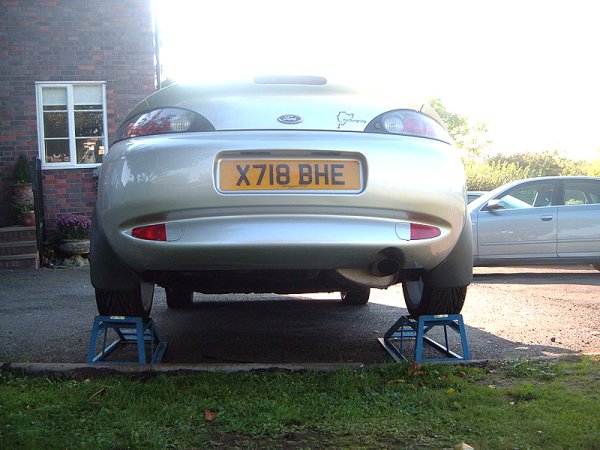
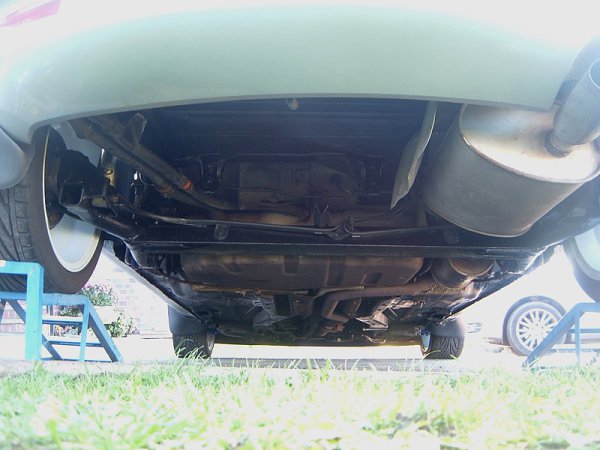
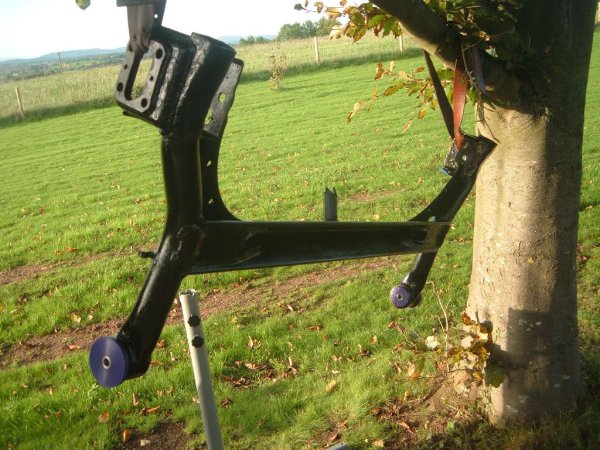
All back and hopefully no leaks!
Up to date Jobs list
Cambelt (done)
New Clutch (done)
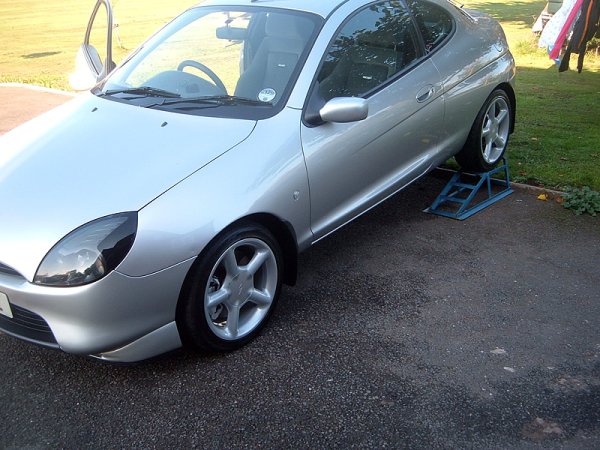
Coilovers (done)
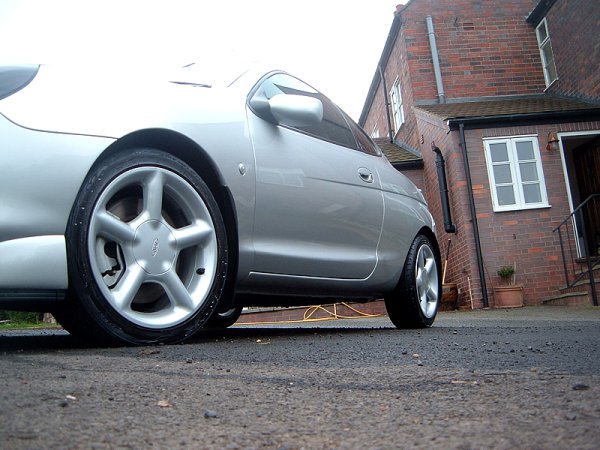
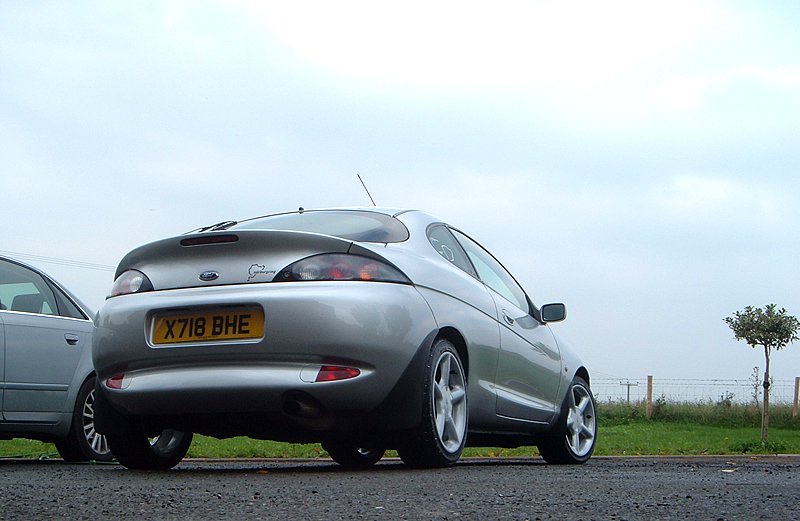
New wheels (done)
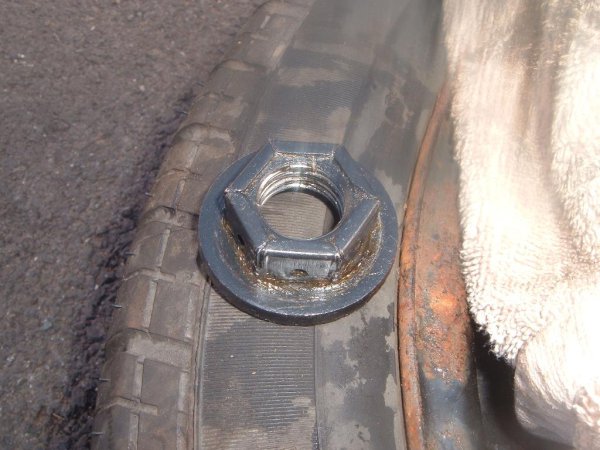
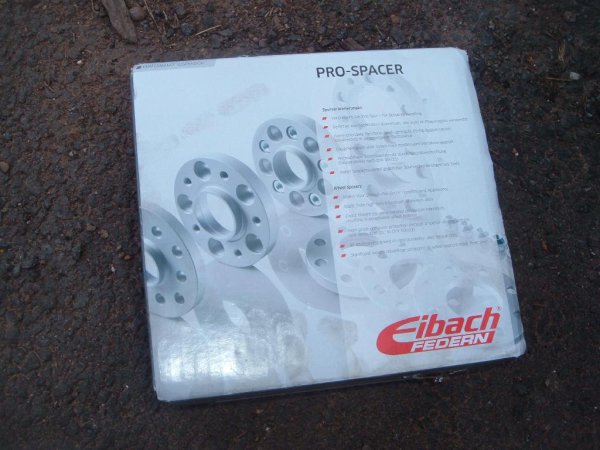
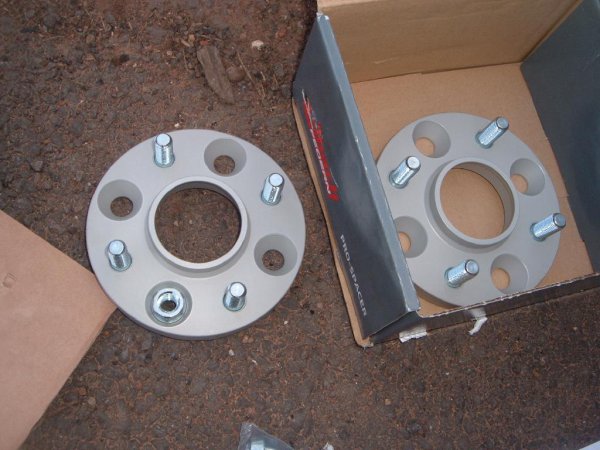
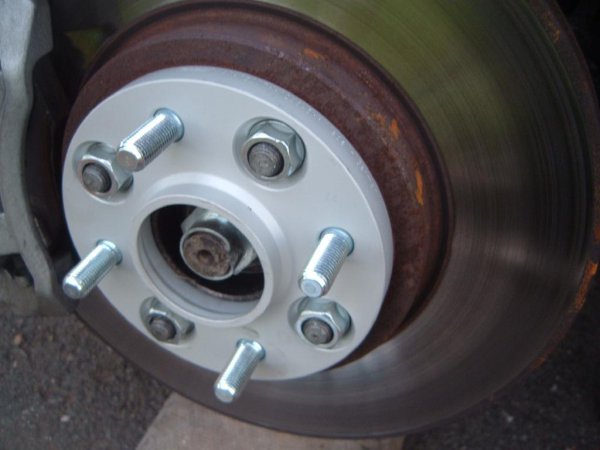
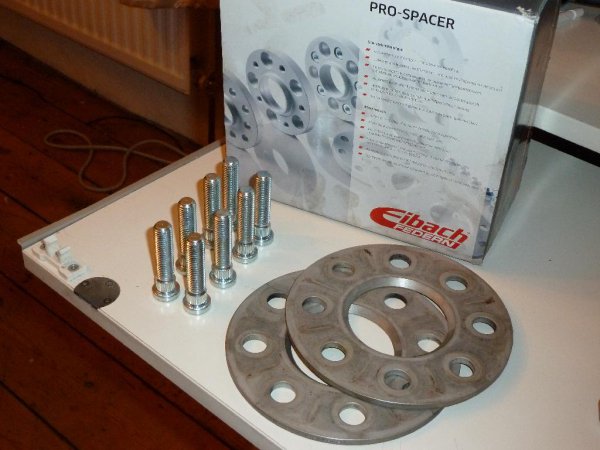
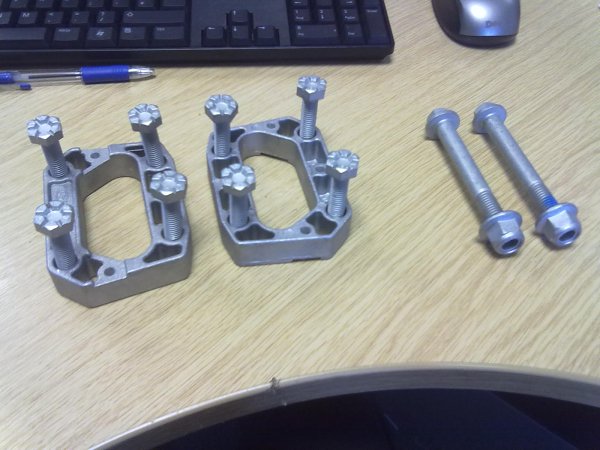
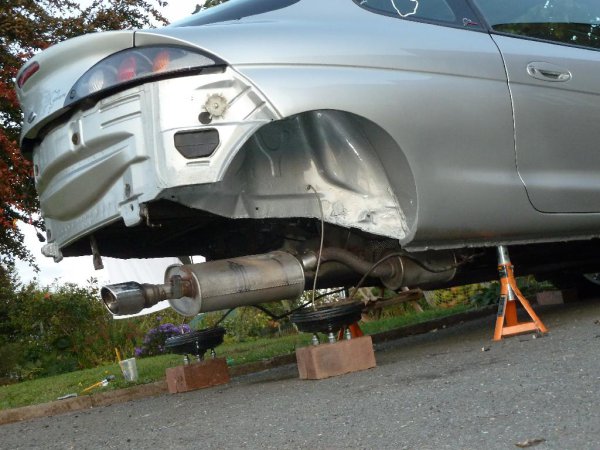
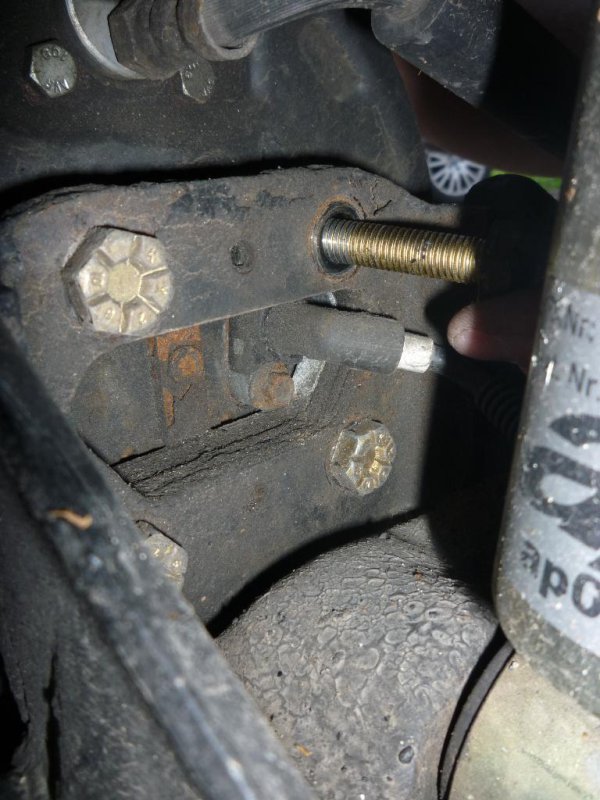
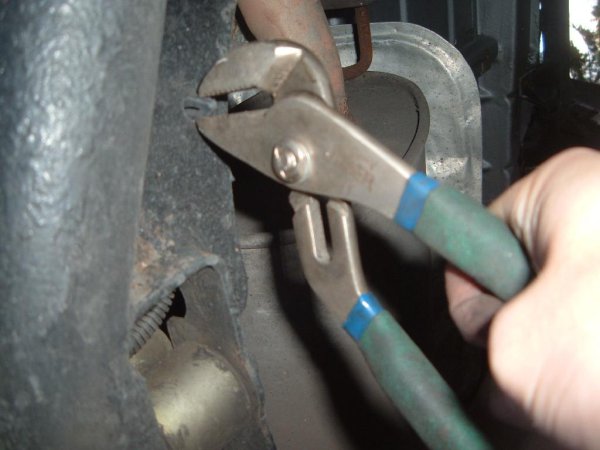
Rear axle Spacers (done)
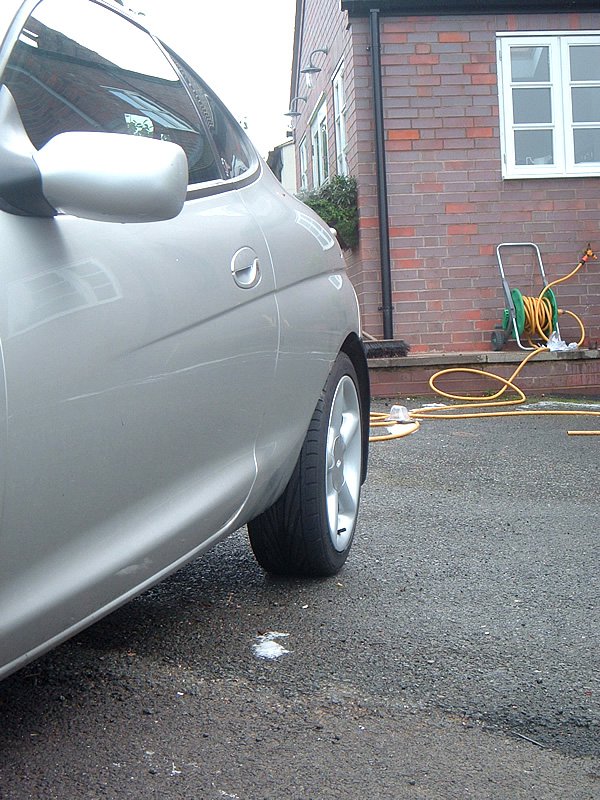
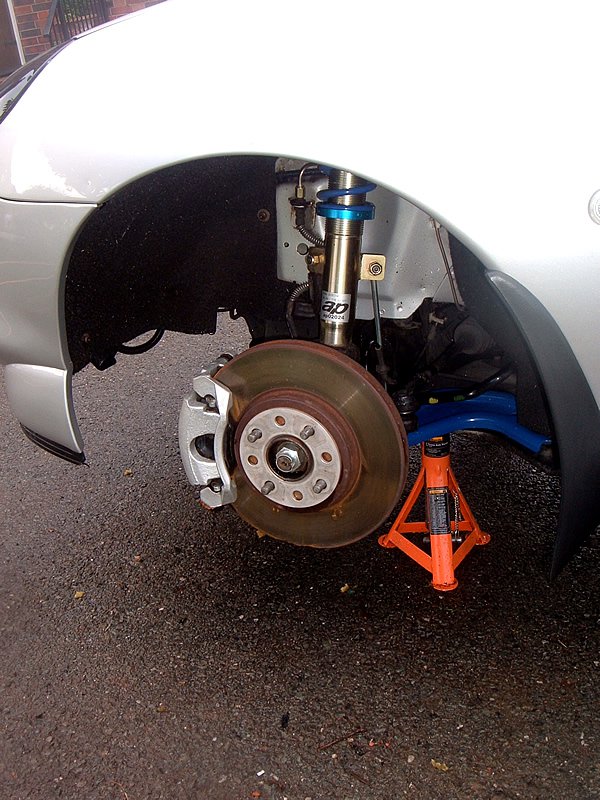
300mm brakes (done)
Early brake servo/mc setup swap (done)
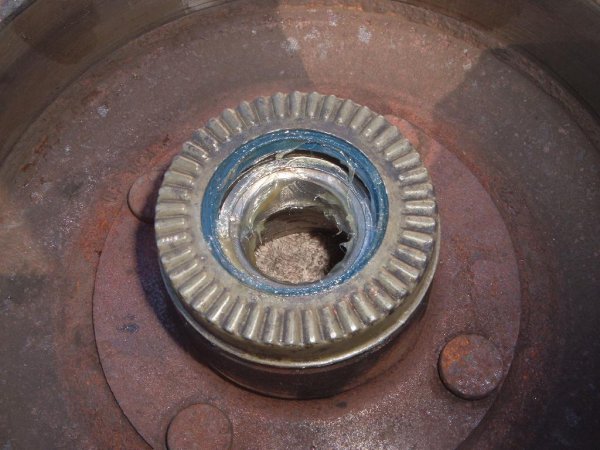
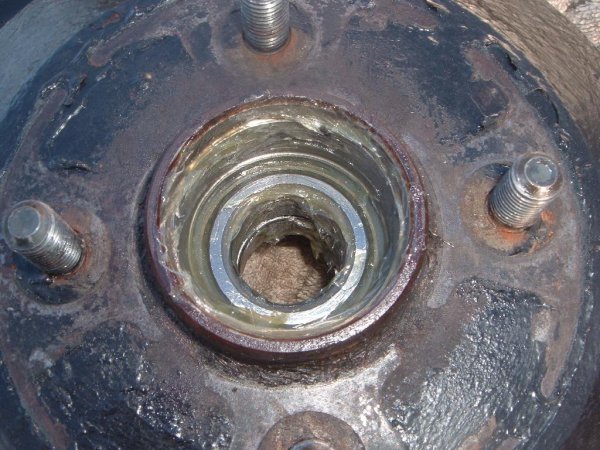
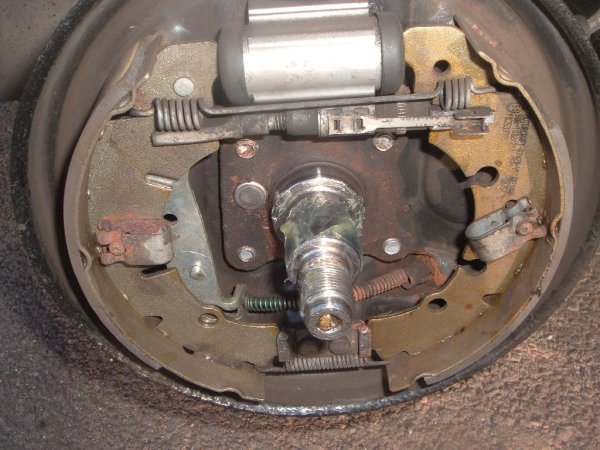
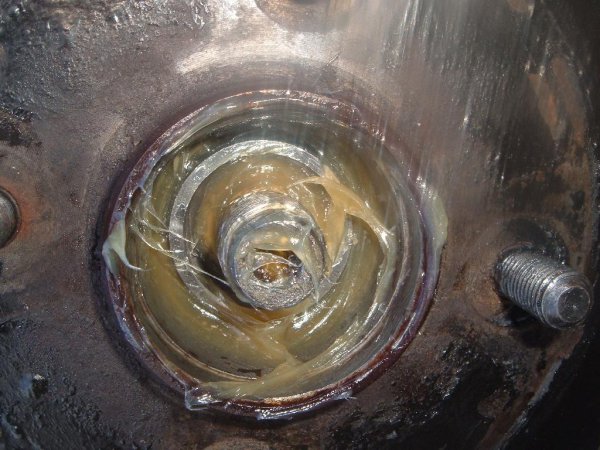
Replace rear shoes (done)
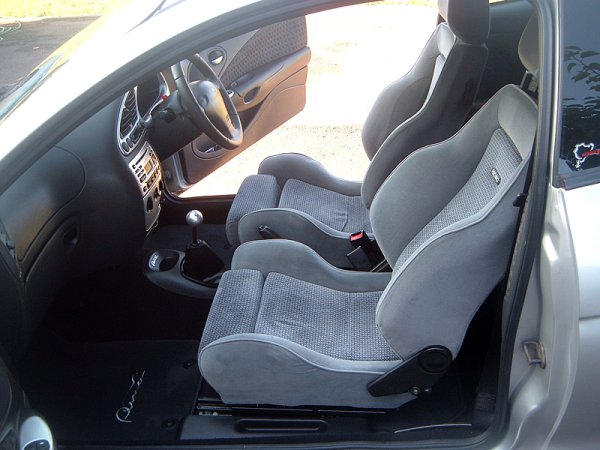
Better seats(done)
Induction Kit (done)
New Battery (done)
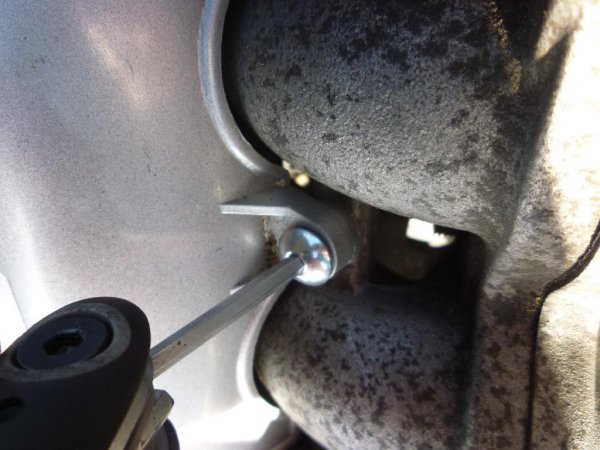
Custom front wishbones (done)
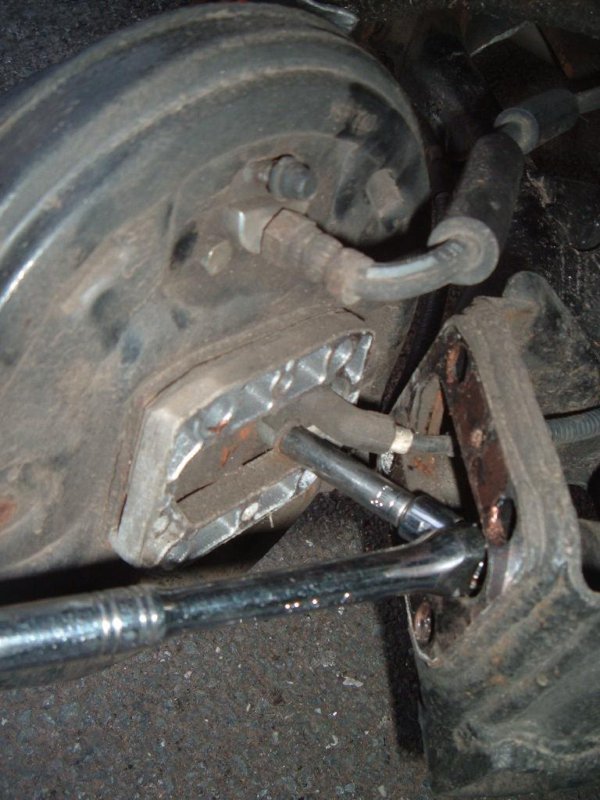
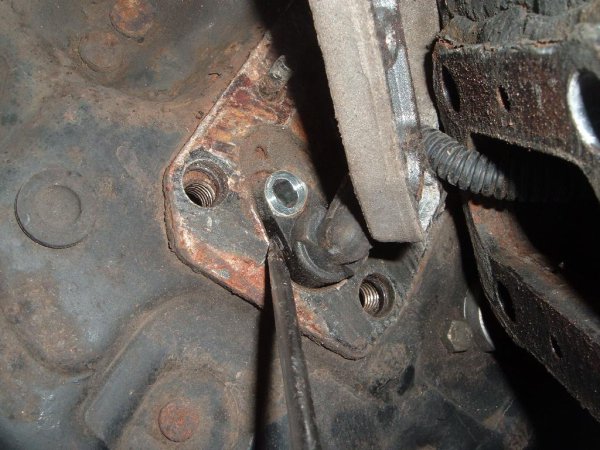
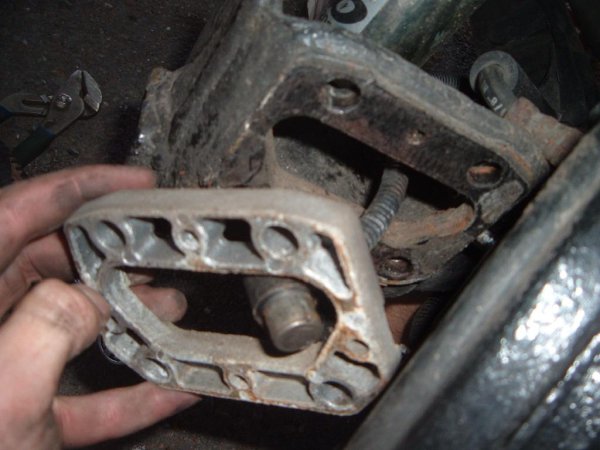
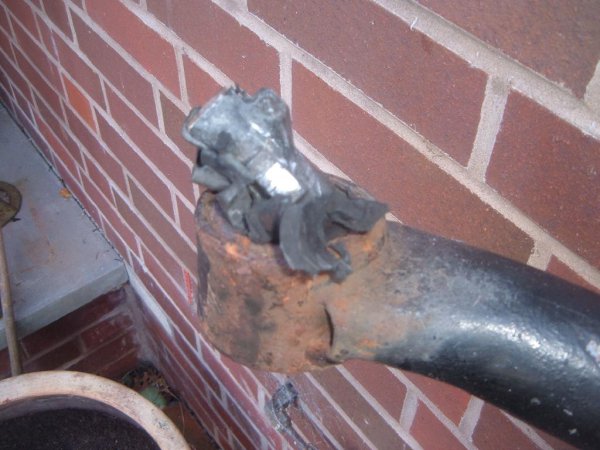
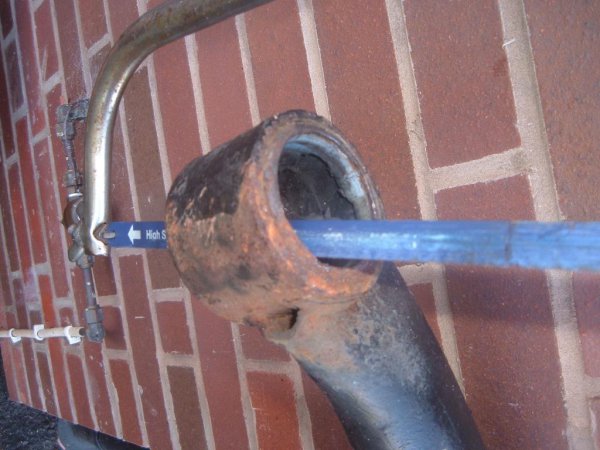
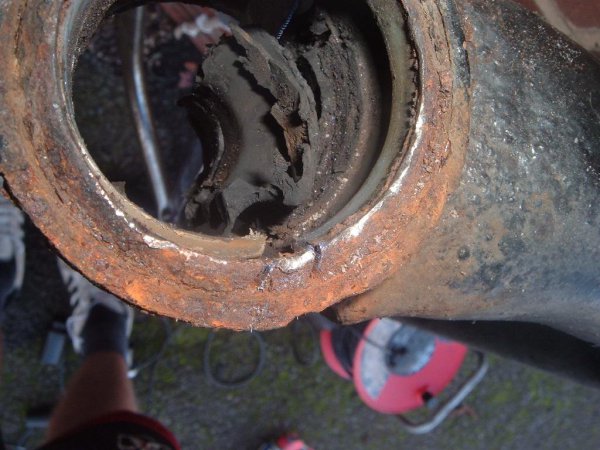
Replace brake lines, rear and poss front (done)
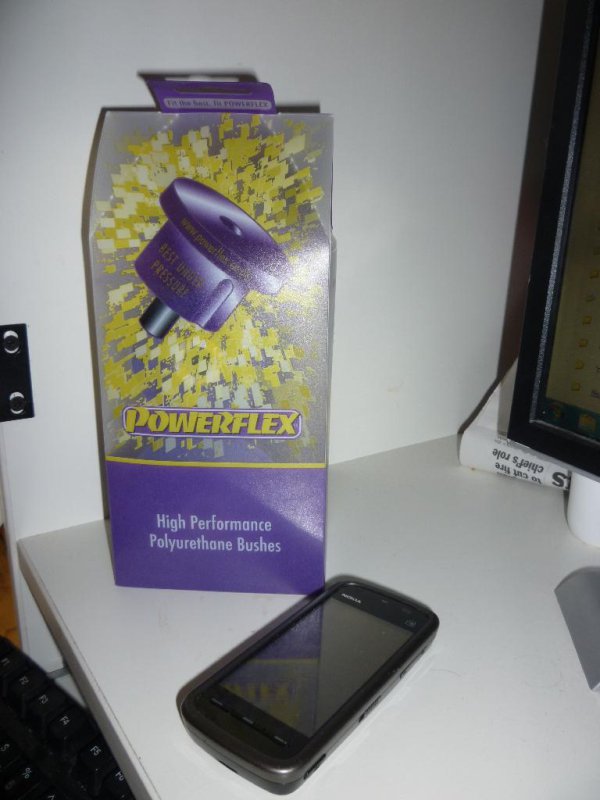
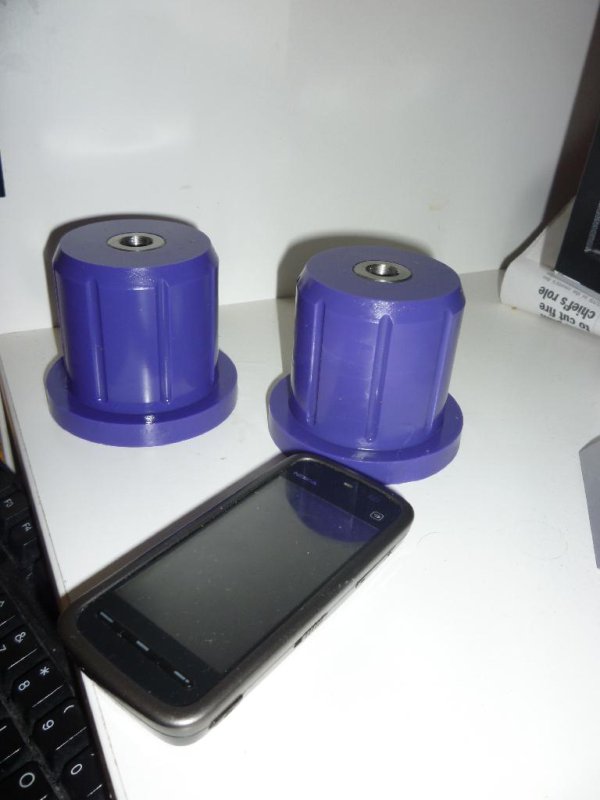
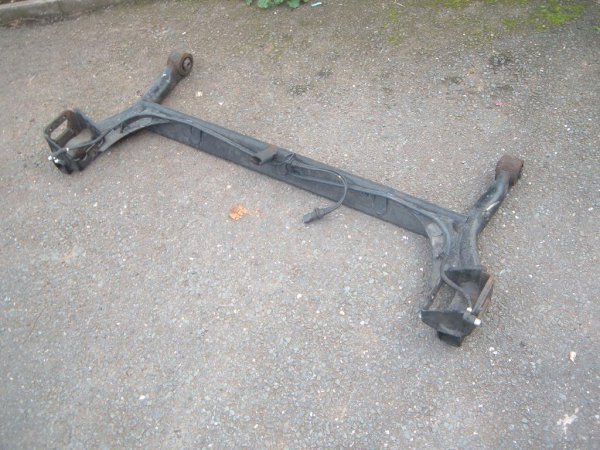
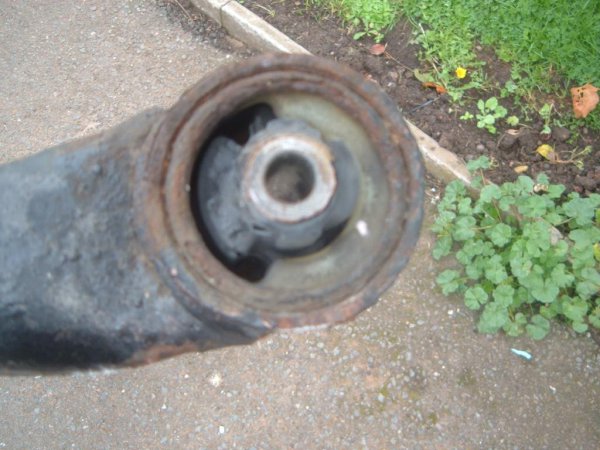
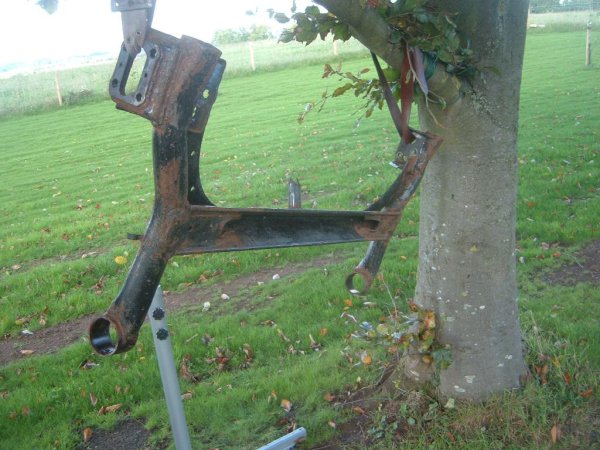
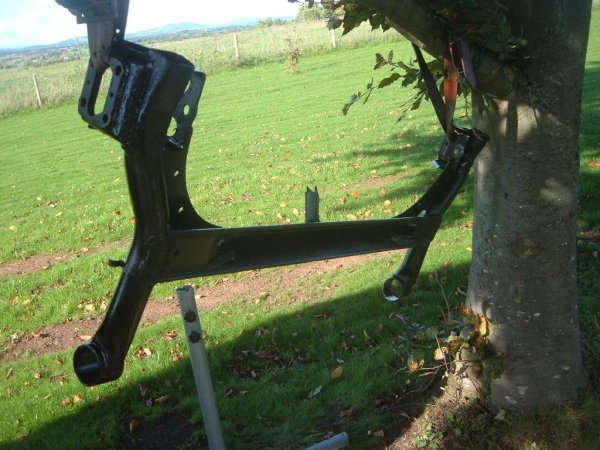
Rear beam refurb? & bushes
Fuel tank
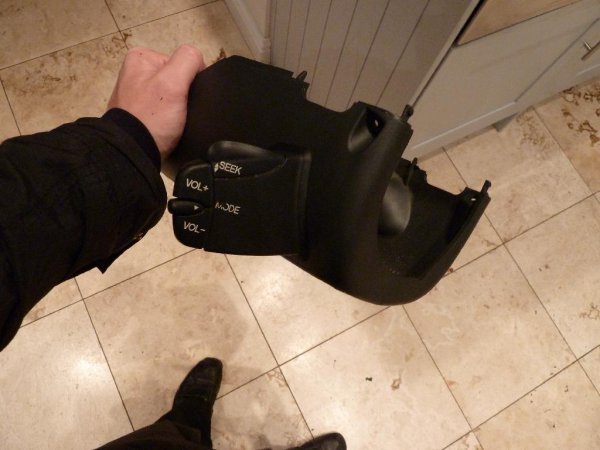
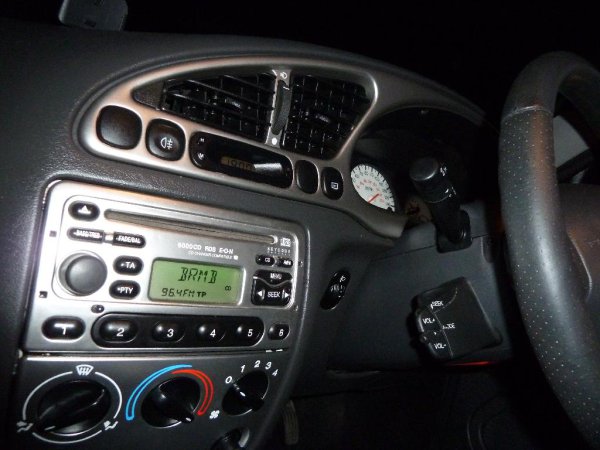
New steering wheel (cleaned will see how it goes)
Rear arches resprayed and 100% rust free
New droplinks (done)
Widen track to match FRP
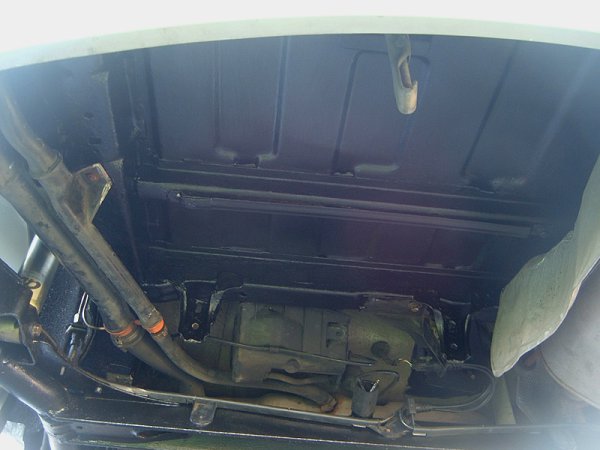
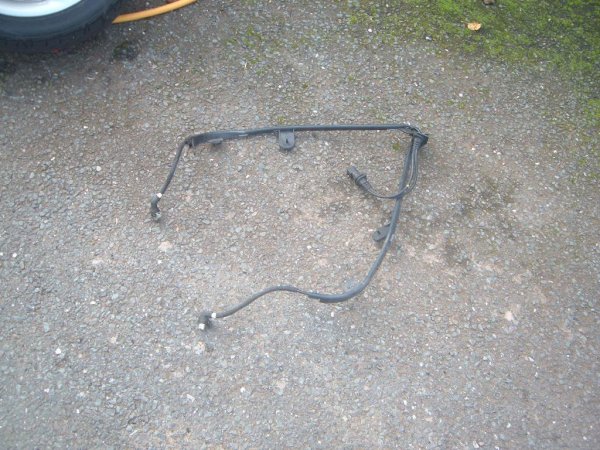
Rocker cover gasket (done)
new top mounts
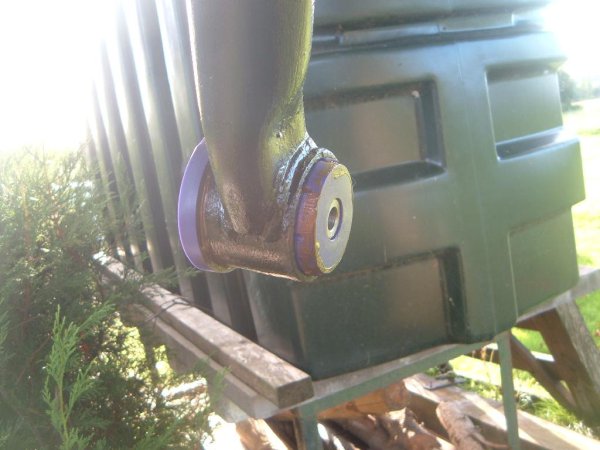
All back and hopefully no leaks!
Up to date Jobs list
Cambelt (done)
New Clutch (done)
Coilovers (done)
New wheels (done)
Rear axle Spacers (done)
300mm brakes (done)
Early brake servo/mc setup swap (done)
Replace rear shoes (done)
Better seats(done)
Induction Kit (done)
New Battery (done)
Custom front wishbones (done)
Replace brake lines, rear and poss front (done)
Rear beam refurb? & bushes
Fuel tank
New steering wheel (cleaned will see how it goes)
Rear arches resprayed and 100% rust free
New droplinks (done)
Widen track to match FRP
Rocker cover gasket (done)
new top mounts


")