Project Silver, PIC HEAVY

ProjectPuma

Help Support ProjectPuma:

This site may earn a commission from merchant affiliate links, including eBay, Amazon, and others.
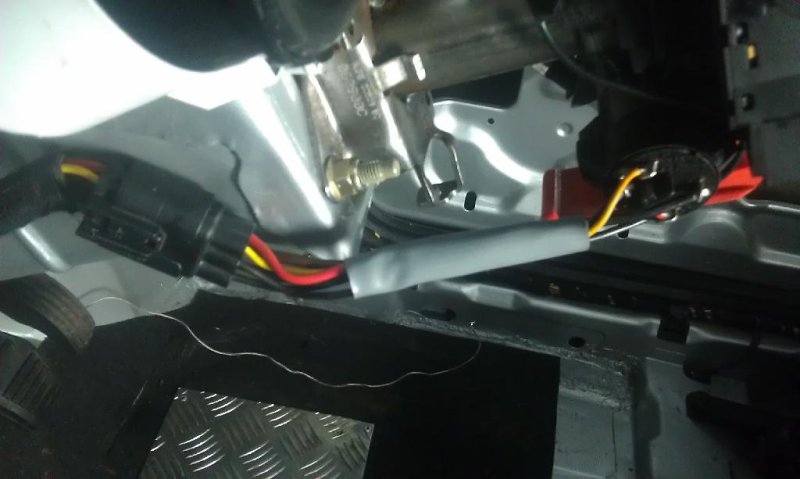
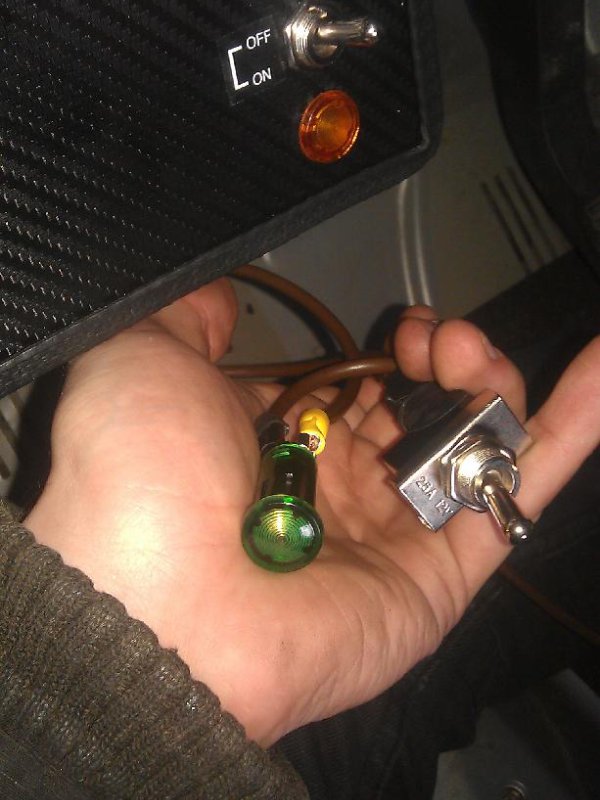
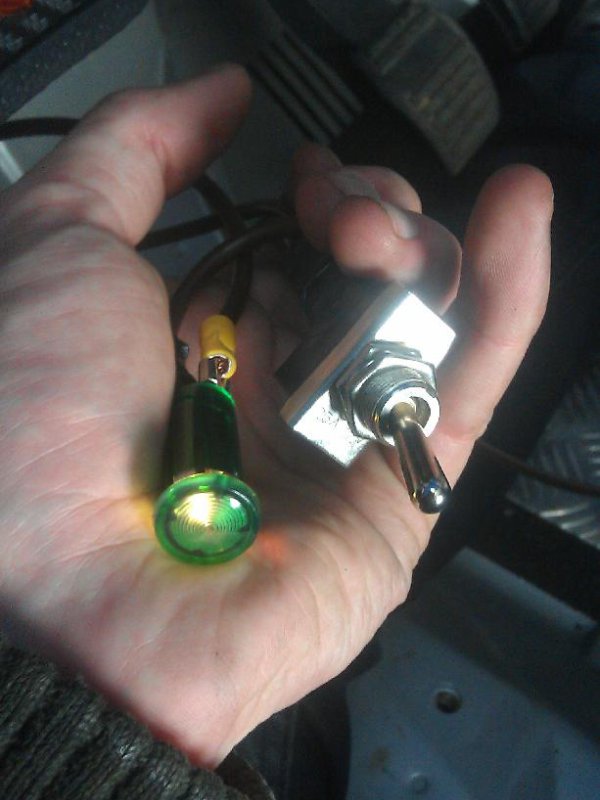
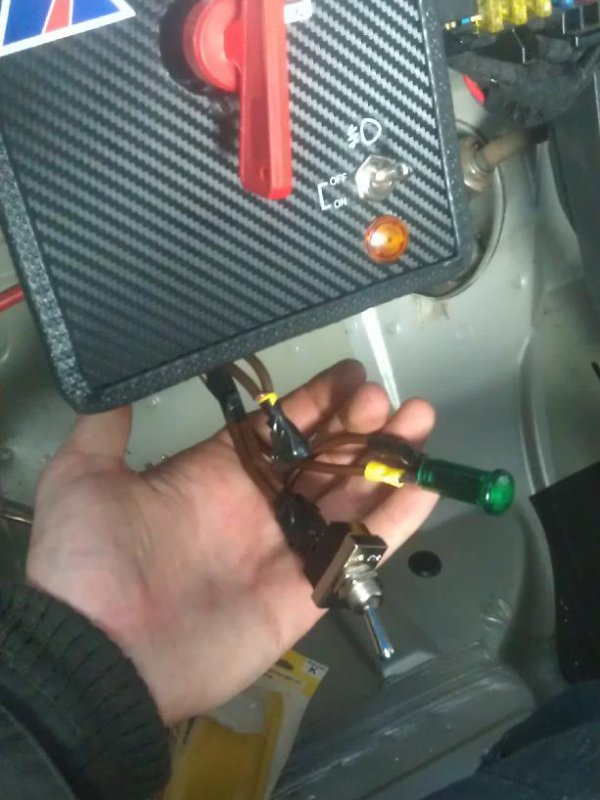
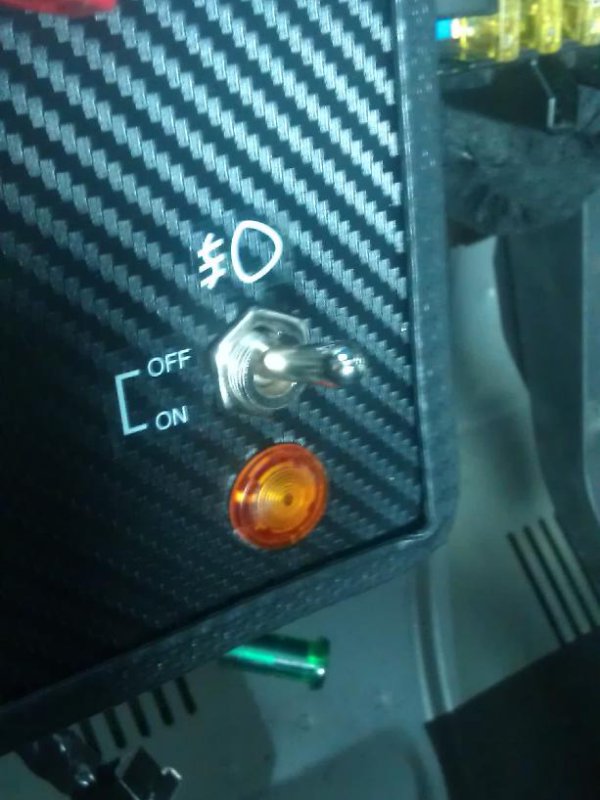
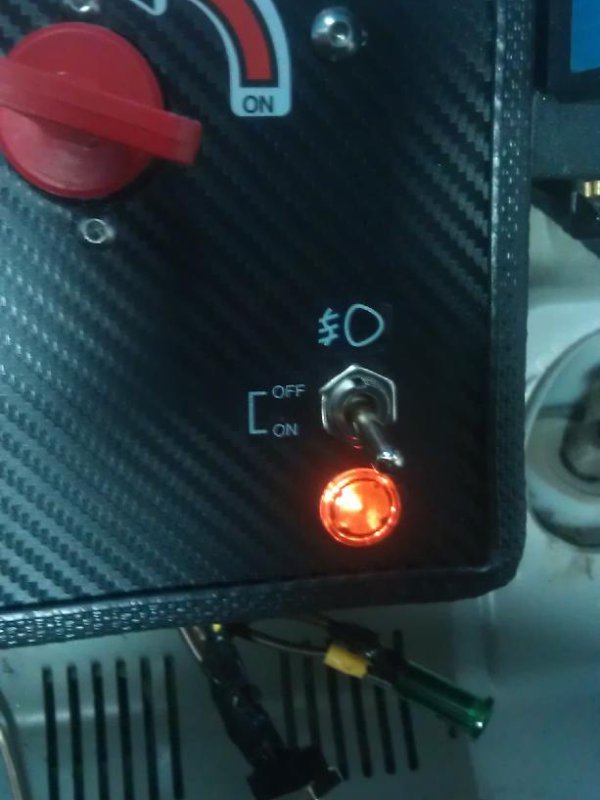
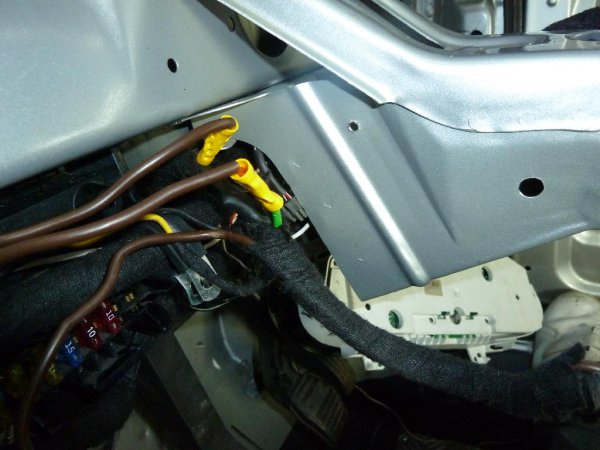
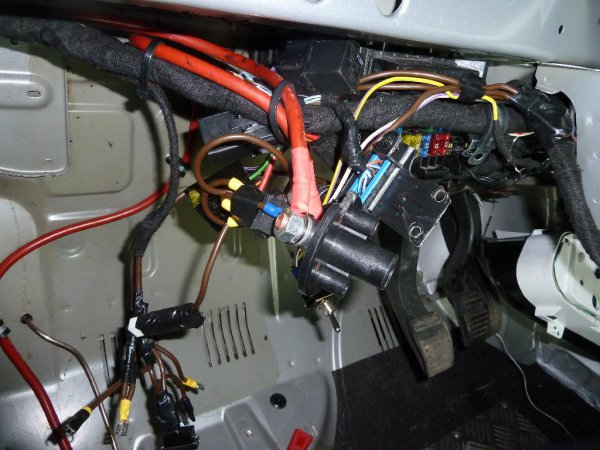
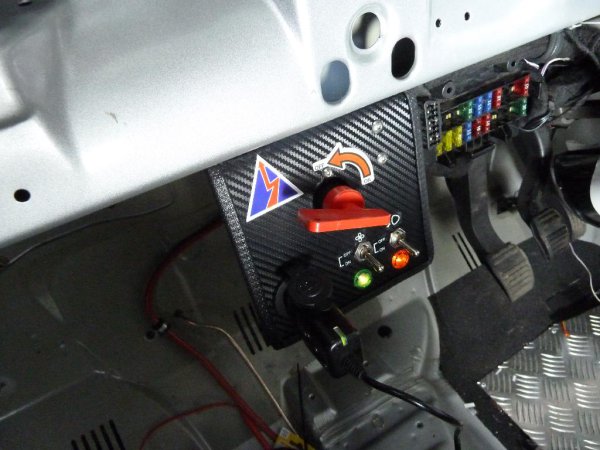
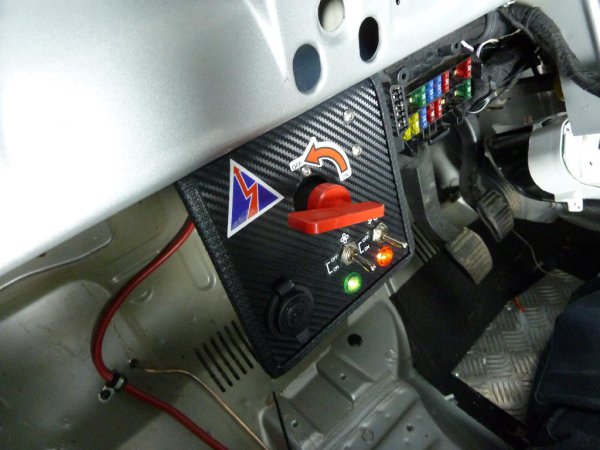
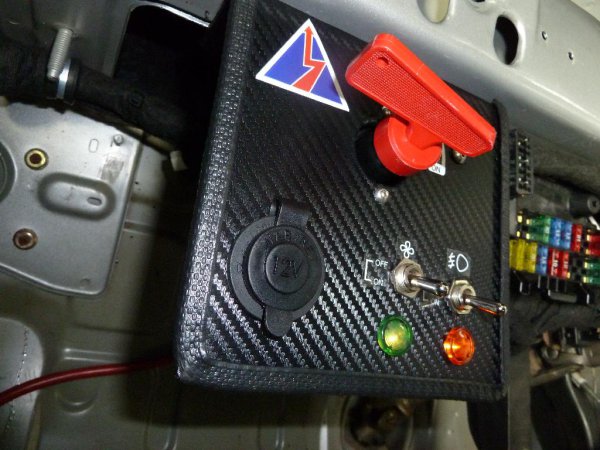
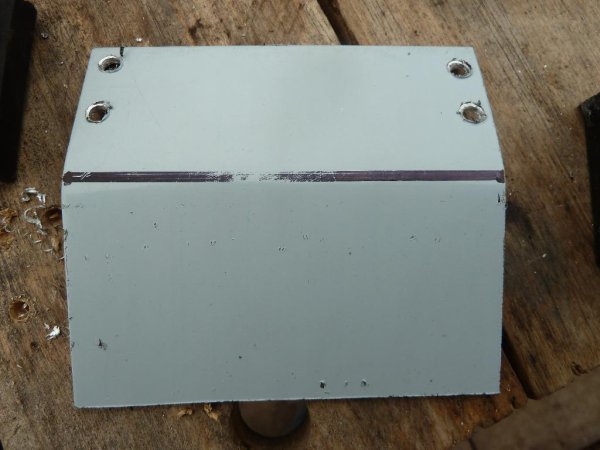
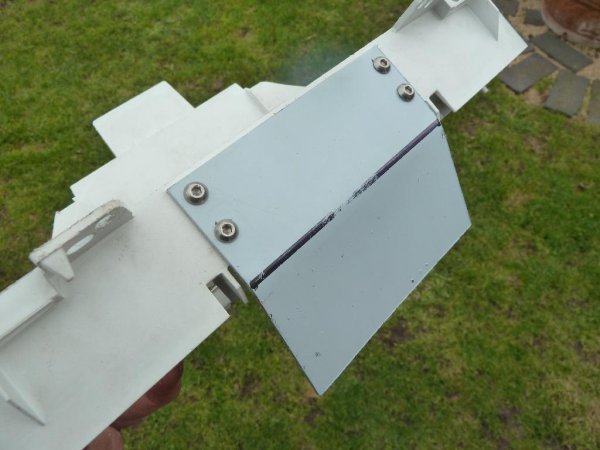
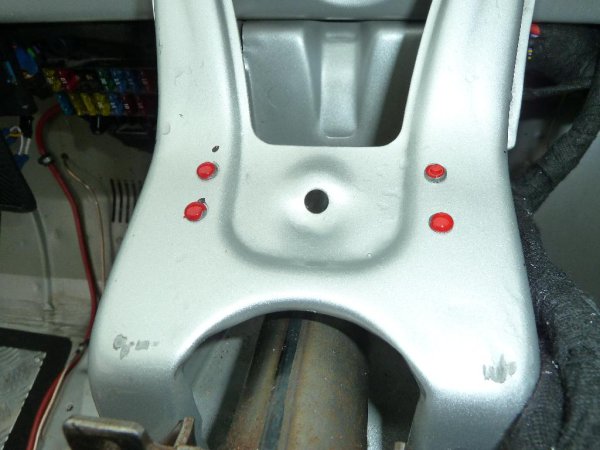
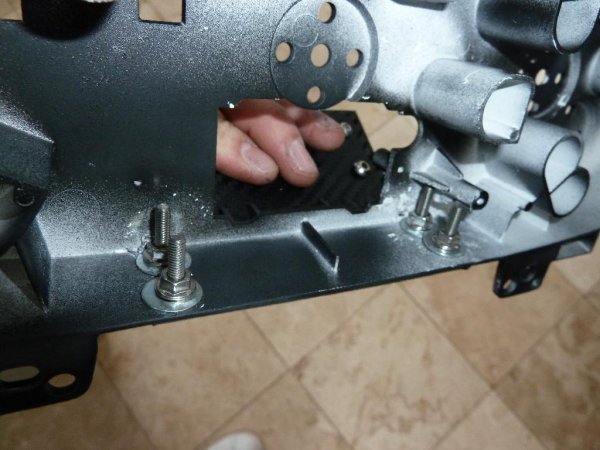
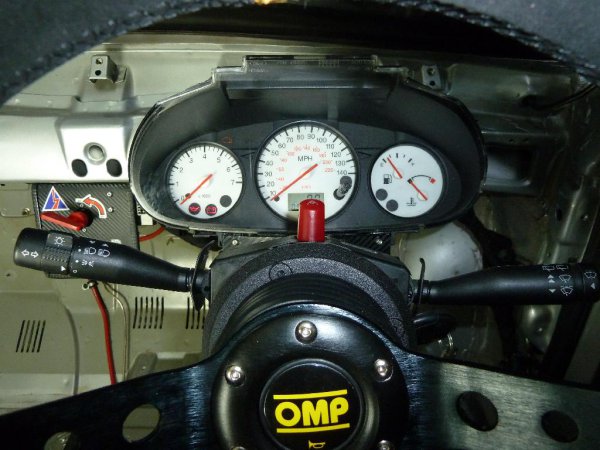
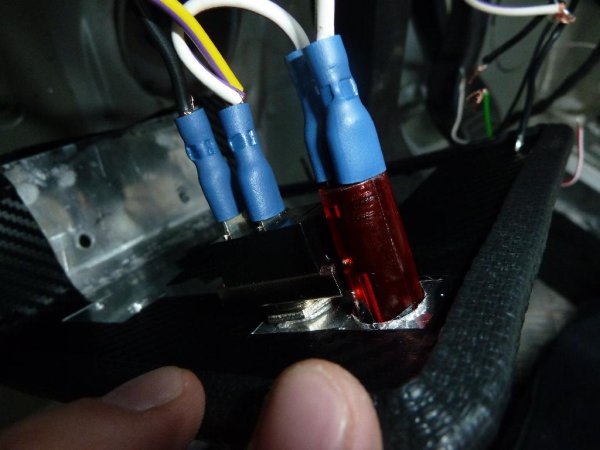
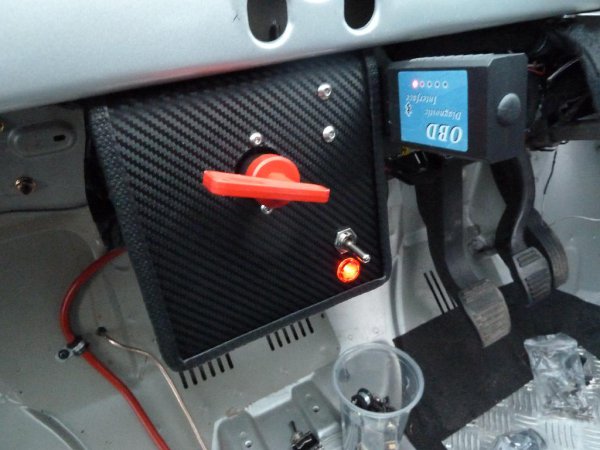
i did a bit last night, moved my diag port so it sits flush behind the alu panel and is accessible to the side of it, looks much better, also installed the first switch which is for the fog lights

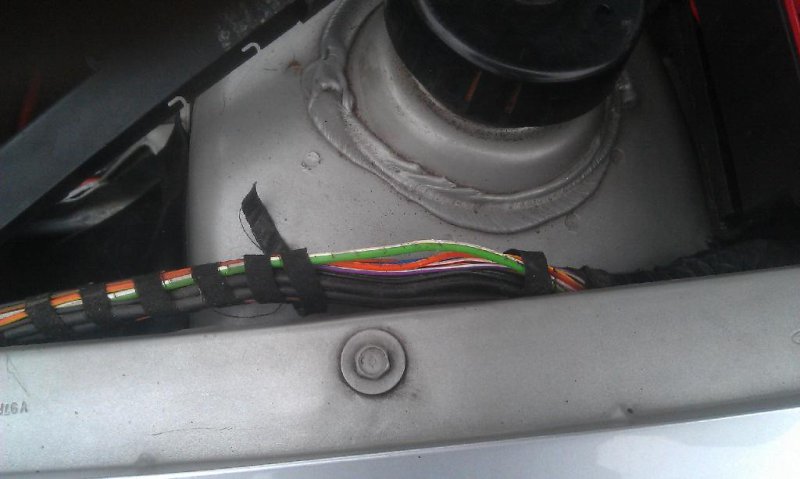
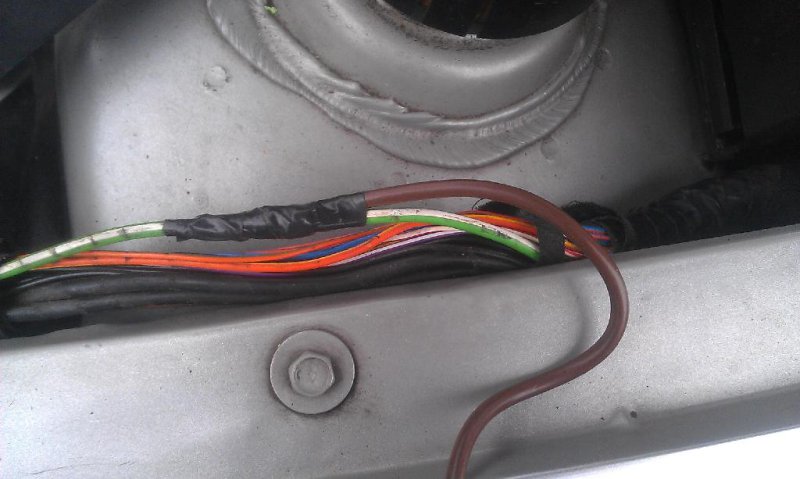
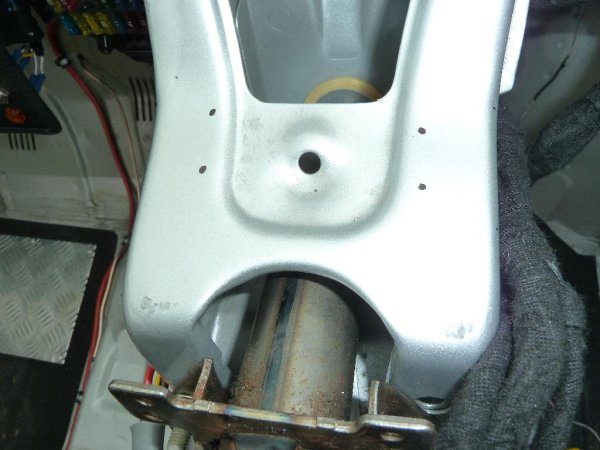
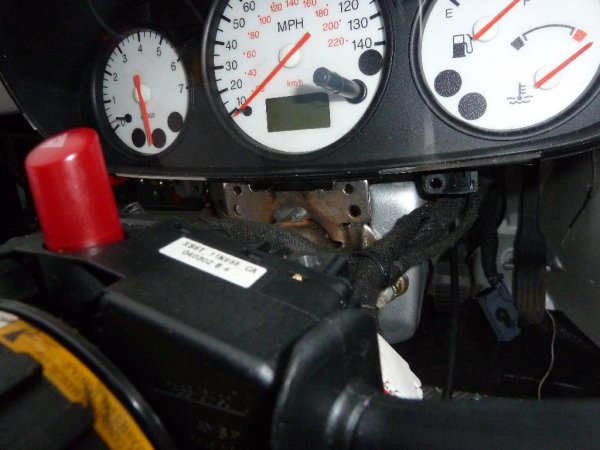
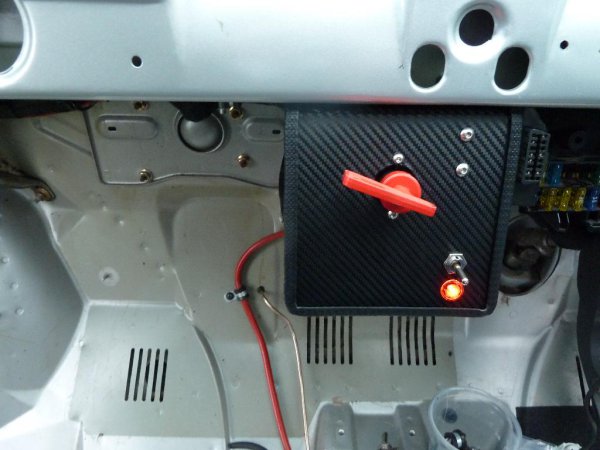
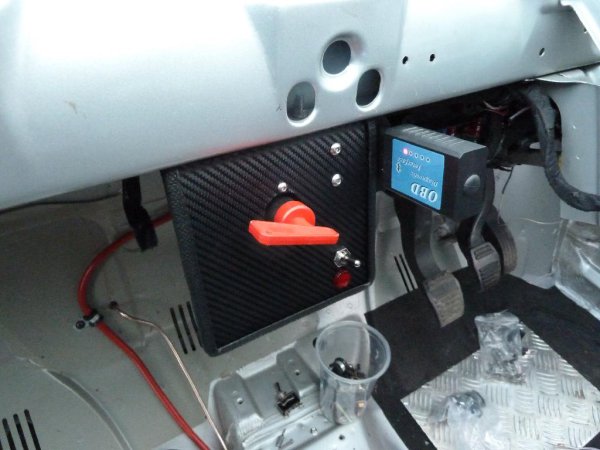
not really much of a pic i didnt really want to take one yet as its not finished

P1070605.JPG


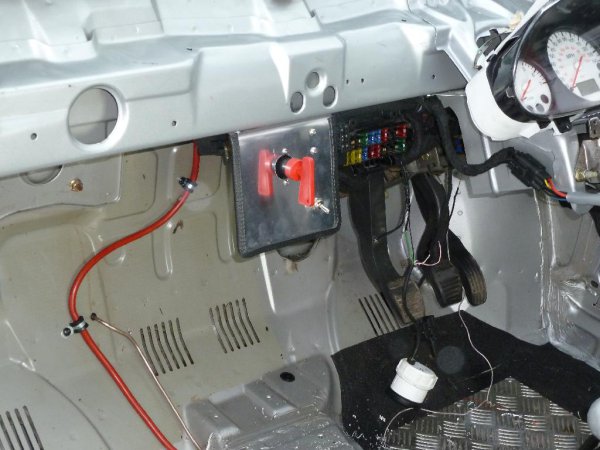
you can just about see the diag port on the far side and the new switch.

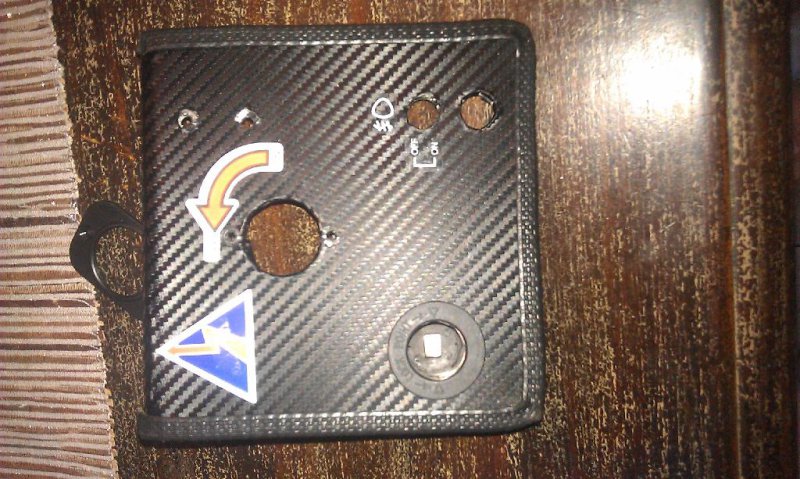
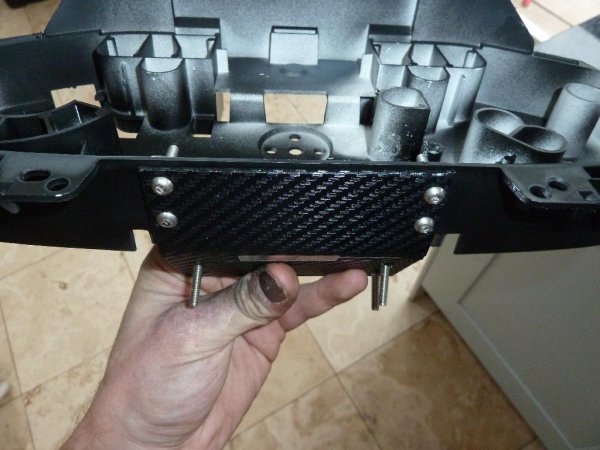
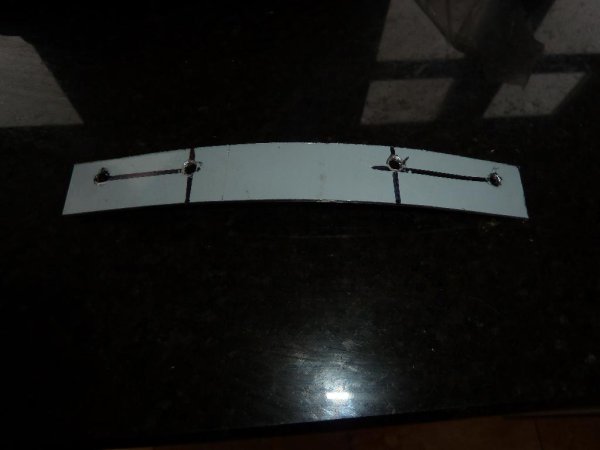
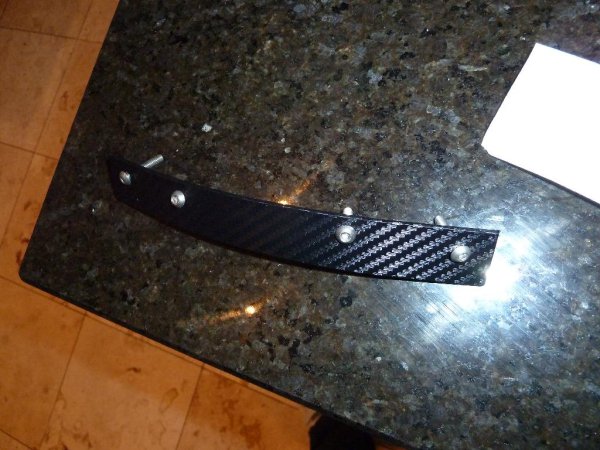
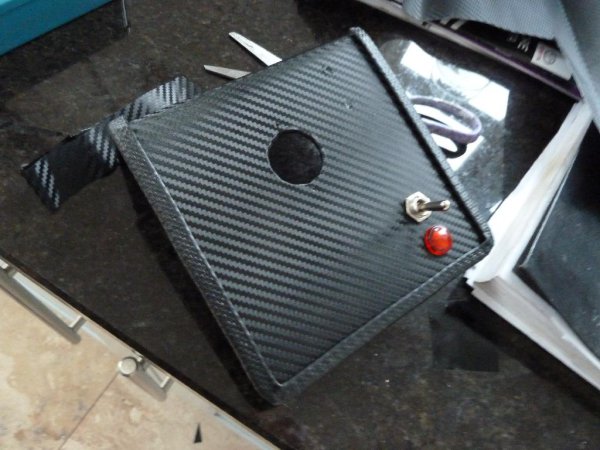
think im going to turn it into a fake piece of CF again, because the sticker labels will show up nice on it also
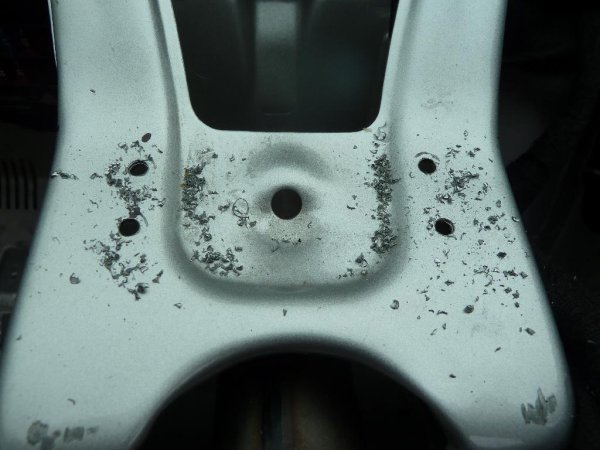
 
applied finishing touches to this panel, there will be some more switches on here but you get the idea

cf film on the panel

P1070707.JPG


switch and light mounted etc

P1070711.JPG


wired in switch and light a bit better

P1070714.JPG


tested light and fogs etc

P1070718.JPG


bluetooth obd in place

P1070720.JPG


P1070721.JPG


stickered up

406527_10150673054715730_556280729_11641684_61109782_n.jpg


421133_10150673055040730_556280729_11641685_1024852119_n.jpg


420926_10150673055265730_556280729_11641686_982194154_n.jpg


428120_10150673055555730_556280729_11641688_1773190958_n.jpg


396196_10150673055900730_556280729_11641689_1082162261_n.jpg
 
pollen filter removed, never been changed :lol:

IMAG0082.jpg


was going to remove the housing aswell but figured it was a pointless exercise as the plastic housing would weigh no more then the plastic panel it would be replaced with and save messing about
 
wired in my fan override switch tonight.

located main 12v feed to fan, green white wire

IMAG0084.jpg


soldered a second feed into it


IMAG0085.jpg


fed it back through the the fuse box and through the main wiring grommet


IMAG0086.jpg


then into the car crimped on some terminals, this is the earth end and the second feed is for a 12v plug that im waiting to arrive

IMAG0087.jpg


took the 12v from the main inigtion feed, and fed it back through the black plug so its totally hidden, its the brown wire if you can make it out anywhere

IMAG0098.jpg


switch and light wired up, used green for rad warning

IMAG0088.jpg


works perfectly


IMAG0091.jpg


left like this for now as no point removing it all to drill when il be needing to remove it all in the next day or two to fit the 12v cigarette feed

IMAG0093.jpg


also changed the fog lamp to orange rather then red

IMAG0097.jpg


IMAG0095.jpg
 
some bits and pieces arrived

P1070761.JPG


but first i finished off the wiring for the kill the engine part of the kill switch

spliced into ignition to fuel/coil relay

P1070762.JPG


ran that back via the kill switch, with the other bits in place, nice mess again

P1070765.JPG


then drilled hole and fitted 12v plug and fan switch etc

IMAG0102.jpg


the results

P1070773.JPG


P1070768.JPG


P1070776.JPG


need to fit this at some point also

P1070757.JPG
 
this is one sick project ! will this car be road legal ......dont think soo :oops:
 
done a little bit not much can be done until i get a few bits arrive

started prepping the dials

alu used for me to make brackets out of

P1070780.JPG


oil pressure in mount

P1070781.JPG


then took dials apart

P1070778.JPG


smoothed some of the brackets and sticky out bits i dont need to neaten it up a bit

P1070779.JPG


then dremelled off the lines

P1070782.JPG


P1070783.JPG


plan is to spray the white bits black, may even get it flocked yet will see how it looks
 
Dash today,

started out by marking out the brackets i need to cut

P1070785.JPG


cut them out

P1070786.JPG


first bracket needed a bend in it, so marked where that needed to be

P1070787.JPG


and formed a bend using a rubber mallet and a sharp corner edge

P1070790.JPG


drilled 4 holes where the bracket mounts onto the dials

P1070792.JPG


test bolted it on

P1070795.JPG


P1070796.JPG


removed steering column again

P1070801.JPG


marked up four holes to be drilled

P1070797.JPG


P1070798.JPG


cleaned up swarf etc

P1070799.JPG


then dropped four bolts with a drop of paint on each so i could rest the bracket in position and it would leave a mark where to drill the holes

P1070800.JPG


drilled holes in the bracket, then went and sprayed the white plastic parts of the dials

after they had dried

P1070804.JPG


wrapped the bracket in cf film to make it neater

P1070806.JPG


bolted onto the dials properly, used some washers to spread the load a little on the relatively weaker plastic

P1070805.JPG


reassembled dials

426447_10150683708885730_556280729_11667676_692299006_n.jpg


bolted in car, then i had to make up the front bracket to go here

P1070809.JPG


marked and drilled holes

P1070810.JPG


also wrapped in cf film

P1070812.JPG


screwed on the car, dials are rock solid

P1070816.JPG


finished pics

432295_10150683709250730_556280729_11667677_383977502_n.jpg


426376_10150683709600730_556280729_11667678_961724330_n.jpg


view of main bracket from outside the car

420704_10150683709855730_556280729_11667681_764295796_n.jpg


view through windscreen

406526_10150683710150730_556280729_11667683_2087689228_n.jpg


428351_10150683710515730_556280729_11667688_1705310693_n.jpg


426636_10150683710655730_556280729_11667689_1937128809_n.jpg


427447_10150683710335730_556280729_11667685_1259776566_n.jpg


402101_10150683710890730_556280729_11667691_1015629180_n.jpg


431291_10150683711135730_556280729_11667693_334488141_n.jpg


all thats left to do tomorrow is fit the oil pressure gauge somewhere, either here

396984_10150683711310730_556280729_11667694_1680145388_n.jpg


or here

420252_10150683711460730_556280729_11667696_1675472926_n.jpg


i personally think the second option.

then tomorrow this dashboard removal will be complete :) apart from repsray the front half etc no point doing that until the cage is in though
 
Blue cage probs or silver, more likely blue, will do a shop when its in and decide

this dash removal project has finally finished, took me 3 weeks working on it most nights :|

last job left to do was fit this pressure gauge, found a better closer spot then the previous thought, but had to cut a bit of the seam out for it to fit, anyway routed cables up here

426947_10150685726795730_556280729_11673665_135482758_n.jpg


drilled two holes screwed in and how it sits
429502_10150685727460730_556280729_11673669_1489667404_n.jpg


431303_10150685727250730_556280729_11673668_906390158_n.jpg


then it was time to give the car a good clean and wipe down inside, and final pics of the front which is how its going to remain until the cage is fitted then its going to get inside resprayed up the front

429502_10150685727460730_556280729_11673669_1489667404_n.jpg


408970_10150685727785730_556280729_11673671_317980362_n.jpg


425509_10150685728040730_556280729_11673672_338190628_n.jpg


oh and a pic i was messing around with the panoramic settings on my phone

425163_10150685728135730_556280729_11673673_1083975083_n.jpg


doesnt work quite that well that small
 
took the car out for a test run, also tested my obd feed you can see the inputs from that on this in car vid, shows speed, revs, throttle input and g force, and an outline of the route driven, if on track this would draw a nice outline of the circuit and my position

[youtube]http://www.youtube.com/watch?v=fdVXWm32YF4[/youtube]

for some reason the revs feed seems to drop out every now and again not sure on that one atm

didnt really give it much because i would be stupid to put a vid in public showing my speed lol.

Car feels awesome though, so raw now, and just that dash removal seems to have made a noticable difference to the cars feeling
 
Didn't see this thread in ages..I come back and...wow! Nice work on the dash, it looks quite cool striped down, and not a bad look at all.

I think you were down to just under 800kg last time I read, how much does it weigh now? How much more do you think you can strip out?
 
Iv changed some settings to cure the sporadic revs problem, aswell as make everythinig generally more responsive, obd adaptive speed turned off and communication speed set to max

almost spot on now

[youtube]http://www.youtube.com/watch?v=cliunJHUZWM[/youtube]
 
hi

so i drew some marks on the door

P1070862.JPG


did some of this

P1070863.JPG


some of this

P1070864.JPG


and removed this

P1070865.JPG


just need to tidy up the edges tomorrow

P1070866.JPG


and apply some of this

P1070869.JPG


i think i will end up putting a plastic panel on it though
 

Latest posts

Back
Top