Project Silver, PIC HEAVY

ProjectPuma

Help Support ProjectPuma:

This site may earn a commission from merchant affiliate links, including eBay, Amazon, and others.
Always a good day..... congrats :cool:

I have to say I wasn't too sure about white alloys on a silver car at first, but looking at the last photo of the car just up the thread, it really suits the car. Looking very nice.
 
quite pleased about the mot really, not because parts of the car are dodgy, or worn, but mainly because i wasnt 100% sure where it stood with all the changes, turns out its perfectly fine and can do a lot more and still be within mot tolerances. Eg full dash removal
 
ScubaSteve said:
.....Eg full dash removal

I suppose as long as you have a working speedo, most of the rest of the dash instruments aren't essential for safety. So you planning on removing the dash? Getting that big thing out will reduce weight quite a bit I bet.
 
yeah loads of stuff around that area to save weight, you need to keep clocks and all the switches and stalk controls etc
 
So me being the impatient twat i am even though i was going to wait to the weekend to start this as i had a bit of light left i started removal :lol:

Started removing screws here

P1070440.JPG


here

P1070442.JPG


here

P1070441.JPG


and here

P1070447.JPG


removed fuse box

P1070445.JPG


not looking forward to sorting this lot out

P1070446.JPG


steering shroud removed

P1070443.JPG


heater panel and dial surround removed

P1070449.JPG


P1070450.JPG


dials removed

P1070453.JPG


P1070454.JPG


how i left it tonight, dash is free to pull forward now just need to drop the steering column and we are in business

P1070455.JPG


all bits removed so far

P1070456.JPG
 
oh and 8 way fusebox on route

$(KGrHqZ,!mIE65Bq5pi6BO2RGzPltg~~60_1.JPG


im fairly sure i can strip it back to use just 8 fuses
 
Can I ask how the (Silver) 'dial surround' panel comes off, as need to take mine off tomorrow - as putting a switch in the empty switch pod on the left end ?
 
Two screw in the upper part behind the wheel and little plastic triangle cover on the far left pulls off to expose another screw
 
And pull it off straight, the bottom has clips on that will break if you twist the panel downwards. Speaking from experience.
 
nope carried on this evening by making my car into a nice little workshop

bright light

P1070470.JPG


portable heater i got from argos for 13 quid

P1070473.JPG


then set about things, removed the steering wheel and boss

P1070460.JPG


P1070461.JPG


bottom bolt of steering column

P1070462.JPG


slid column forward and out

P1070463.JPG


P1070464.JPG


P1070465.JPG


i could then tilt the dash forwards

P1070466.JPG


had to cut loads of cable ties behind holding loom, and a few screws holding the heating vents and loom brackets, bit fidly

P1070468.JPG


got it out and have one dead puma

419396_10150644399020730_556280729_11565559_310961432_n.jpg


432341_10150644398835730_556280729_11565558_1513735159_n.jpg


dash and shit, weighs quite a lot

418201_10150644399365730_556280729_11565560_1868903021_n.jpg


still lots of meater matrixy type stuff and plastic and sound deadning to remove yet, this is going to save quite some weight
 
Done a bit more tonight

First up remove the heater valve

P1070484.JPG


P1070483.JPG


Then removed cover to expose the matrix

407509_10150646988735730_556280729_11571830_2057334651_n.jpg


back inside the car undone some of the retaining nuts and pulled it all away

P1070486.JPG


gone

P1070487.JPG


all the shit removed from the car

423317_10150646988980730_556280729_11571831_930457180_n.jpg


then made a start on this wiring, sliced through the loom tape and cable ties

P1070488.JPG


fun

P1070489.JPG


P1070490.JPG


started stripping out all the stuff i knew i definately didnt need, unplugged the general electric module, am going to relocate this so seperated the covers and removed the innards

P1070493.JPG


can now drill and tap some self tappers, thinking about locating it here

P1070494.JPG


only thing stopping it going here were too bolt threads that were left over from where the matrix housing was bolted too, so got the dremel out

P1070497.JPG


and removed

P1070498.JPG


all the wire that iv removed so far

P1070496.JPG


my mother wrapped it all up in bundles lol i think she was bored

P1070501.JPG


how iv left it tonight, definately getting there

P1070495.JPG


430399_10150646989270730_556280729_11571833_359918229_n.jpg


still lots of sound deadning to remove also, and still lots of loom but going to wait until daylight now so i can much up some of the plugs and confirm i definately dont need them


this turned up too

P1070500.JPG
 
Cracking job there ScubaSteve! :eek:k:

I don't think I would want the job of sorting that coloured spaghetti out!!

How are you planning on sorting that lot out..along with the new fuse box? Are you going to pull everything back to the original fuse box and pull it all out?
 
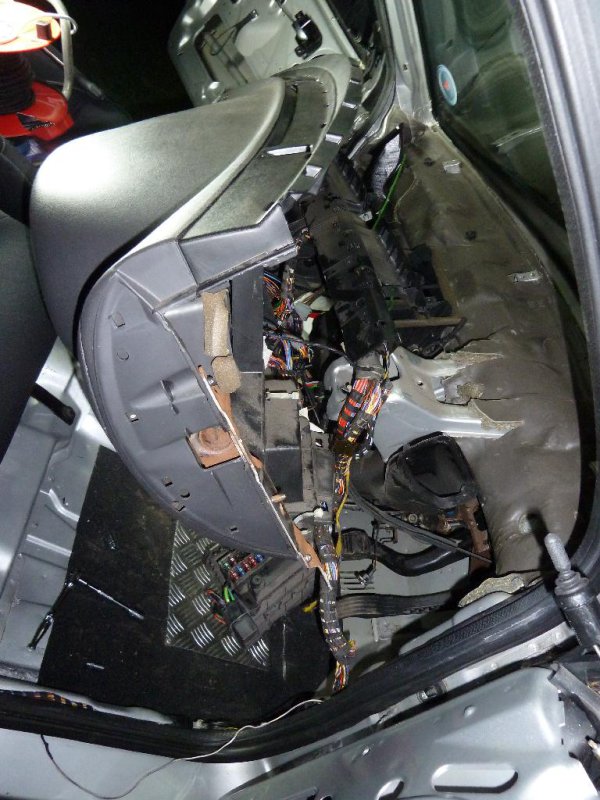
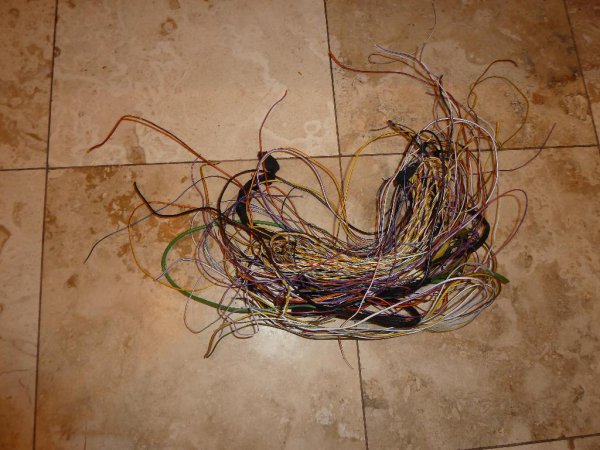
continuation of yesterdays work today really, more loom removed, although no pics this time it was similar to yesterdays haul.

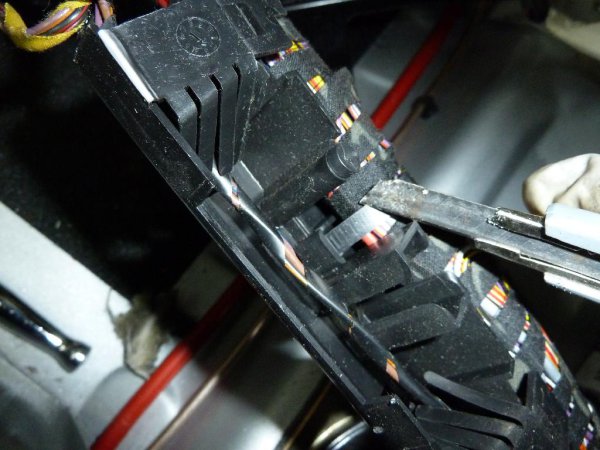
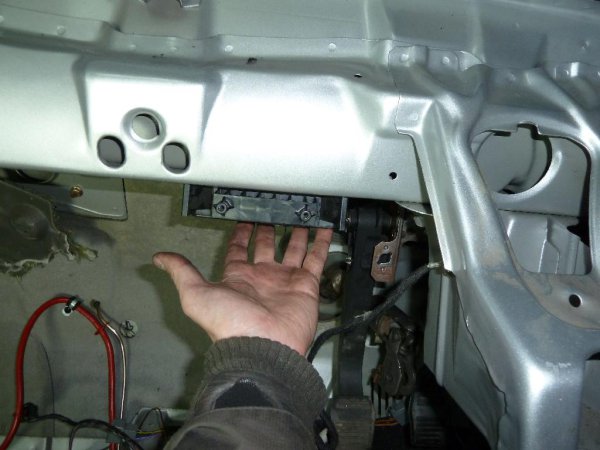
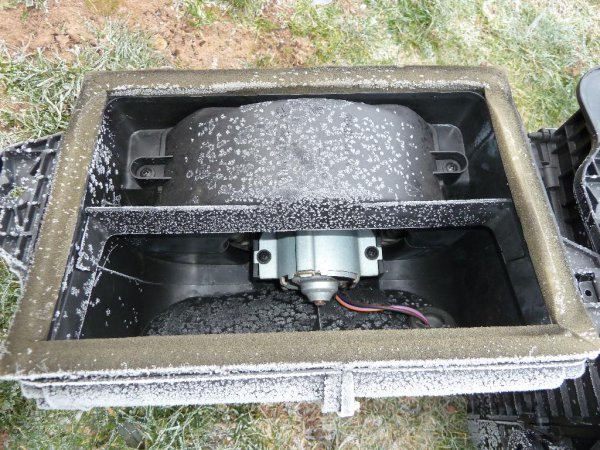
quick pic of the fan inside the matrix housing adds quite a weight

P1070510.JPG


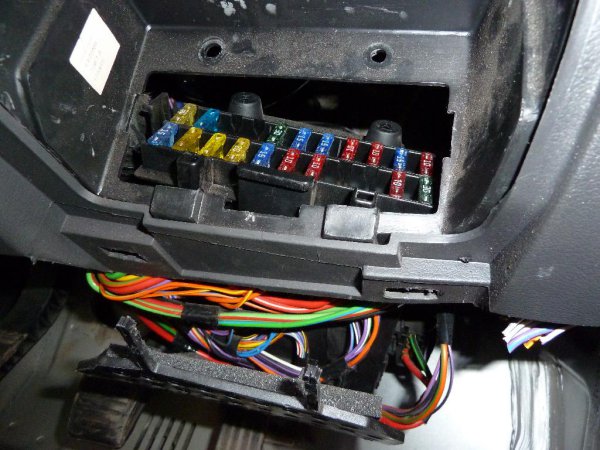
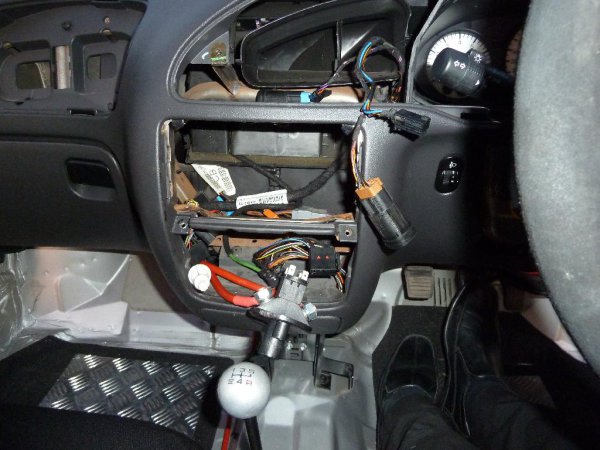
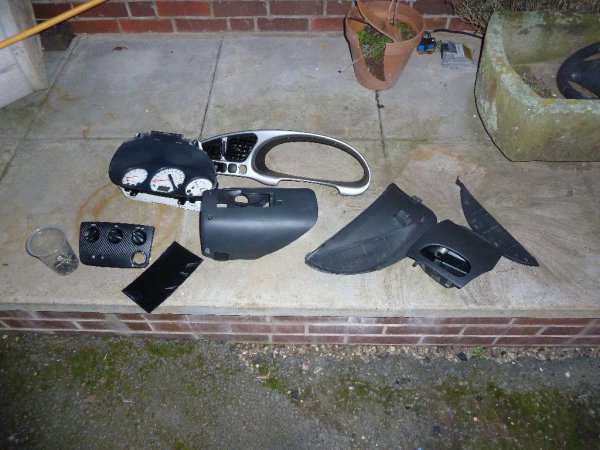
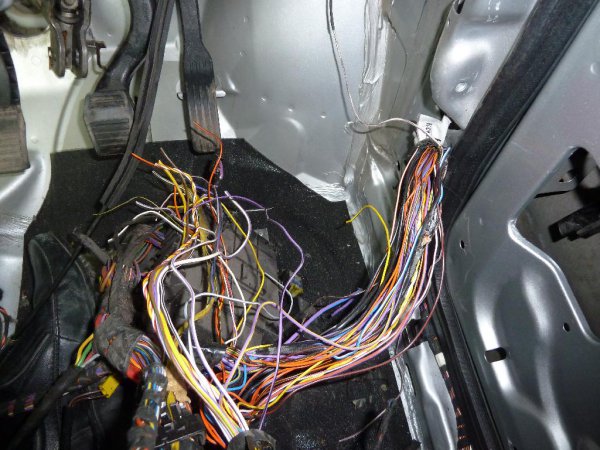
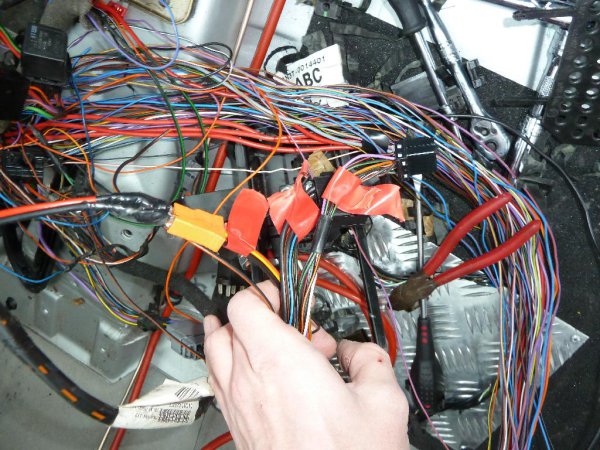
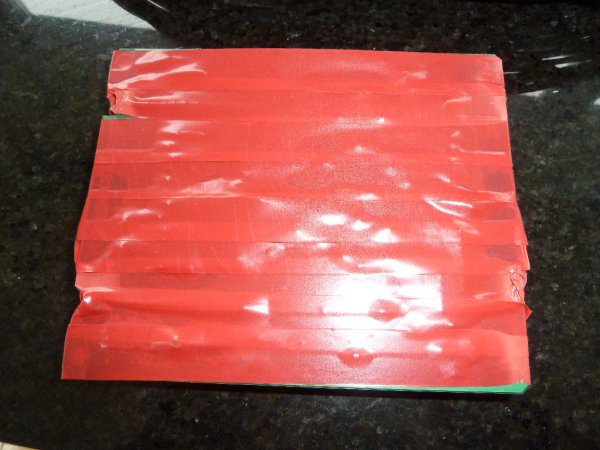
first job was to put red tape on any plugs that i knew i didnt need

P1070511.JPG


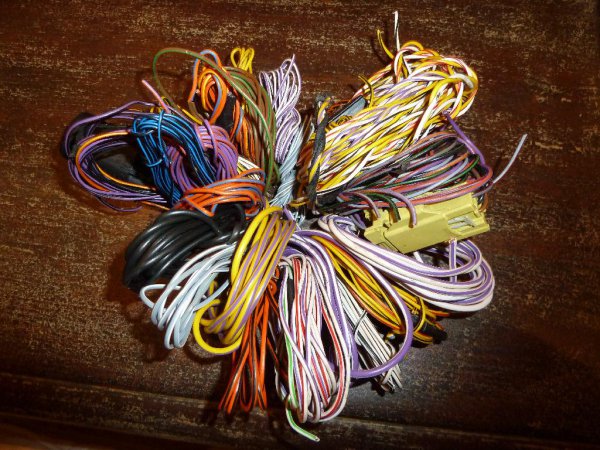
after all the undeeded loom was removed

P1070512.JPG


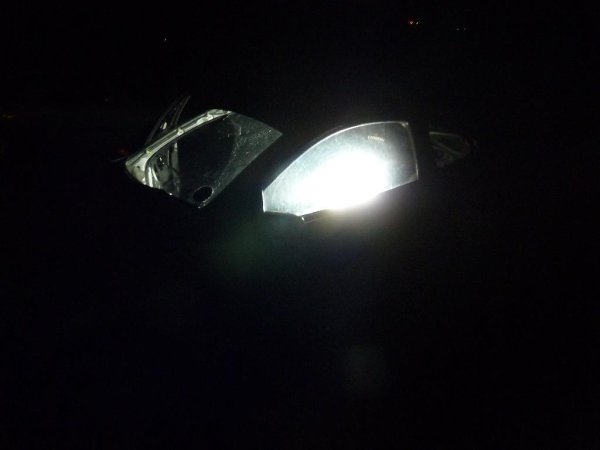
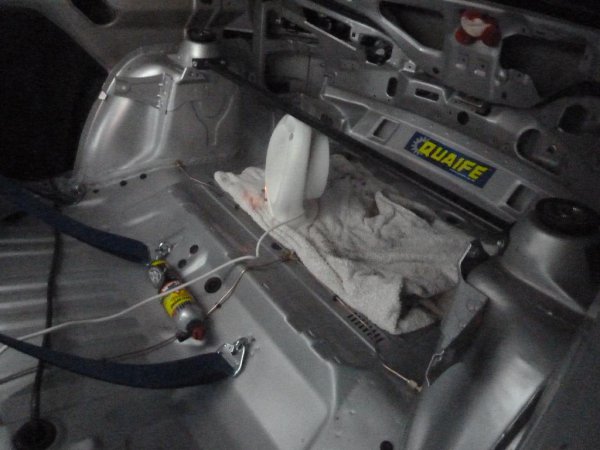
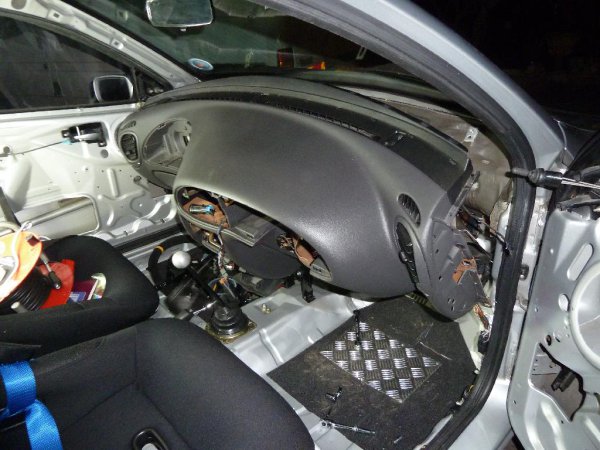
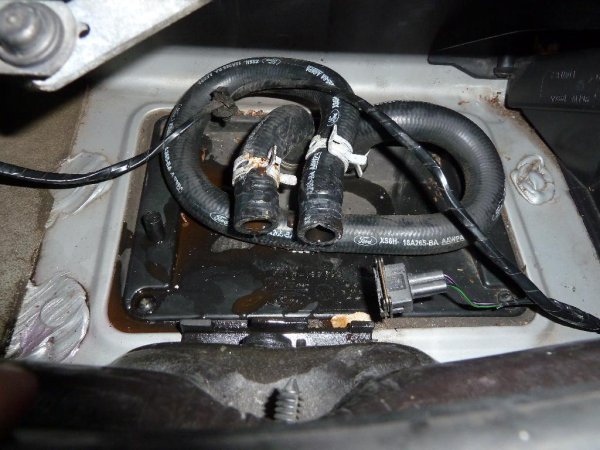
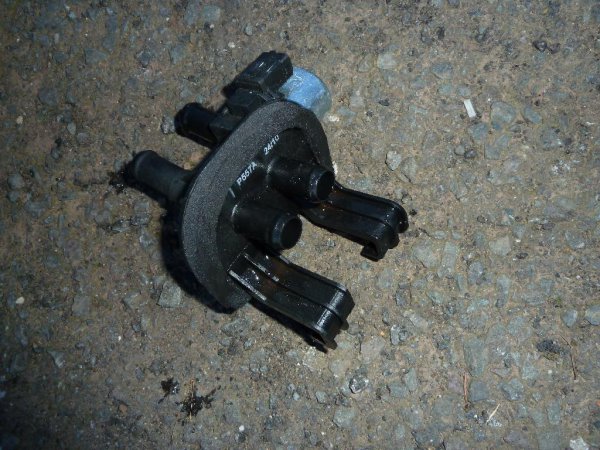
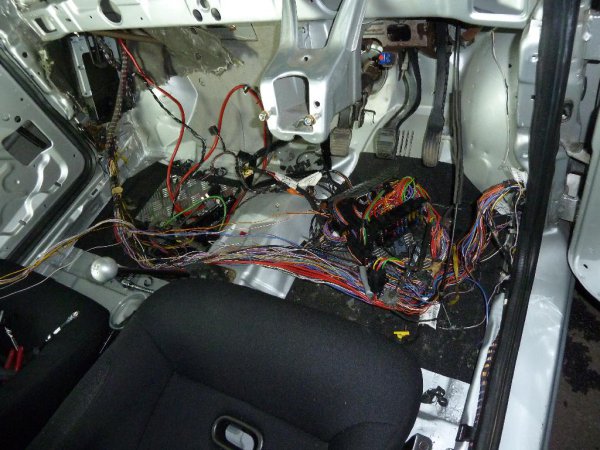
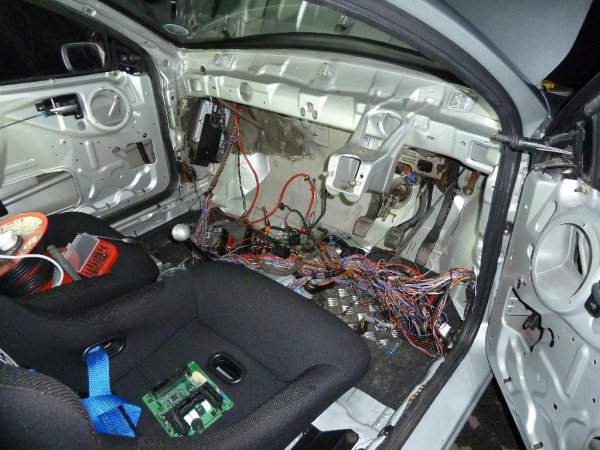
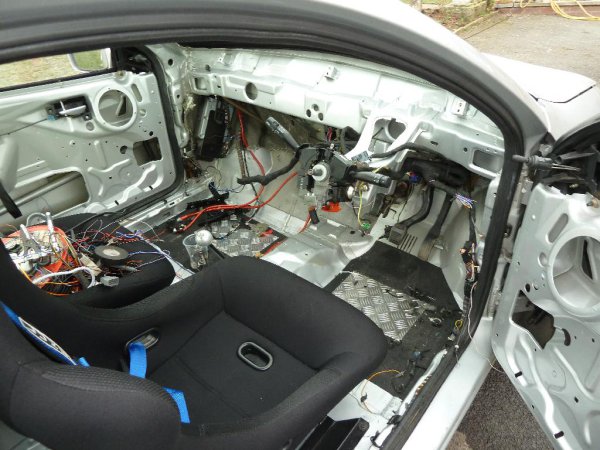
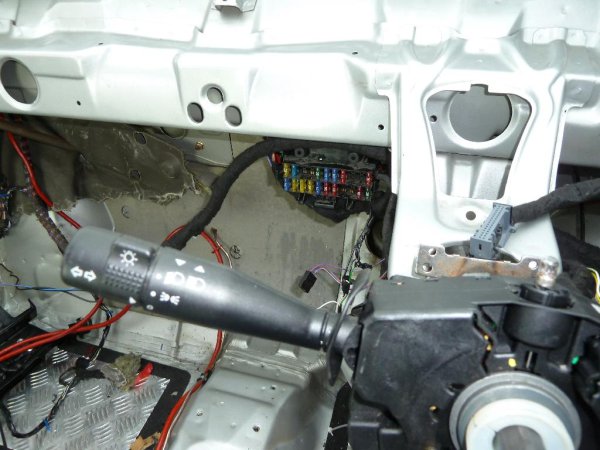
i then tested it to check everything was working still ok, and had a bit of a spastic moment, turned ignition on and checked all lights and dials etc, all fine, good news, then went to see if it would start, and yep it did, great! then a few second later, water shooting into the car from the bay, forgot id taken the heater valve off and the coolant pipes just fired coolant straight into the car :facepalm: not sure if you can see in the pic but the floors wet lol

P1070513.JPG


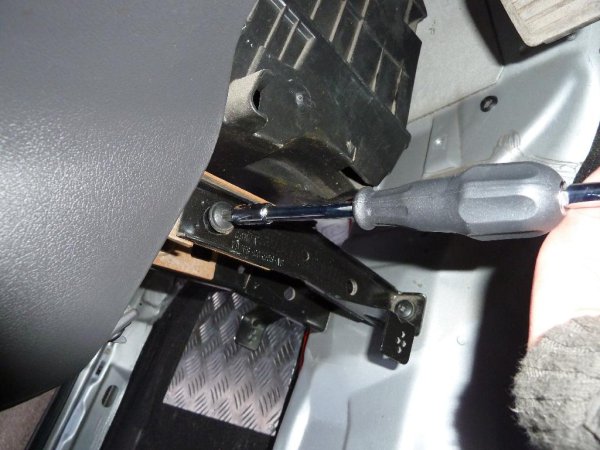
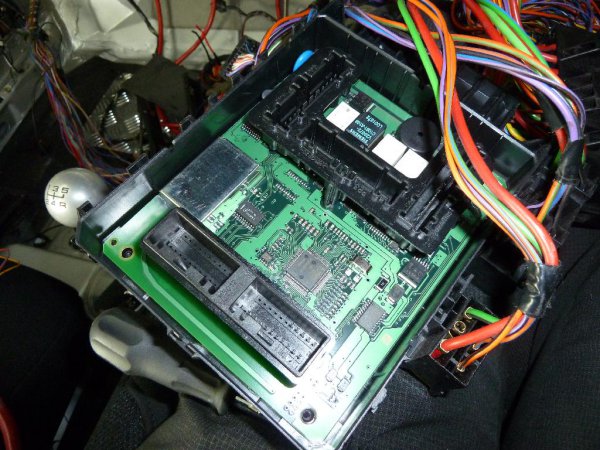
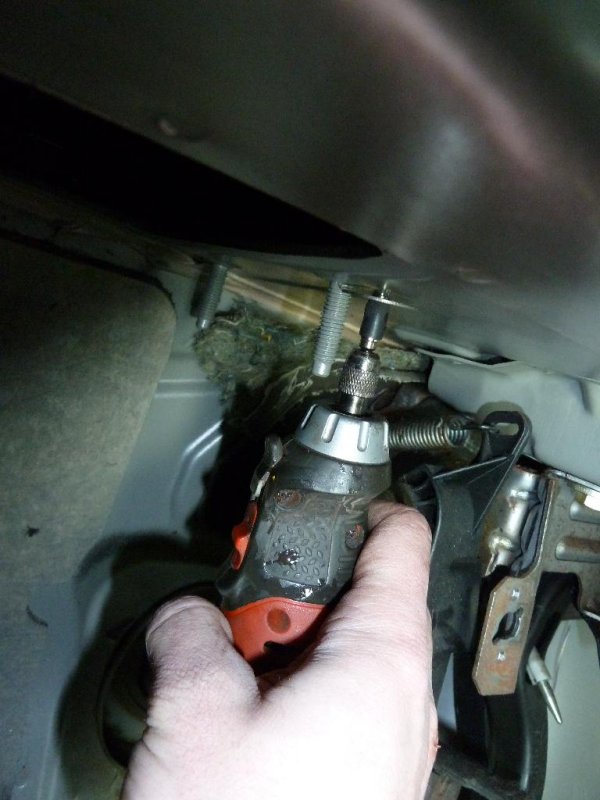
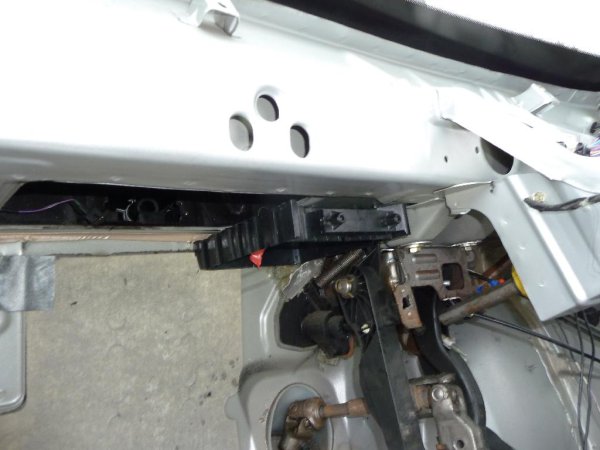
anyway good news was everything worked so set about mounting the electrics module in position, drilled 4 holes

P1070514.JPG


and 4 on the car, applied electrical tape across the back of the circuit board to stop it shorting if it touched the bolts i used to mount it

P1070516.JPG


top portion mounted

P1070515.JPG


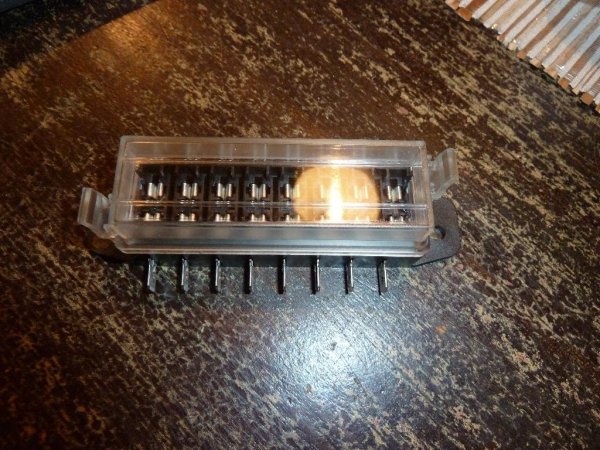
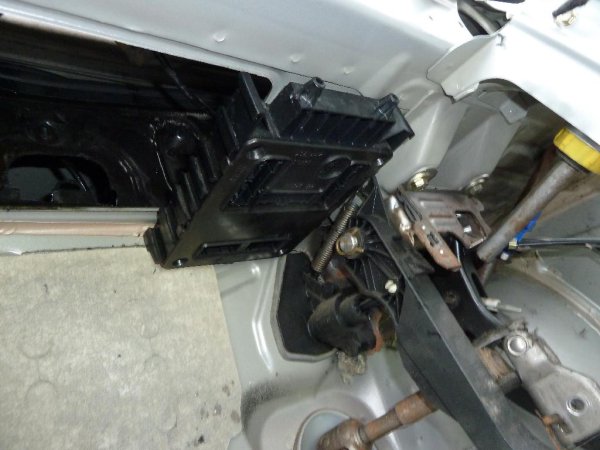
then bottom part with circuit board

P1070517.JPG


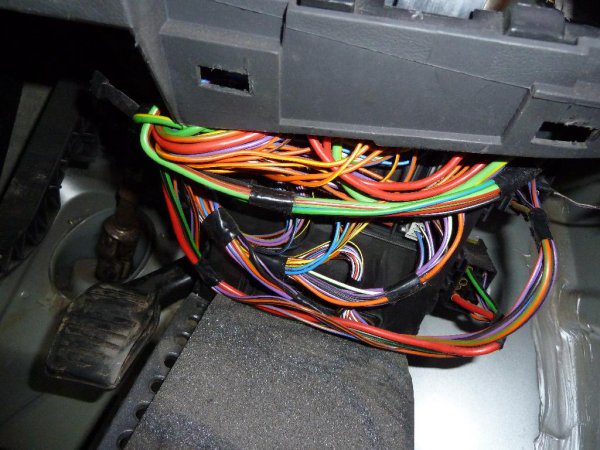
then set about wrapping the loom, used coroplast tape

P1070518.JPG


after most of it wrapped

P1070519.JPG


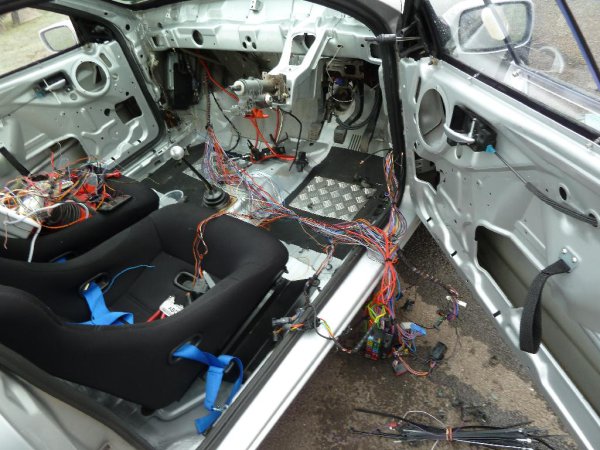
then had to cut a load of wires and make my own loom to extend it so i can mount the loom in my chosen position

P1070527.JPG


made up loom then taped over that, plan is to run the loom under the member

P1070528.JPG


should be fairly out of sight

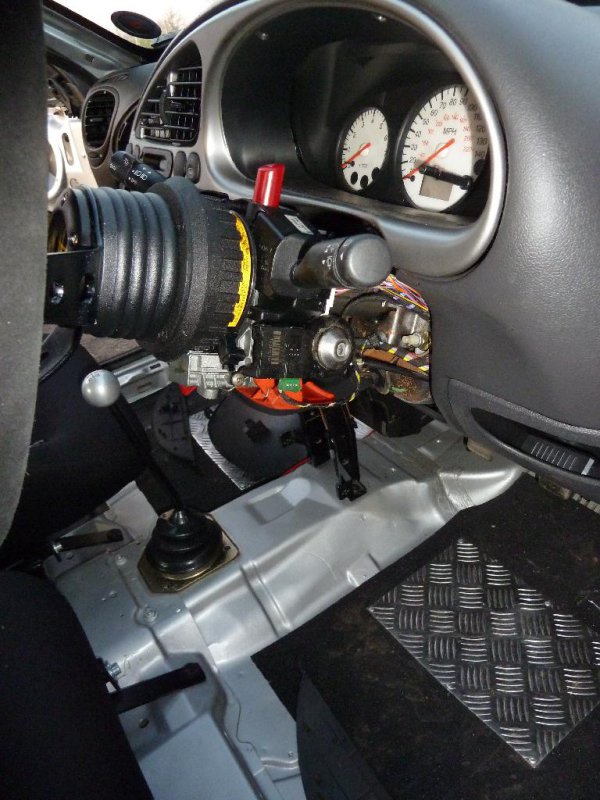
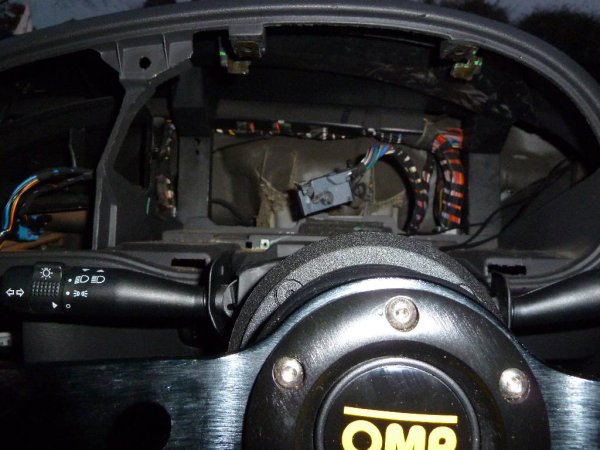
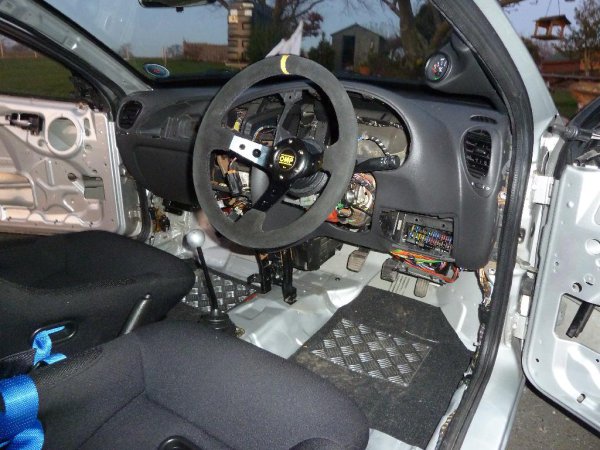
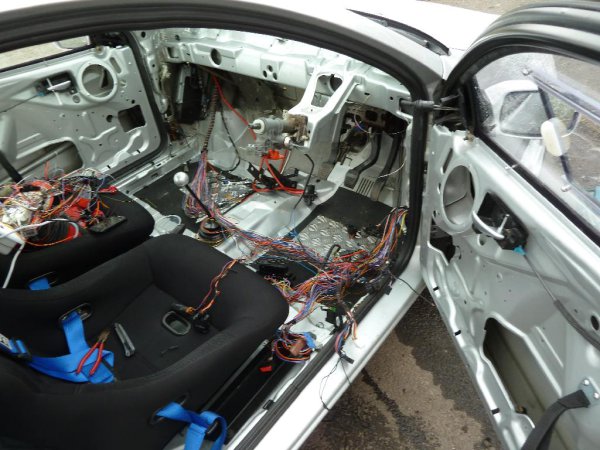
how it stands at the moment

417880_10150648656105730_556280729_11576326_1426715883_n.jpg


its going to be more hidden, i just need to order some large p clips or something to attach underneath the metal

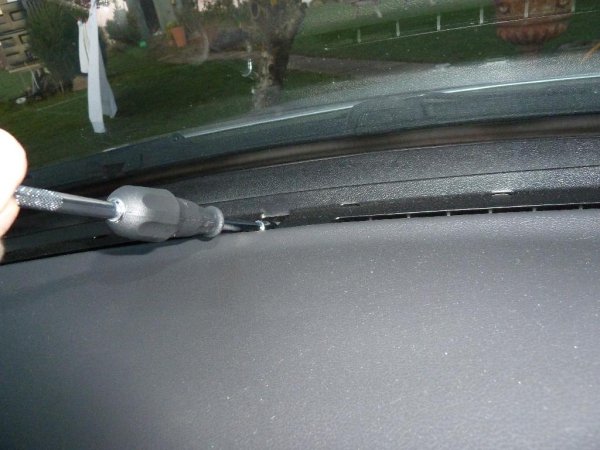
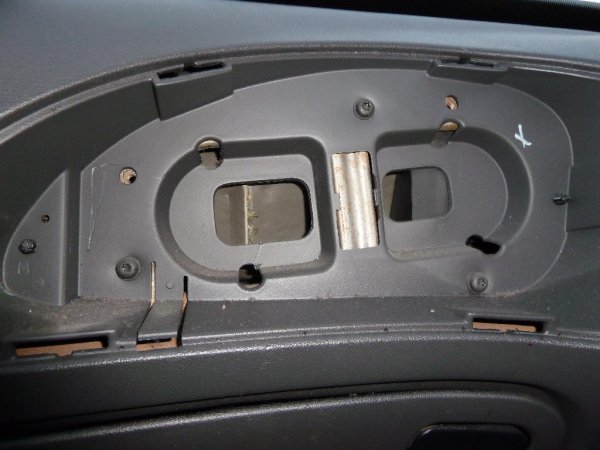
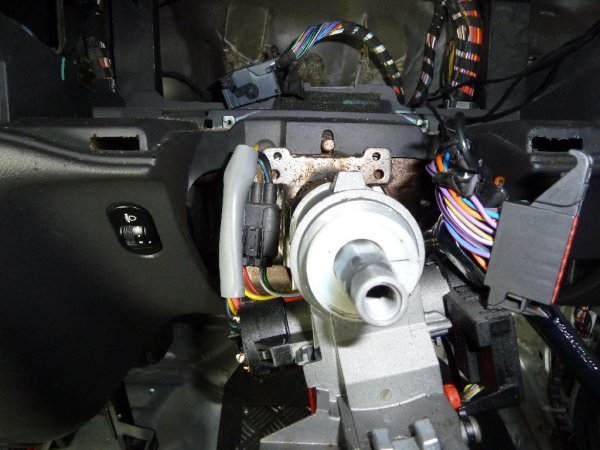
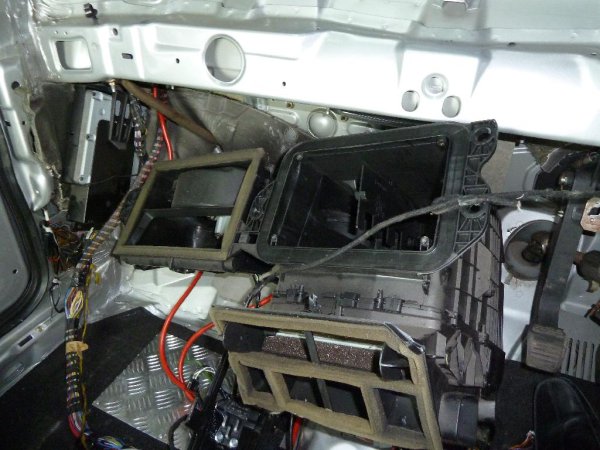
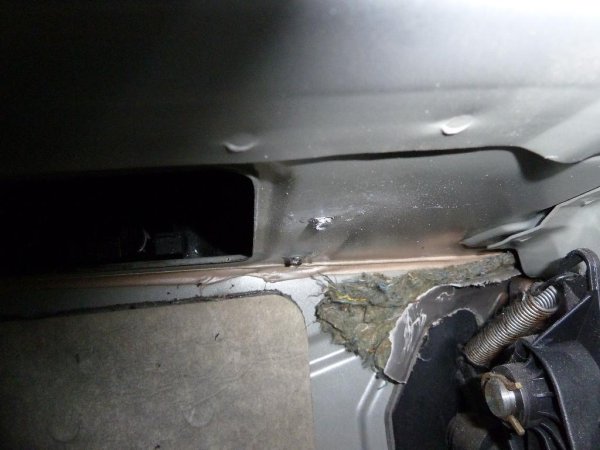
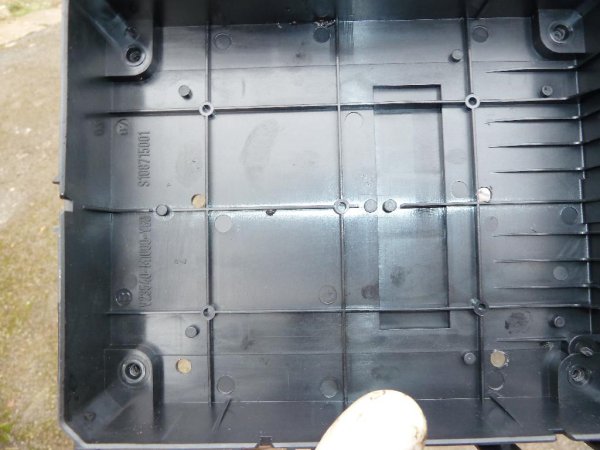
final job was to seal up the holes in the top of the plastic housing that sits where the matrix did, if i dont cover it back up water will piss in the car!

P1070531.JPG


tomorrows jobs are tidy up a bit more, refit that plastic cover and attach some of the loom using some smaller p clips i already have
 
Cracking along! I was going to say 'Looking Good', but there is getting less and less to look at!! lol :p
 
thats good progress that!! i remember taking my dash out! what a pain, never attempted to cut the loom back tho, i looked at and got scared, are you not putting the heaters back in?
 

Latest posts

Back
Top